Fought At Ruhr
2422 days 20 hours 57 minutes ago
Battle Report
Ruhr: Britain Shows Their Resolve
90 POINTS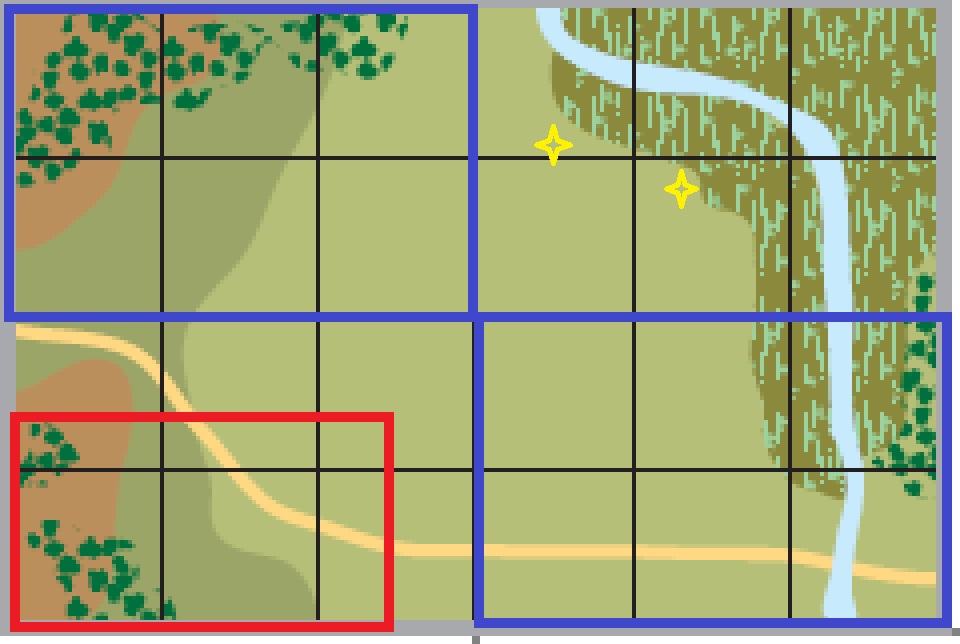
Terrain notes. The upper right of the map was deemed passable to vehicles with a cross check and half speed. Instead of swamp we treated it as flooded fields (with minor dikes and raised areas).
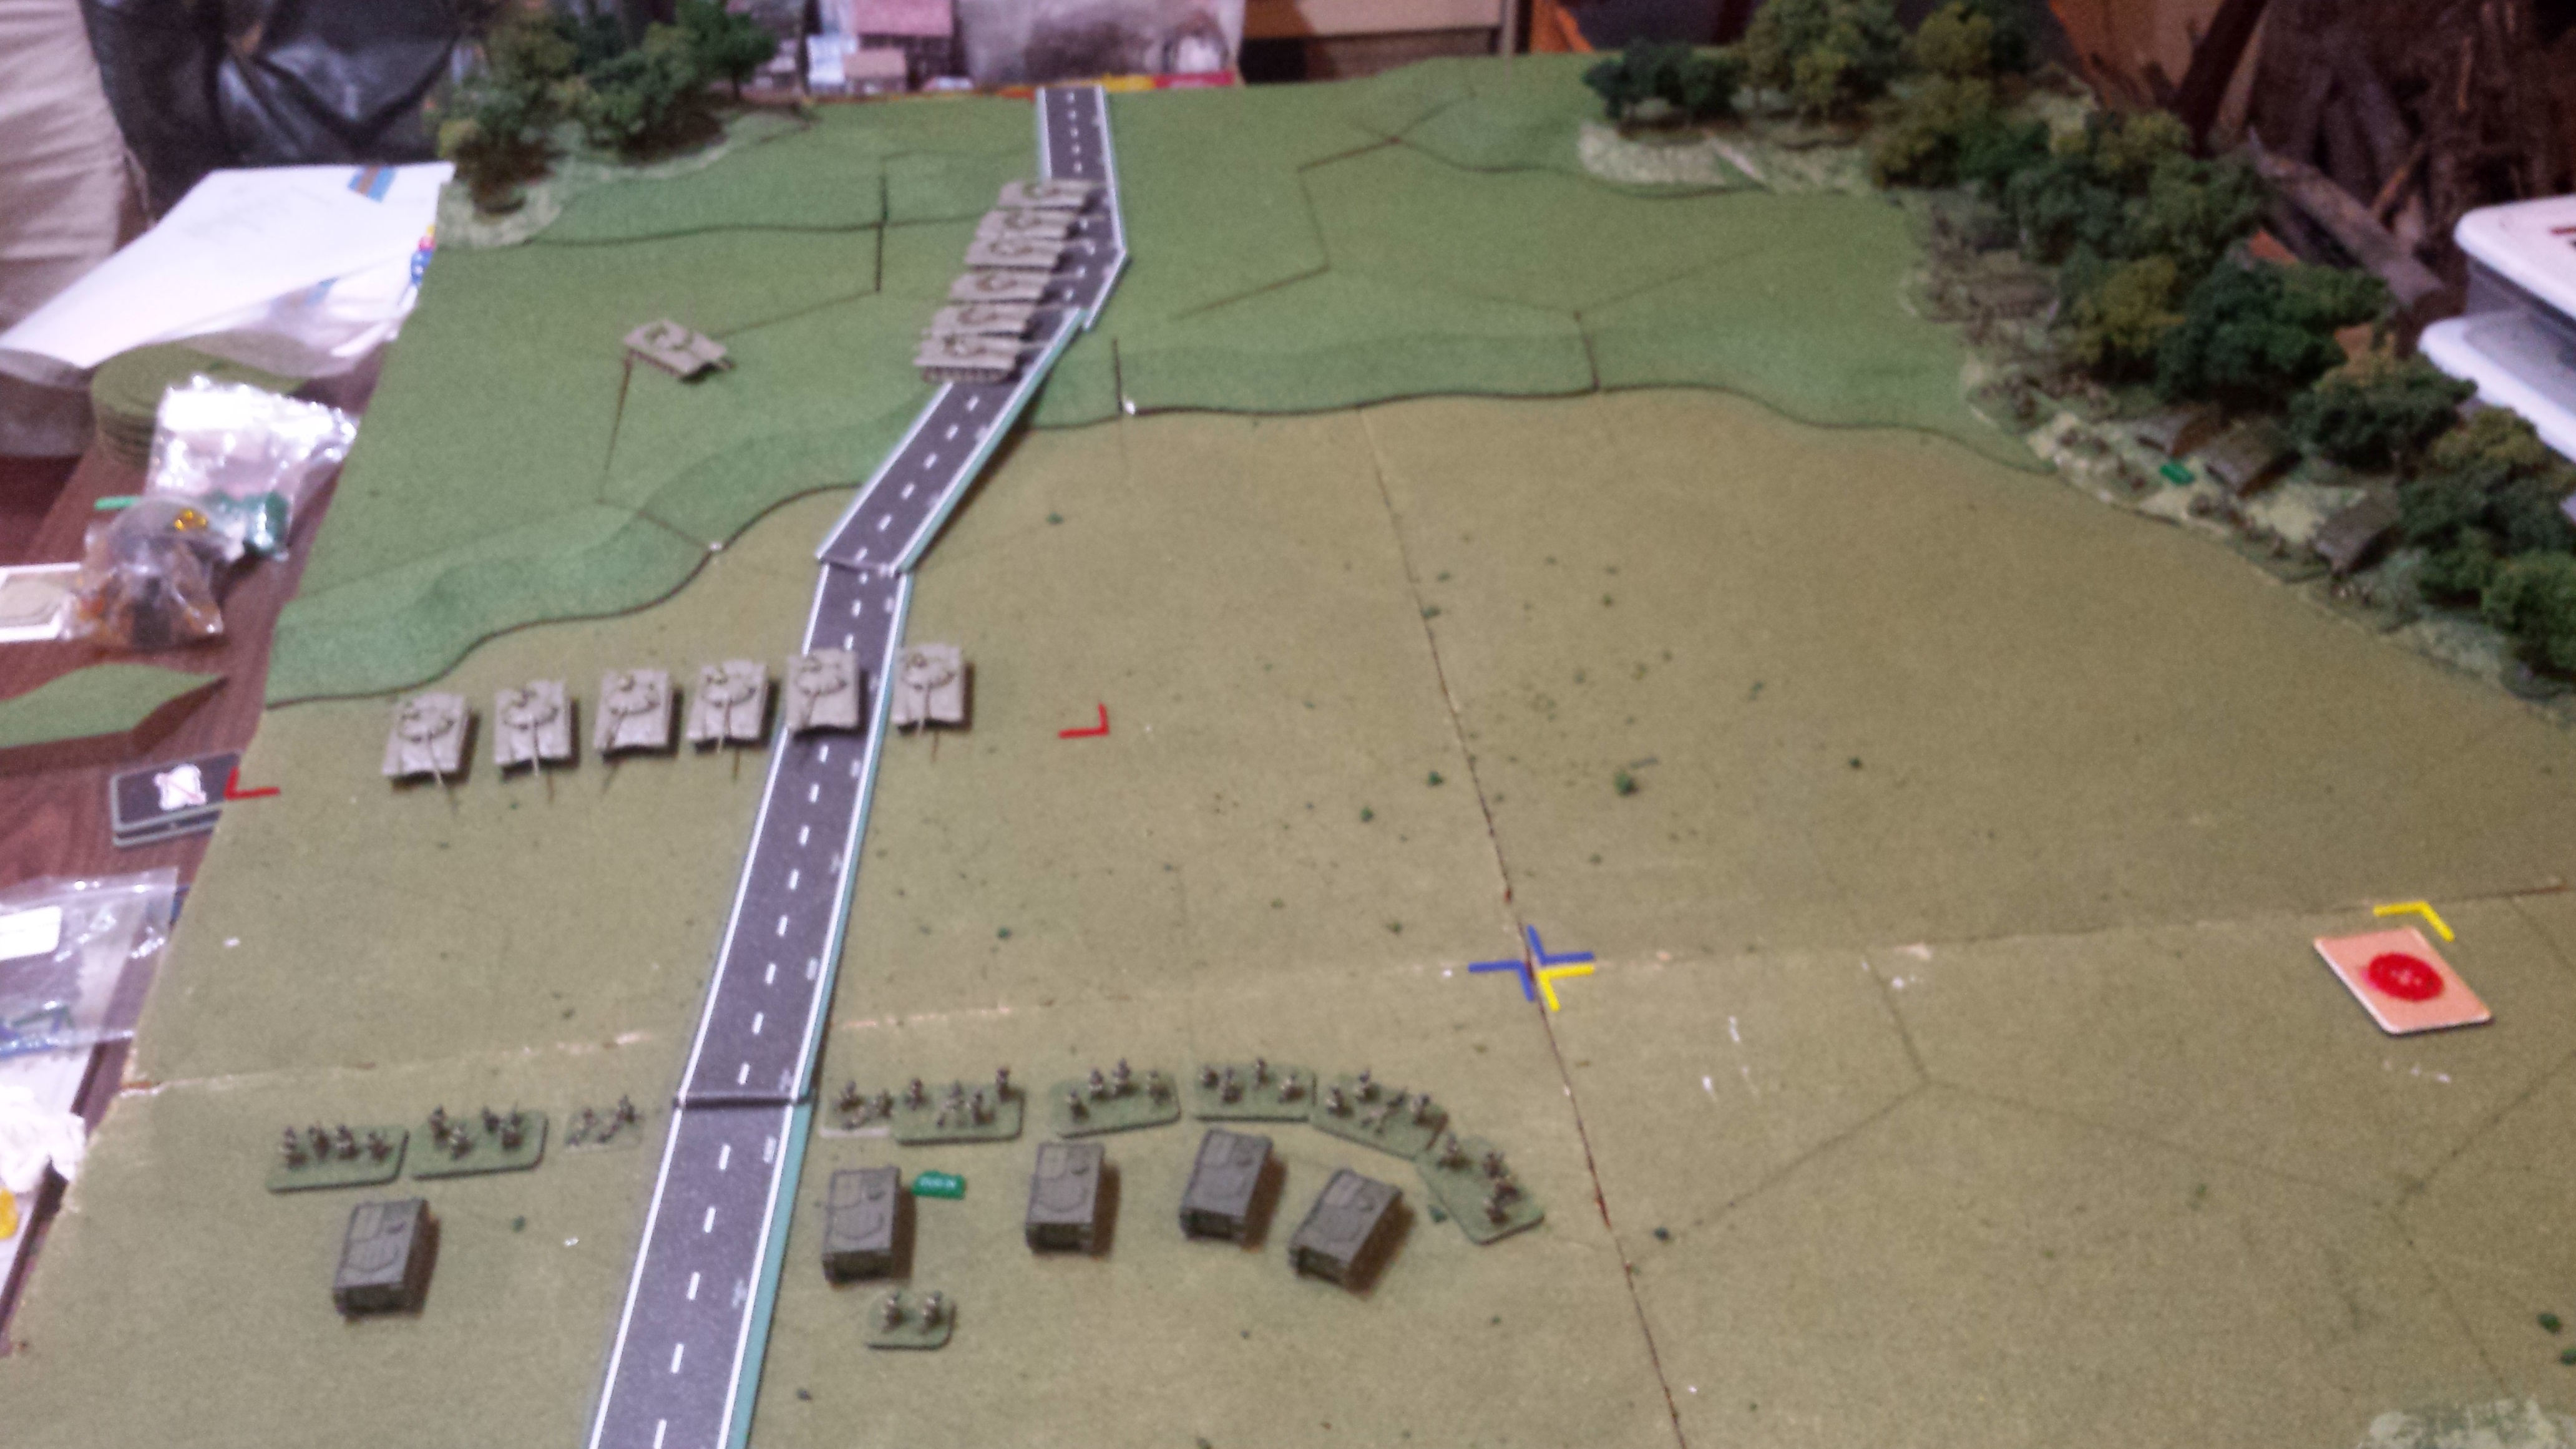
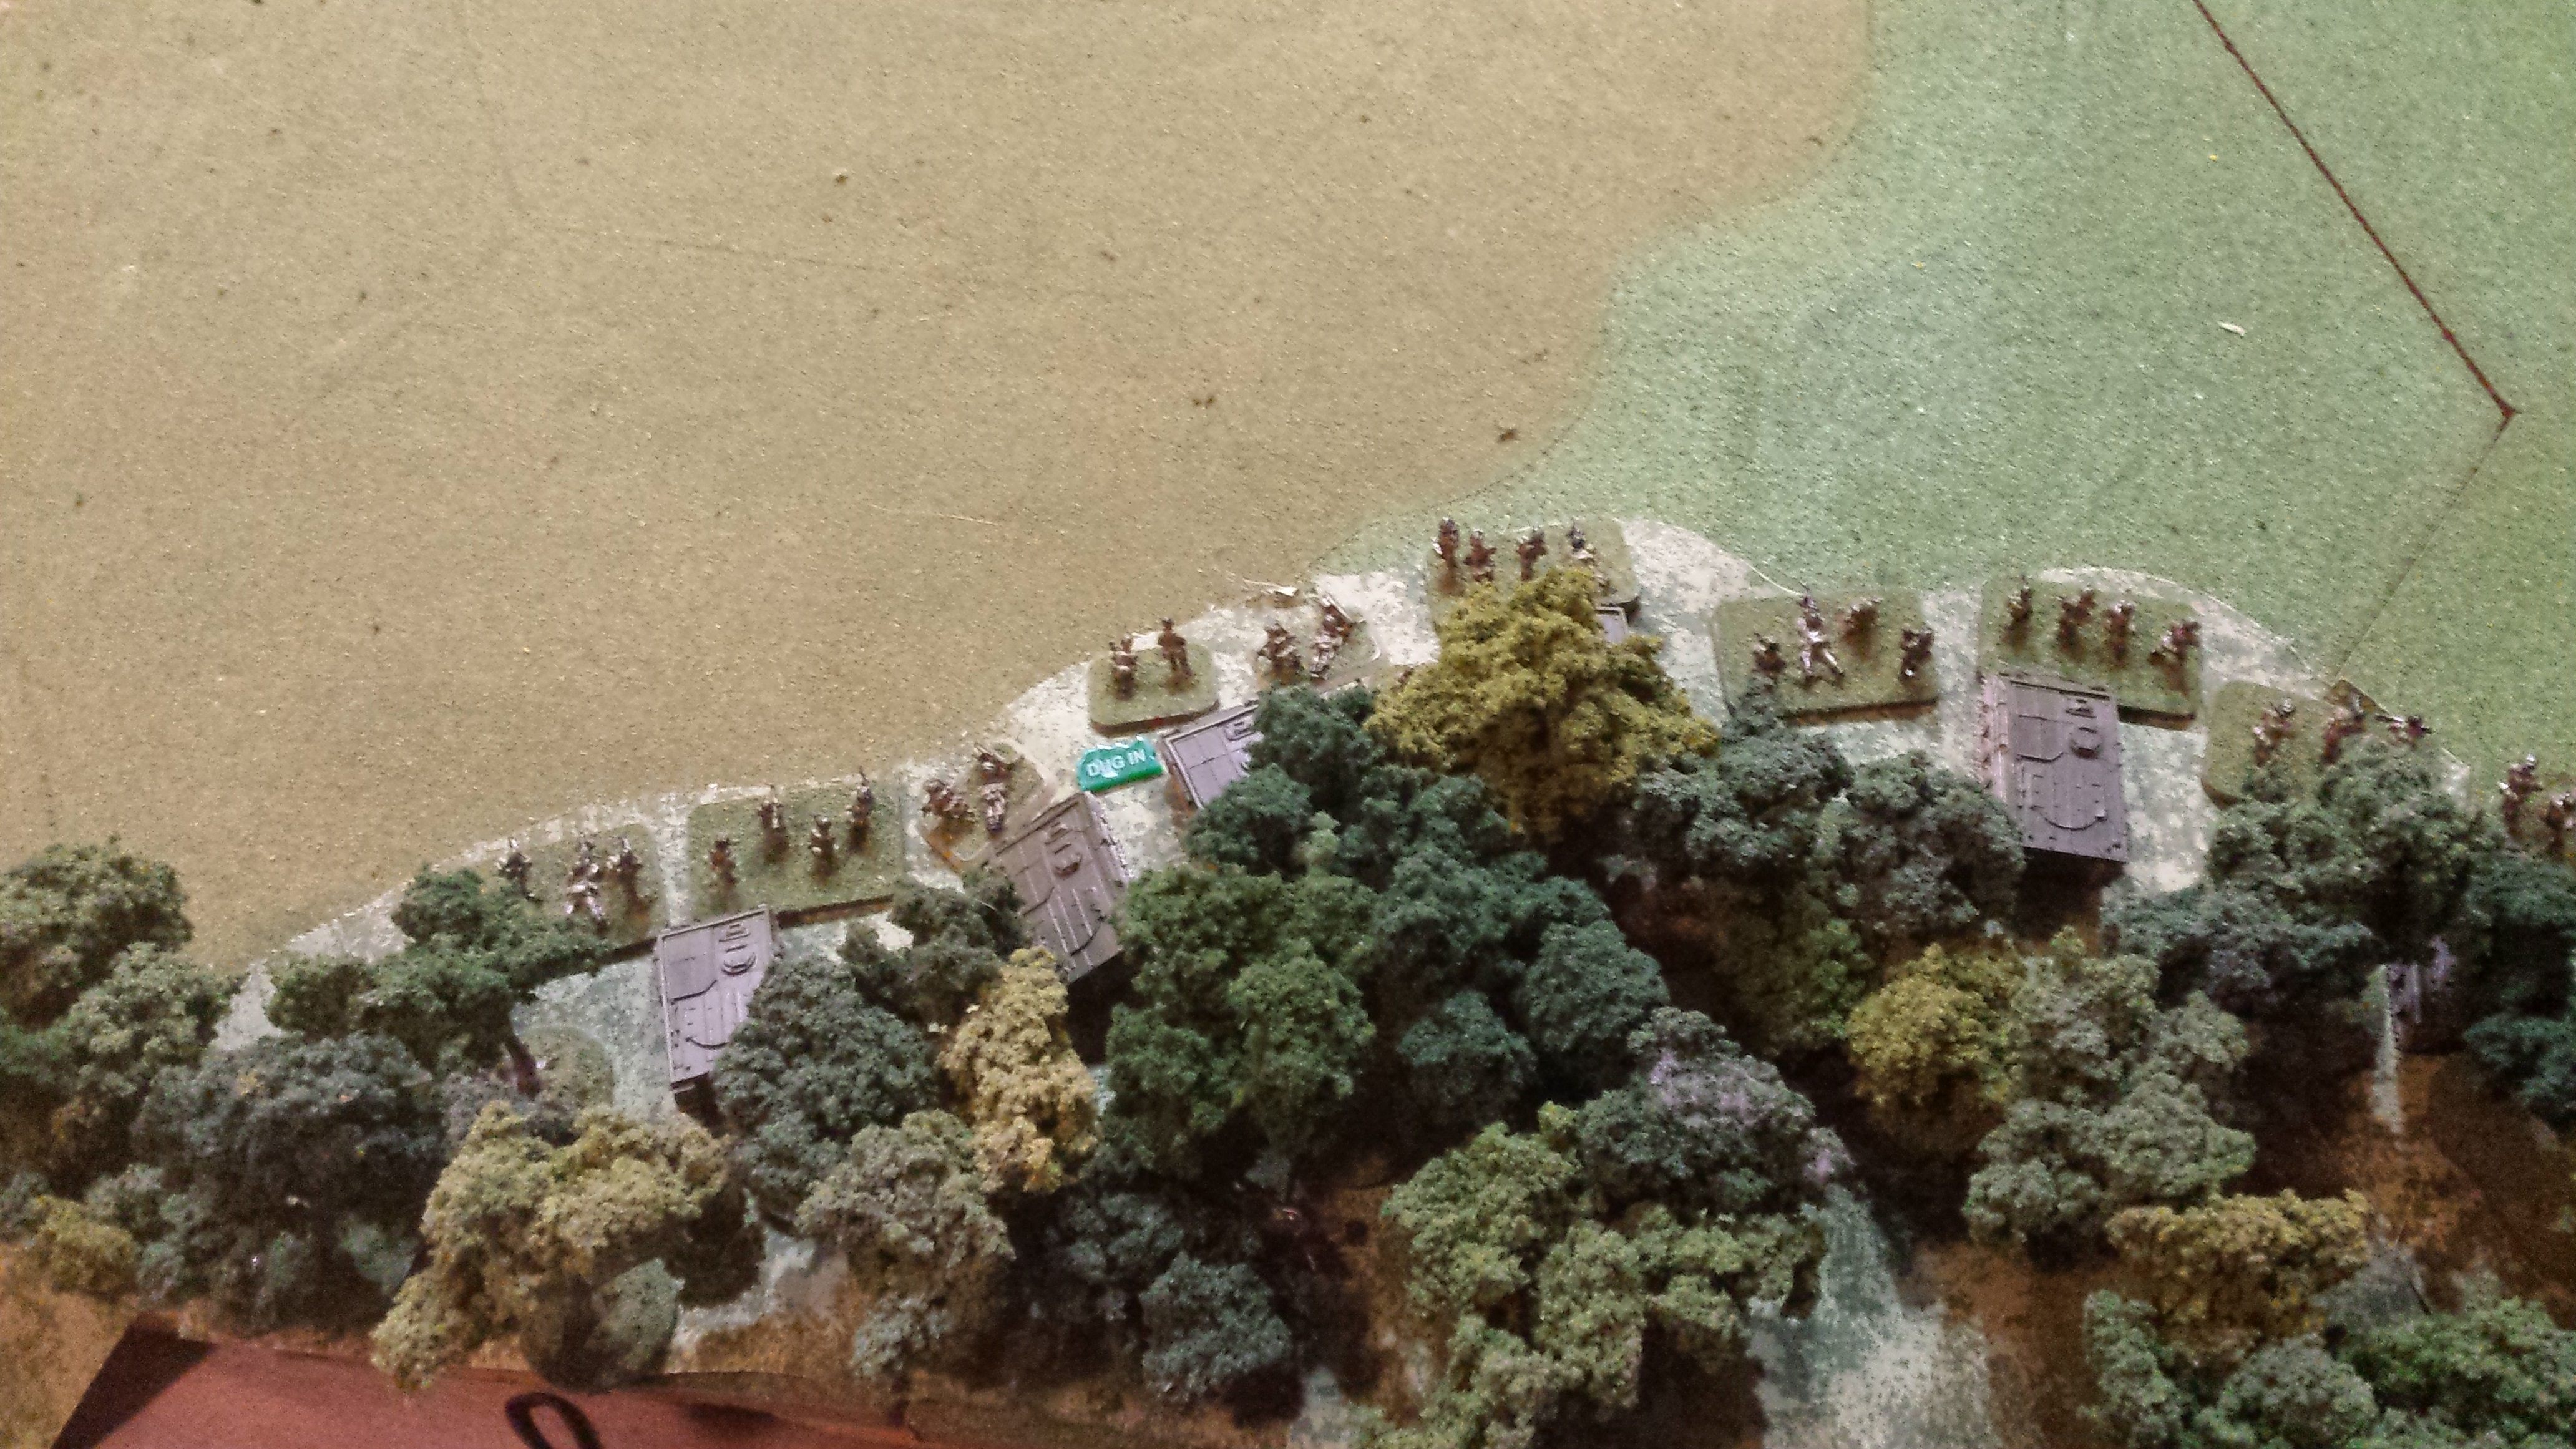
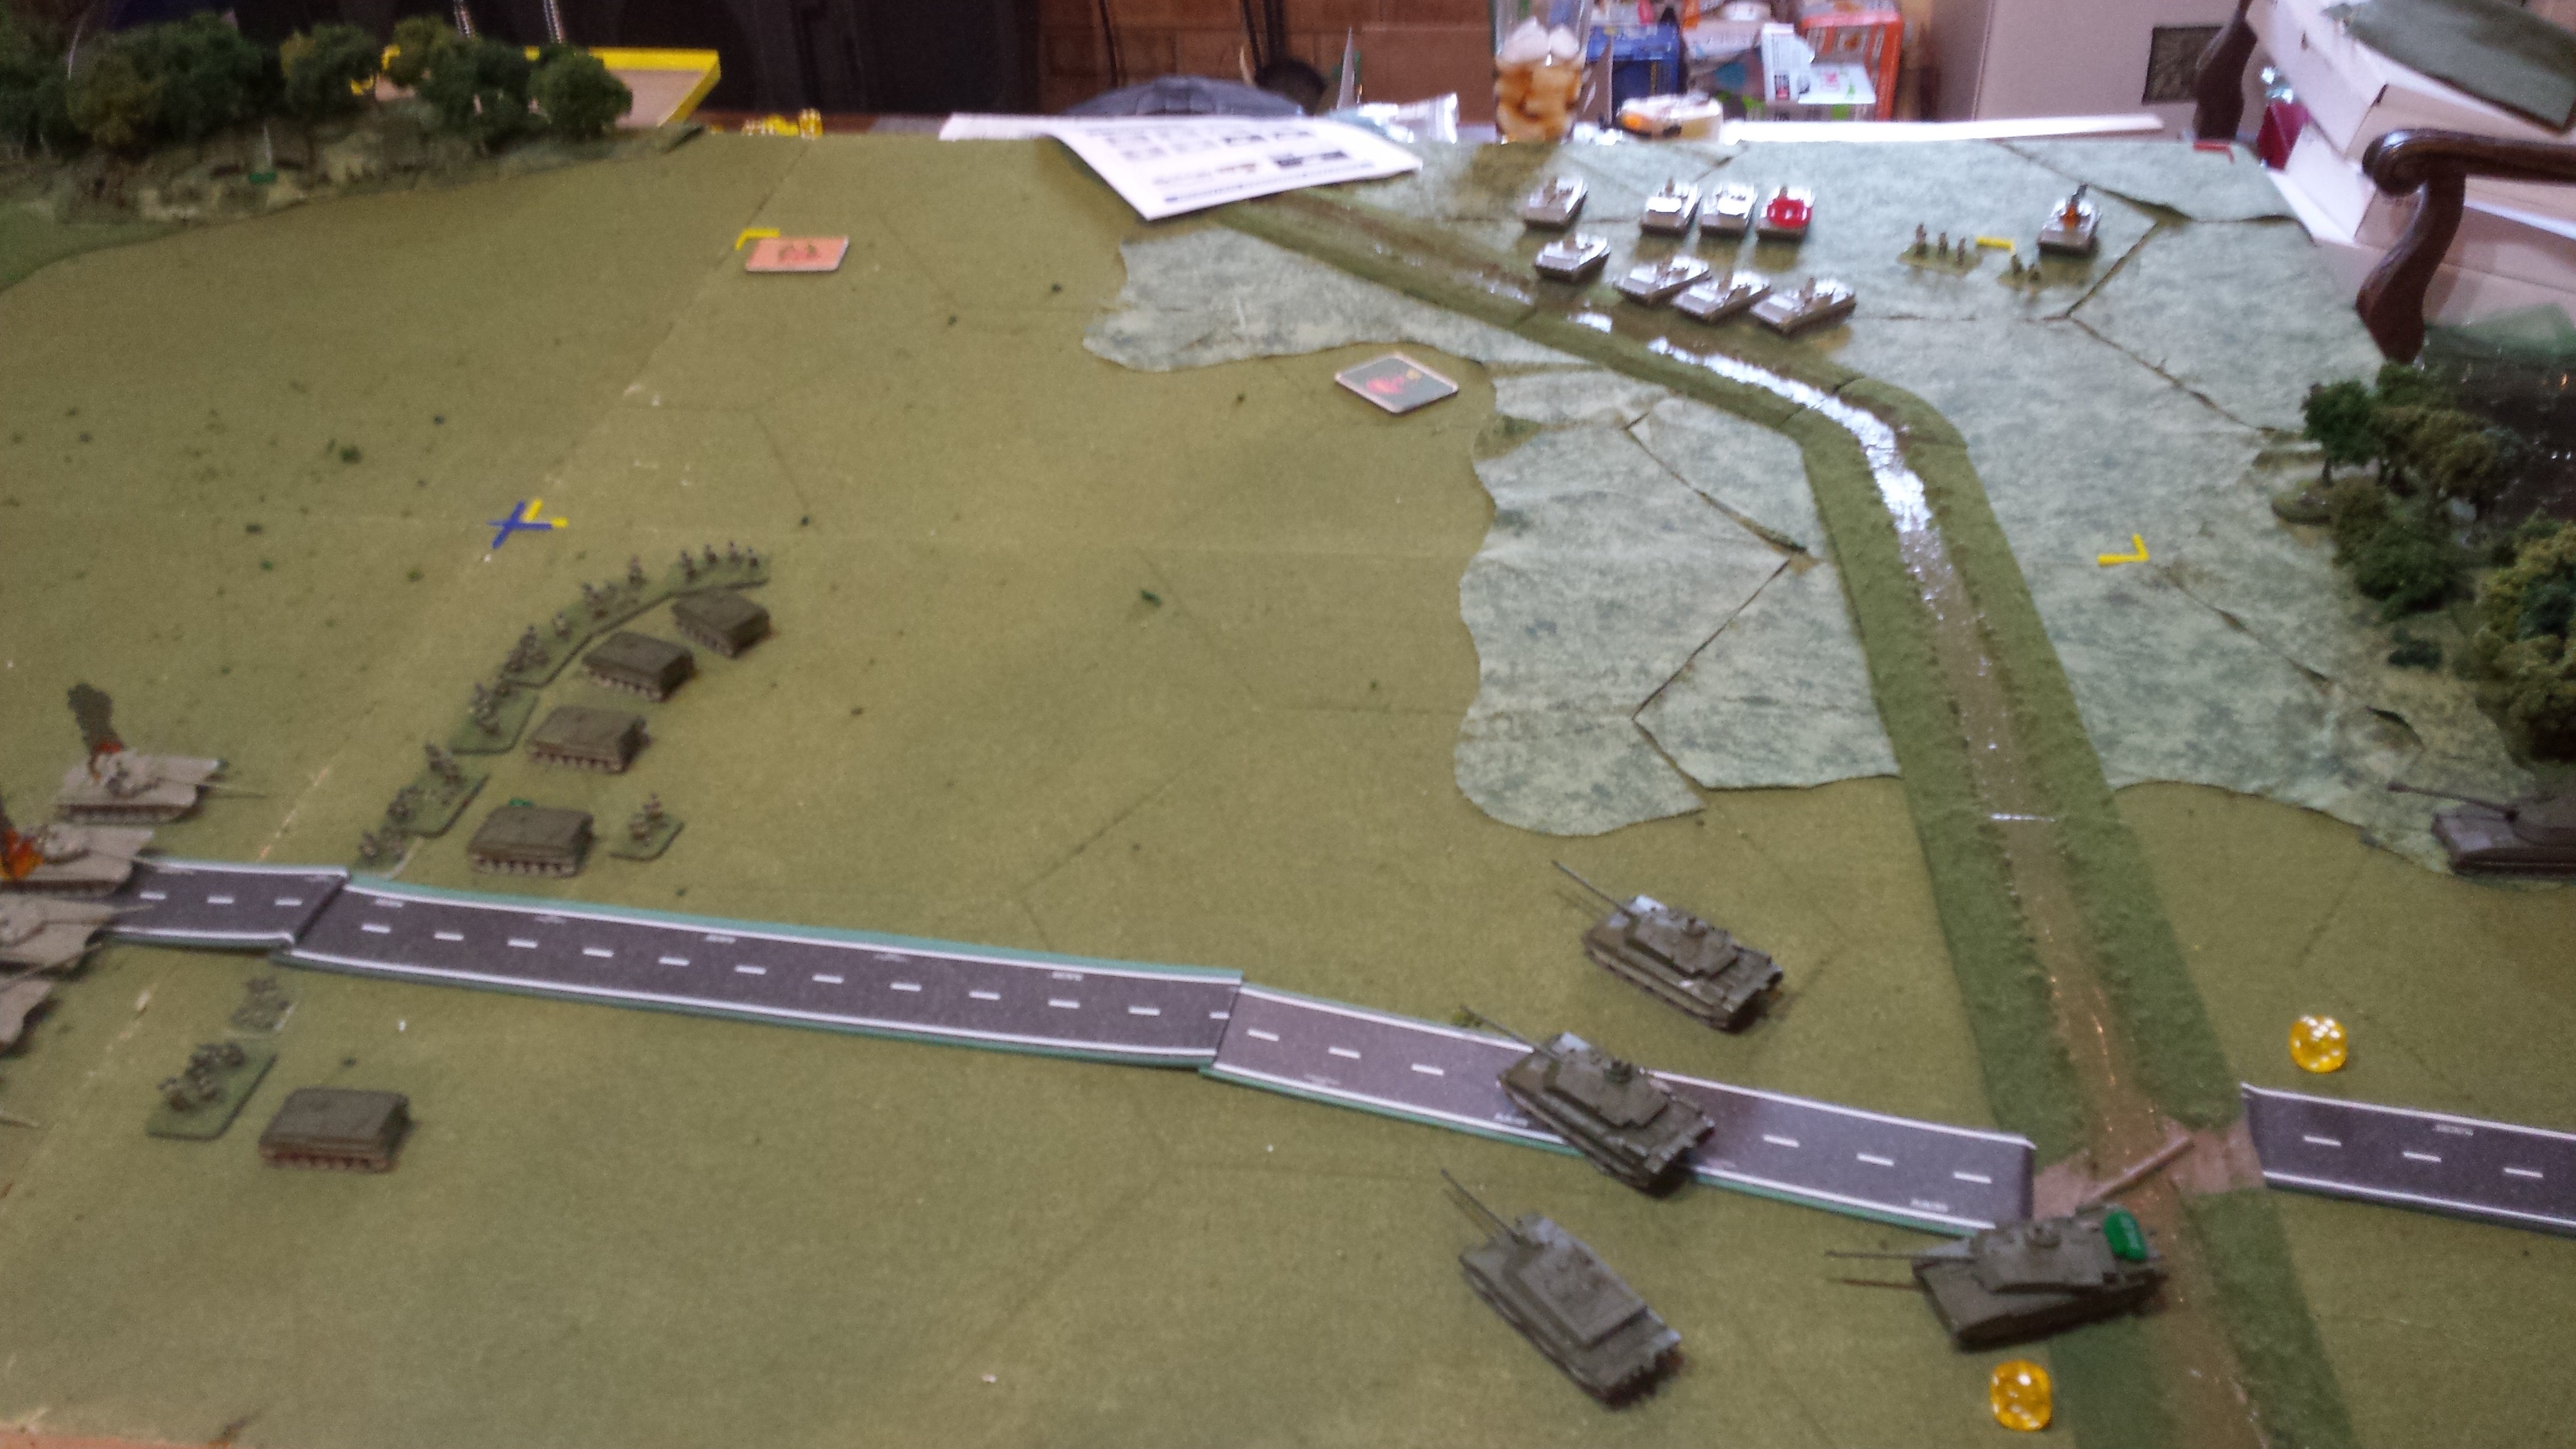
Company C 1st Battalion Duke of Lancaster’s Regiment chose to deploy one platoon in the Tree line (top of the map) and the other platoon in a blocking position covering the road. Though exposed, in true infantry fashion Mole like tendencies came to the fore. The Abbot battery (RHA) deployed in the lower right corner
The Soviet Tank companies deployed facing the Infantry. These would prove to be elements of the 47th Guards Tank Division, 3rd Shock Army.
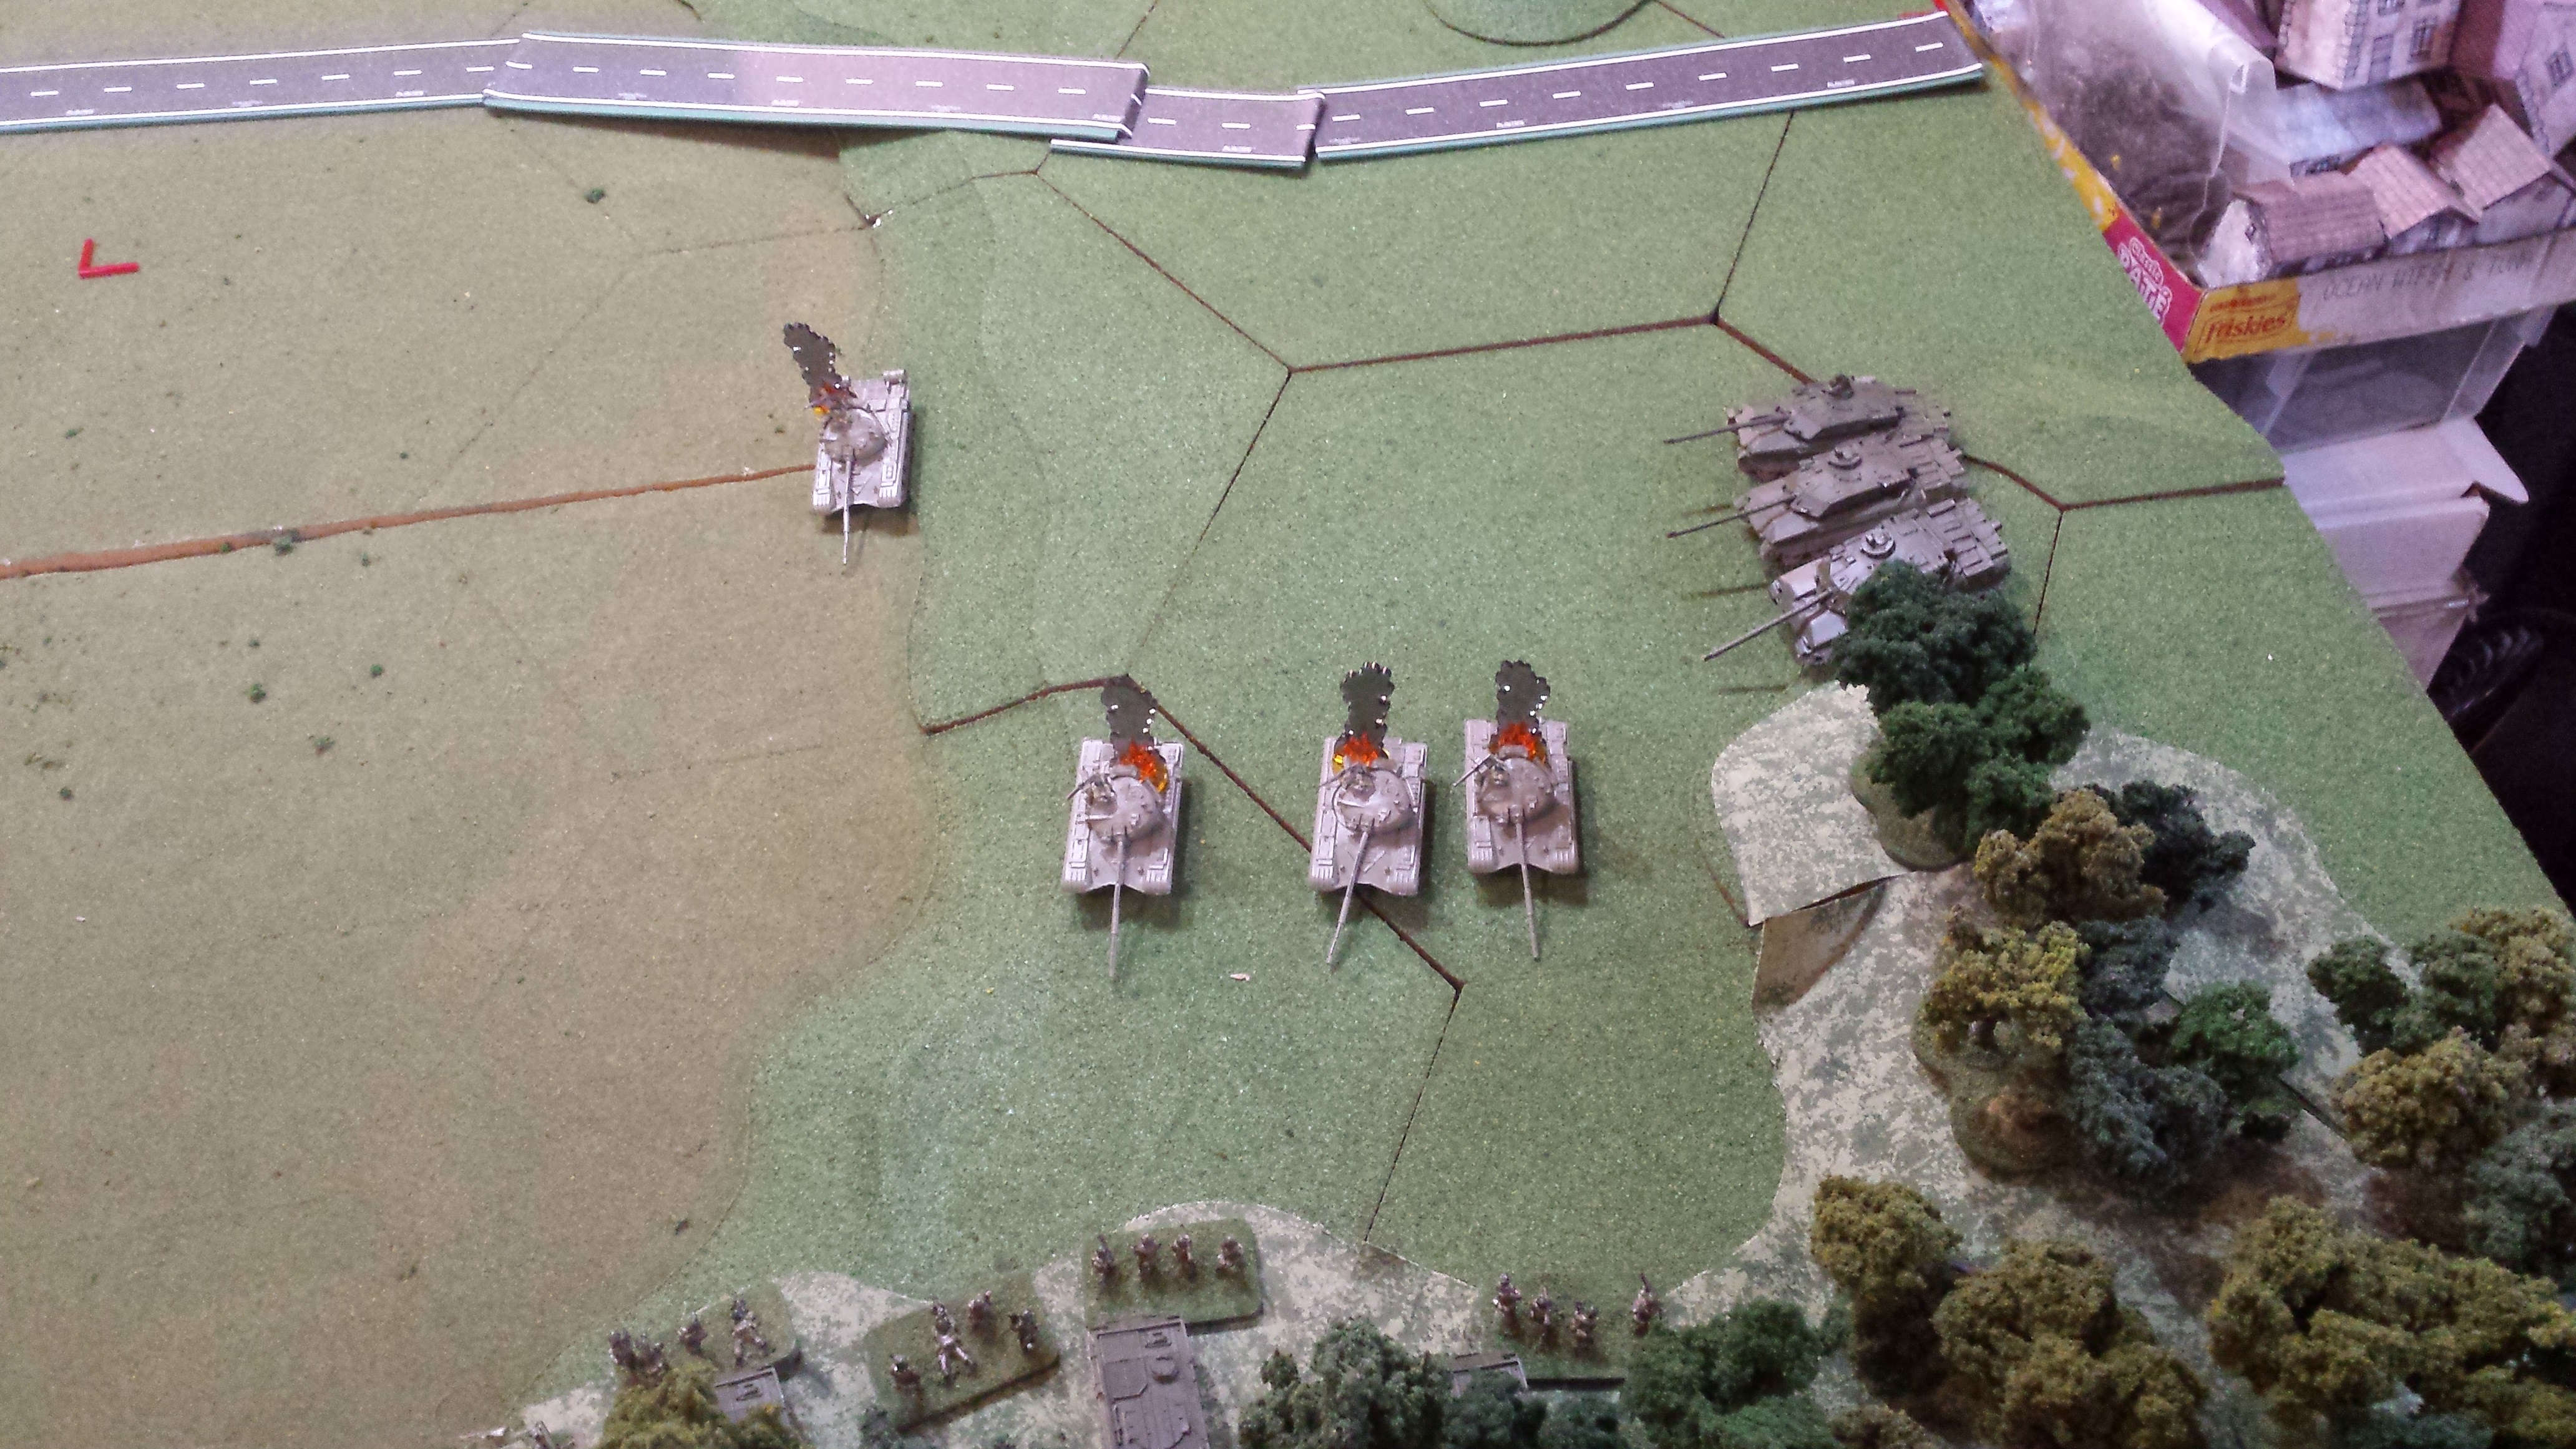
The initial engagement saw the Soviet tanks close on the infantry to get within the launch envelope of the Milans. Their fire was mostly ineffective.
The Lancs Milans proved to be nasty, by taking the long range flank shots on the other Soviet companies. 2" mortars then smoked the tanks just to make things more difficult.
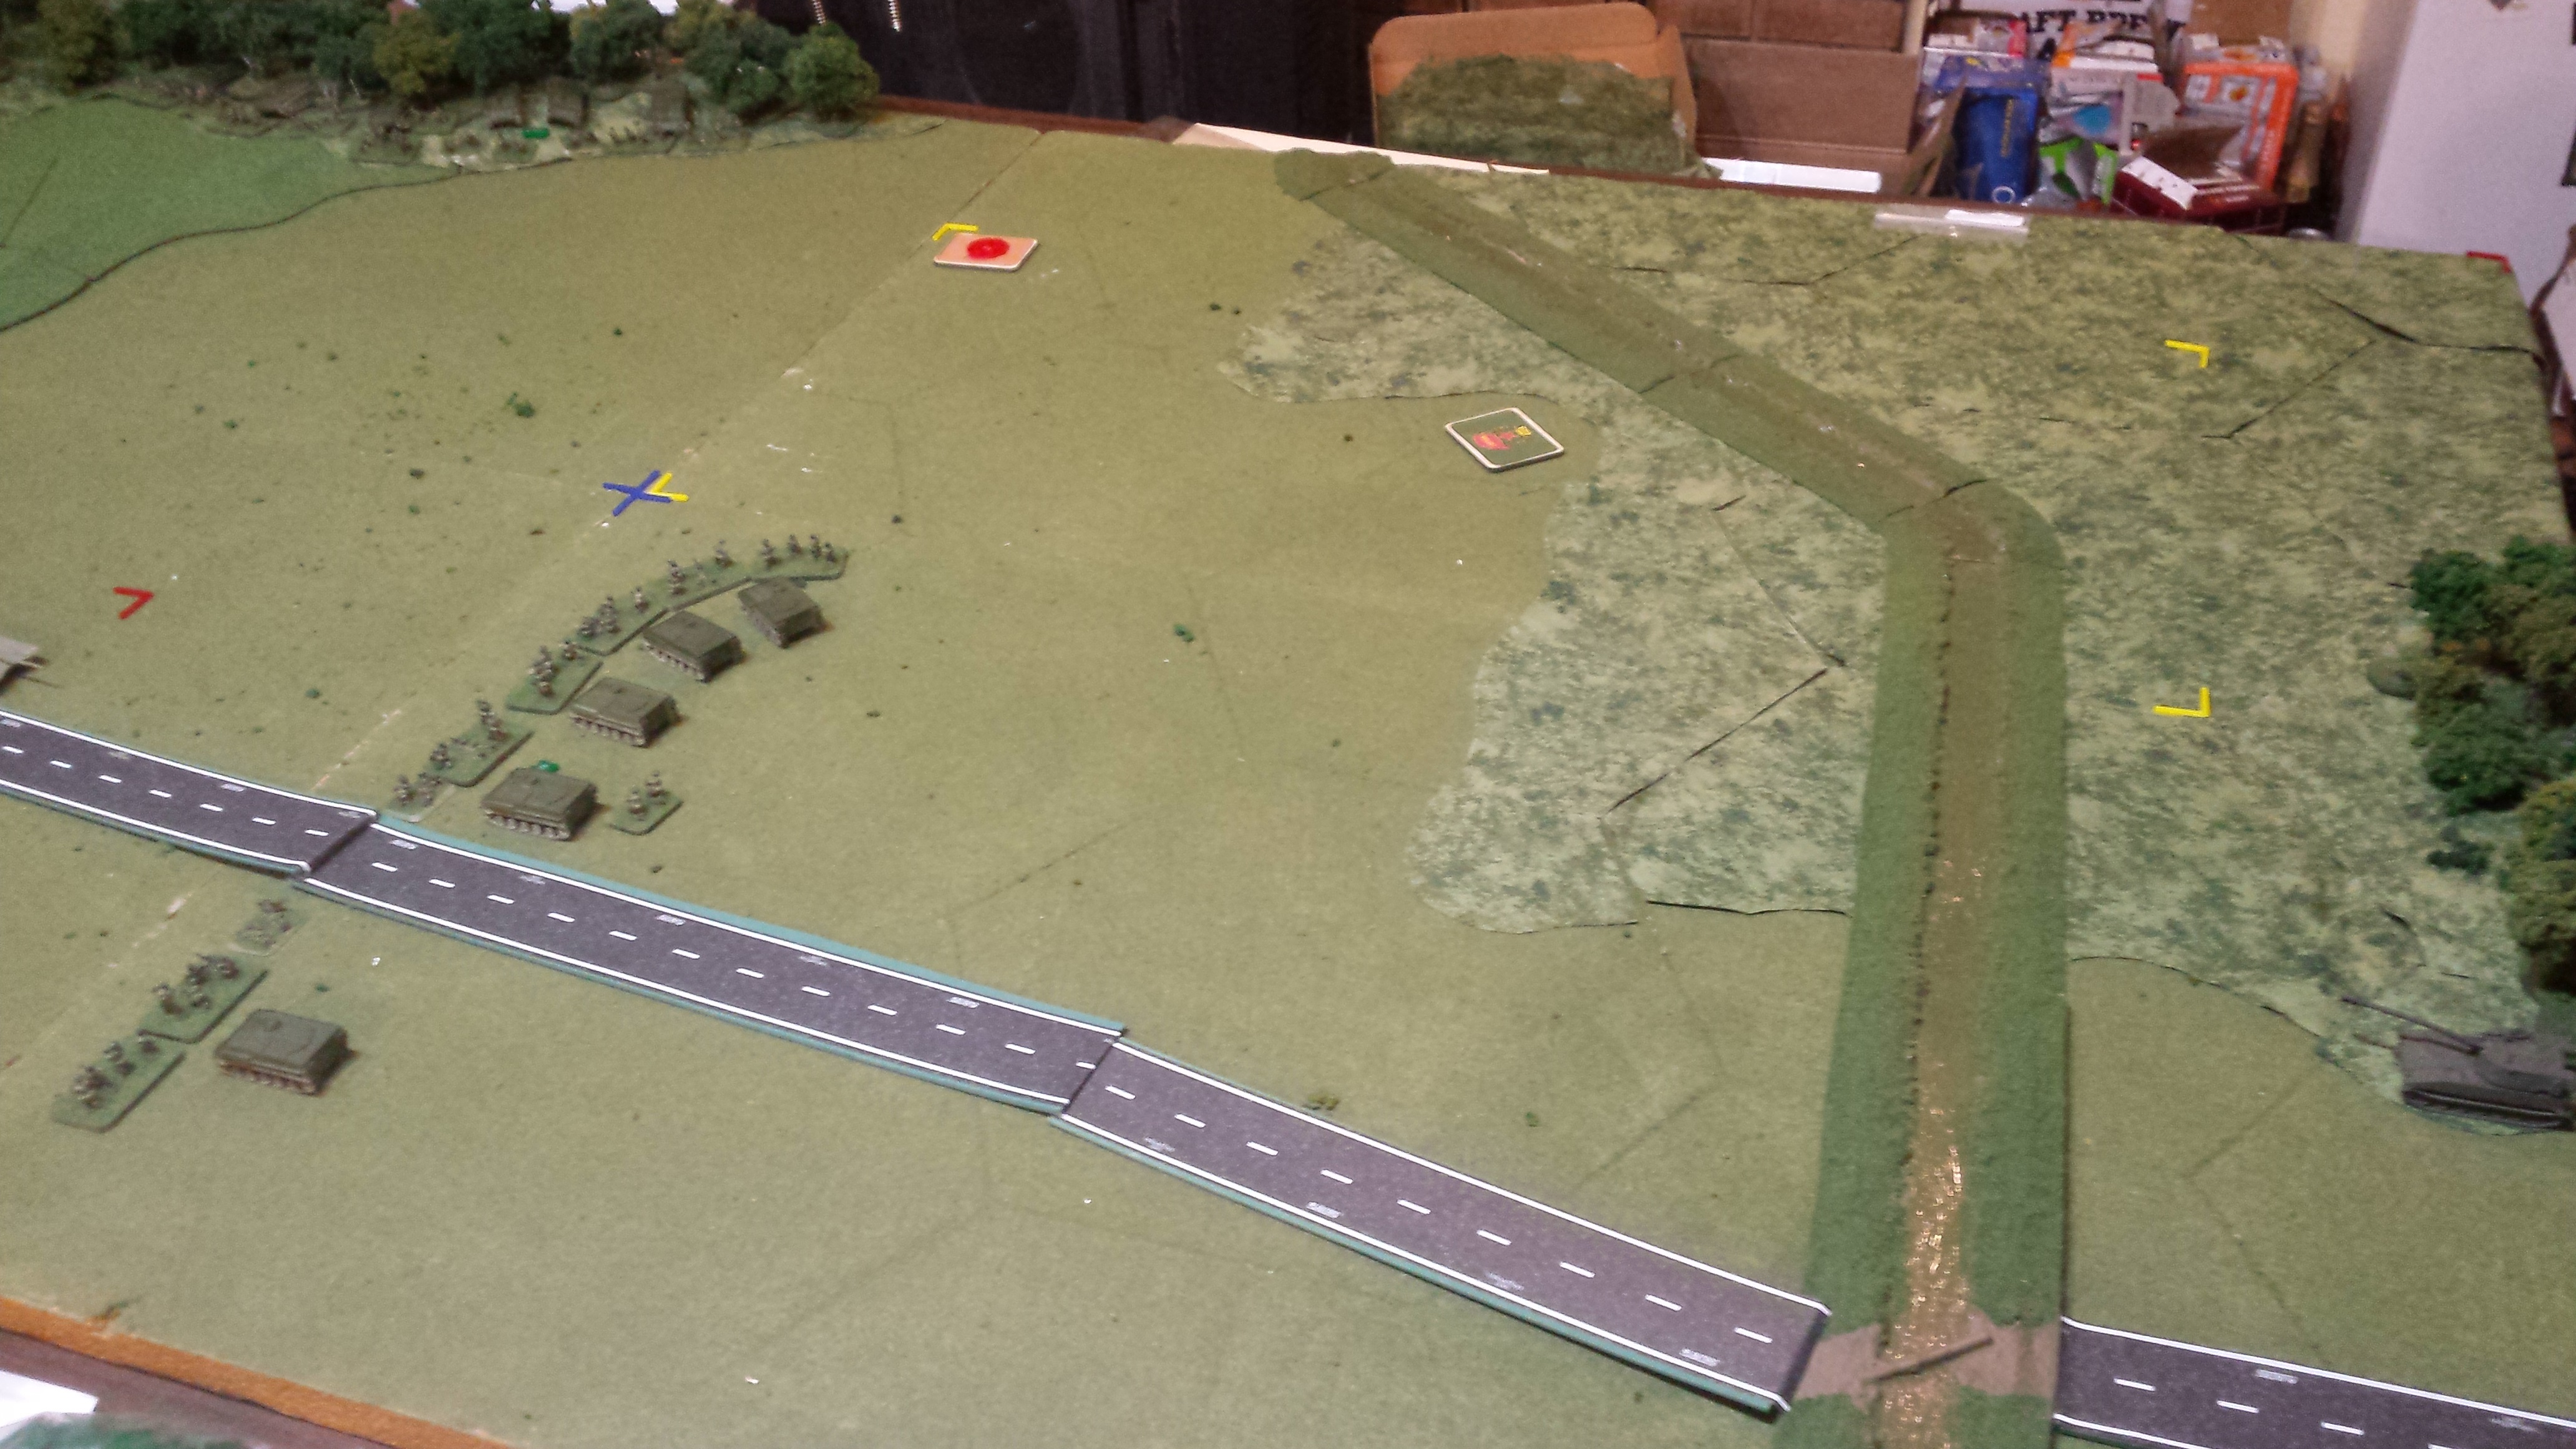
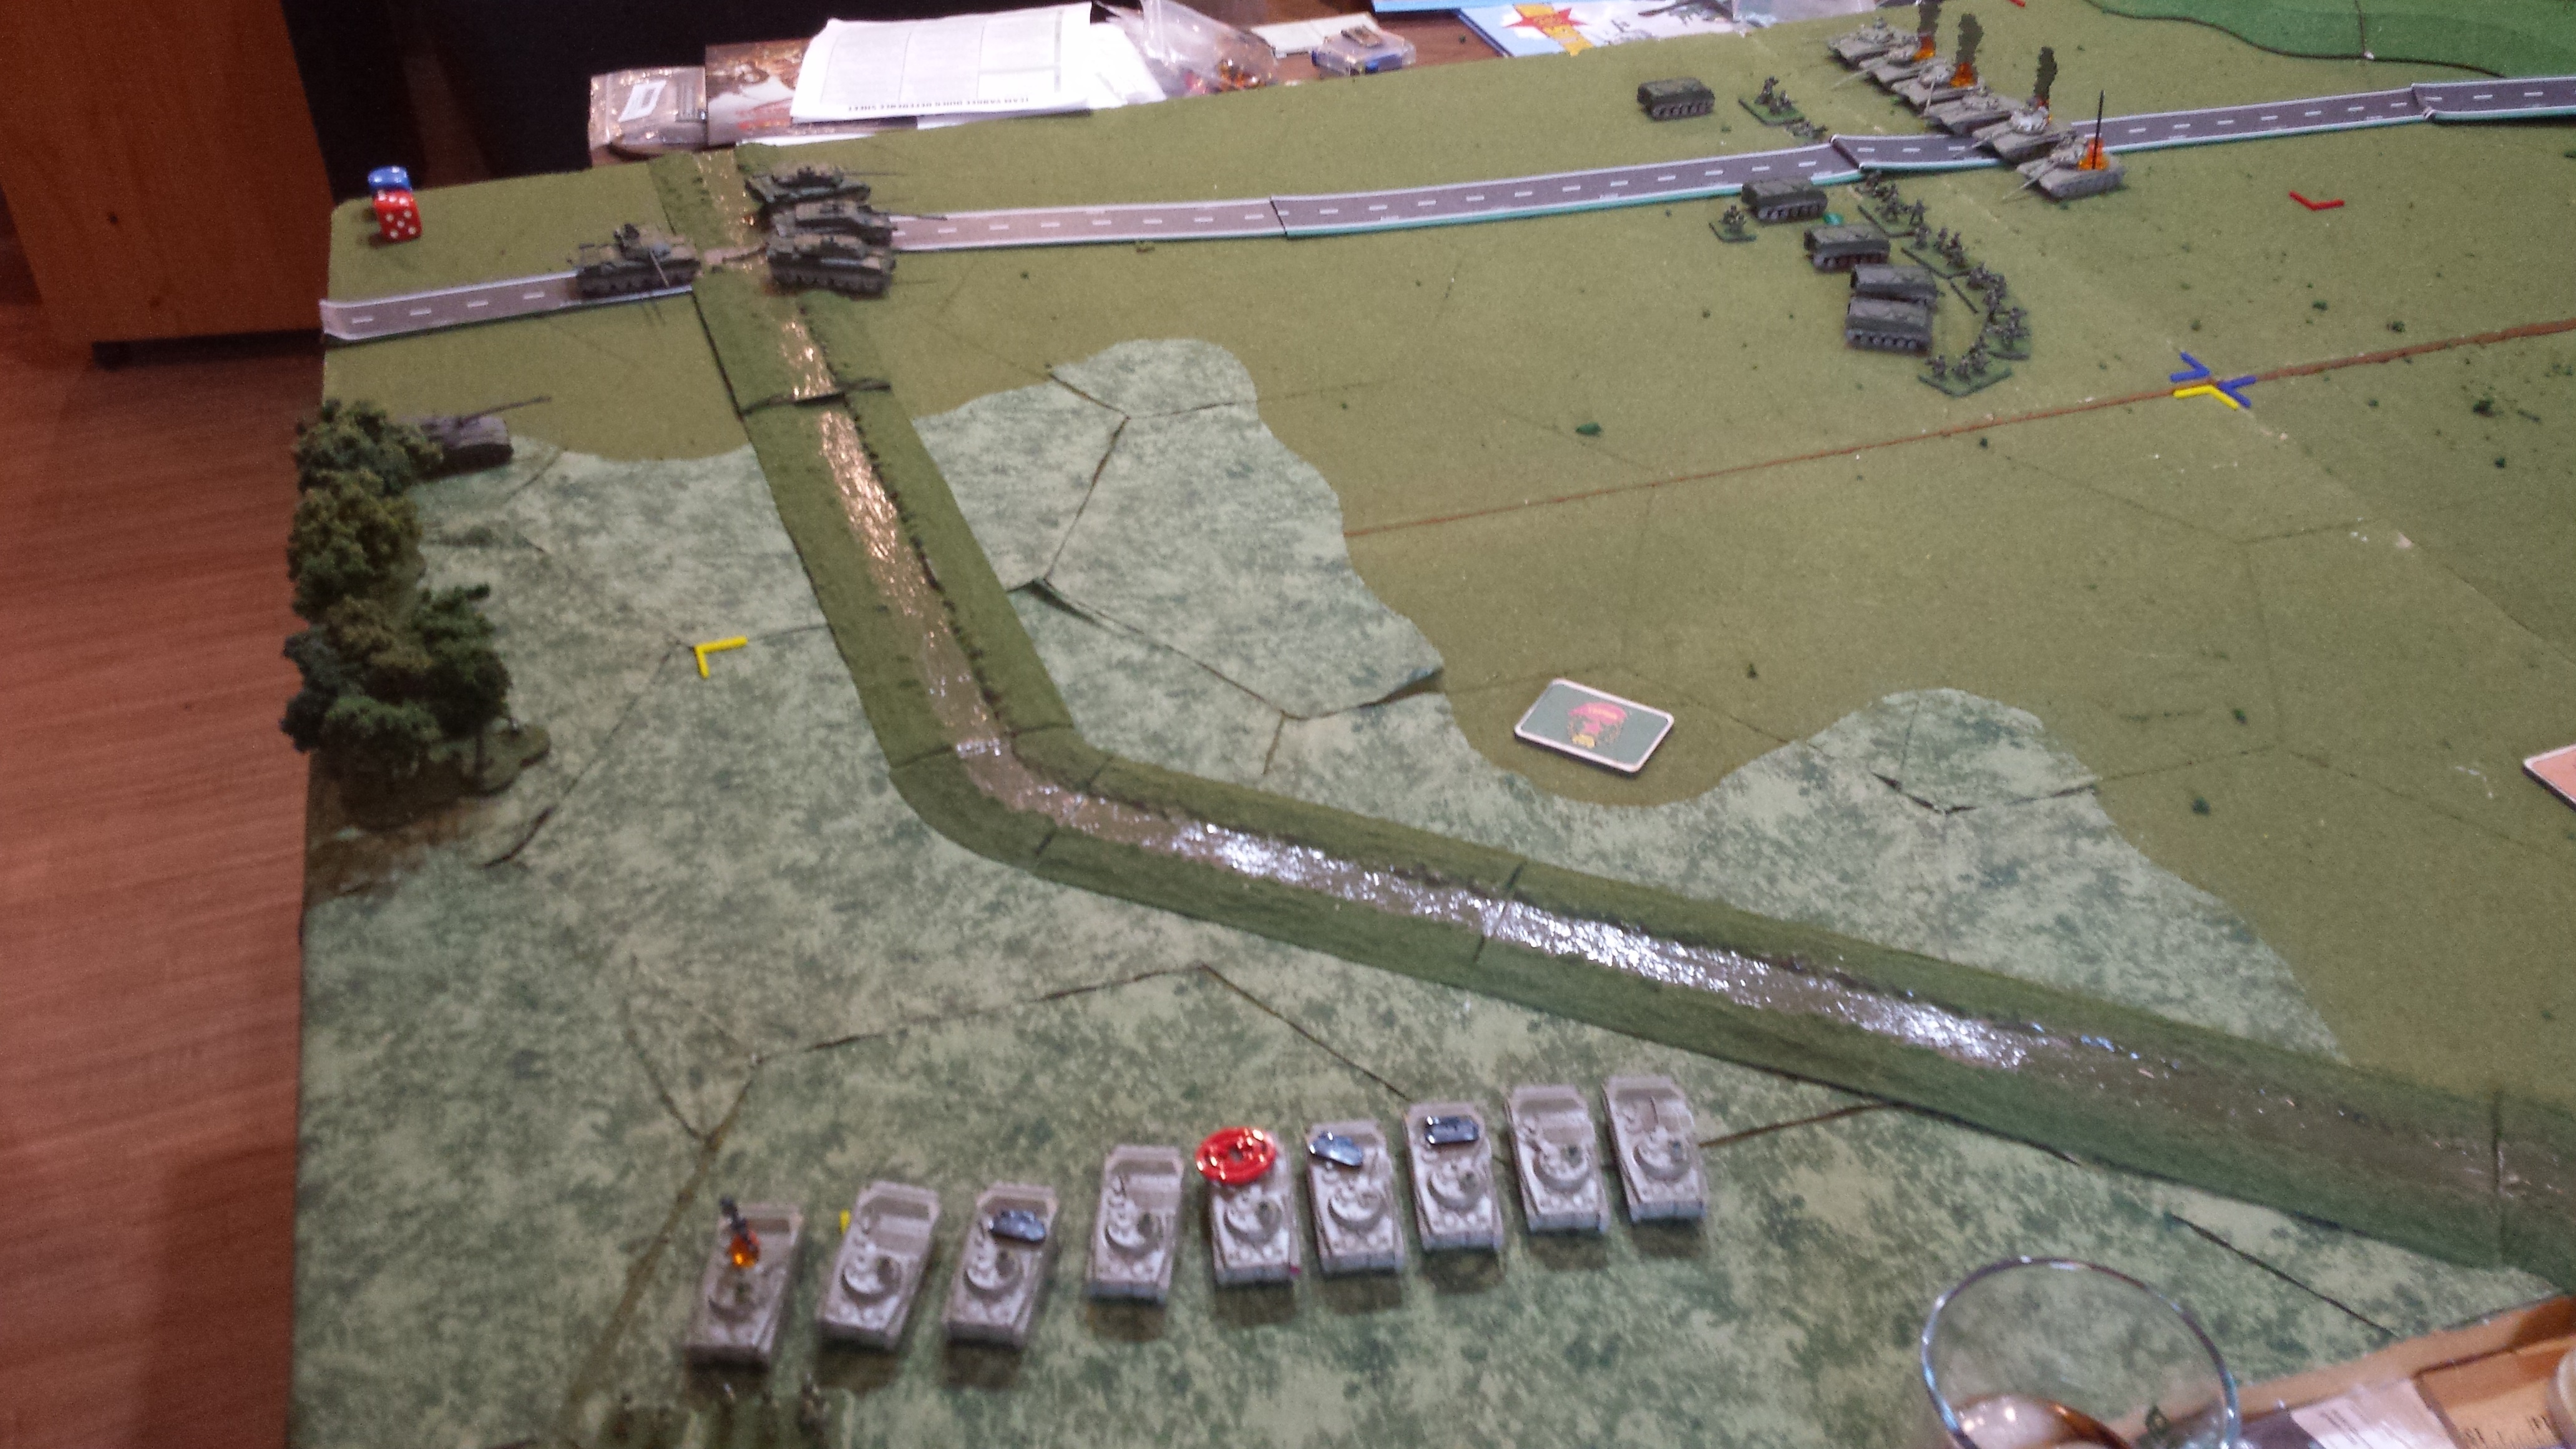
The Soviet BMP company came on in the Polder and made some progress to the objective. Another round of ineffective fire on the infantry.
The Royal Dragoon Guards made their entry in true Cavalry fashion ("just in the nick of time") with one troop on each flank. Bulldog6 came in with 1 troop on the road. The Dragoon Guards opened up with effective long range fires on the Right flank, killing 2 tanks and a BMP while 2 troop on the left flank engaged the flanks of the tanks to 2 troop's front killing 3 tanks. This Soviet company and been roughly handled by the Abbots and Milans, forcing 2 tanks to bail out and killing one. With the fire from 2 Troop, the company chose to quit the field.
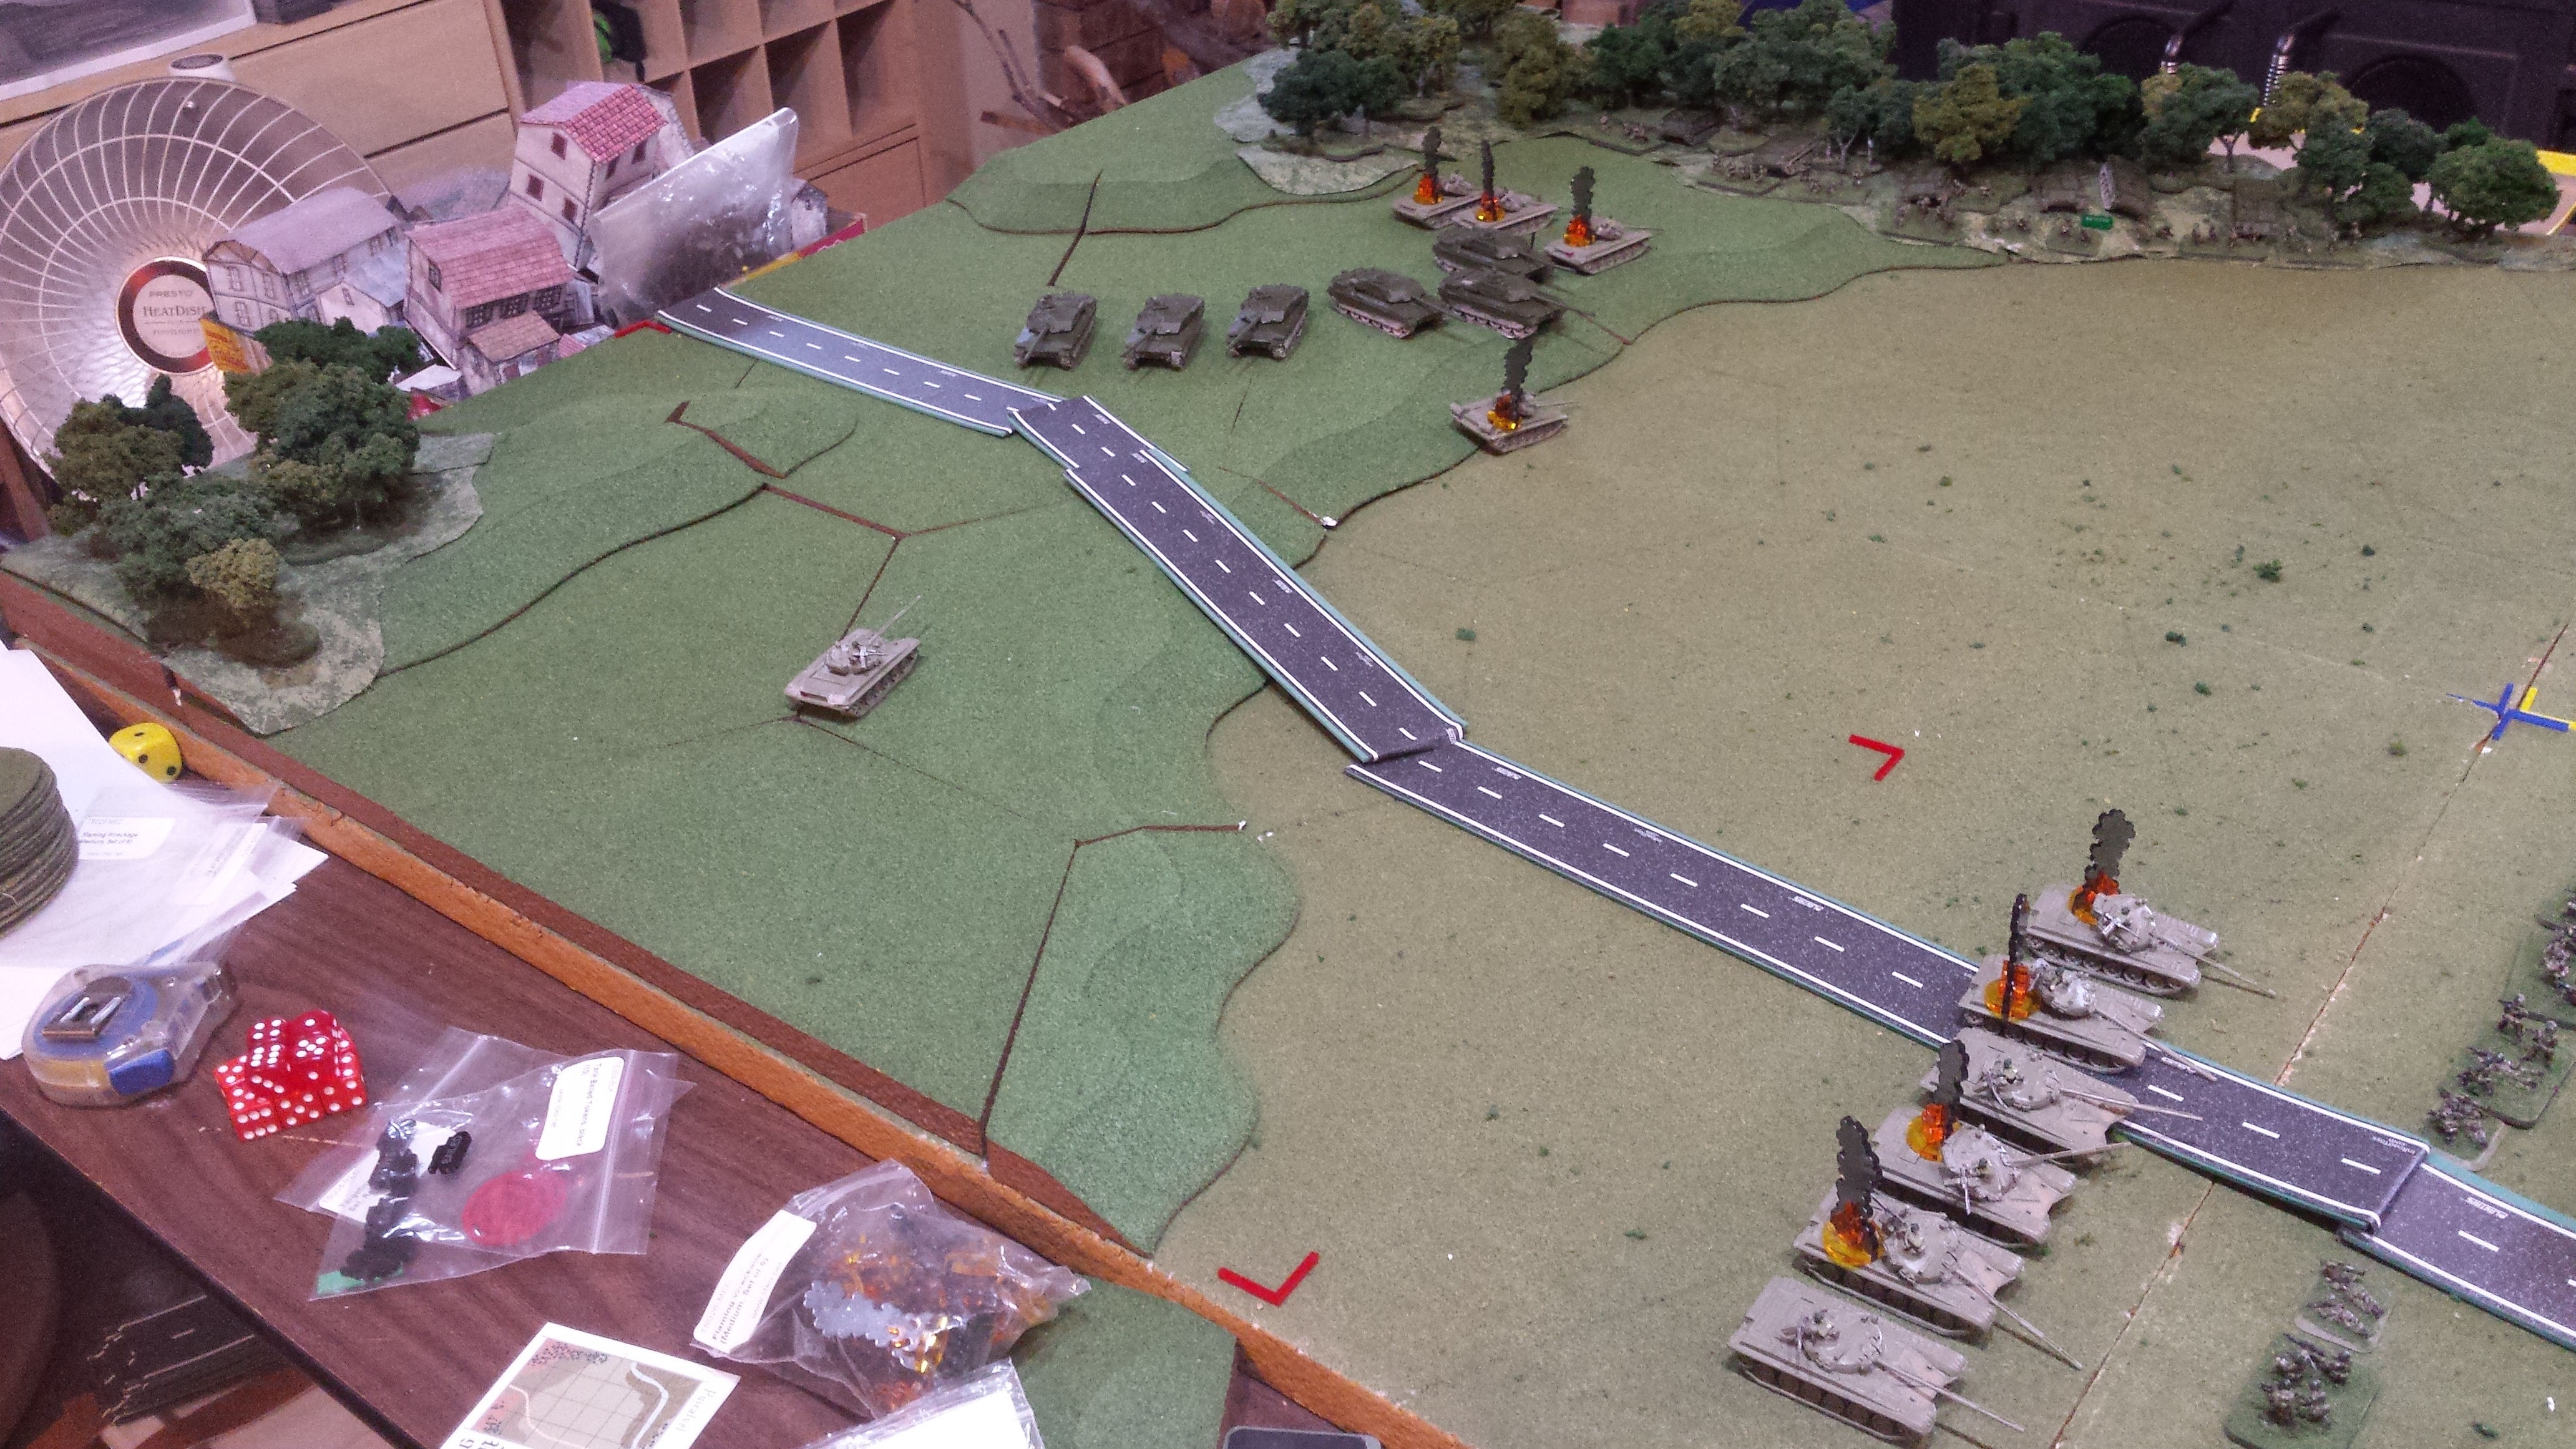
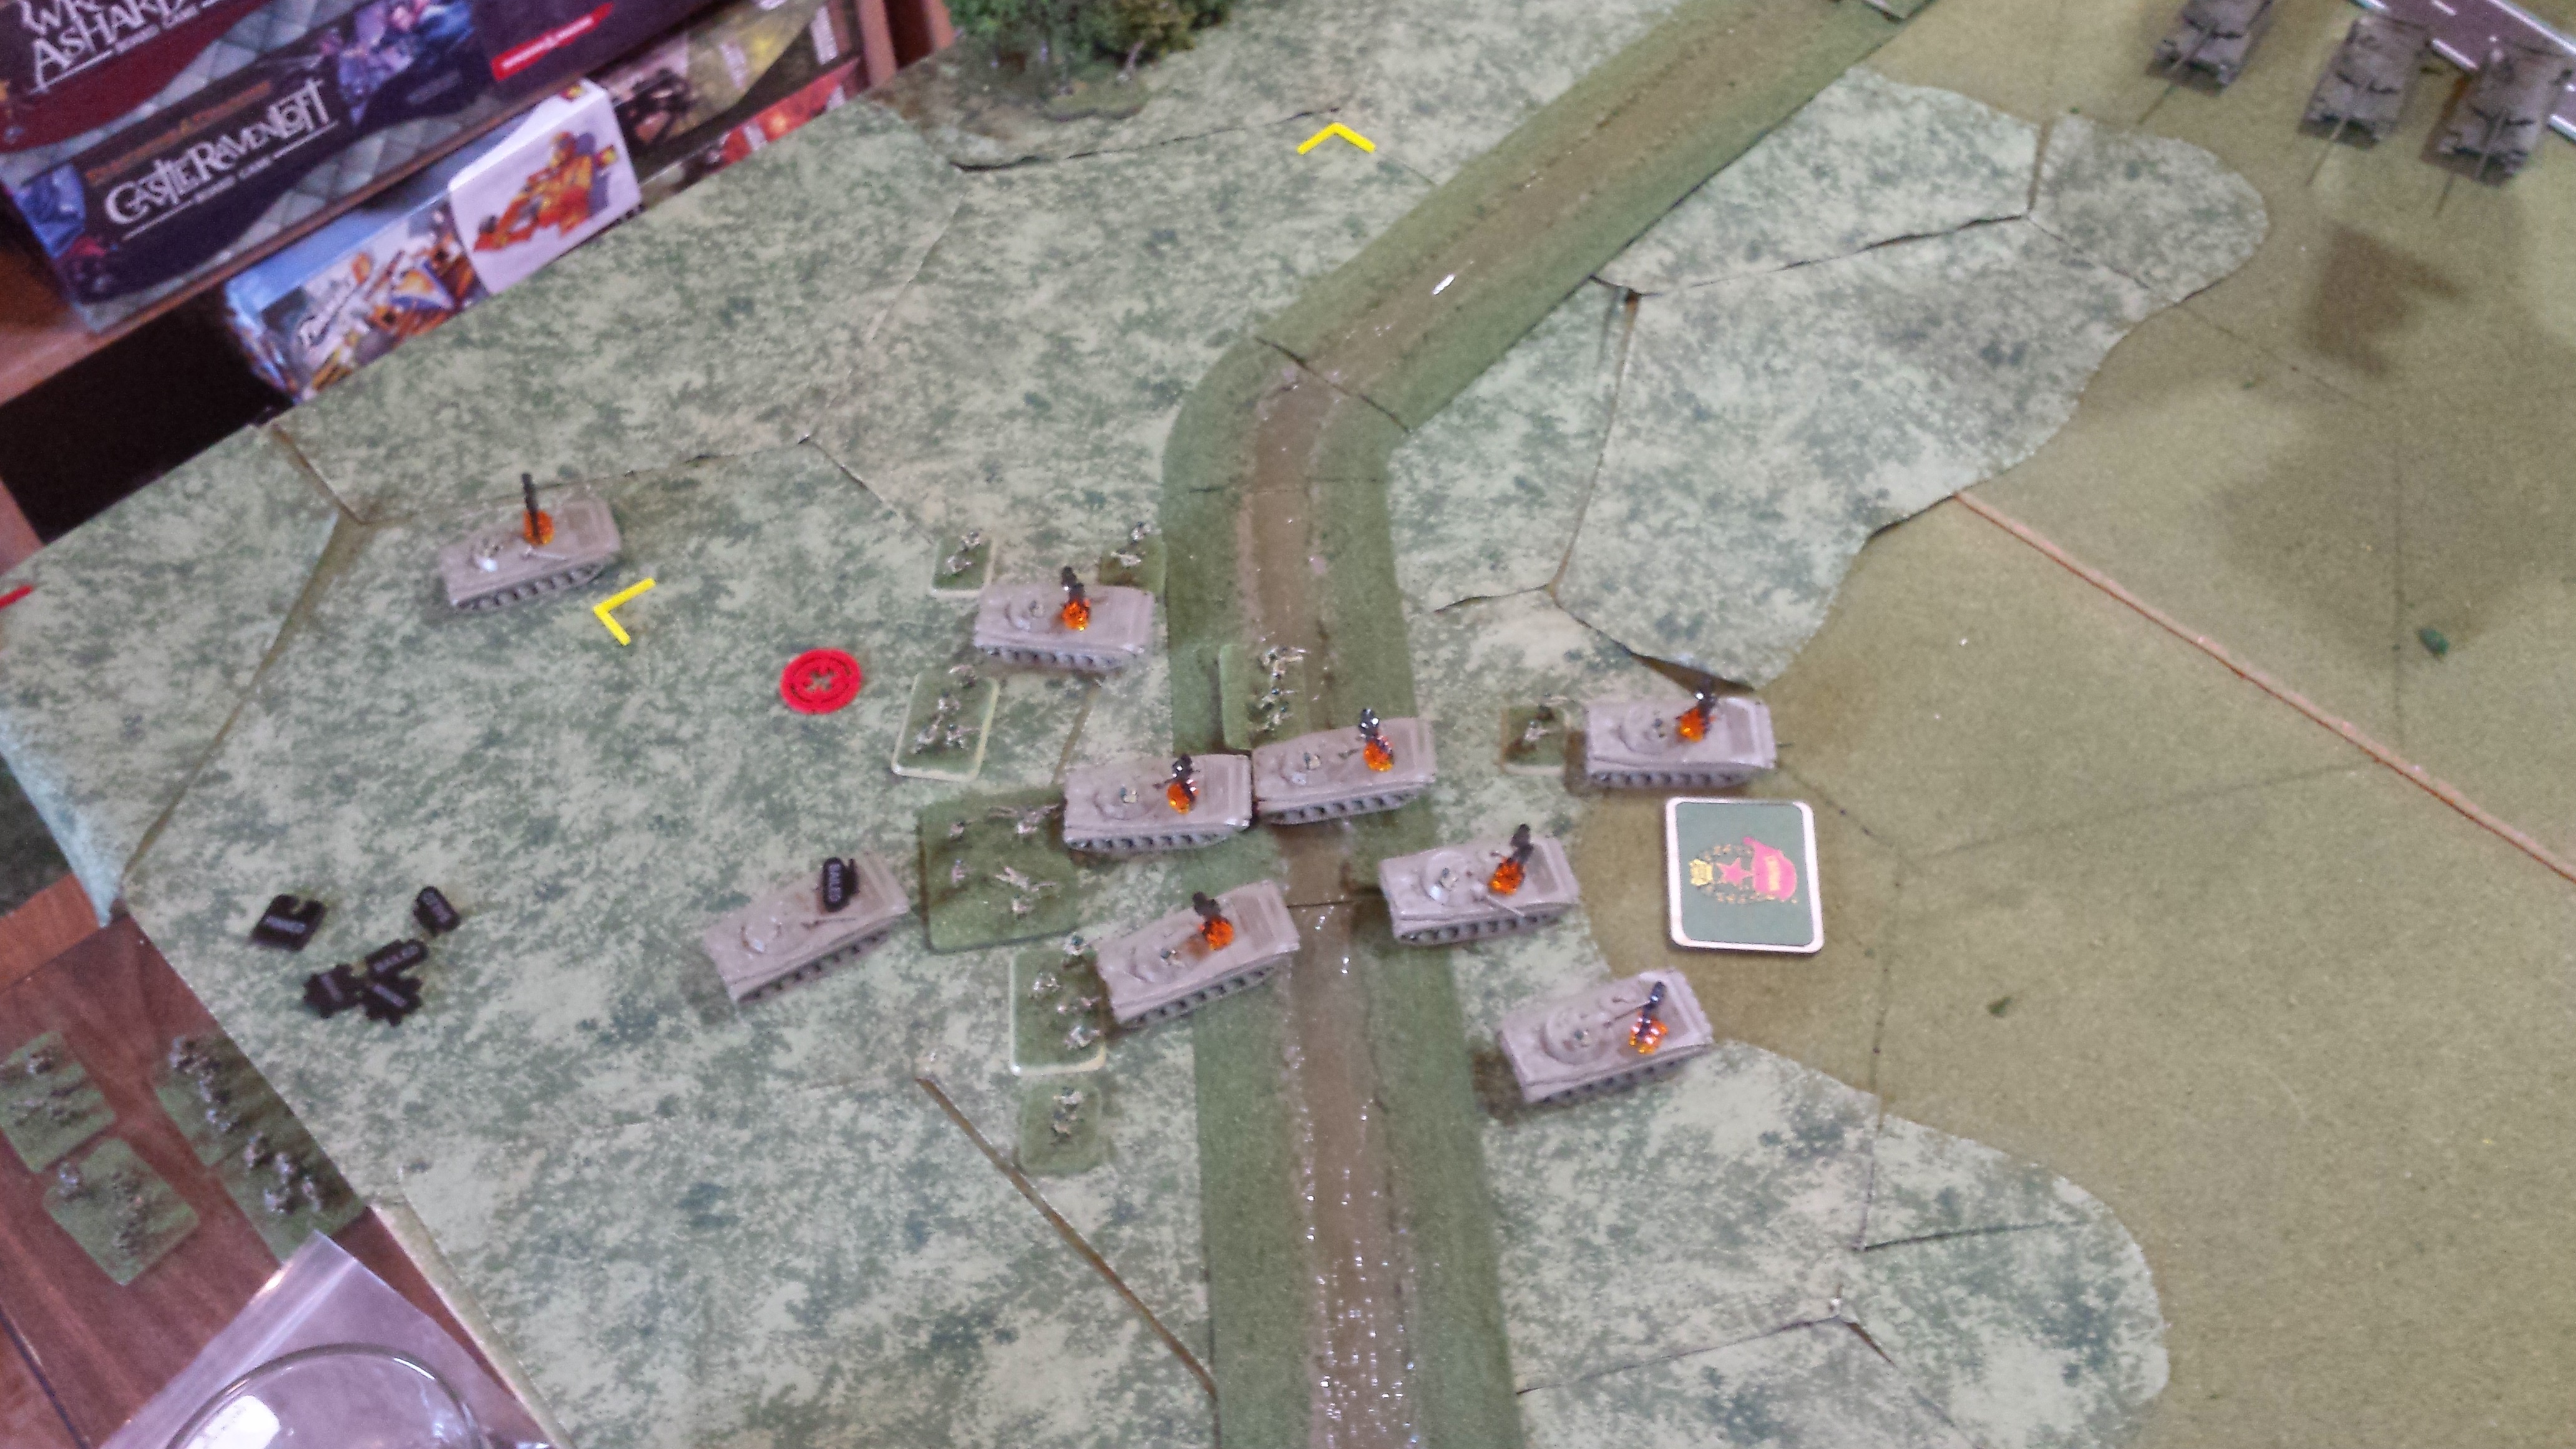
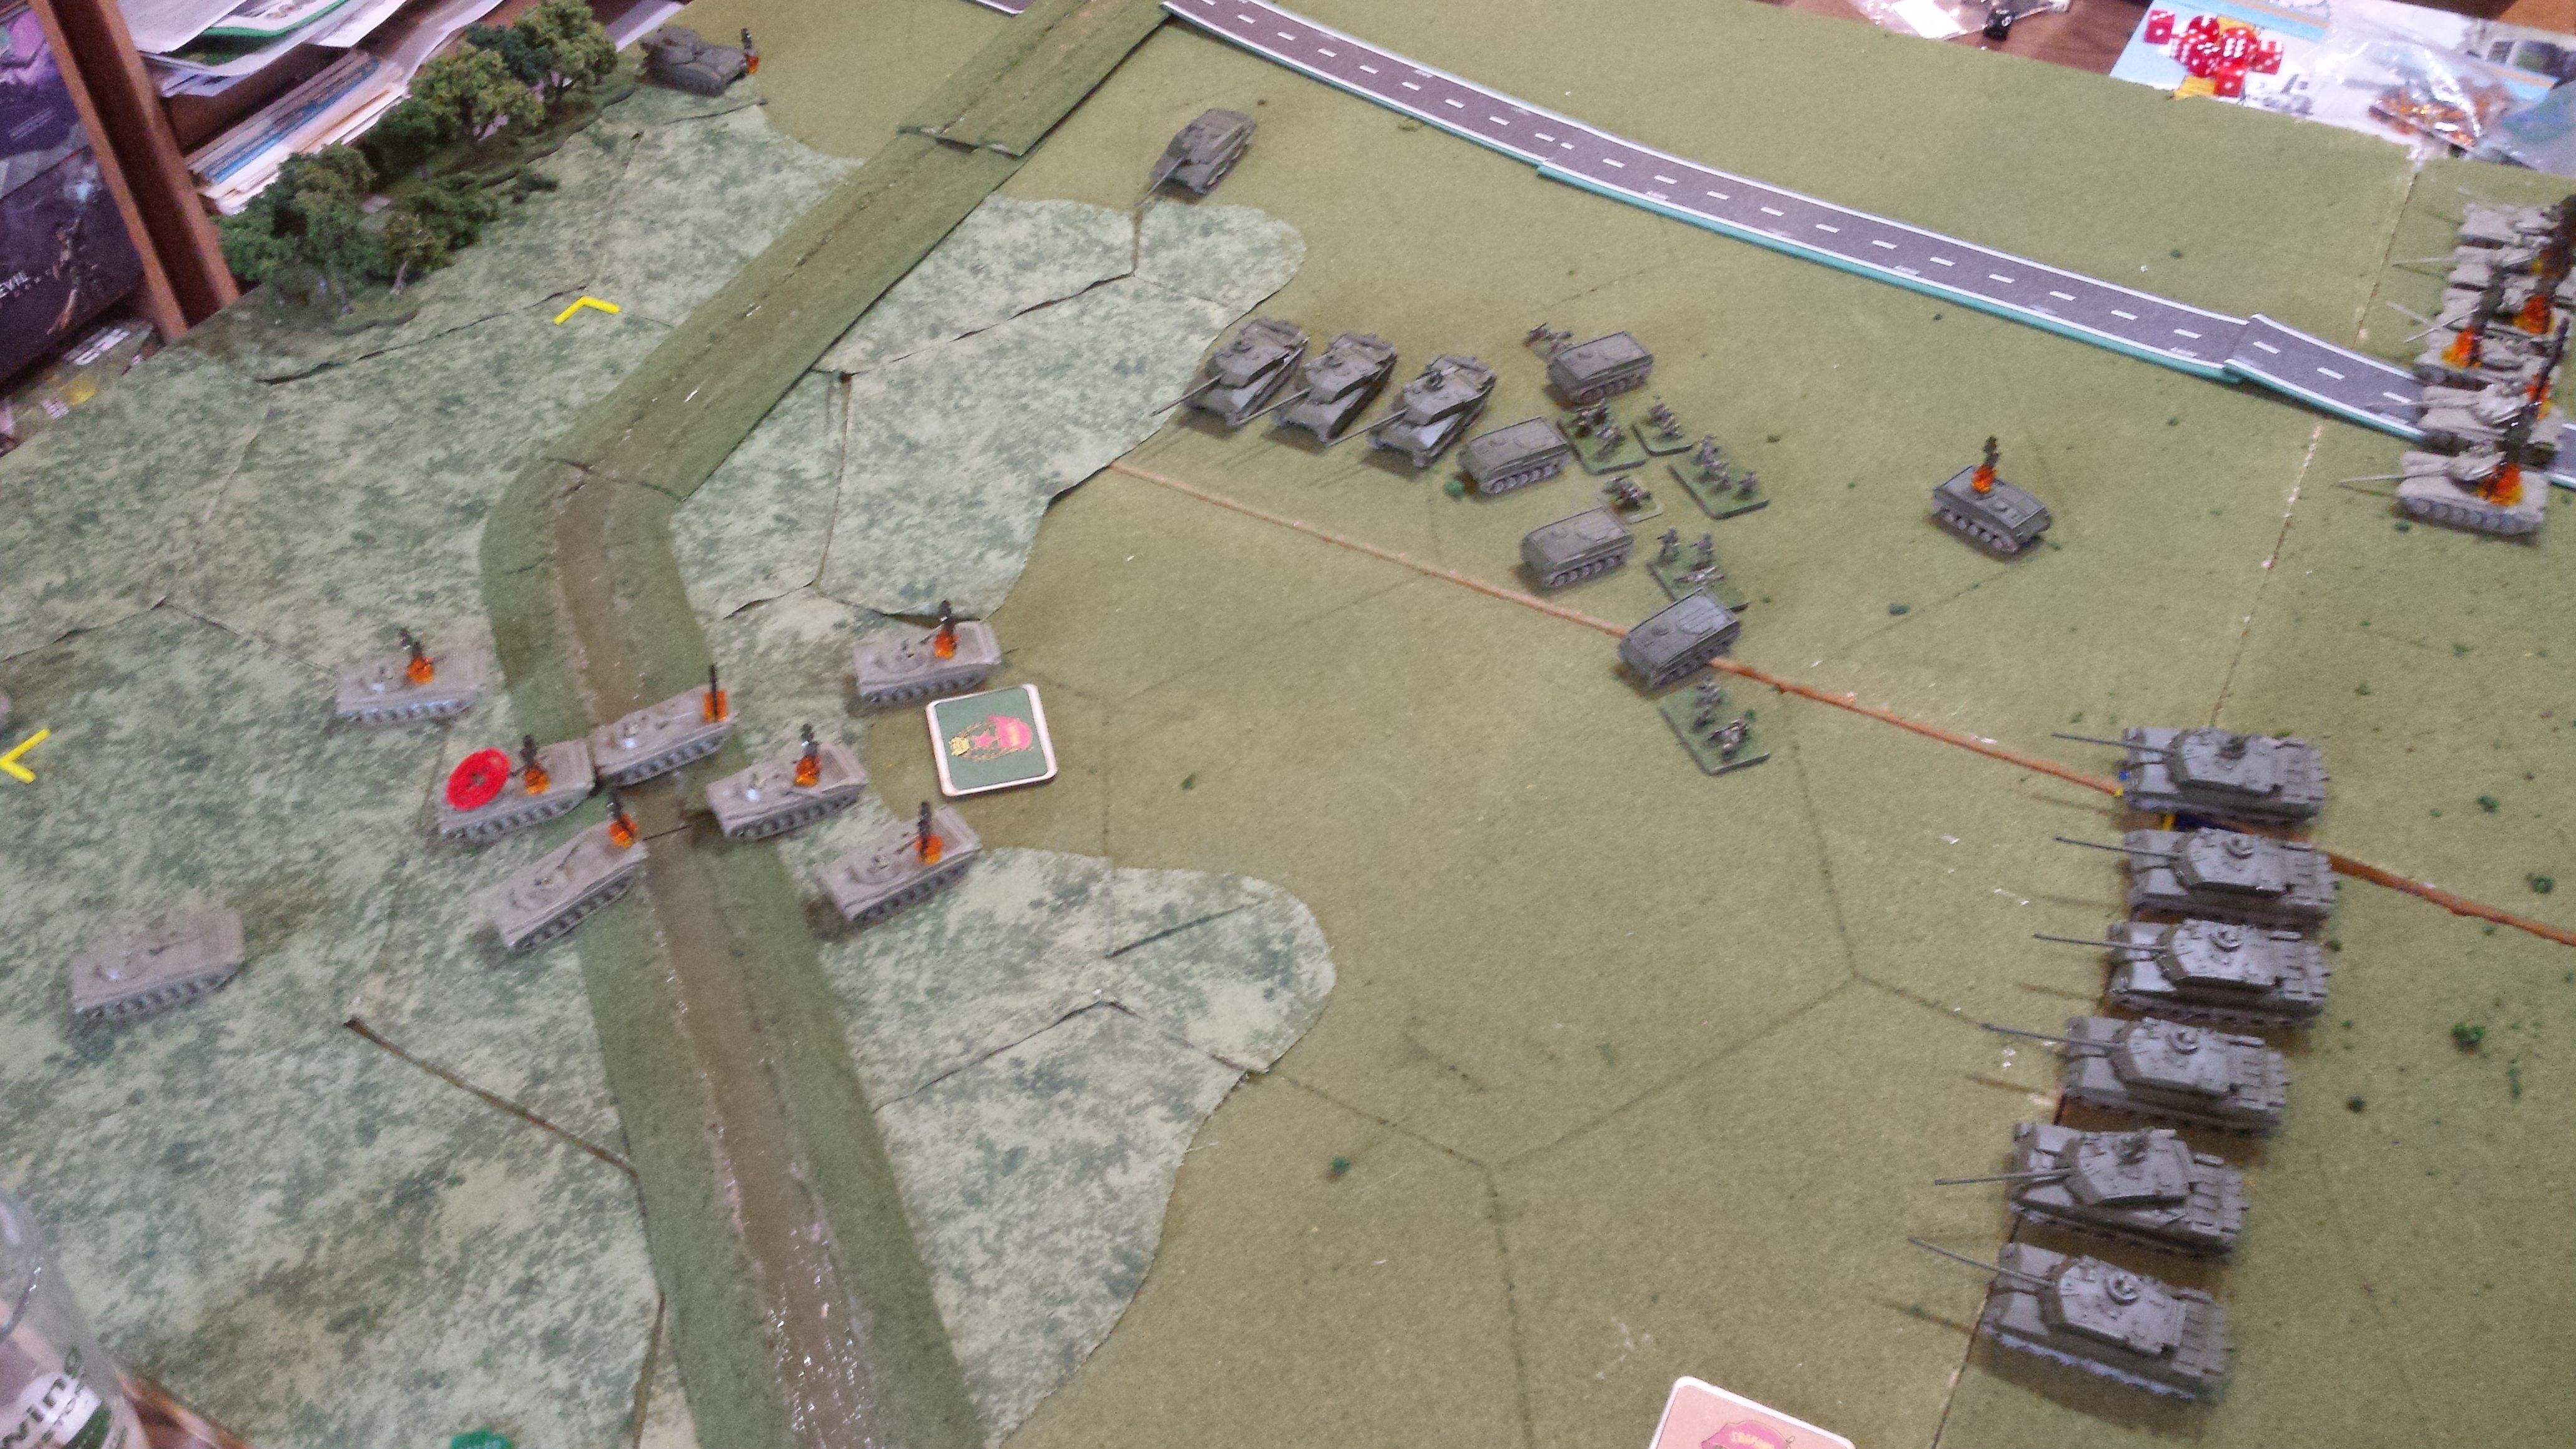
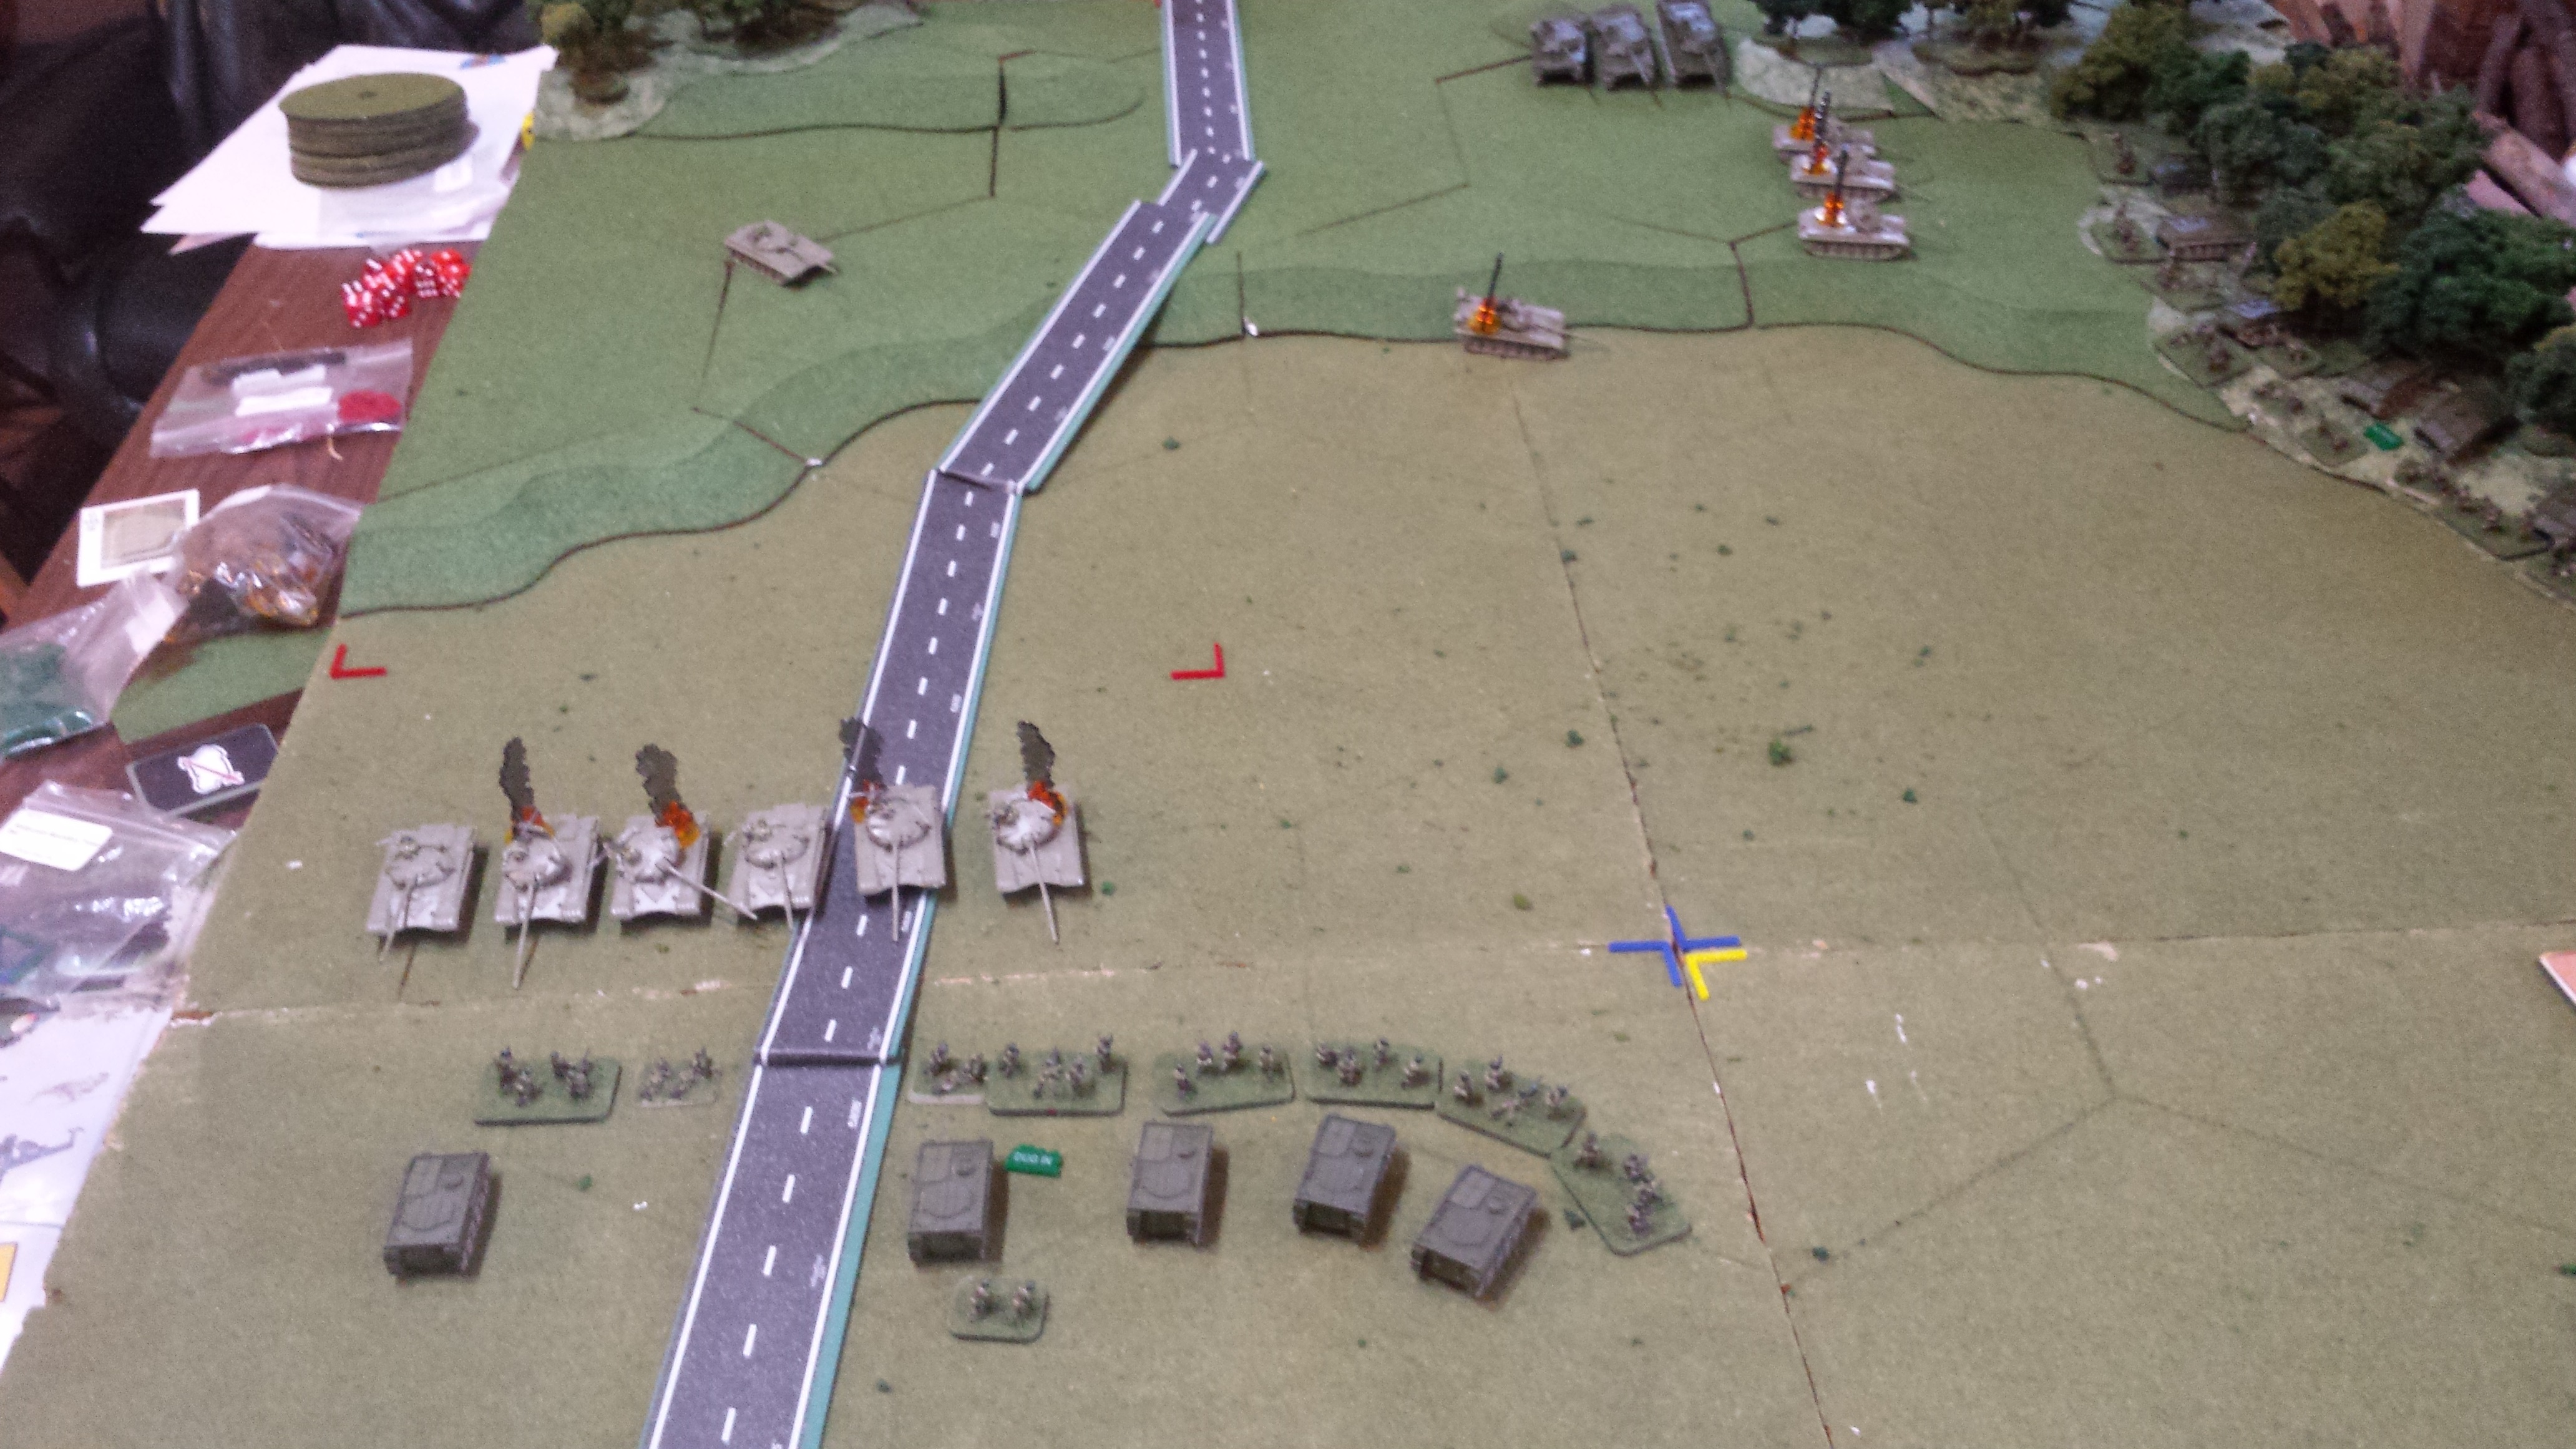
3 Troop arrived and dashed forward while 2 Troop moved to the right and engaged the Soviet Battalion commander. 1 Troop and Bulldog6 continued to engage their target, killing the last two T72s. One Chieftain from 1 Troop continued to engage the BMPs. The RHA continued to service the BMP company causing significant casualties on vehicles and troops.
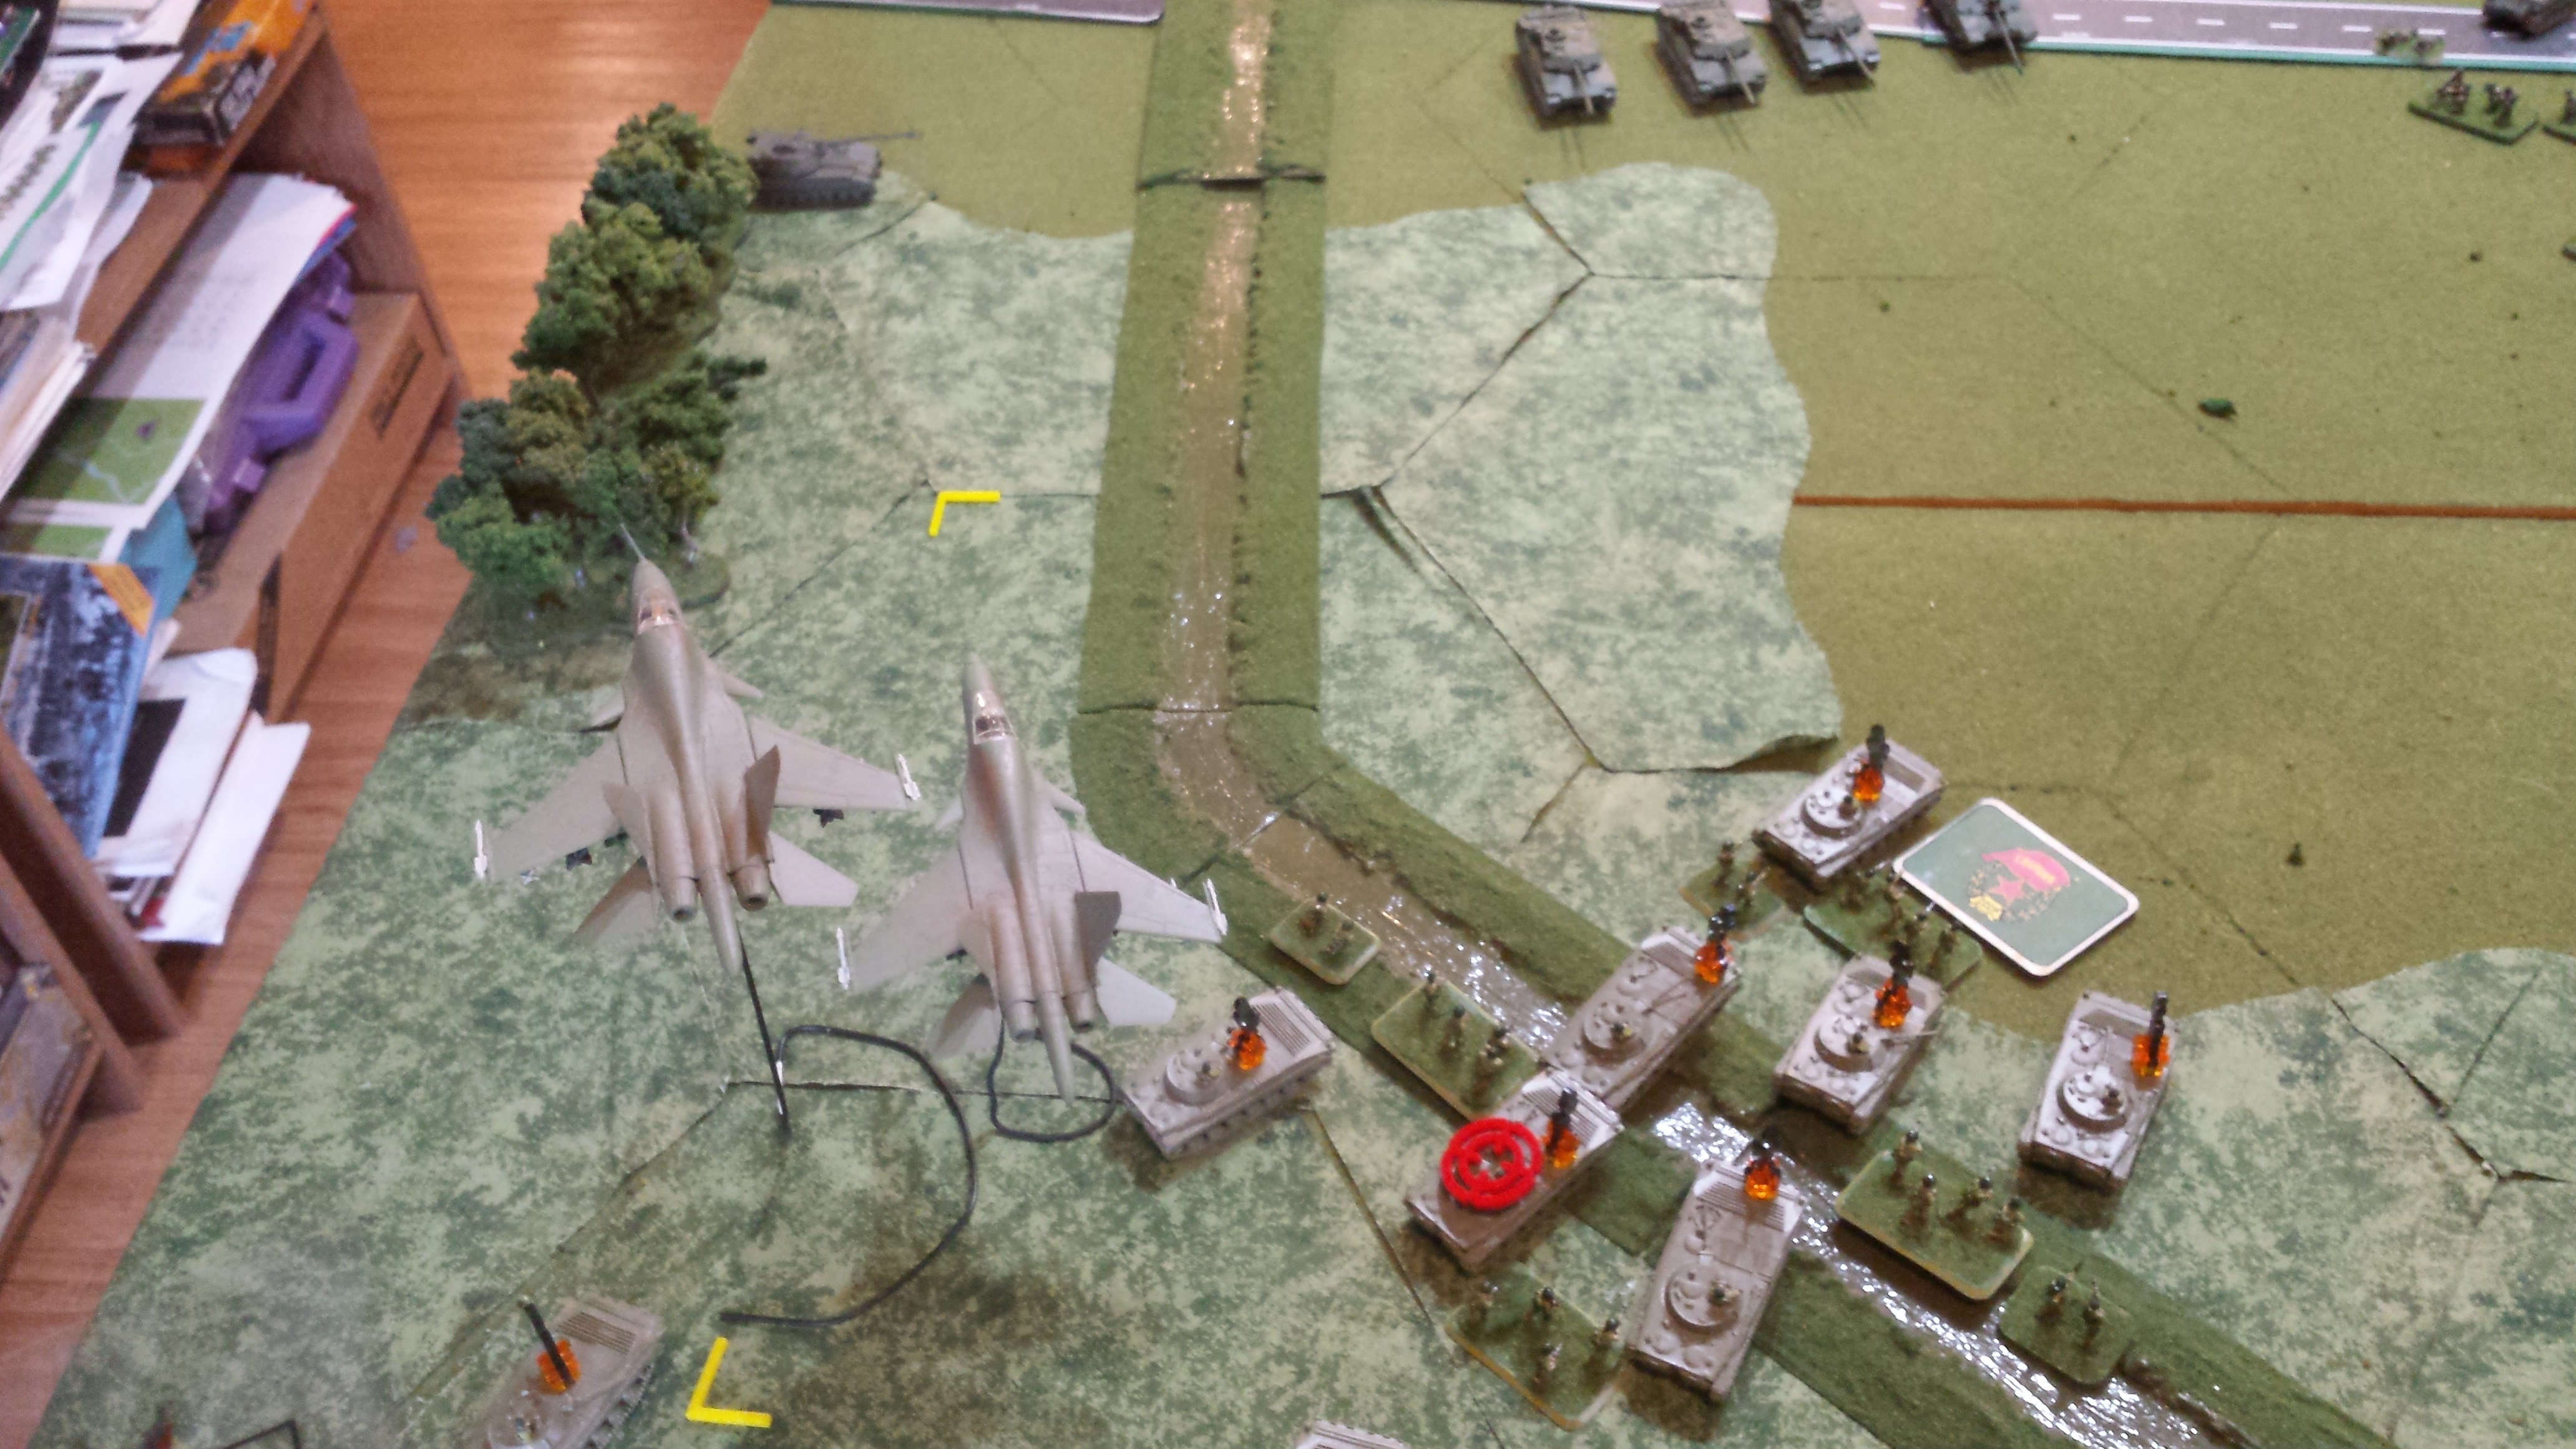
Soviet Air arrived and managed to knock out one Abbot.
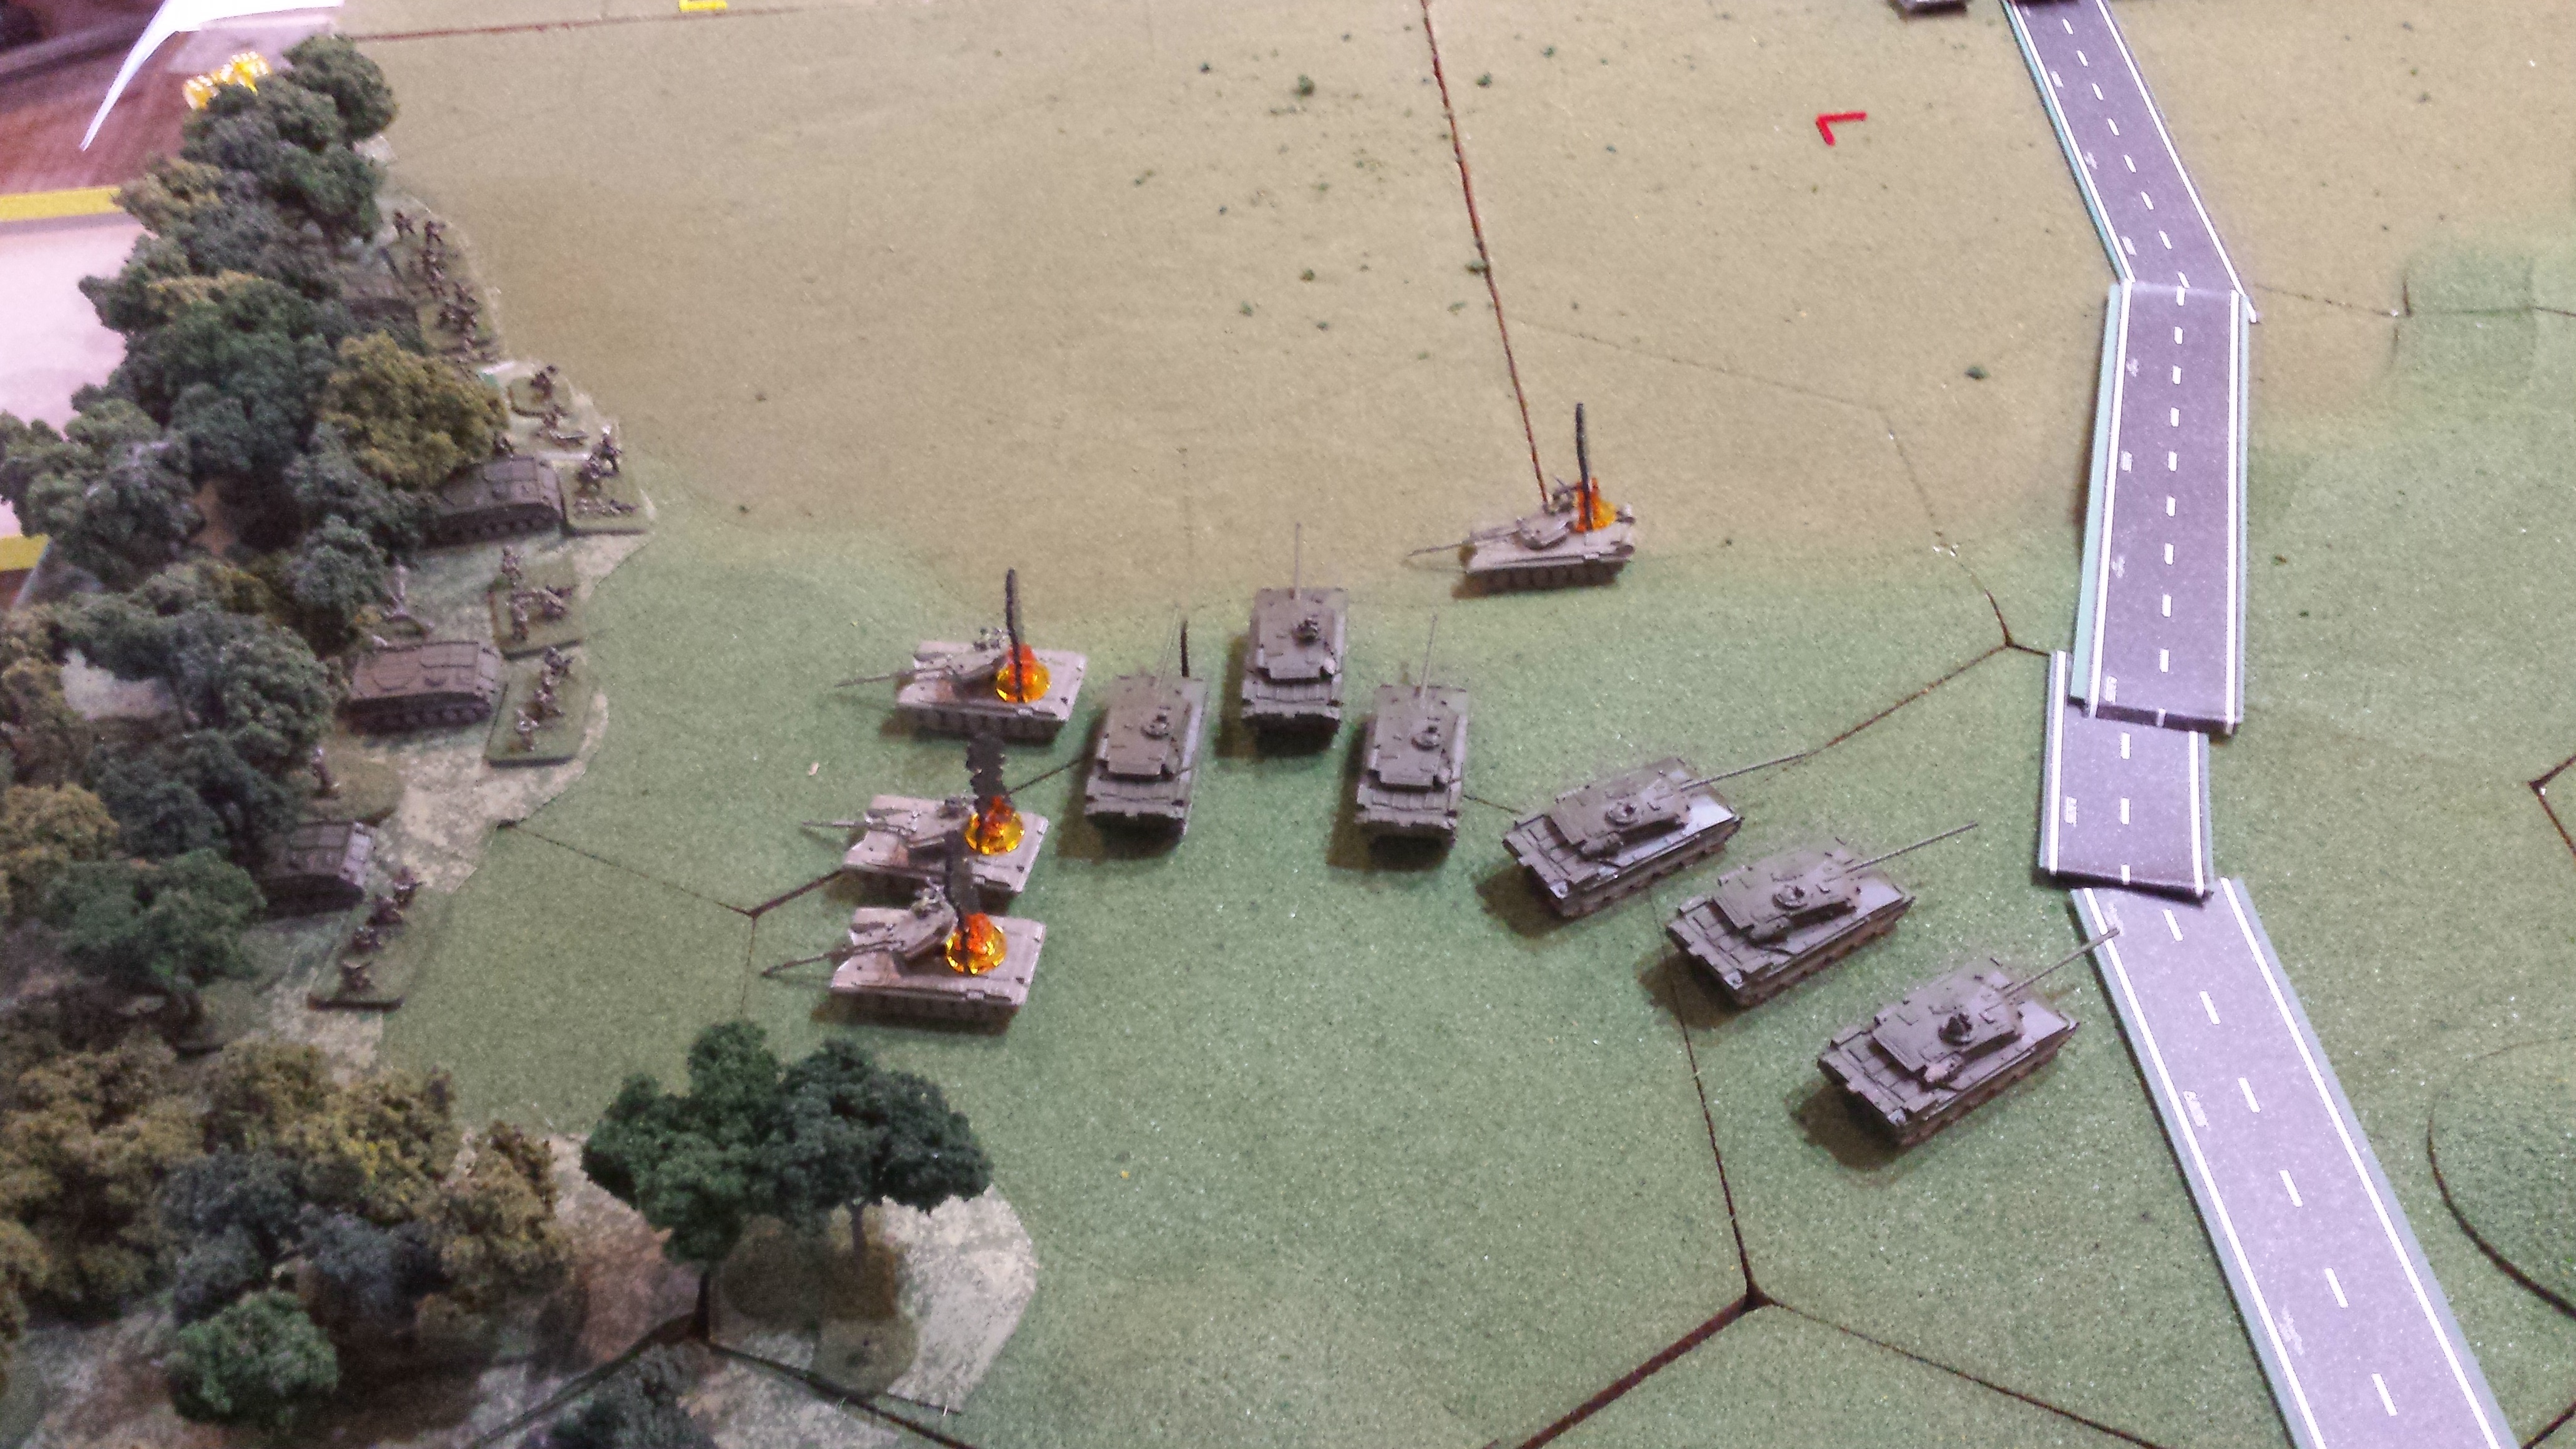
Bulldog6 brought the Dragoons on Line and with a resounding volley of main gun (all 10 tanks firing) joined by the machine guns of 2 Platoon of the Lancs which eliminated the remaining Soviet Infantry. The remaining (empty) BMP quit the field.
Battle Report Author
Army Lists Used In This Battle
Recommend Commander For Commendation
Share this battle with friends
Bulldog6Wins

Hello,
Ok, thats why you have so less terrain.
Good report and thanks for posting.
A winning in the Rhur is what we have need, well done!
Best regards, Frank.
Regarding the terrain. We use BattleFinder ( http://perfectcaptain.50megs.com/bfinder.html ) for our maps. We each get dealt 3 cards, choose one that gets put in the pot with 1 that was dealt in (so there is the chance we don’t know it). From this we pick one, in this case on neither of us chose. Then As NATO I got to choose the table quarters. Our “mix” had open and more dense terrain. We at least mad it so that the Soviet reserves could move when they got on the board.
Long Range fires favor NATO, ti was in doctrine and weapons development
The terrain on the table makes huge differences in how you shoot, move, and communicate
Seems like there’s very little terrain in the game, it changes dramatically with just little bits of cover here and there.
Great AAR!
Geo hex! Classic!
Nice report. Dang chieftans
Good report! Thanks for taking the time to get it together…
That is a lot of Chieftains!
Congrats on the win, you get a commendation from me 🙂
Nice report