Fought At Frankfurt
2428 days 10 hours 58 minutes ago
Battle Report
Battle for Kirch Goens
View Linked Report - CLICK HERE 100 POINTS
This was a 100pt battle
We fought the Frankfurt Gauntlet at Dusk
I set up the table so asked my opponent to determine where the Deployment Zones would be.
US Mech Inf Company
3xMech Inf Plt, 1xM1 Plt, 1xM109 Bty, 2xPIVADS, 4xITV
T-64 Tank Battalion. (Using a light Green T62 as HQ)
Tank CO w/5 T64s (Plastic models)
Tank CO w/5 T64s (the metal models)
Full Inf with CO w/13 BMP2s (dark green BMP2)
Recce w/4 BMP2s (dark green BMP1)
Recce w/2BMP2s (camo BMP2)
AT w/2 Spandrels
AA w/2 ZSU
AA w/4 ZSU
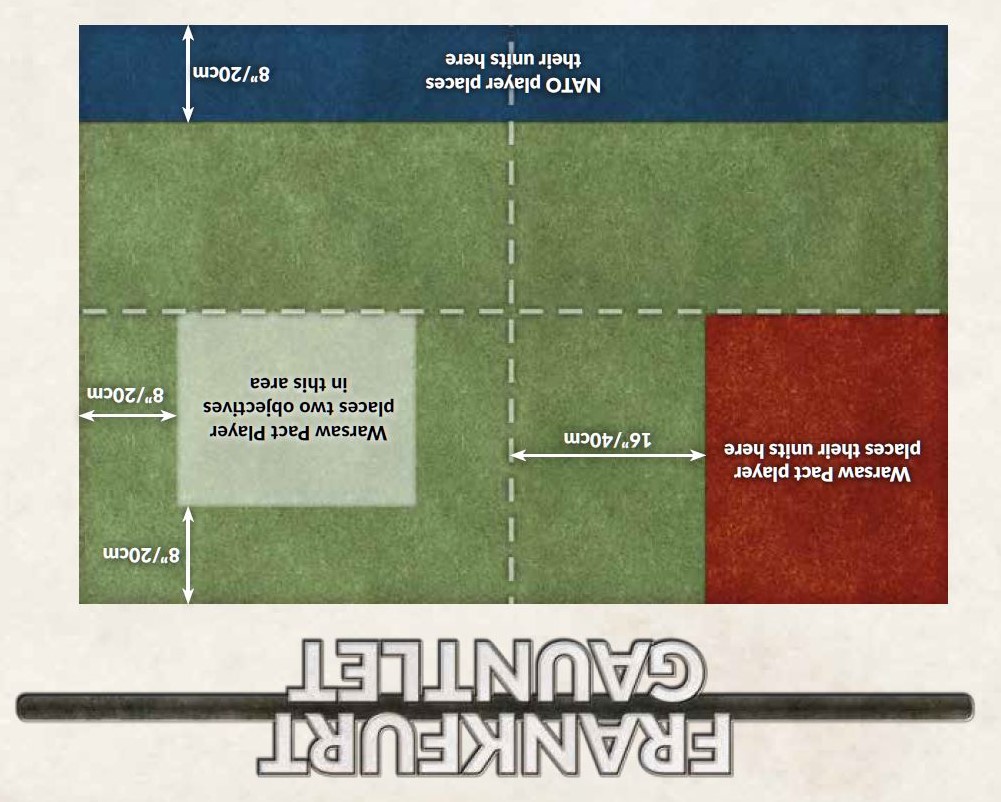
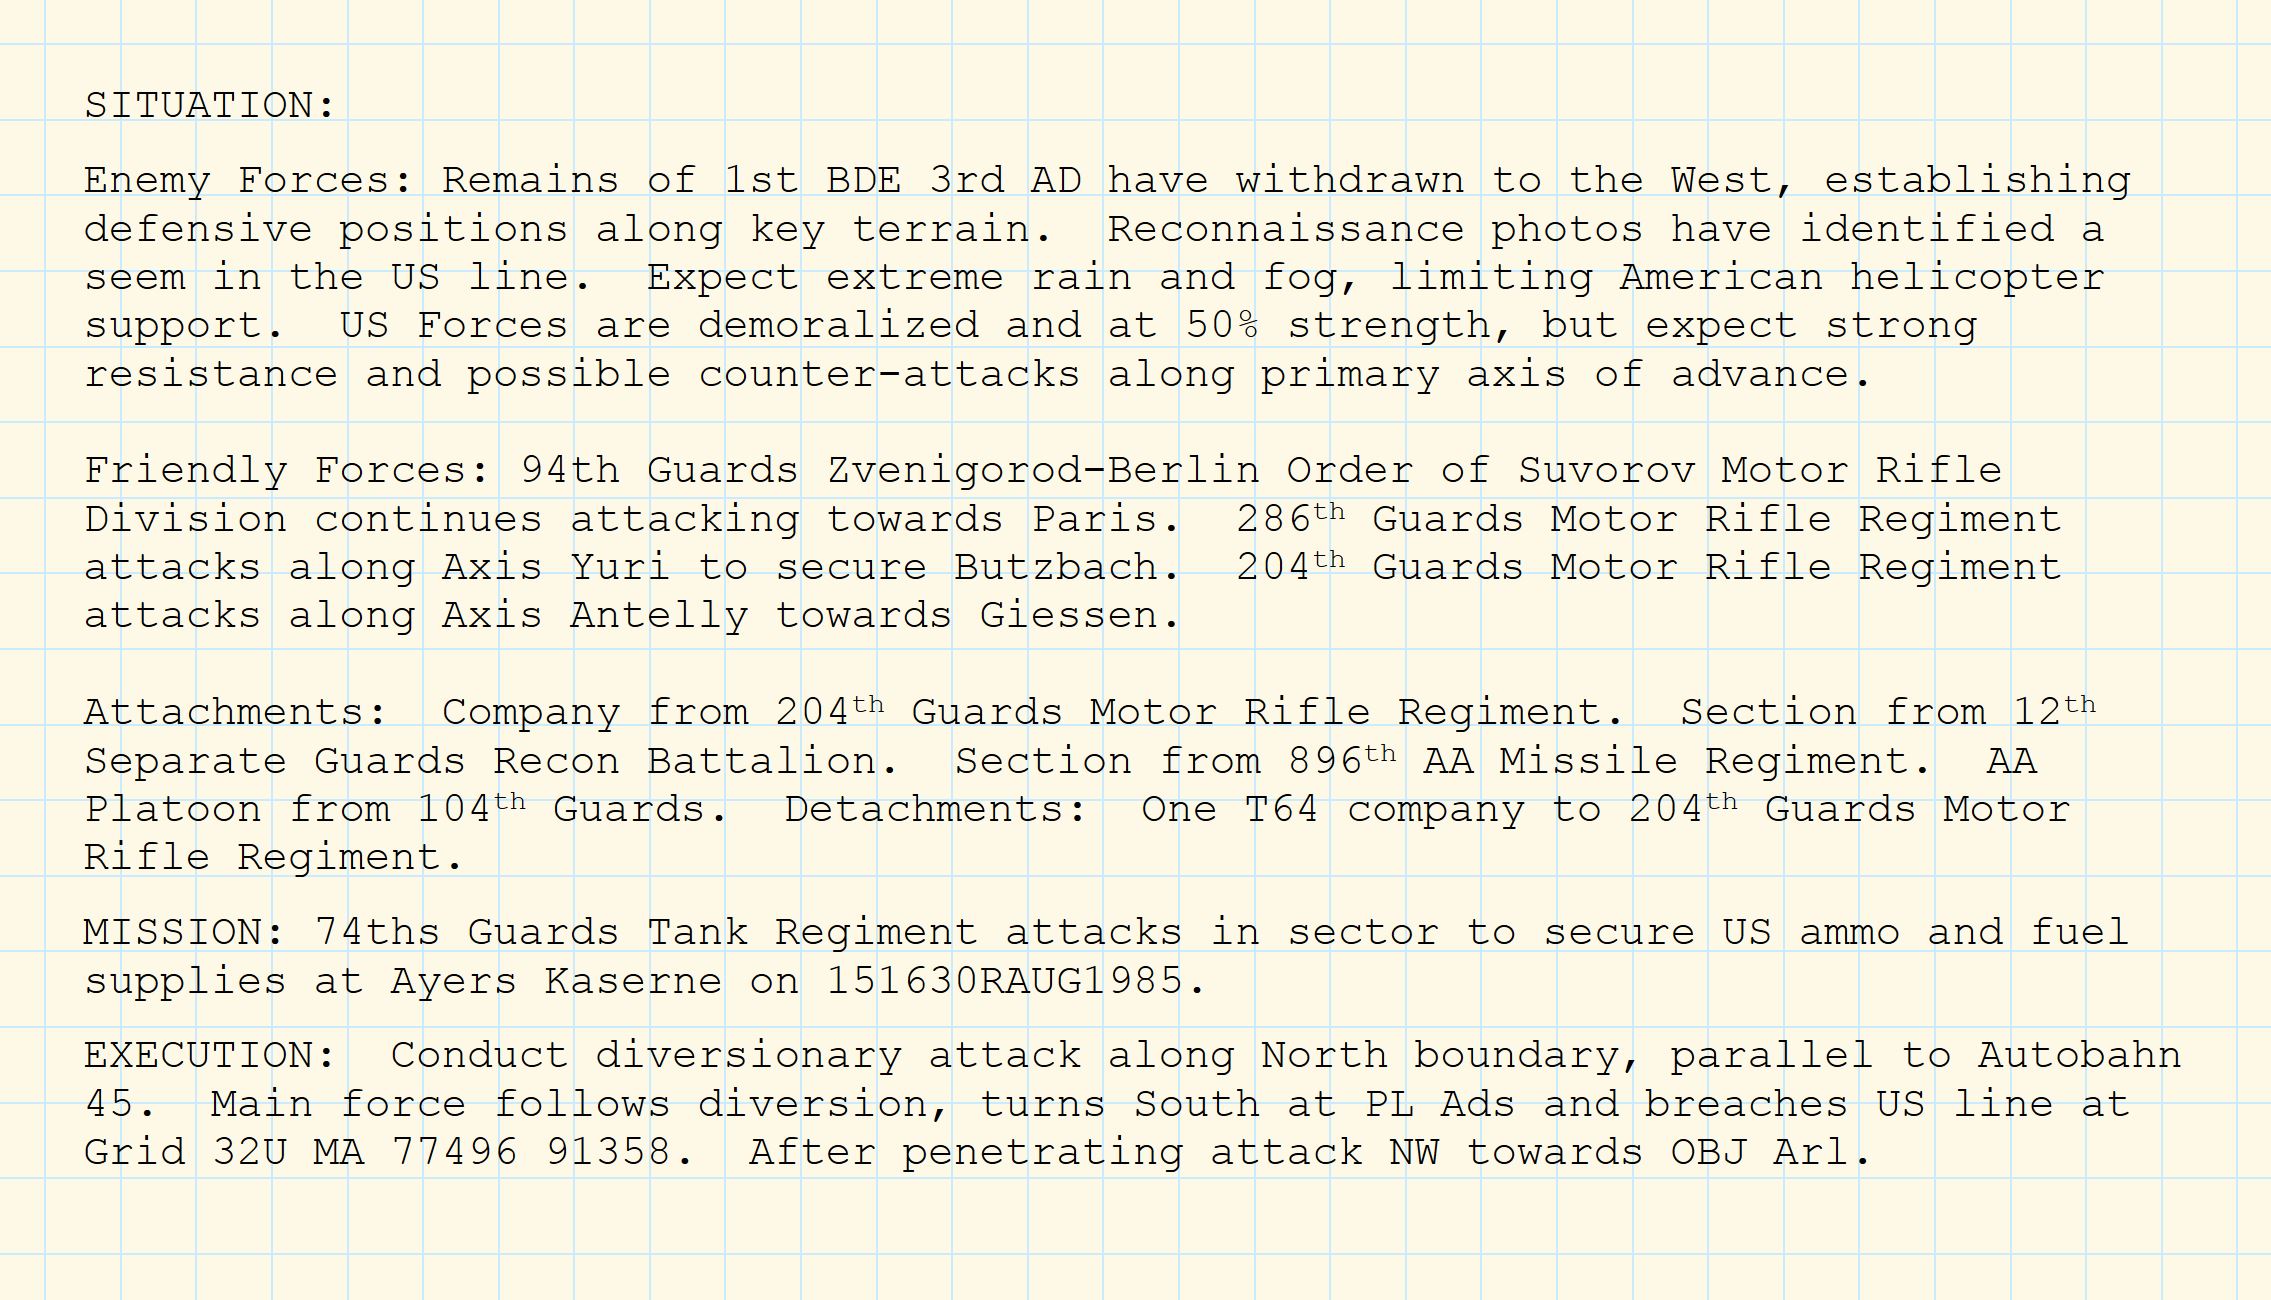
There has been much discussion about this mission. Even though the NATO forces go first, the US is at extreme disadvantage due to lack of Recce units.
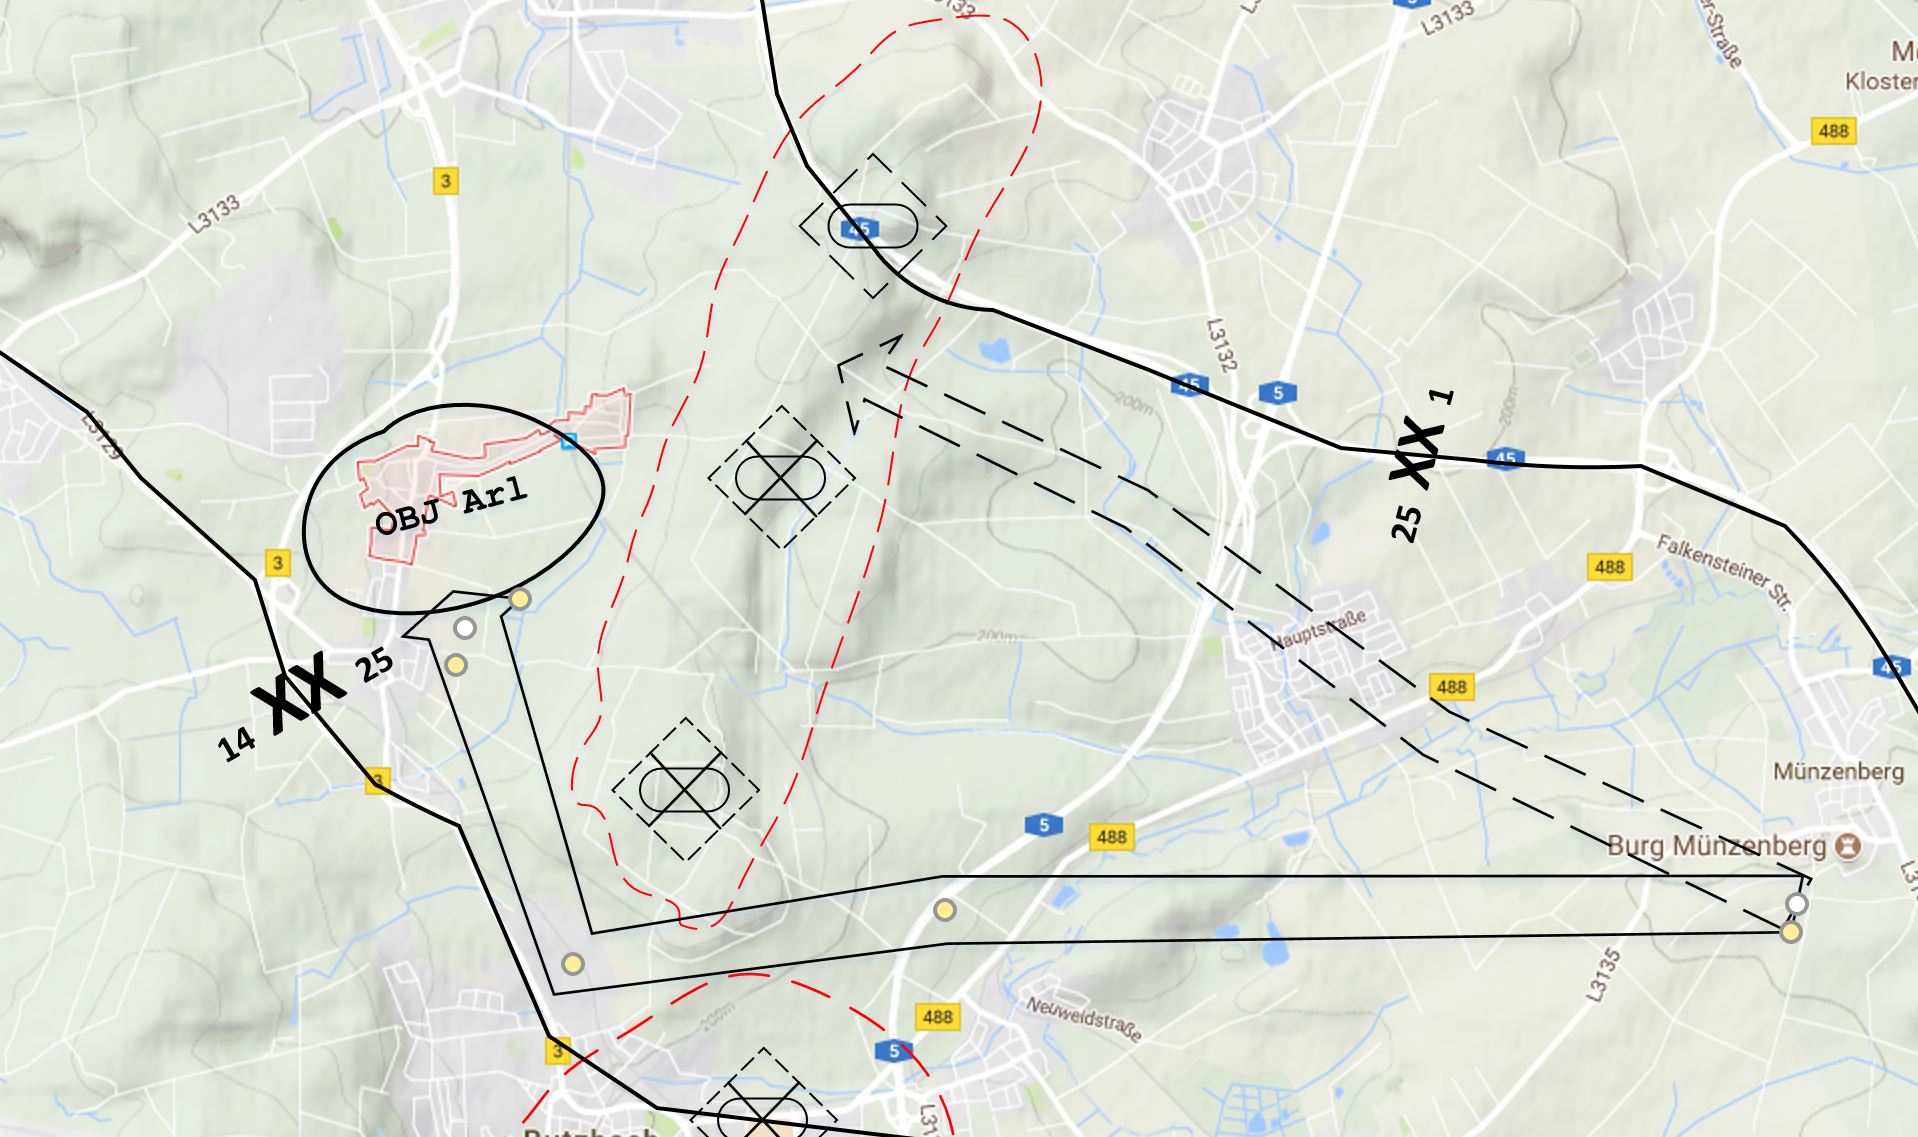
I placed the 1st OBJ 8" from the long edge and as close to me as possible. This was to be my main goal for the game.
The 2nd I placed 8" from the edge and 8" from the first. In hind sight I think I should have placed both images in the town if possible. Next image explains.
The OBJs are treated as Enemy units for the purposes of Spearhead and Deployment. So if I am concealed I still have to be over 8" away (the red circles) If I am not concealed then over 16" away.
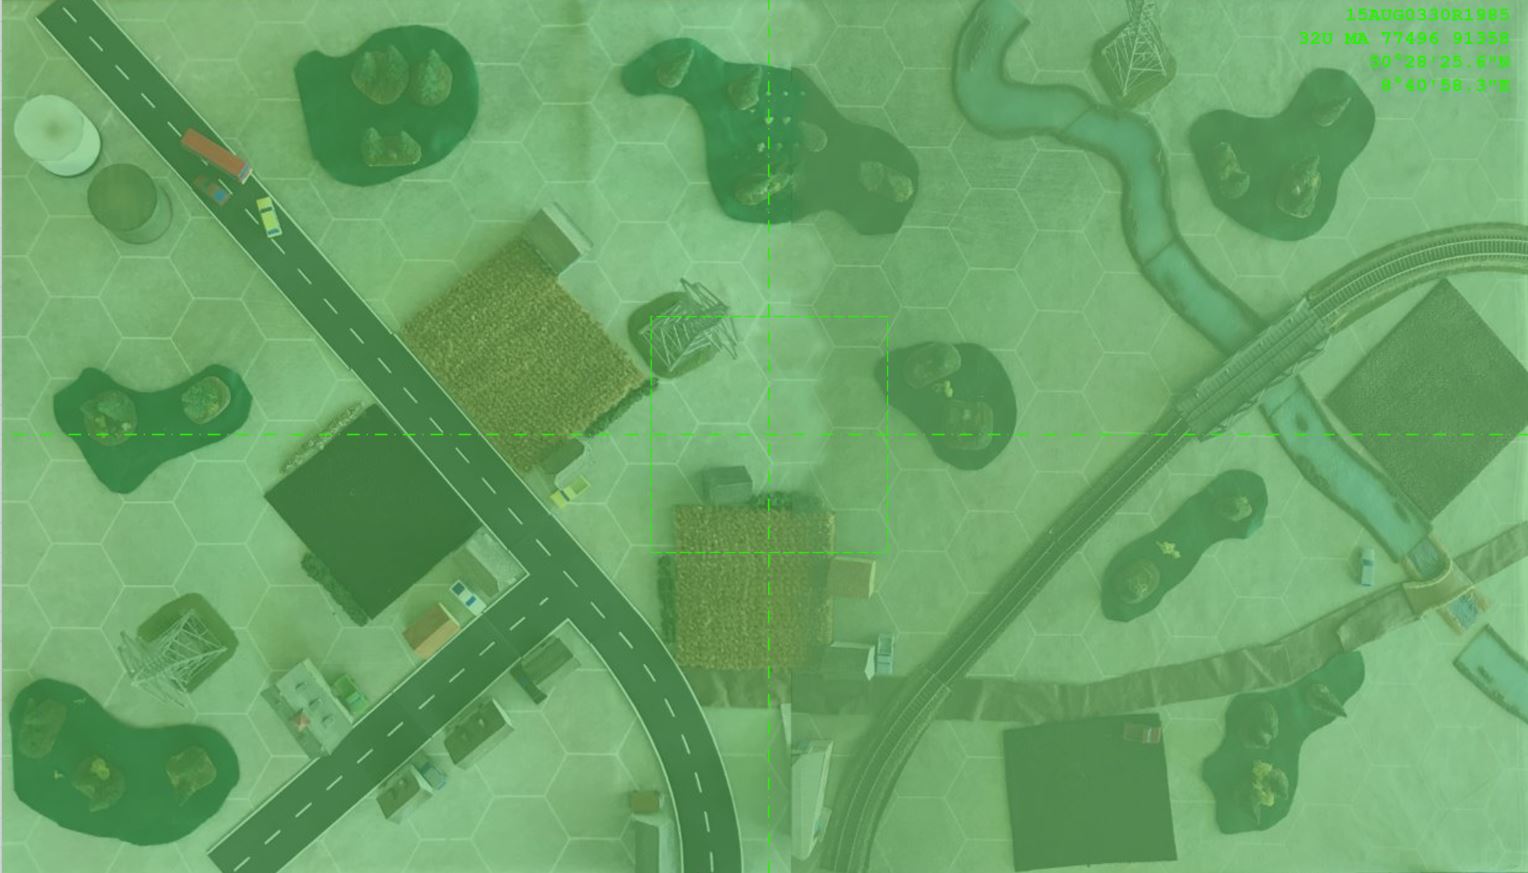
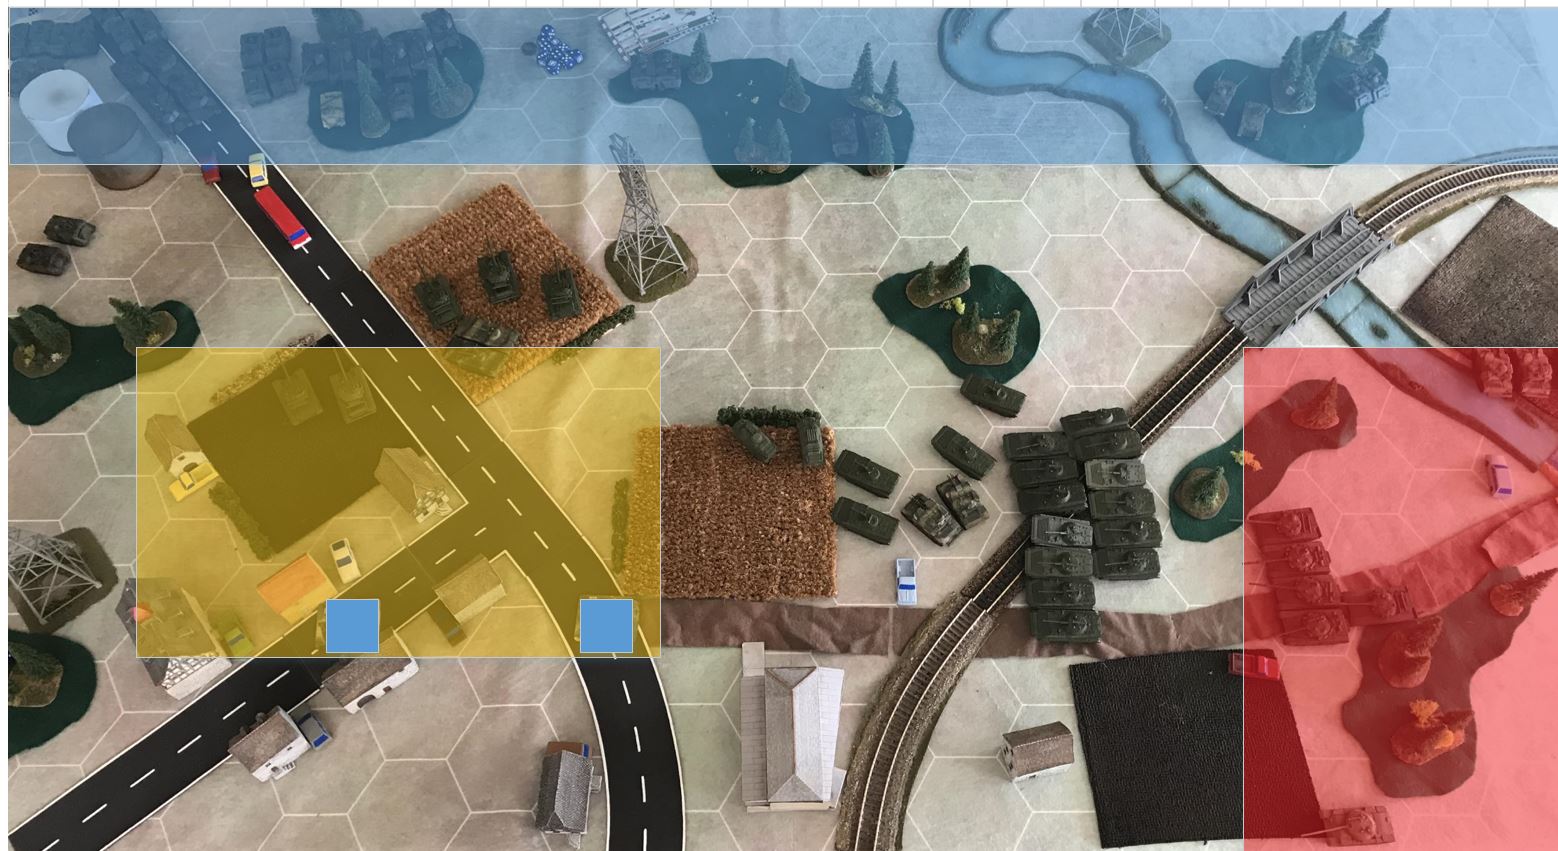
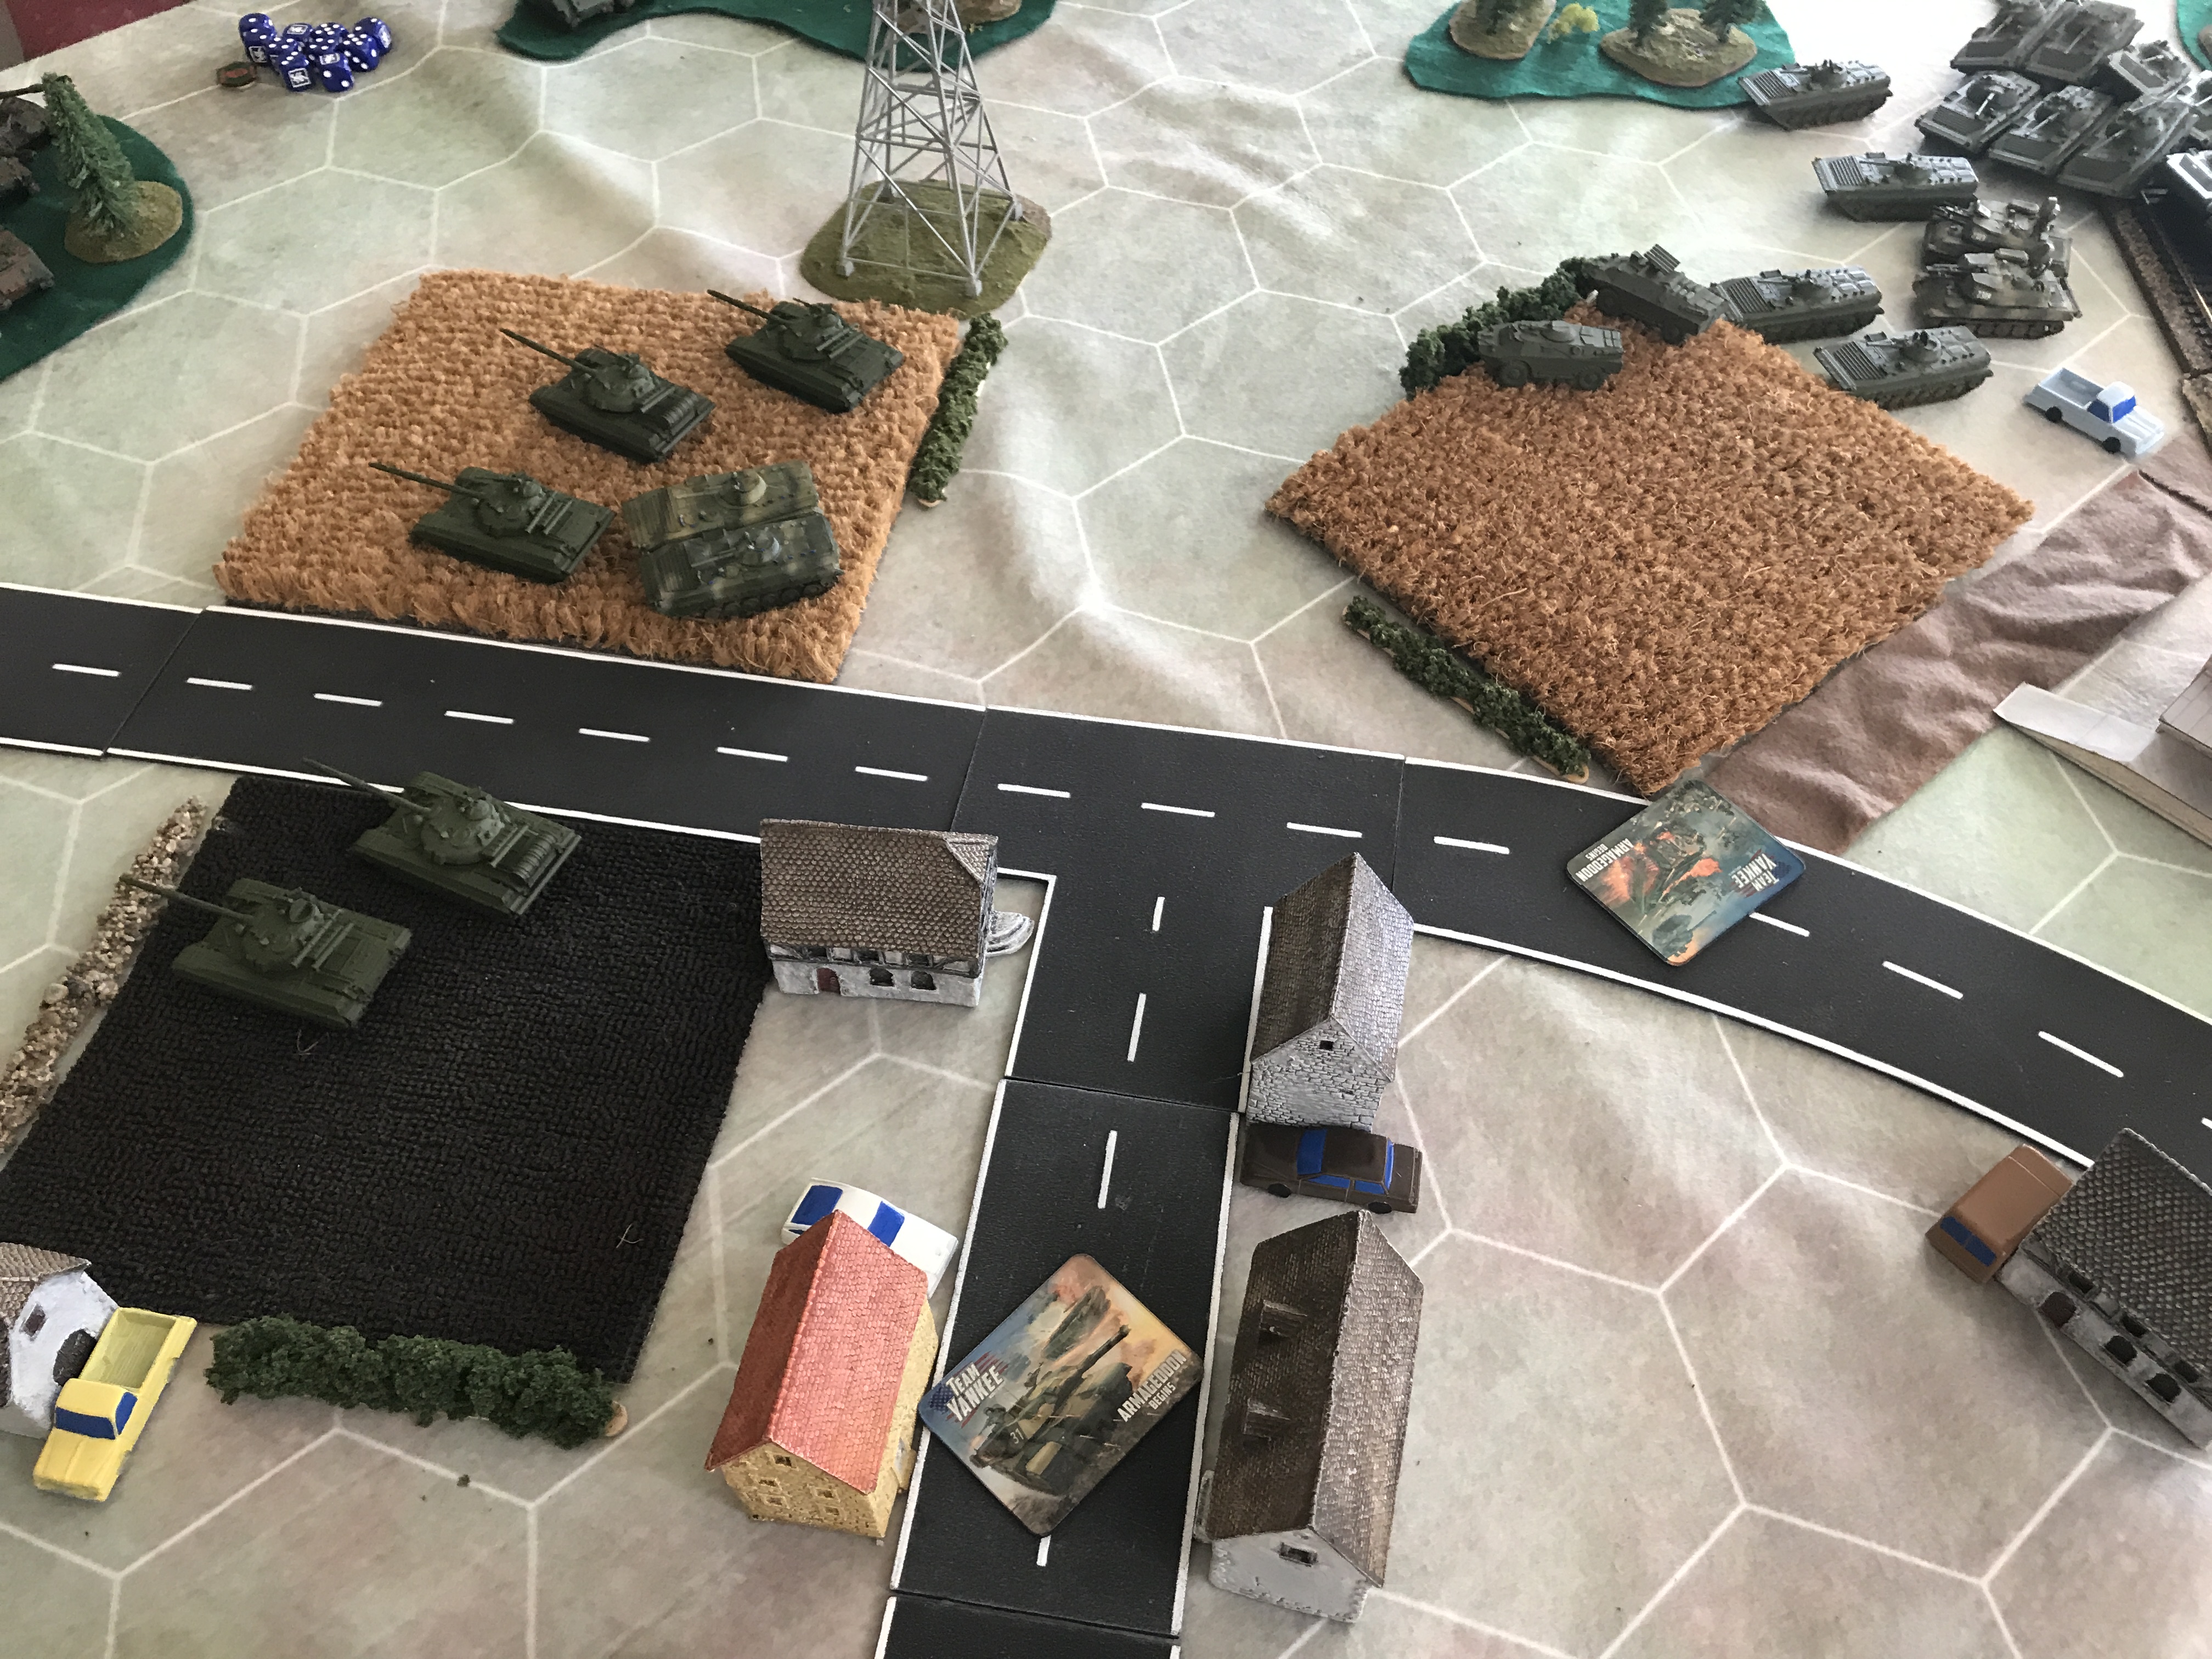
My first Recce unit did a Cross Country Dash to move as far as possible. This ended up being the 4 BMP team and they got up to the field. They cant be on the dirt road because they would be within 16". They can not be further 'North' due the ITVs in the woods to the NE of the power line tower.
The 8" circle around this lead element didnt really leave me much room surprisingly. I placed the second Recce of 2 BMPs in the field to the West and had them do a Terrain Dash to the next field to the NW.
I placed my 1st T64 CO in the Western fields. They are within 8" on my scouts, and >8 of the OBJ and the US forces along the North edge. It is actually a very tight fit.
I can fit the 2 Spandrells in the NE corner of the field next to the Eastern OBJ.
My BMP INF CO is so large, its deployed behind the Scouts, and outside the 16" of the OBJ. The OBJ has clear line of sight down the trail. This company also has to be within the 8" zone formed by the Recce, so very bunched up. I wanted all my INF on the OBJ on my first move so this was as far forward as I could get them, and also didnt leave any room for my remaining T64s.
The 2nd T64 CO are back in my initial deployment zone. If they are outside the zone, packed tight behind the BMP CO they are actually outside the 8" circle from my Recce.
The 4 ZSU unit is too large to try and fit in the space between the Recce and BMP CO, so I place them along the North edge of my Deployment Zone with the intent of hunting ITVs.
The 2 ZSU fit with my 4 BMP Recce unit.
Had I thought more about it and placed my 1st OBJ more in the center of the village I would have been able to place my entire INF CO further to the West in the Field. My 2nd T64 CO would have been able to hide behind the train loading docks (large white bldg with grey roof, along south board edge)
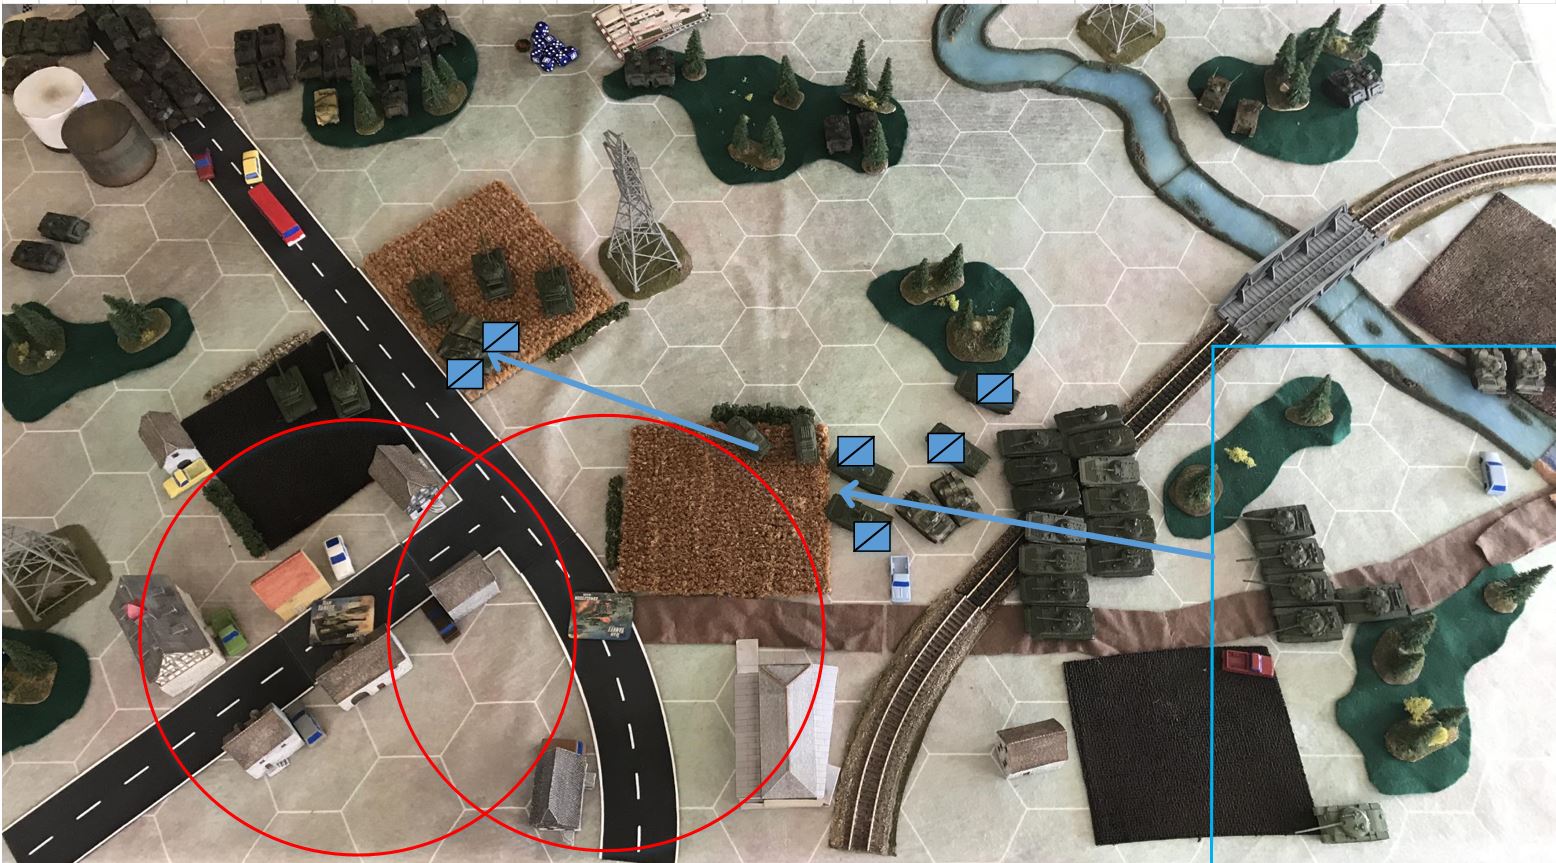
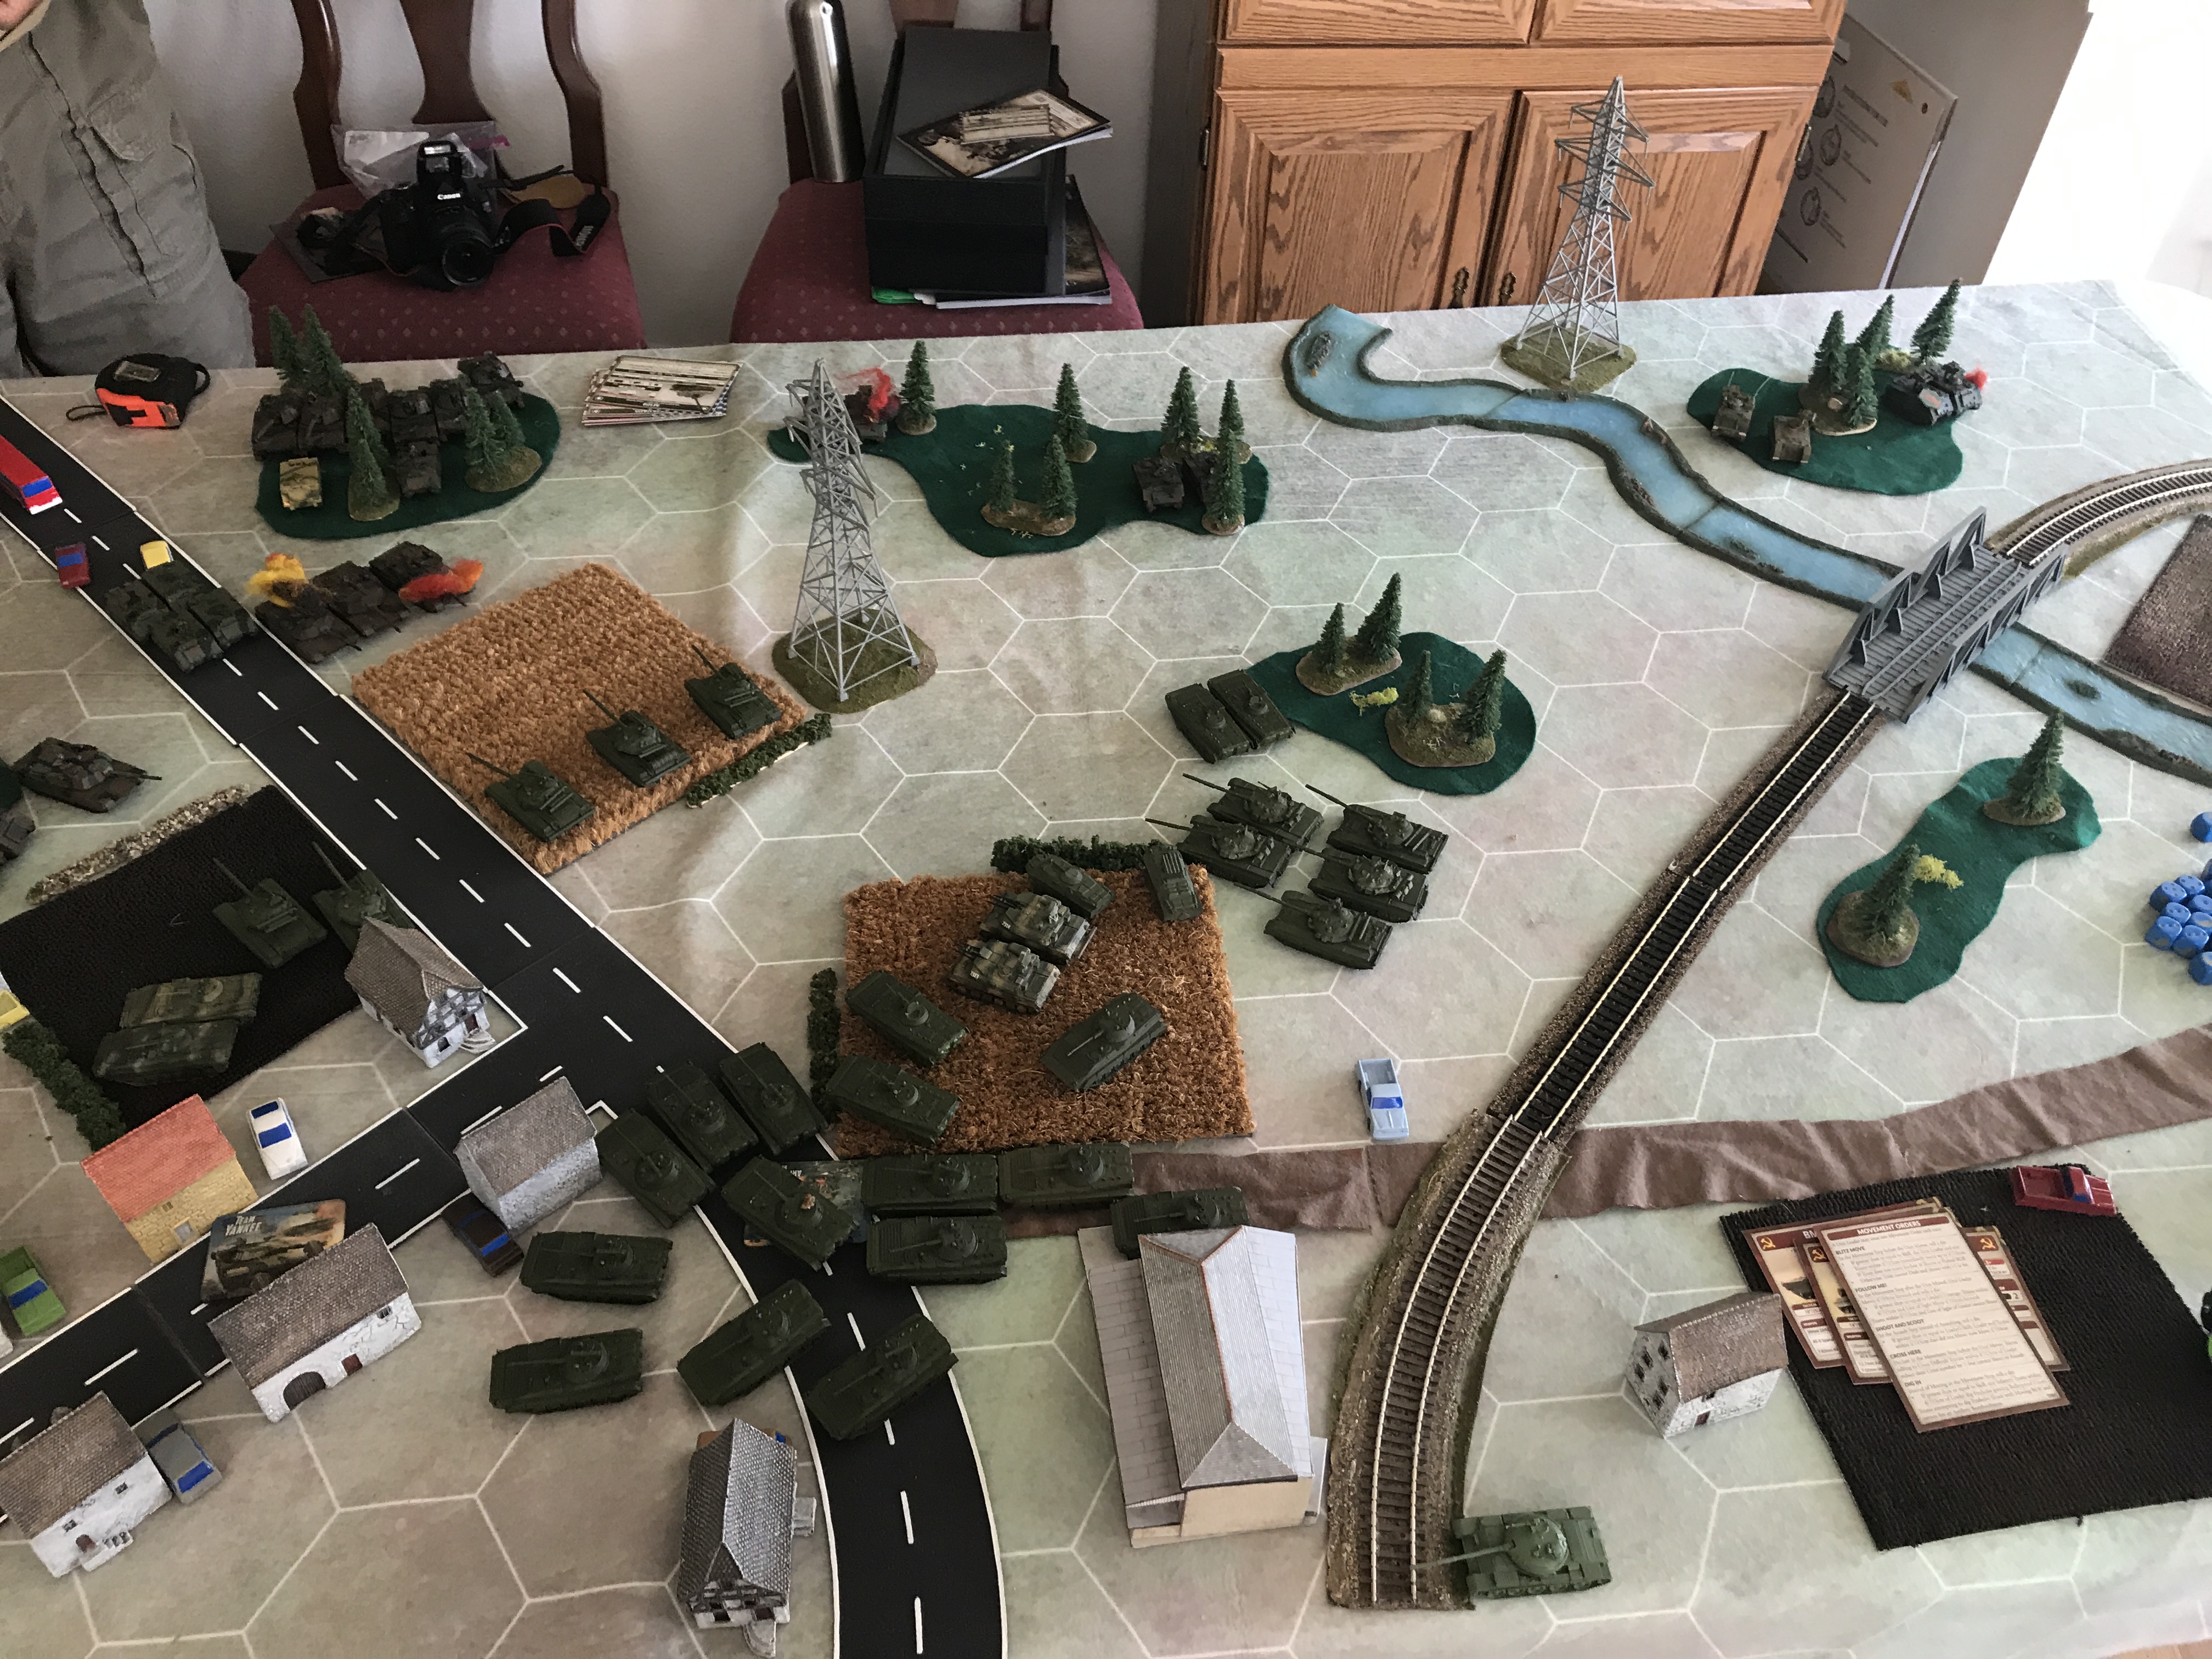
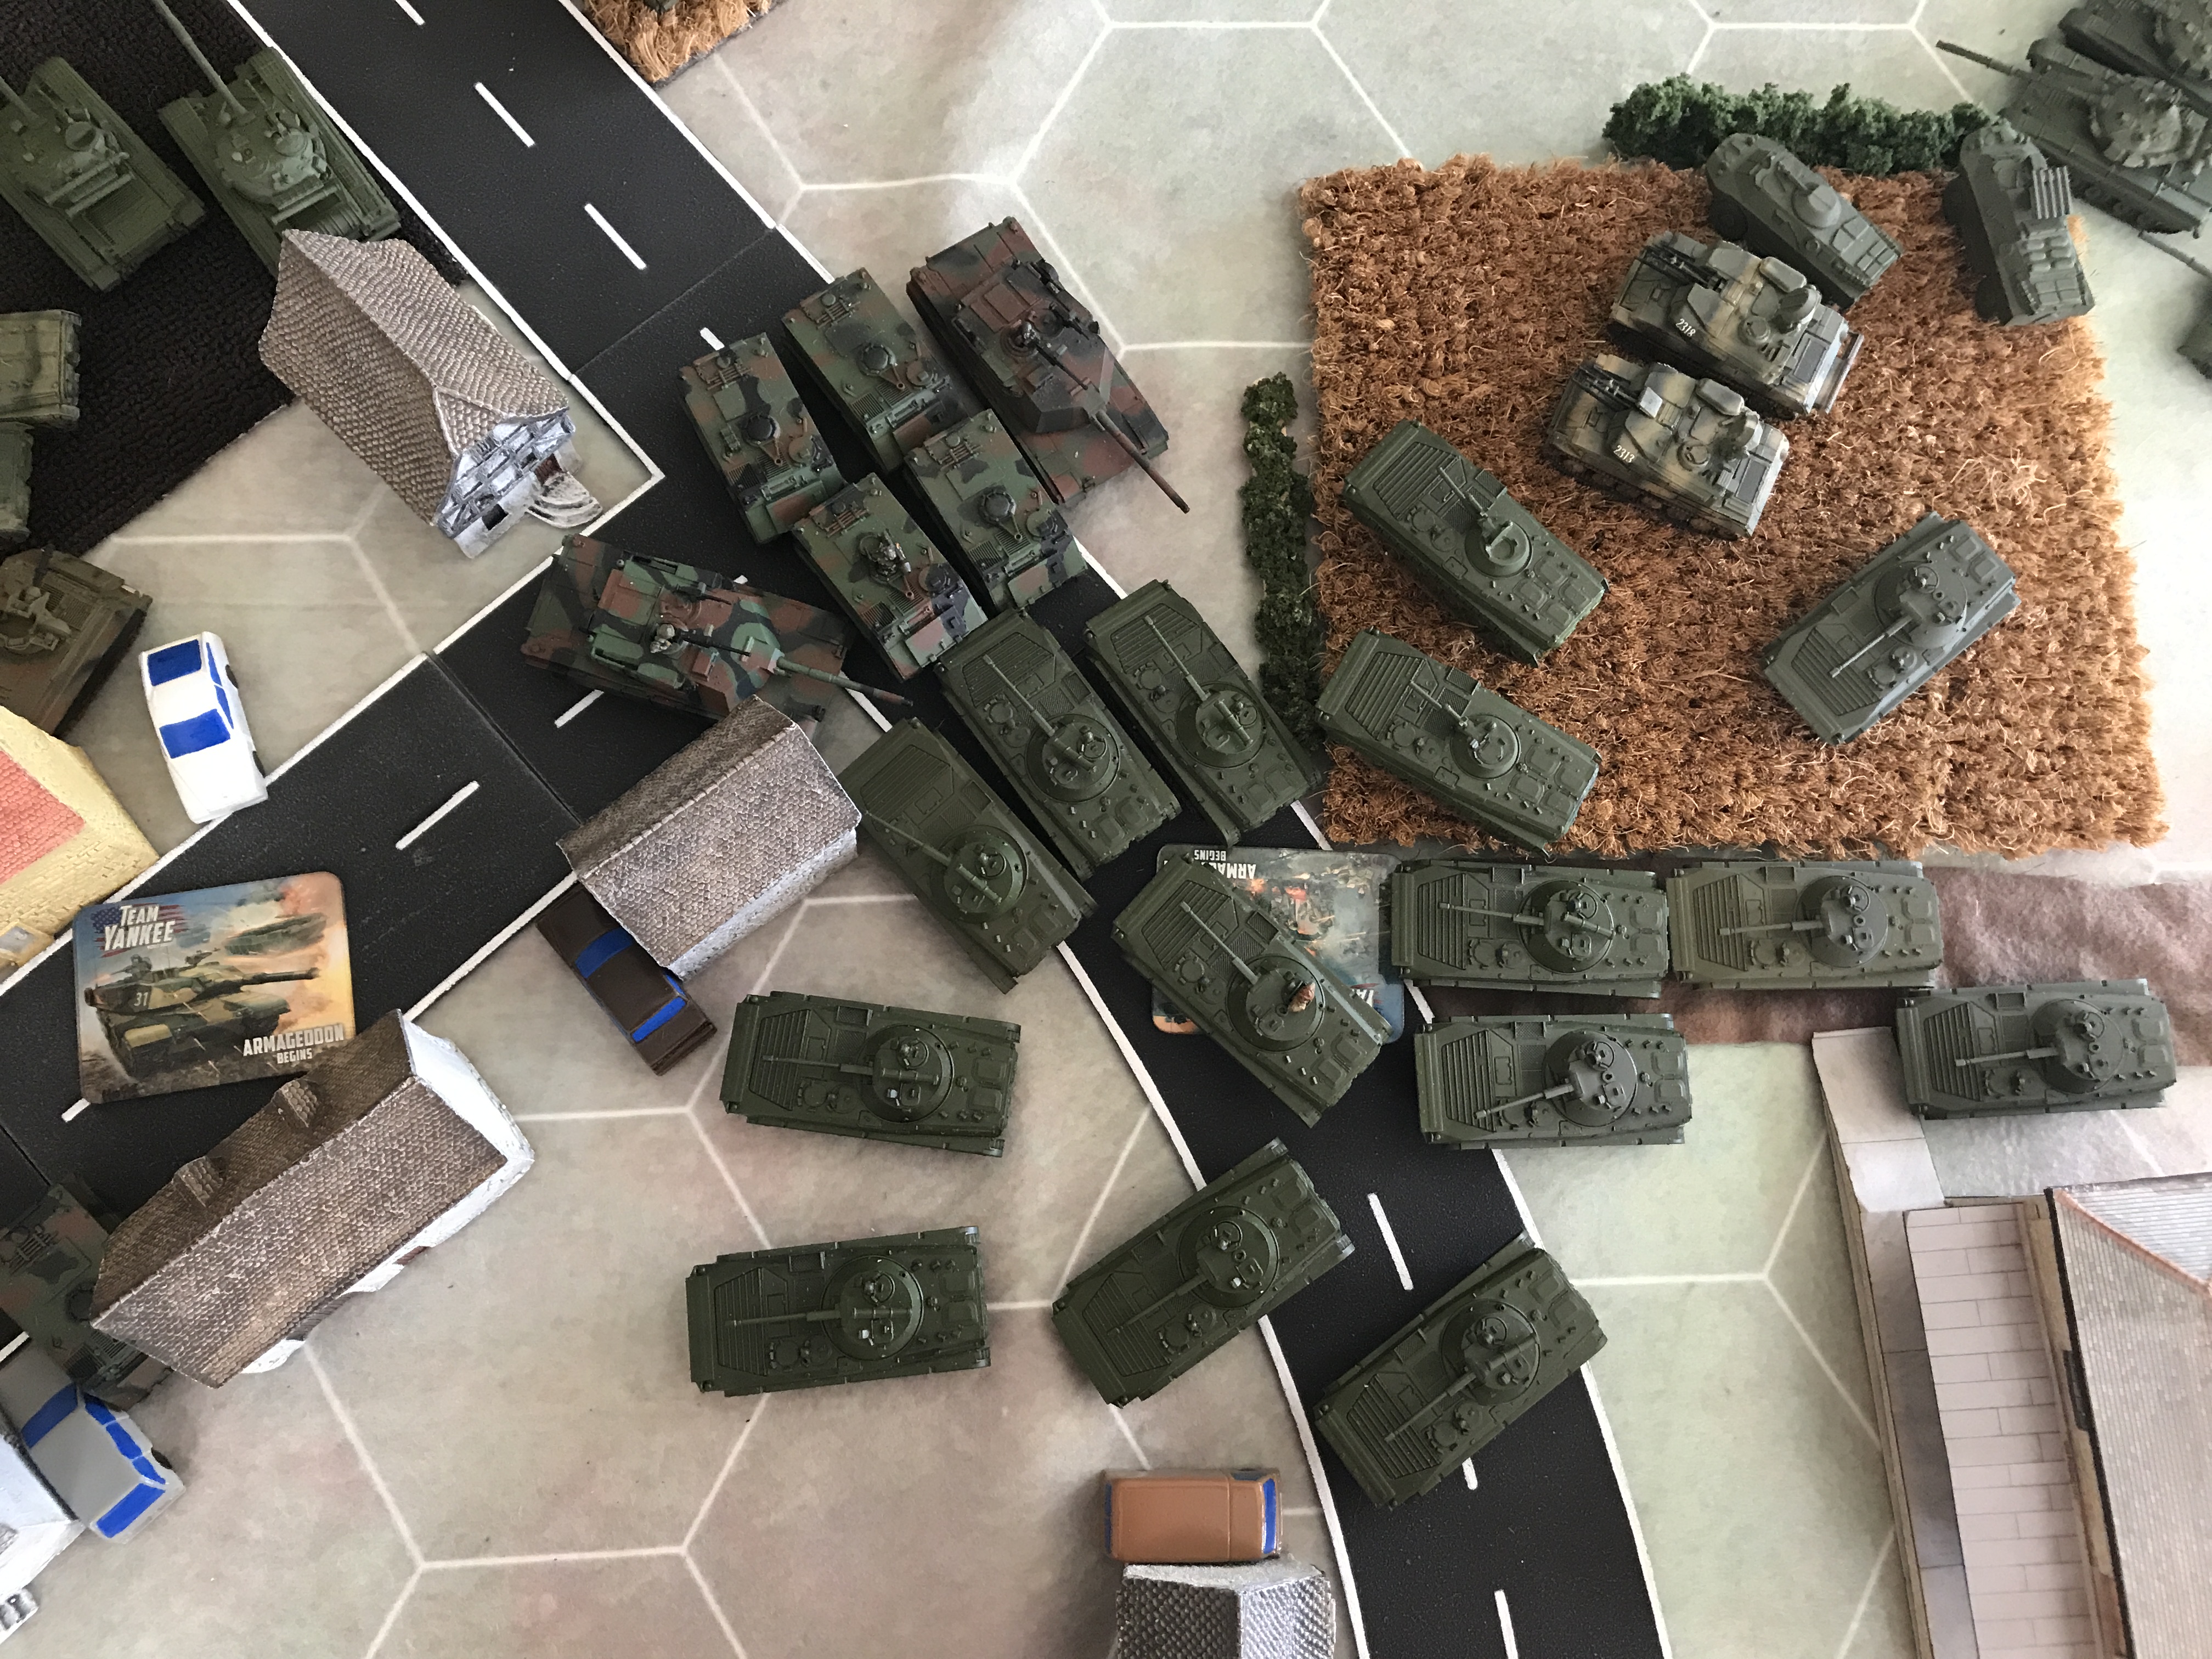
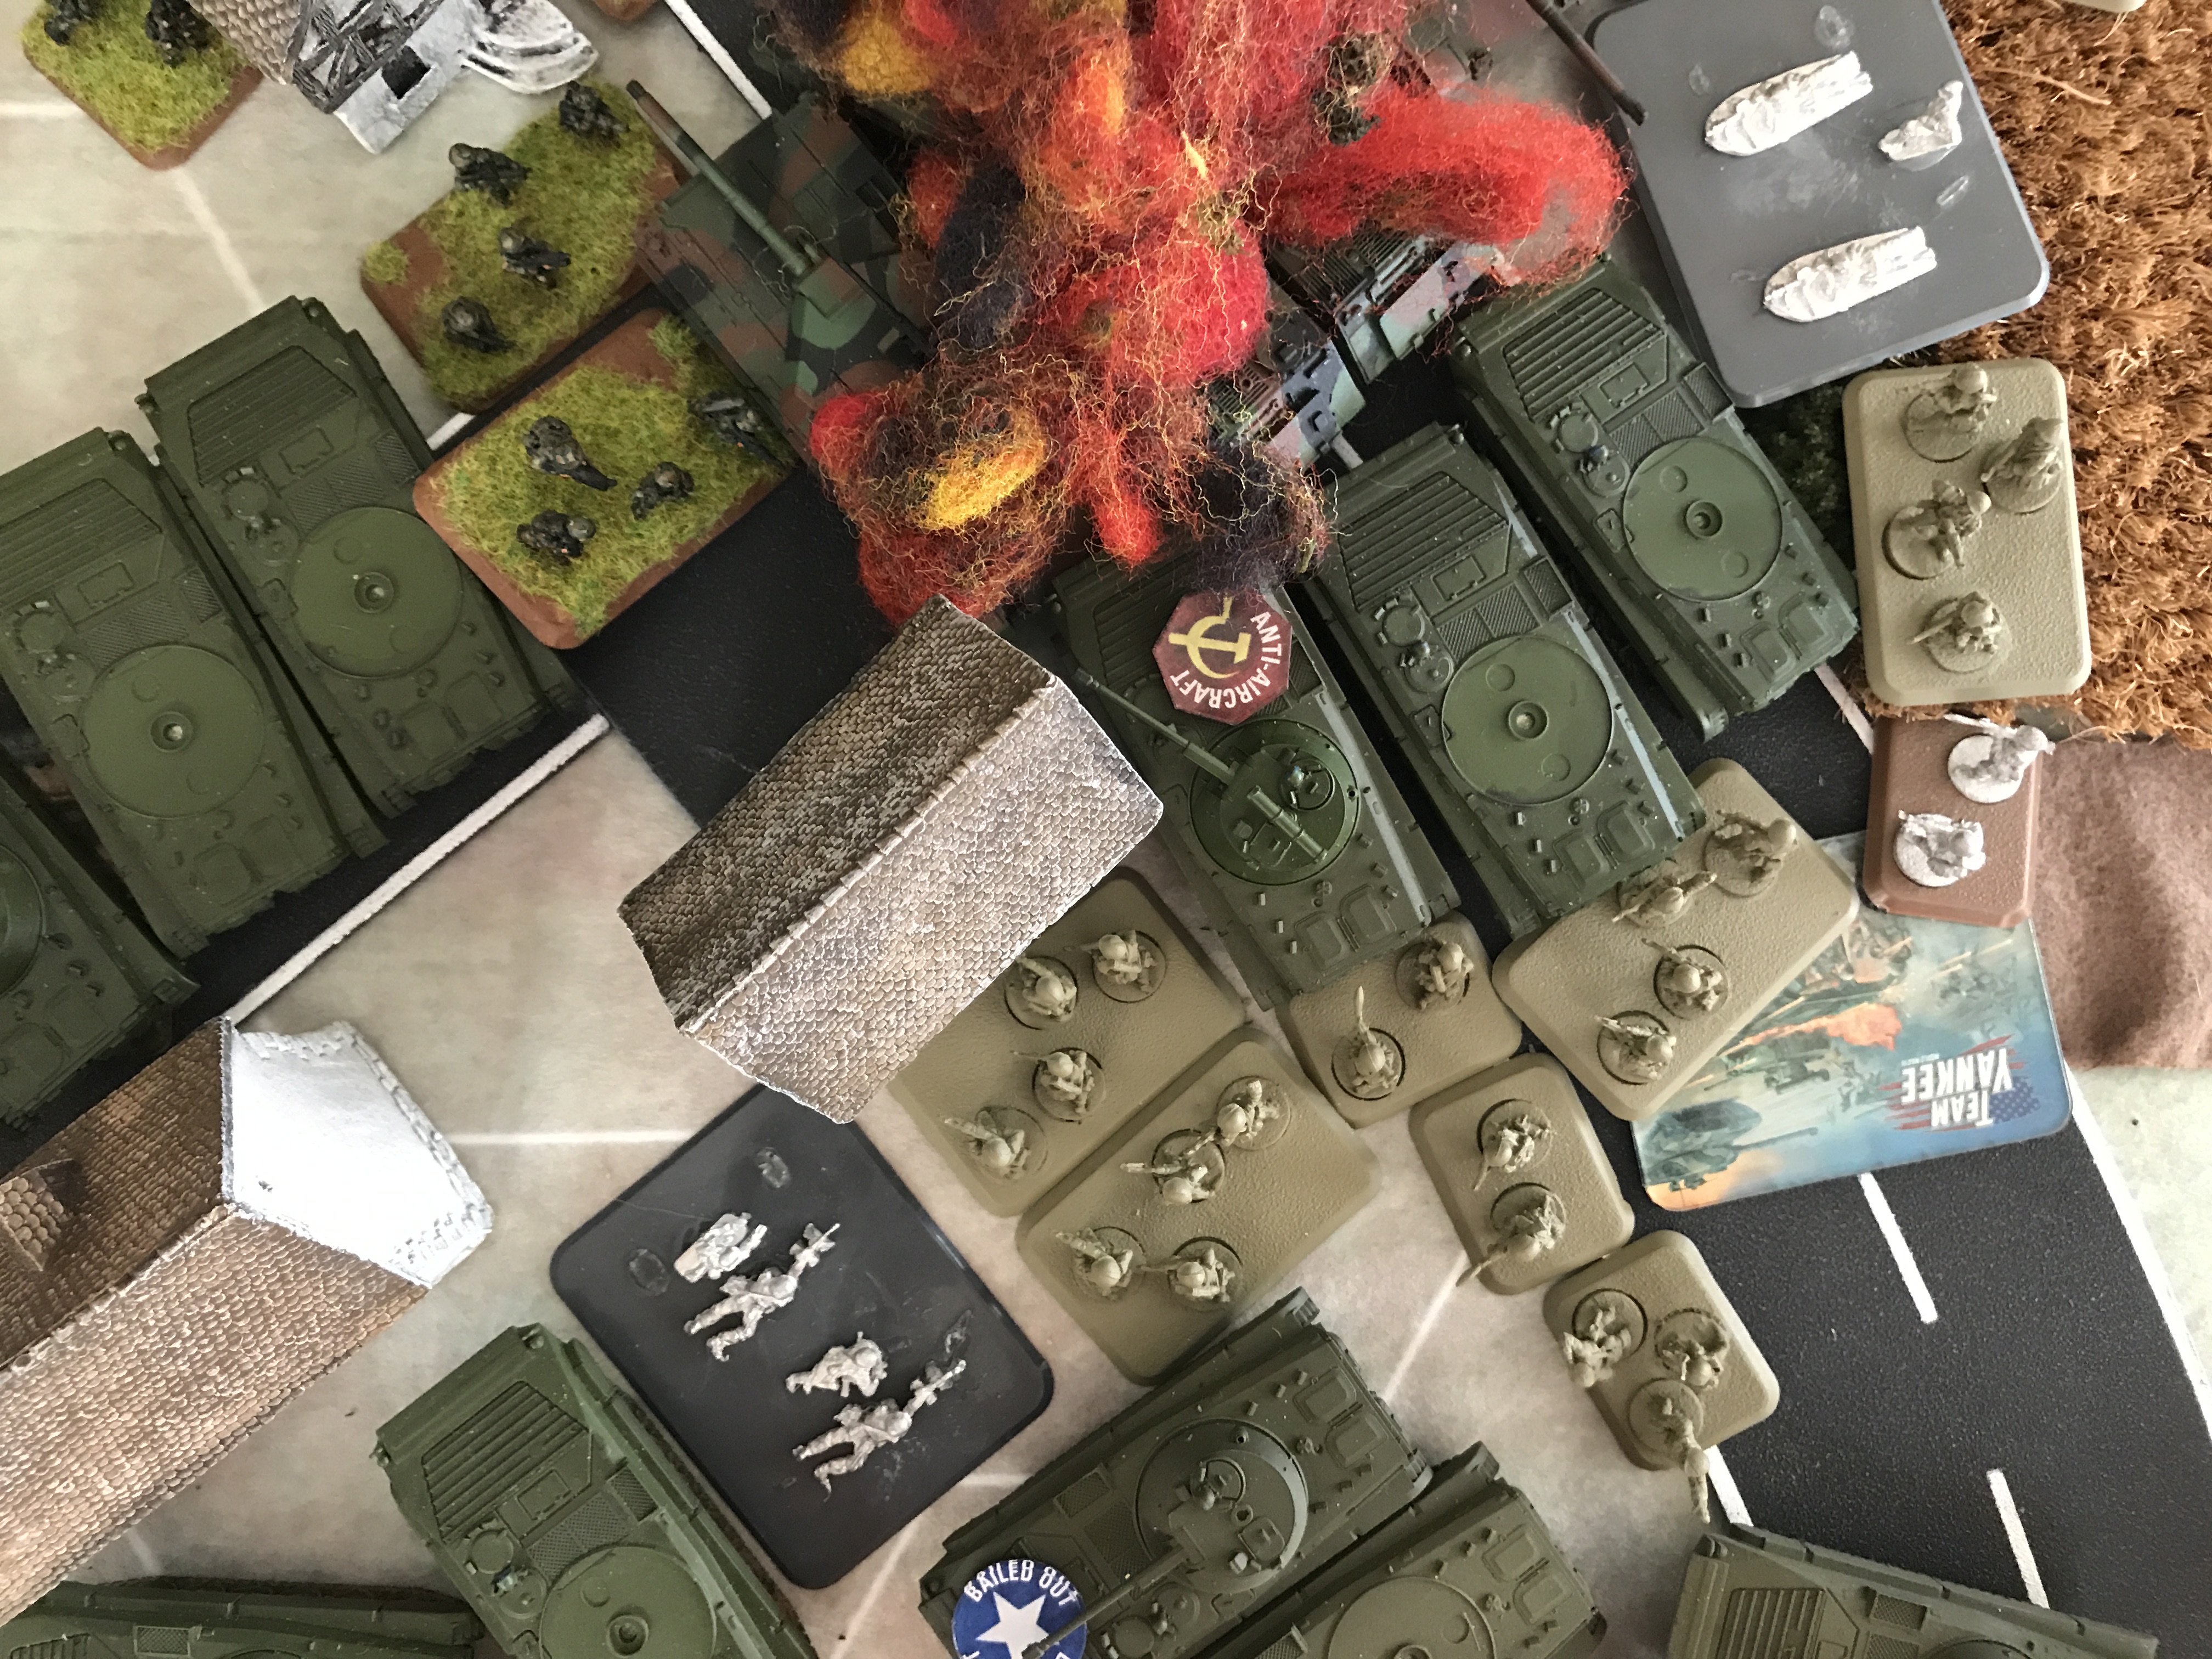
The next photo shows where the US units and mine end up.
I forgot to take the initial deployment photo, Bob has already started moving here. So just imagine his PIVADS on the left back in his zone
Looking at the board right here, one would think "This is going to be a quick battle". All US forces are to the left.
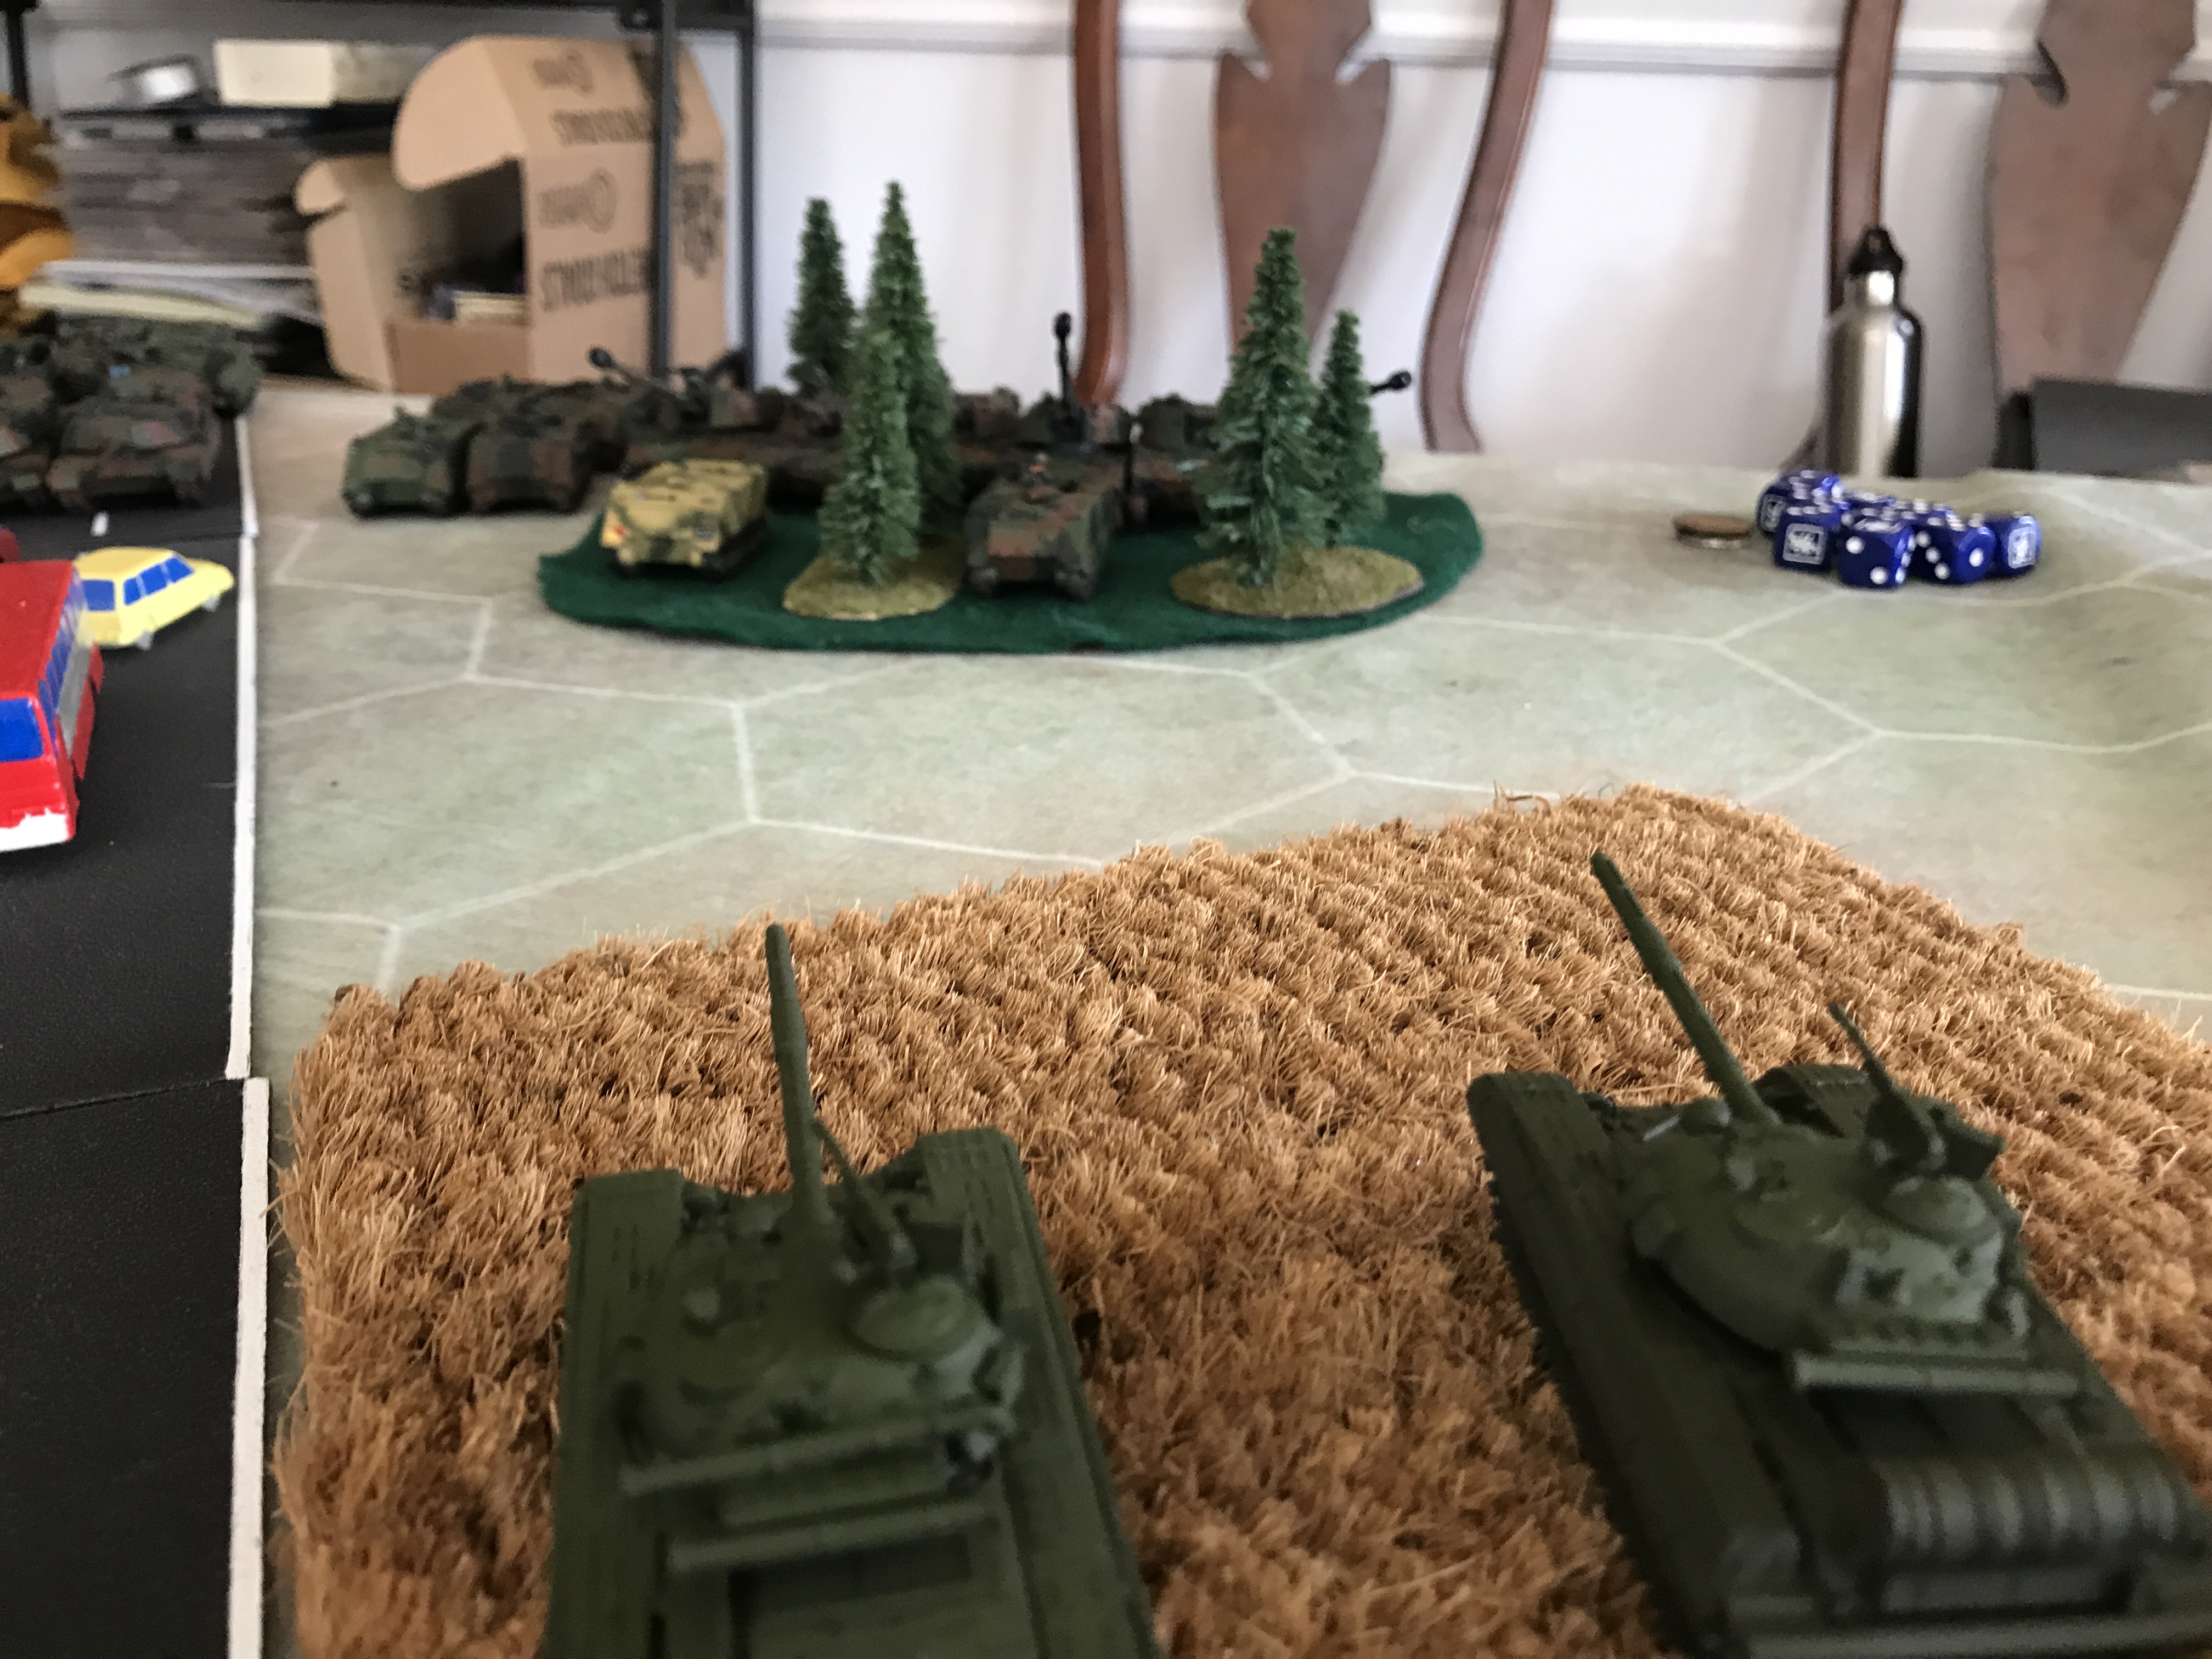
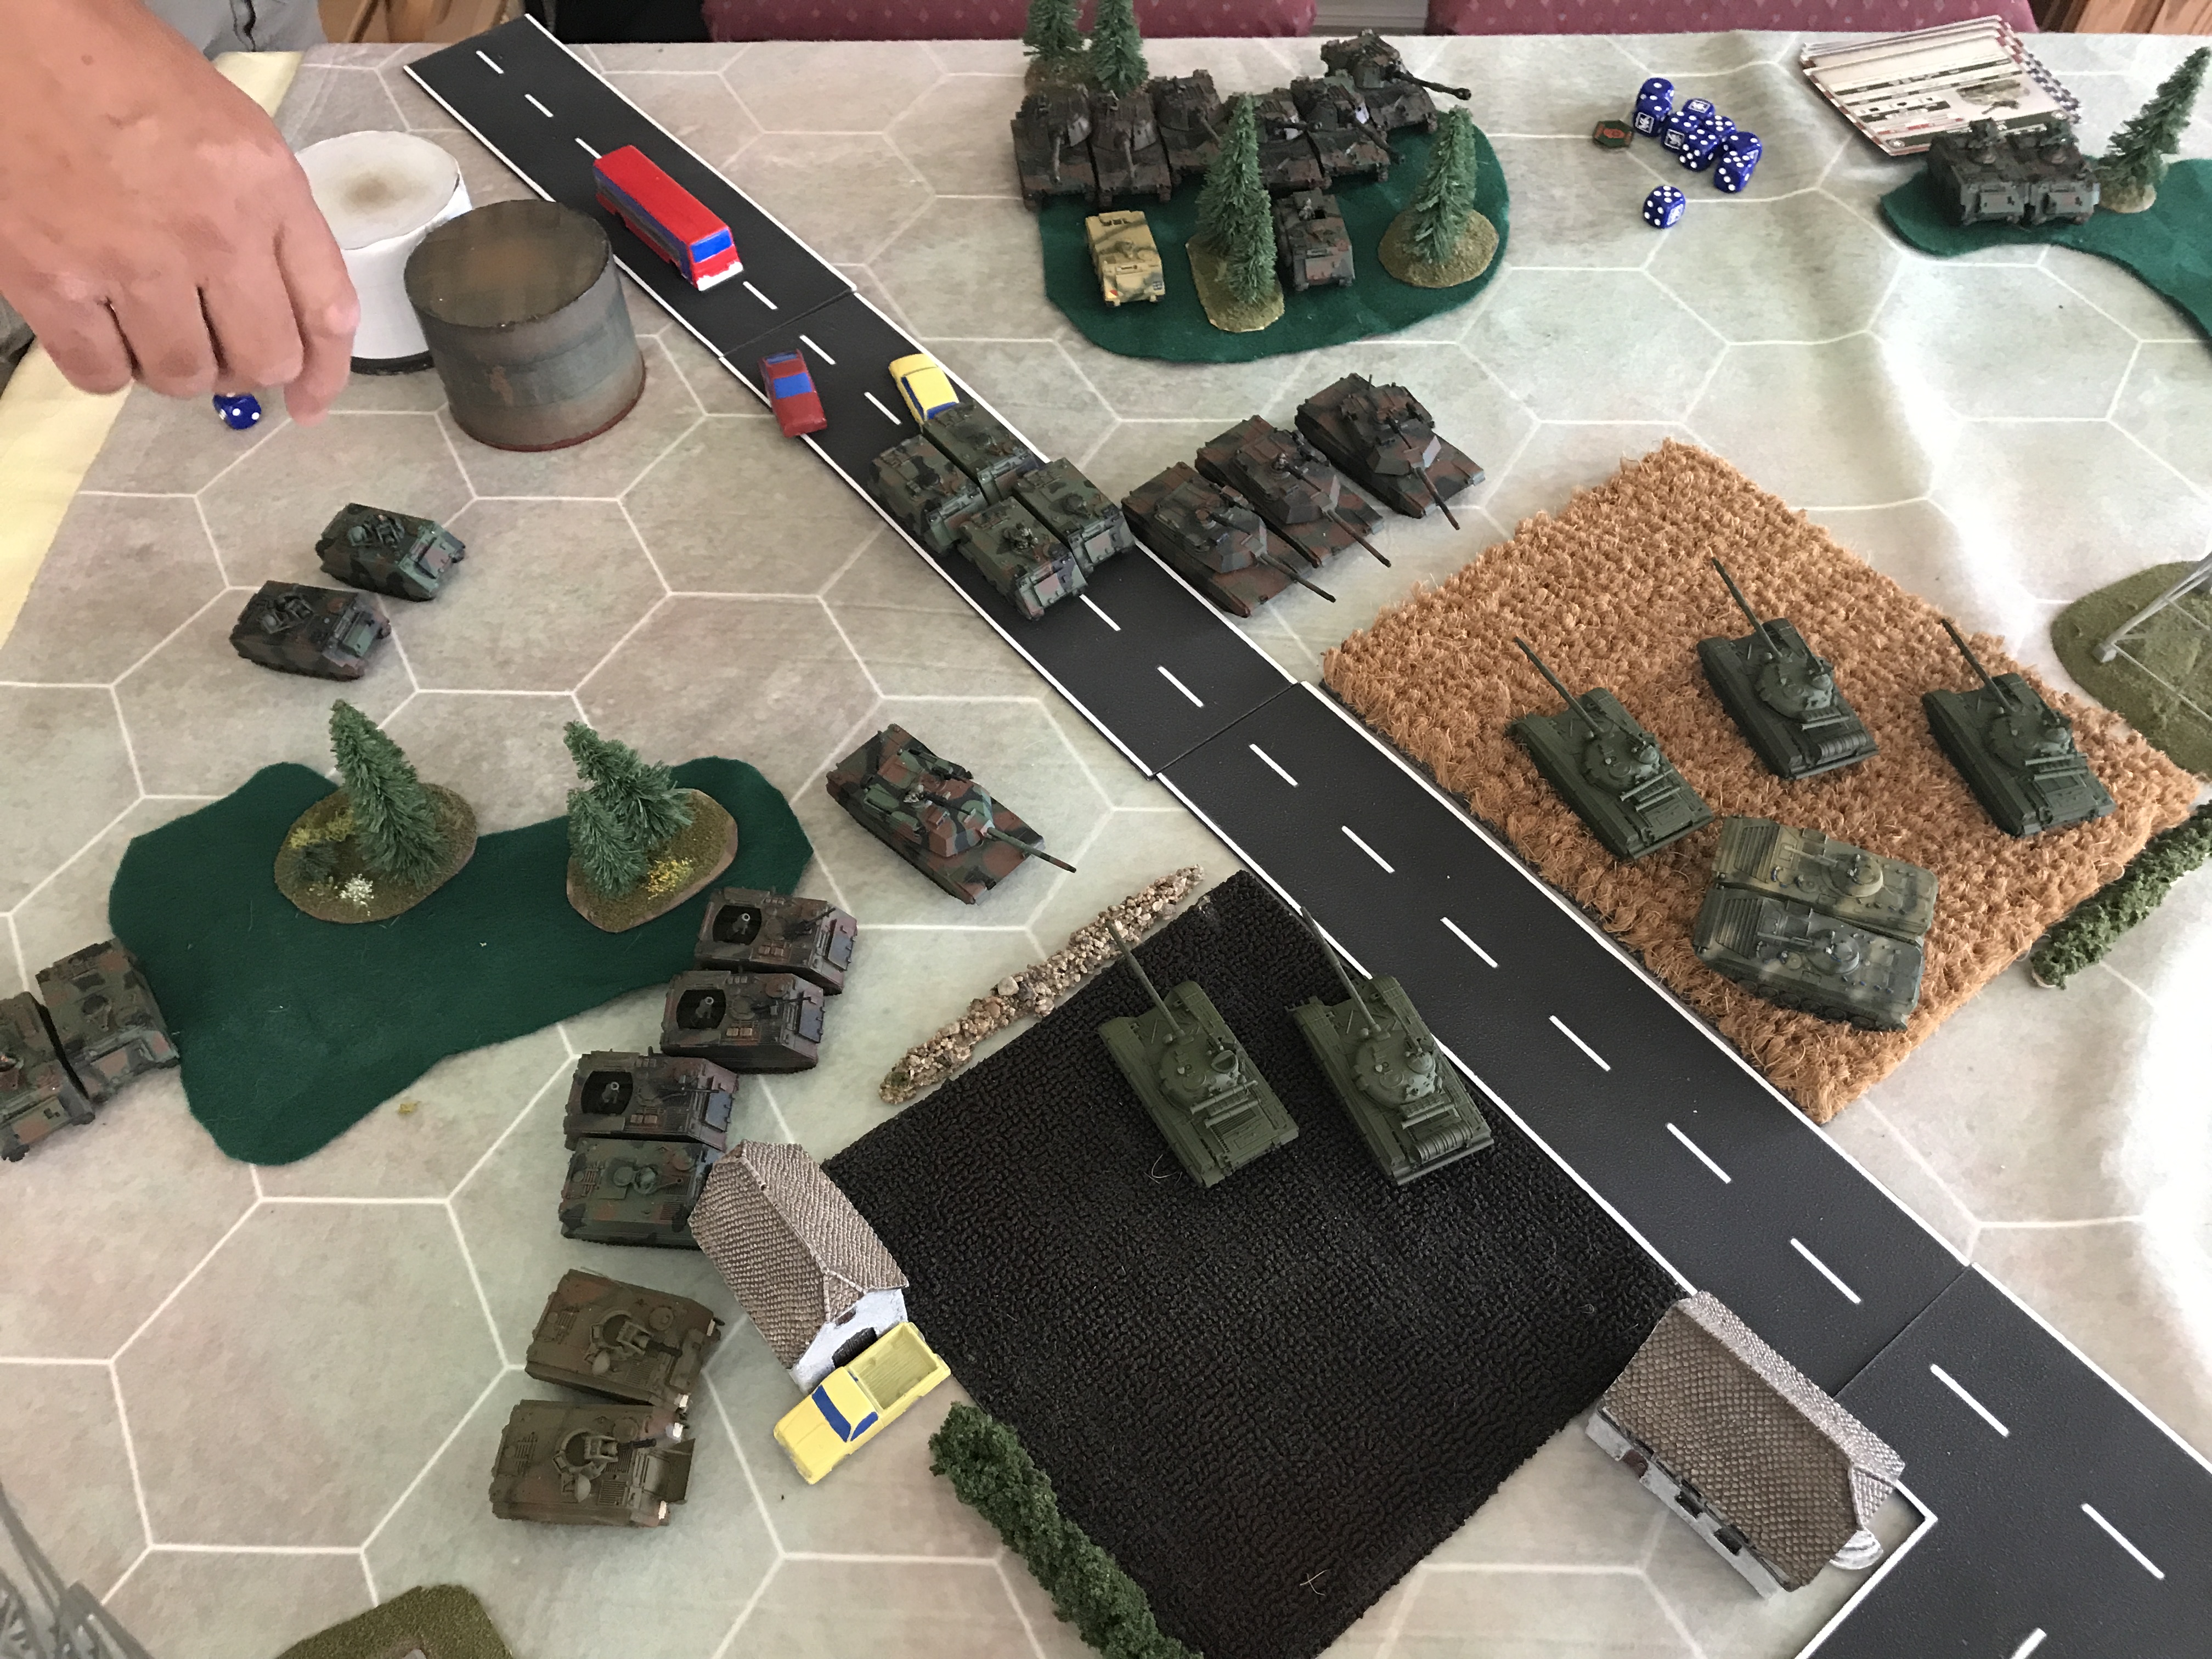
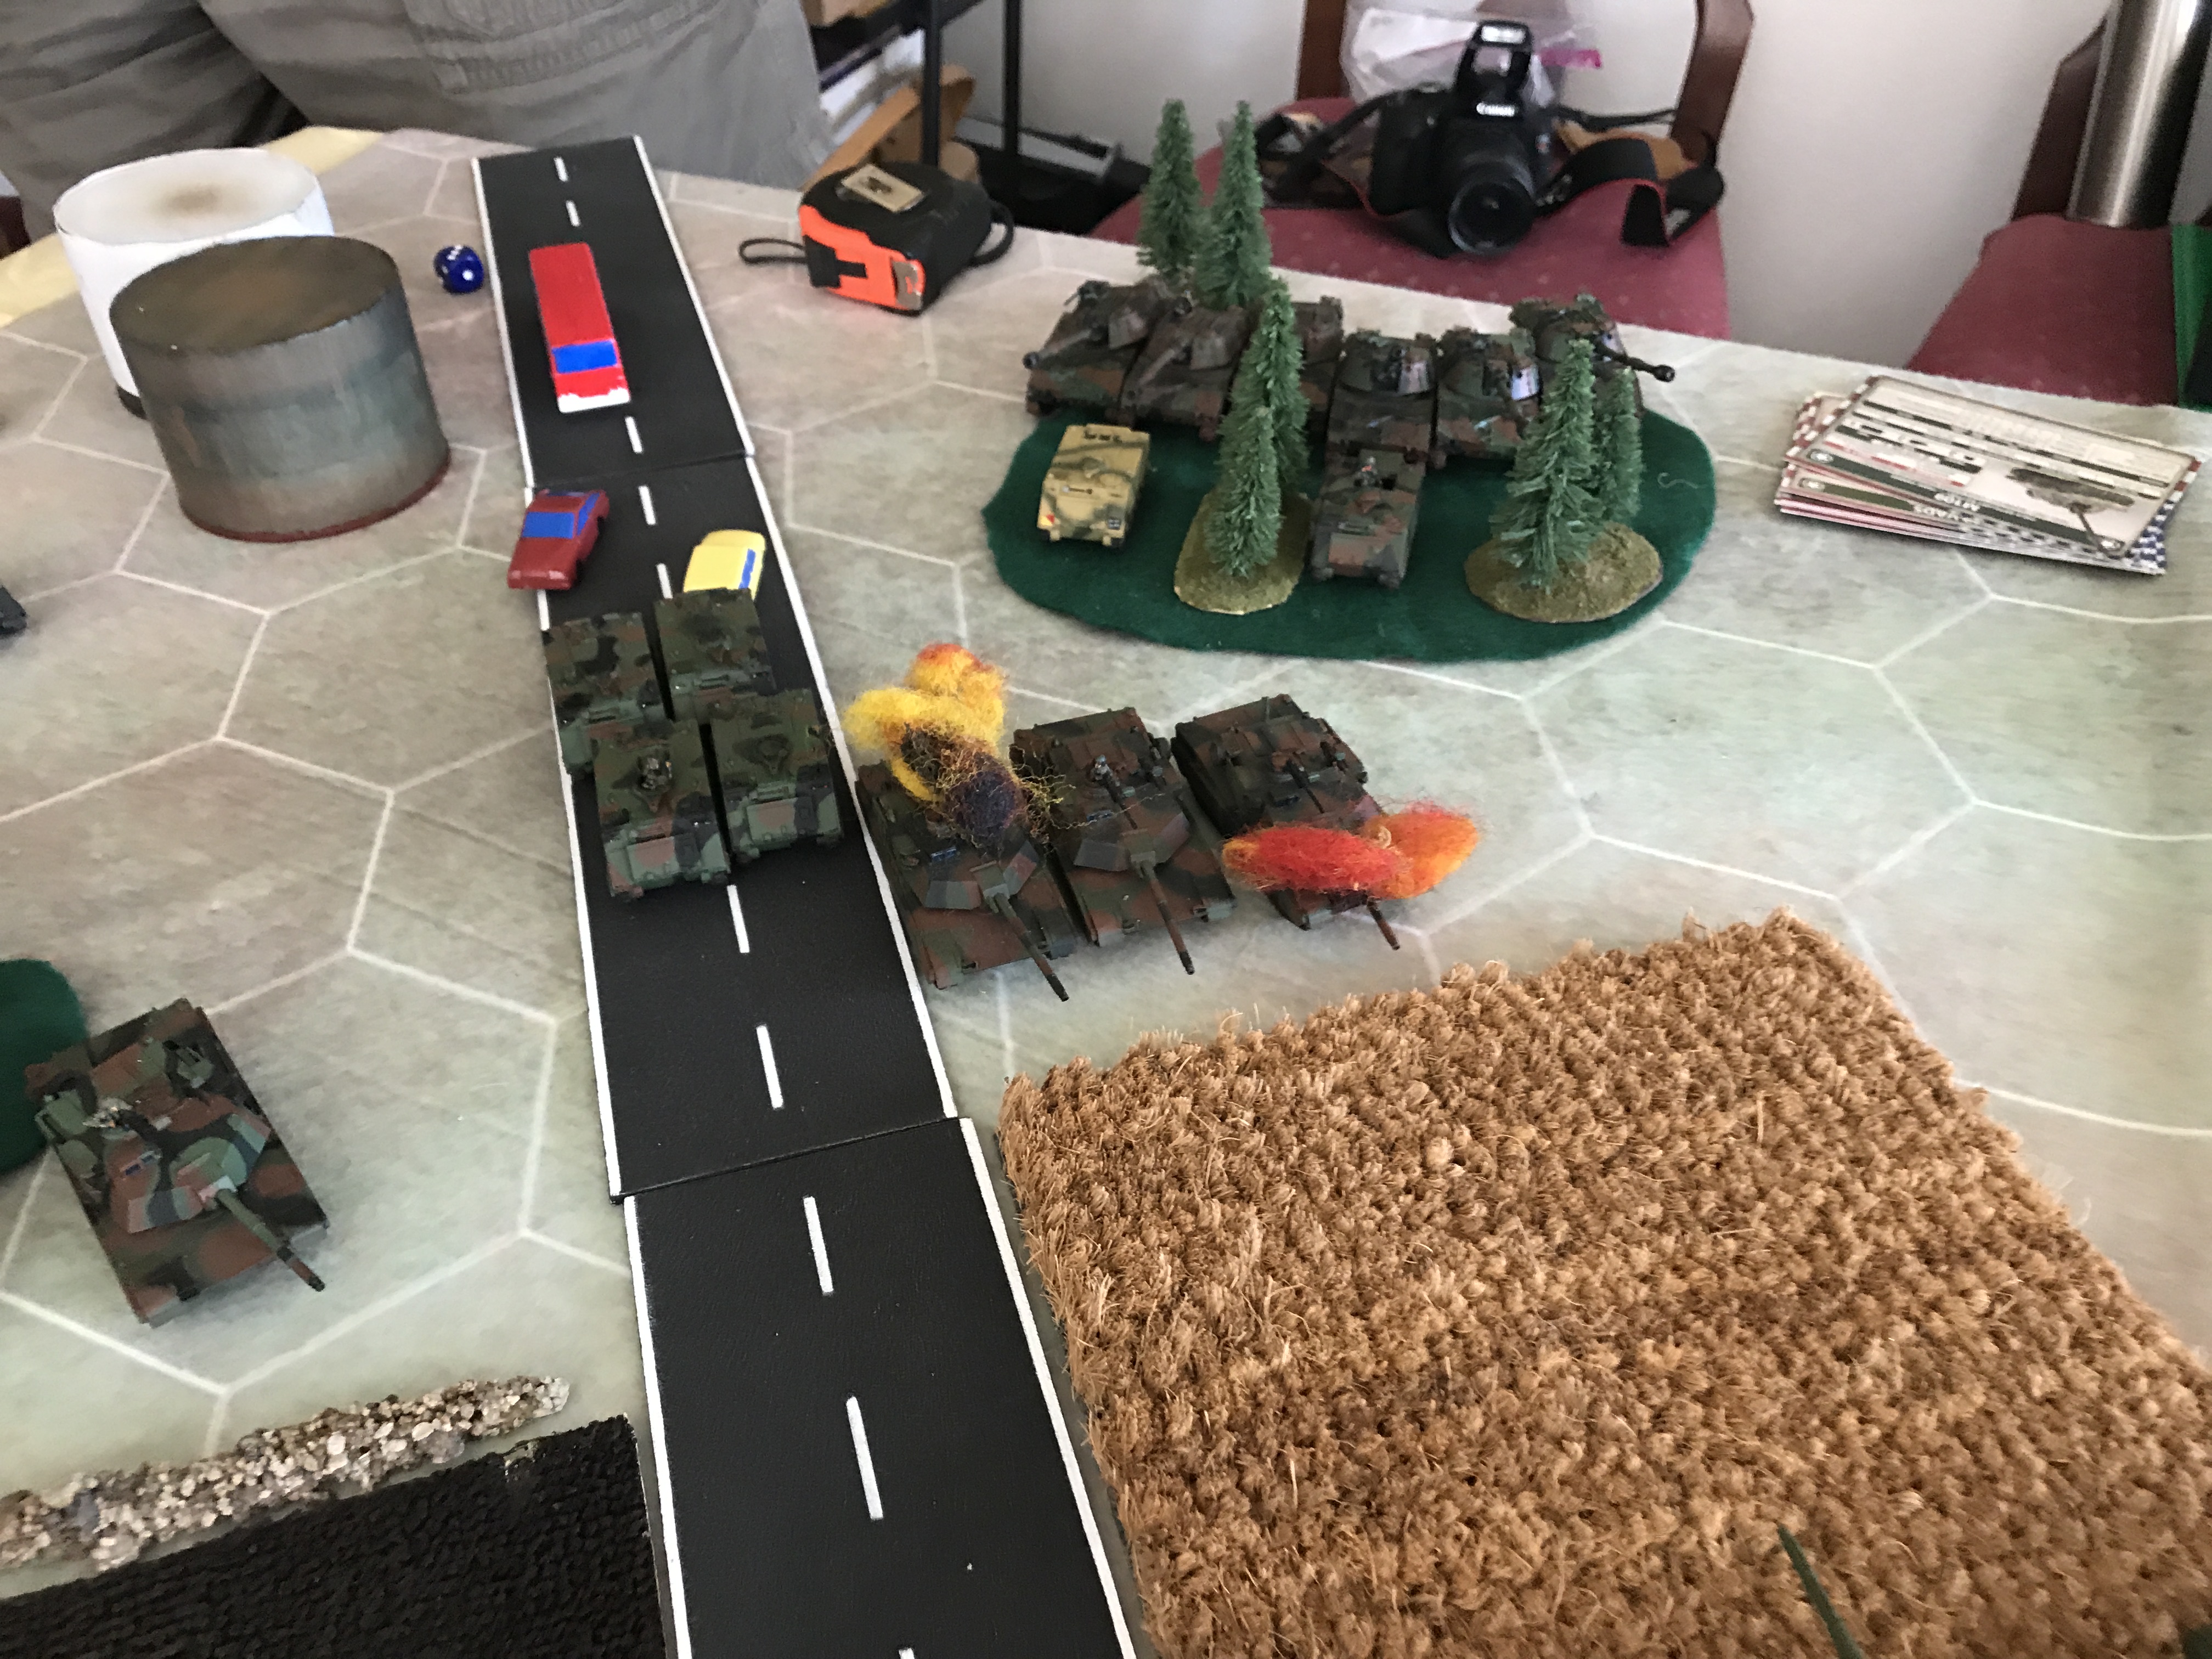
US M1s advanced right up to my lead T64 CO. The one INF PLT follows close behind.
2 INF PLTs and 2 PIVADS Sections move up West edge of board. Only one of the PIVADS passed their Blitz roll.
The PIVADS engage my NE BMP Recce. Couple of hits, but in the end 1 Bailed BMP.
The M1s engage my T64s, 8 Shots, 5 Hits, 1 bail.
I am able to remount all bailed vehicles.
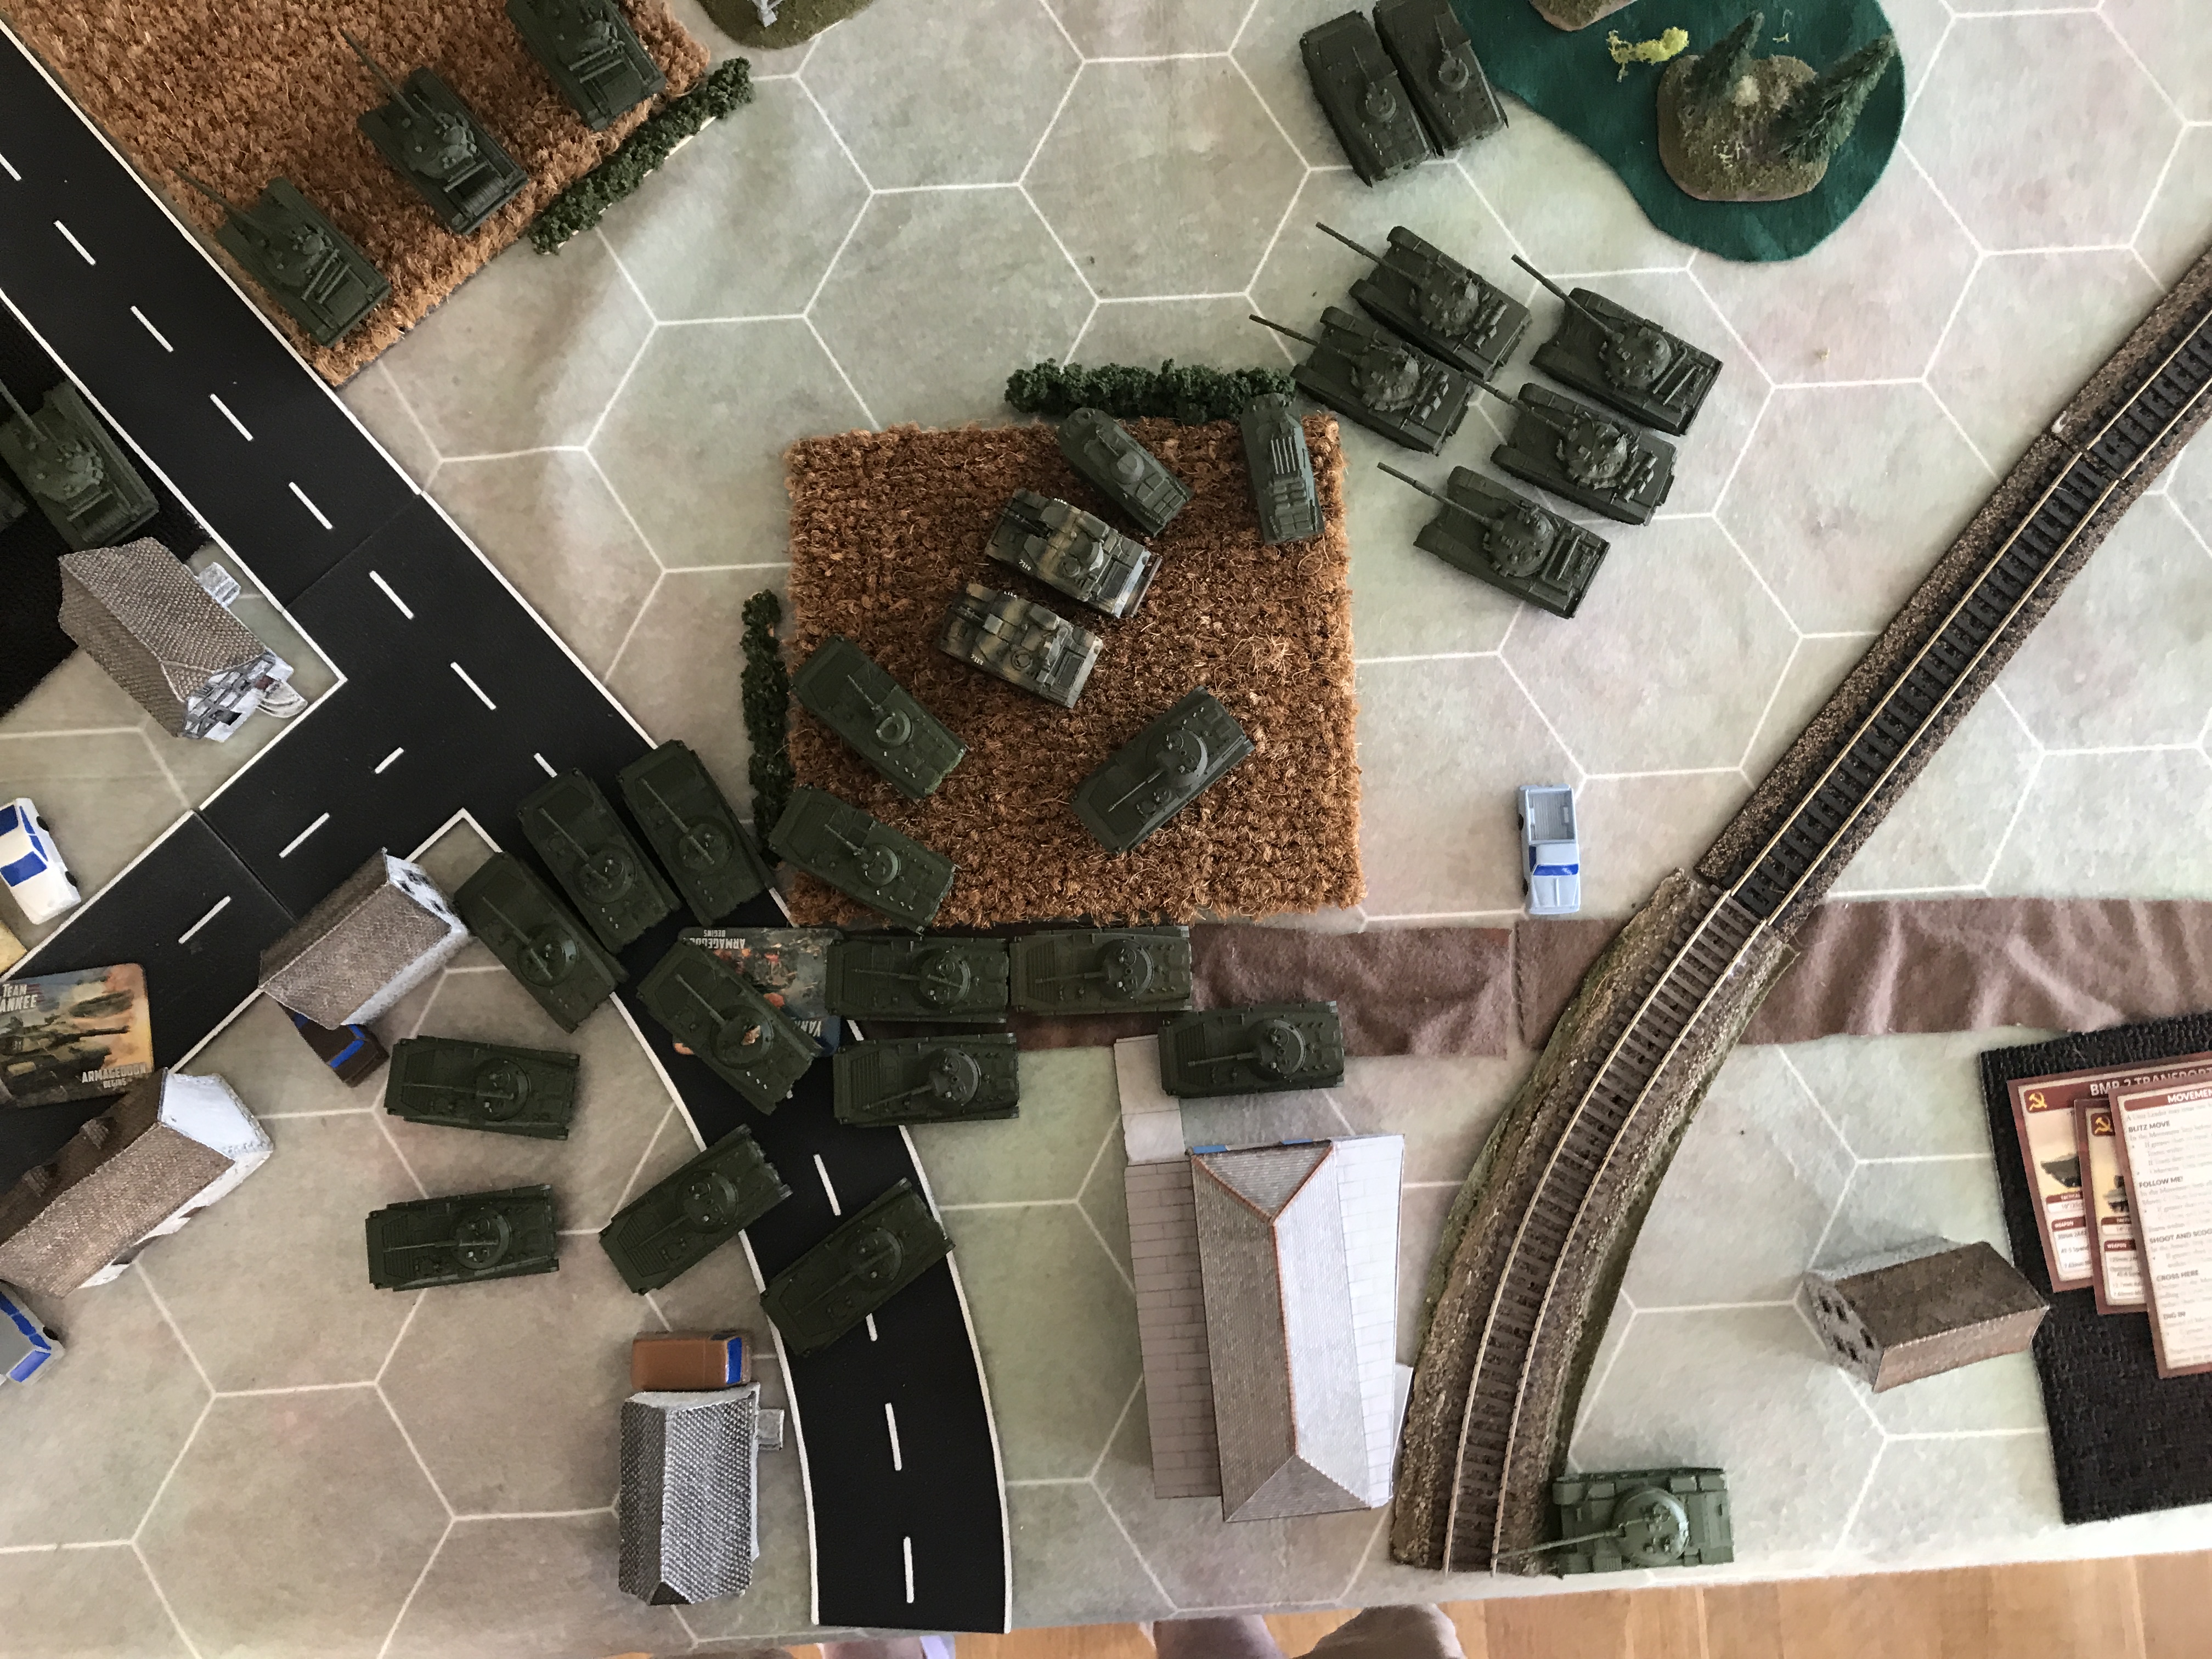
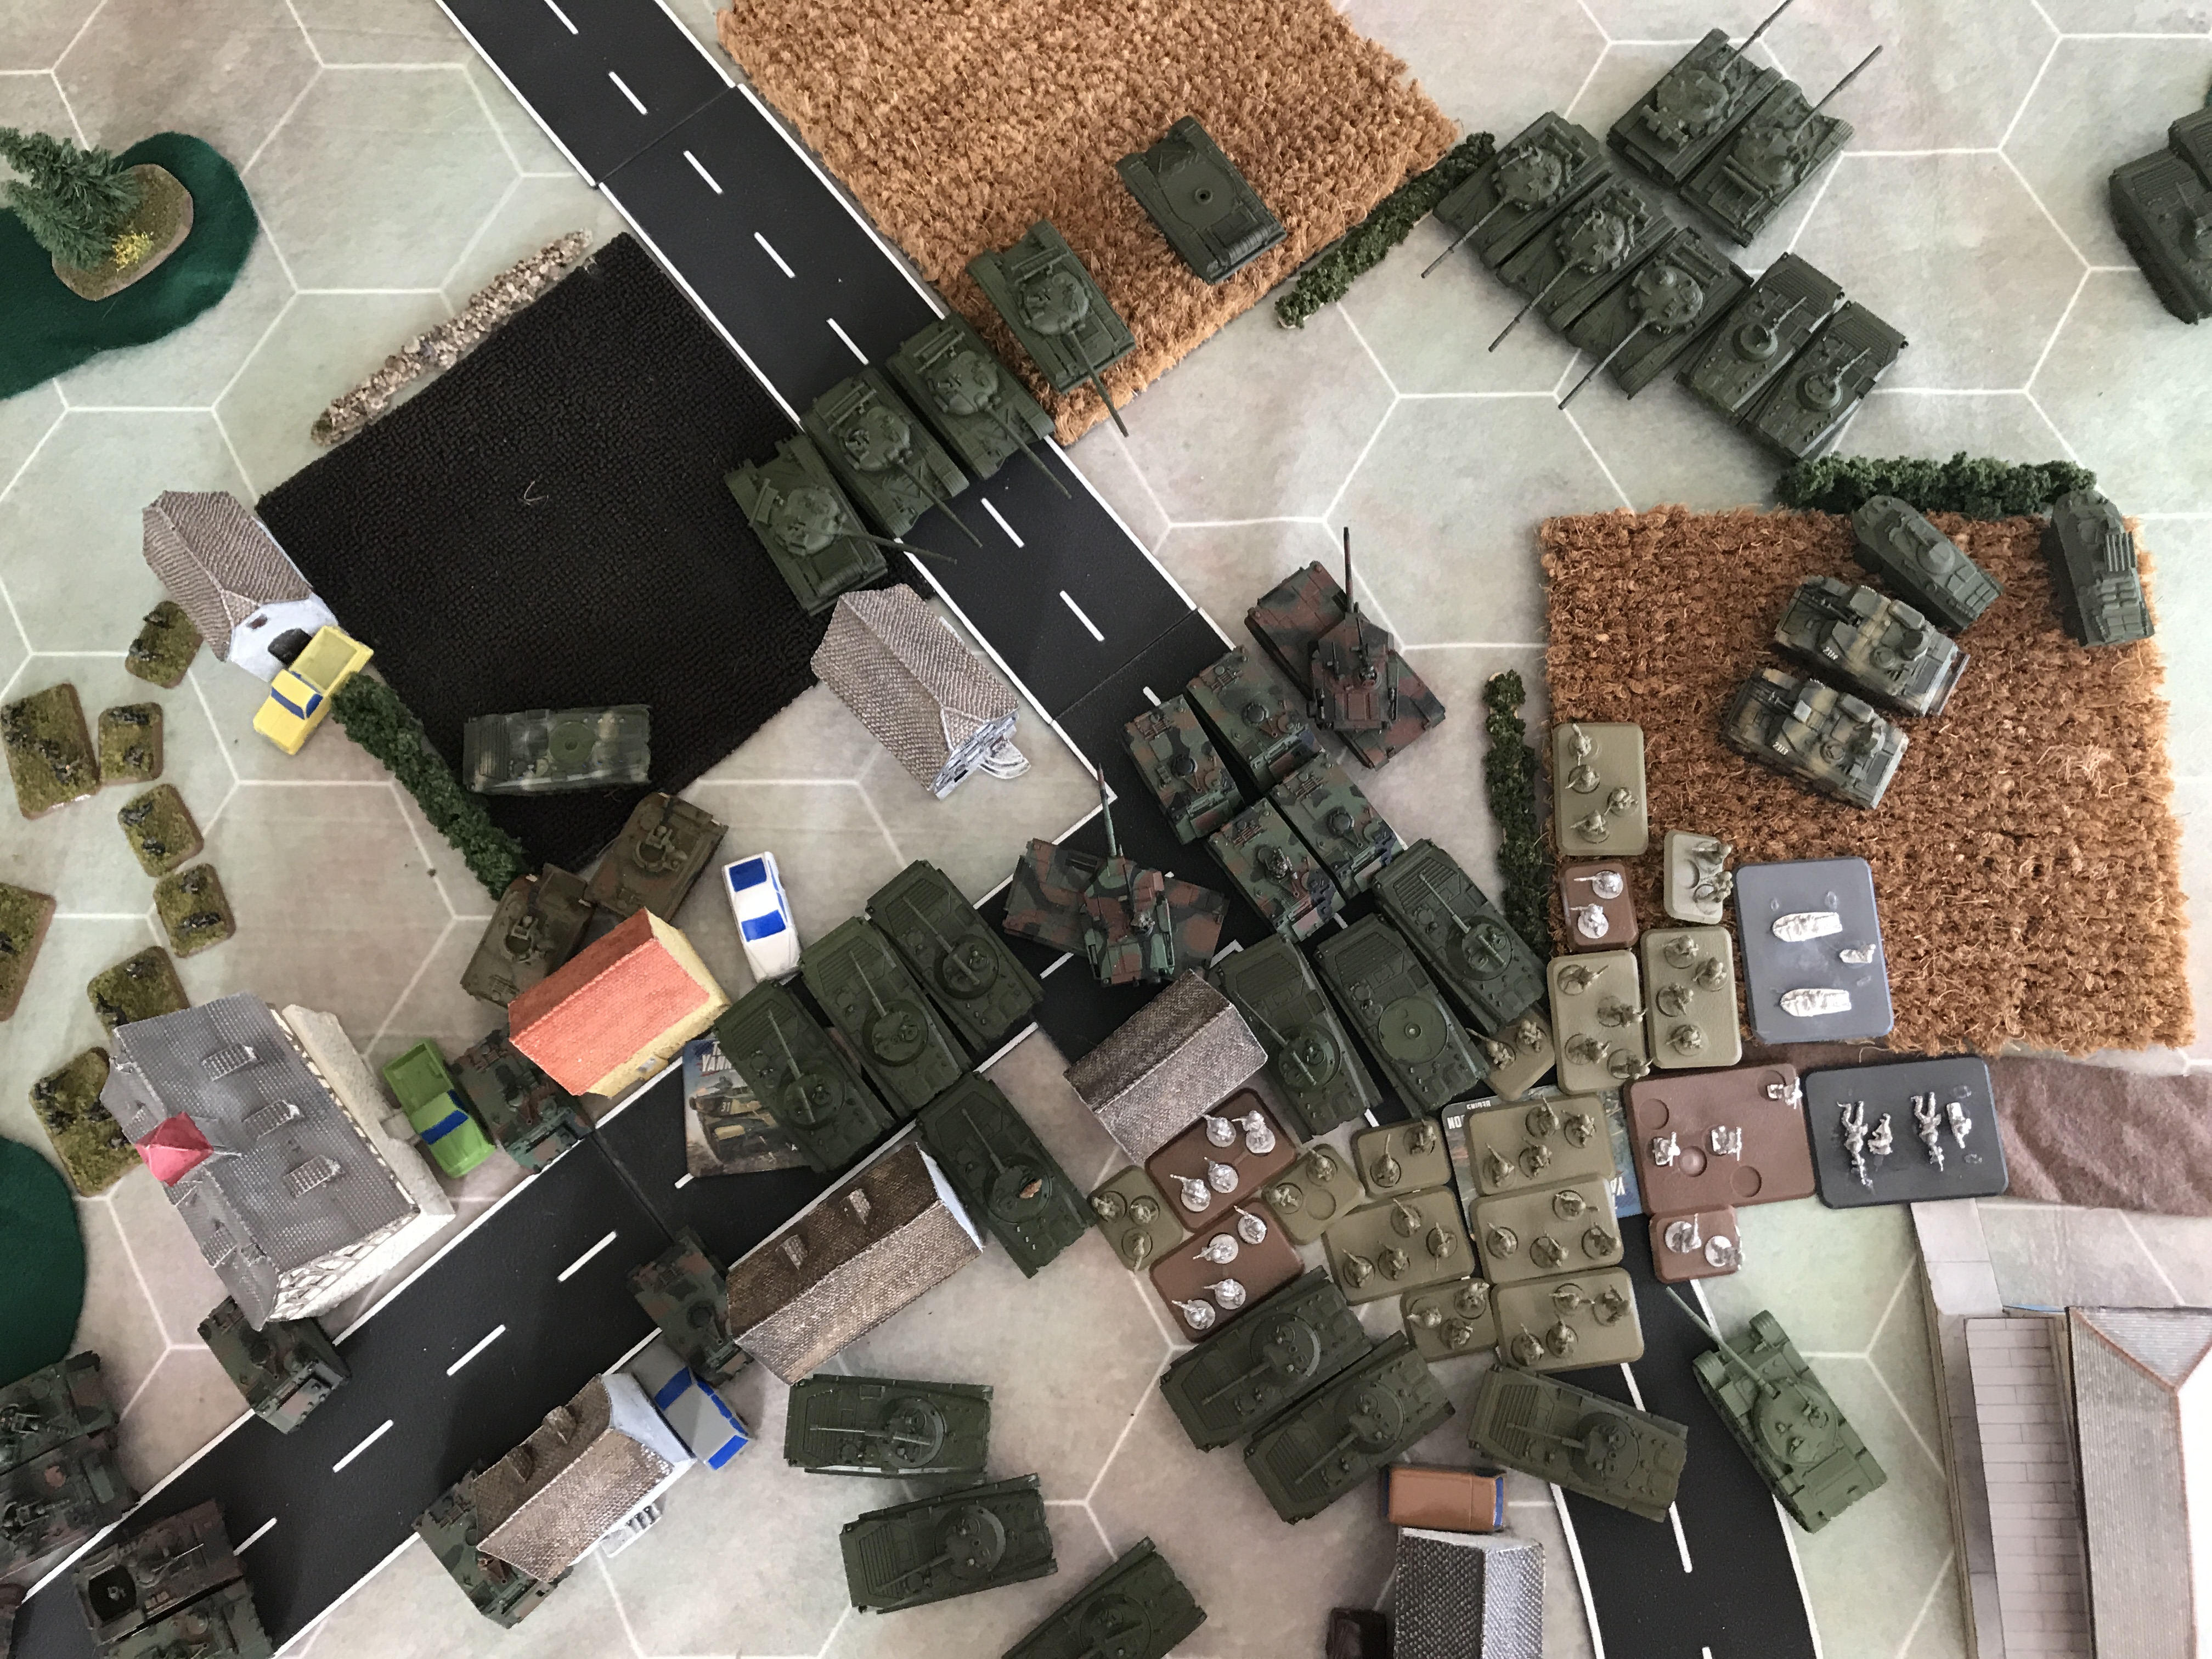
My BMP INF CO does a cross country dash and totally surrounds the Eastern OBJ. 13 BMPs sitting on it. (BMP in field did a terrain dash)
ZSU moves into field to provide overwatch of the OBJ.
My 2BMP Recce moves to the Western Field to engage the INF and PIVADS.
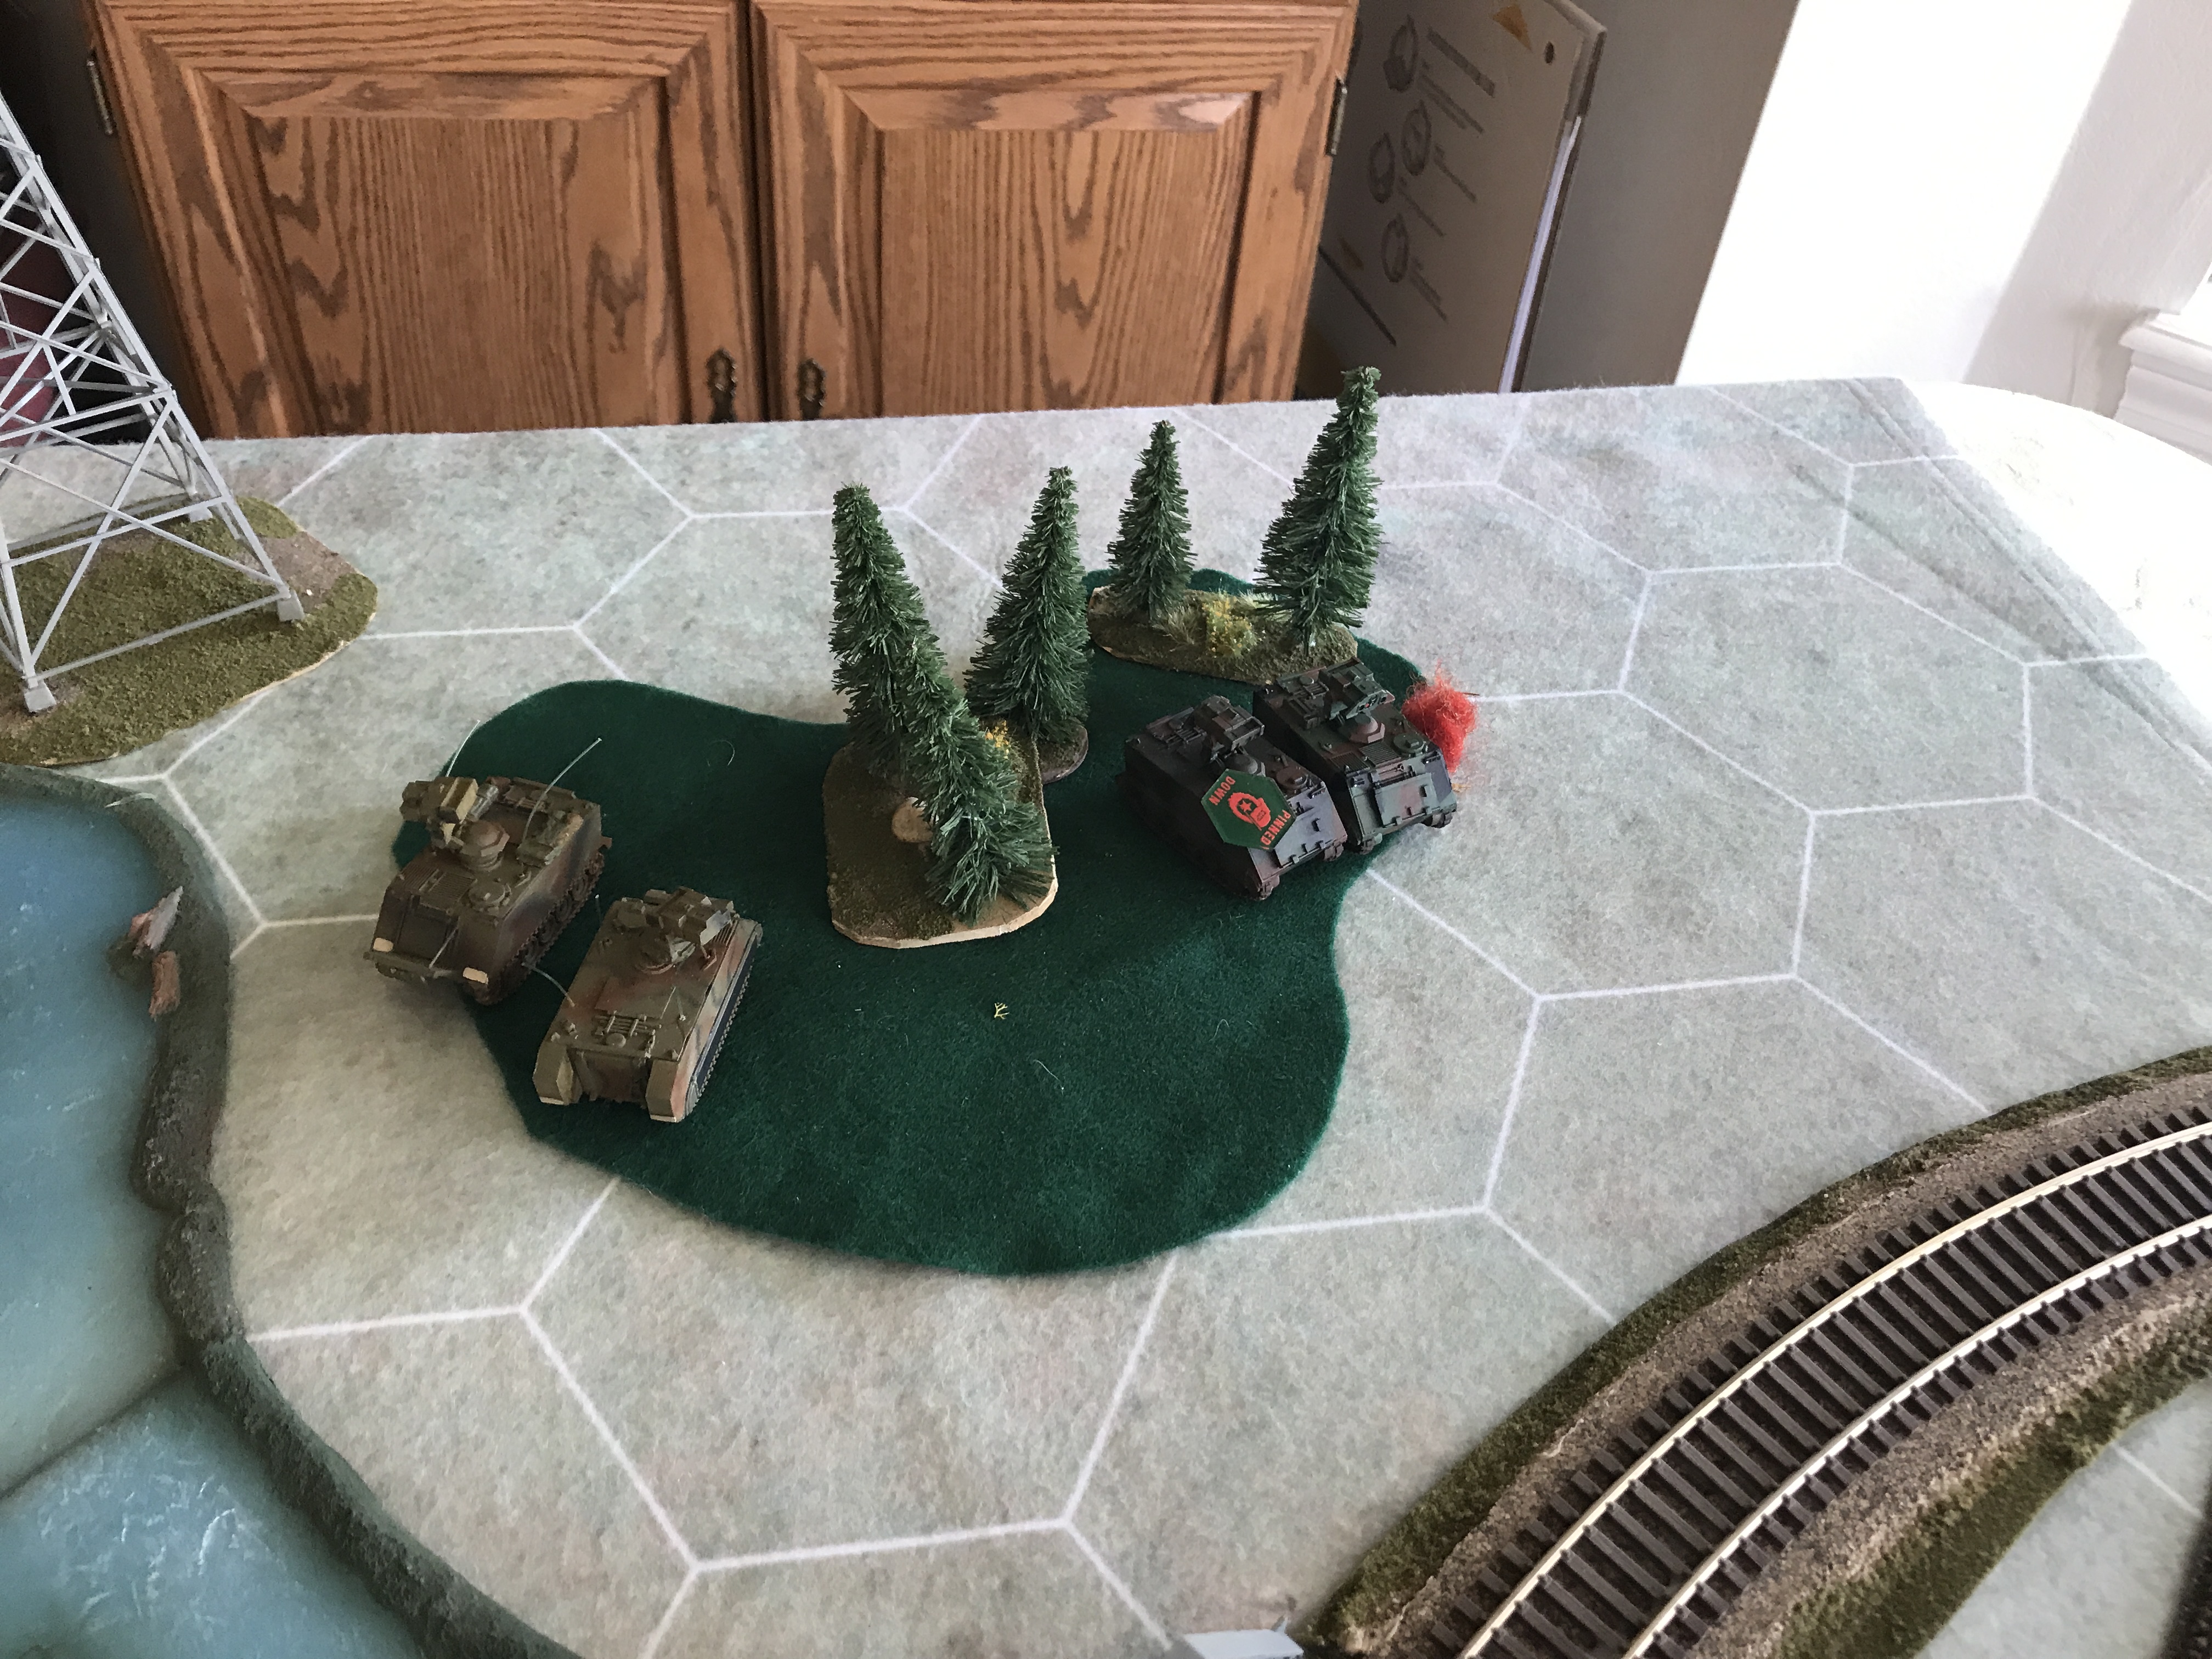
My 4 BMP Recce moves to engage the ITVs to their North.
2nd T64 CO occupies that Recce positions.
Unit CO moves down board edge
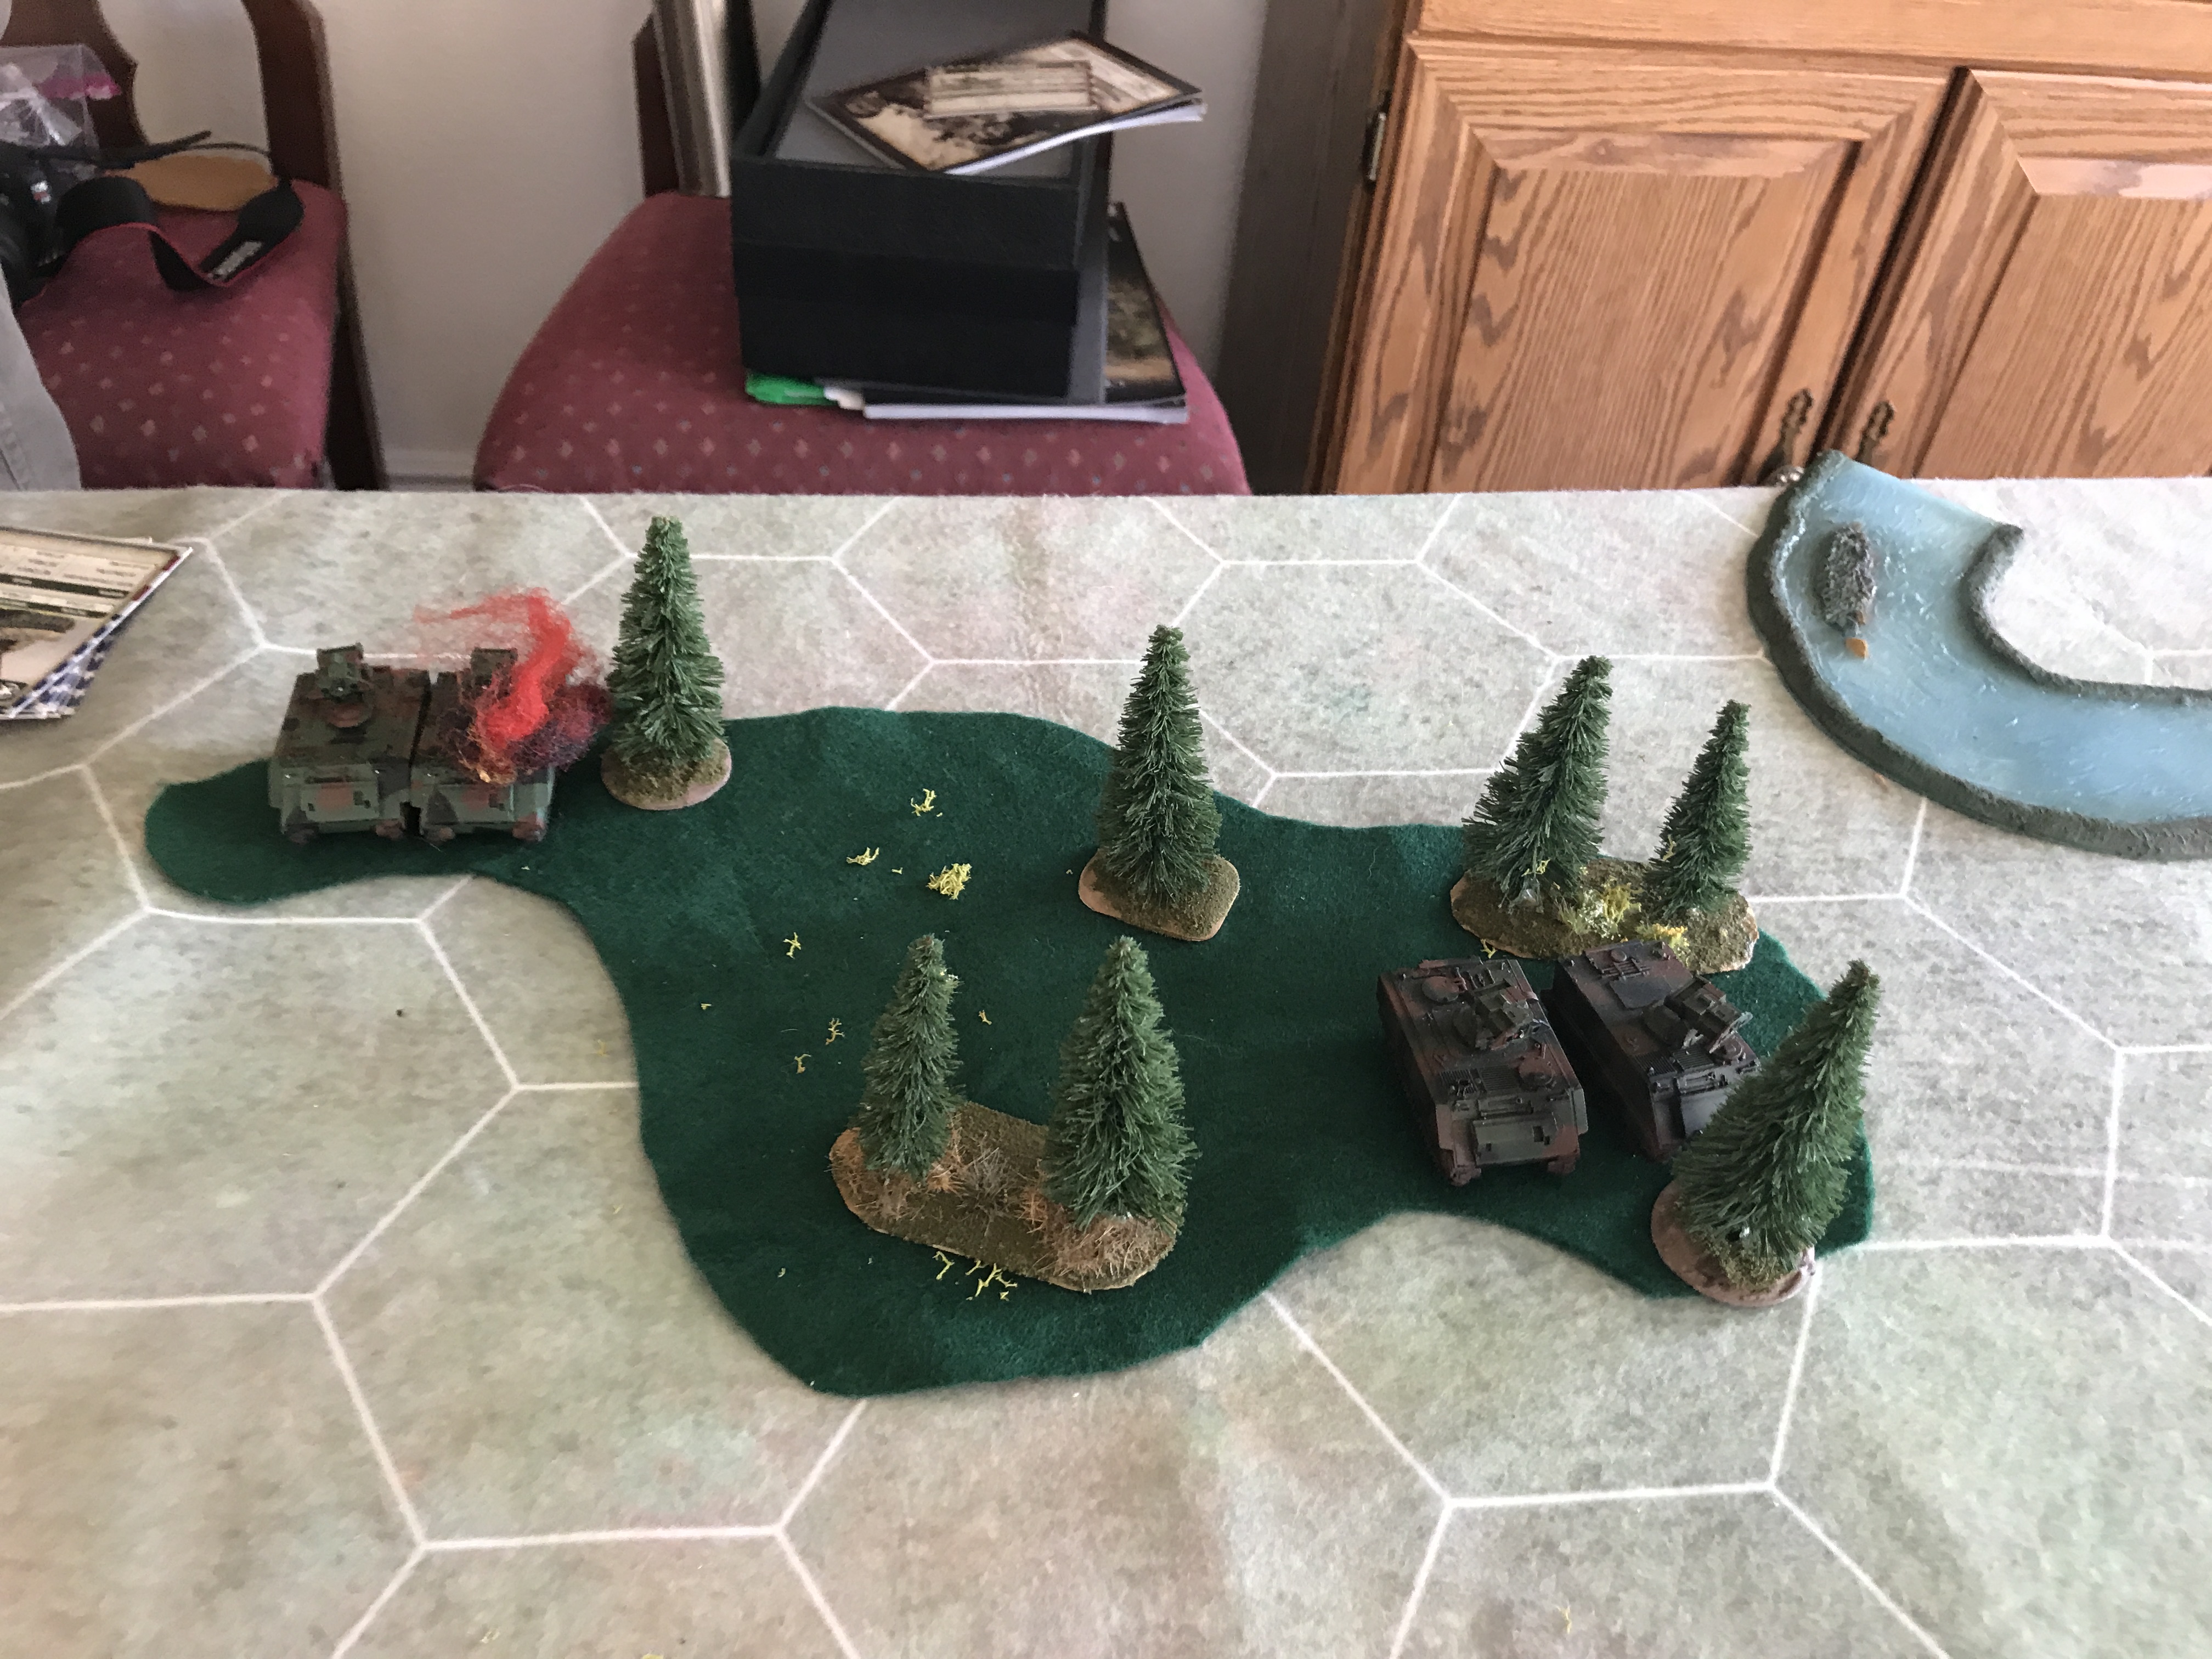
My Spandrels engage another ITV unit and miss.
My 4 BMP Recce engages another ITV unit and kills one.
My lead Recce BMPs engage the VADs on the left and miss.
I succeed in a shoot and scoot maneuver with my T64s and pull them back a bit towards the OBJ
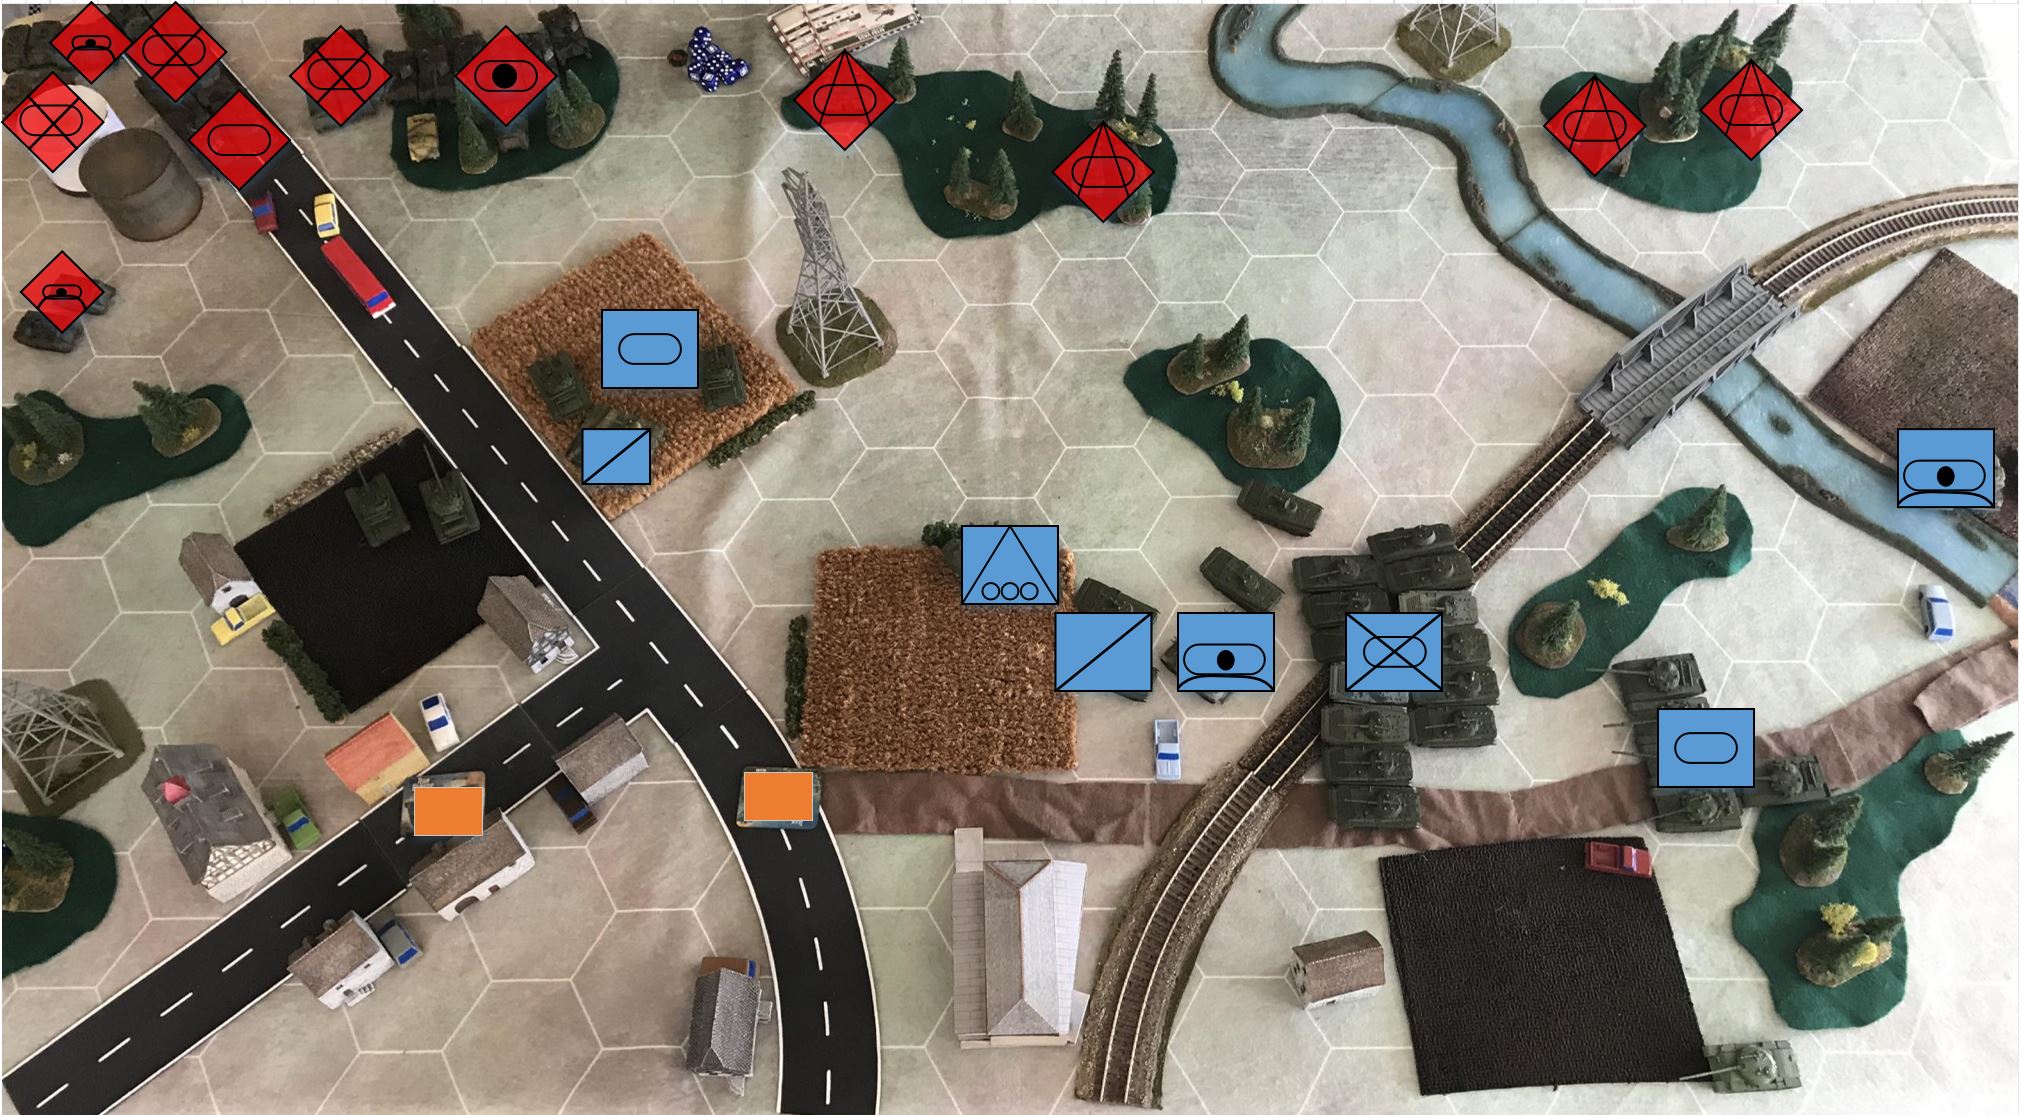
The US Player runs his 2 remaining up to contest the OBJ. His M113s do a road dash and follow. (In hind sight I should have used the successful Shoot and Scoot to put my T64s in the Road as a blocking force.) His other M113s and PIVADs continue pushing the Western flank.
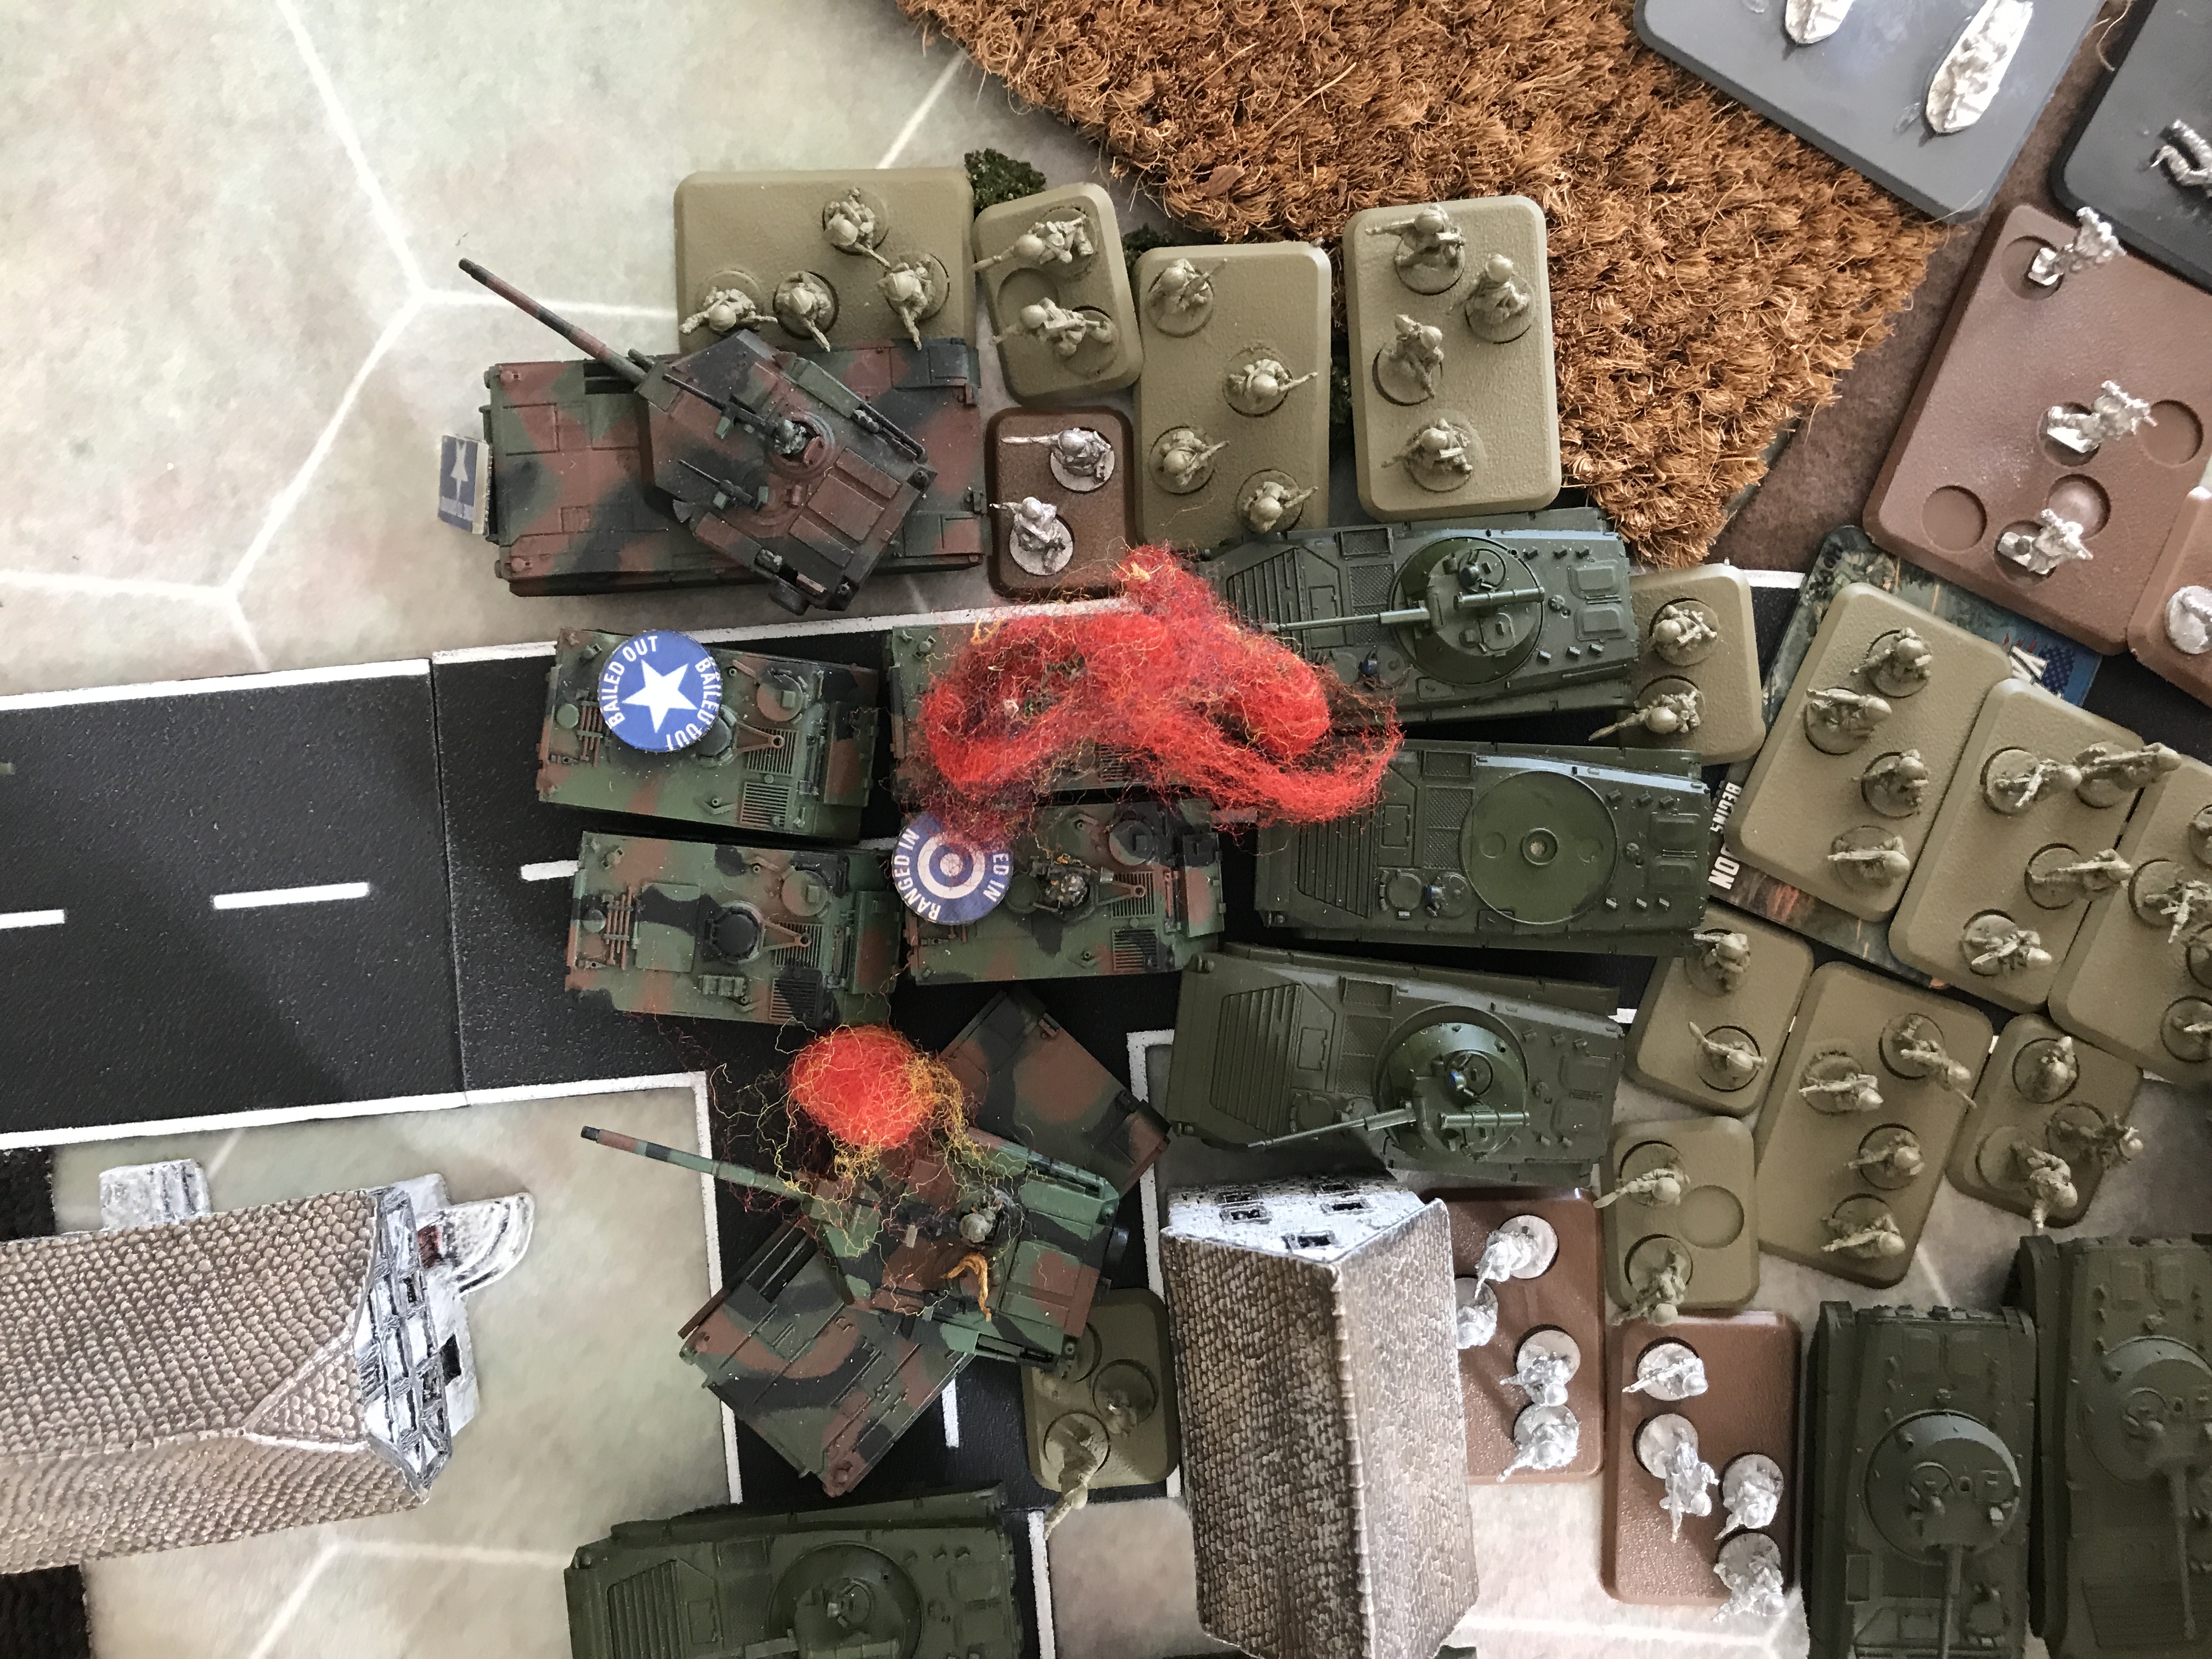
During the Shooting step both remaining ITV units engage my lead T64 and all missiles miss.
His M1s swivel turrets and put 4 rounds into my rear. One dead T64 one bailed.
His dragon teams engage the T64s and get another bail.
PIVADS engage my lead Recce unit, one dead one bailed.
Other shots fired and missed
Copperheads rain down on my BMP INF CO. Only 1 hit. Dead BMP.
End of US turn
With both of my T64 COs firing I am only able to kill one M1 and Bail the second. My BMPs kill 1 M113 and none of the passengers survive. Bail 2 more.
The also kill one of the PIVADS to my west.
In looking at that last photo I think I have won the game right here. For some reason we didnt realize at the time and kept fighting. My opponent and I have talked and agreed
The 1 Pivad, Sole M113 and Sole M1 all pass morale and stay in the game.
The M1 remounts (the last M1 in the unit was bailed, should have been removed)
The M113s do not remount.
All Infantry dismount.
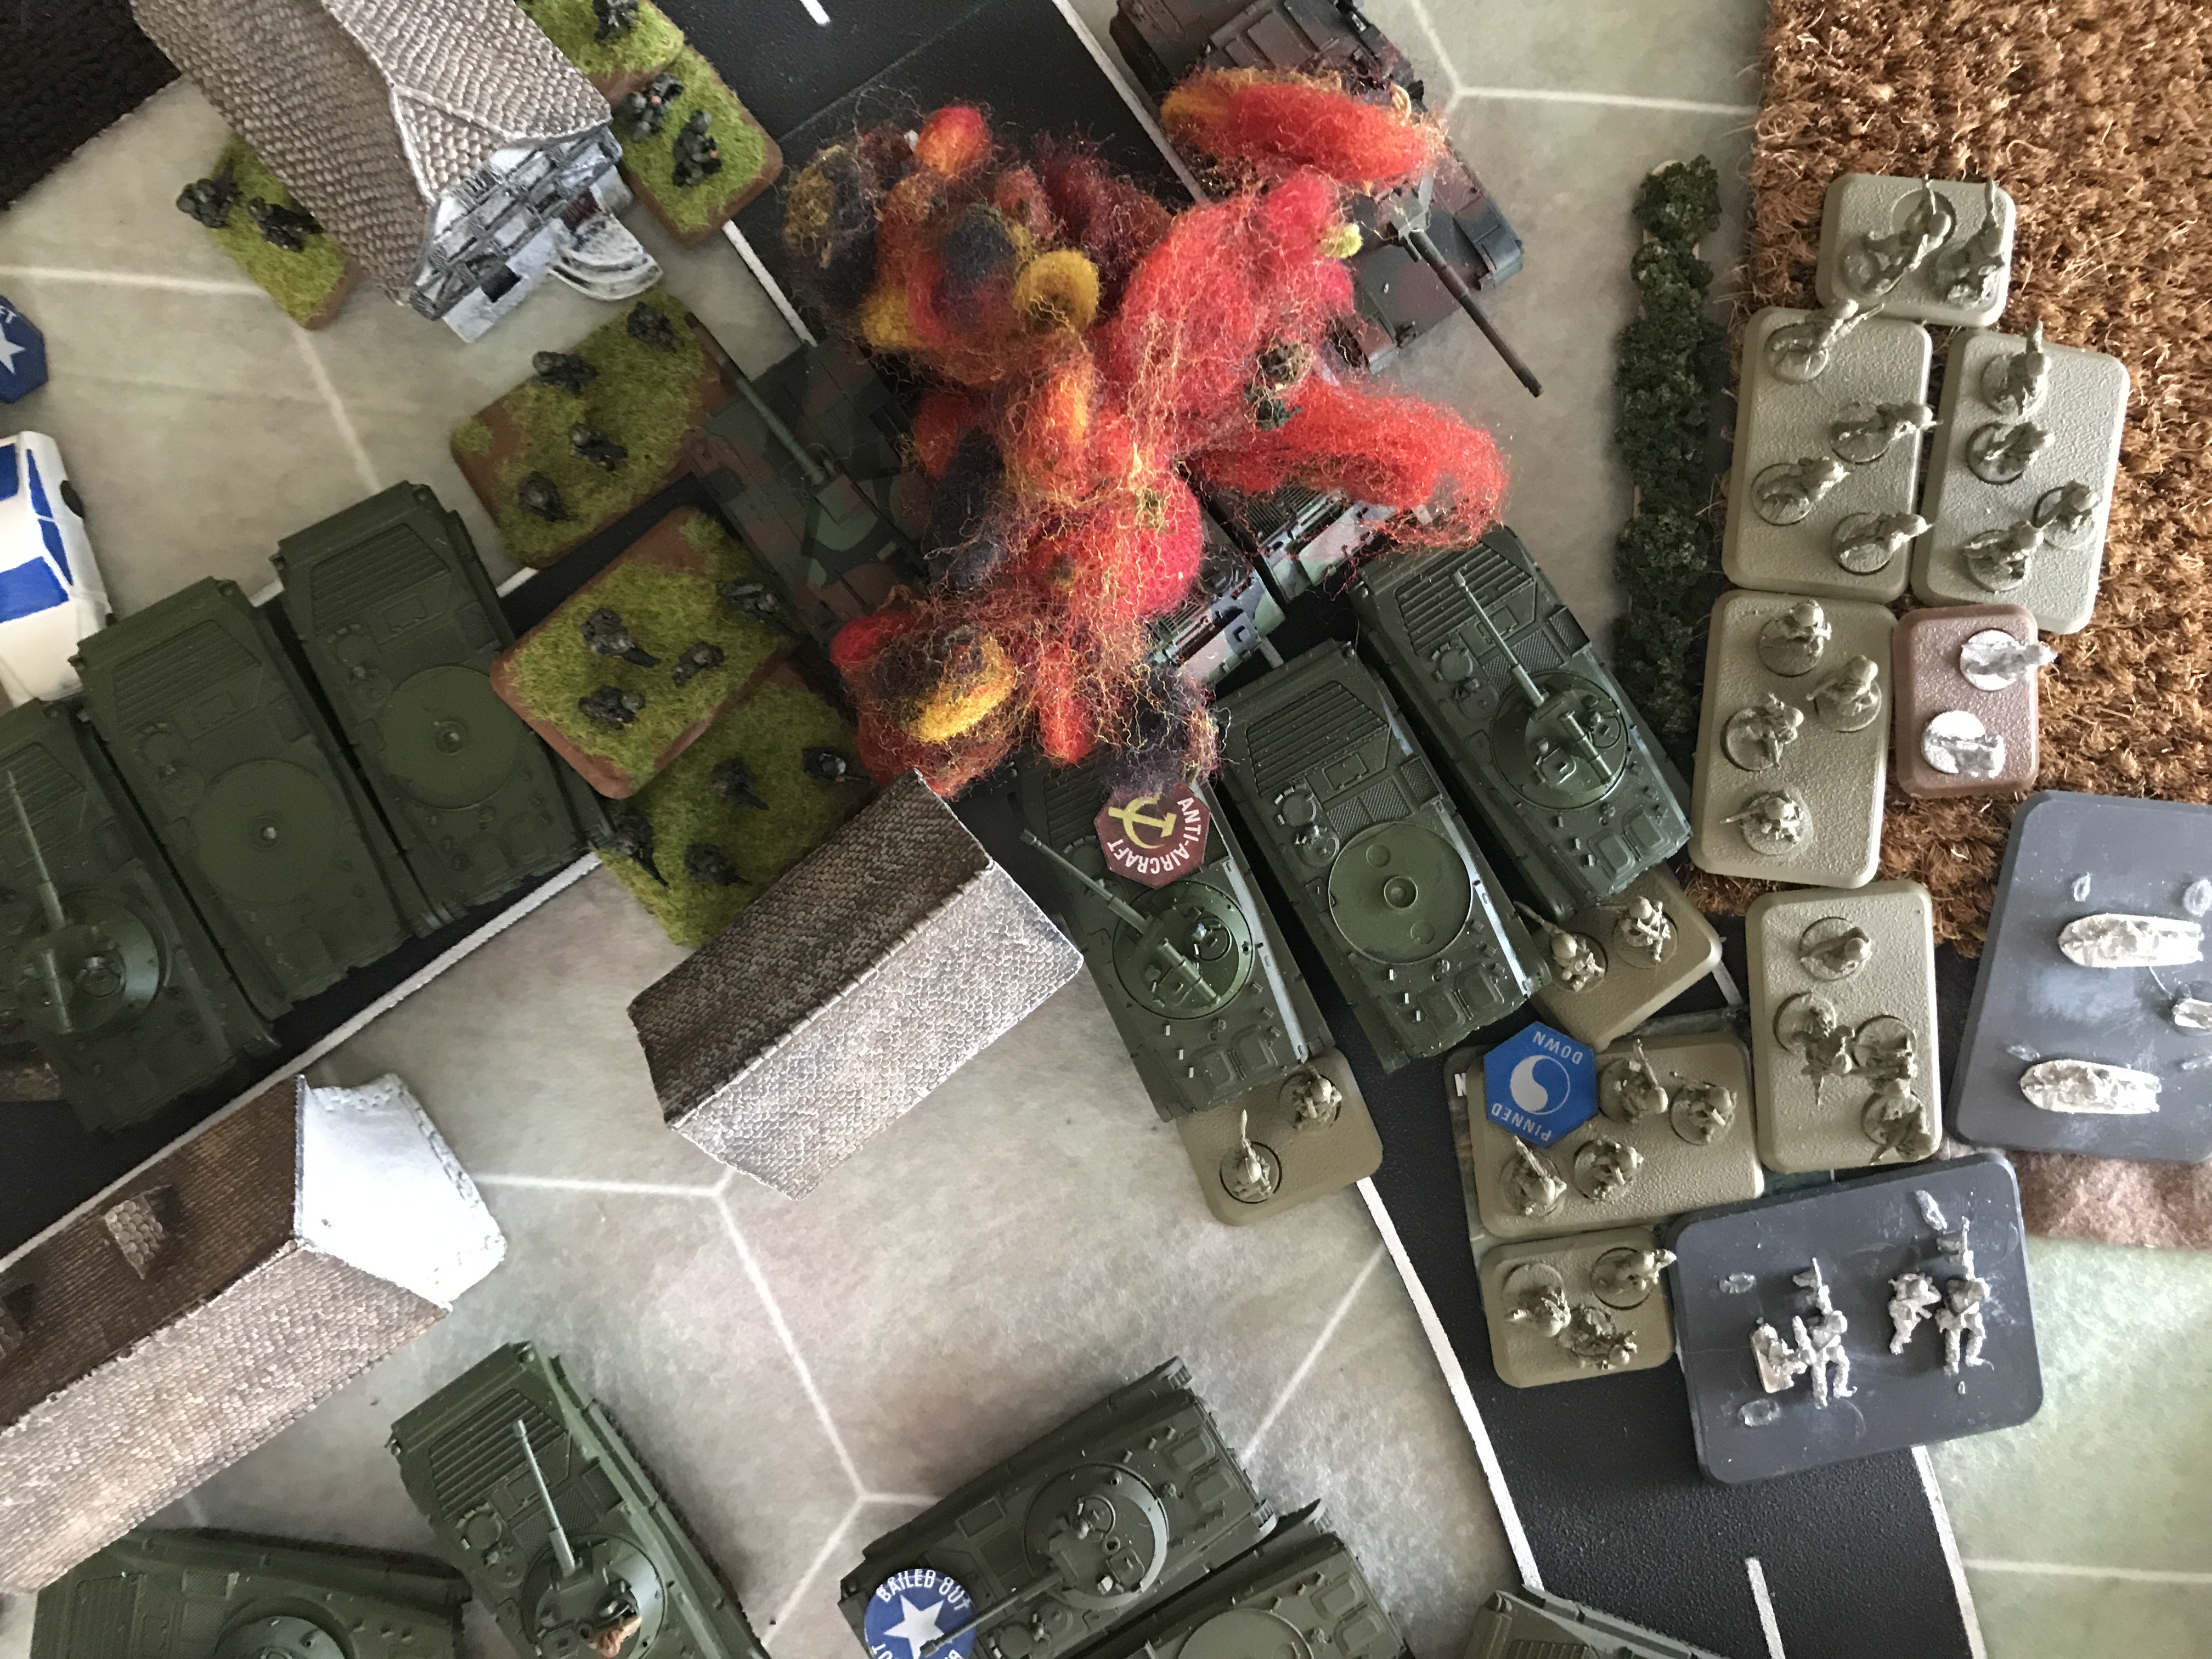
M1, ITVs and dragons all engage my T64s. 1 dead and 3 bailed.
INF fires on BMPs and bail one.
My T64s fail moral and both COs flee the battle field.
I maneuver my CO and the last Recce BMPs to take a shot at the remaining M1
I set up my INF to assault his dismounts NW of the OBJ.
My Spandrells, and BMPs all fail against his M1 but my T64 succeeds. (I should have started with the AT weapons and saved the BMPs for firing against his inf)
My ZSU engages the 113s and kills the remaining vhicles.
The defensive fire is still very intense. My assault is driven back and my INF is pinned.
The US destroyed my last recce unit and eliminated the 2 vehicle ZSU unit.
Dragon teams kill my Command T64.
A number of my INF BMPs are bailed or destroyed.
My INF rallies and is un-pinned. None of my BMPs remount.
I rush my remaining ZSU from the east to help support, but waited too long to move them, they remain out of range.
I maneuver as many of my remaining forces as I can to get shots against the Inf unit that is contesting the OBJ.
I succeed in finally eliminating the INF stand and end my turn.
I have 1ZSU unit, and my INF Co left. Everyone else is dead.
This was a real drag out battle. Hard fought on both sides. I know that I discovered a couple of things that I would probably do differently in the future, as did my opponent. Hindsight being 20-20 and all that. i have played TY maybe a dozen times since it came out, and this one truly stands out. Great Game, Great Opponent.
Battle Report Author
Army Lists Used In This Battle
Recommend Commander For Commendation
Share this battle with friends
AlohaRoverWins

Avesome battleplan, great work!
It was a nail biter that is for sure. And I believe we were done in just over 2hrs. It felt longer.
Well you sure turned the Frankfurt Gauntlet on its head!
Fantastic battle report.
Sets the standard 🙂
Hard fought. How many battles in history have proceeded even though they were obviously hopeless, and then reversed themselves. Your ‘error’ probably made for greater enjoyment
I agree with your observation that US are at a severe disadvantage here. Either way, good report!
Pete –
Well done! A very intense game.
Bob
Great report. Love the maps etc. They add a lot of flavour.
Looks like it was an awesome game. Great report and congratulations on the win!
I clicked publish one turn too early, and added the last few bits.
Great battle report! I do like how everyone are adding tactical maps 🙂
Edit: didnt realise it was a win at first, only showed us turn 4 and not soviet turn 4!
Congratulations instead!! 🙂
Great battle report! I do like how everyone are adding tactical maps 🙂
Sad to hear that Warsaw Pact didn’t bring this victory in :/ Next time!
Awesome report Comrade! Congrats on another victory,