Fought At Ruhr
2406 days 2 hours 8 minutes ago
Battle Report
Combat near Paderborn
100 POINTS
Another telebattle. This one took about 5 hours to play over two nights; we're getting a little more proficient at sending moves back and forth. Someday, maybe, it will take less time than writing the report. More likely, we'll slow down to something manageable.
This time we decided to showcase a different army. The Belgians haven't got much talk in the game, mostly because we have no list books, but they used (in their front line units) German Leo I tanks, a mix of British and American vehicles in their recon, and had a slightly different organization, retaining 3 platoons of 4 tanks into the '90s. I'm sure their skills and morale will be endlessly debated when the books come out, but we decided to use the German skills, tinkering only with the German recon units to reflect the actual Belgian mixed organization.
Since this was a tank battle, the Milan/TOW mix didn't matter.
We used Assault Map C 'Falkenburg' which has the flavor of the north-south valley leading from the Ruhr area to Paderborn, an important rail nexus, and the last big town on that axis before Kassel. It's also about where the I Belgian Corps should be lurking.
Prelude
Polkovnik Bayan Khan Ursinov drank the mushy soup. The holy woman had made some for his headquarters. It was quite good. Bayan trusted the woman because the fresh vegetables were dedicated to the wounded, and what they couldn't consume went to his staff, with him getting last dregs. He wasn't entirely sure he could trust the woman, but he was beginning to believe they respected each other. She was surprised when he didn't shoot prisoners out of hand, but instead turned them loose heading west. He couldn't guard them - the prisoner count would be some 6,000 now if he had - and he wouldn't shoot them. Most had been logistics troops of four nations, overwhelmed before they could react. So he took their pride away by taking their shoes, and setting them walking. Let NATO figure out how to feed them and reshoe them. Officers he kept, as they had some value. His KGB liaison was furious, of course.
There were also some thousands of enemy dead and wounded. The wounded were left behind for the civilian communities to handle. The dead were counted, catalogued, and recorded. Along with destroyed vehicles. The brigade had account for nearly 300 tanks - a complete enemy armored formation. Mostly this had happened in short, sharp fights. Yesterday they had destroyed most of a British armored battalion. Today it was shaping up to be something different.
"Forward detachment is signaling enemy in sight," announced the operations officer. "At least 60 armored vehicles. They seem to be using German, Ami, and British vehicles. Tanks are Leo Is."
That was one thing Bayan had discovered in this tank raid. If you cut down your radio traffic and use signals, or vehicle dispatches, you gave up the ability to get inside the enemy's tactical decision loop, but you stopped telling the enemy where you were. Have to write a book if I survive the battle and the court martial.
 Belgian Force - BH forgot to include 2 Leos in the Divisional Reserve platoon, and I didn't catch it until we finished the game
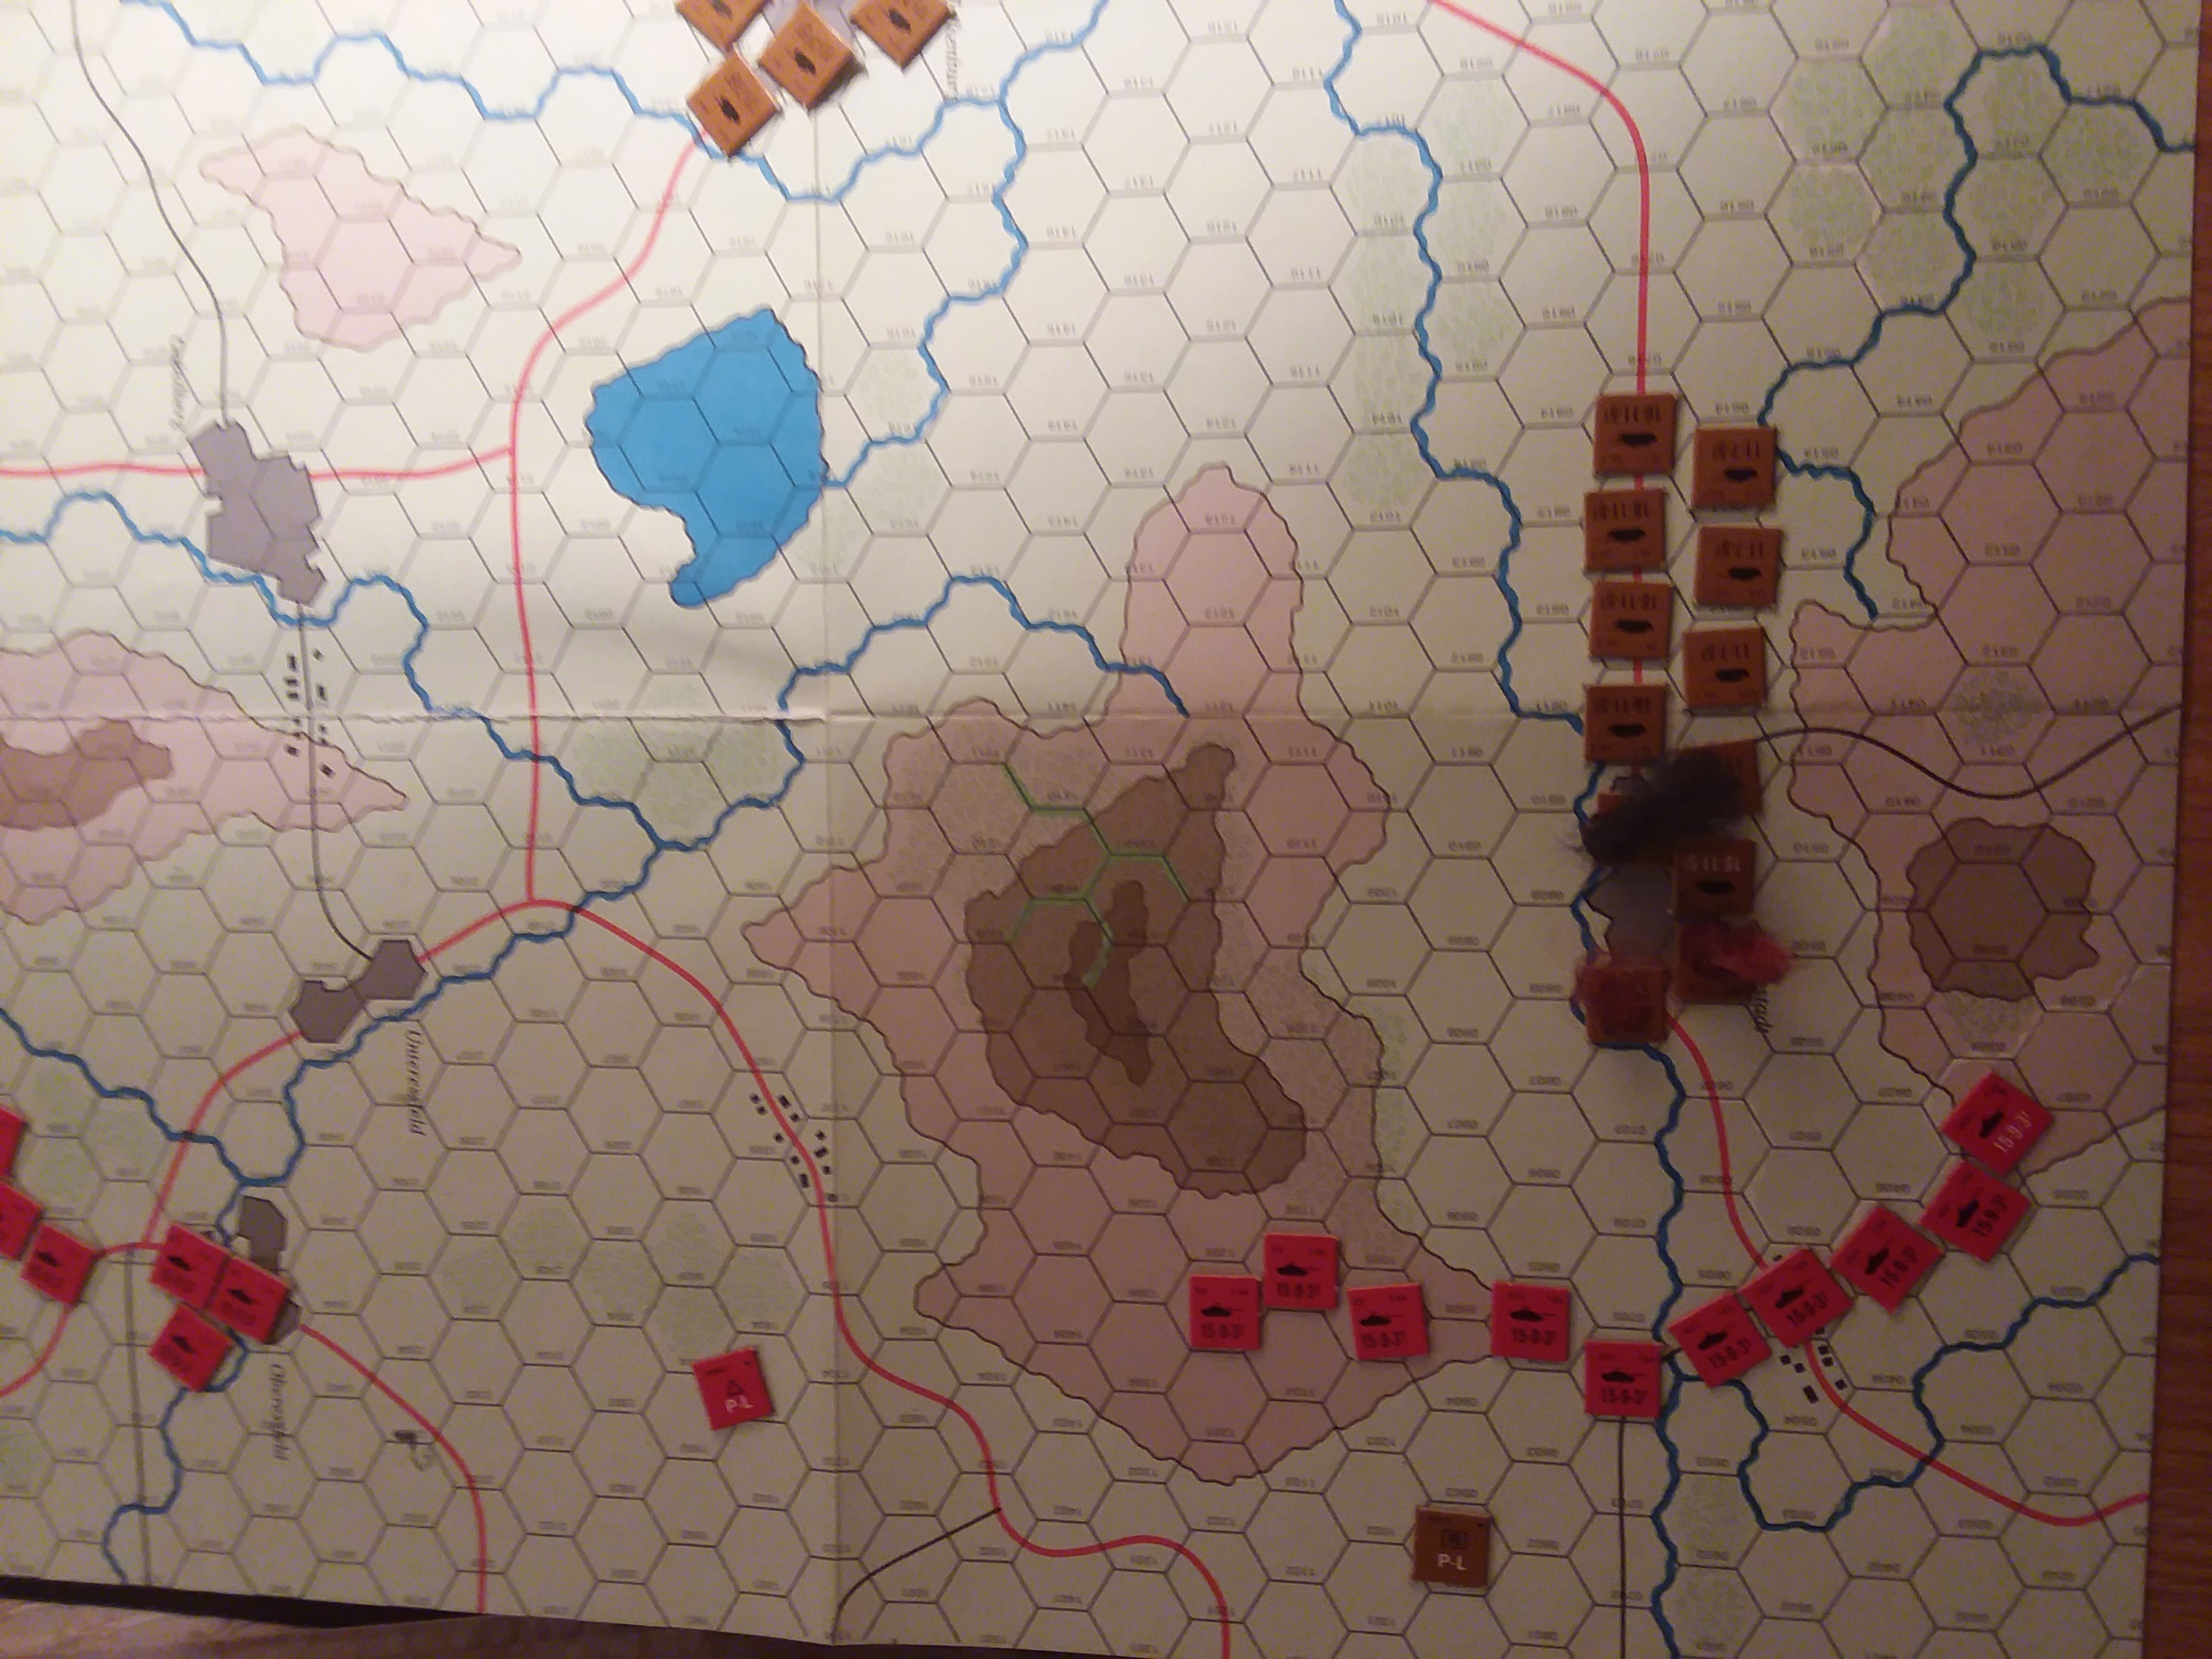
Sorry for not having a clean map shot, but it's so blurry I couldn't use it. The objectives are infantry HQ and OP counters from the game. I put one objective behind some trees at map center, and put my other in his deployment zone in the town of Falkenburg. After some advice BH put his in opposite corners of the map. I then deployed 2nd 'Battalion' of tanks on the reverse slope of Hill 309 and deployed 1st 'Battalion with the BC and No.1 Company on the center objective, and the other two companies to the east.
BH pulled the eastern objective. Hindsight, this was probably his mistake - the stream running lengthwise between Hill 1309 and Hill 309 (these are grid coordinates, not elevations) on the extreme west edge of the board limited his options for early movement. BH originally planned for a spearhead move, but the implications of having 17 tanks on table forced him to deploy 18 of his own and forgo the spearhead move. Then he concentrated on my western flank.
BH moved his western force - Company A command, 1st and 2nd platoons of Company A, and one platoon of Company B - straight up the road at dash speed to occupy Herbstadt. It seemed a good move, as it threatened to outflank my defense on Hill 1309. No shooting, thanks to the dash and my setup. I countered by slipping my whole 2nd Battalion to the west, forming a long line centered on the urban strip north of Herbstadt. I also move No.1 Company, 1st Battalion and command to the west. I would regret that later, but at the time it was a nasty move. The result was a long line of tanks, which with models on the tabletop would have been spaced so no movement was possible between them. Only one open flank, and barely achievable from the valley floor.
I fired 8 times getting three hits on 1st Platoon Company A. Glass cannon syndrome applied. Three Leo Is burned, and the fourth decided to check for damage well to the rear.
BH continued with his plan, bringing a reinforcing platoon up the road and flanking my line (barely) with one Leo, and firing as he could with the others. He got a lot of hits, but the flanking Leo rolled a '1' and '2'. I didn't roll any '1's for frontal armor saves, so this did not work out well.
My turn saw me close in and shoot up as many tanks as I could. This time I was rolling 11 dice, and managed 4 hits again, killing 3 tanks in 1st Platoon of Company B, and one from 2nd Platoon of Company A. This Belgian platoon also rolled a '1'. This was too much for BH, who withdrew the survivors with a blitz move and then a dash to get behind some woods to the south. The combat around Falkenburg was over with 7 Leo's destroyed and 2 routed from the table.
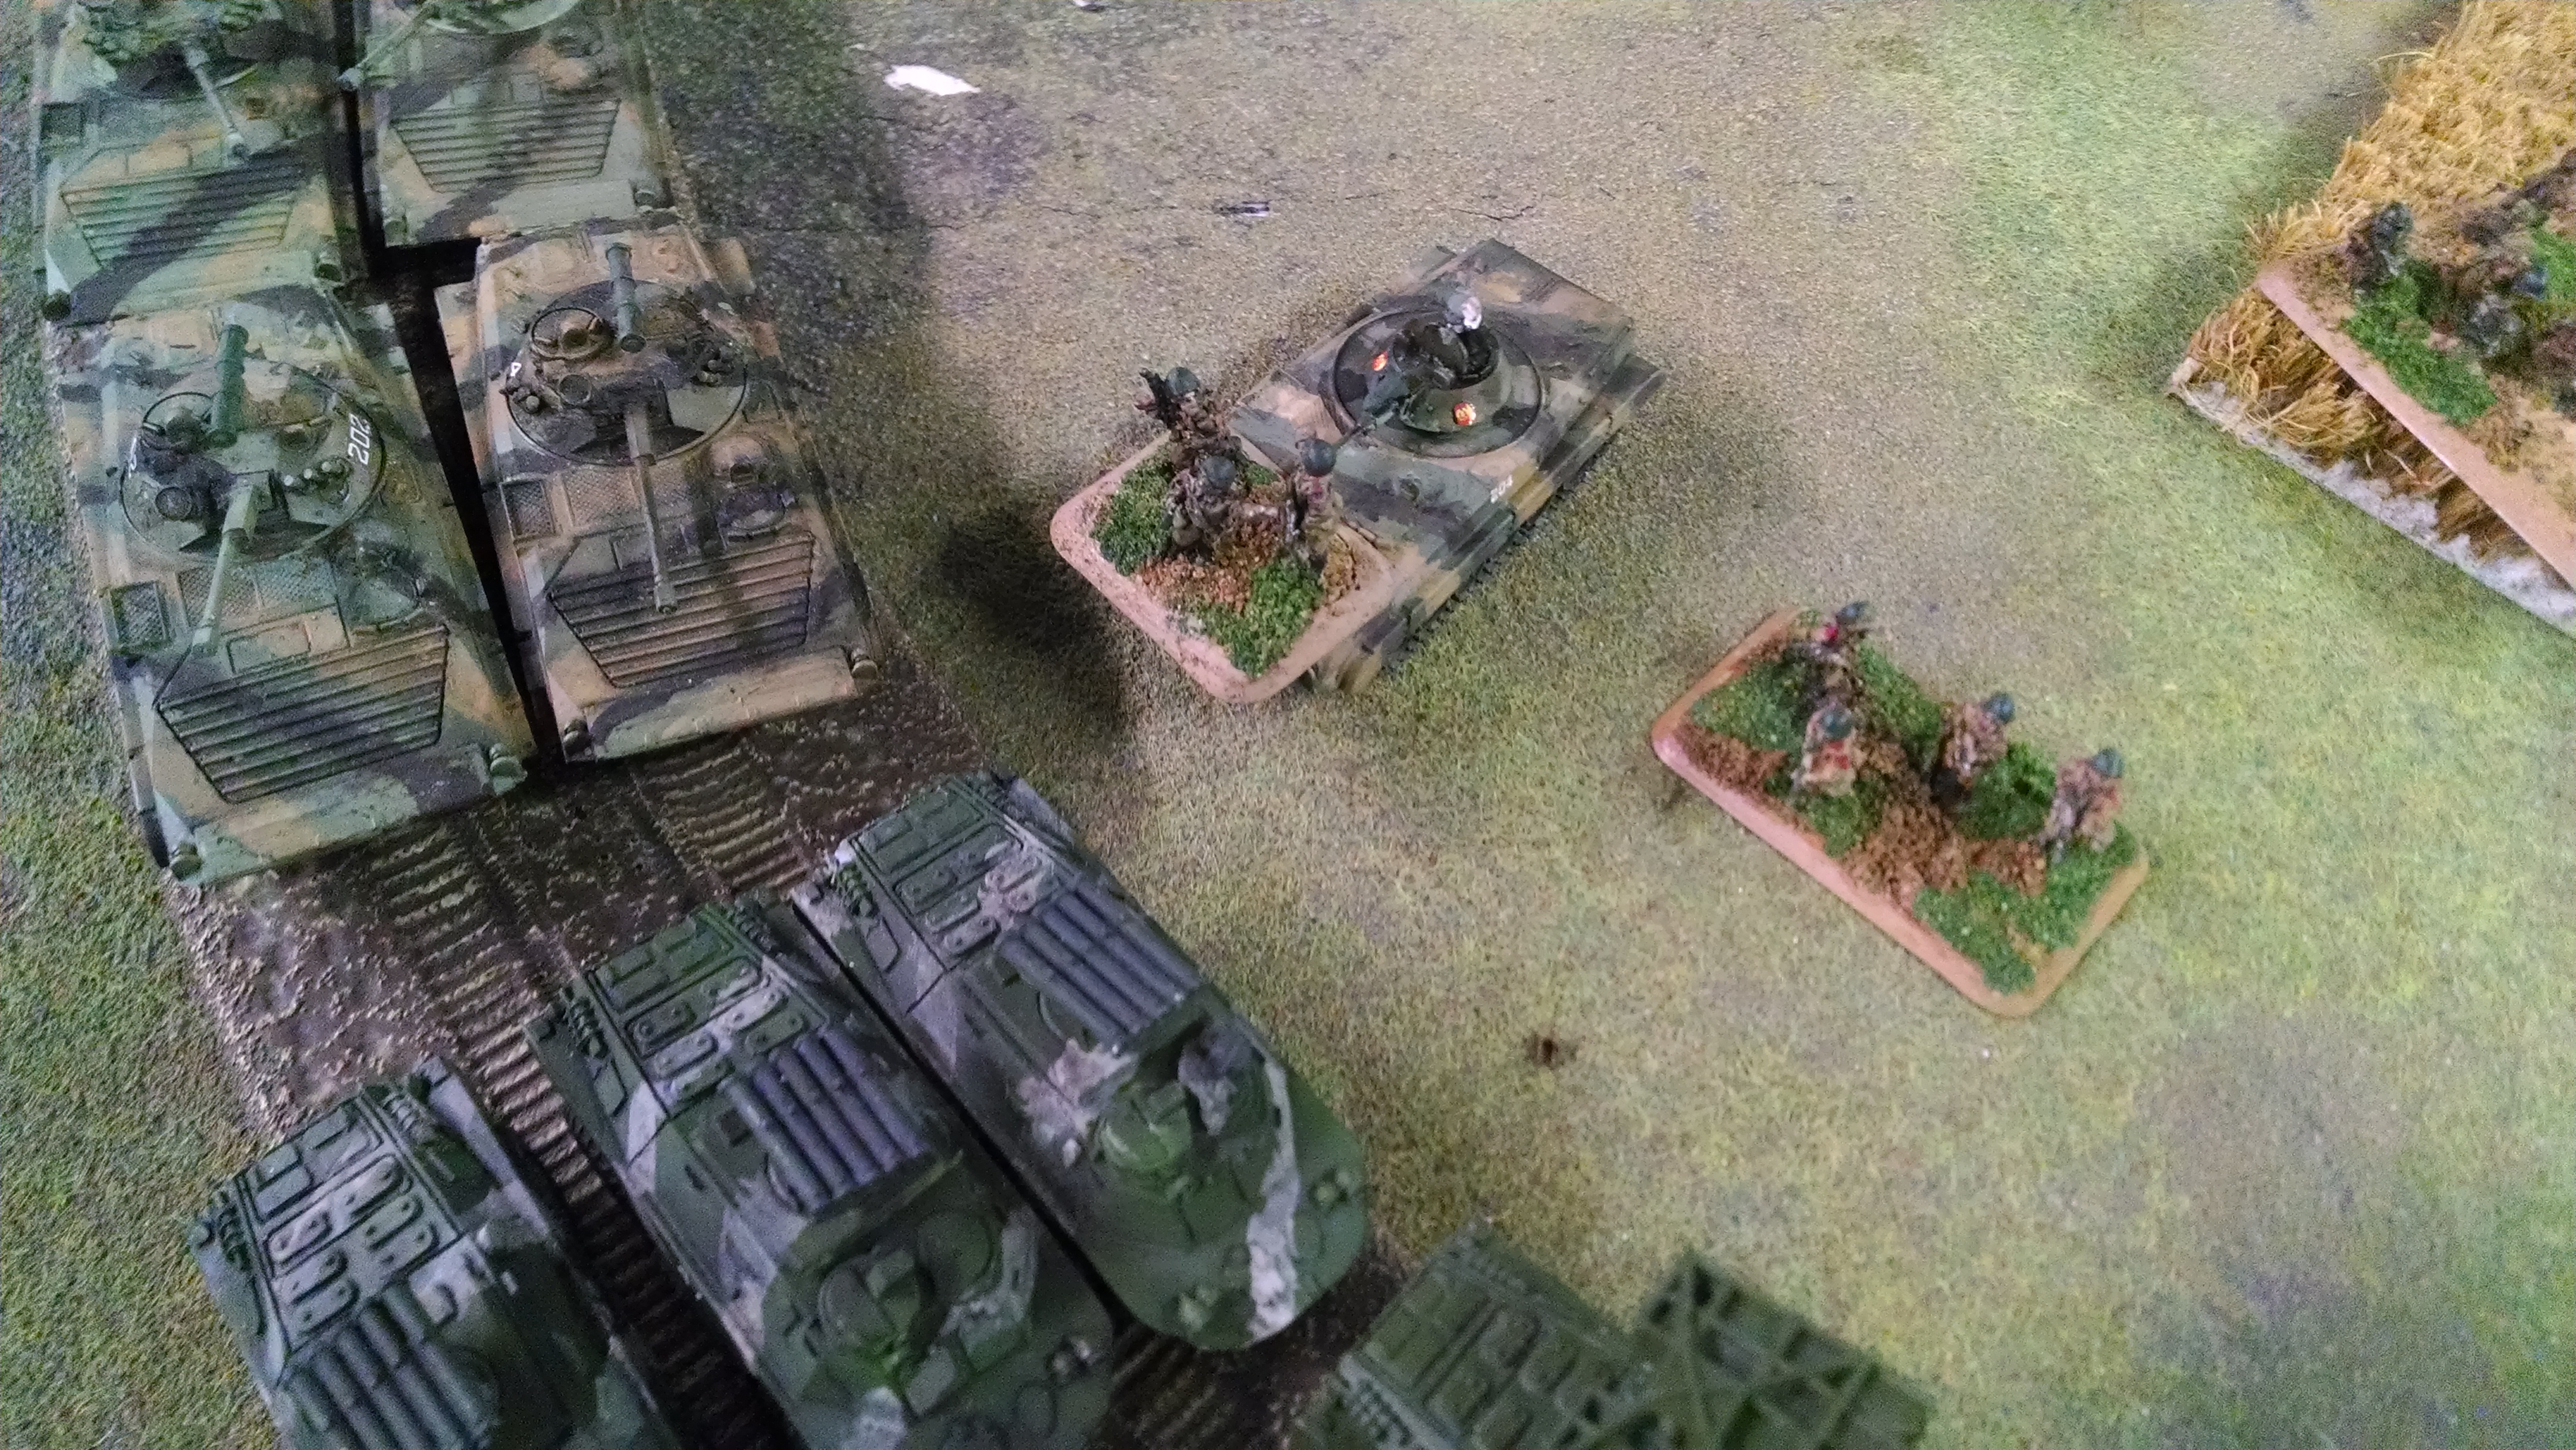
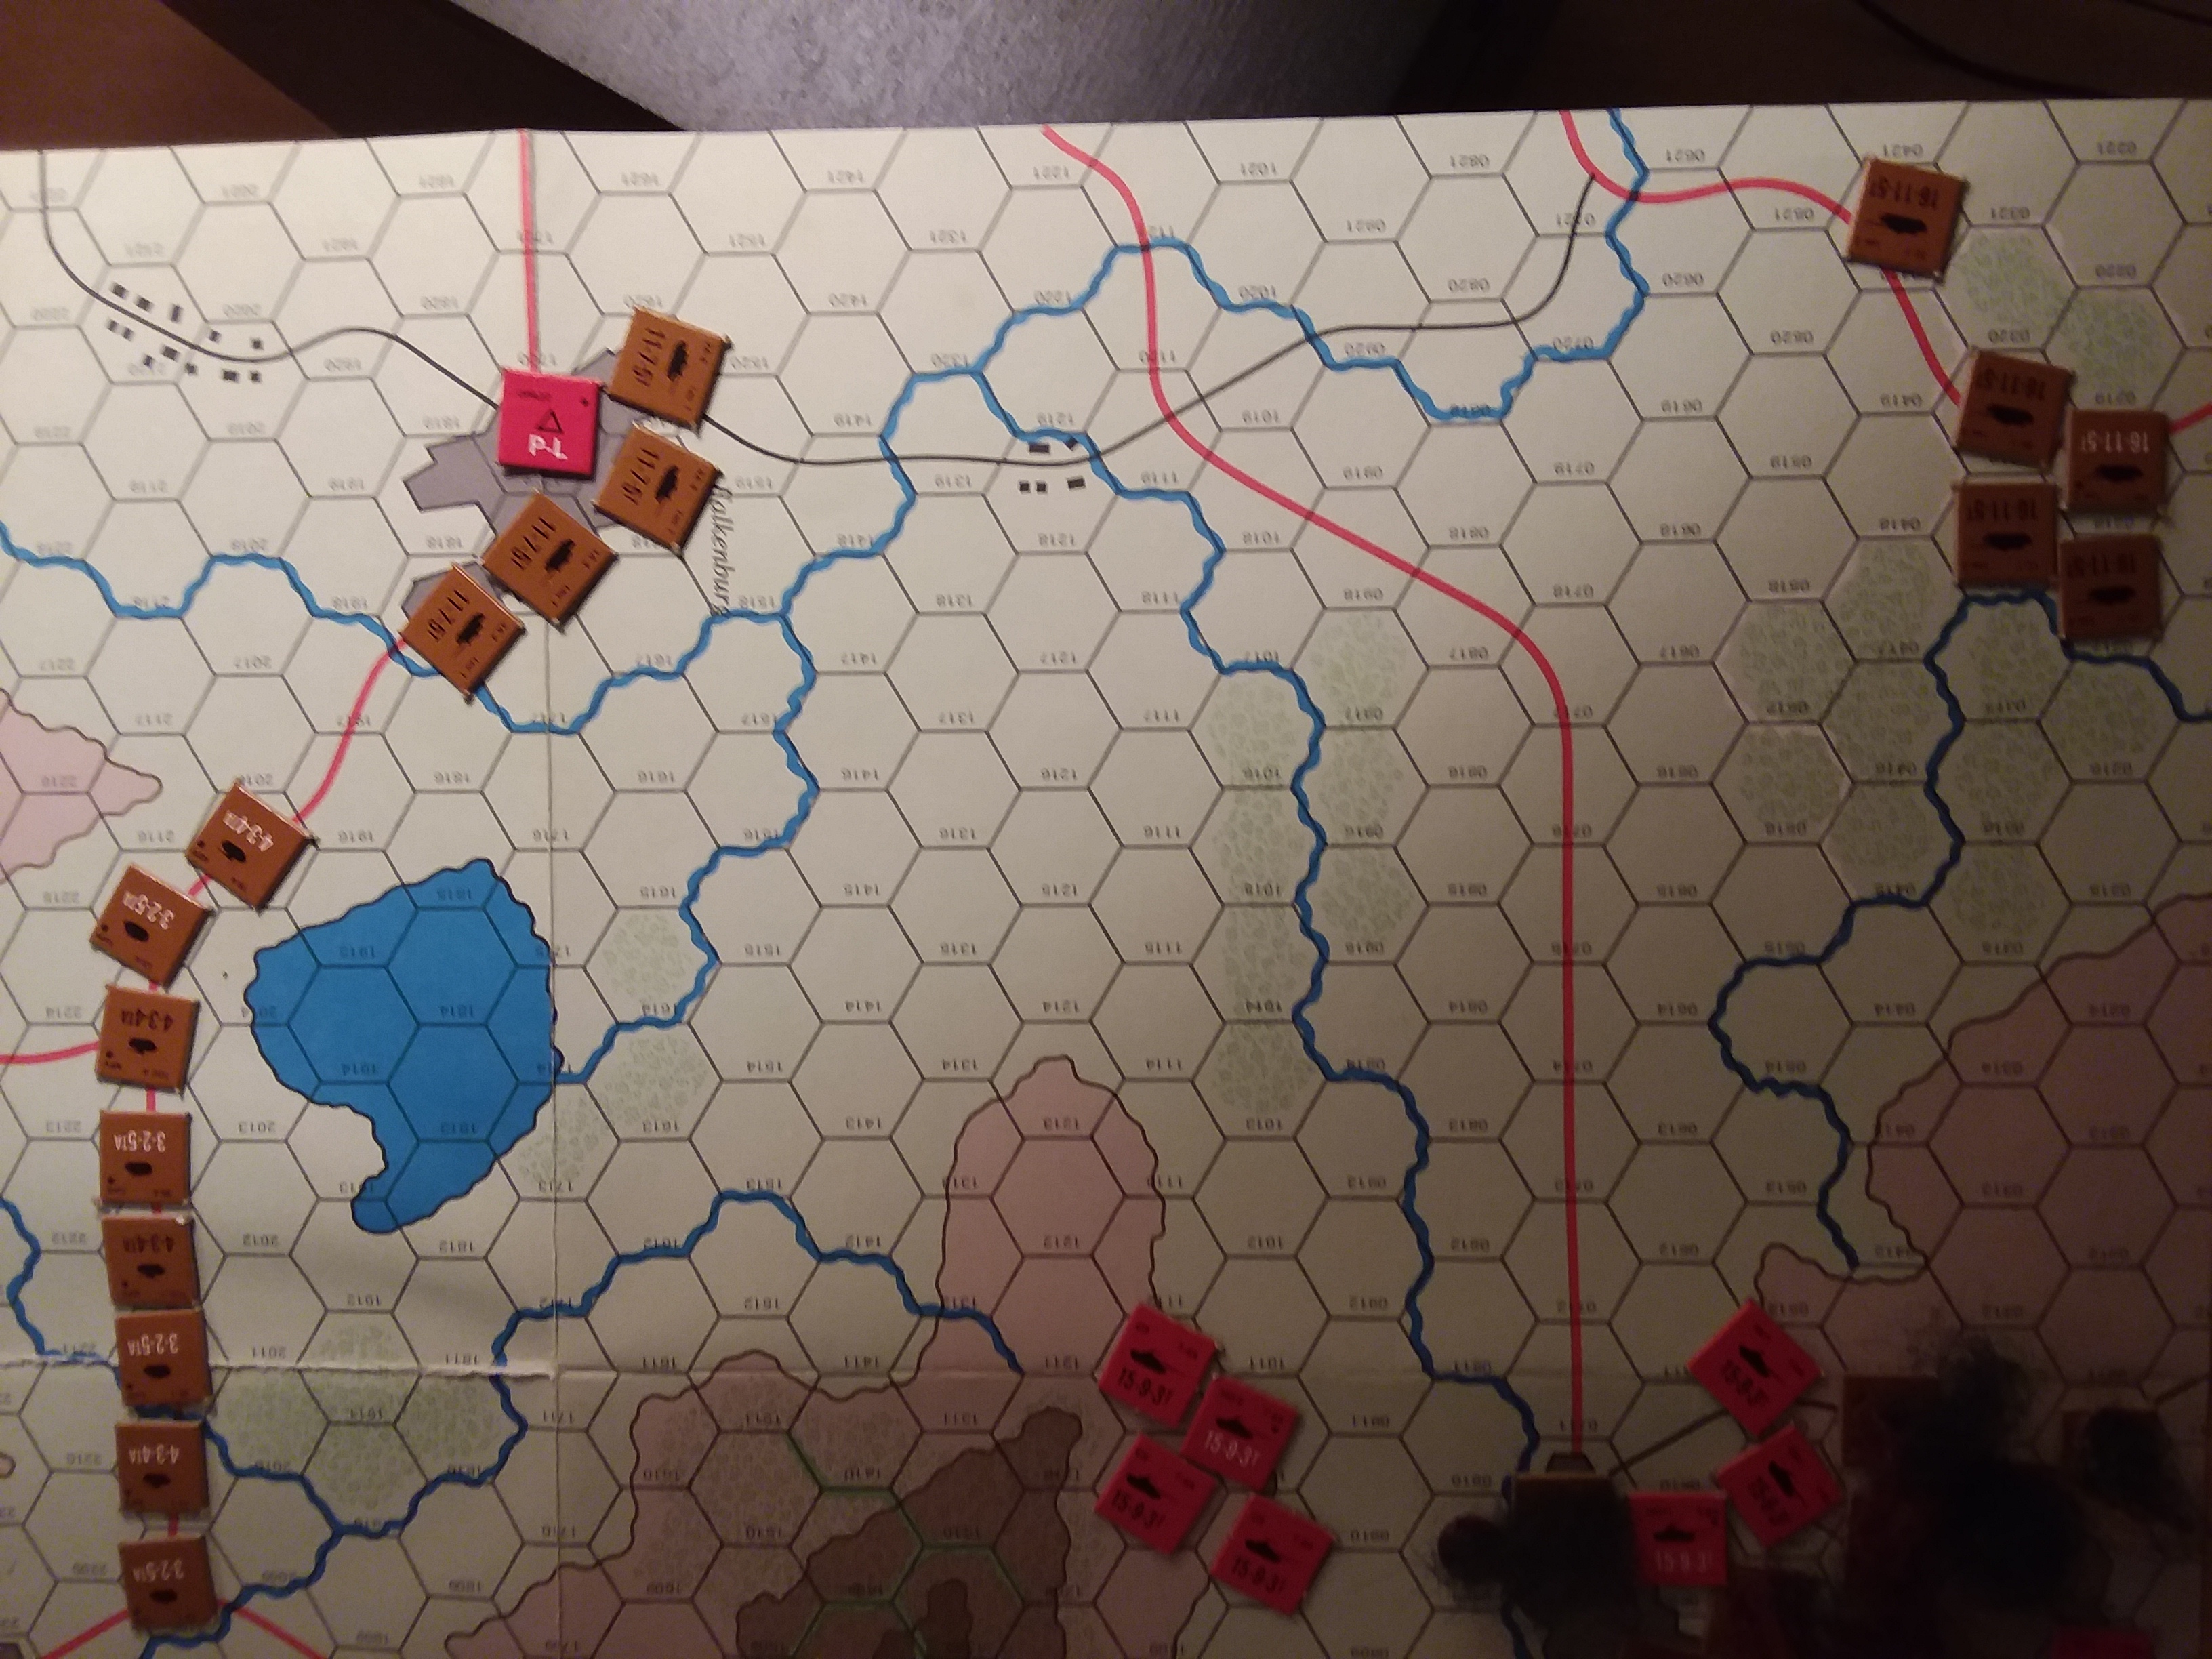 Belgian Turn 4: 1st Squadron Belgian 2nd Lancers breaks off western attack while fresh reinforcements attack the other objective
Turn 3 - Not much to see, and the picture was blurry. BH decided that feeding the 4 new tanks from Company A into the sausage machine was not wise. He blitzed his Squadron CO to get 4 hexes of space and then dashed to join the 3rd Platoon, lurking behind the woods.
My Turn 3 was nothing spectacular. No reinforcements, for one thing. With the shaken Company A out of sight behind the woods, I mostly had no targets. I moved No.1 Company, 1st Battalion around the edge of Hill 1309, and was able to toss a long range shot at the Squadron Commander, who bailed. Naturally enough, he remounted
BH thought about resigning now, and I pointed out he could get reserves and possibly turn the game around or eke out a draw. BH then demonstrated my astonishing predictive powers by rolling a 5,6,6,5 for reserves. All three remaining units stormed onto the table, and BH launched an all-out assault on the other objective. His shooting bounced off 1st Battalion's No.1 company.
Holy crap! His Leos and scout vehicles had moved as much as 15 hexes, roughly half the distance to the goal, and normal tactical plus blitz would put him in flanking positions on 2nd Company of my 1st Battalion. Worse, No.1 company and the BC were on the other side of woods-covered Hill 1309, and could not reach firing positions to support the critical zone in one move. Completely horrible, no reinforcements.
There was nothing left to do but press the attack on Falkenburg. I did so. No.1 Company 1st Battalion and its intrepid BC rolled over the hill, taking position on its forward slope. This put the tress in the way of flanking fire from Company A's survivors. No. 2 company of this battalion took up fighting positions in a village while No.3 company moved out from behind its woods to shoot southeast into the onrushing horde.
In the west, as many tanks as I could fit took up firing positions looking east on Hill 309. That put them just above trees, and gave them line of sight to some parts of Falkenburg.
Scattered fire from 1st Battalions No.3 and No. 2 companies wrecked Company A's recon troop. The survivor passed morale. A long shot from No.3 company destroyed one of the reserve platoon's Leo Is. But the next game changer was the 8 shots that hit Company B's 2nd Platoon, killing two and bailing one, and, you guessed it, another Belgian platoon left town. (We really were using '3+' for the Belgian morale).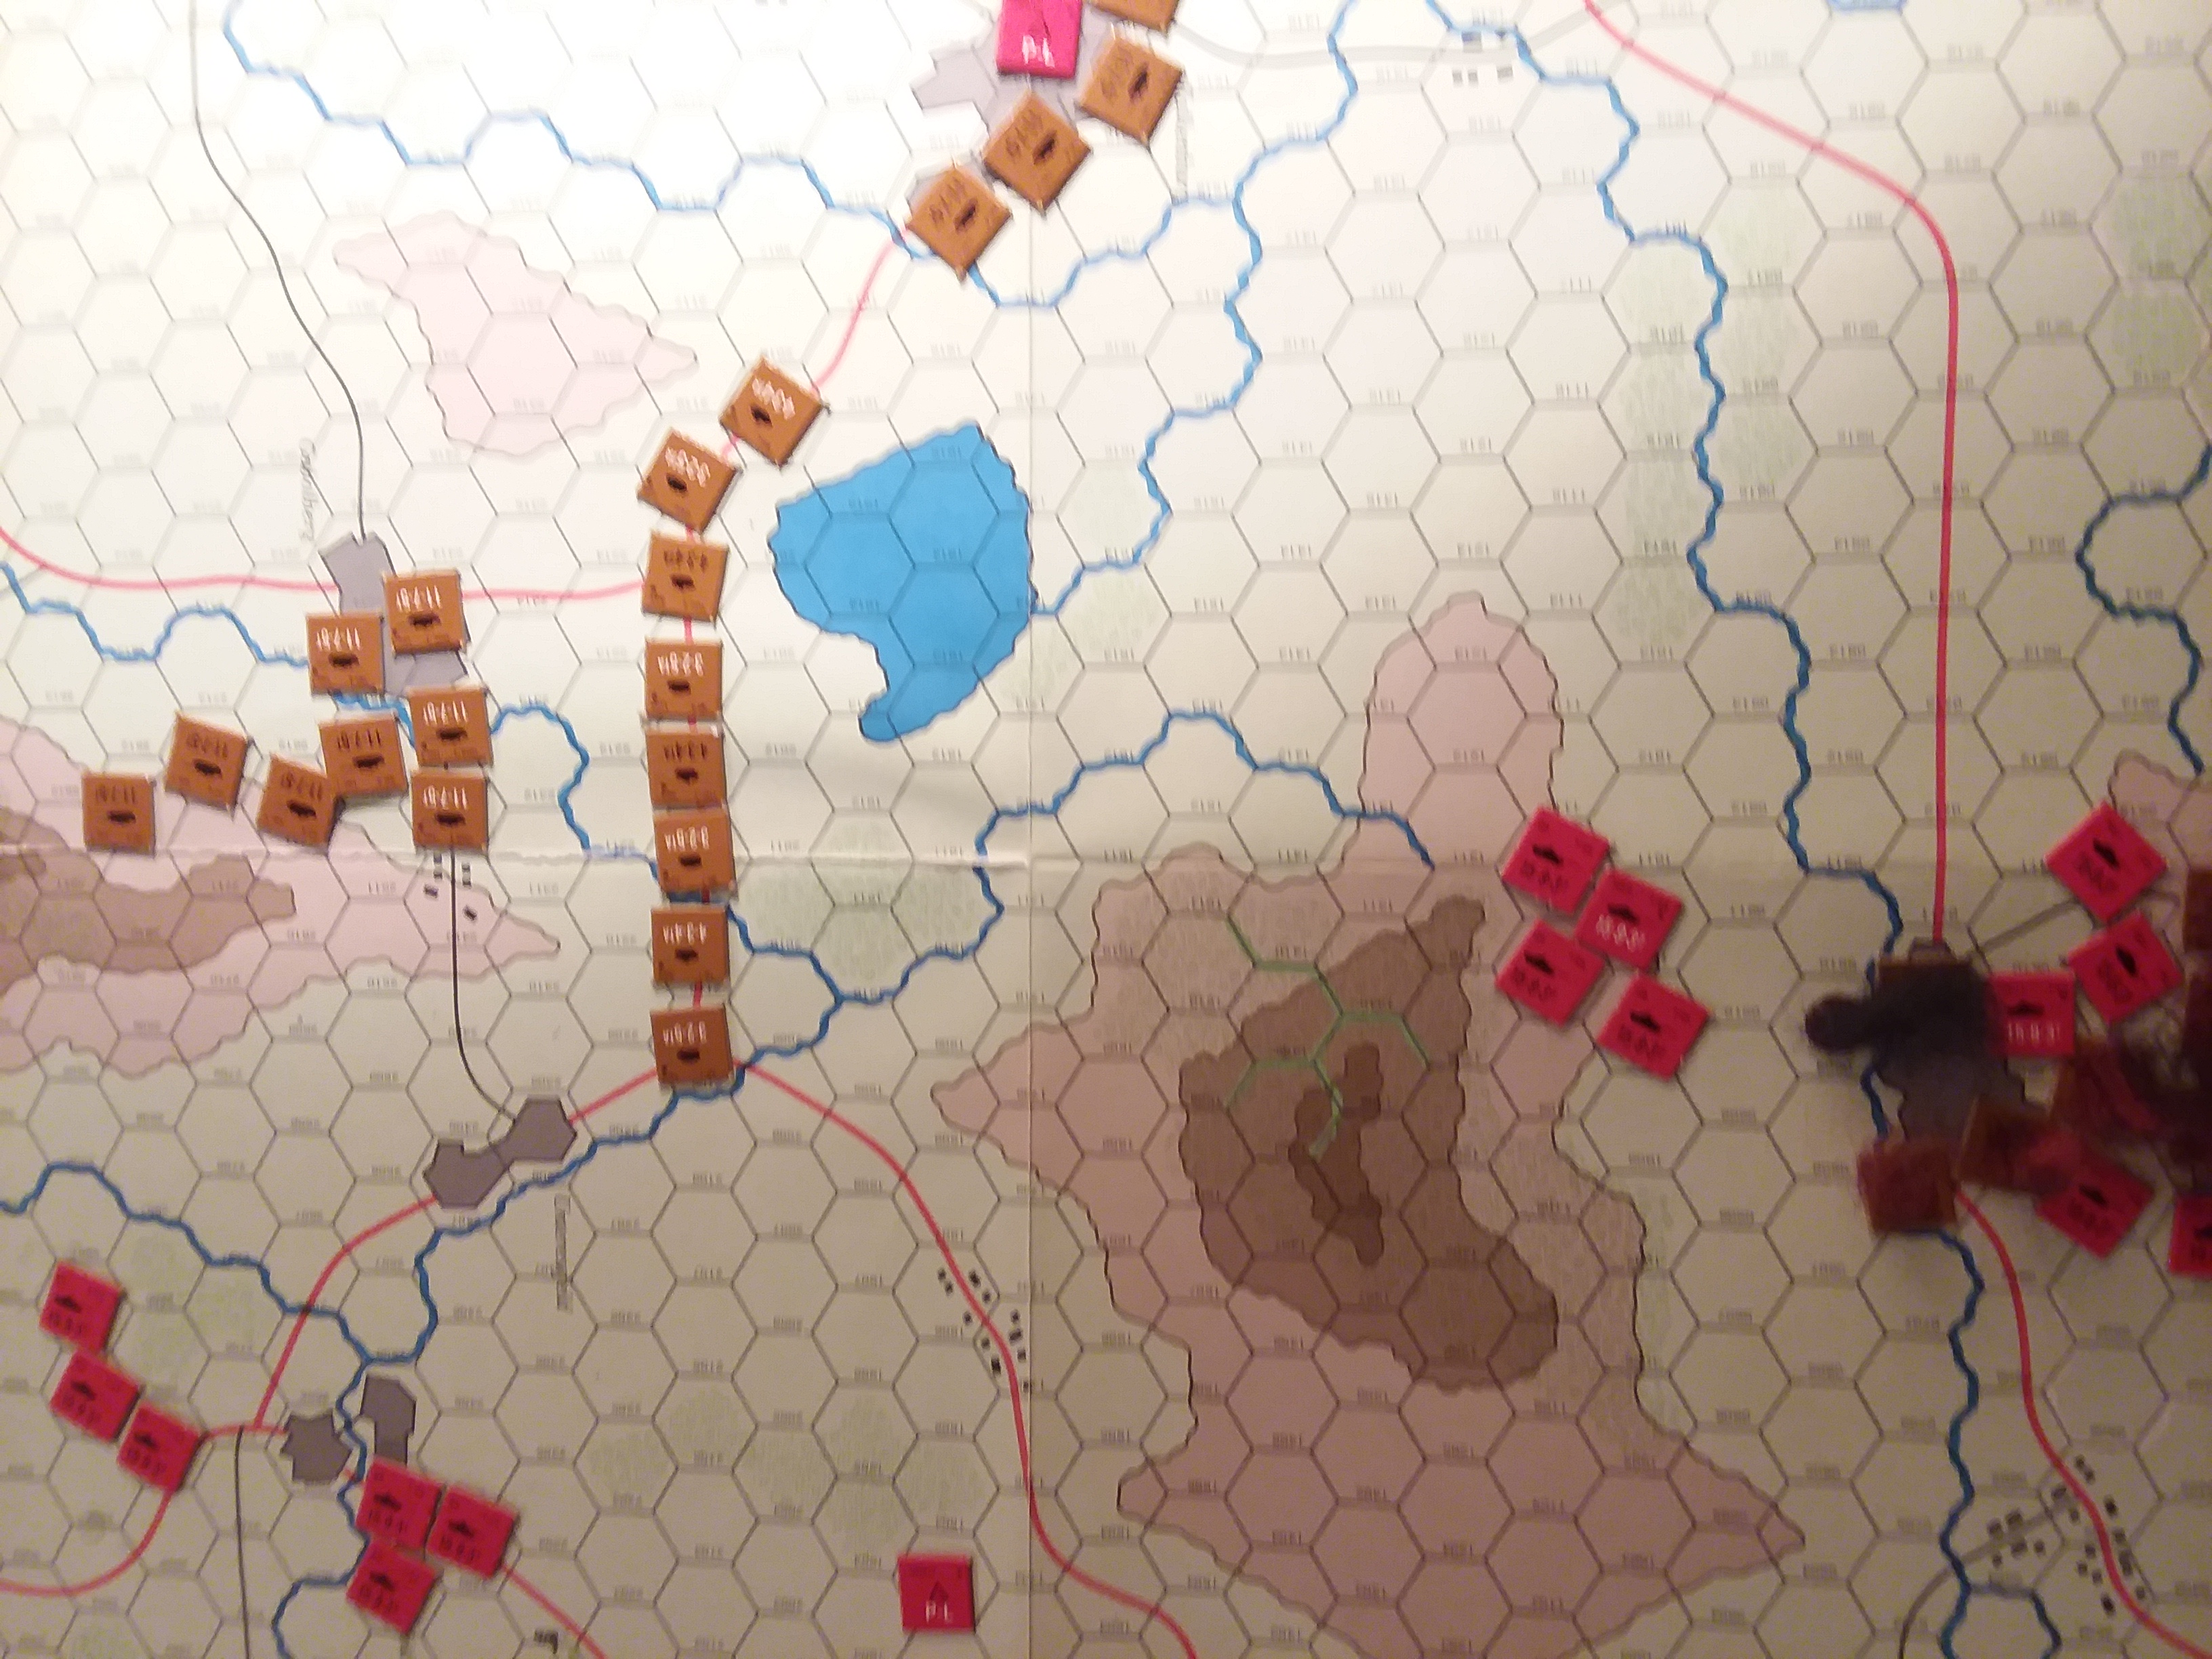


My shooting forced BH to gamble. There was nothing left to hold Falkenburg unless he pulled forces back from the assault, conceding the game. So he instead moved the remnants of Company A east toward Falkenburg, but was unable to reach it. He also pulled back the recon troops. Meanwhile Company B's survivors with the division reserve continued the attack.
He managed to kill one T64 with flanking fire, and a hail of hits from Company A led to me having one single bail and one possible double bail on No.1 Company 2nd Battalion. Thankfully he rolled two firepower '1's to match my two armor save '1's (the odds against that, Captain, are 1,296.0 to 1, by the way - who says electrons can't be erratic).
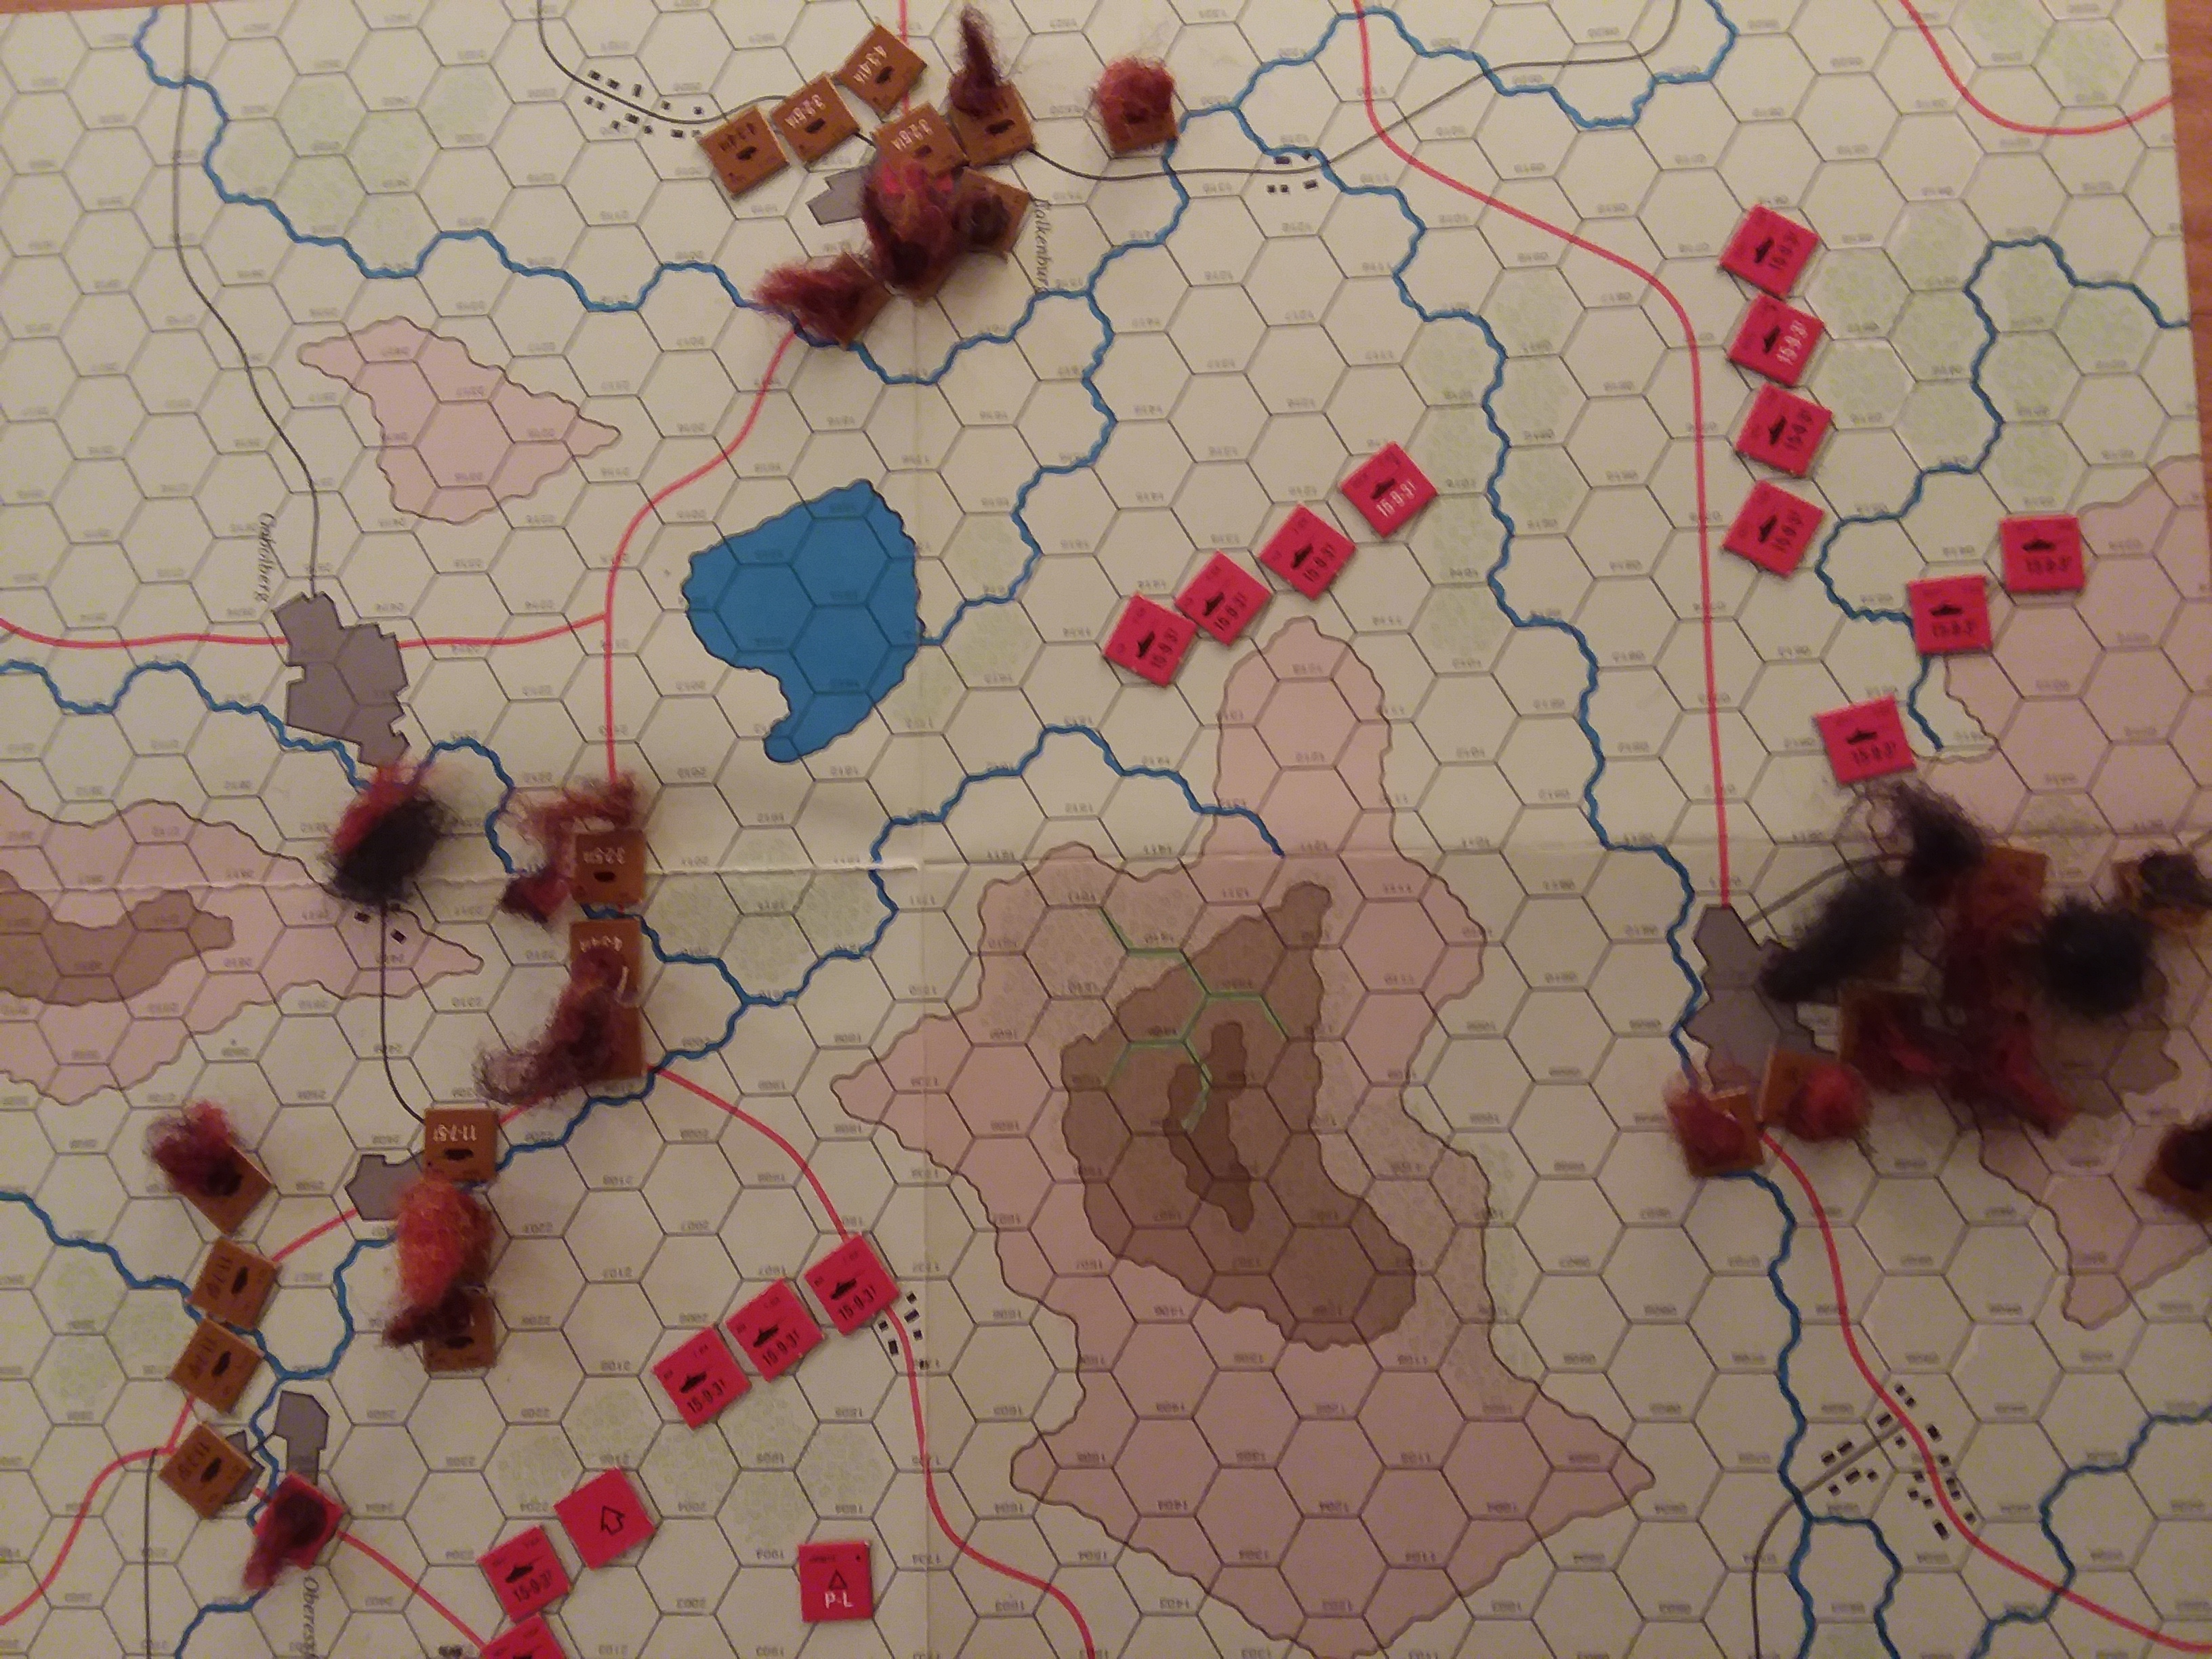
I couldn't fail to get reinforcements, but still ended up getting only one. It was enough. No.3 Company of 2nd Battalion rolled a '3' and linked up with the surviving tanks of 1st Battalion, and formed an unflankable line, save by running through the woods. The two companies of 2nd Battalion on the eastern end of the map joined hands with 1st Company 1st Battalion to engage Company A.
The game ended in a suitably bizzare fashion. 10 shots saw three hits in which I rolled three 1's for firepower, bailing the three tanks in 3rd Platoon Company A. This was enough to tempt BH into saving the platoon by adding in his CO to affect morale. Naturally enough, he rolled a '1' and the CO left the building with another functional tank and three abandoned. (Again, odds of this sequence, 1,296 to 1.)
That didn't break his army, but it did break his Company A and BH's morale. He resigned. 6-1, PACT
HOT WASH -
I was surprised and not a little disappointed to see how difficult life is for the Leo Is against the T64. It seems like you should get enough hits, particularly against small units, to get double bails or enough bails to force morale. Didn't happen in our game - terrain, refused flank formations, and the difficulty of getting all parts of a 'panzerschwarm' to shoot at the same time all have great influence, changing the math enough to produce a lop-sided result
Aftermath
Bayan watched the sad little column of Belgian survivors, shoeless, head west. The Forward Detachment and his recon units were pursuing the wreckage of the Leopard battalion - reportedly 2nd Lancers from the bumper markings on the not quite torched vehicles. 22 tanks destroyed out of 31 in this engagement, and another 7 with 12 infantry fighting vehicles destroyed after a collision with 3rd Battalion. He had just gutted the core of a Belgian mechanized brigade. A rare burst of radio traffic order him to cut through to Kassel, where he was going anyway. The Baraka had been with the women, and now was with him
Battle Report Author
Army Lists Used In This Battle
Recommend Commander For Commendation
Share this battle with friends
bayankhanWins

Nice job!!!
Nice job comrade general. Great fight, nice report.Time to close the lifeline.