Fought At Hanover
2441 days 6 hours 17 minutes ago
Battle Report
HANOVER REARGUARD: ROYAL DRAGOON GUARDS HOLD!
View Linked Report - CLICK HERE 100 POINTS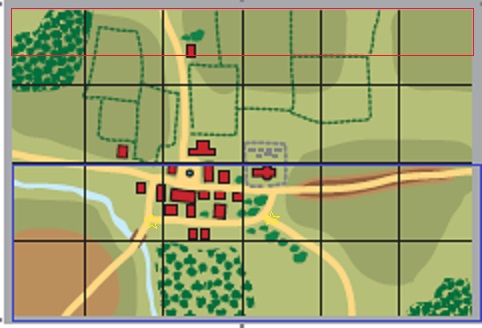
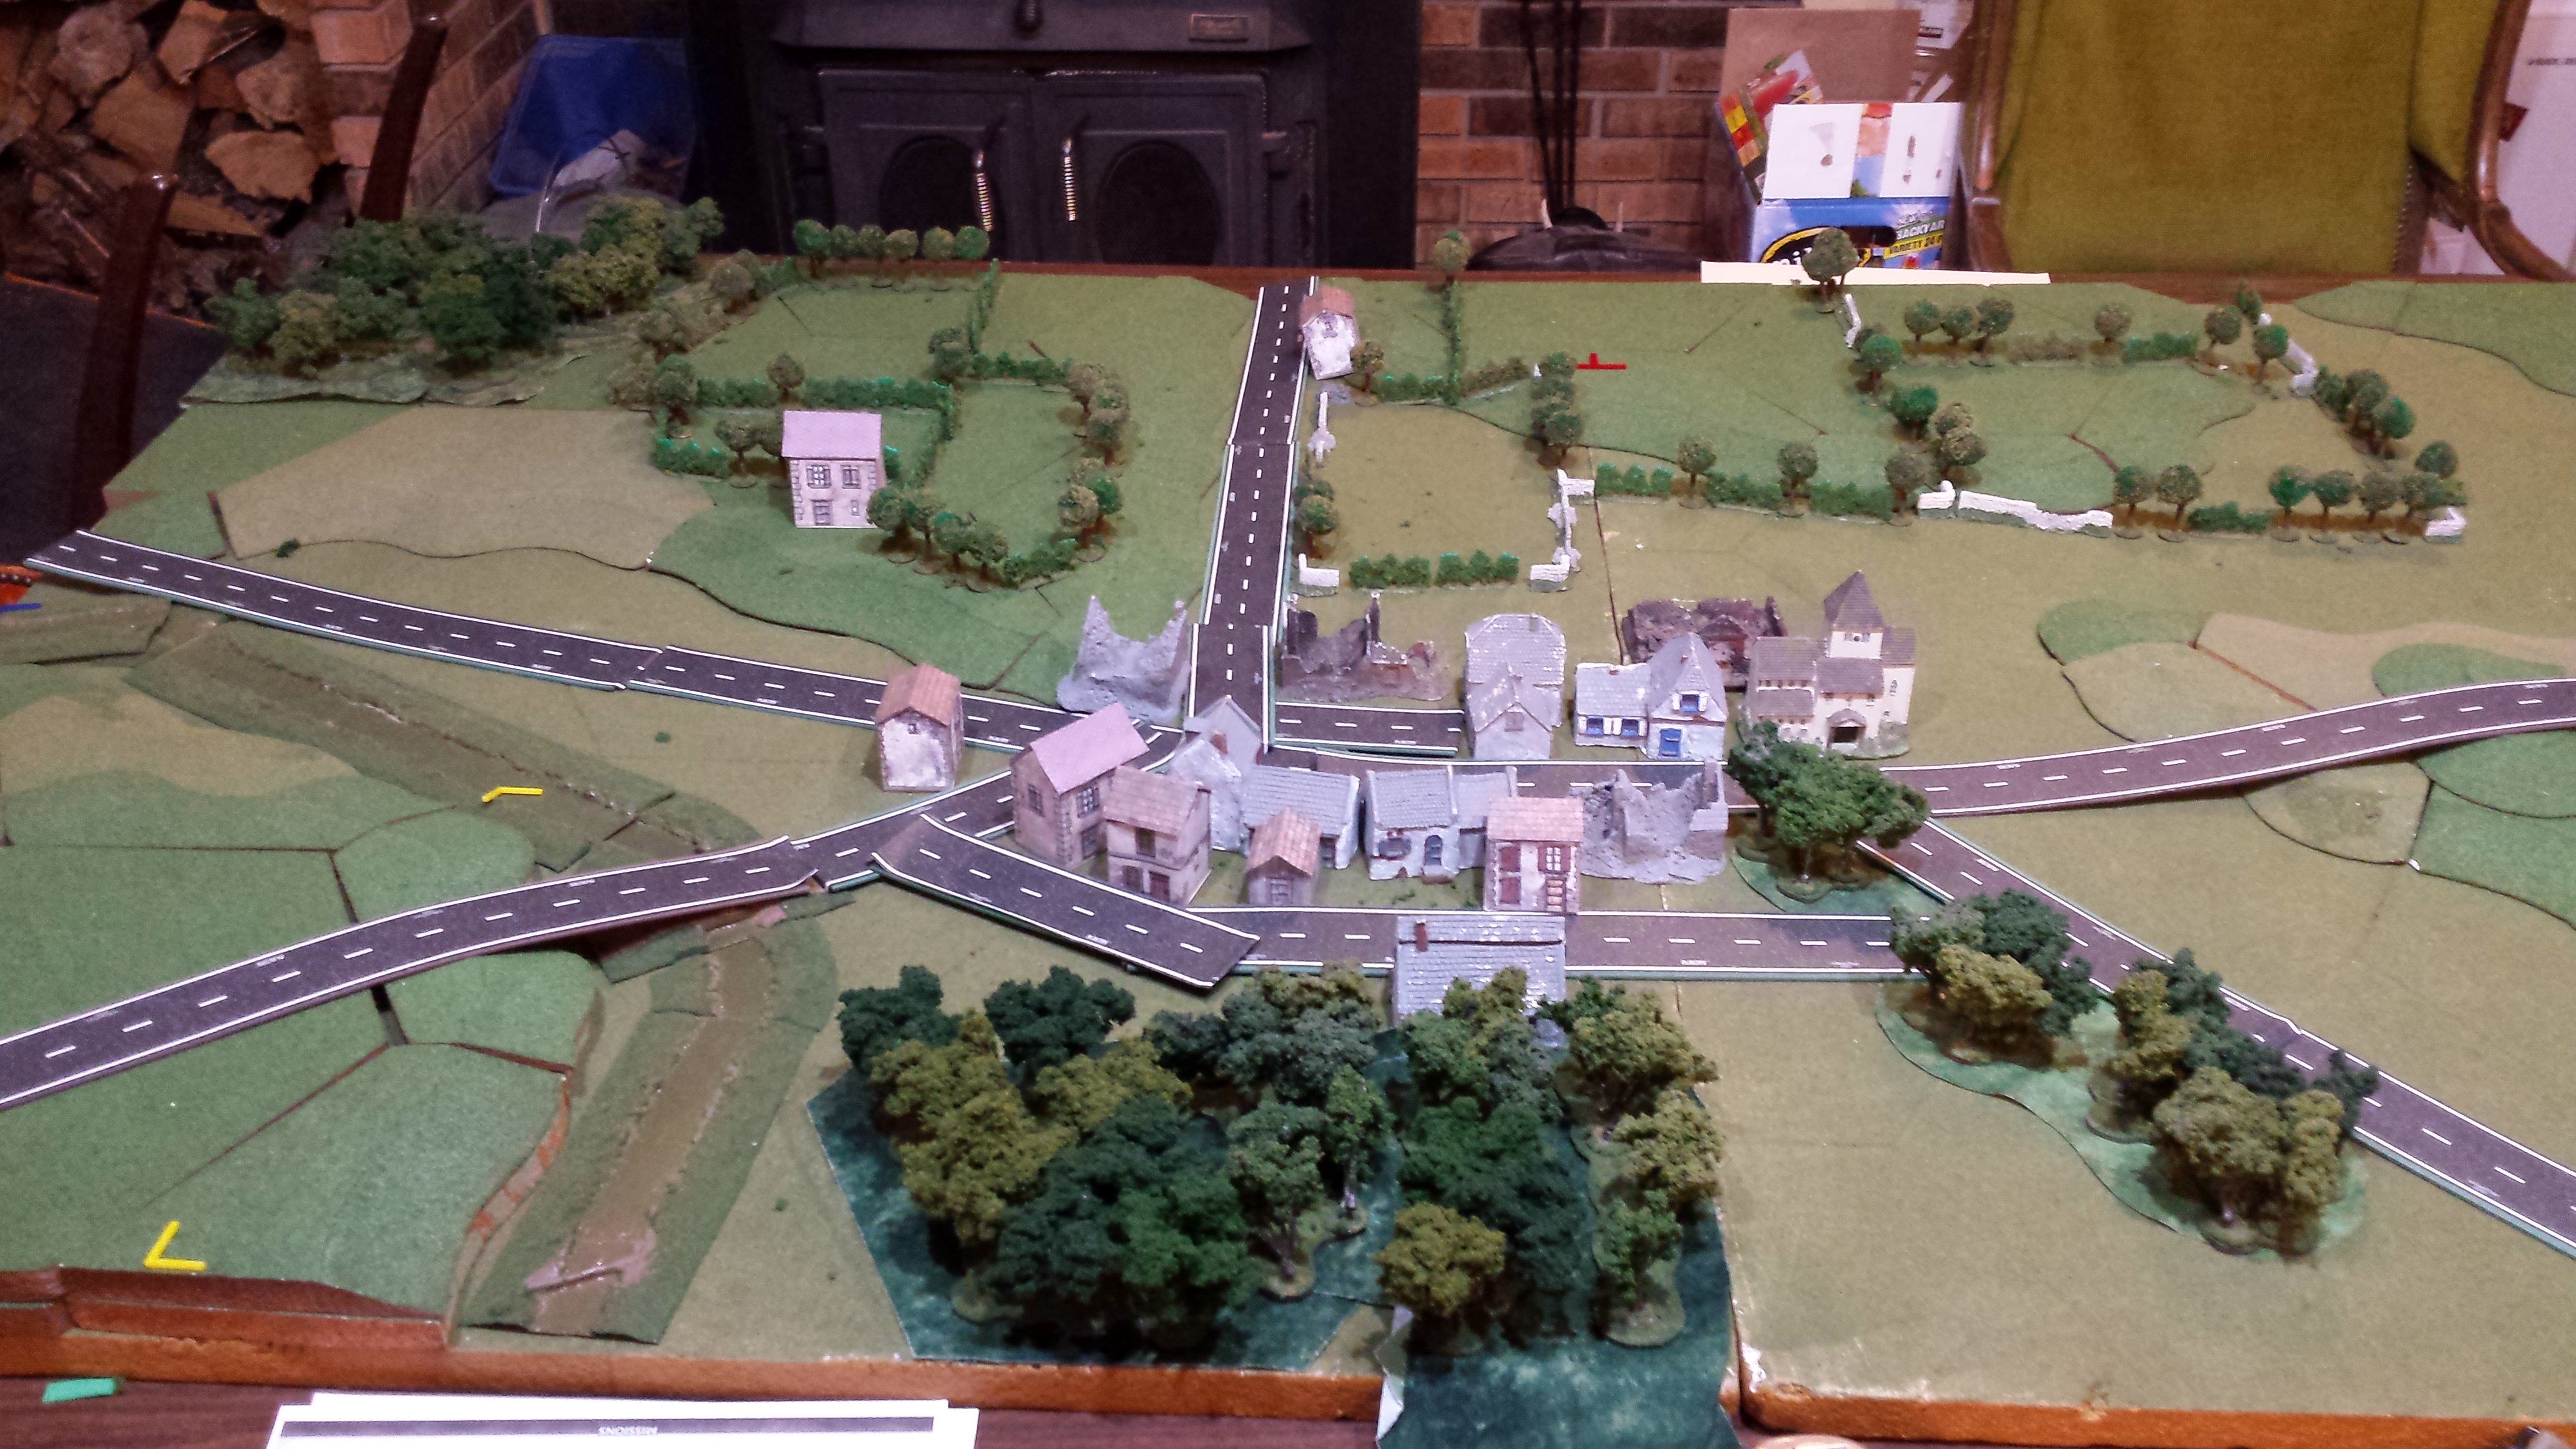
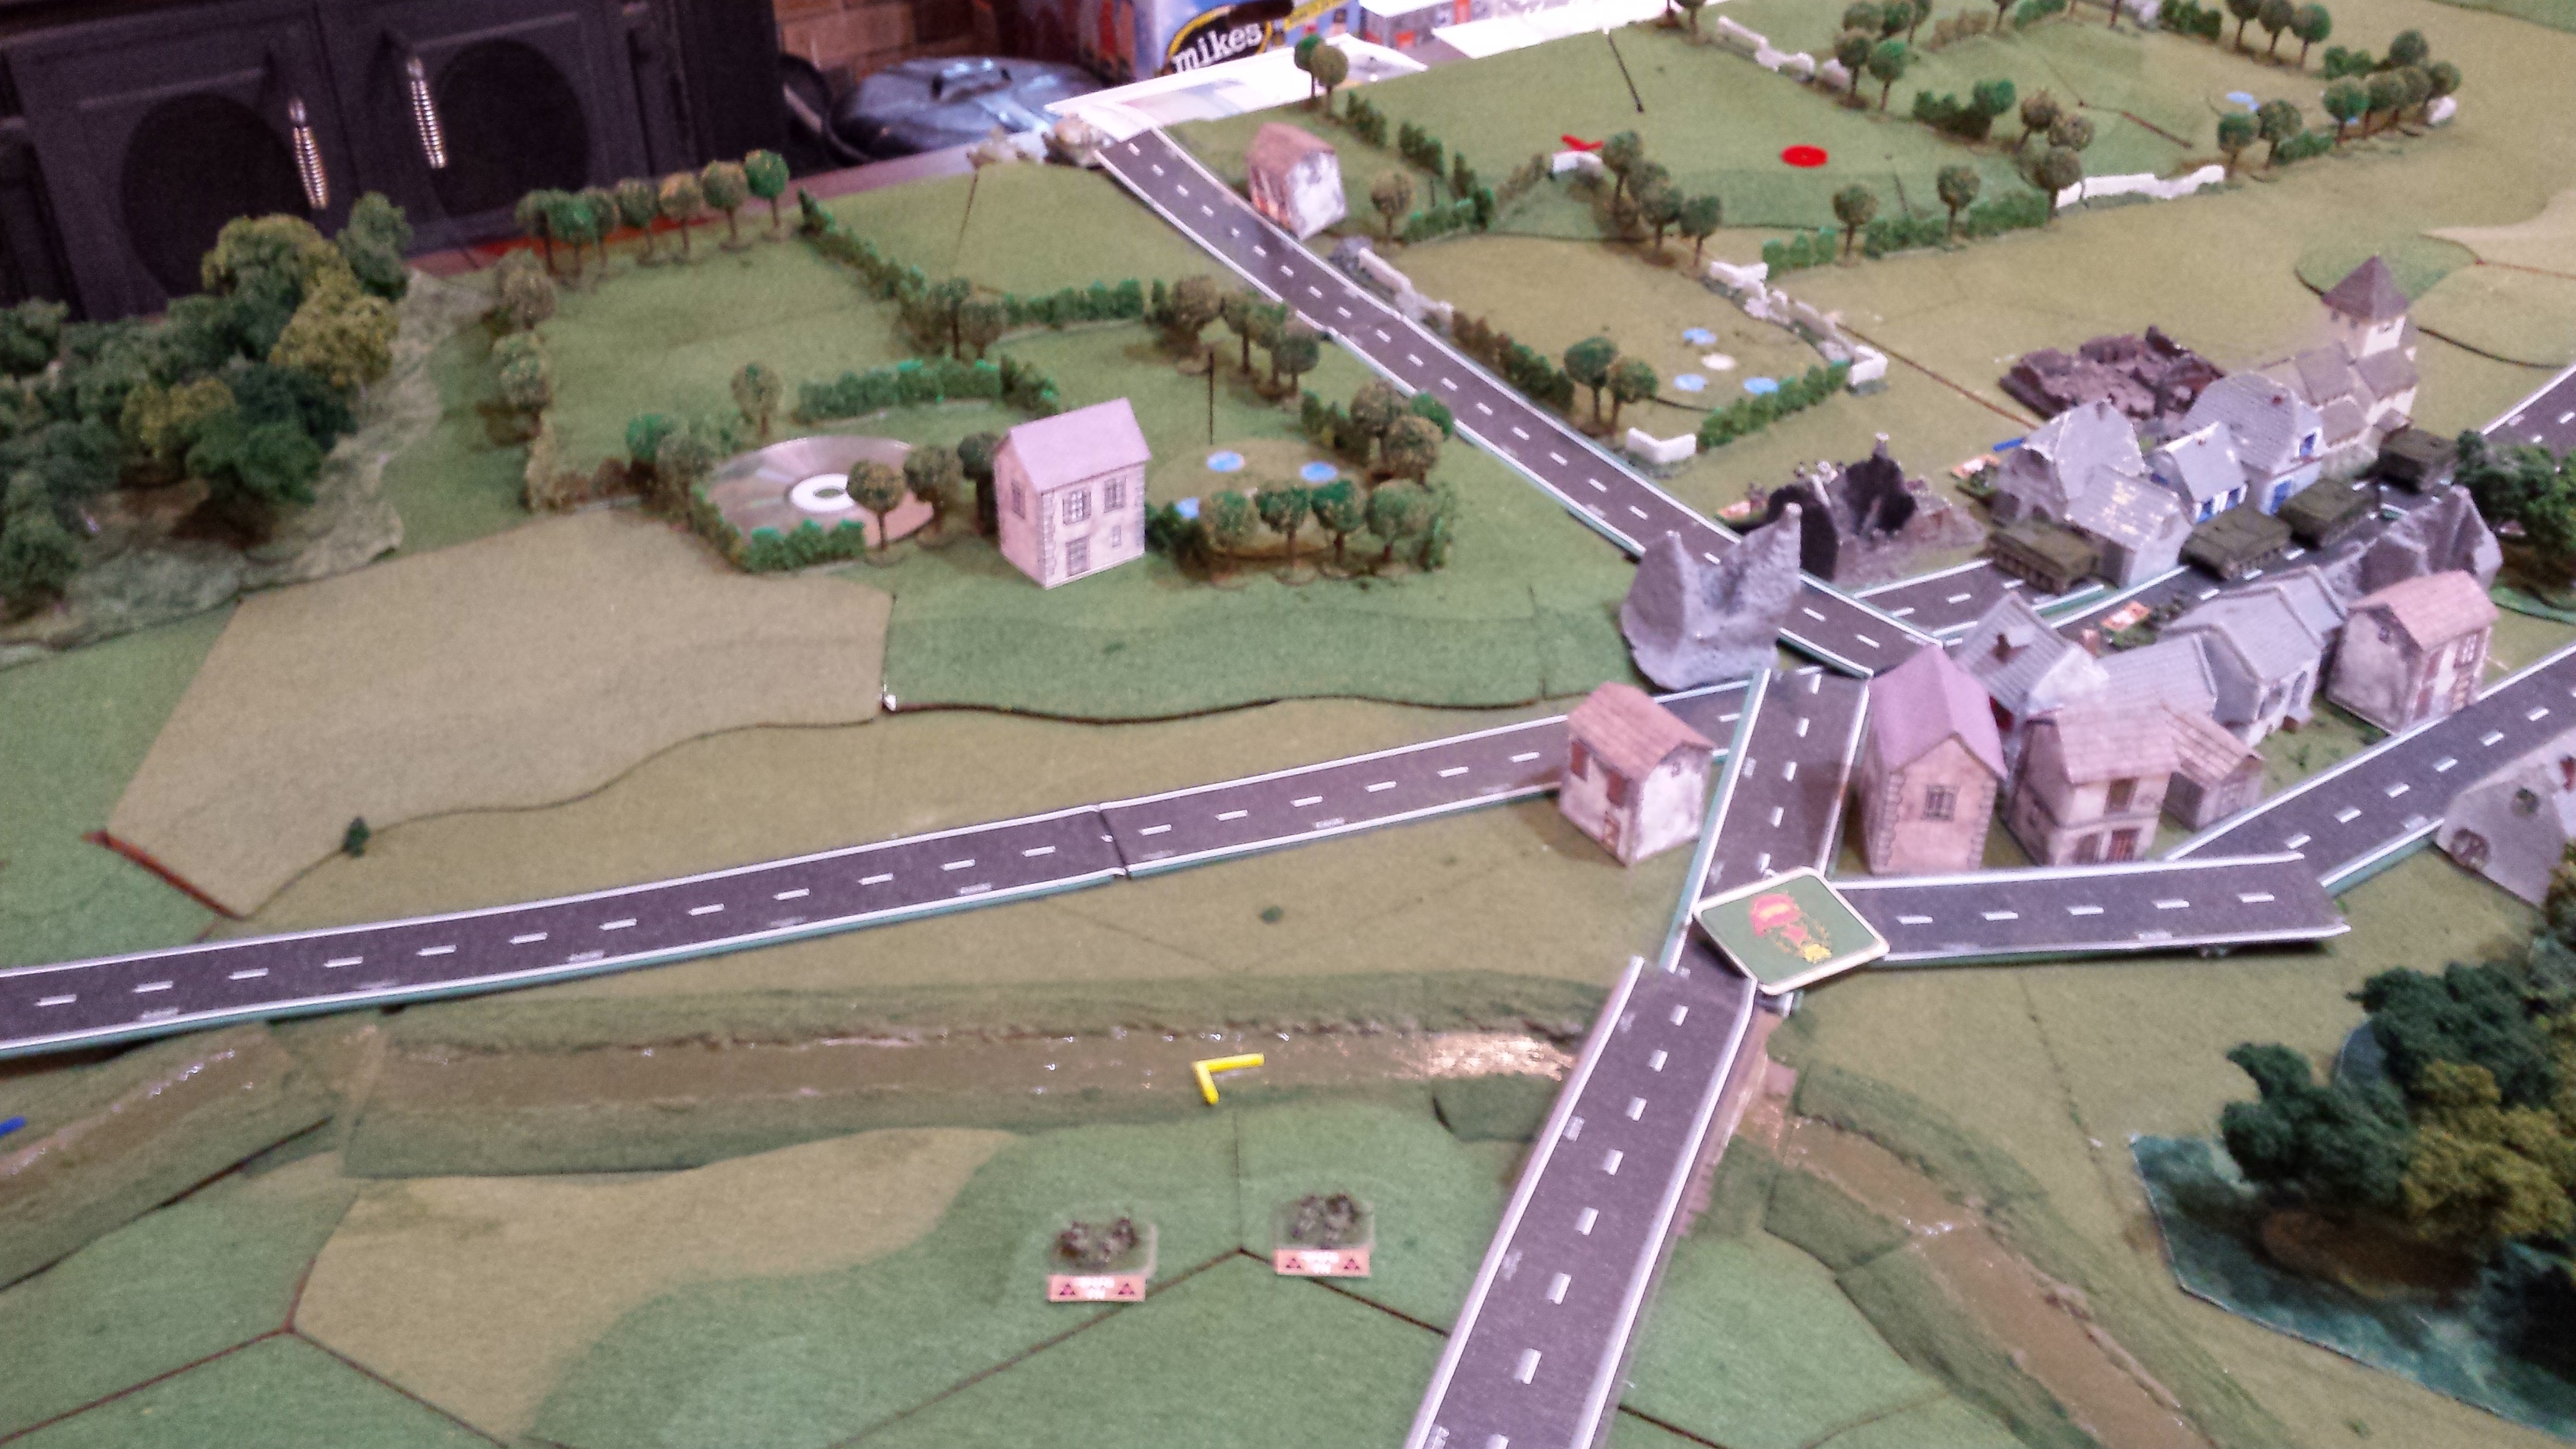
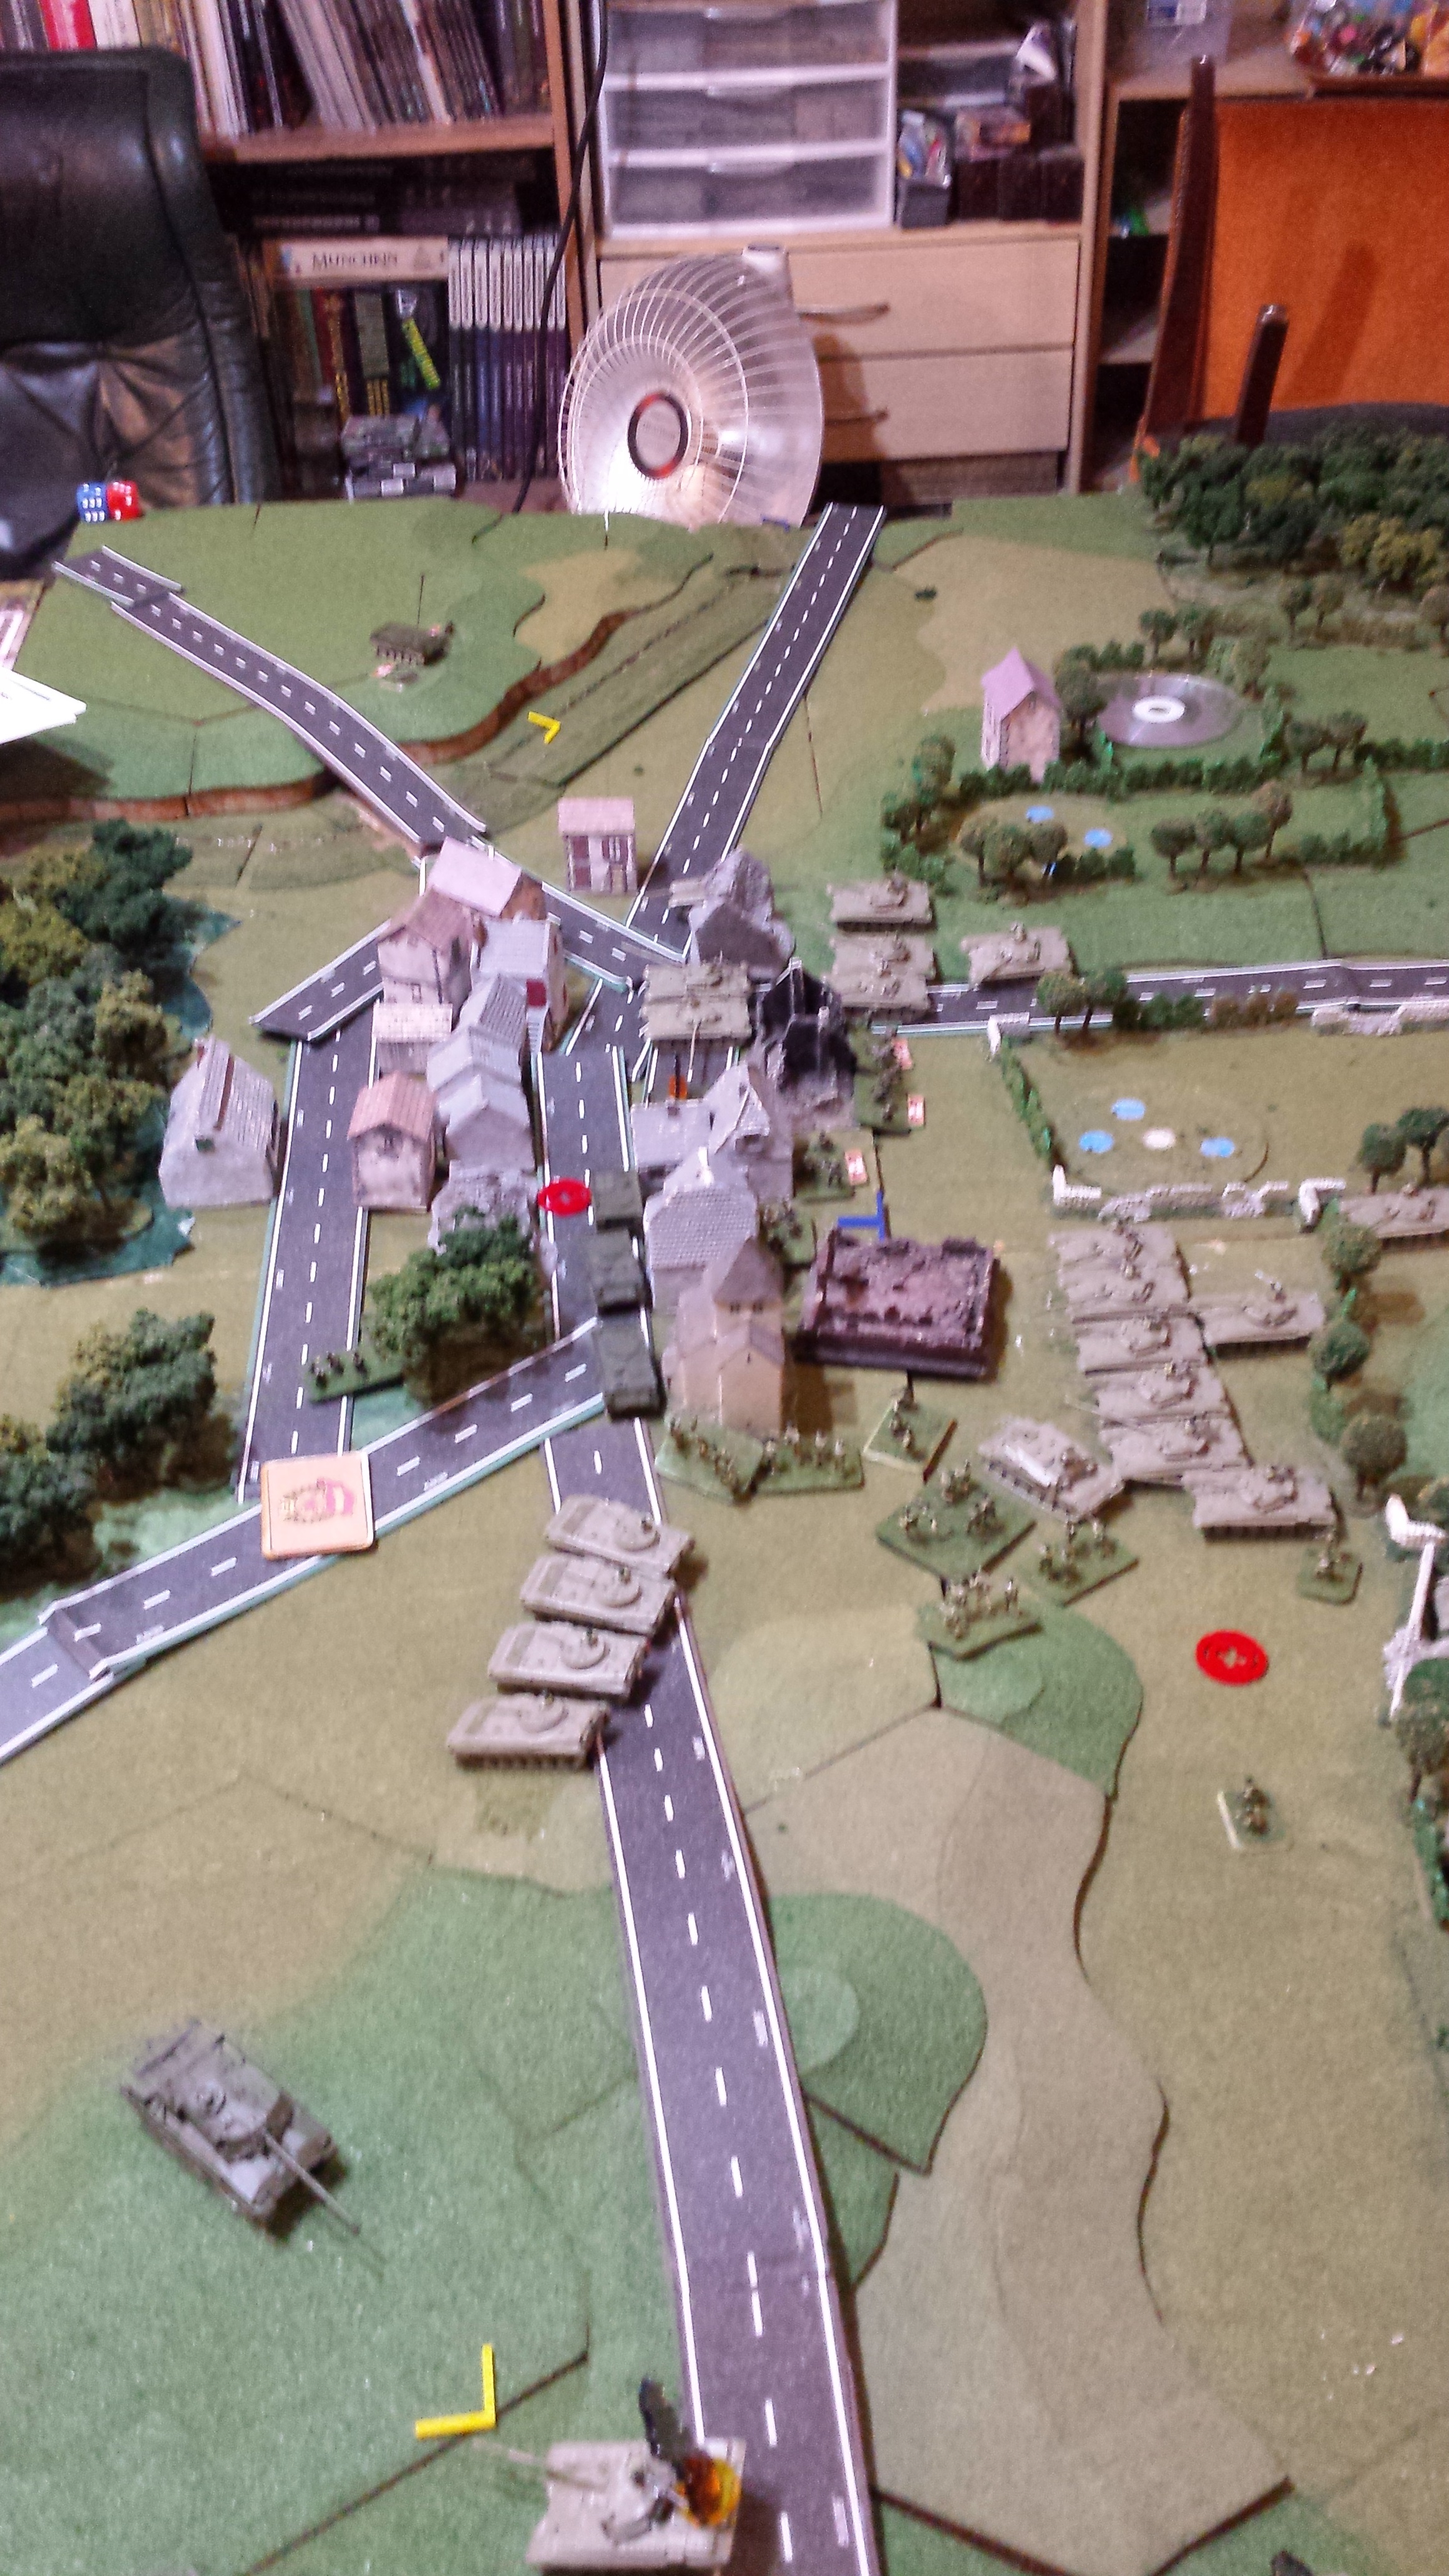
The Royal Dragoon Guards took position in the early hours of the morning. The Infantry from the Duke of Lancaster’s Regiment occupied the forward edge of the town. In the pre-dawn hours the 48th Tank Regiment Recon pulled forward on the Dragoons left.
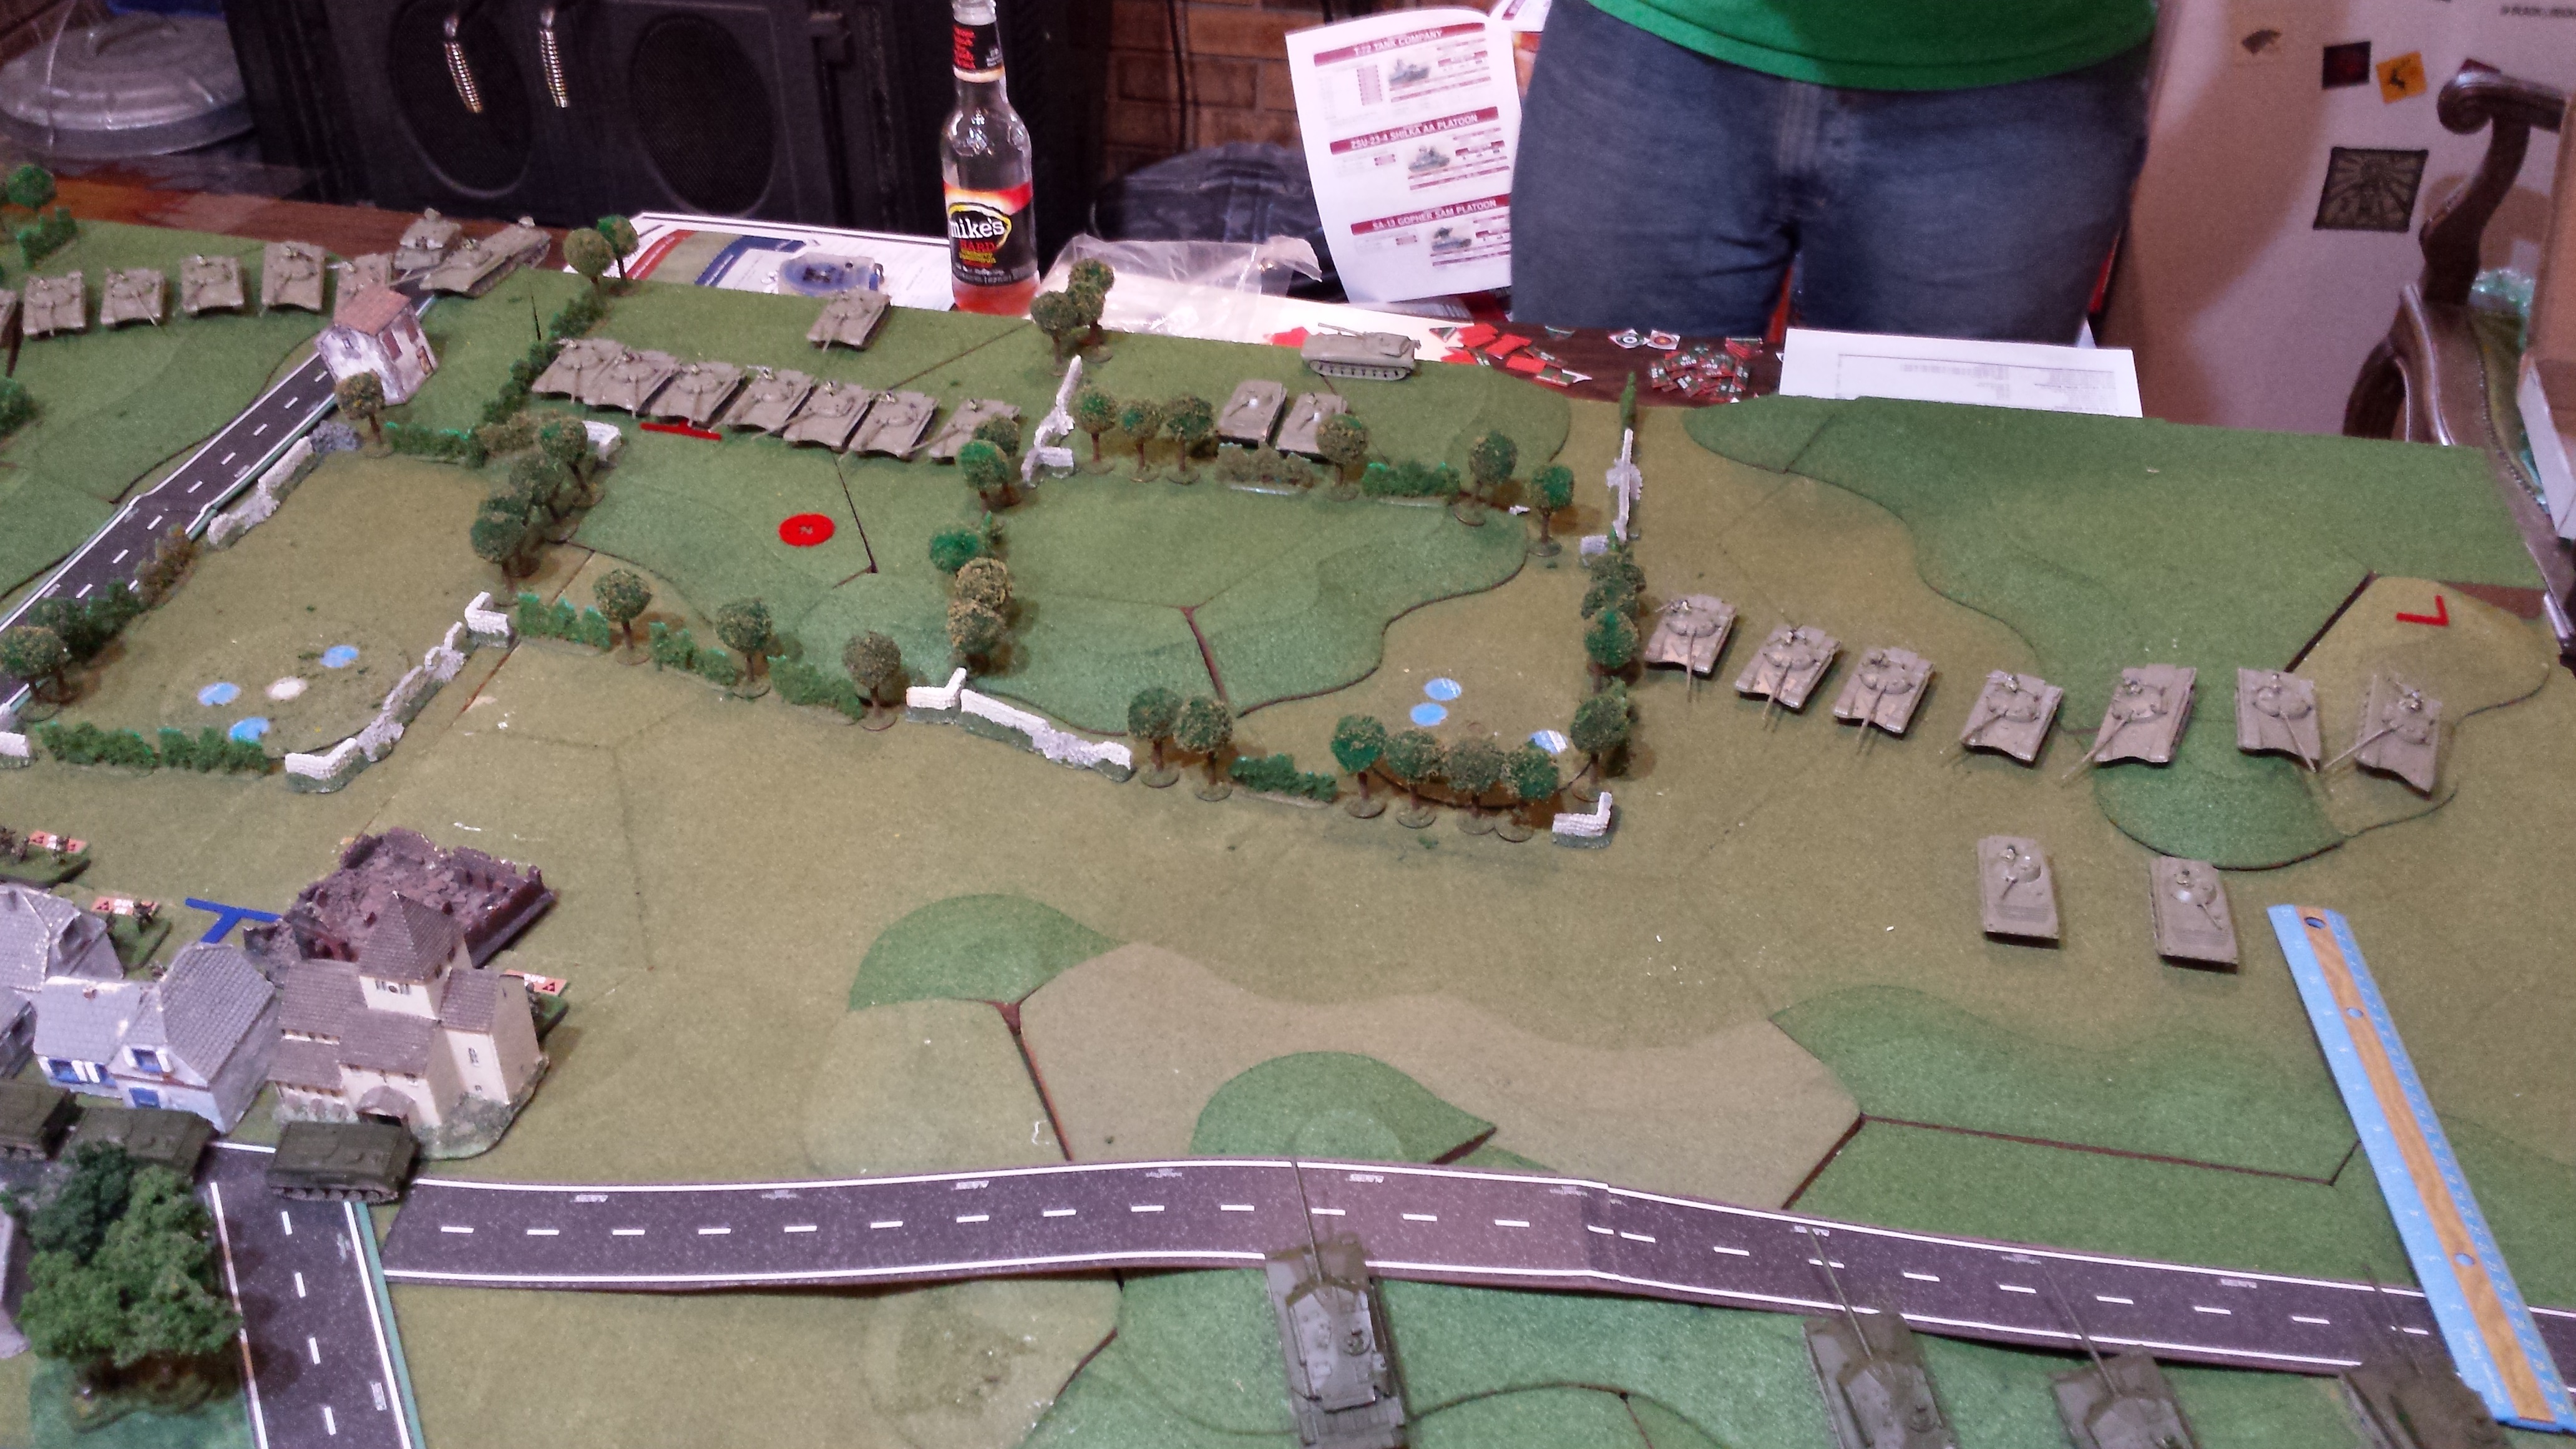
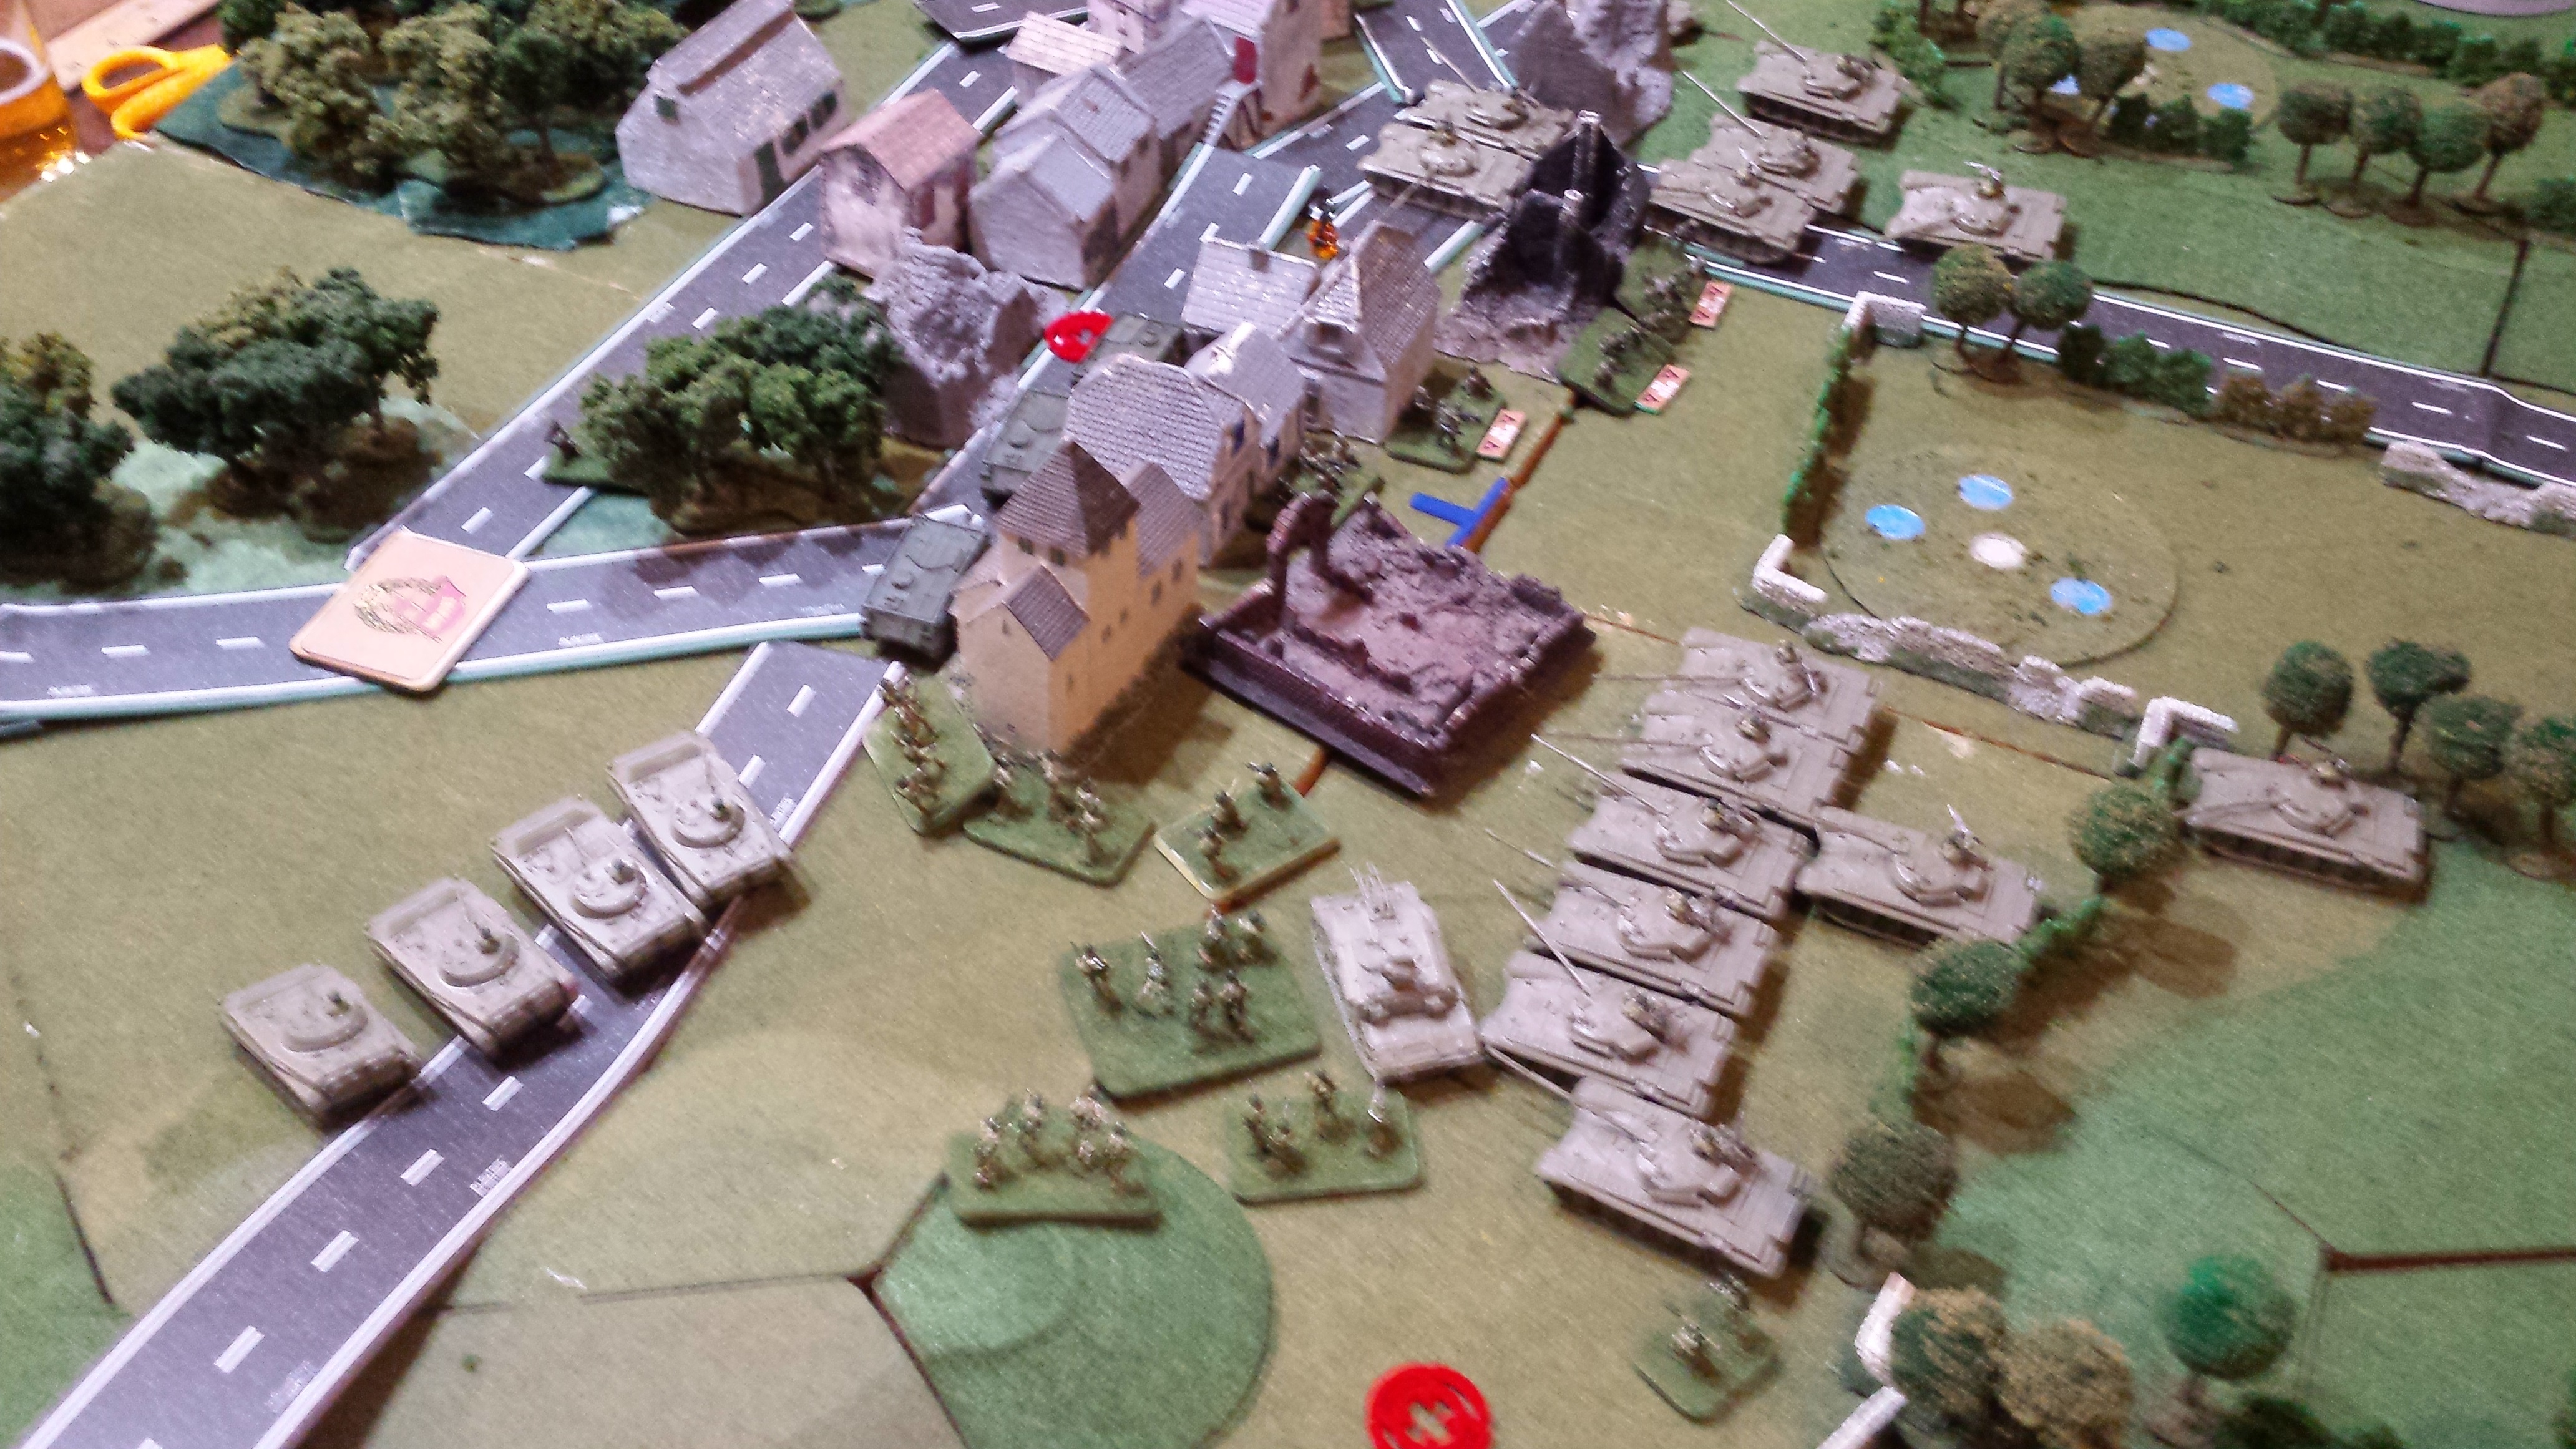
 Soviet Turn 1: Using the Recon platoon the Soviet Left company surged forward to engage NATO at close range (IR sucks)
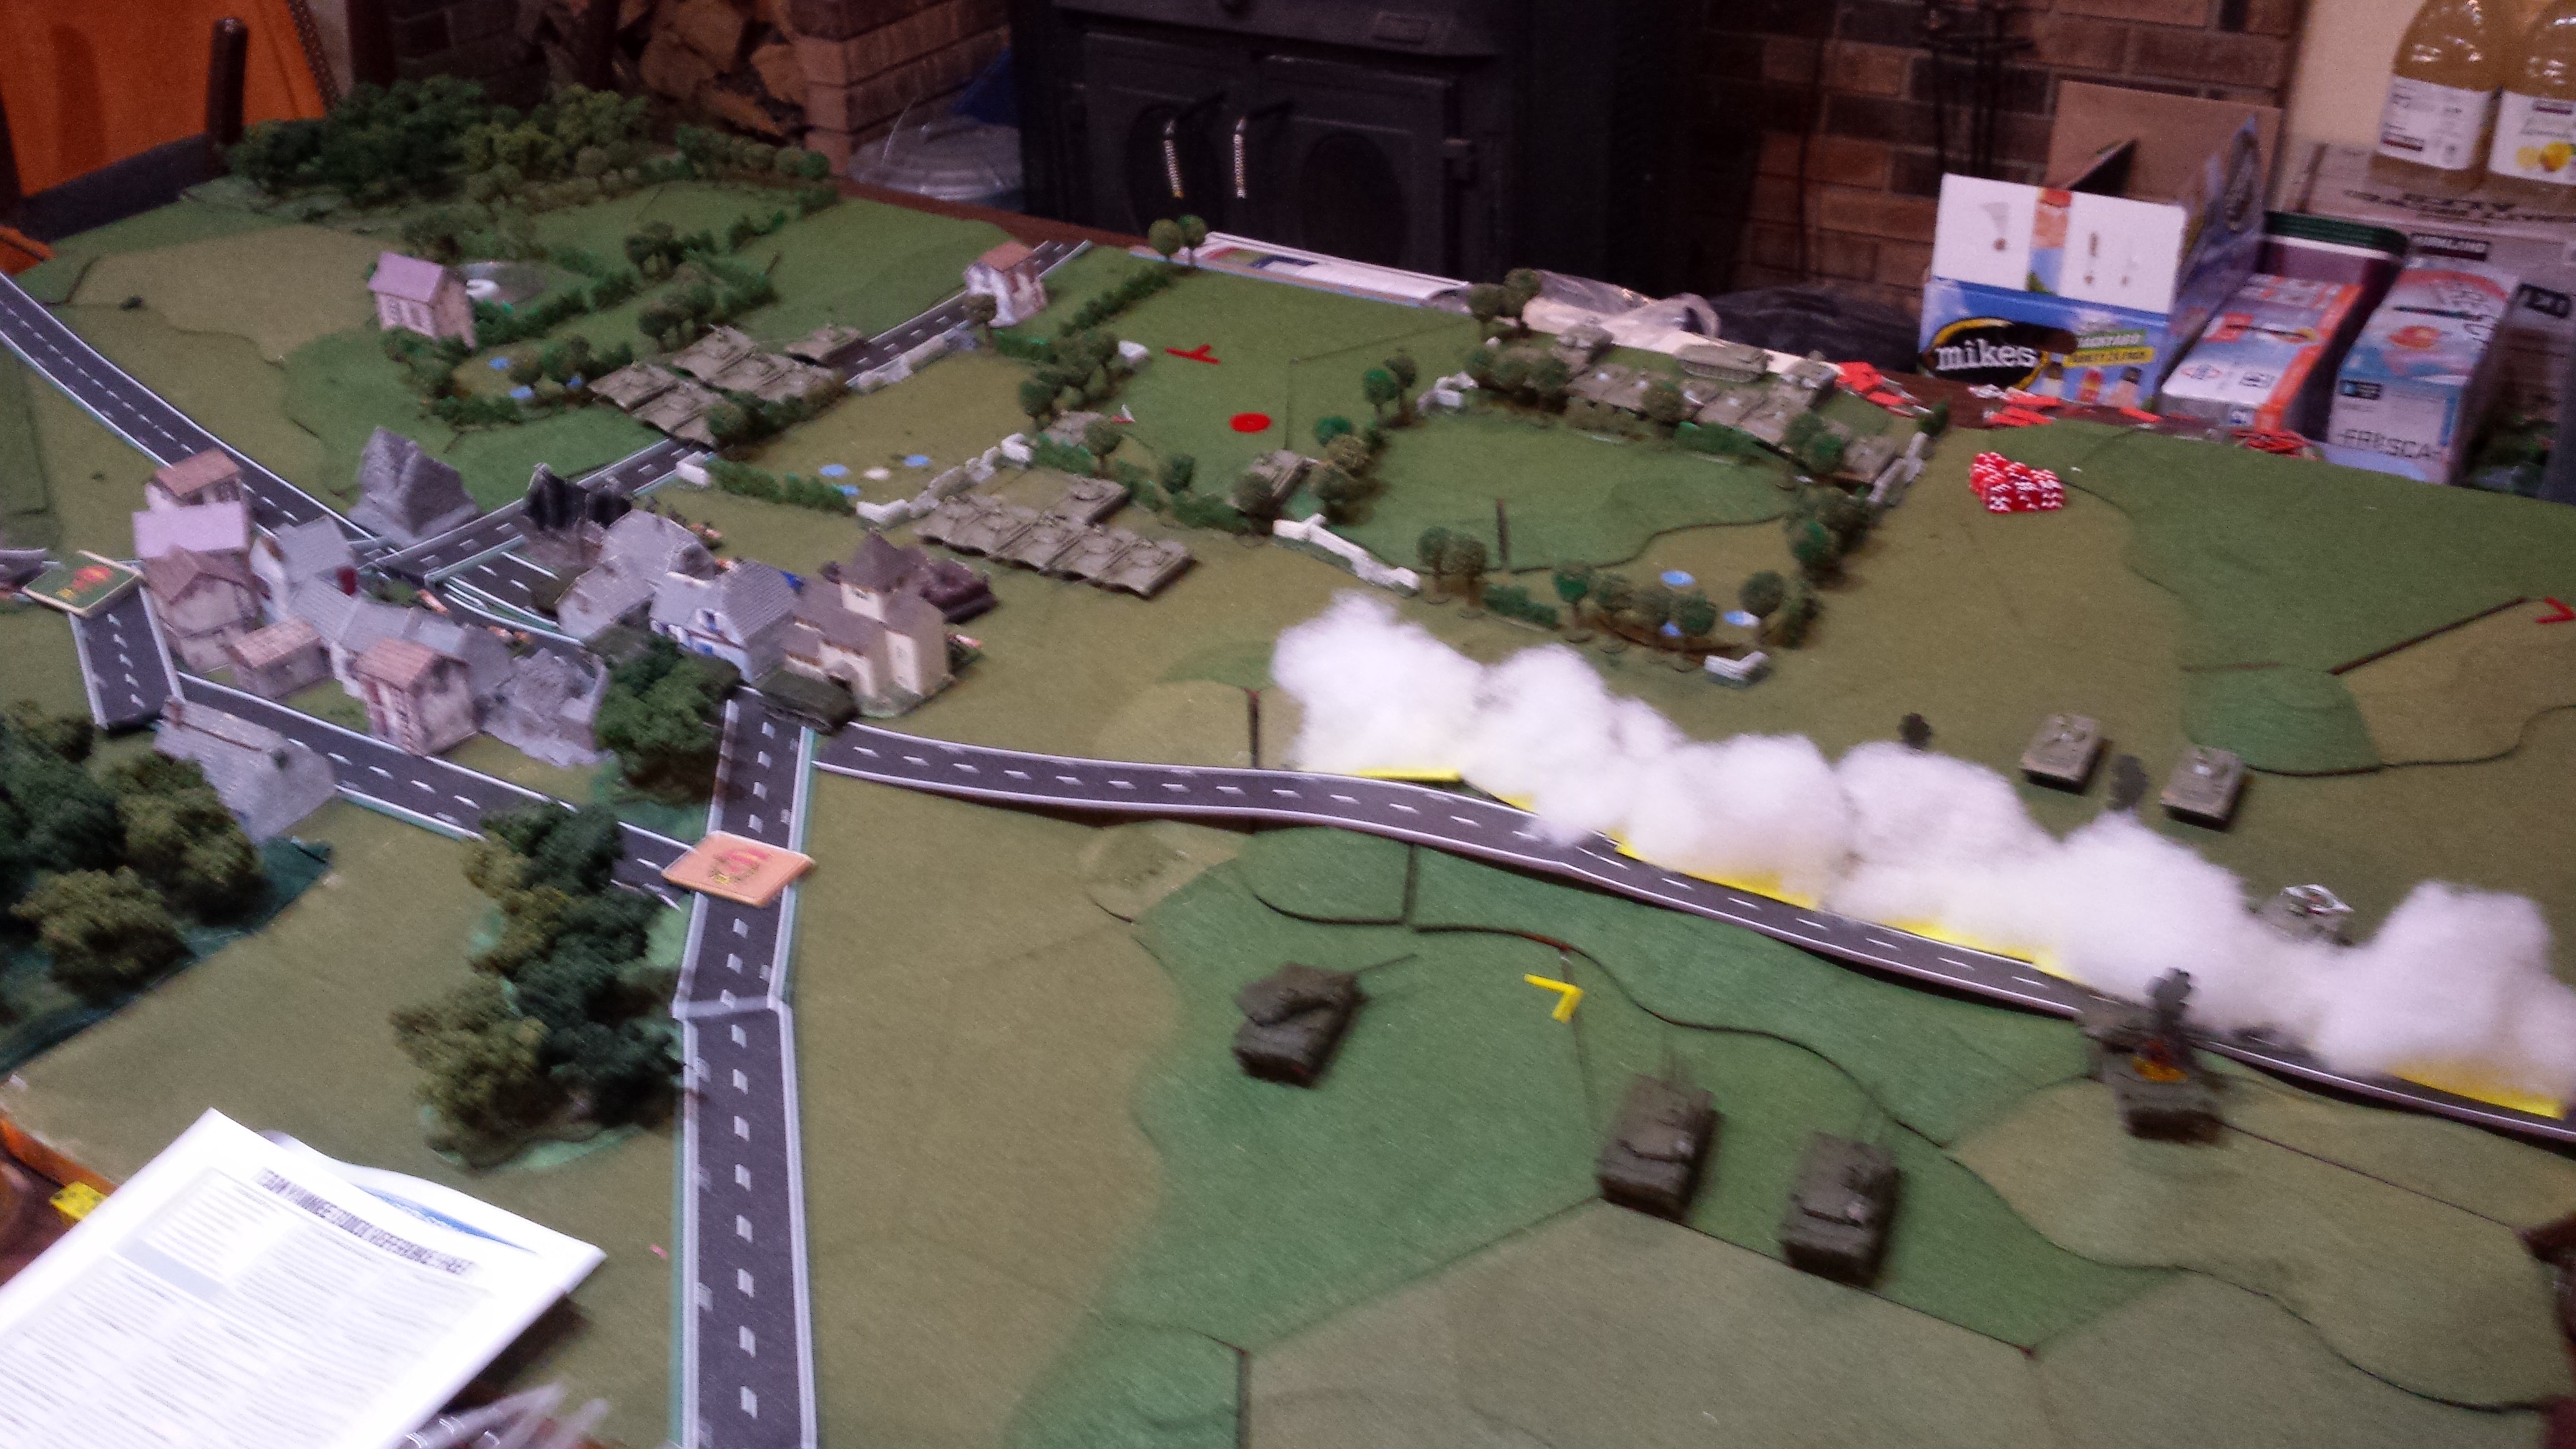
Hanover Rearguard: Dragoons Hold!
AAR:
The Royal Dragoon Guards took position in the early hours of the morning. The Infantry from the Duke of Lancaster’s Regiment occupied the forward edge of the town. In the pre-dawn hours the 48th Tank Regiment Recon pulled forward on the Dragoons left.
The Soviets decided to avoid the minefields and move down the road or in the opening on their right. The BMP company was reluctant to breach the hedgerows initially (Commander bogged when try a Cross Here order).
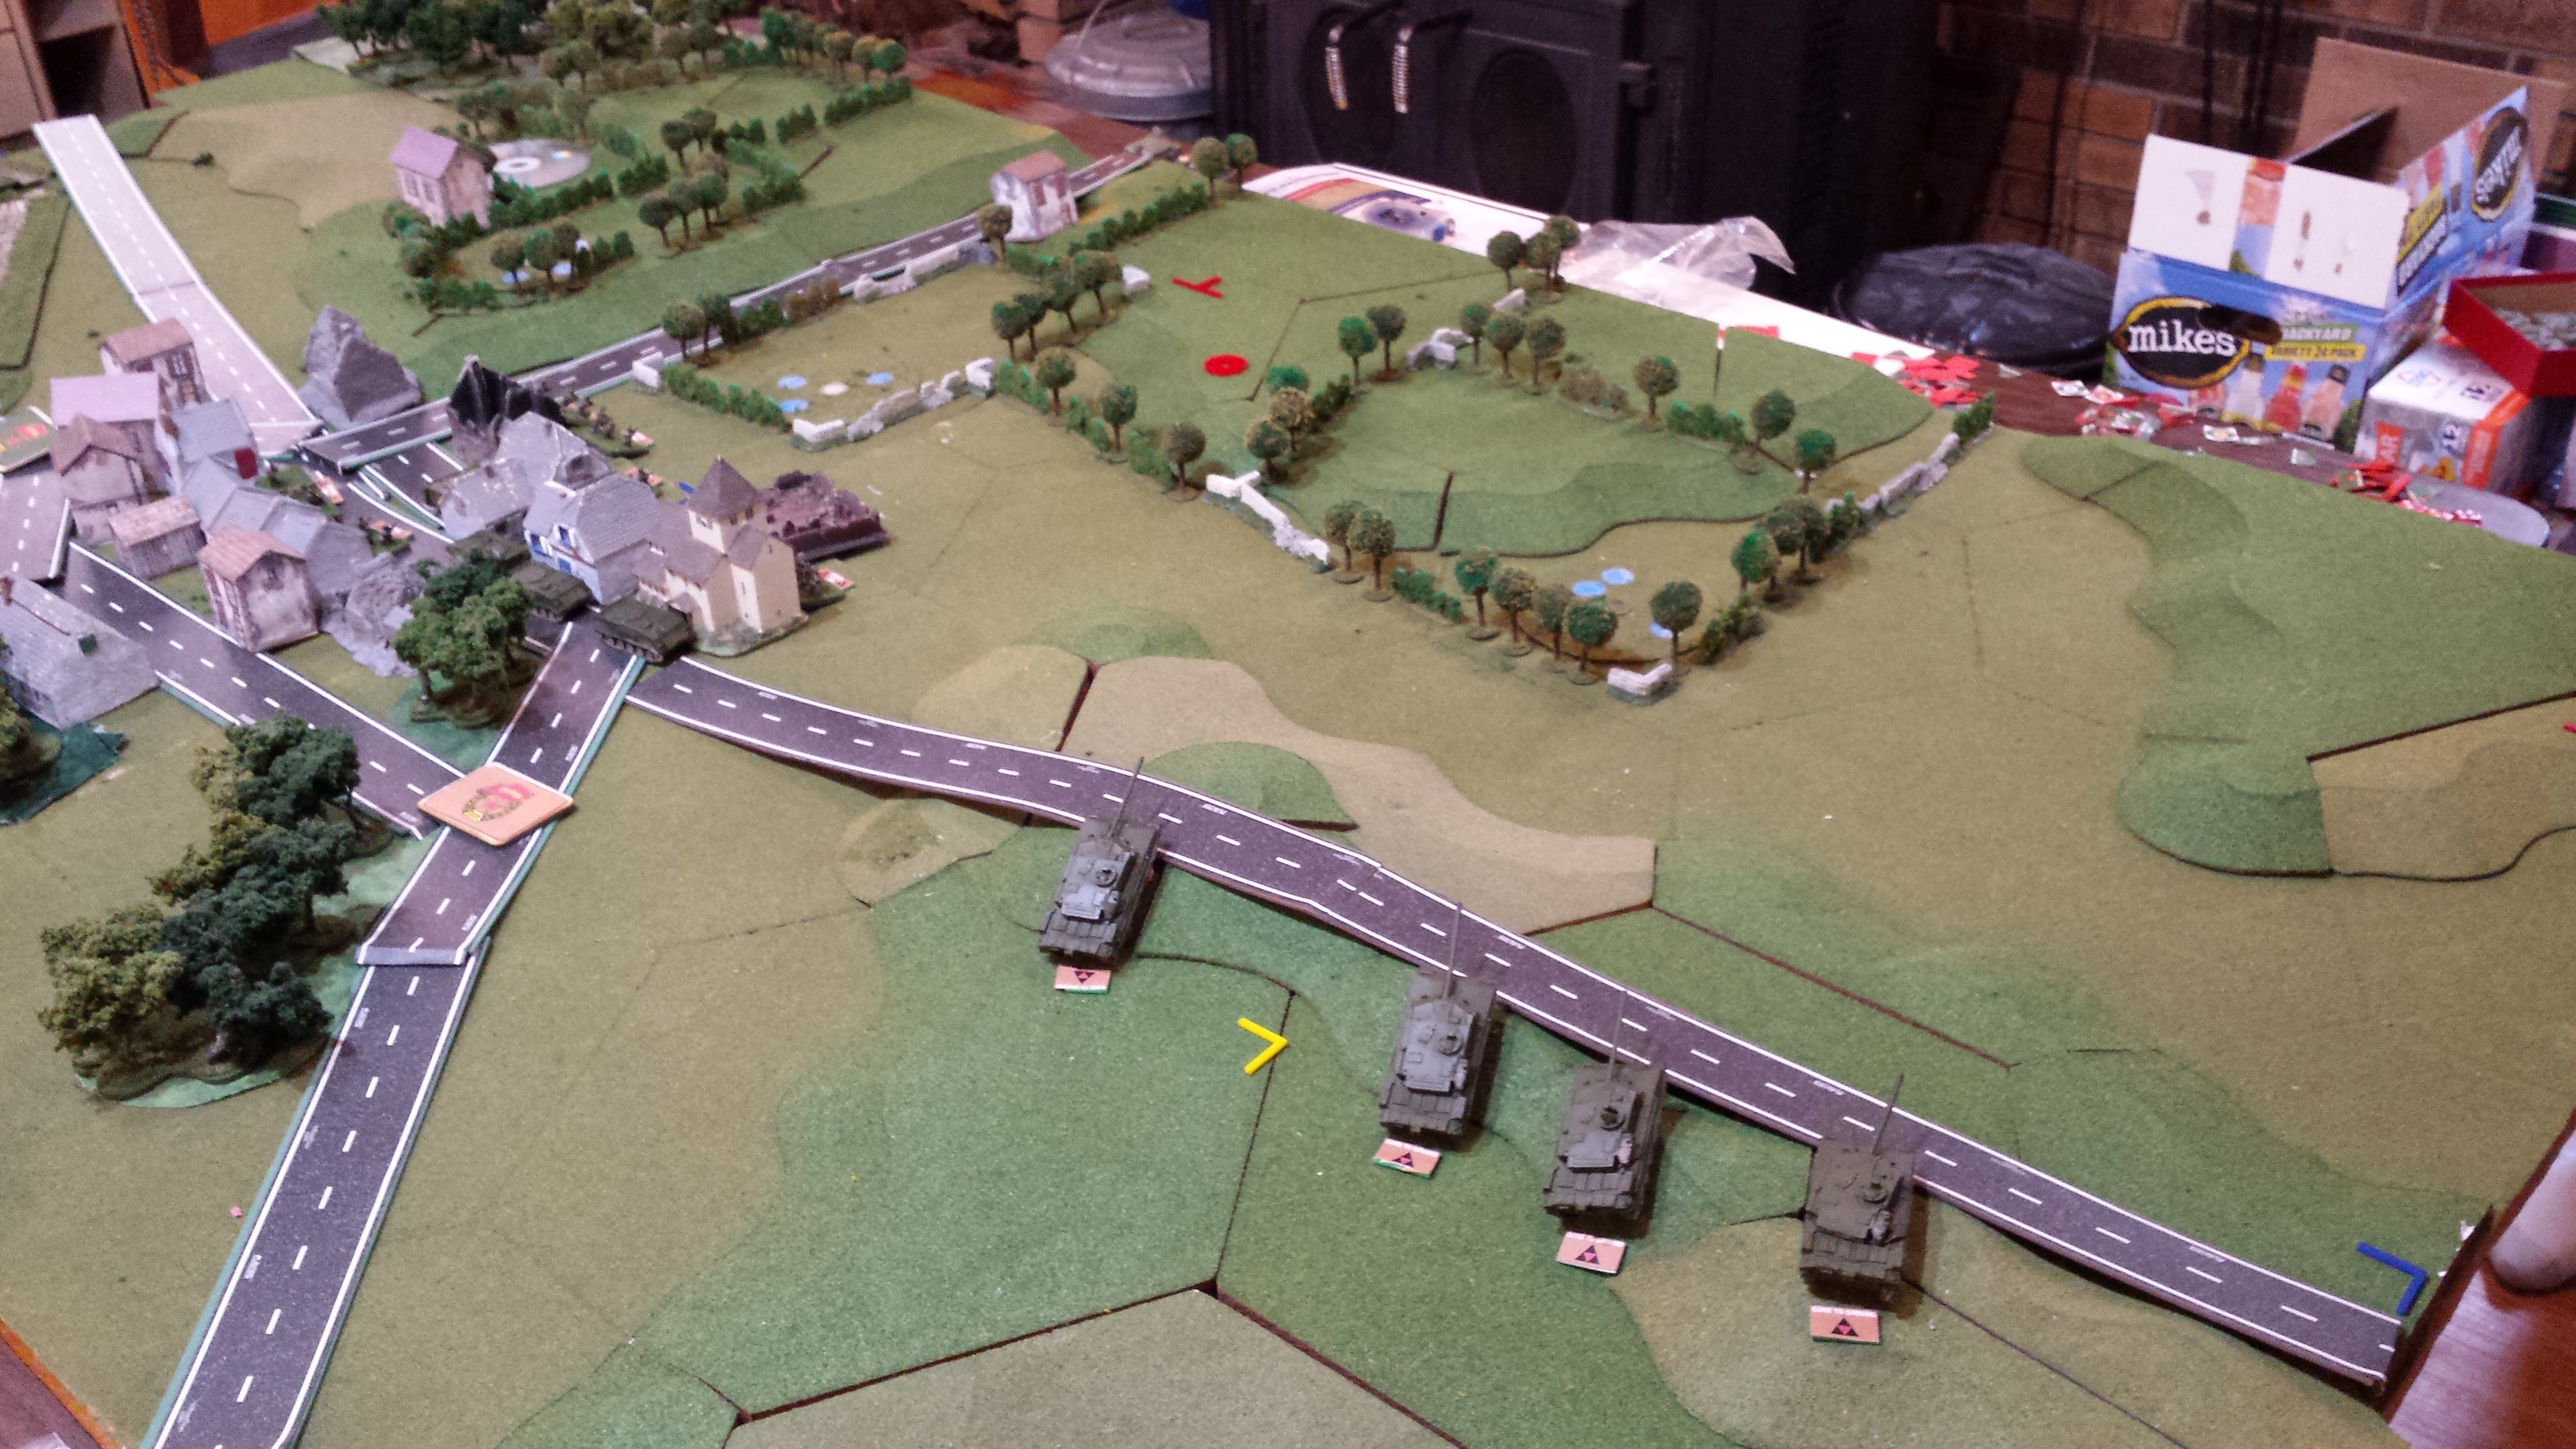
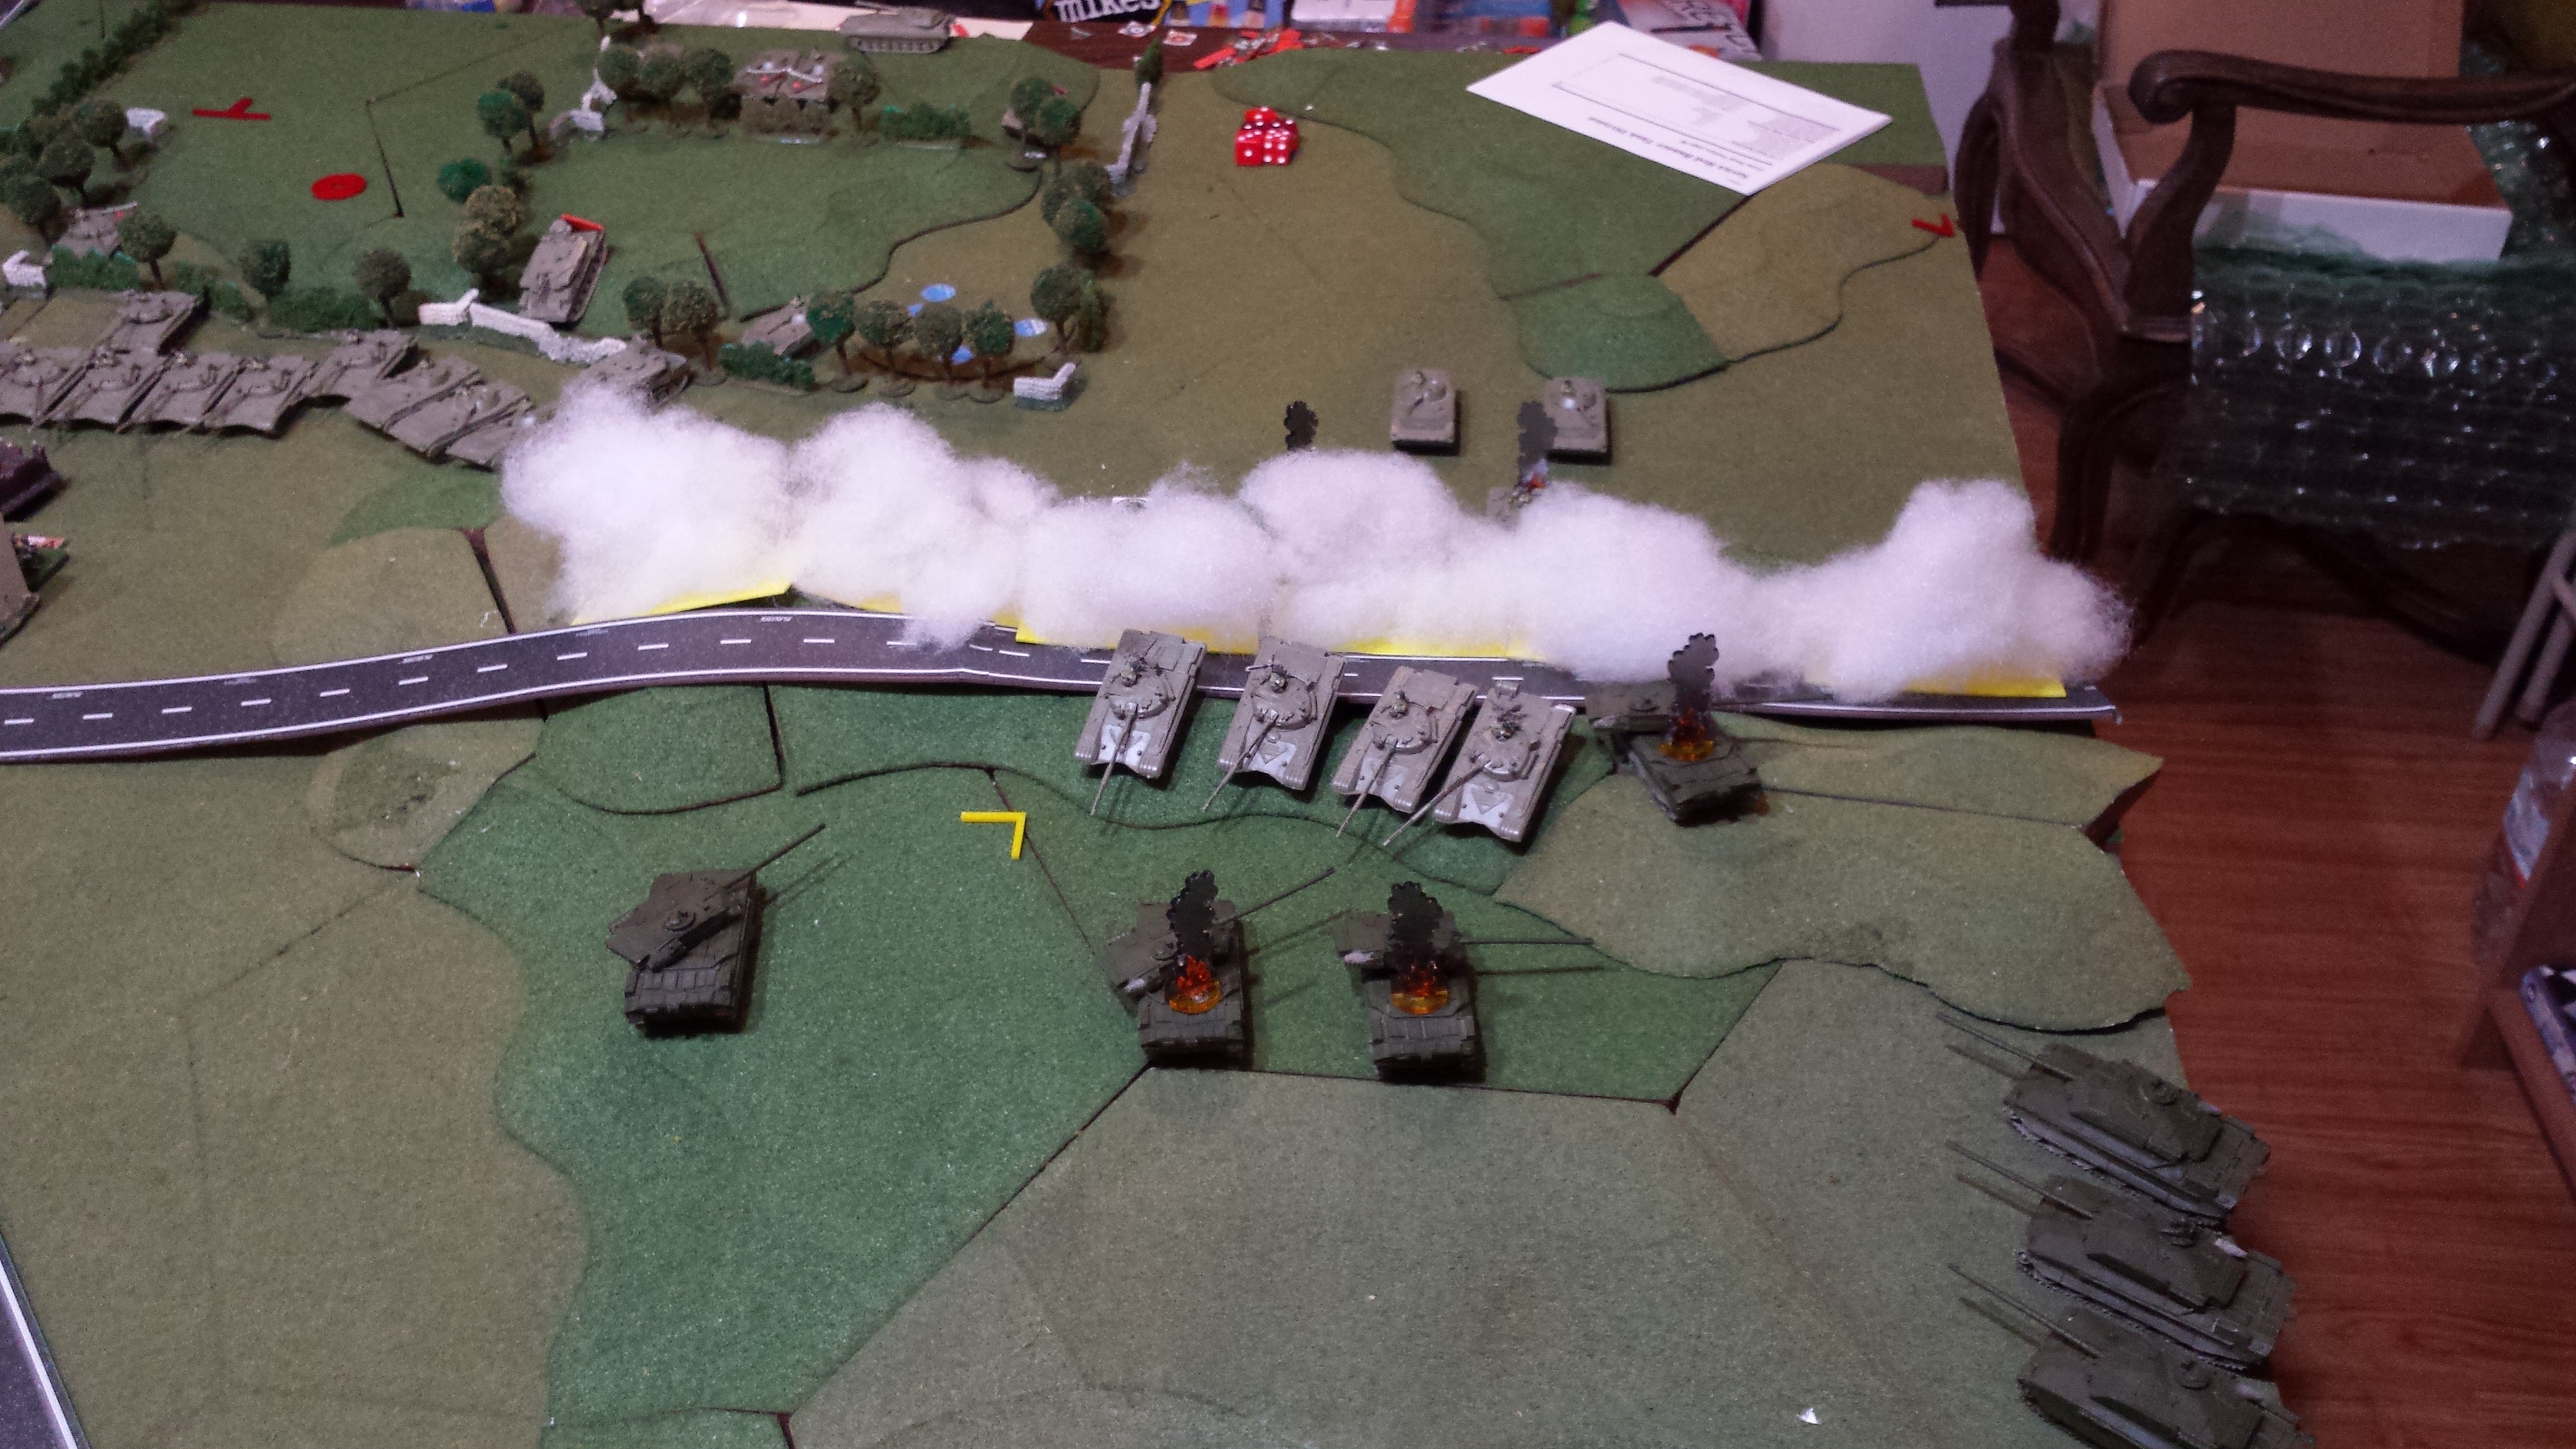
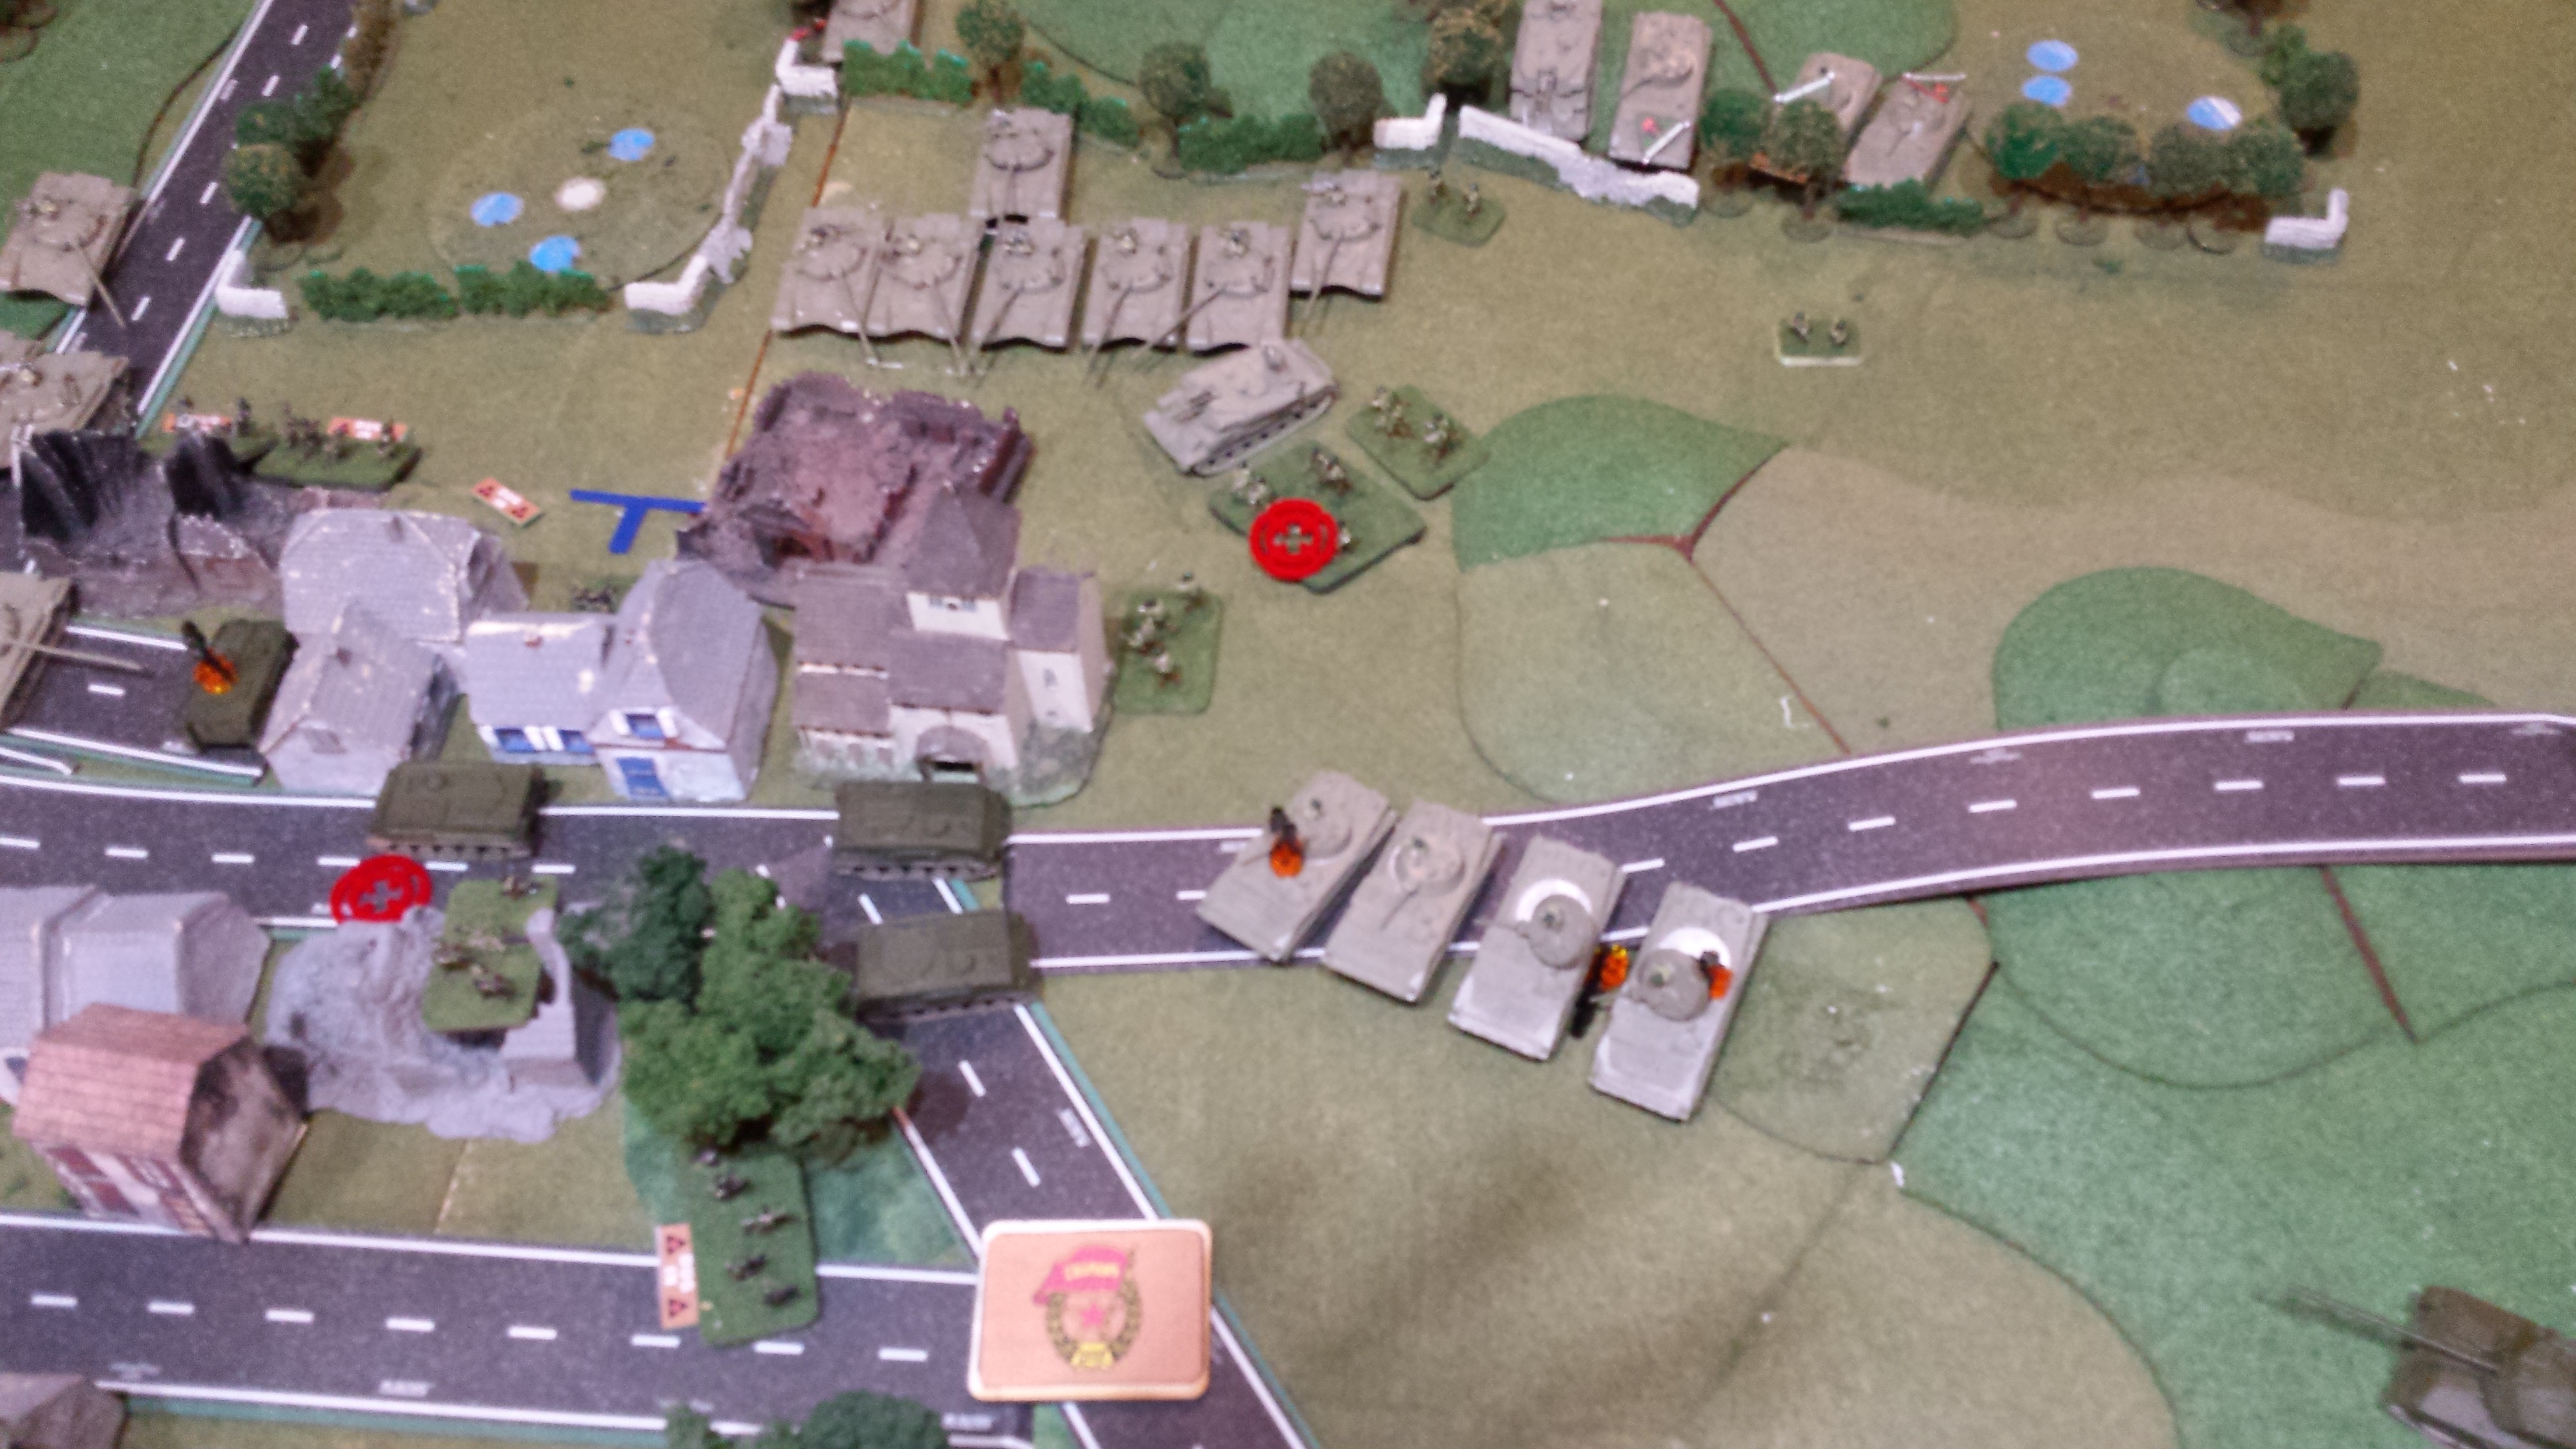
Initial fires from the Soviets destroyed one tank in 2 Troop. Follow up fires from 2 Troop destroyed 2 T72 and bailed out 2 more. B Troop and Bulldog6 retired behind the ridge and Smoke.
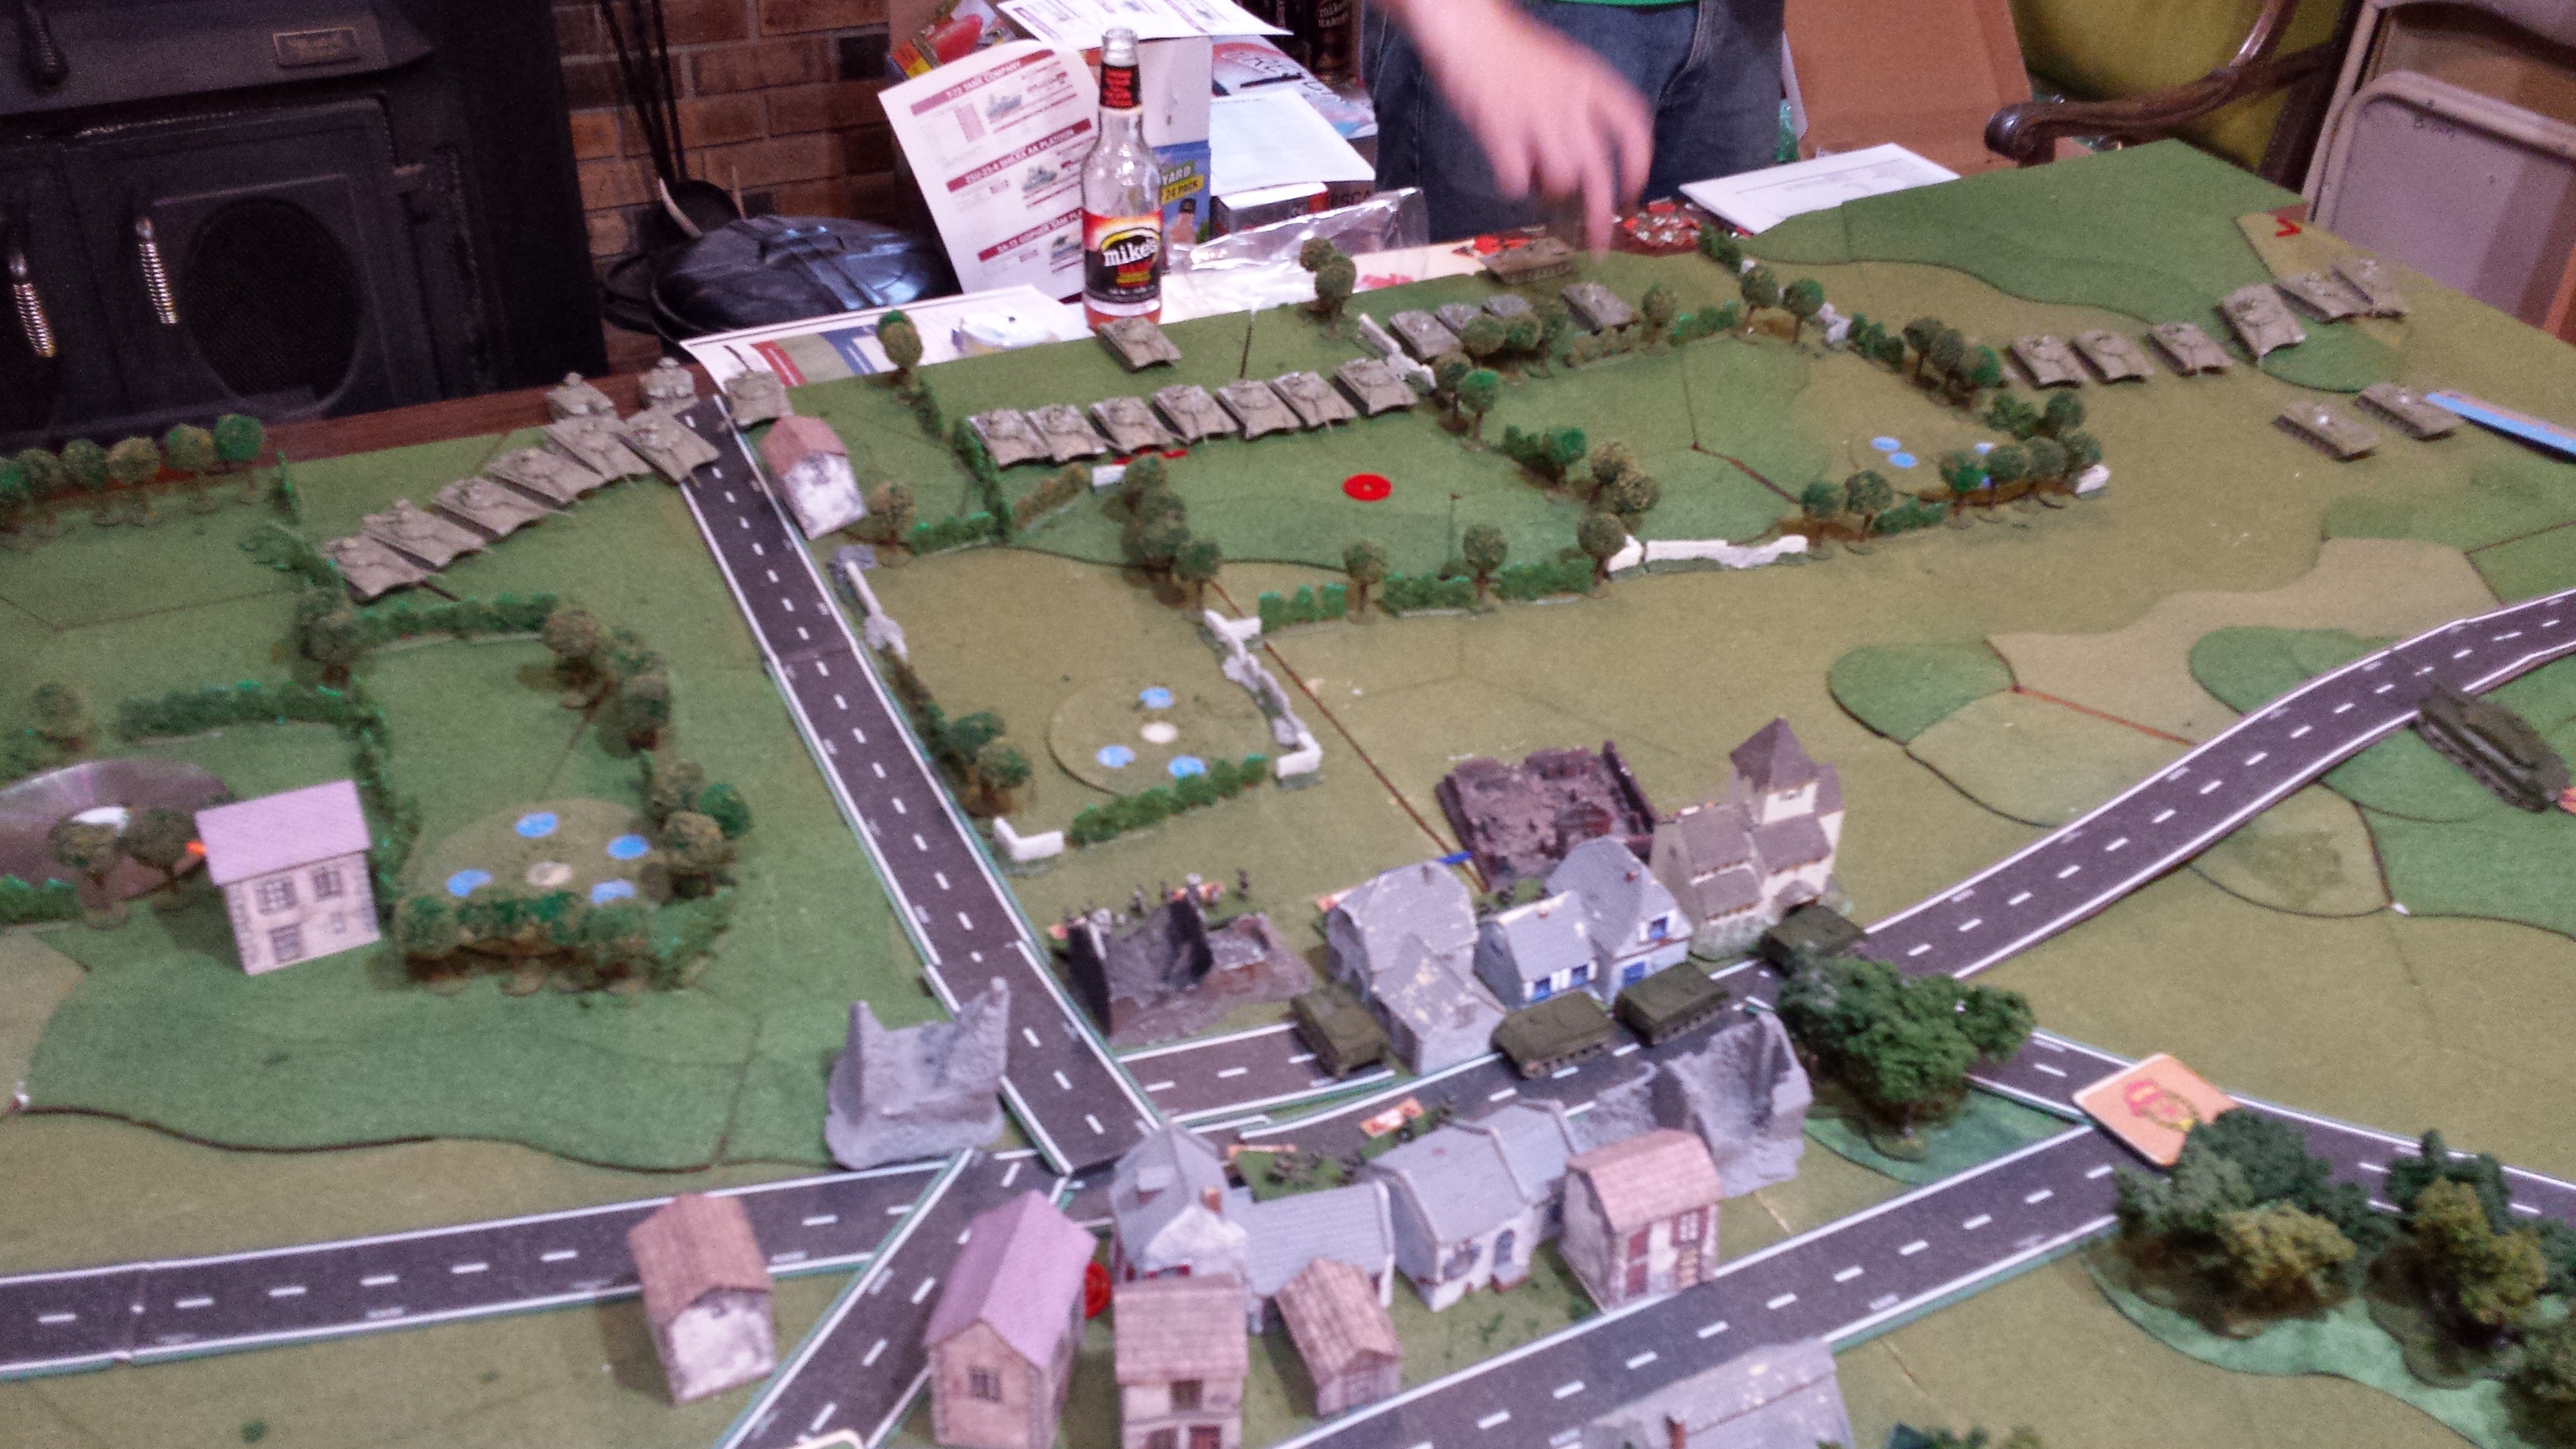
The BMP and other tank companies moved forward to bring fire onto the Lancs. The Tank Company near 2 Troop pushed forward and destroyed the remaining two tanks. Fortunately for Bulldog6 1 Troop arrived from the Right rear of the position and took the remaining tanks of the Soviet company under fire, destroying 4 and the remaining tanks fled (1 tank “running” and two bailed he failed his morale roll).
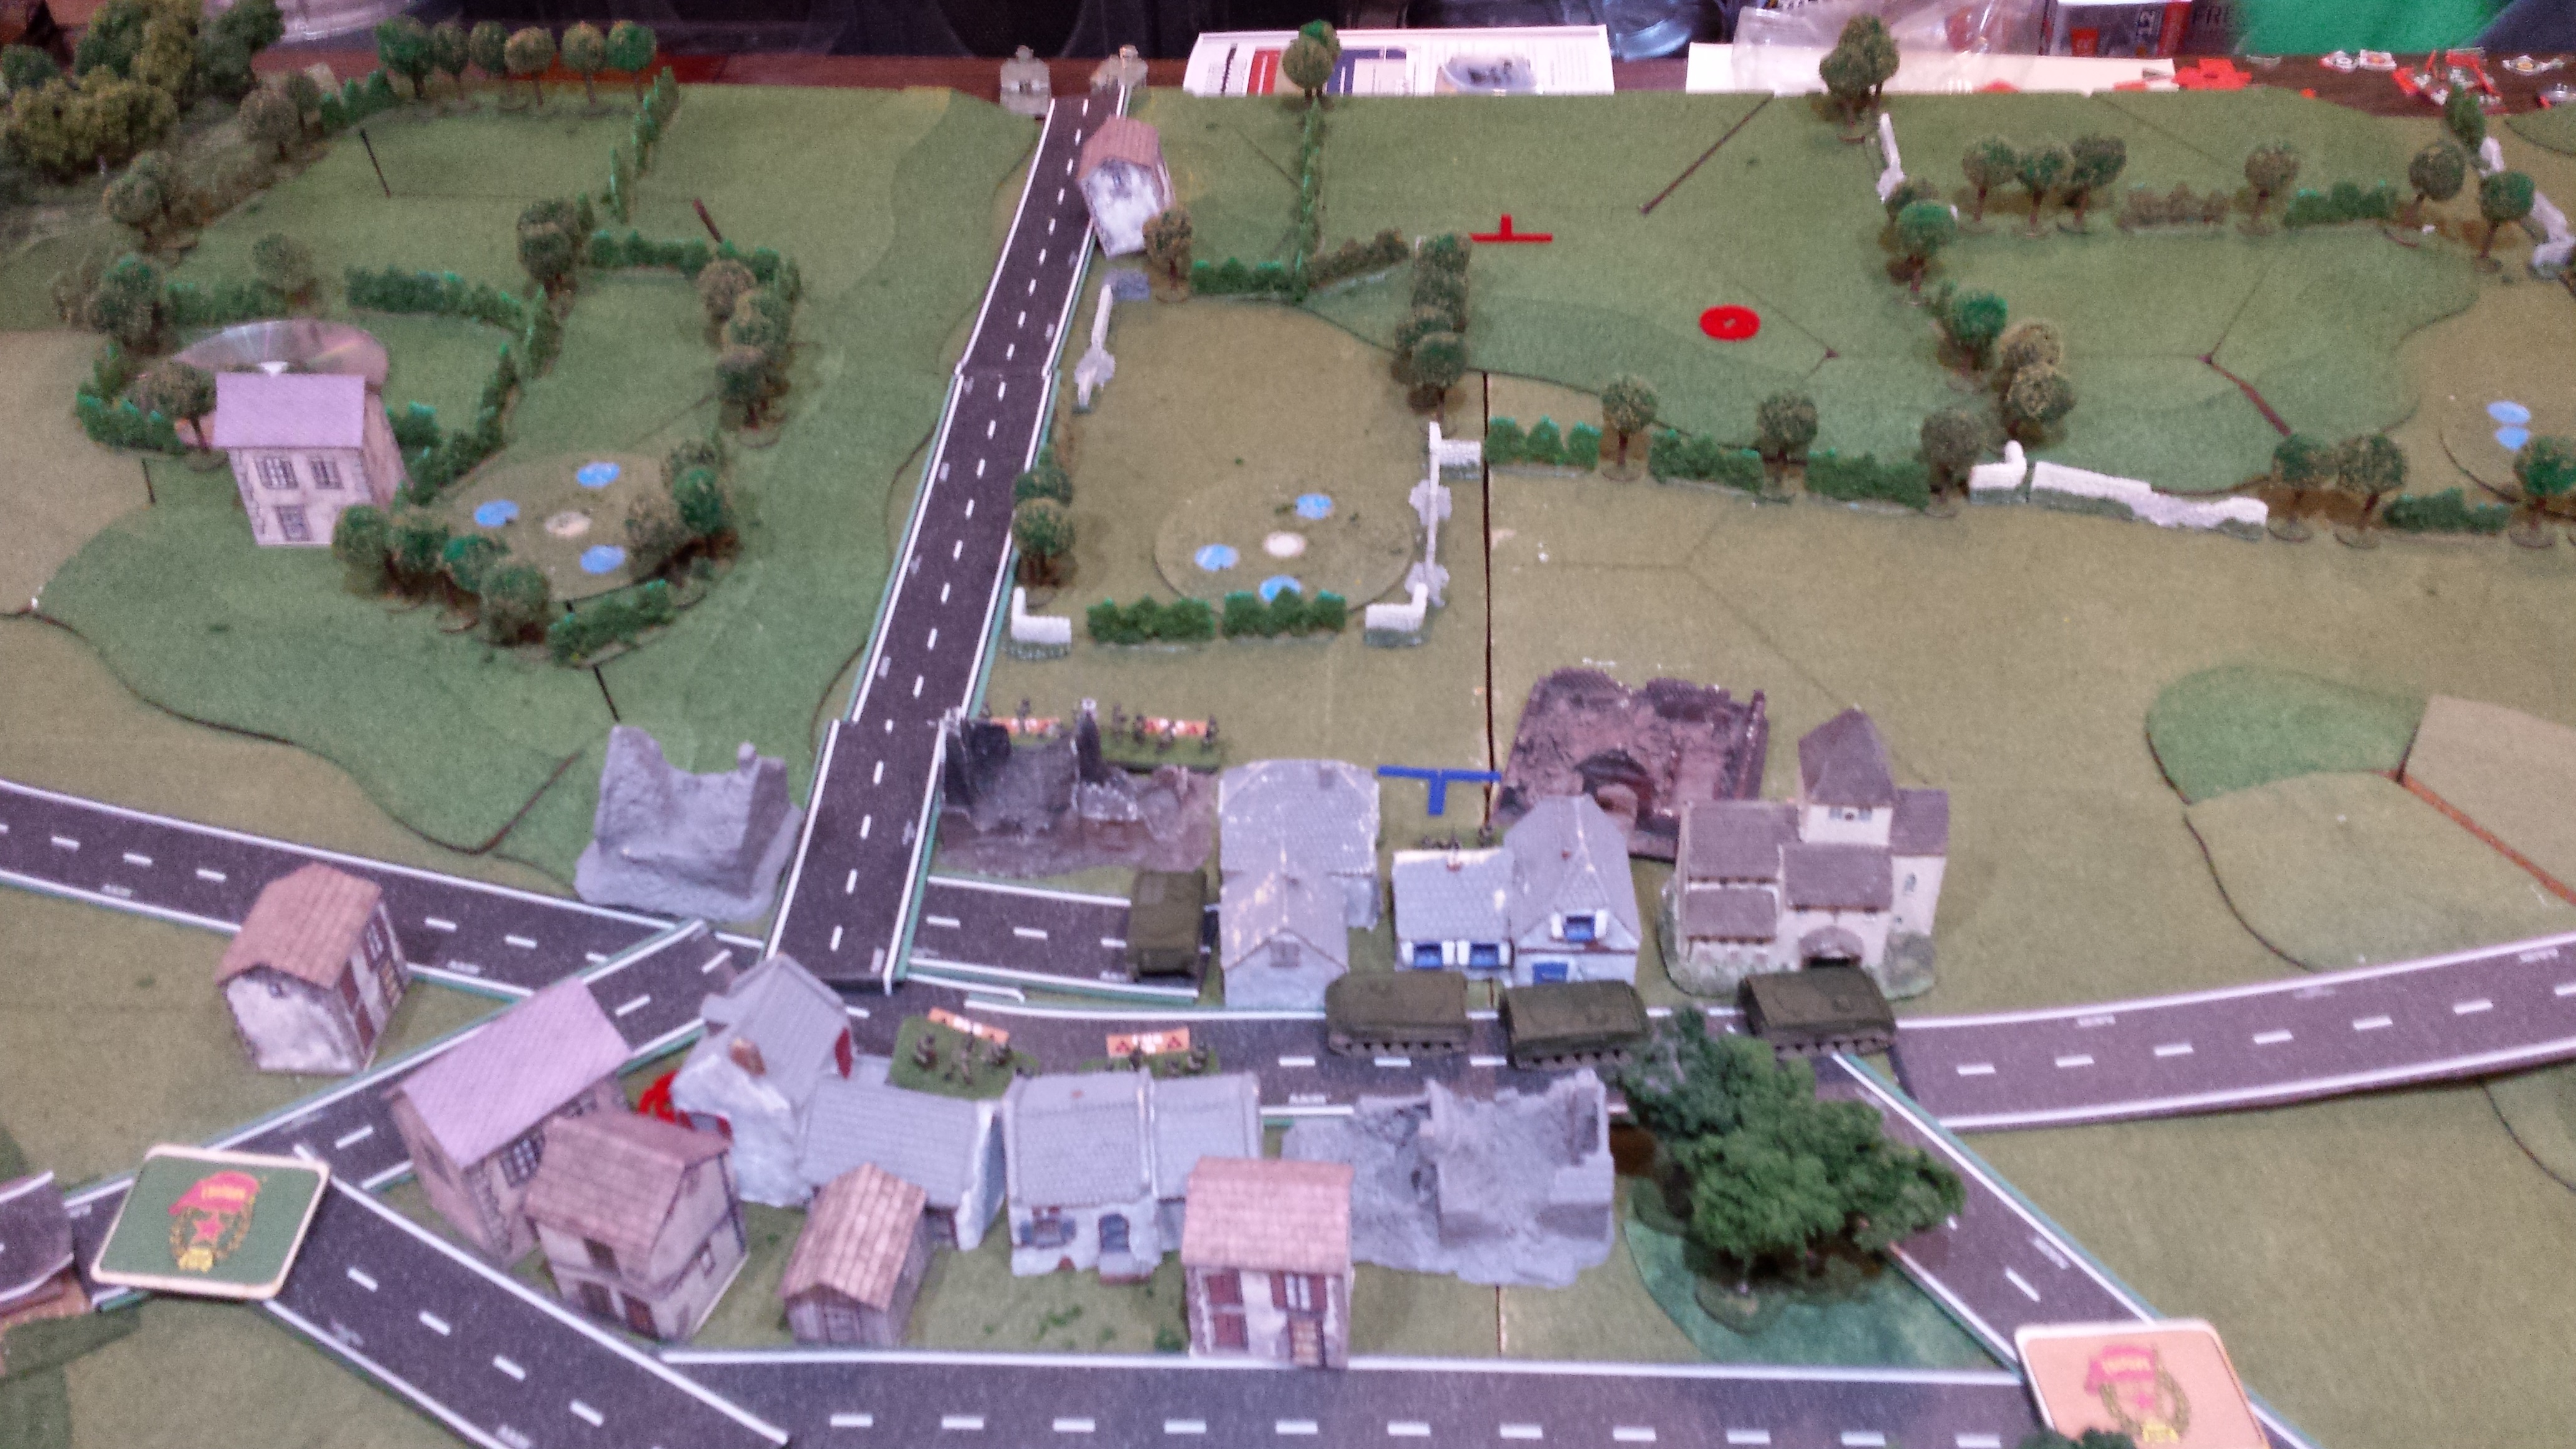
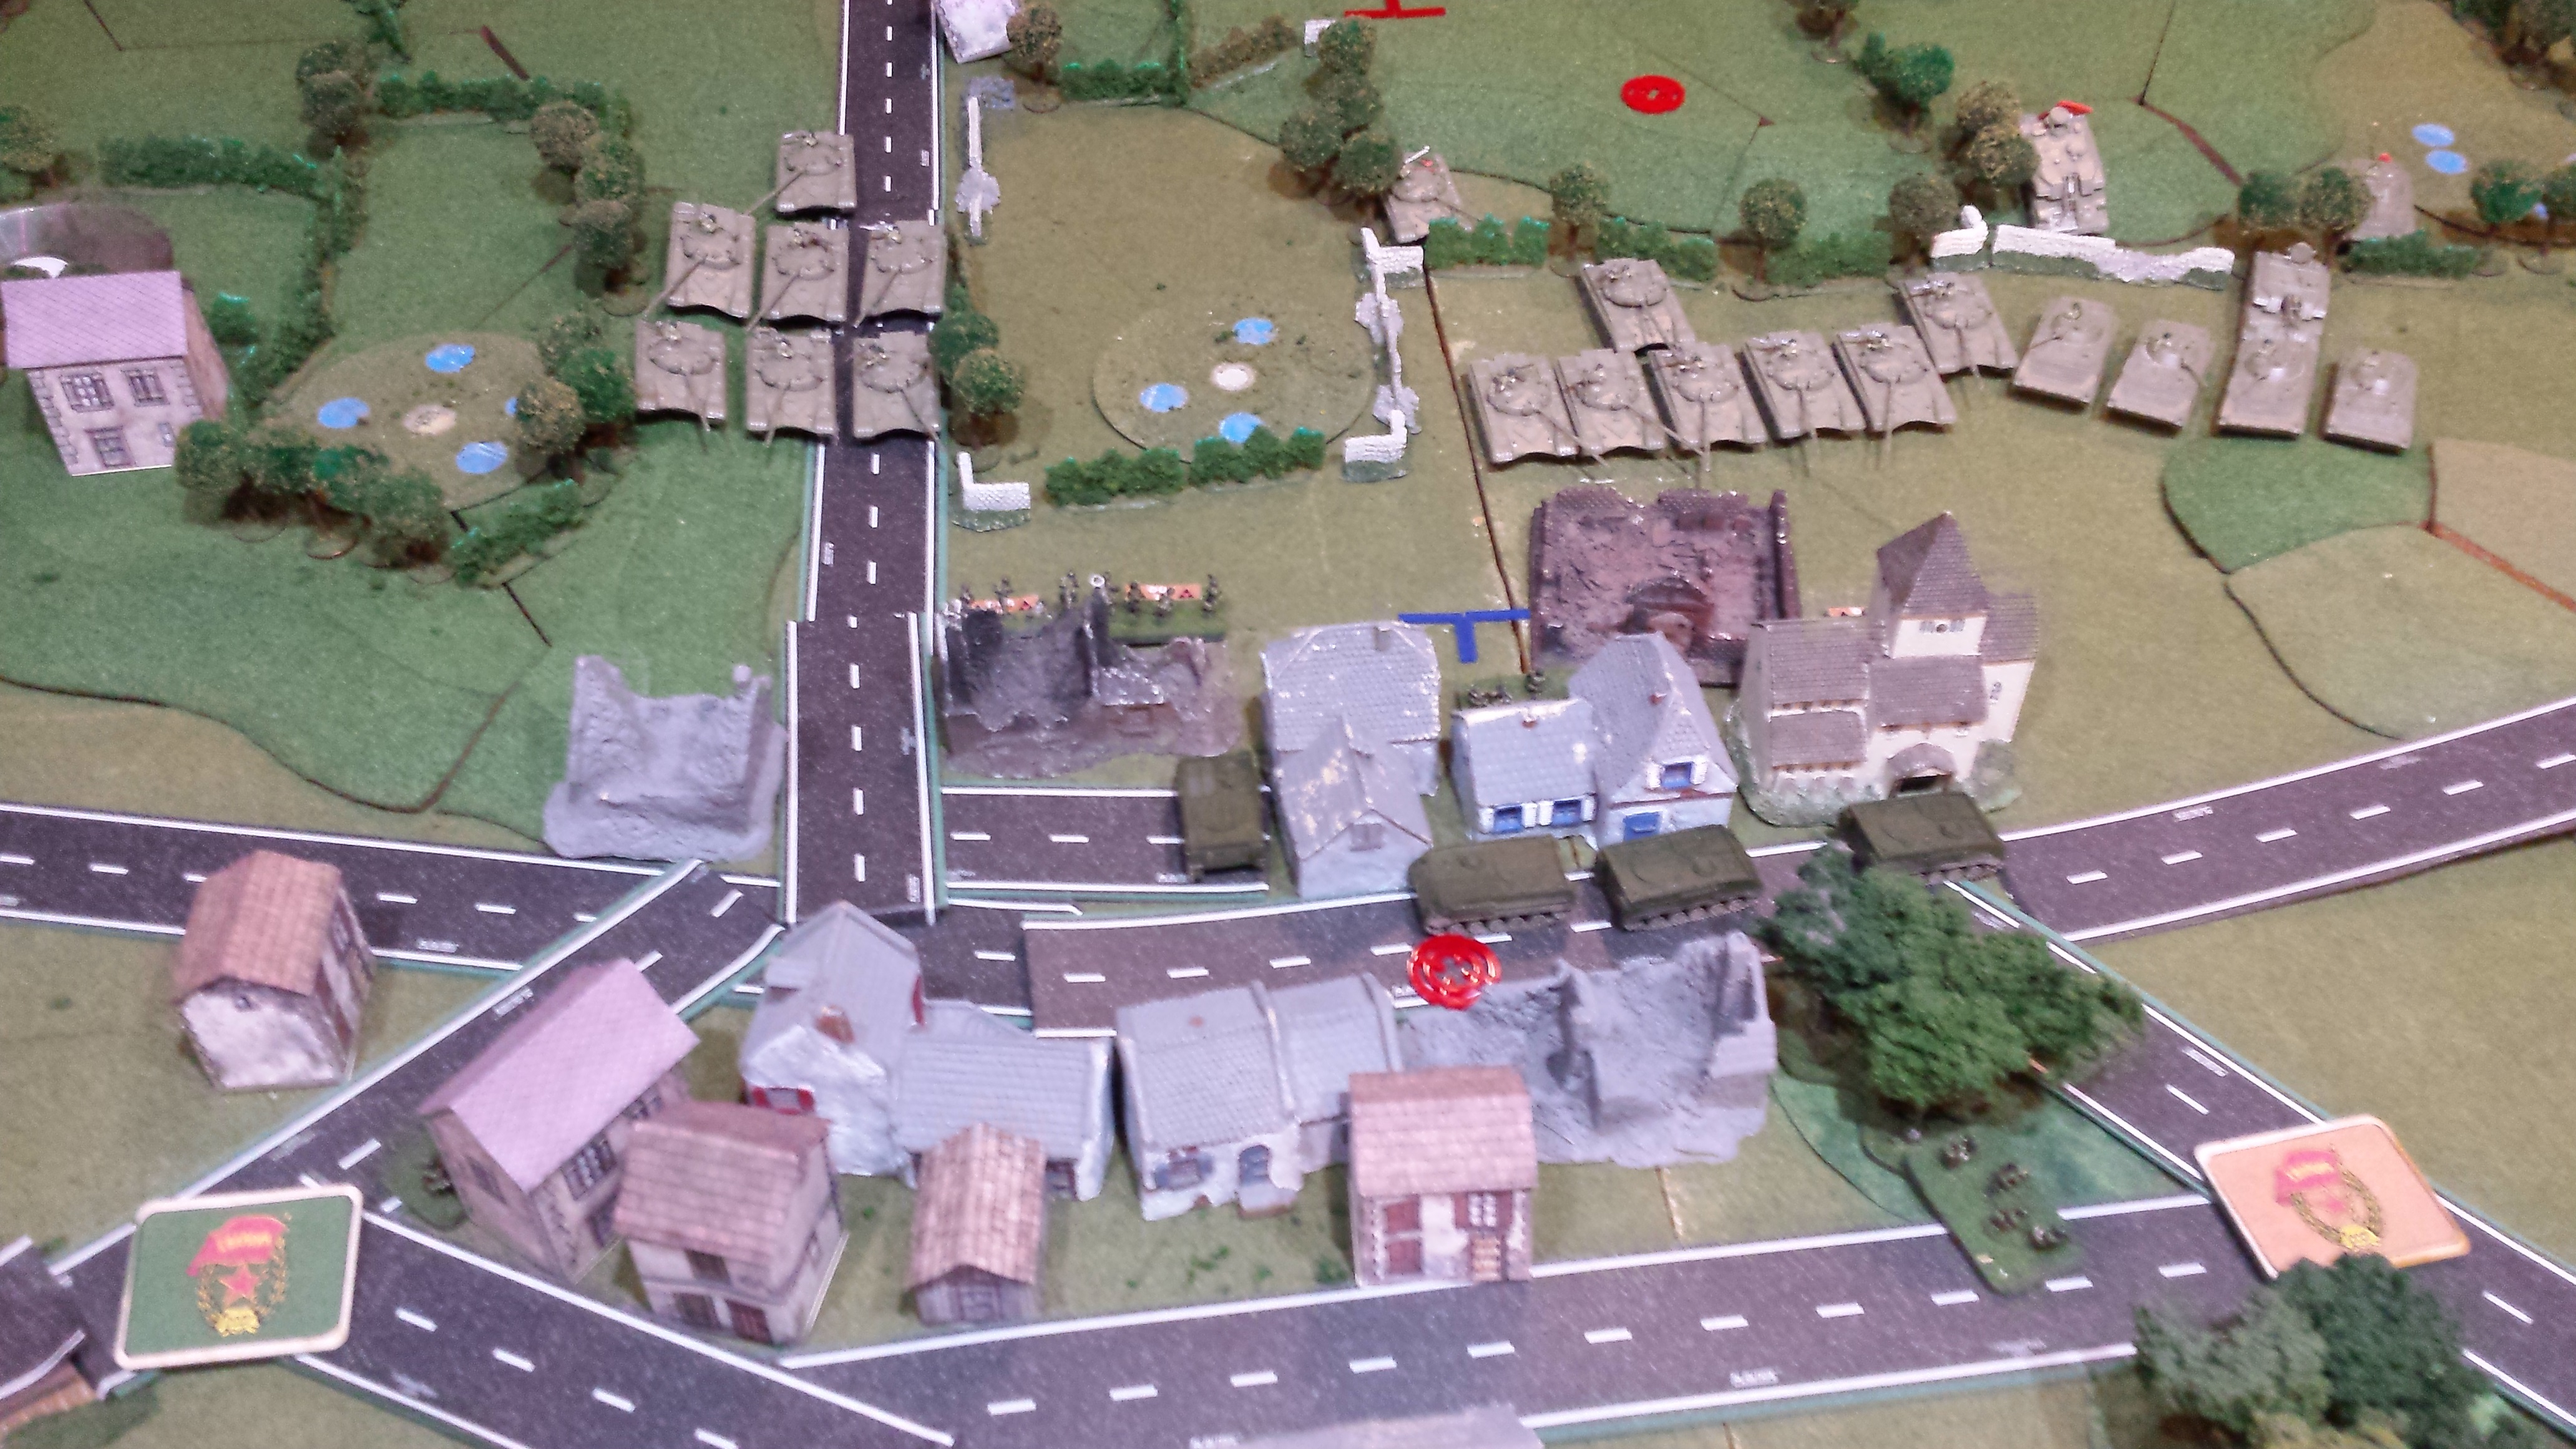
Artillery fire caught those elements of the BMP company in the open forcing them to dismount several vehicles. These dismount, reinforced by more BMPs and their infantry then assaulted the Church removing a Carl Gustav team and occupying the Church. Soviet tank on the Road pushed forward and took out an FV432 in the town square.
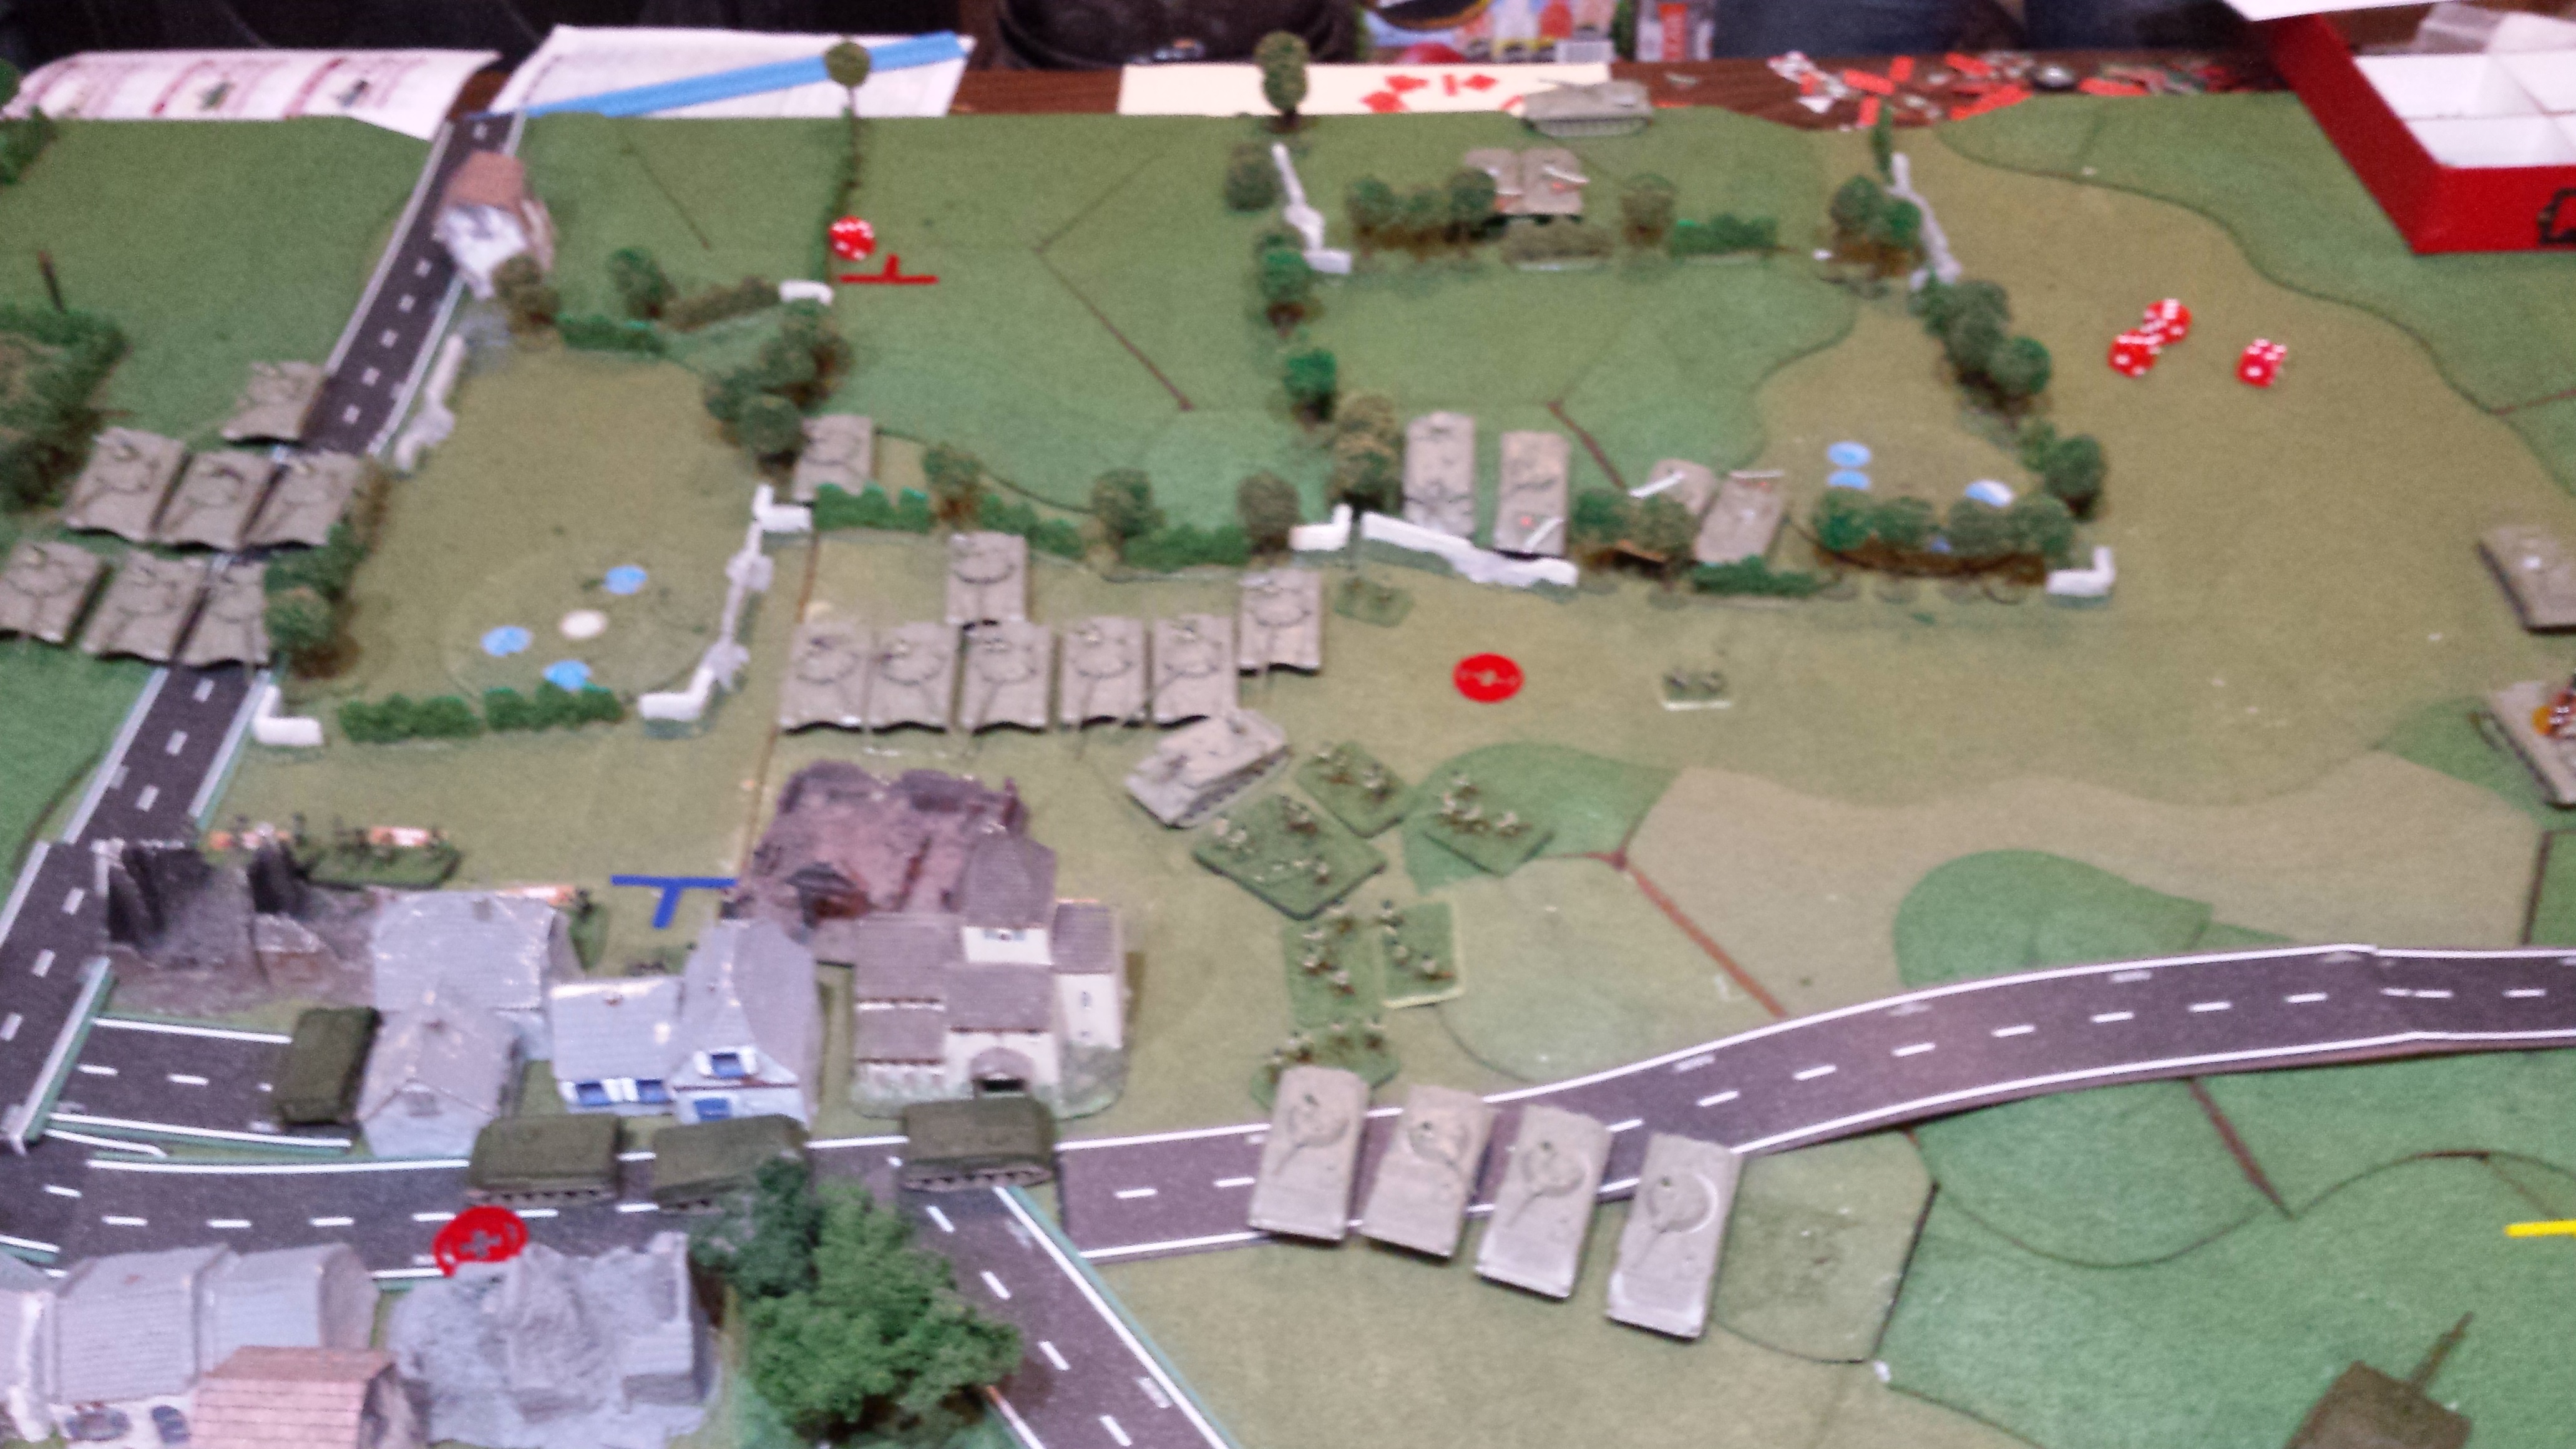
1 Troop was able to come on line with Bulldog6 and bring the BMPs under fire killing 2. Artillery was able to repeat and took out another BMP and 2 squads of infantry.
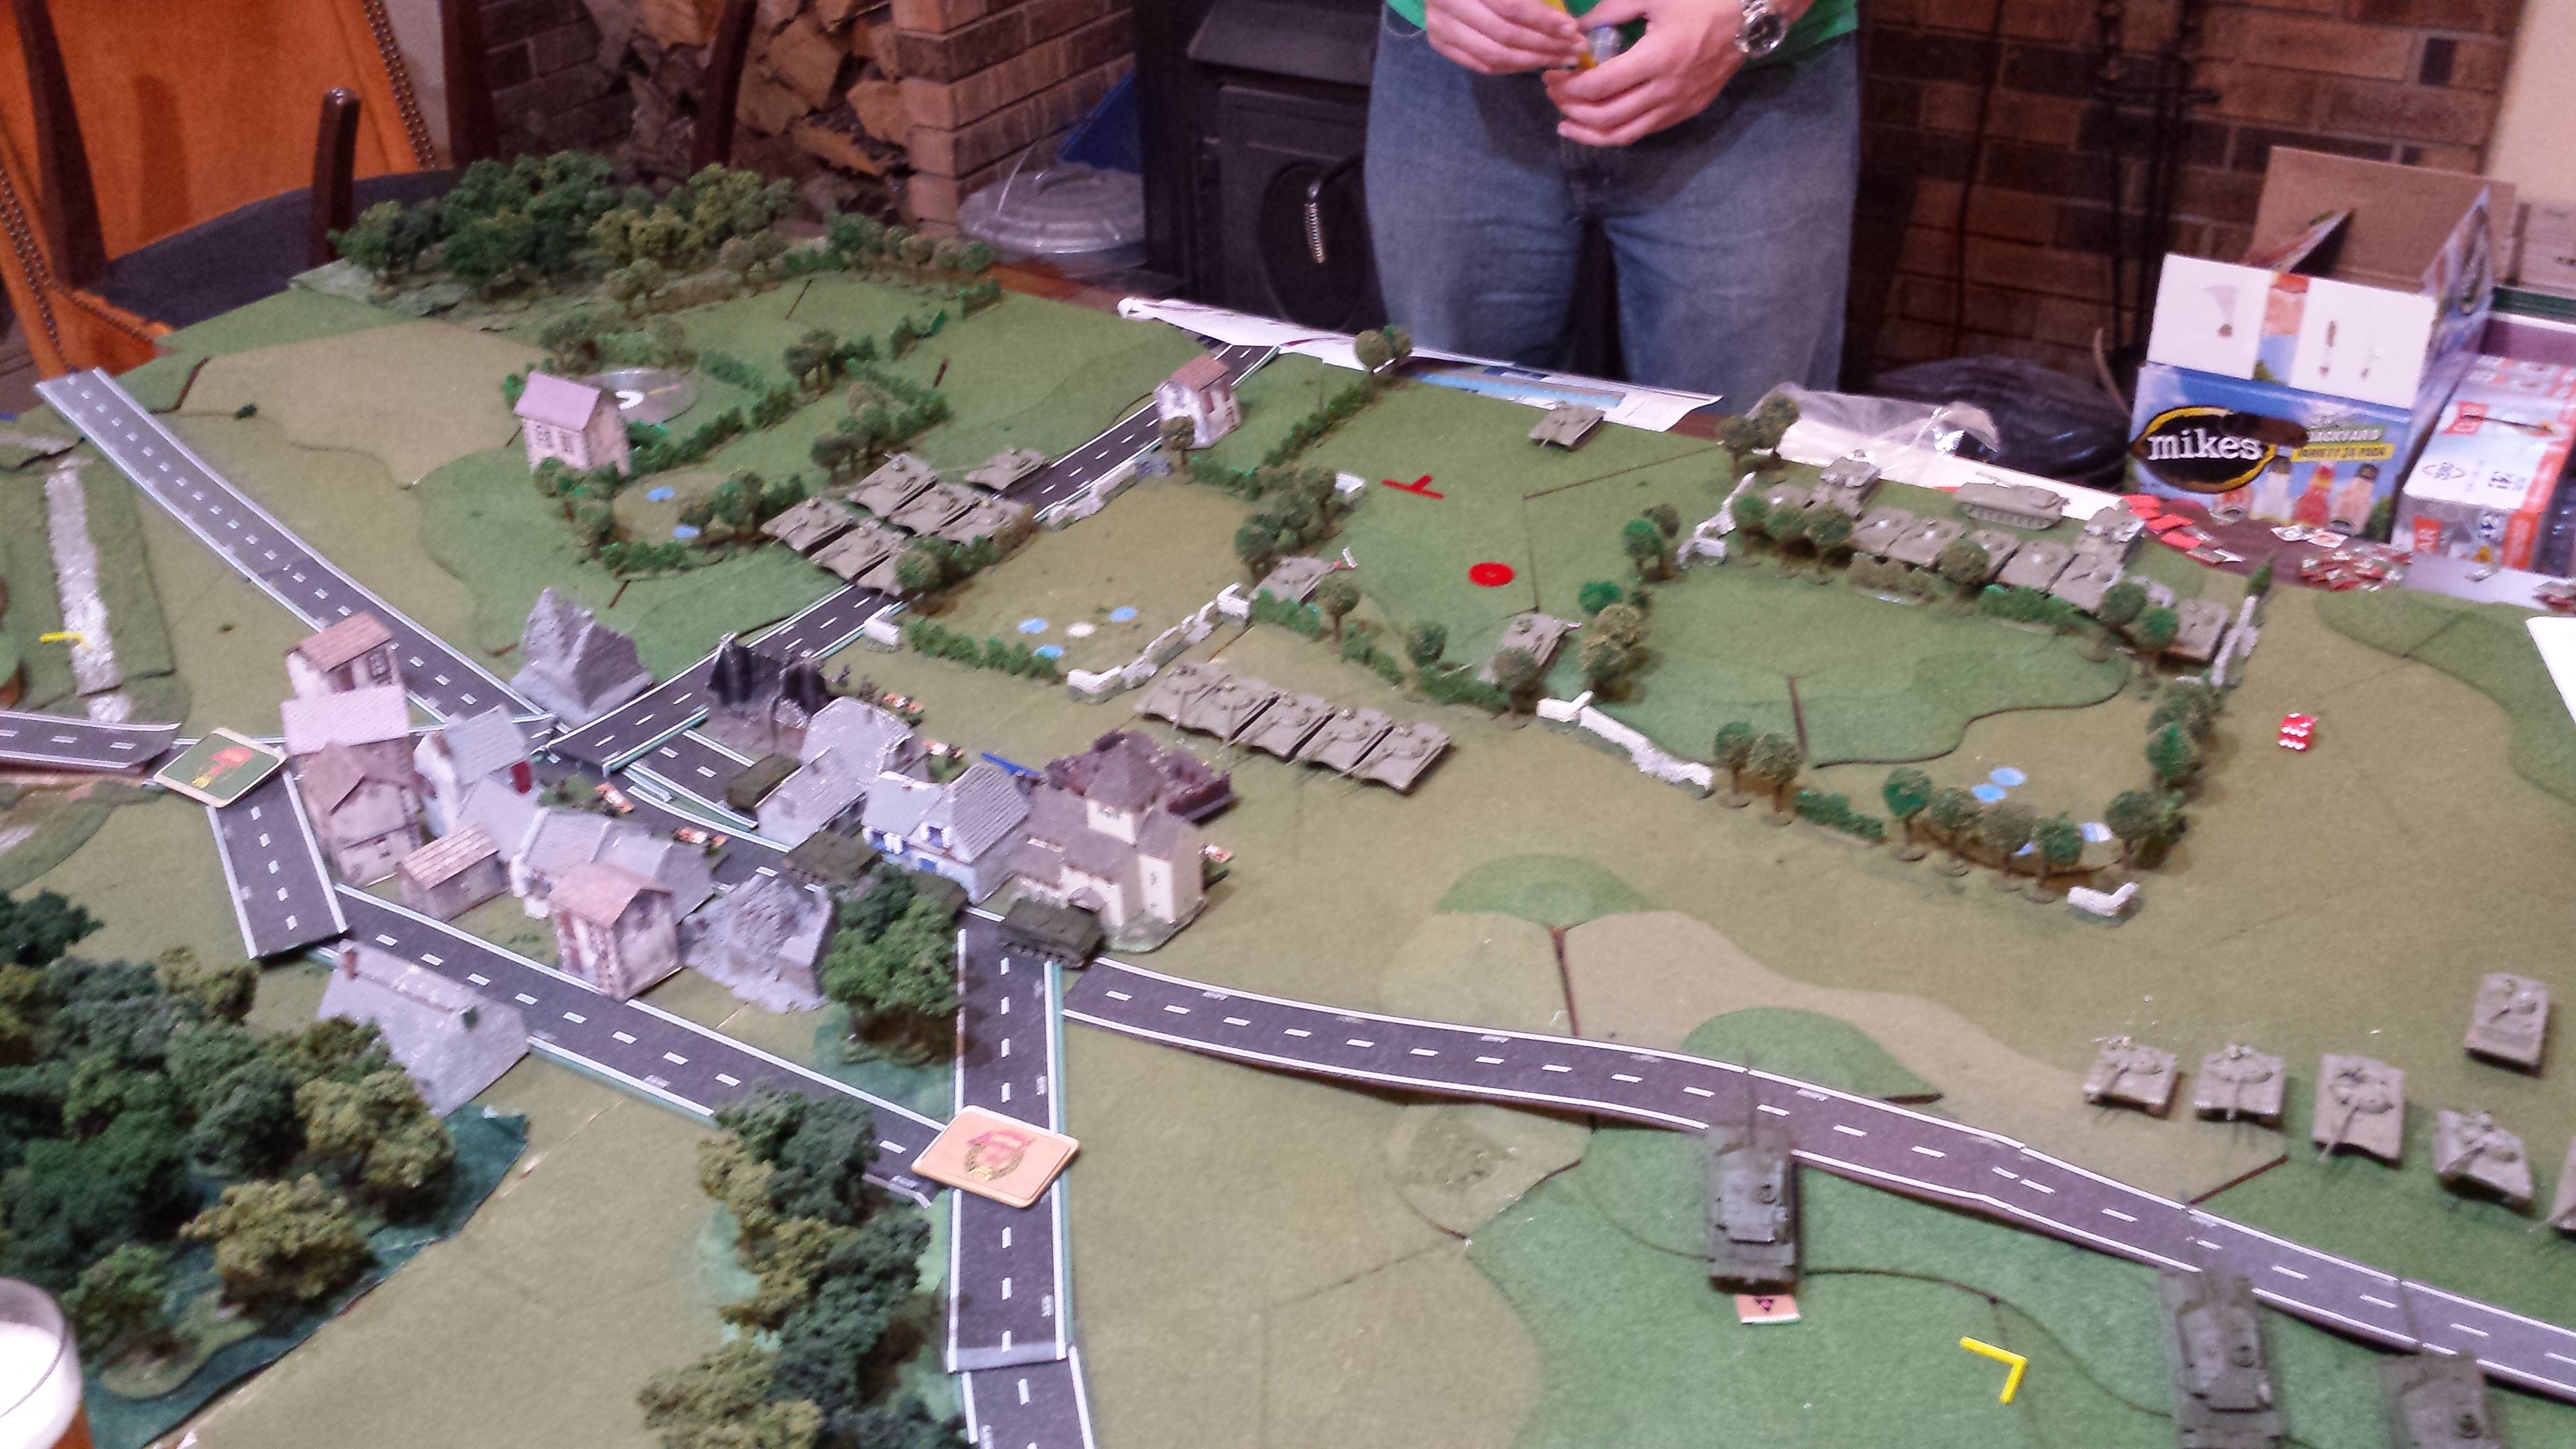
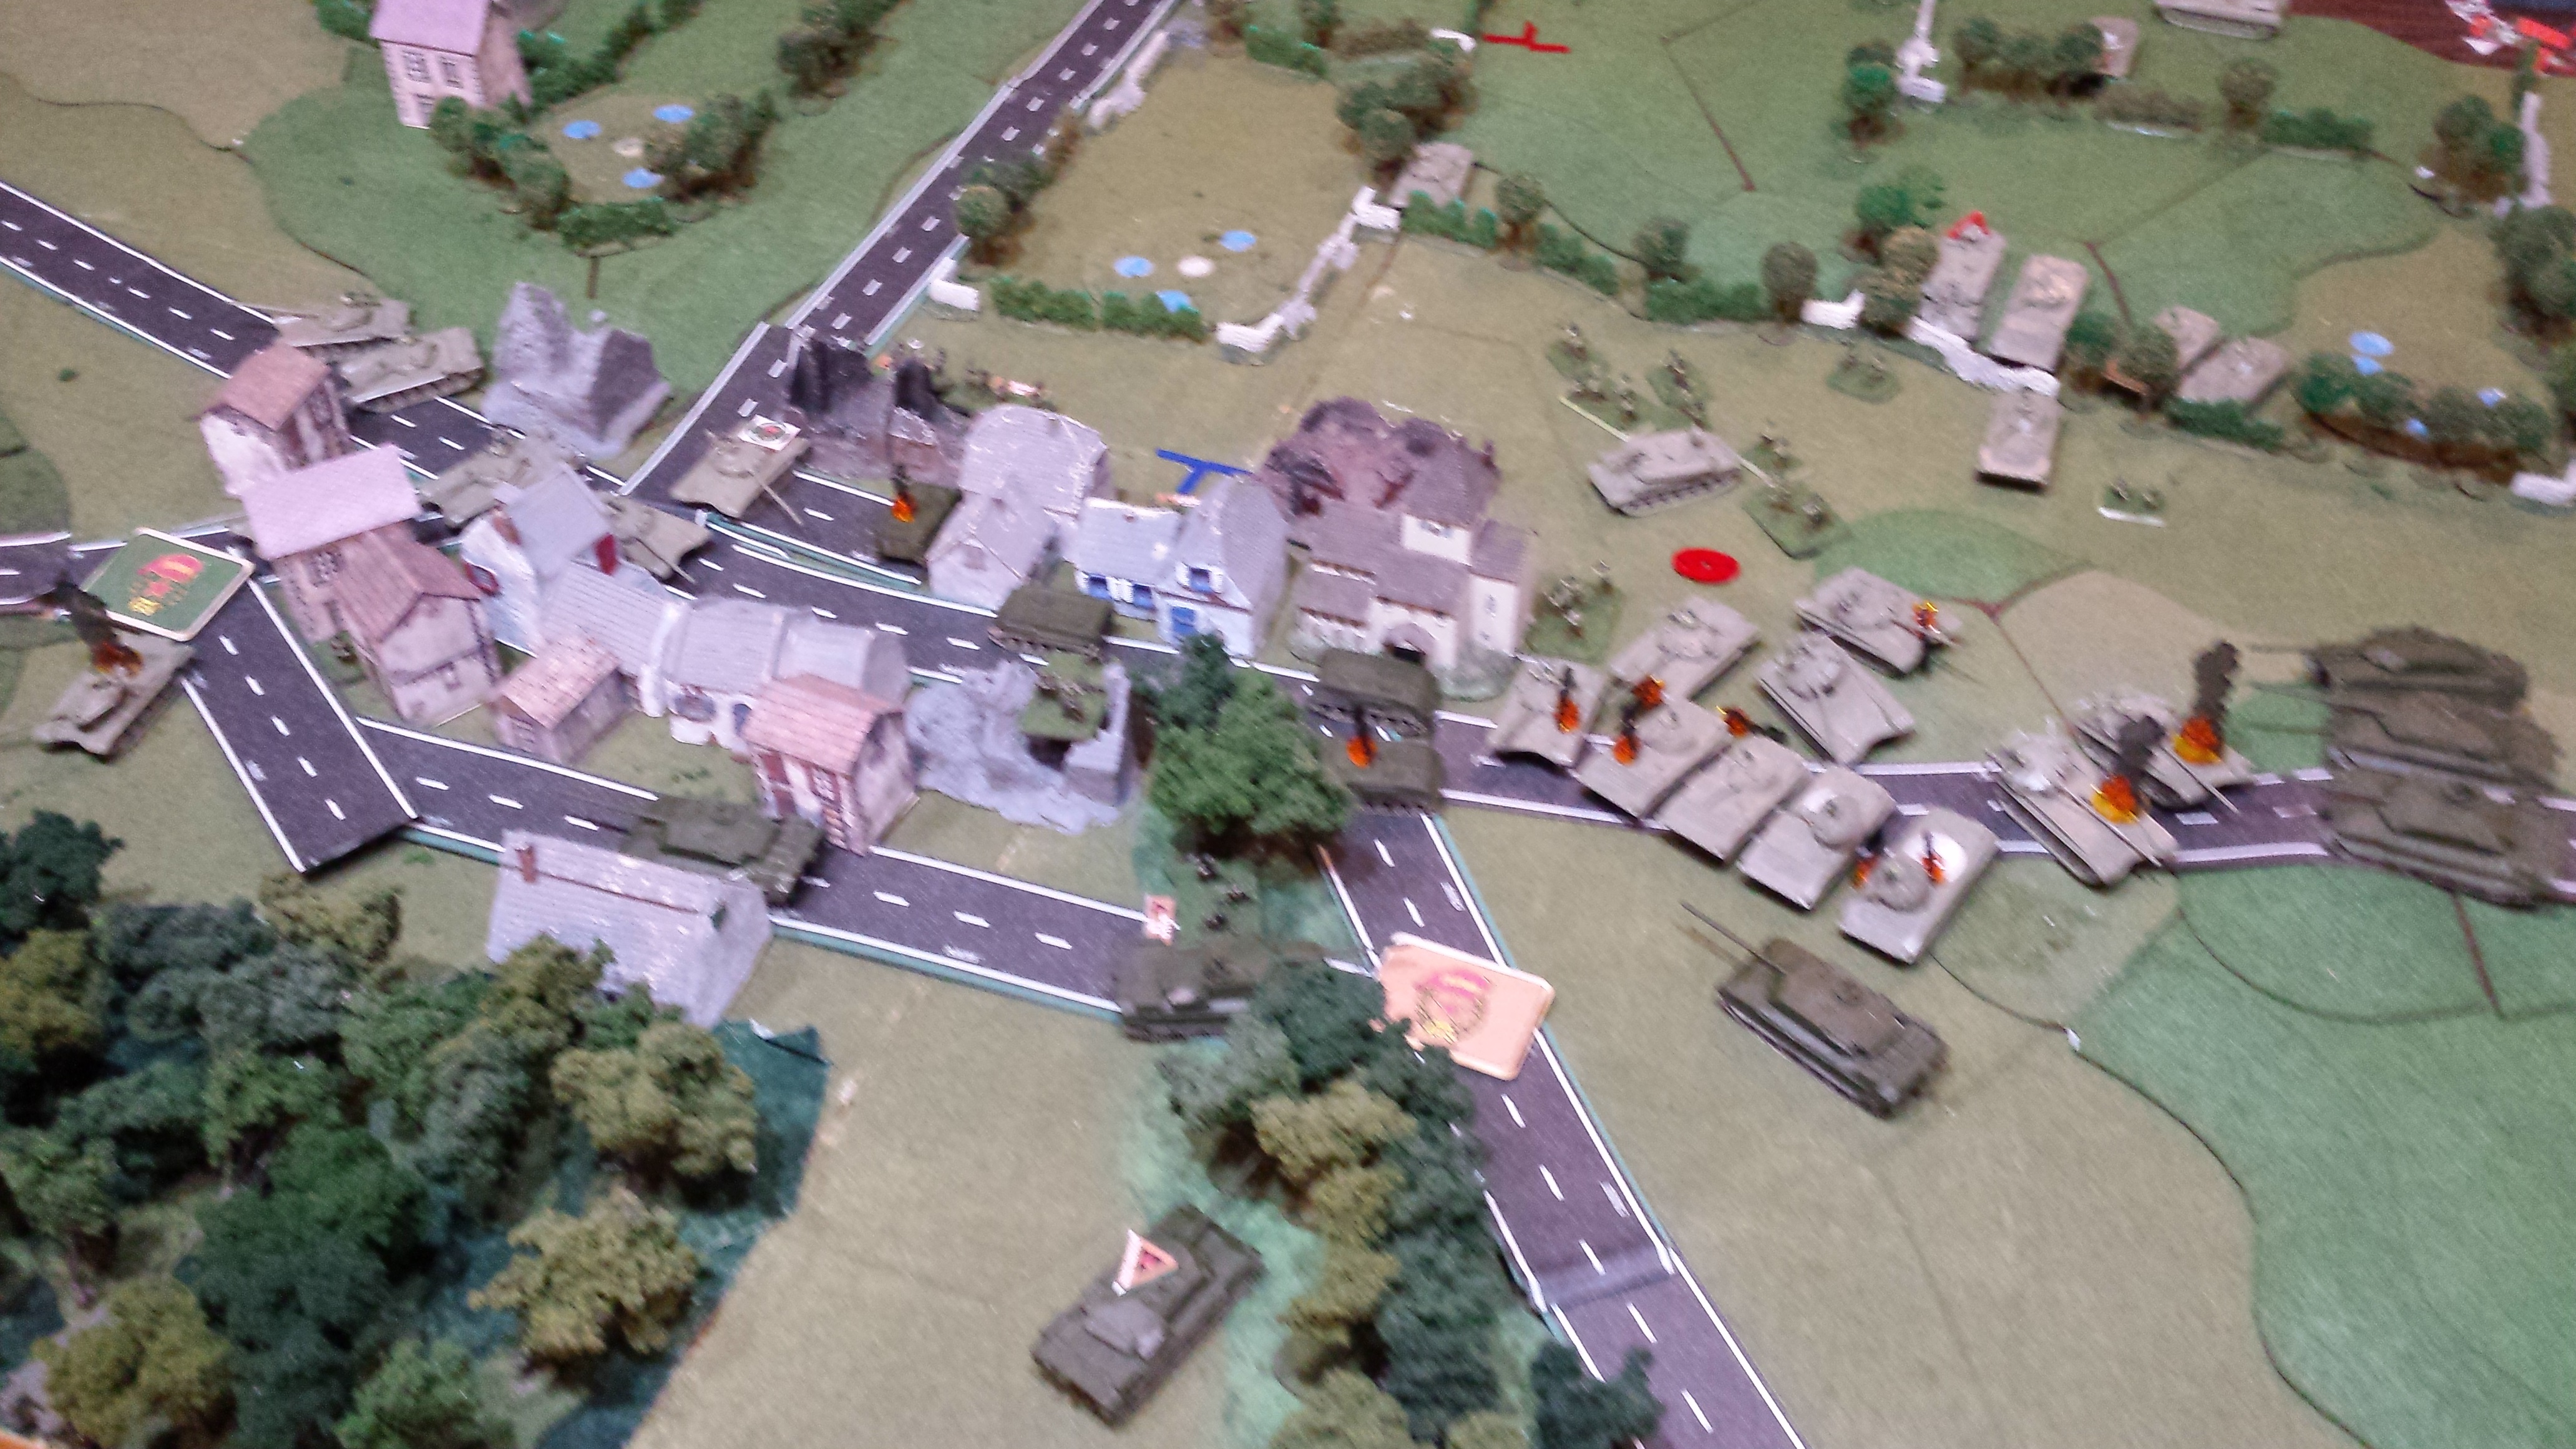
The Soviet Left had stalled as the BMP company still had elements hung up in the treelines, including one still on the start line. The Center Tank company pushed forward to the side of the Church and the Right company pushed into the town, both threating the Objectives.
Darkness still held as 3 Troop arrived and was able to cover the Objectives and add their fires to 1 Troop and Bulldog6 against the Center Tank company (destroying it and the Battalion Commander) and tank 32 was able to assist the Milan section on the left taking out 2 tanks in the Right Tank Company.
As dawn broke The Soviets pulled back to lick their wounds as the Lancs crowded into their remaining FV432s and withdrew.
Game Over
Battle Report Author
Army Lists Used In This Battle
Recommend Commander For Commendation
Share this battle with friends
Bulldog6Wins

Great win for NATO… great idea adding th battle board.
Really like the map you added
Congratulations on the win! 🙂
Thats a really cool report. Love the battle map.
That looks like a textbook example on how to lay smoke. Well done.
Good report,
as with pictures you can have multiple text belts.
Well done winning, most missions favor the Warsaw Pact at this time (as they rightly should – so stay in there)
Hello, many thanks for this outstanding report, not to much text and a lot of pictures, explained what happened. Nice terrain you play on.
Best regards, Frank.
What are the godless commies doing in church? They must be expelled!
Good report.
As to the PDF, it was there last night! Uploaded
I agree with Storm Caller – having the forces in their own PDF keeps the focus on the report… nice photos though! I especially like the map starting things out!
Another win for Her Majesty’s Forces! Huzzah!
Bulldog6
Simply outstanding report. I have only one recommendation, go back , cut out the forces past to word document save as PDF then up load in the table for forces. This cleans up the report and you gain experience for it!
Top five reports! I will recommend to my group
Up the team out by going back and reviewing the old battle reports and giving them recommendation if you haven’t done so already
Cheers
Storm Caller