Fought At Bremen
2433 days 1 hours 28 minutes ago
Battle Report
Breakthrough at Bremen
View Linked Report - CLICK HERE 80 POINTS*Lists uploaded separately*
***images are in reverse order from how I updated them start at the bottom right***
Breakthrough - 80 points- East Germans vs. West Germans
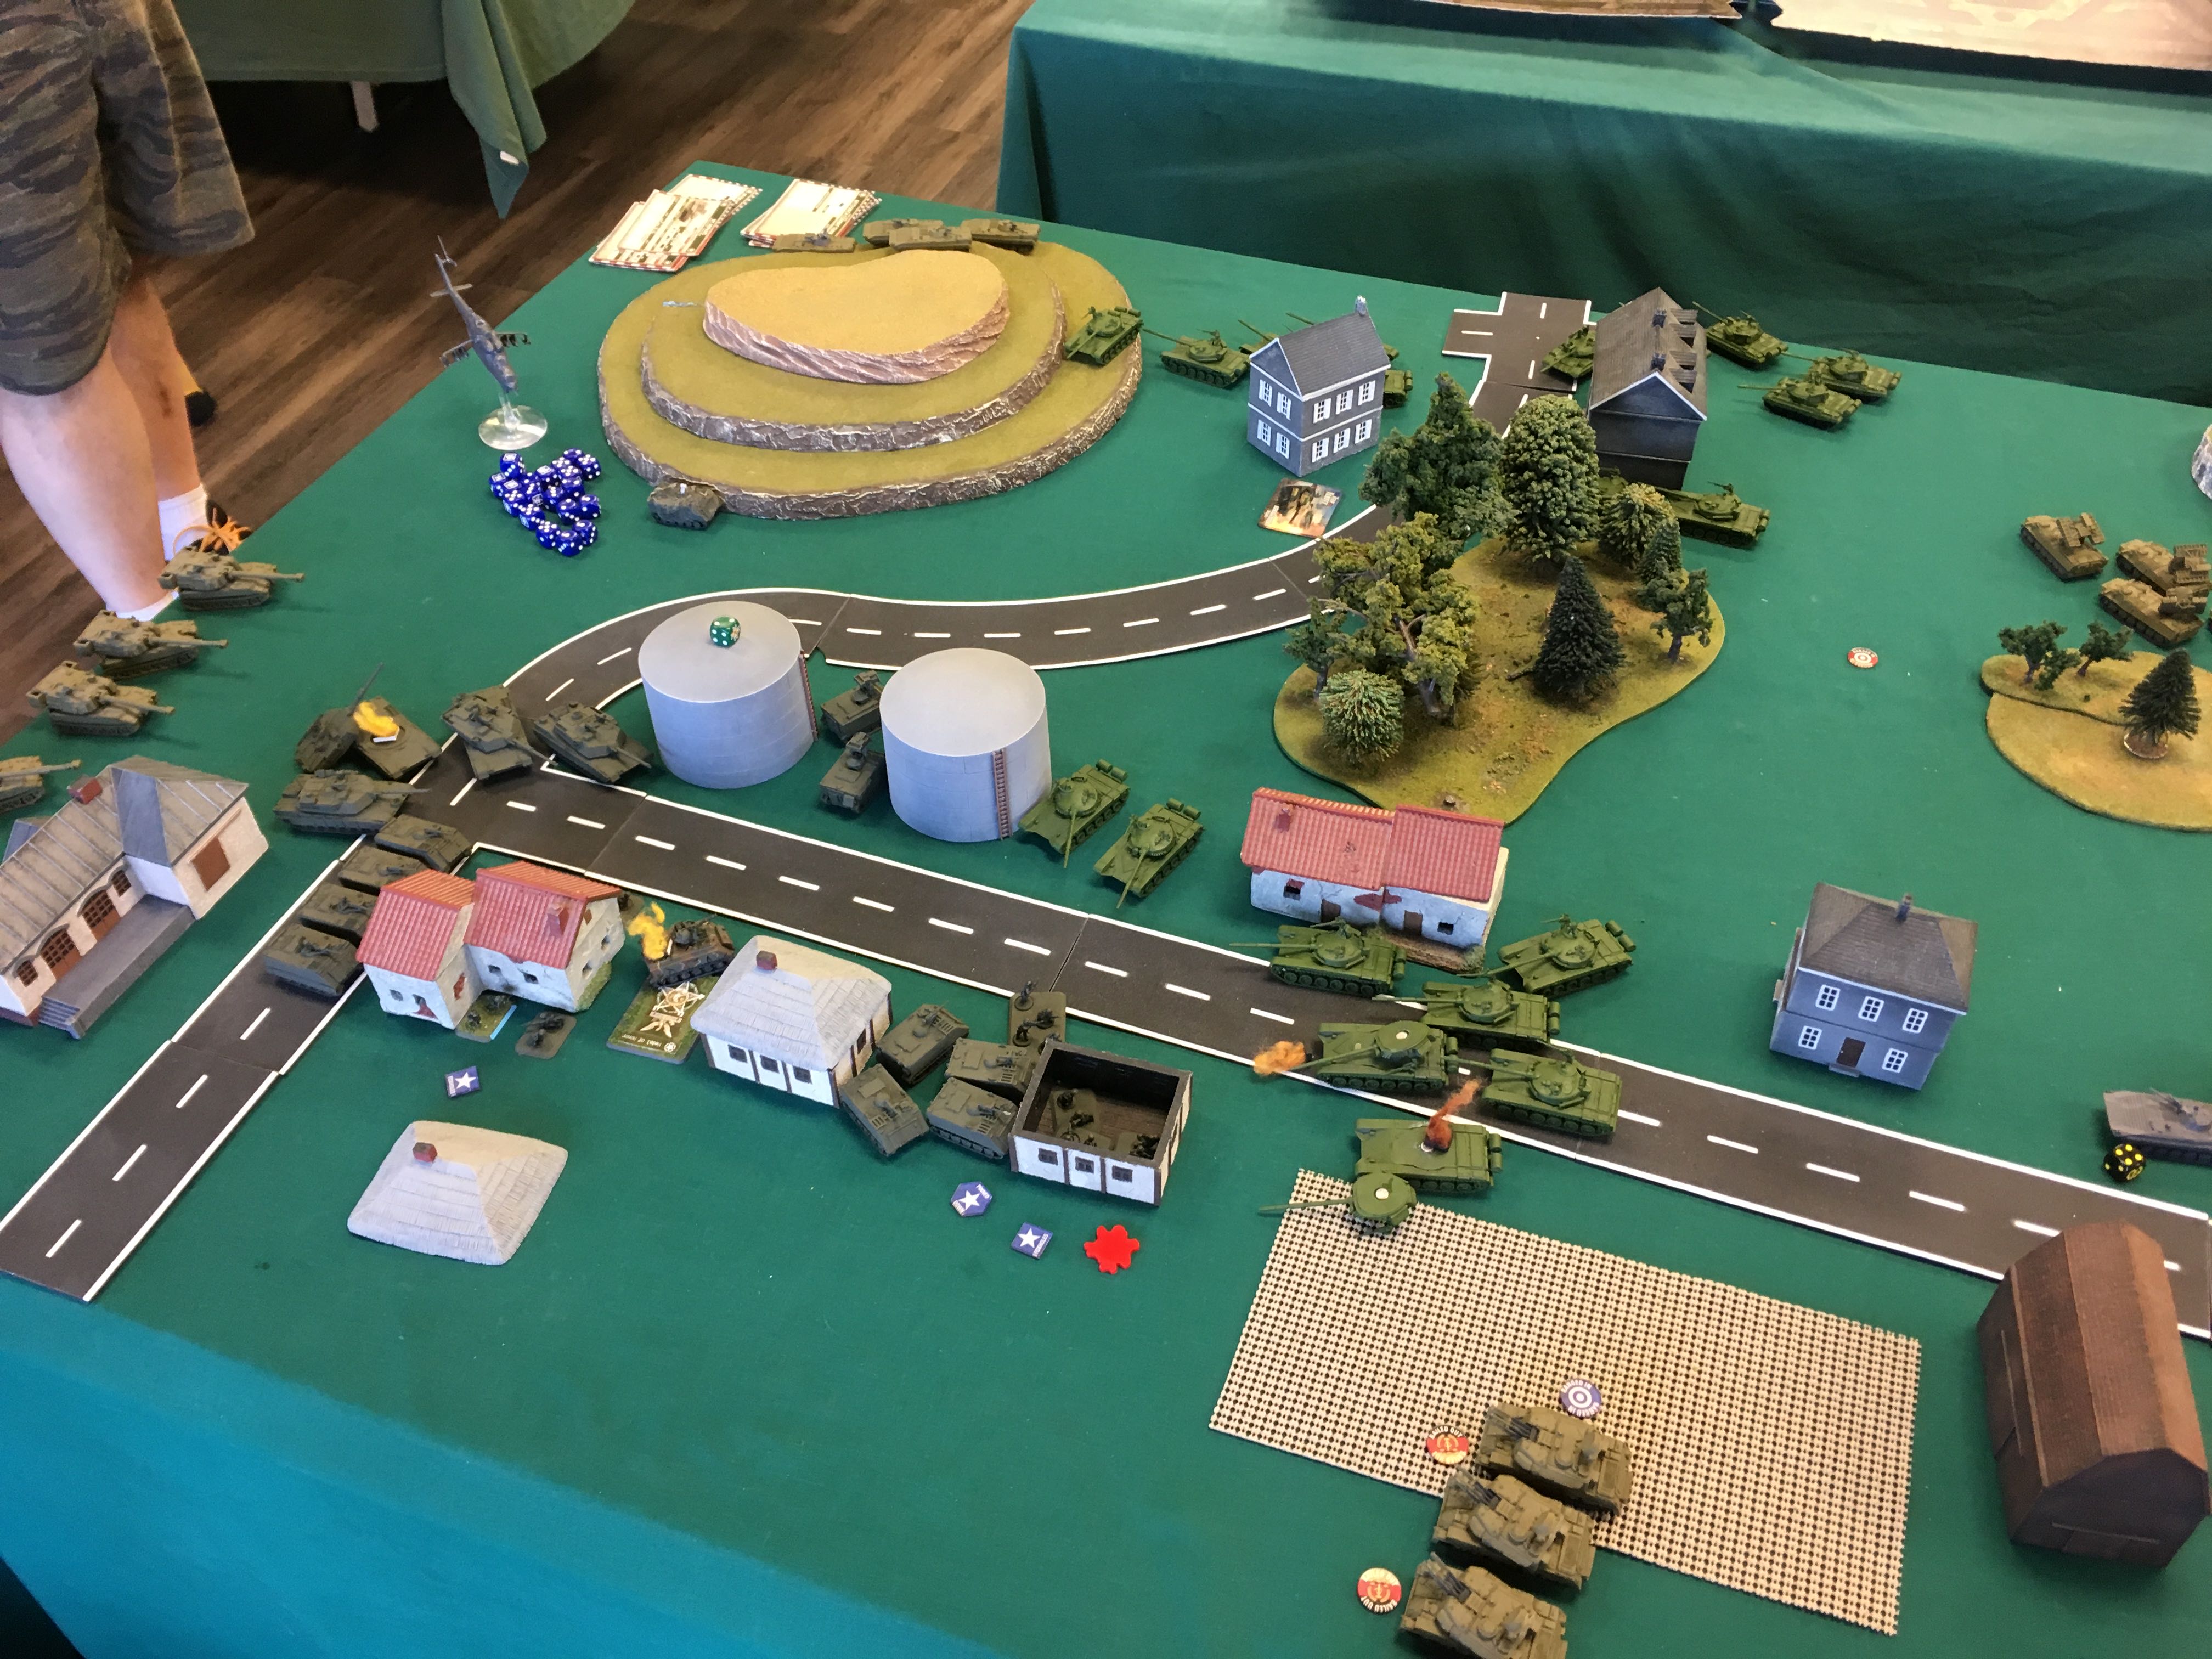
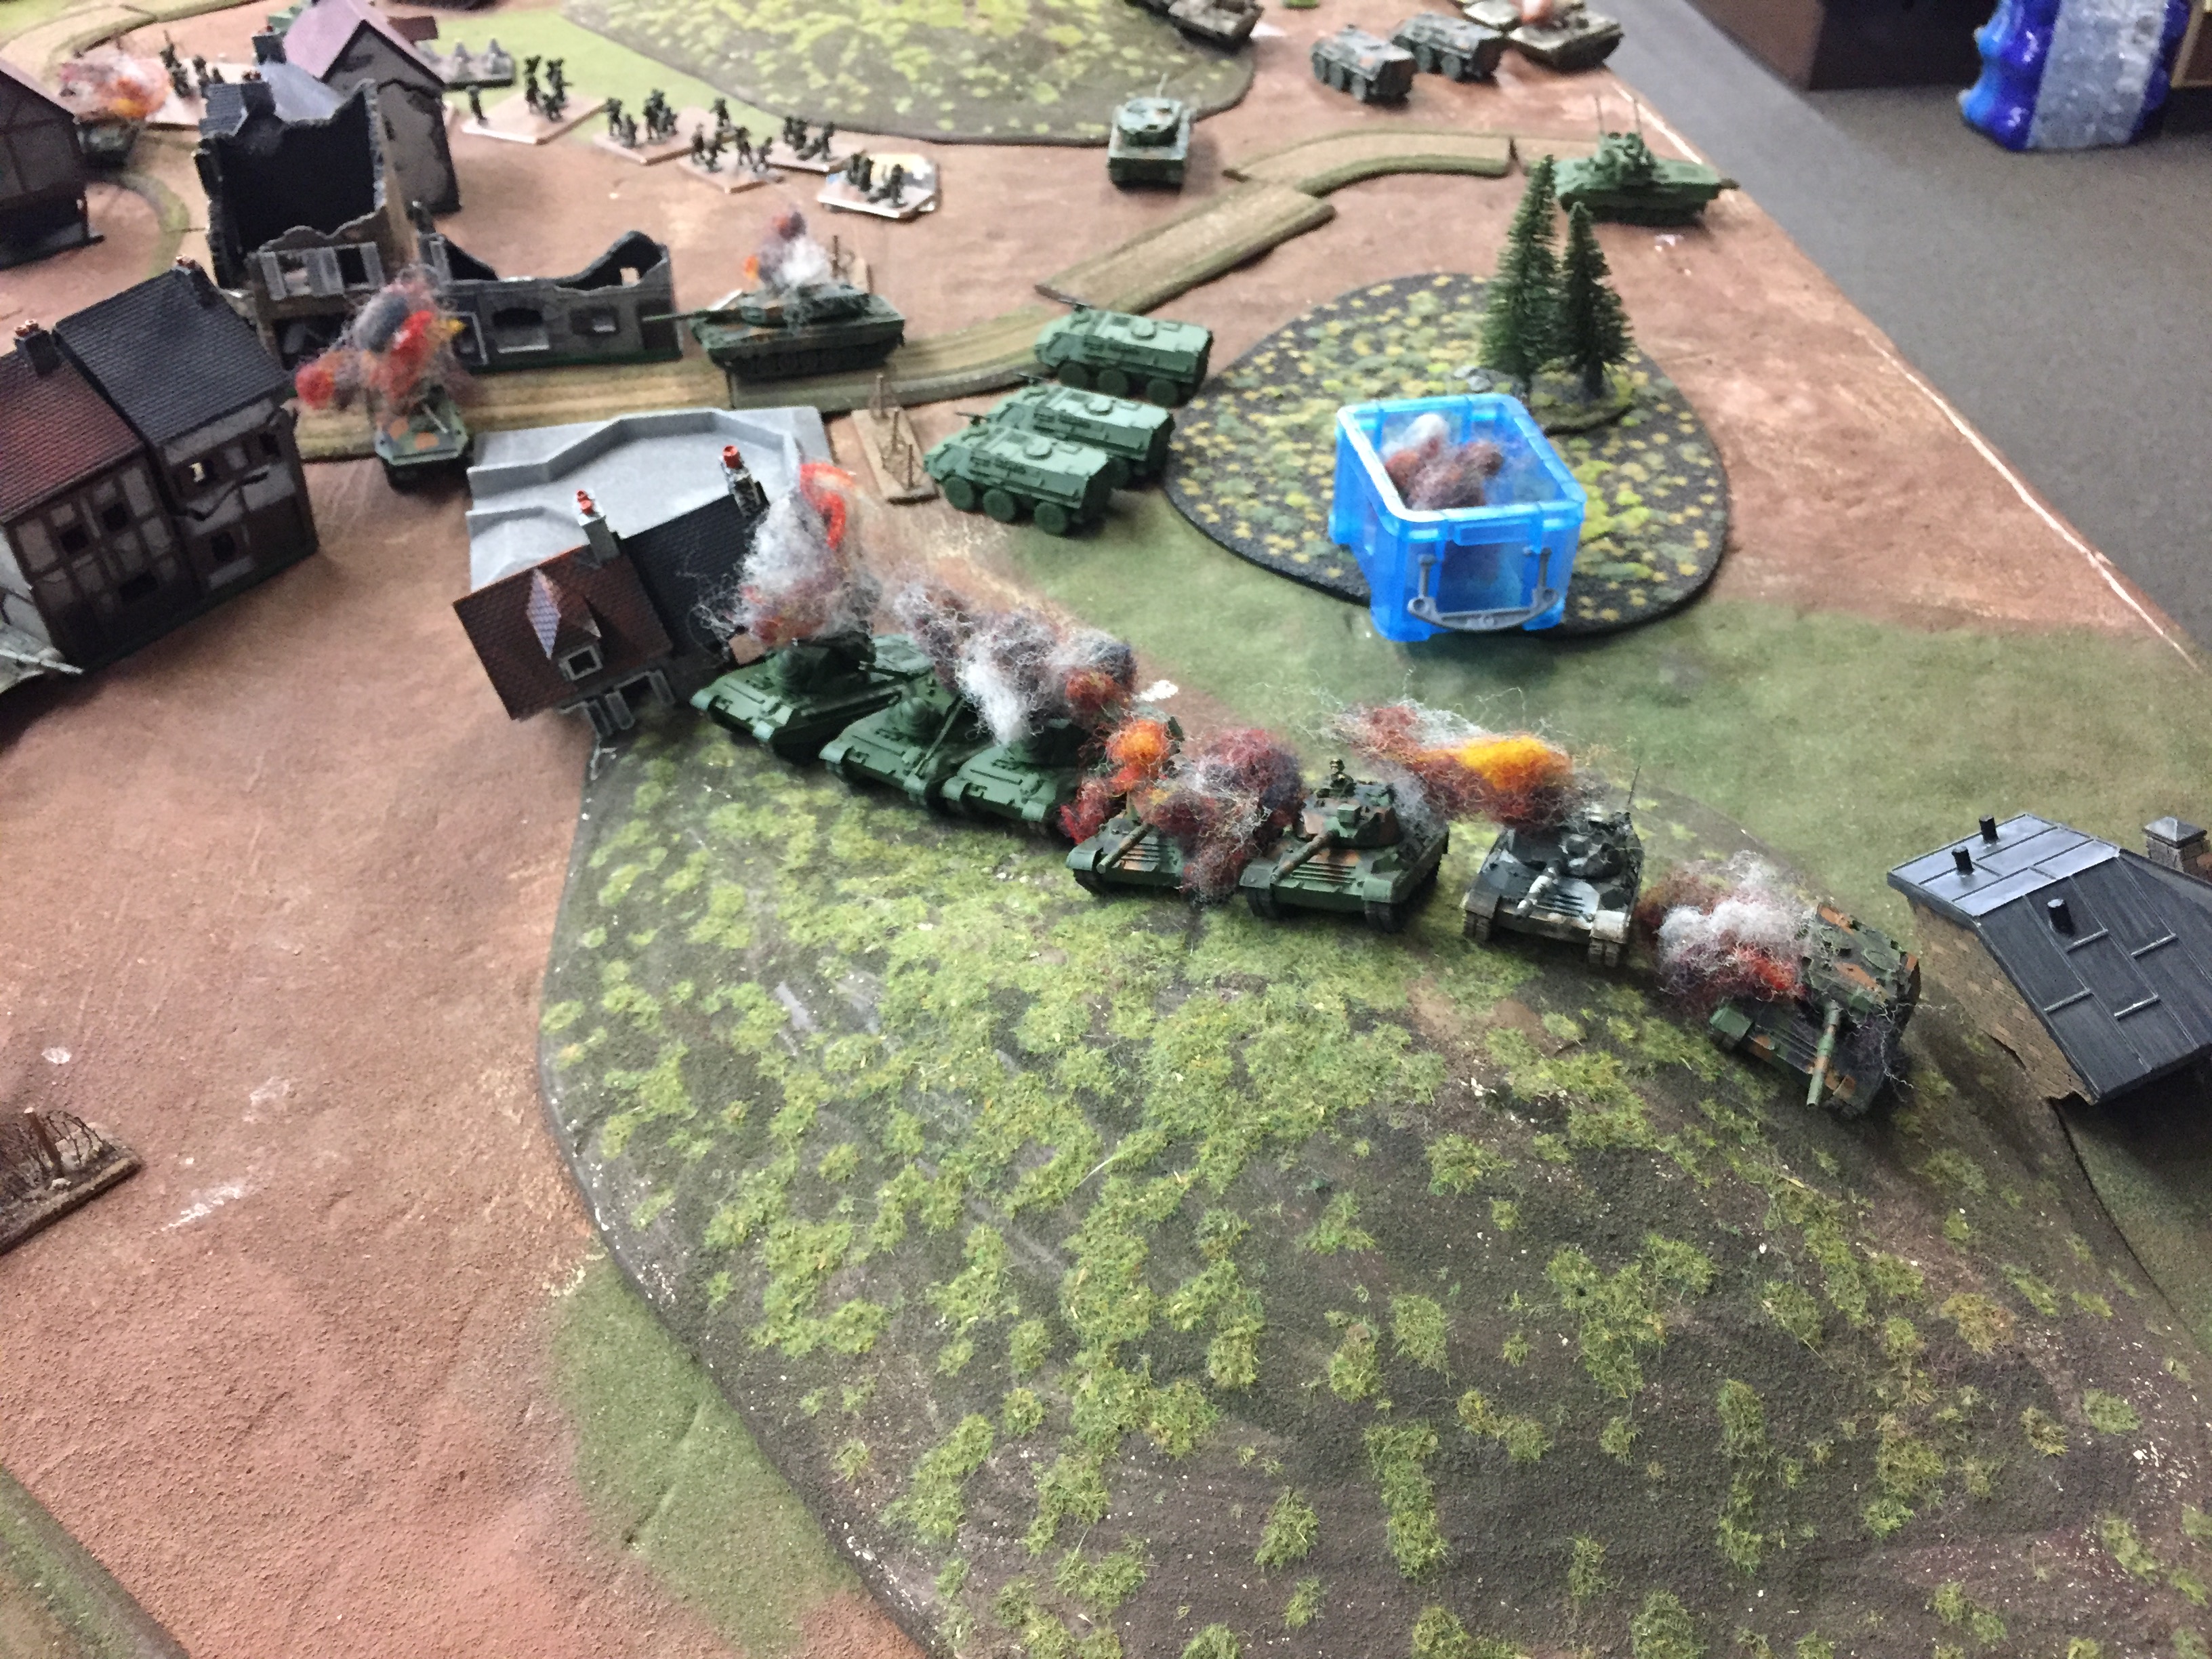
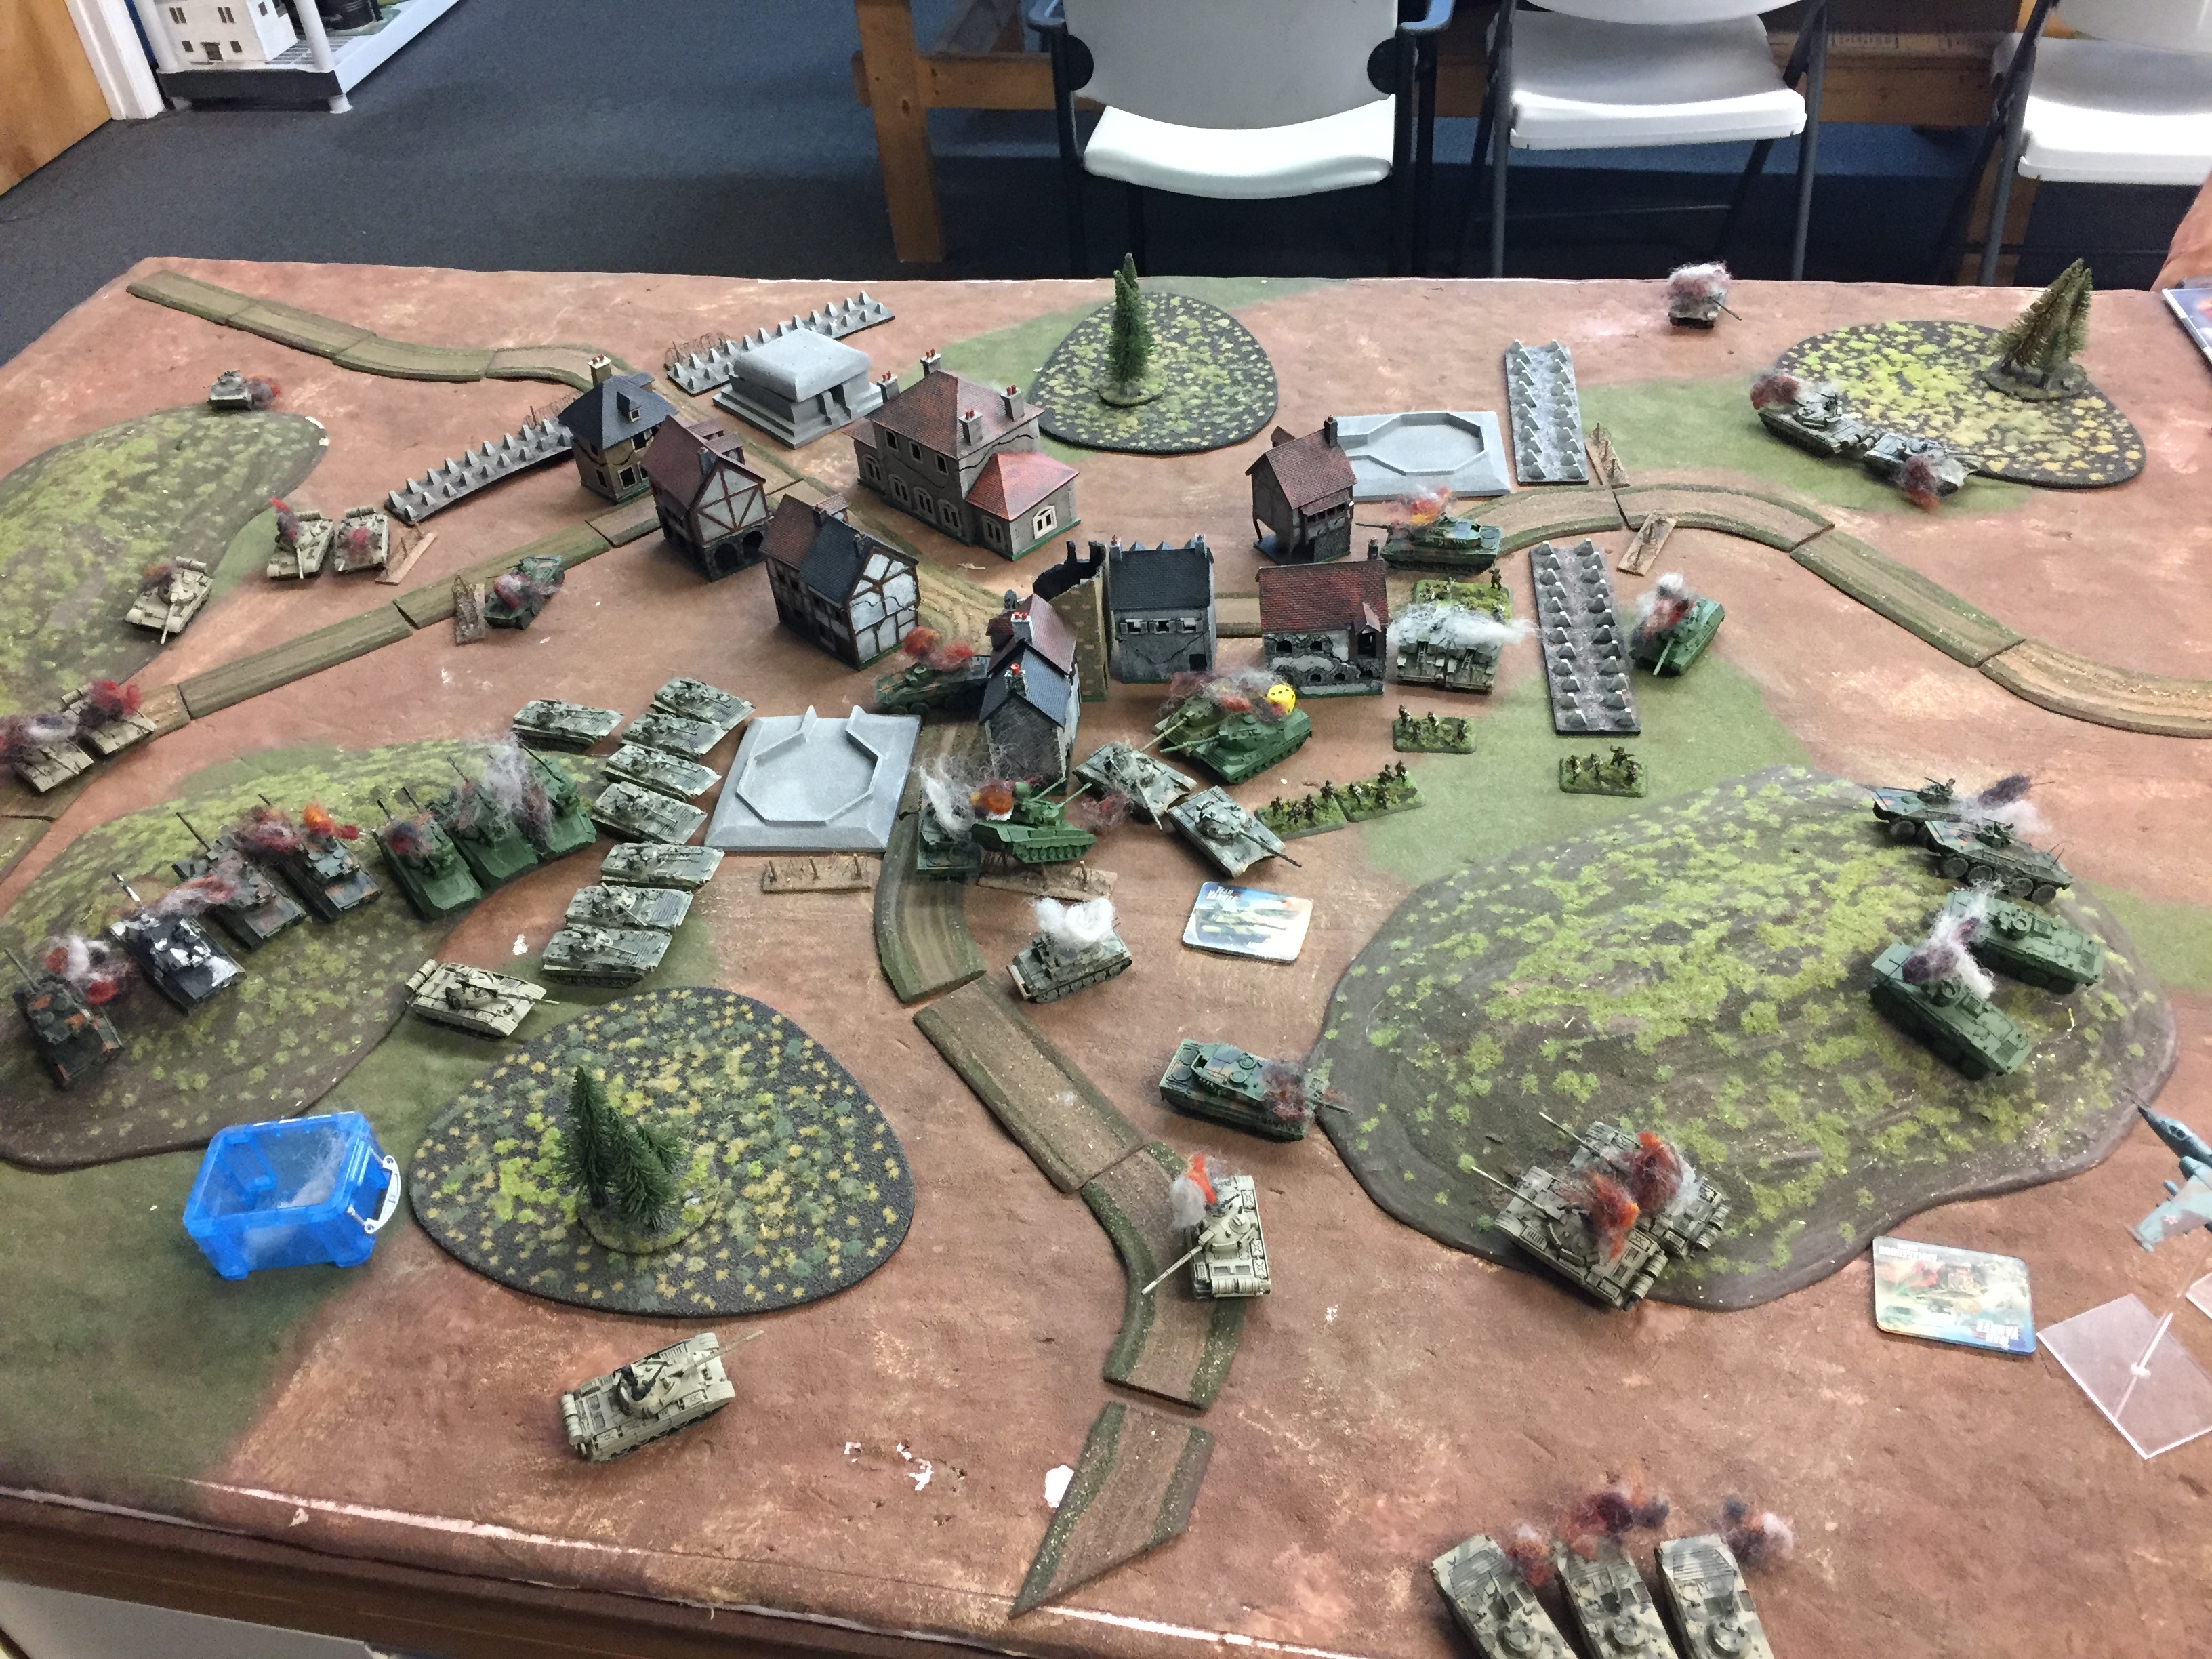
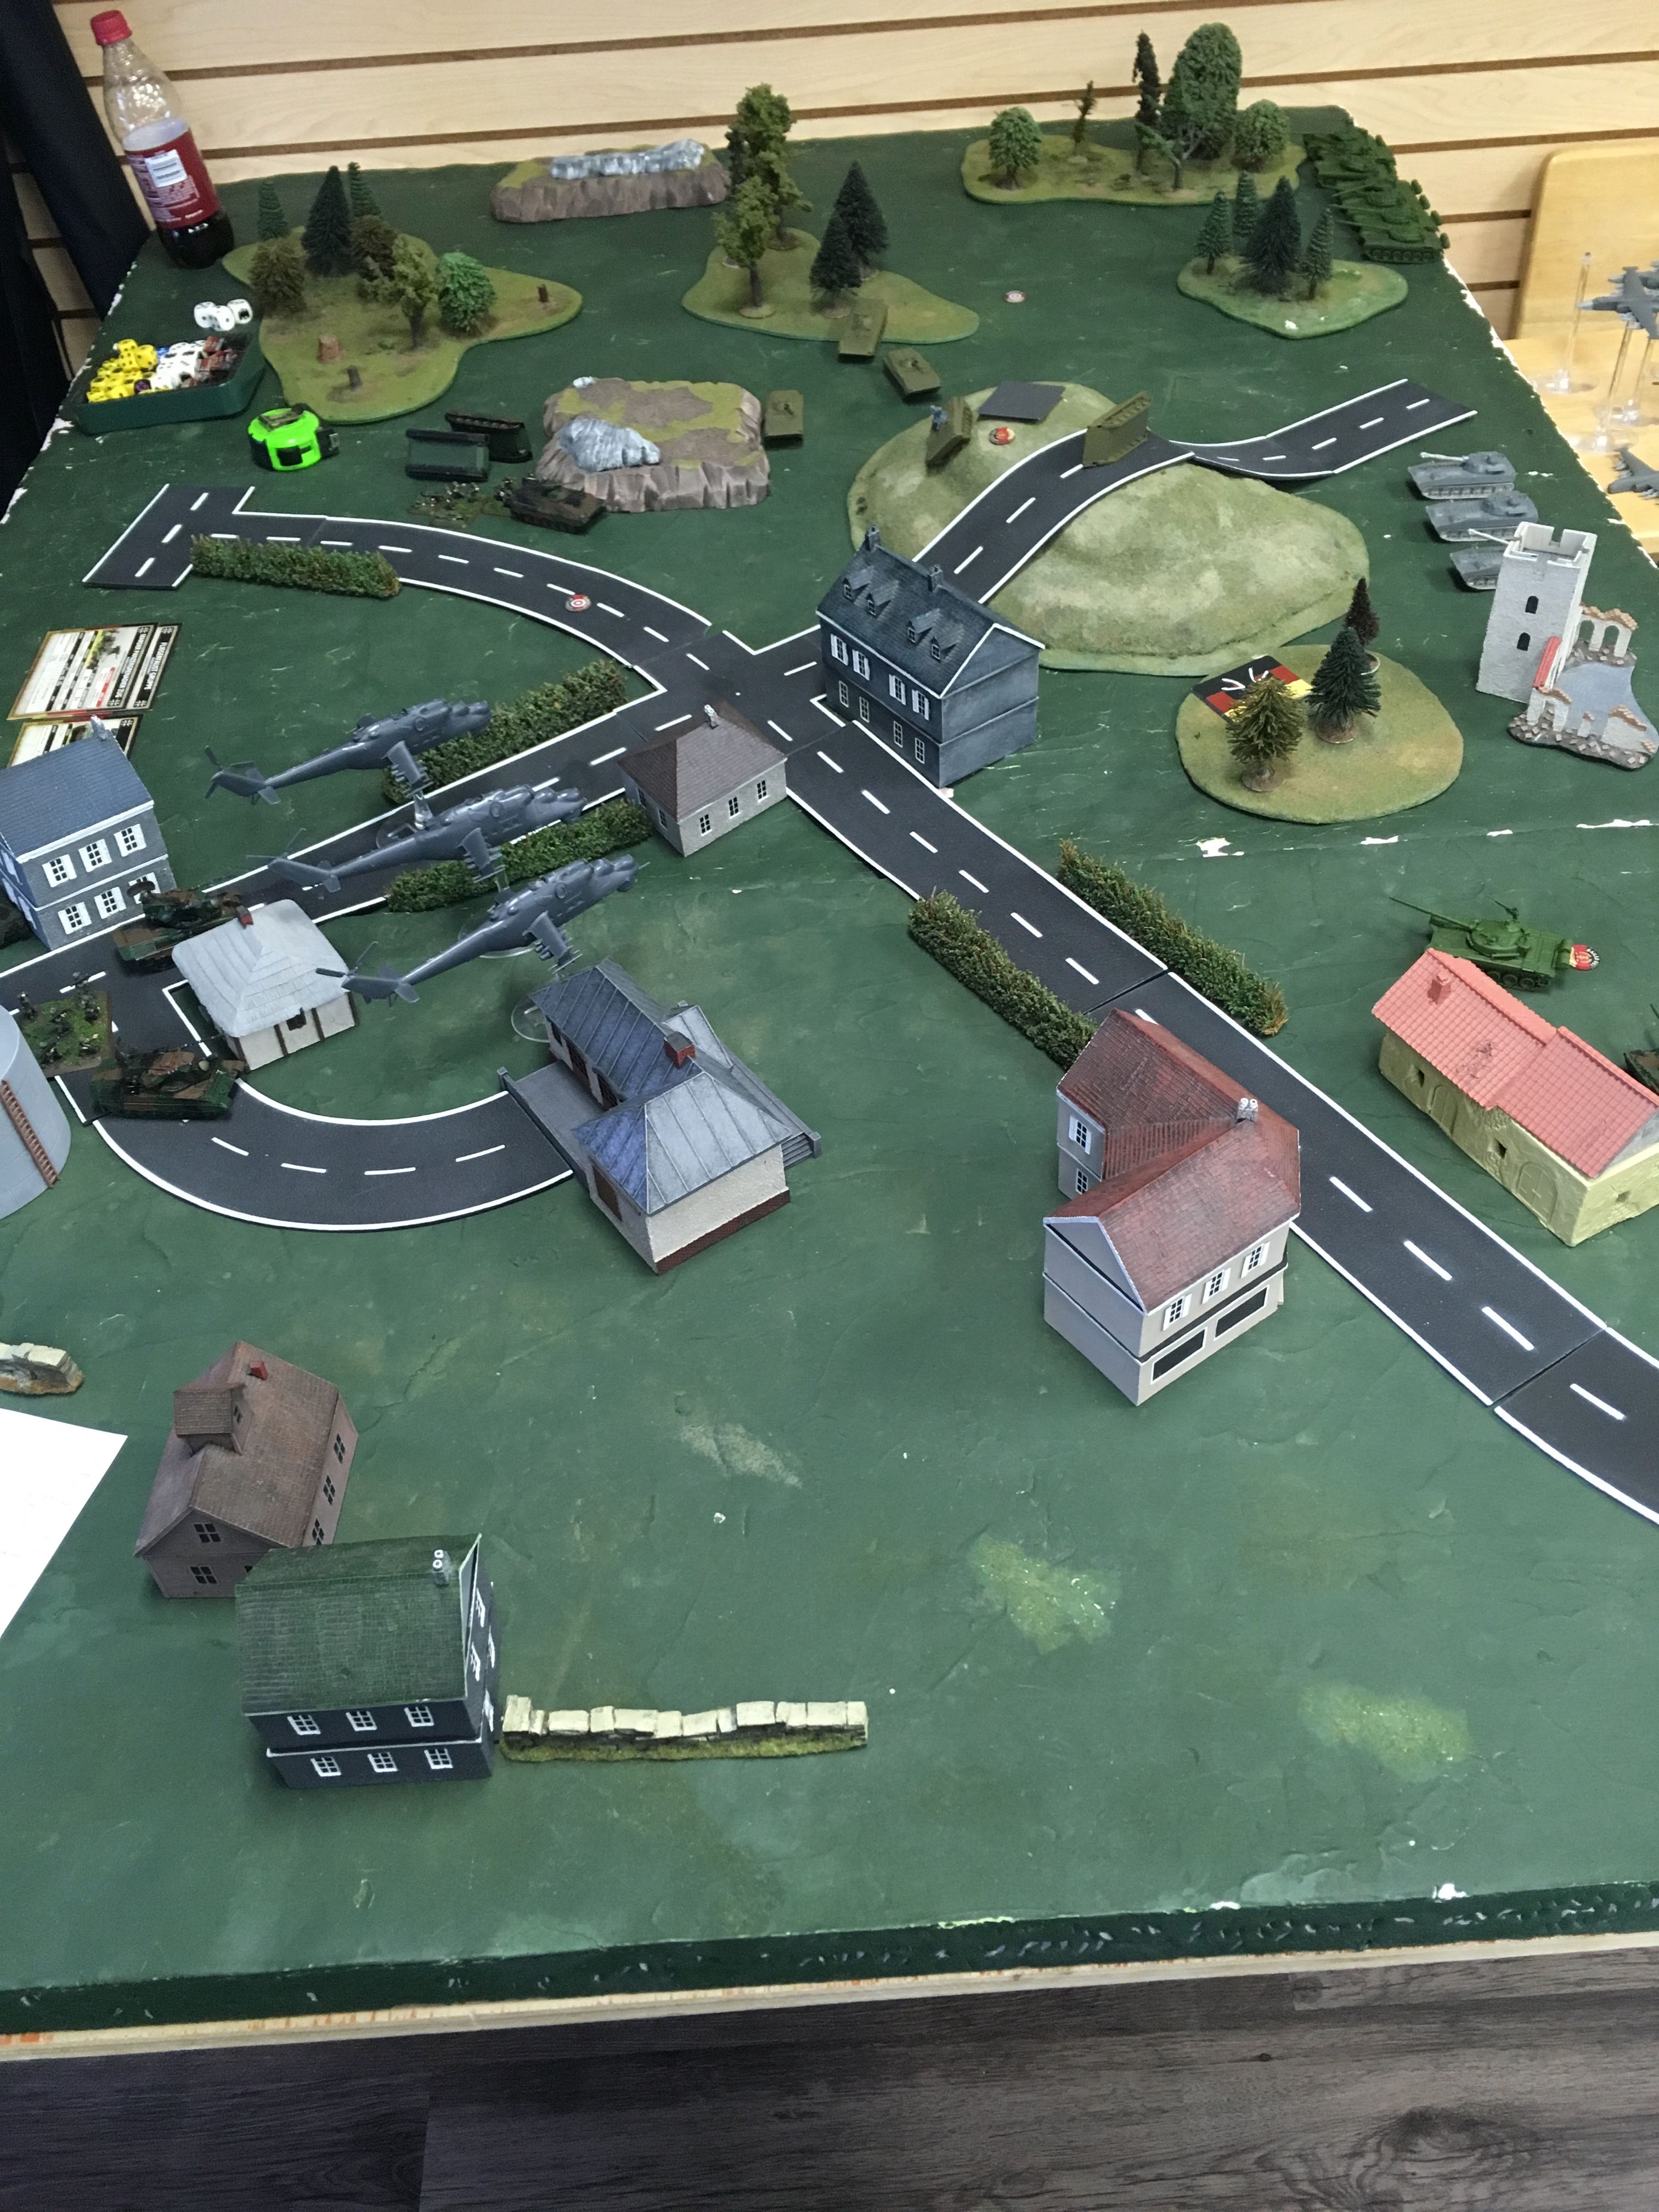
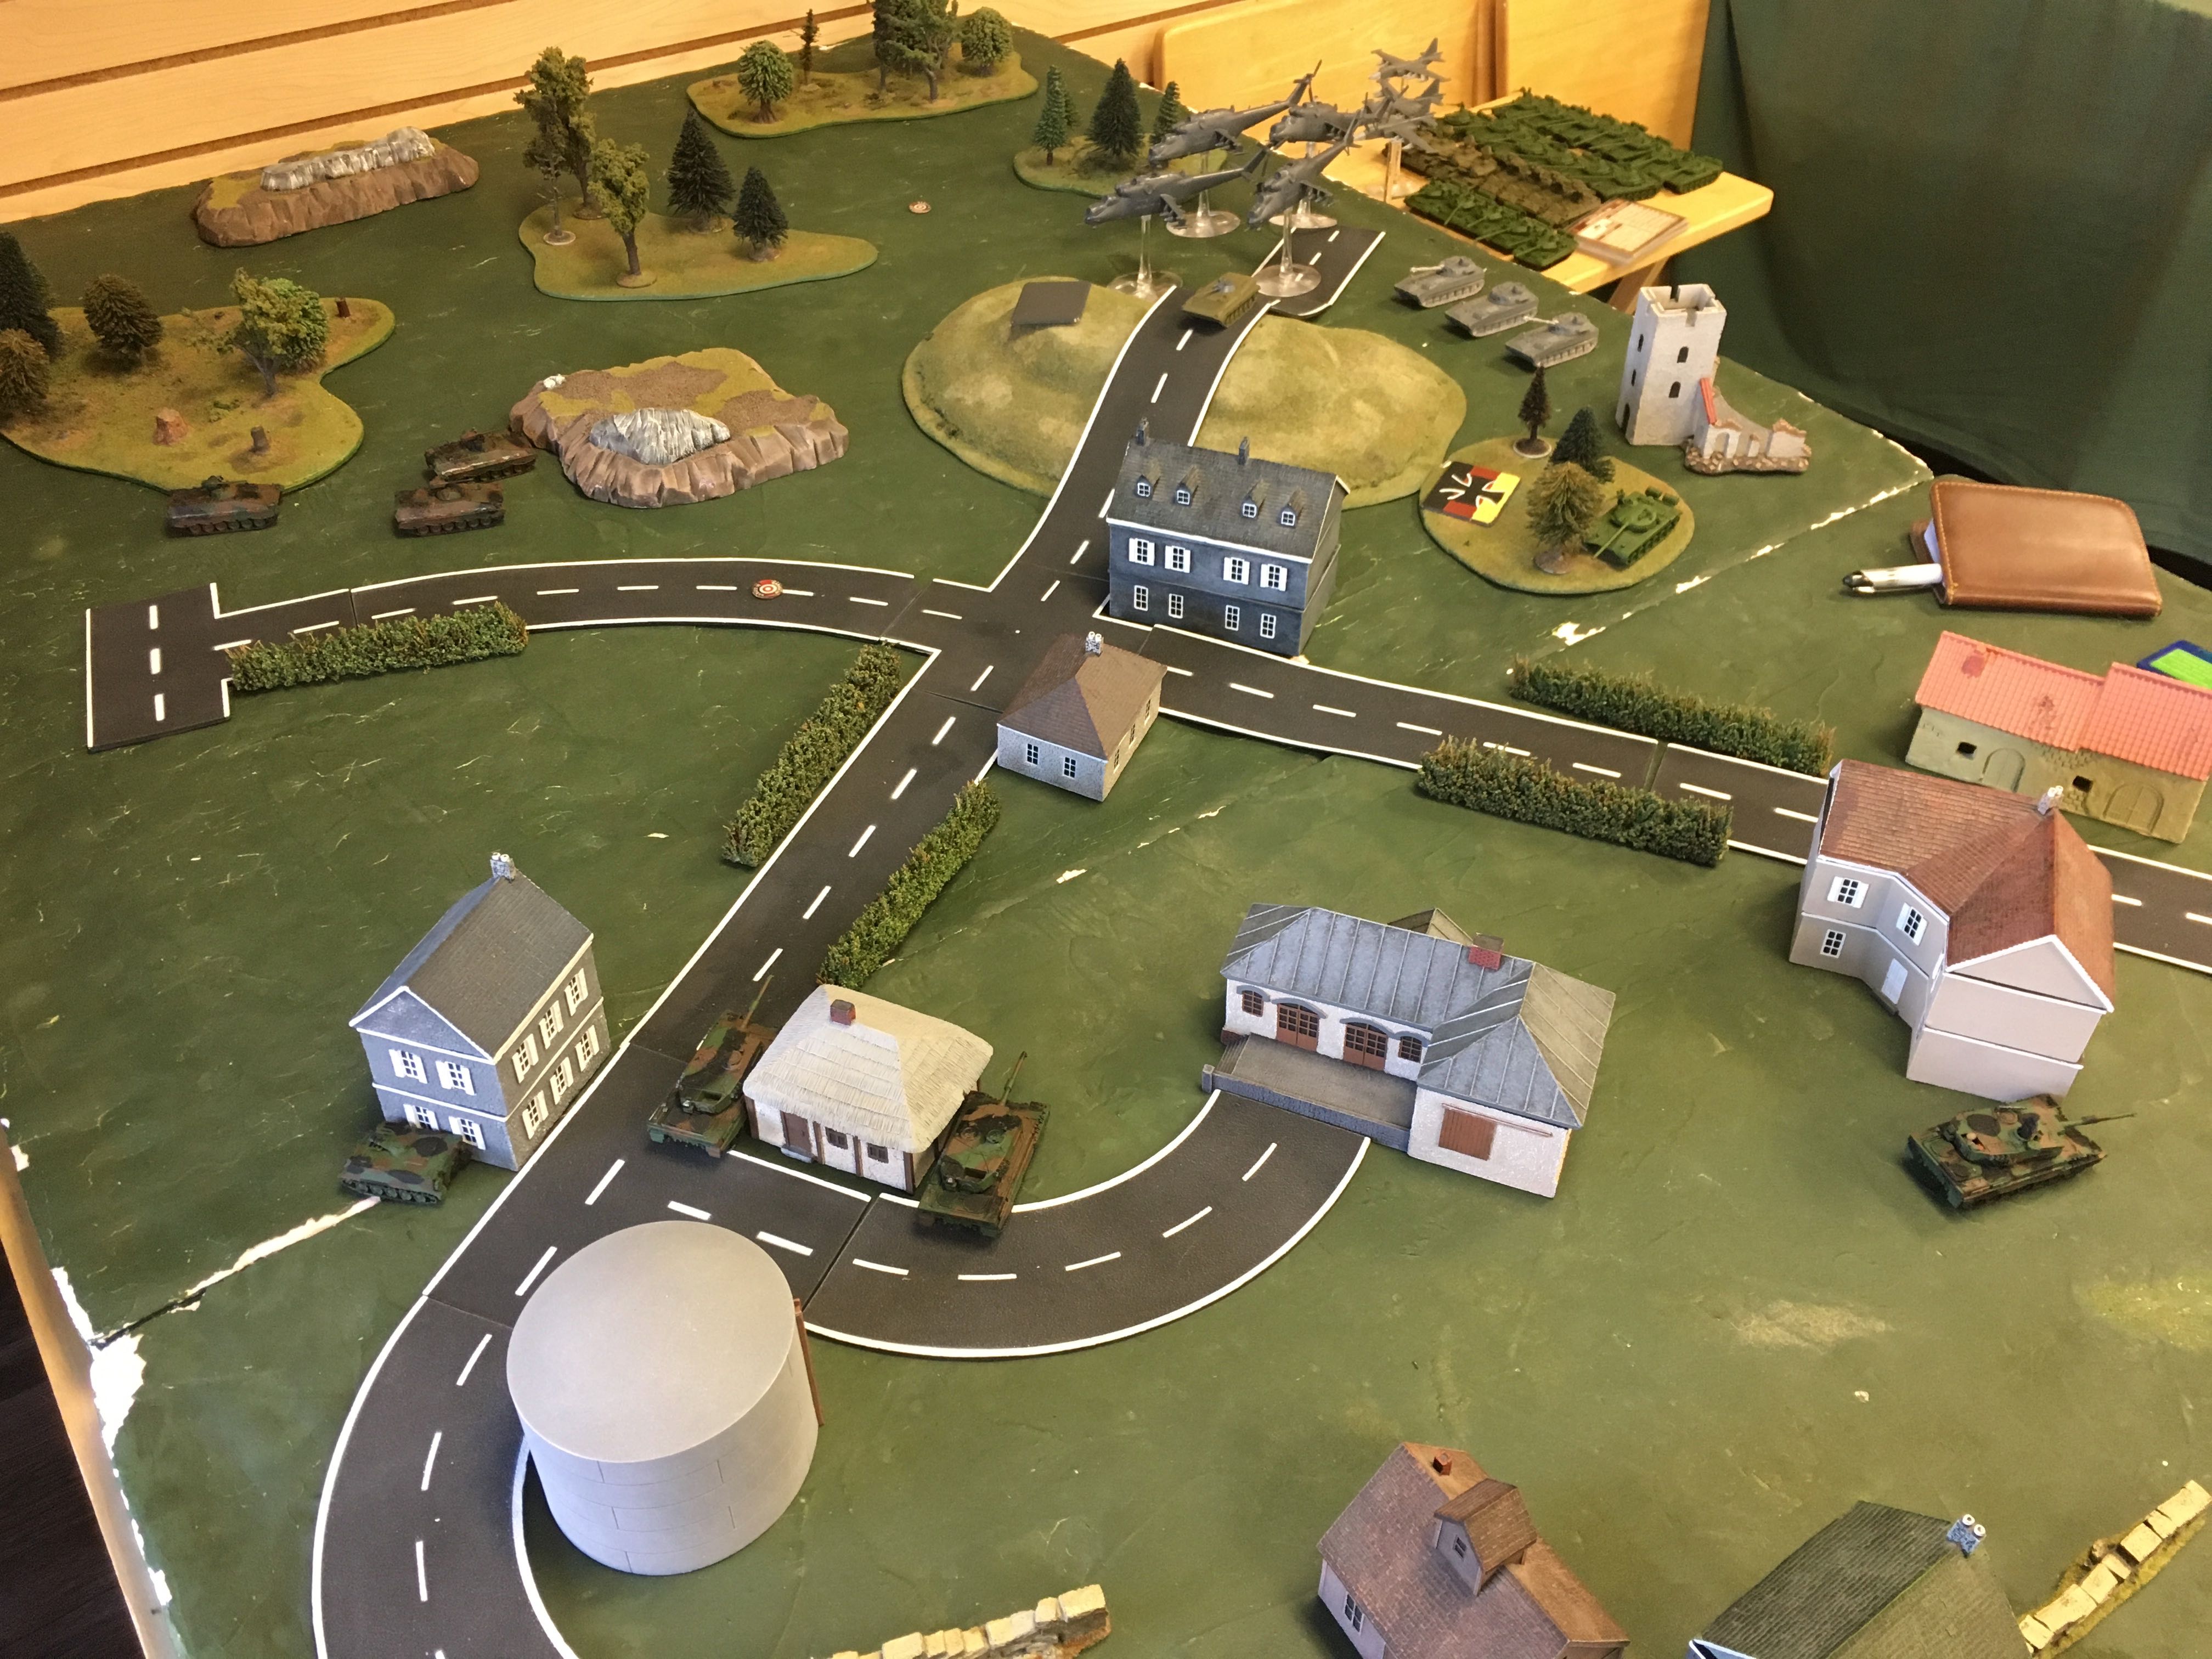
Recon elements of the West German forces have set up an ad hoc defense on the outskirts of Bremen (with a little help from quickcrete). East German armored elements advanced in force down one of the side roads into town. Their objective is to capture a hill to the northwest of the suburb. A small group of Aufklarungs grenadiers set up in a block of buildings, using their Milan to deny enemy armor access to the road into town. A Leopard 1 Zug with Gepard AA support held a hill on the left flank to slow the advance of the East German T-55s and BMPs. Leopard 2s were held in ambush, away from the prying eyes of the Hinds hovering above.

Turn 1:
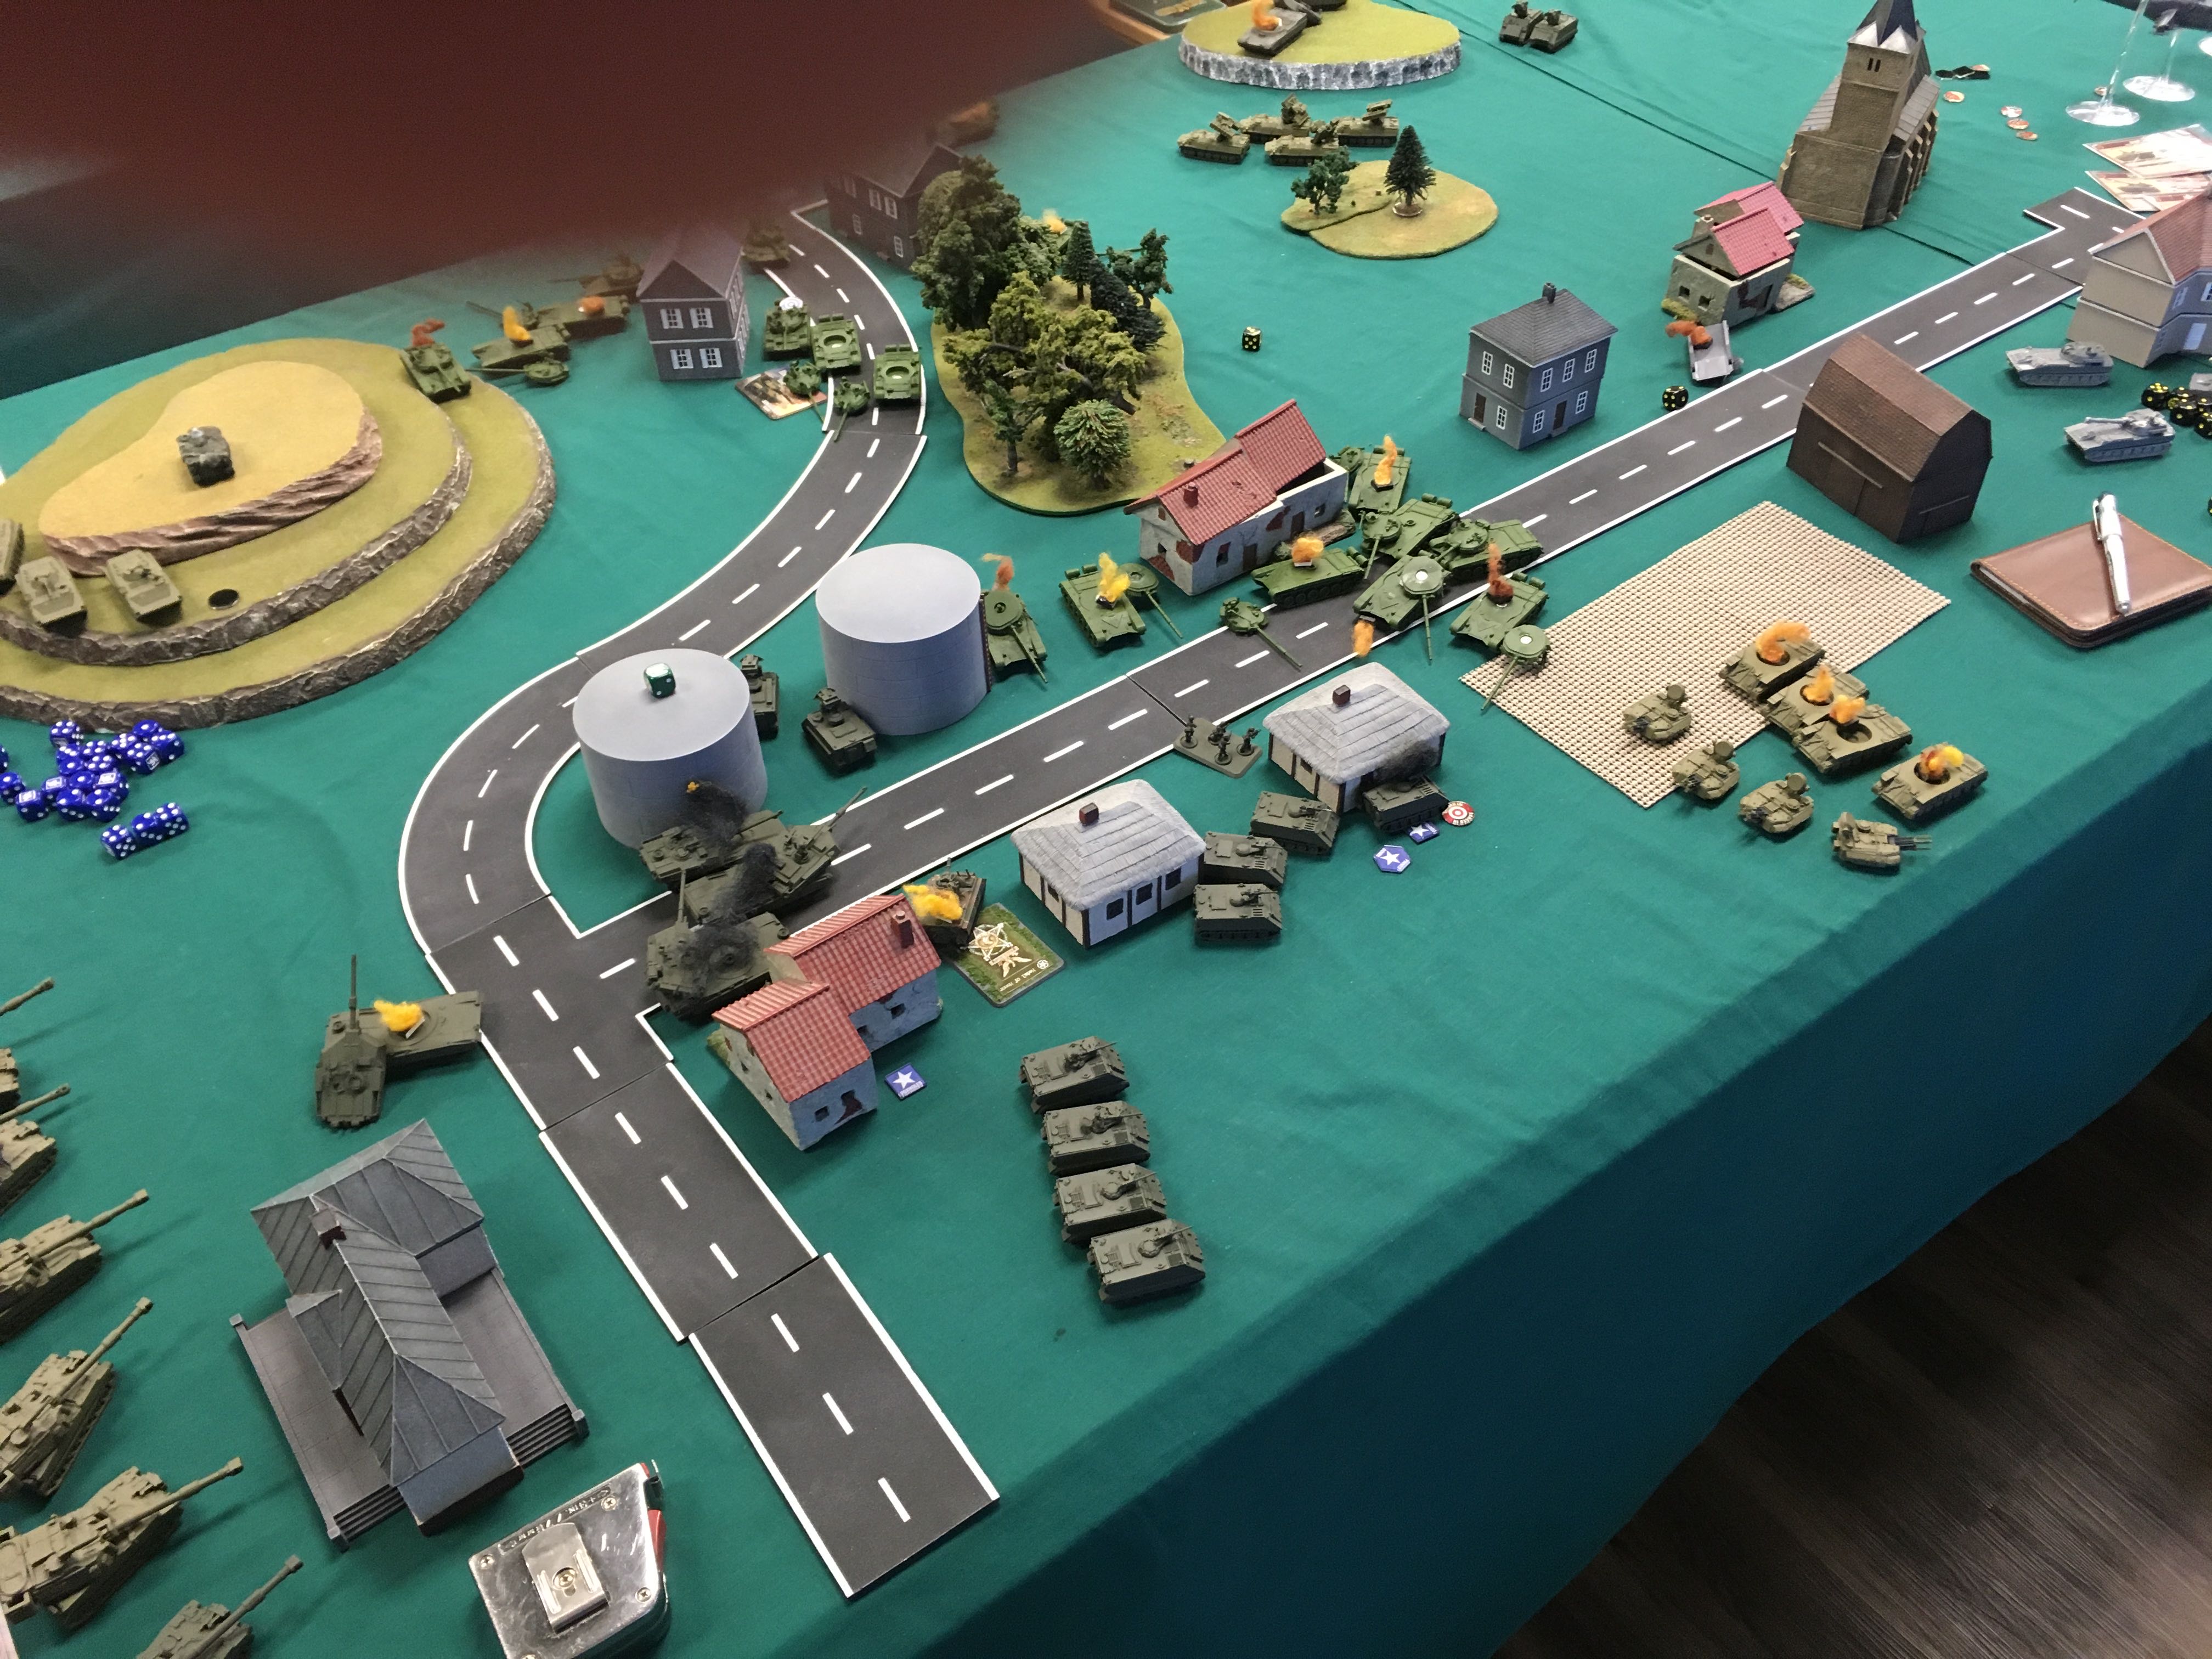
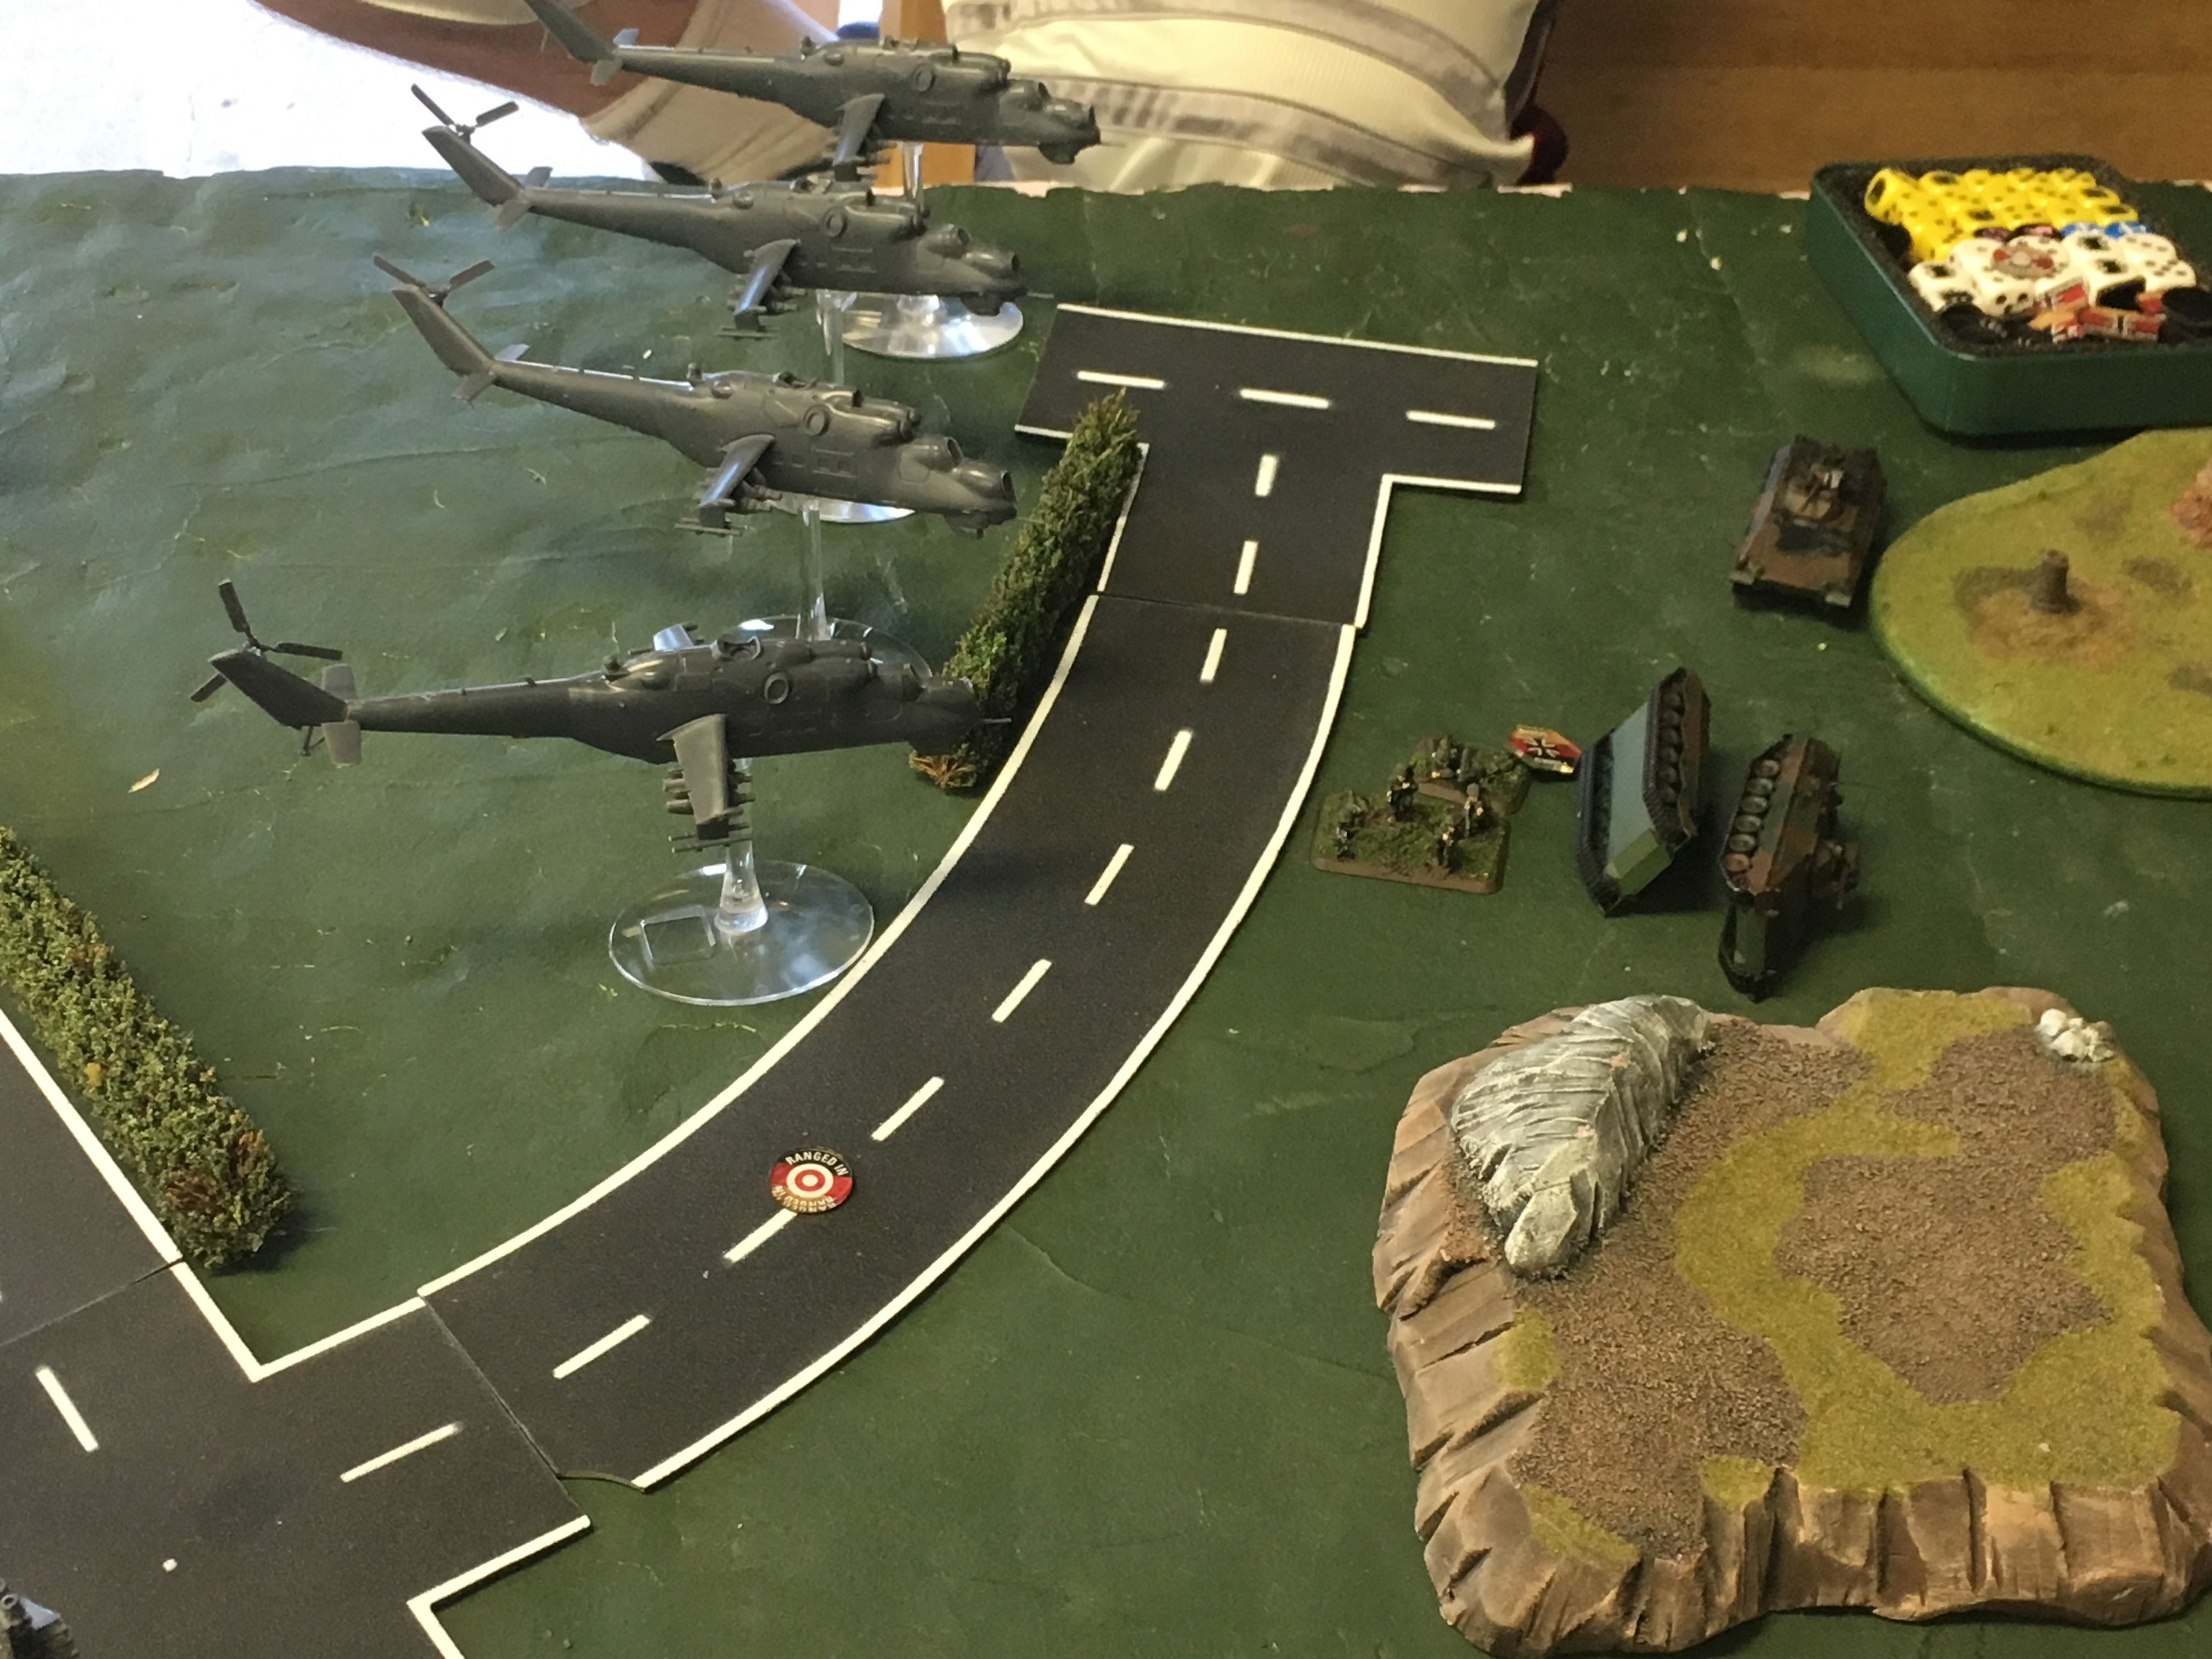
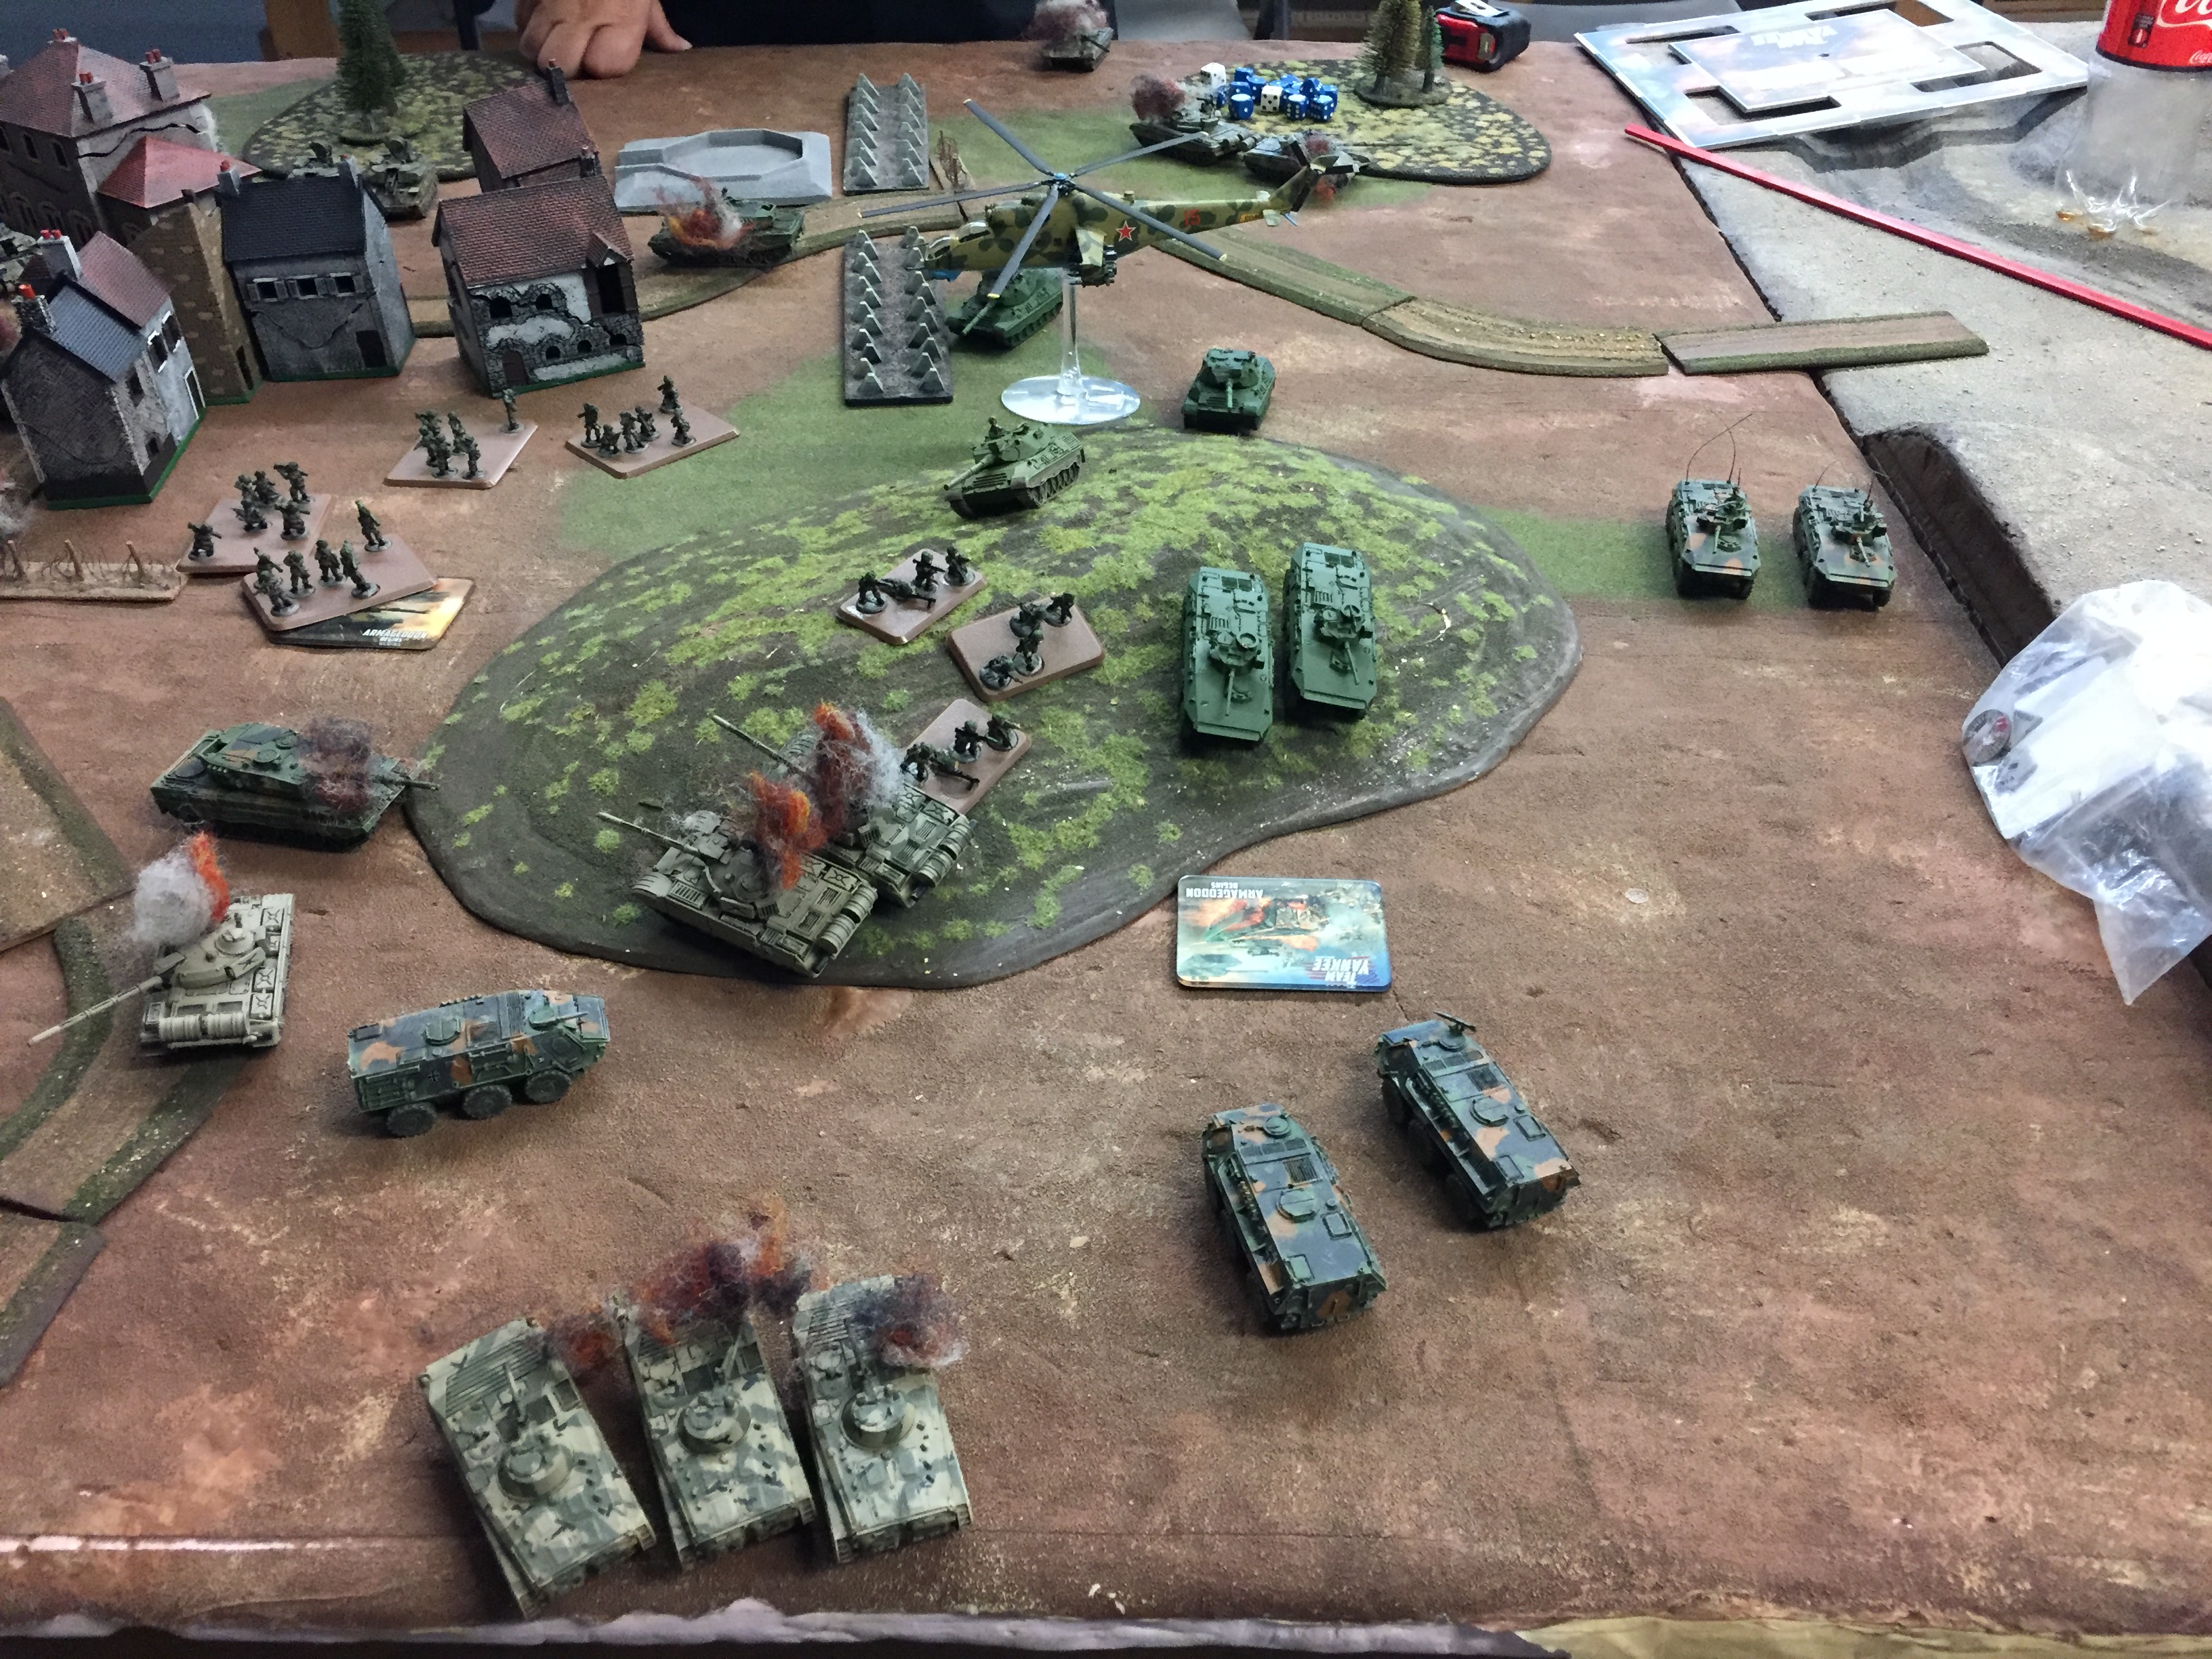
East German T-55s sweep around the hill to the east of the suburb. BMPs set up in a hull down position behind the hill commanding a good field of fire. T-72s support the motor infantry advance into the suburb. A Hind unit attempts to land its assault infanty in the woods to the west of the West German positions. A patrol of Luchs armored cars intercepts the Hinds mid-landing and they are forced to abort, popping flares to evade the fire from the Redeye teams in the town. West German Leopard 1s and Gepards move into a hull down position and start to lay down fire on the advancing East Germans eliminating a unit of T-55s and a couple BMPs.
Turn 2
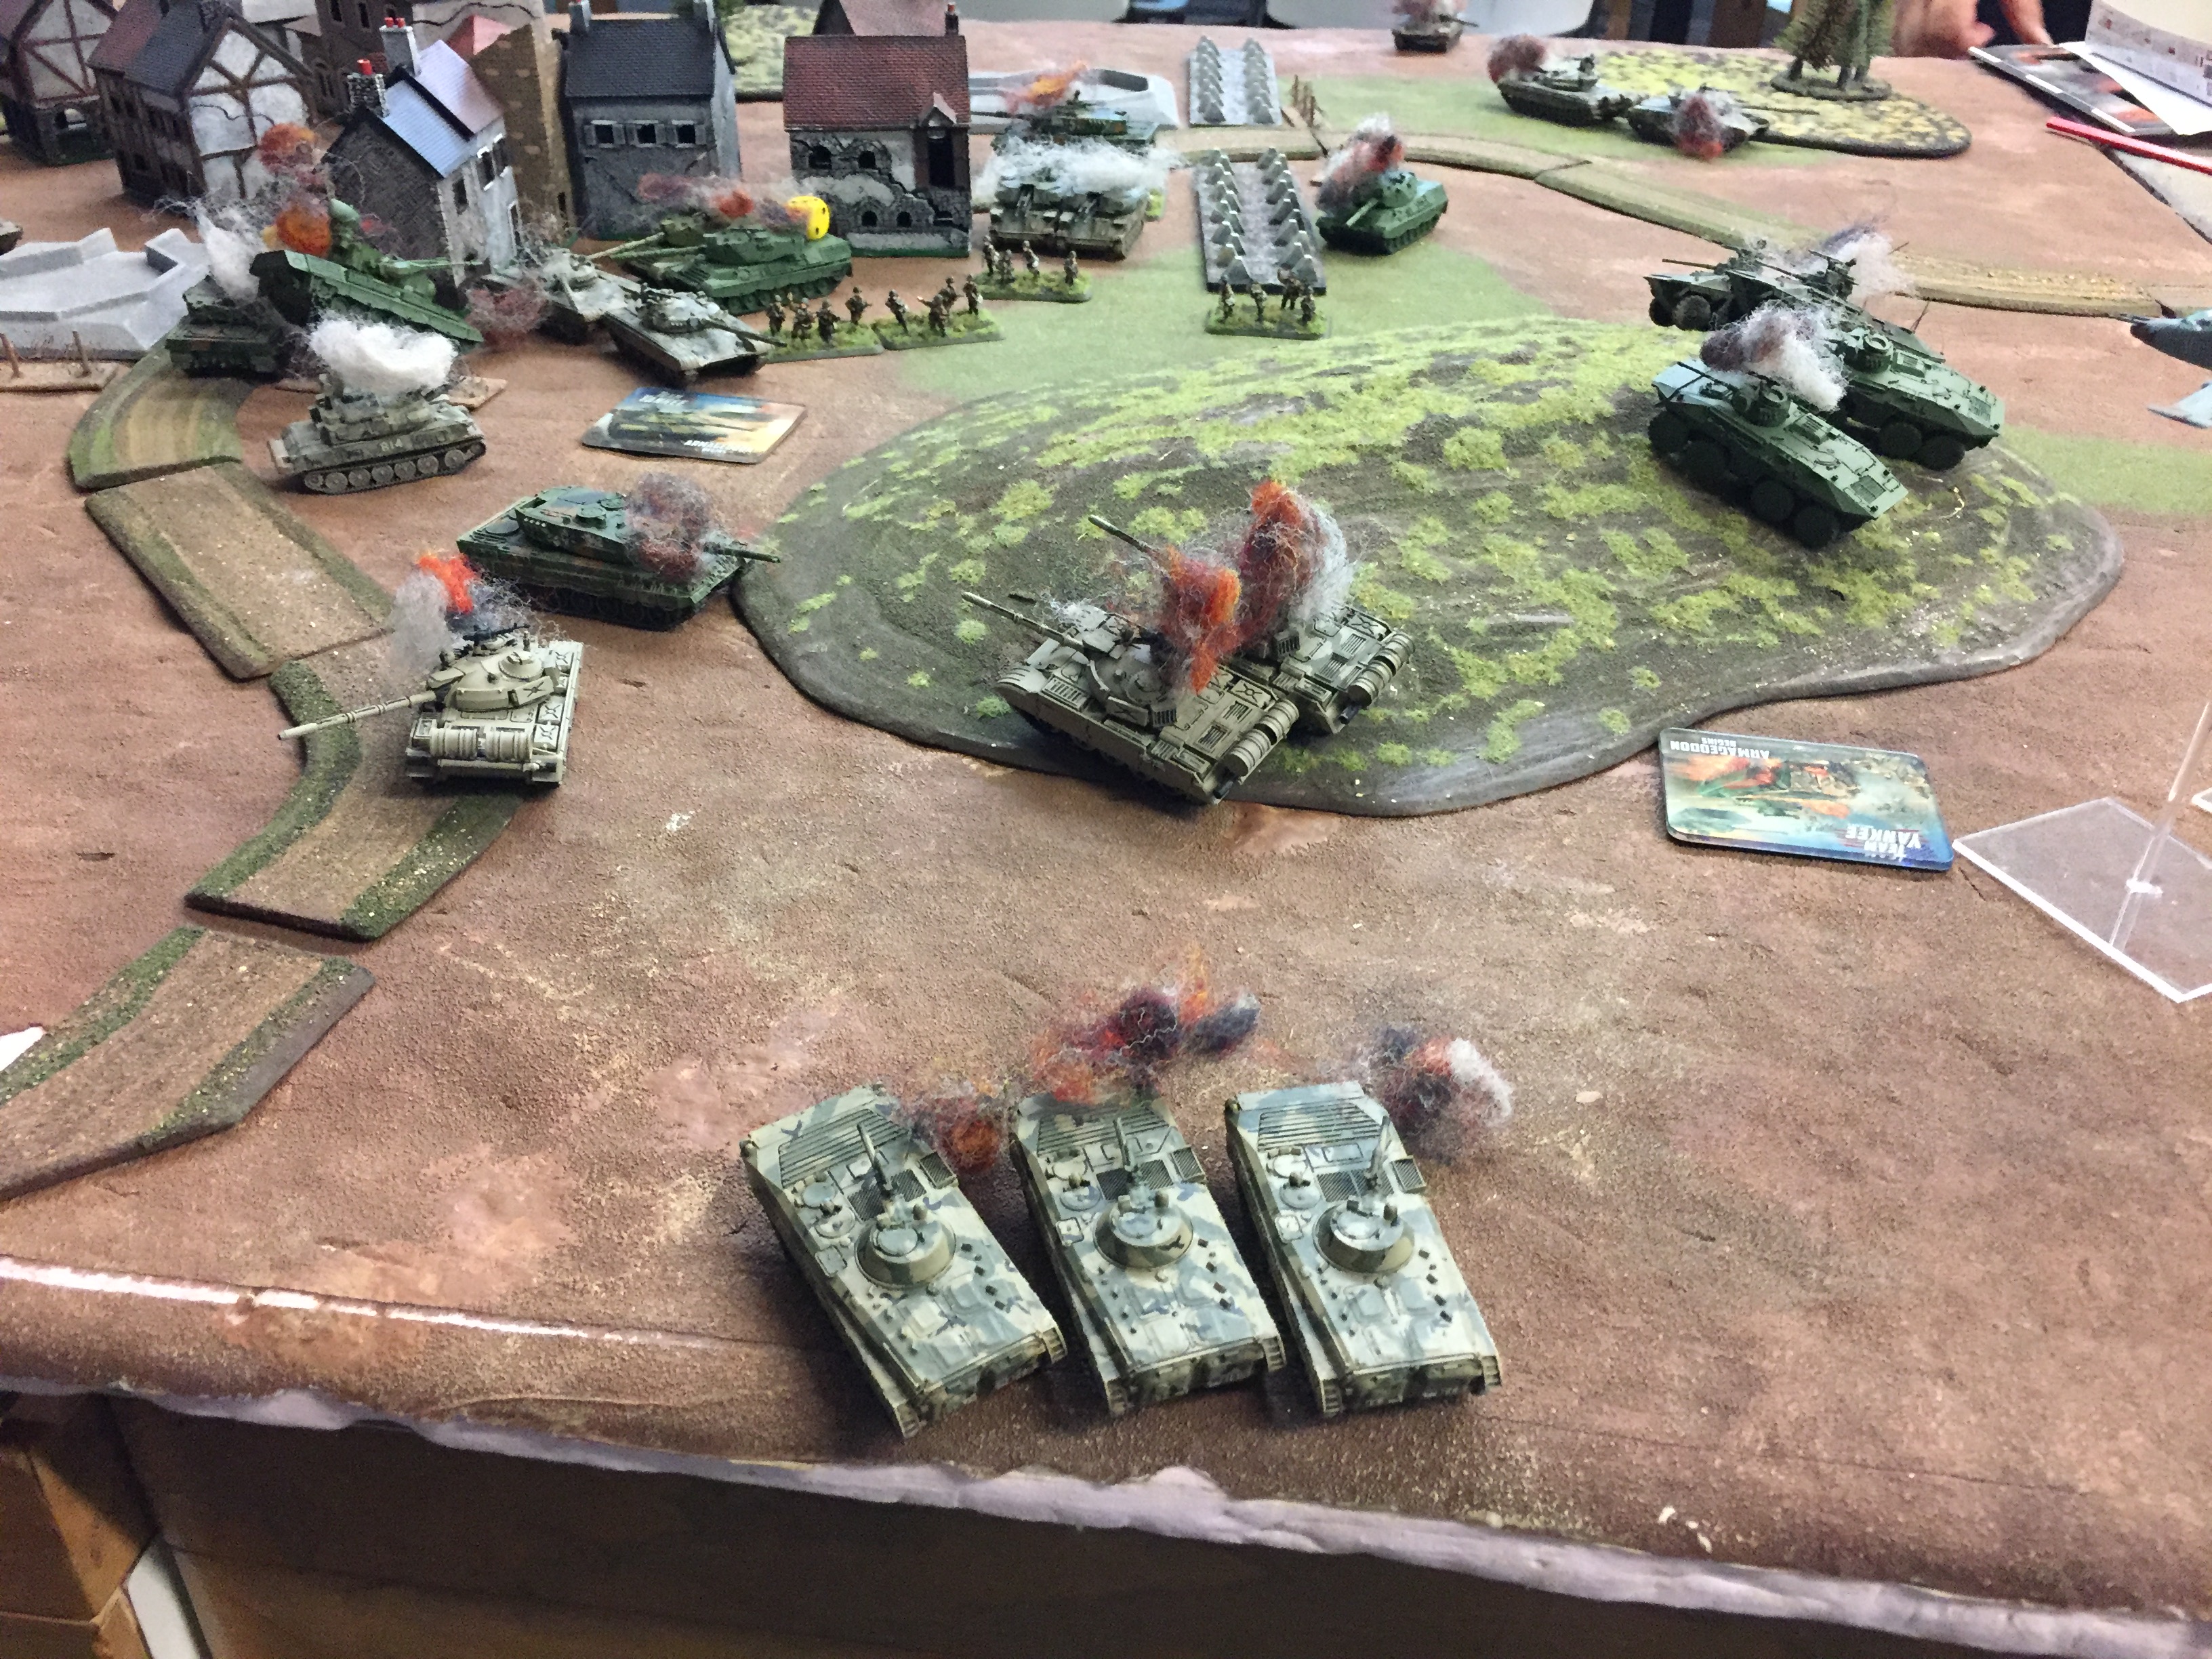
East Germans bring their ZSUs and BMPs to bear on the Gepards, killing 3. The remaining Gepard withdraws to a wood to the North. Leopard 2s begin to engage the enemy T-72s in a firefight, but lose a tank to some flanking tanks and HInds. The Leopard 1s on the hill fire a volley, destroying a few more T-55s before withdrawing behind the cover of the hill. Another unit of Leoprad 1s emerges on the flank of a T-72M unit, but only manages to kill a single tanks due to miscalibration of their cannons.
Turn 3:
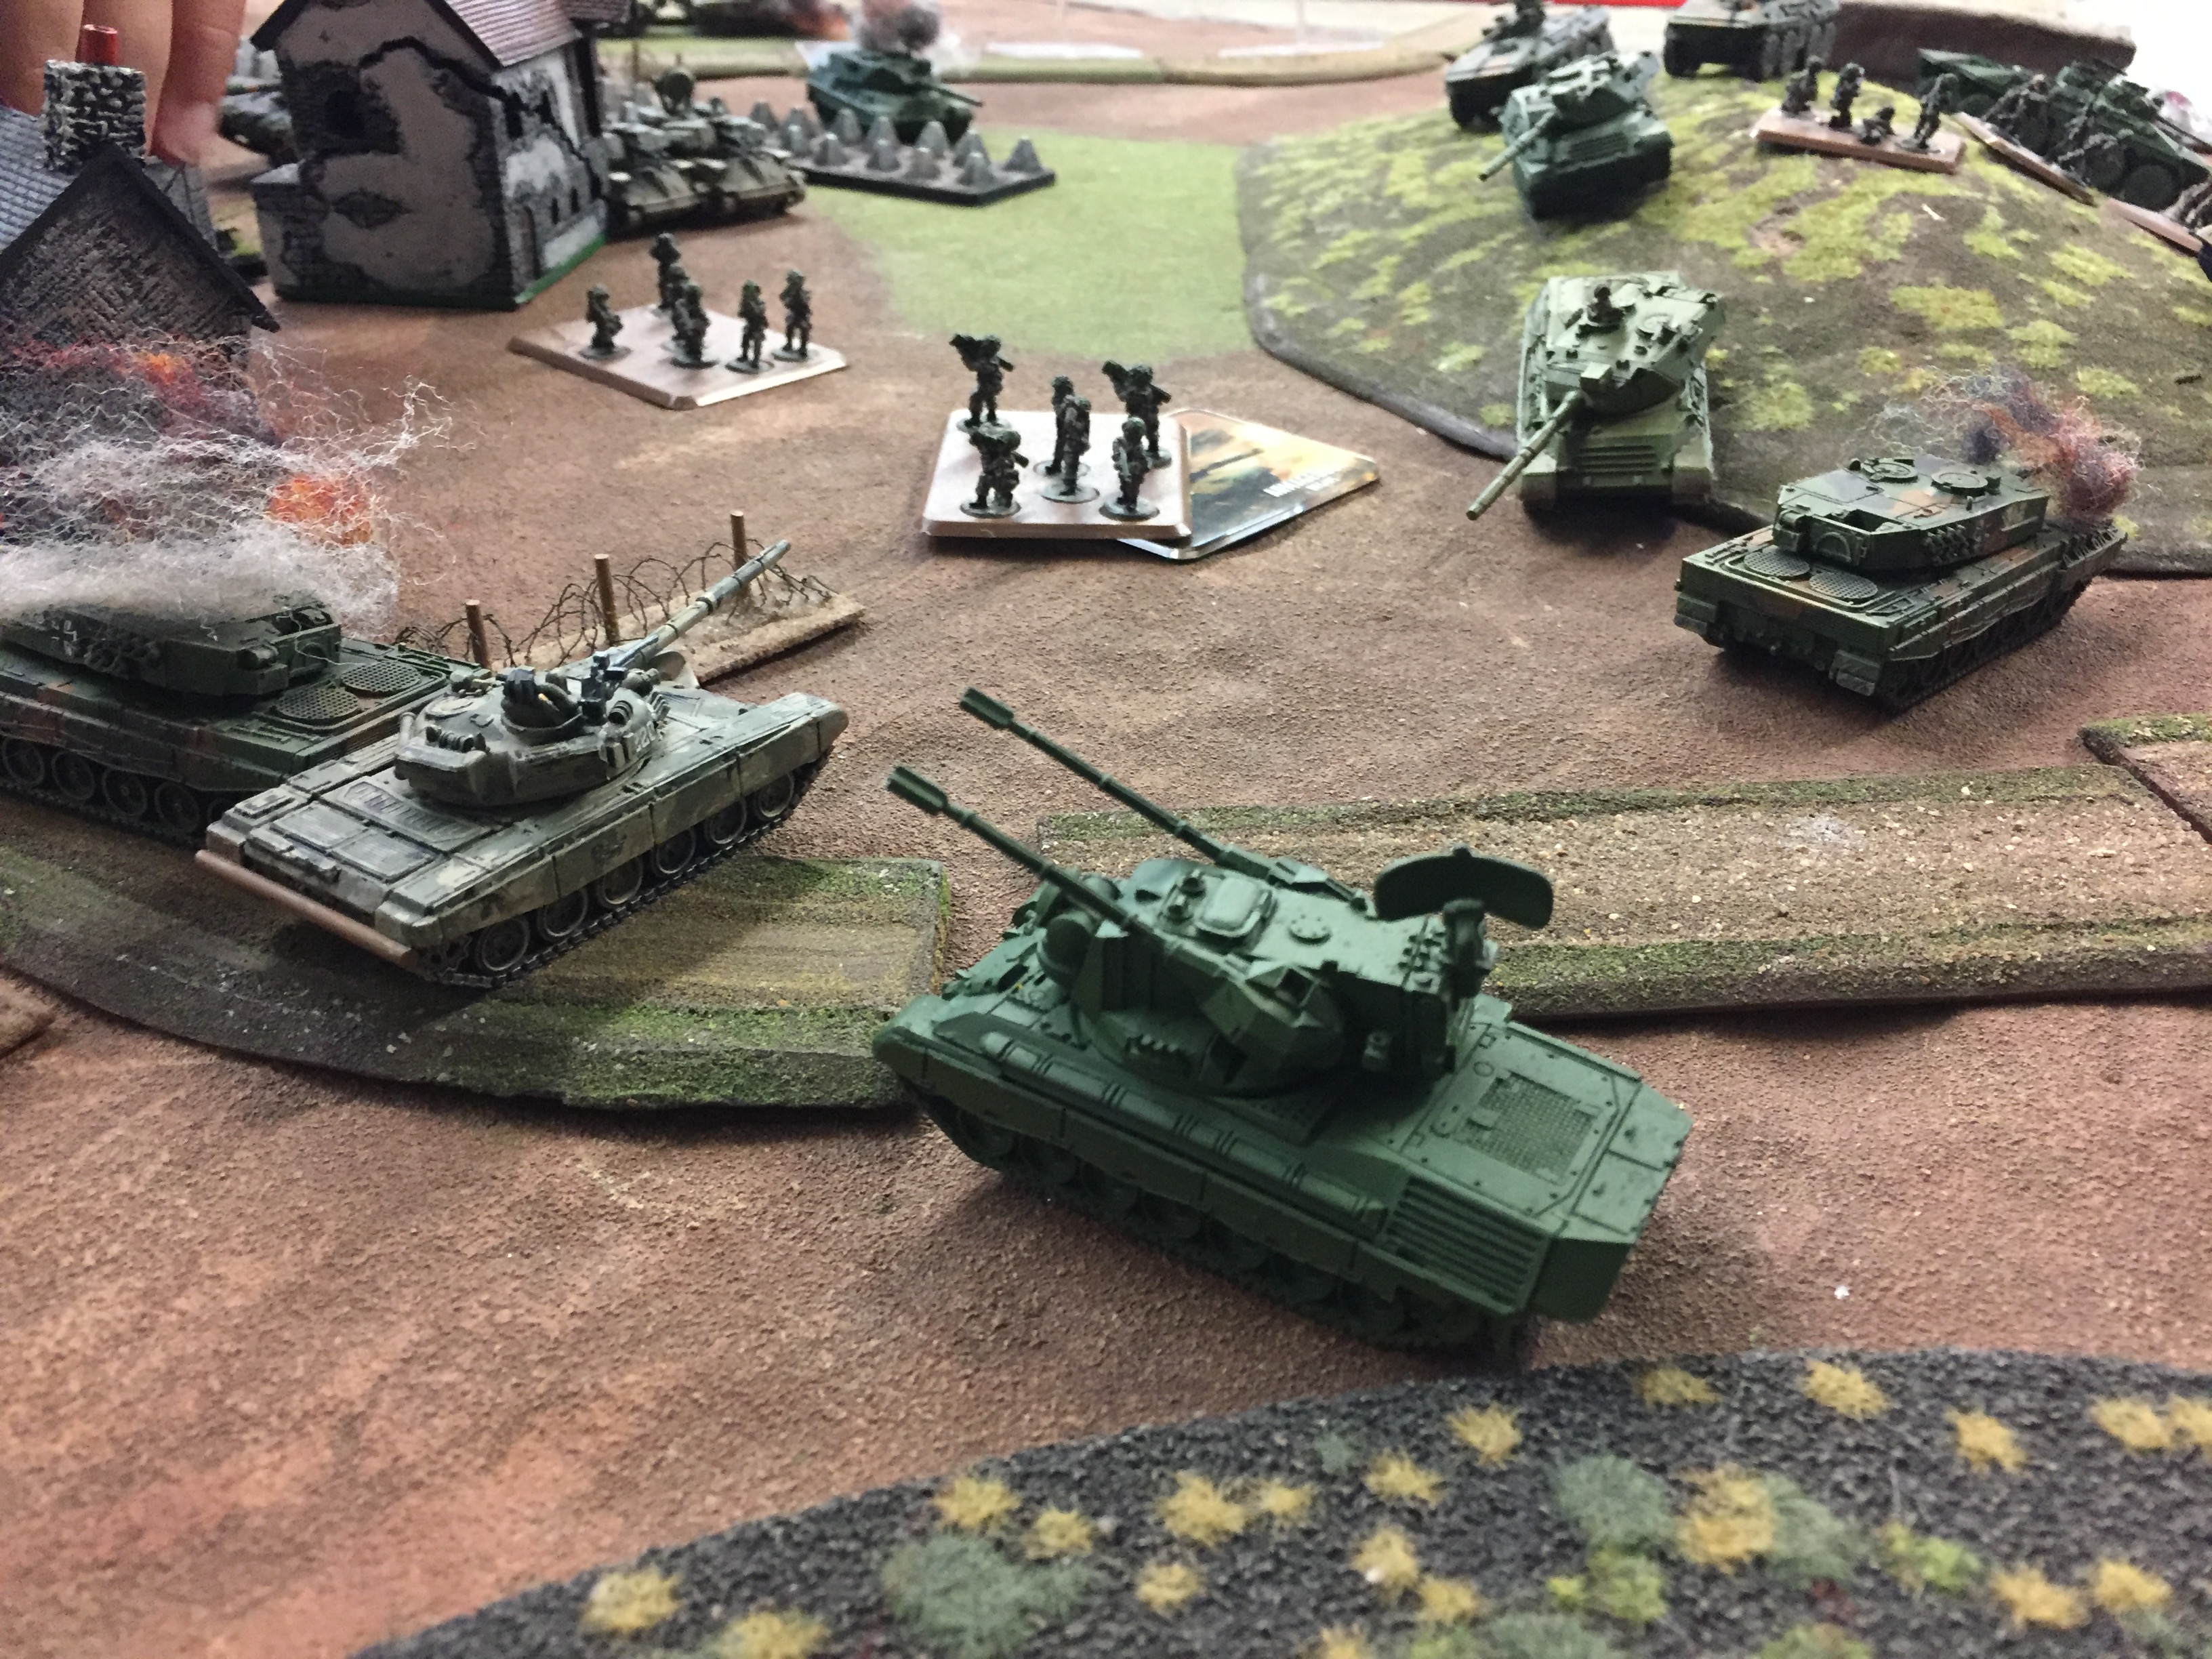
The East Germans begin to push their remaining T-55s forward to overrun the Leopard 1 position. A brave unit of Aufklarungs move up the hill to the east to engage the T-55s with their Panzerfausts. Leopard 2s reposition and continue to engage the T-72Ms in the town, which suffer casualties from Leopard 1s that flank them from the woods. The single surviving Gepard manages to bag 3 Hinds that had committed to a missile attack. The East German push from the east appears to be stalling while the motor rifles are having difficulty displacing the West German infantry in the town.
Turn 4:
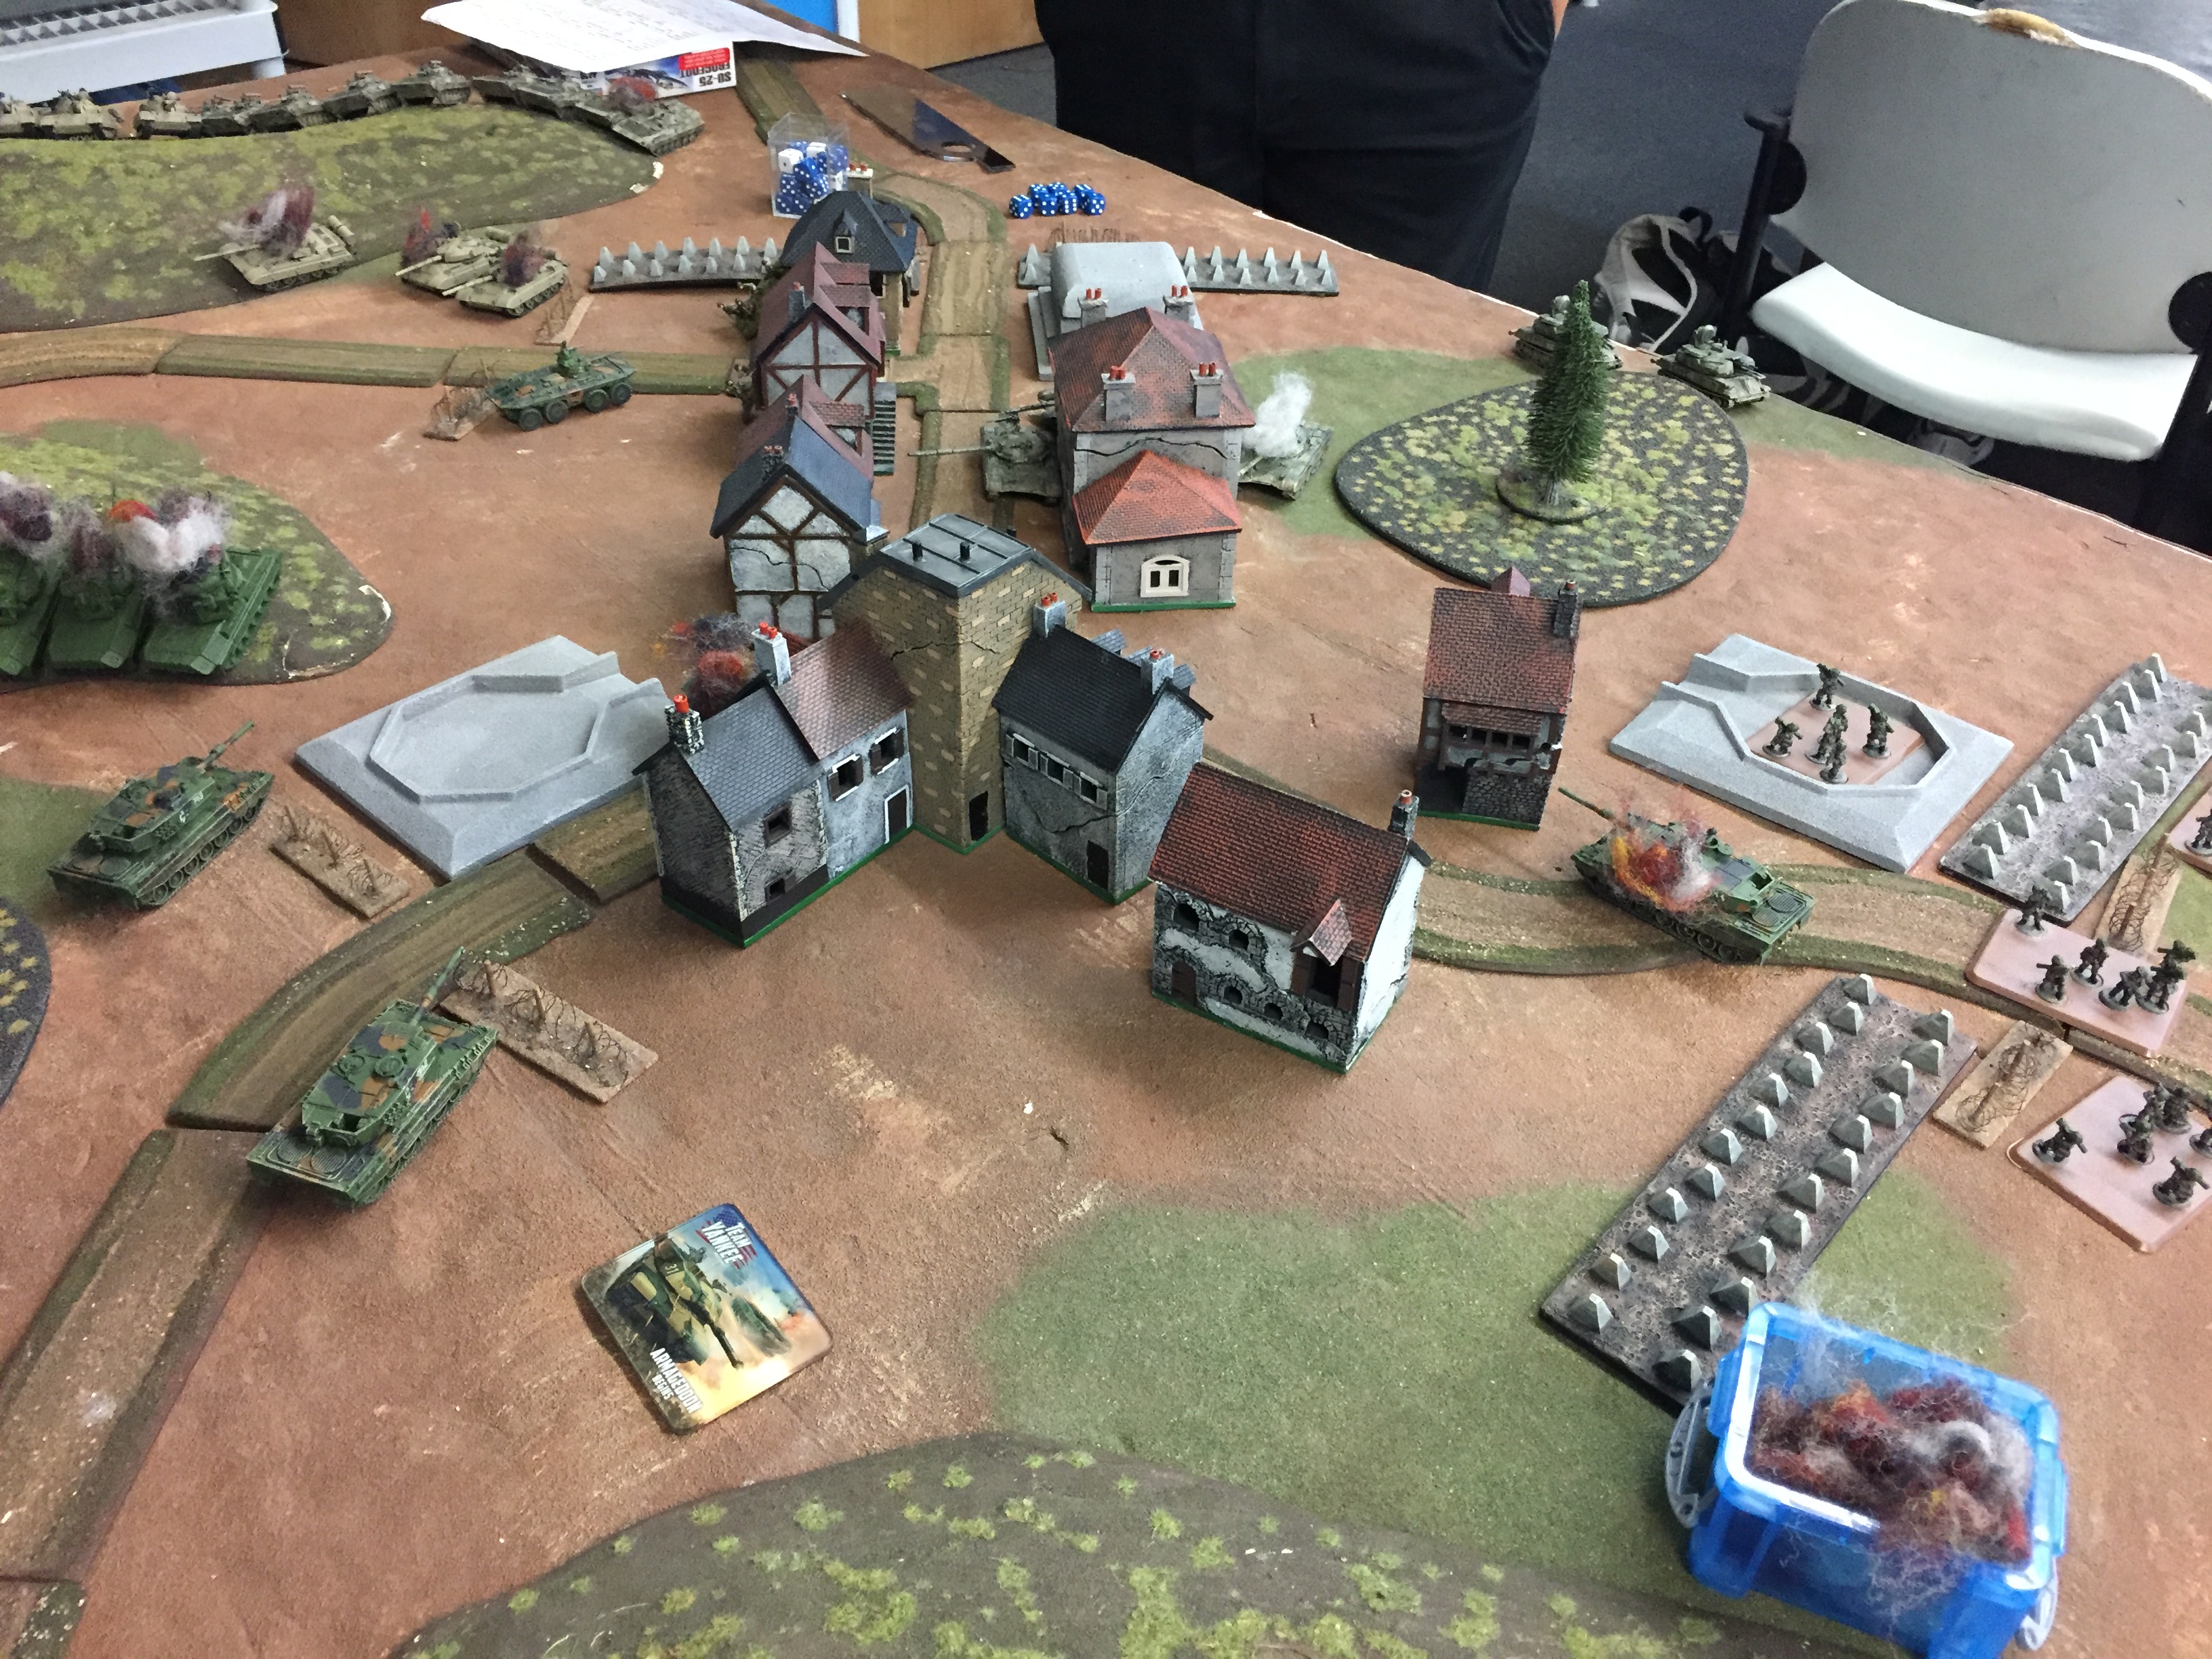
The Ossies manage to outflank the Wessies and a BMP-1 unit and supporting infantry, along with a T-55 manage to move in from the north and secure the objective. Luchs and Fuchs patrols, along with the remaining Leopard 2s and Gepard rush in to drive them off, inflicting heavy casualties on the East German flankers, the survivors managing to dig in. A devastating airstrike by East German Frogfoots destroys the remaining German armor to the east, while the infantry begin to take losses attempting to hold the tanks and BMPs in place.

Turn 5
The infantry to the East are eliminated by BMPs while the West German infantry holding the town pull back to the north. Massed firepower and a brave charge by a pair of Fuchs eliminates all East Germans on the northern objective. Frogfoots show up and eliminate the last Leo 2.
Turn 6
The East Germans desperately advance through the redeye teams screening the objective. A single T-72M crewed by one of the bravest heroes of the NVA makes it within 4" of the objective, and proceeds to survive 4 Leopard 1 shots to the front and 4 Gepard shots to the flank. A Luchs patrol tries to pin down the BMPs, while the motor rifles advance as far as they can. They will be within 8" of the objective next turn.
 Soviet steel held firm under fire to buy the East Germans just enough time to make it to the objective.
Turn 7
The writing is on the wall for the West Germans at this point. Flanking Leopard 1s manage to eliminate the brave T-72M crew on the objective, but they leave themselves exposed to RPG fire from the motor rifles. The BMPs dispatch the last platoon of Luchs and move toward the objective. The remaining West German infantry dig in and prepare to hold.
 In their zeal to destroy the T-72M, the West German tanks miss the motor riflemen in the building behind them.
Turn 8-10?
The East German motor riflemen move in to secure the last objective, ZSUs and BMPs clearing up the remaining West Germans. With every man dead, wounded, or otherwise combat ineffective, the West German defense was no more.
*Post Battle Thoughts*
I can't believe I came one T-72M kill from winning this battle. The East German horde is so scary to see on the table: 20 tanks, 13 BMPs, infantry, ZSUs, and a full compliment of choppers and planes... Yikes! The T-55s didn't really kill much, but were good target dummies keeping my tanks occupied while other elements advanced. Frogfoots are really capable aircraft, and my opponent has put the fear of the Soviet airforce in me. if the table had more trees I would have definitely tried to keep my armor in cover. Overall I just got overextended by the sheer weight of the East Germans and a clever use of reserves.
Battle Report Author
Army Lists Used In This Battle
Recommend Commander For Commendation
Share this battle with friends
Th0331Wins

Warsaw Pact wins, thats bad, but this batrep…amazing!
Waiting for another your work, but please, nex time dont win 😉
Holy crap!
This game was action packed from deployment to the finish, very nice pictures on this one!
And tell your DDR friend/opponent to add some pictures aswell 🙂
This was very nice and I would love to see more reports from you
and love your terrain
Its a good report. Like seeing how other forces do
I’ll see if I can play around with the images and put them in order within the text.
Yep, that’s the Red Horde for you! Unlucky on that one kill from victory. Putting the images as they are described in the text would make this a great story.
+++
“We emptied out the entire box of smoke!”
– It must have been quite a battle 🙂
+++