Fought At Leipzig
2418 days 21 hours 56 minutes ago
Battle Report
The orders were clear: "Support the attack of the Yanks and take this positions near Leipzig to have ground for the next comming attacks. It's importamt that you strike fast and hard.", "Why we don`t defend our bridgehead in Hannover, we need any man and vehicle to hold it?", he asked to the Brigadier: "The high command decided that it is important that we relieve Hannover and you know, attacking is the best way to defend!". "Understand Sir." was his answer, "Dismiss.", the Brigadier sayed.
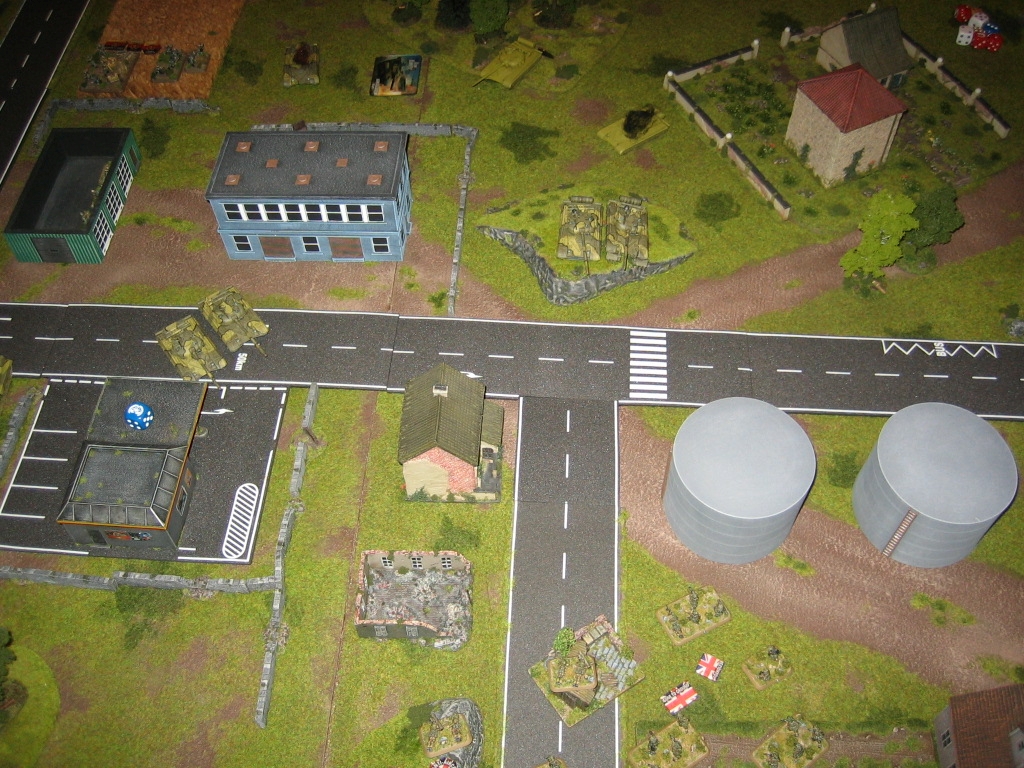
Major Dundy knows the importance of this mission and brought his force into positions.
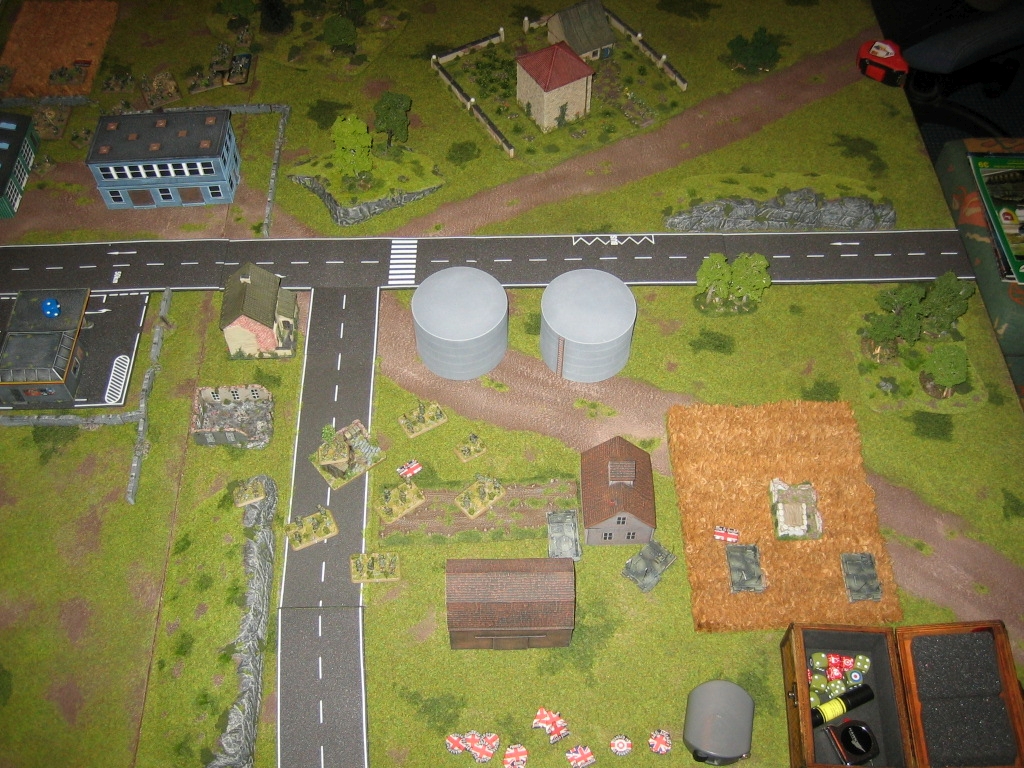
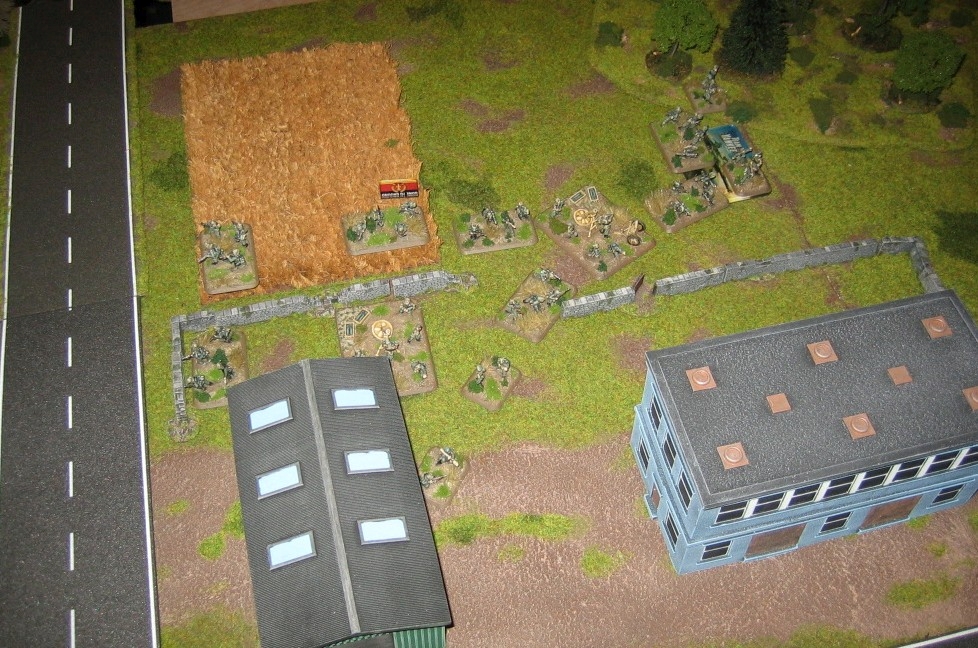
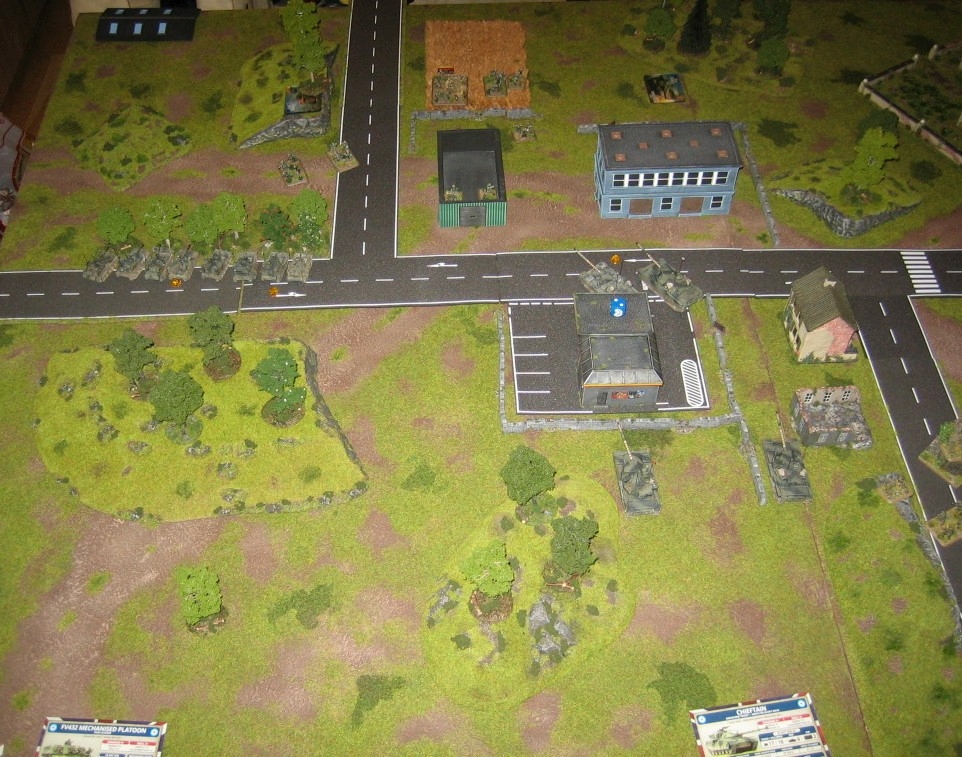
"Hawk03 and Hawk02, this is Hawk01, Russian infantry near the factory spotted, take positions near the forest and wait for further orders. I want to know if there are any other units.", "Hawk04, take positions on the farm and dig in." He thinked about the situation. There are only some Russian Infanterists, they should be no problem, but if an Russian Counterattack will start we must have prepared positions to hold our own objectives.
Then the battle began.
---
My friend GeRi and me found the time to play now our next game, after some days of inactivity. For me it´s not easy to find the time to play.
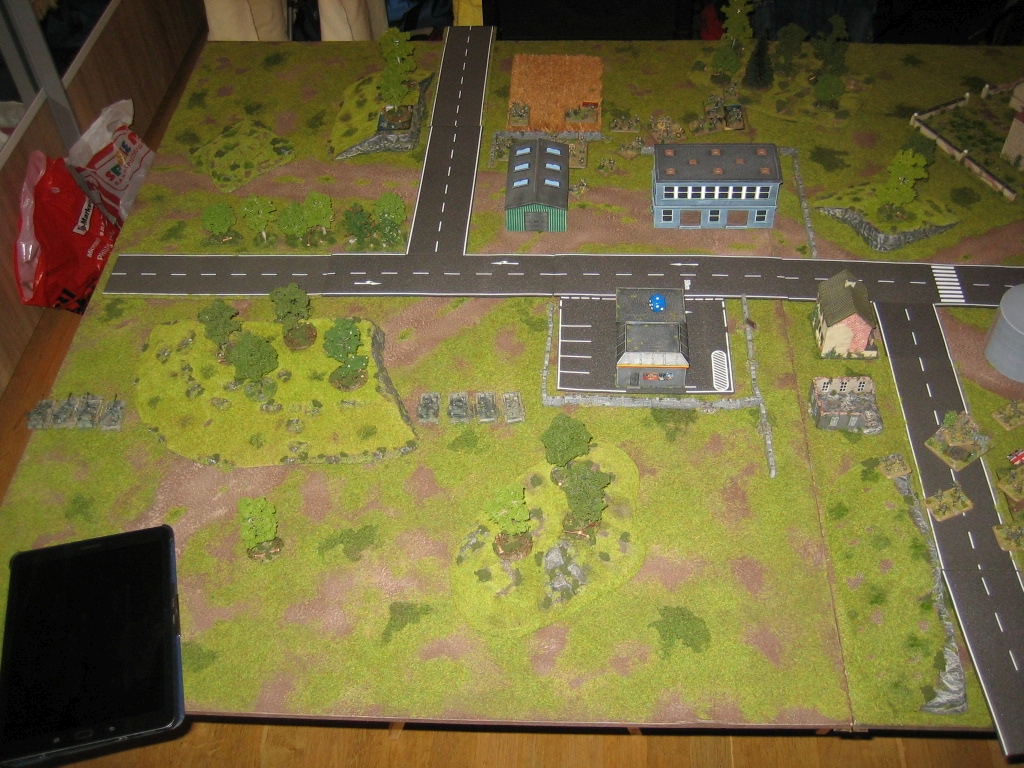
We decided to play one of the new opened corridors, a dice sayed "Leipzig" - our hometown :-).
Also we decided to play the mission for this sector.
As the Nato player i was the attacker and GeRi the defender, the orders were clear and we deployed our units. Then after a cigarette and a handshake the battle began.
---
Sorry for the spelling errors, but english is not my mother language. Some words i must google in the dictionary
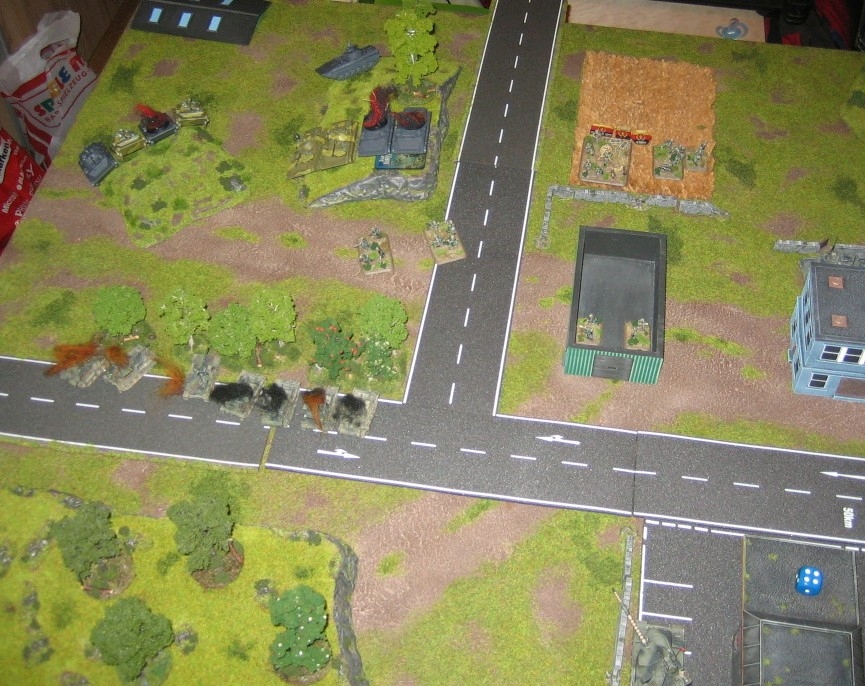
The left flank was the importand one and my plan was to attack the infantry and get them back from the objective before the Russian reserves will arrive, or one turn later. Because it was night both forces will hit theire targets more less. And so i had to wait till my reserves are in positions.
If this plan will not work my Infantry are in good positions to defend my own objectives and so it will be a draw, cause game run out of time. We decided that this will bei on the end of round 6.

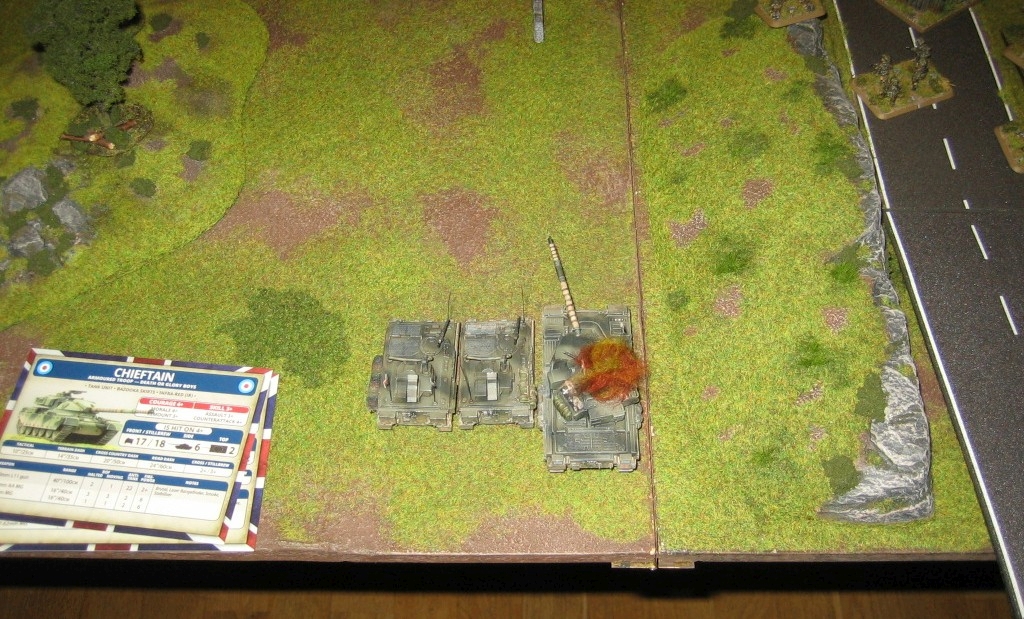
A Dice for the reserves was rolled, a 5 and i decided to bring my first Chieftain platoon on table.
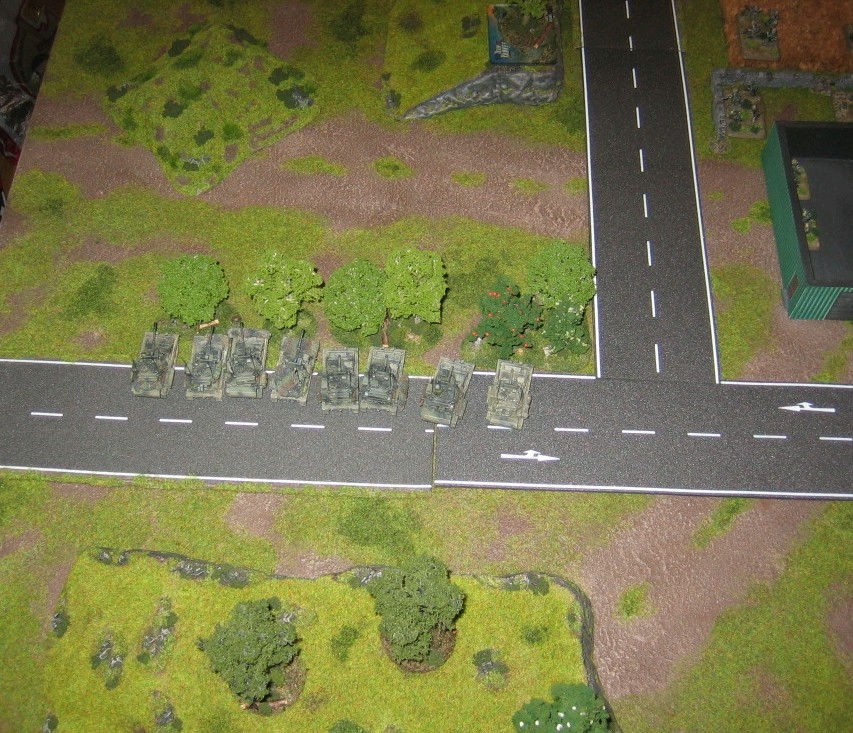
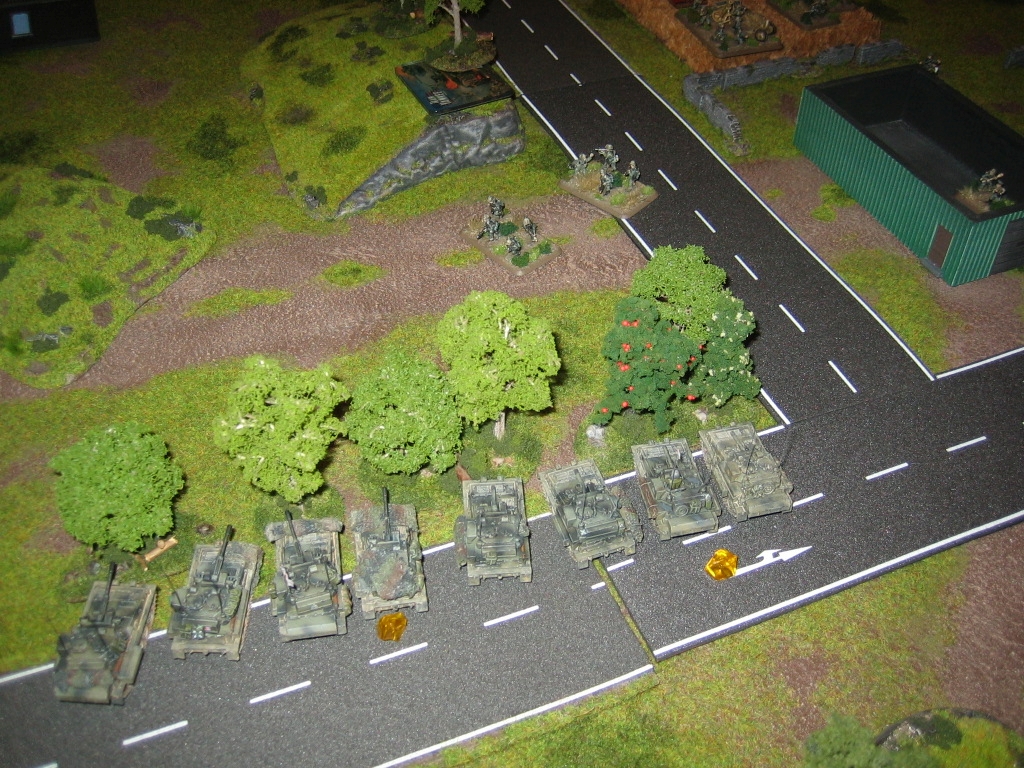
The Scorpions and Scimitars speeded up and take a position behind a tall area terrain, some trees.
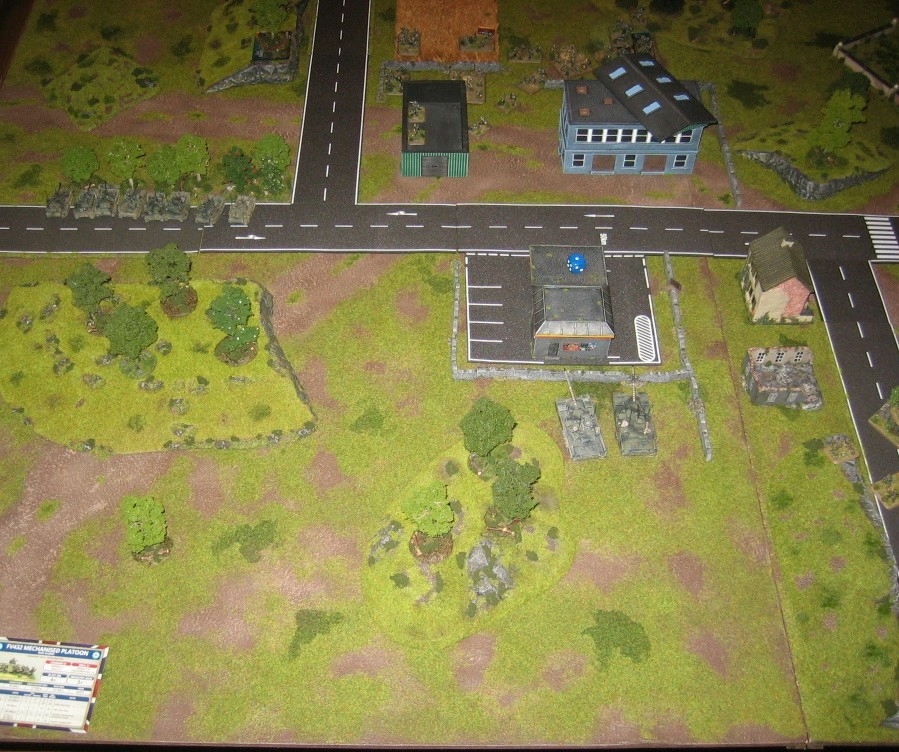
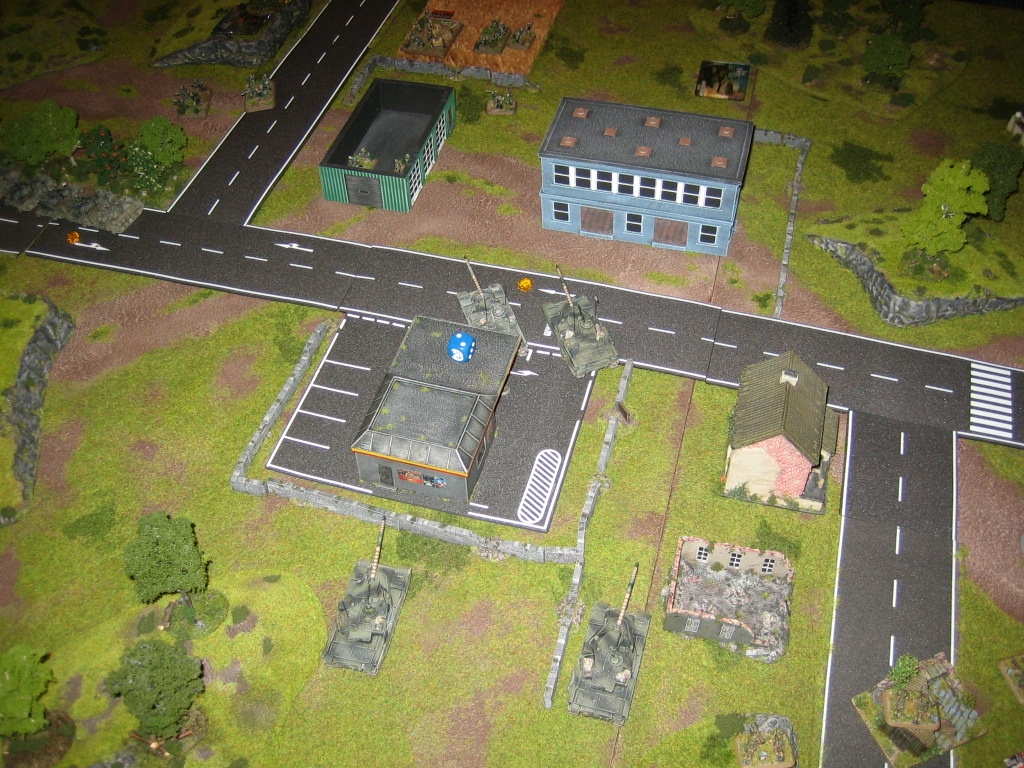
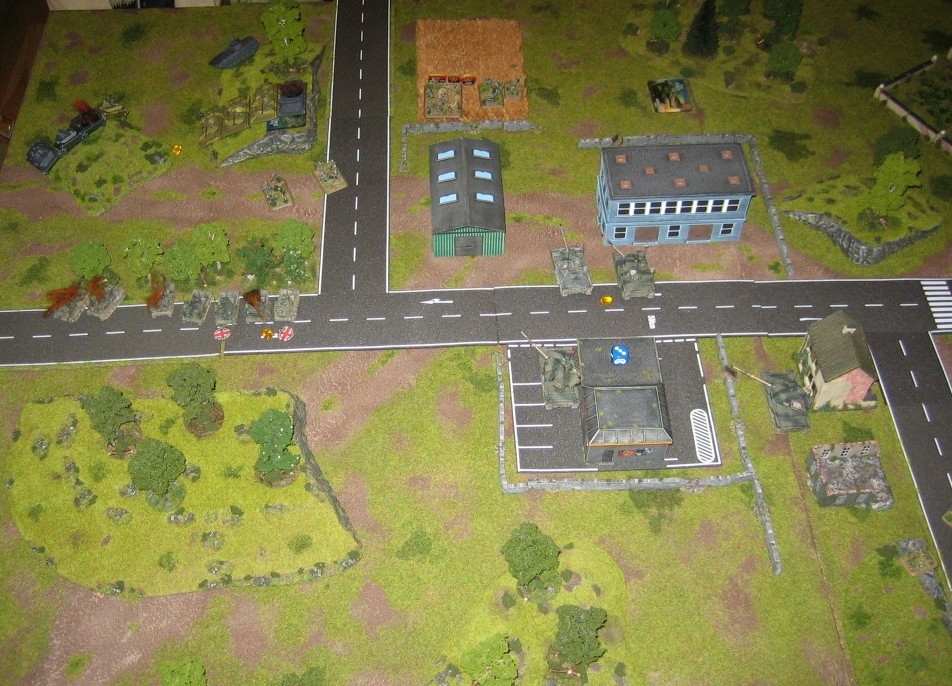
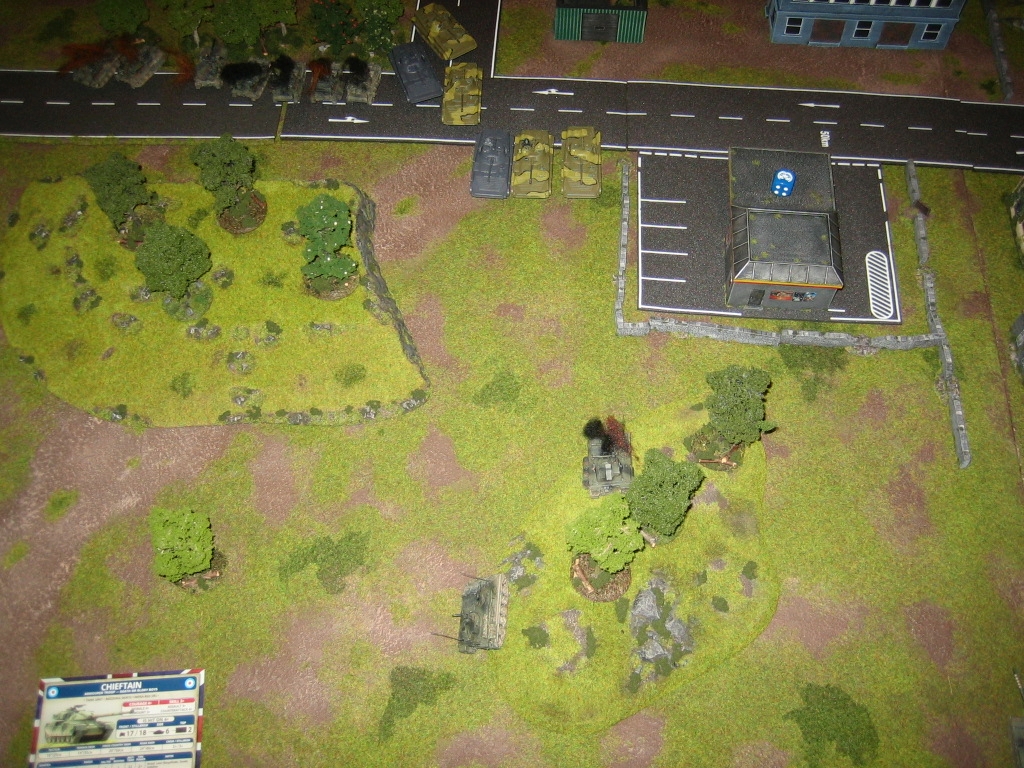
The Chiefs speed up and arrived the fuel station.
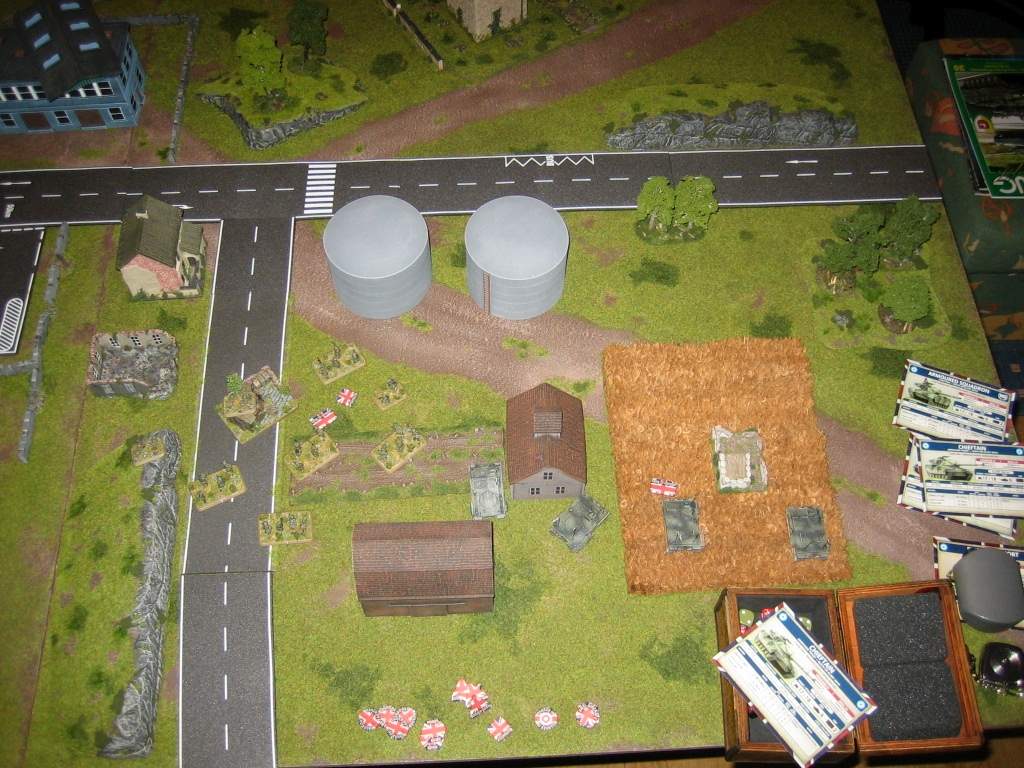
The Infantry hold theire positions, Dig Inn and wait.
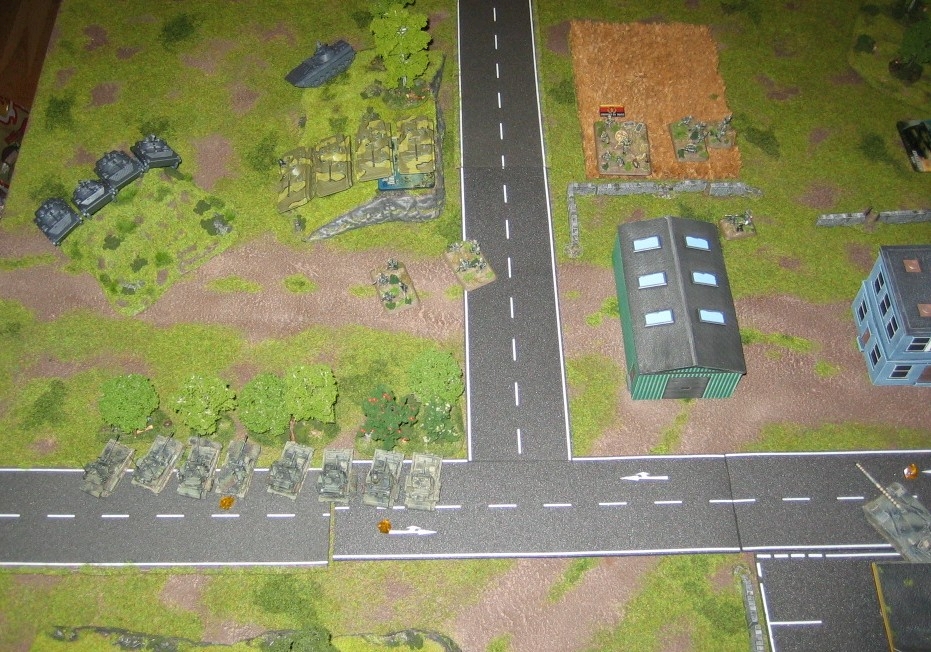
I decided to wait and not to shoot, cause i know that Paul will bring his ambush, the BMP`s (9) on the hill`s. The counter fire than will be hard for my little friends.
---
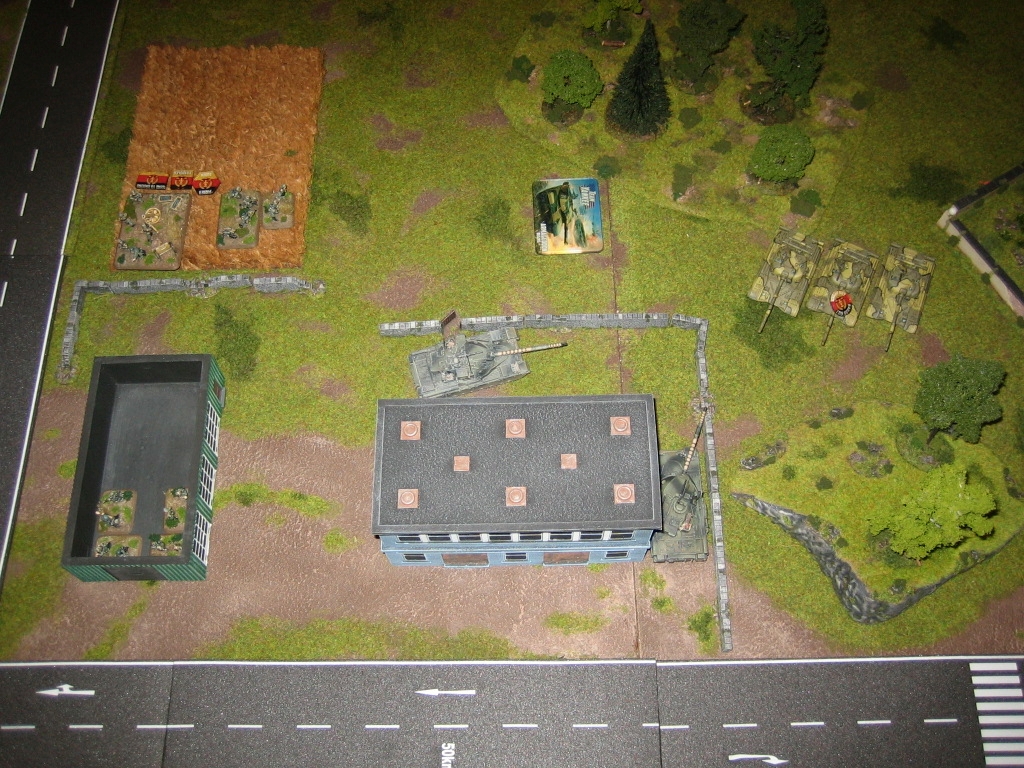
Paul decided to don`t reveal his ambush, cause the to hit chances were to low.
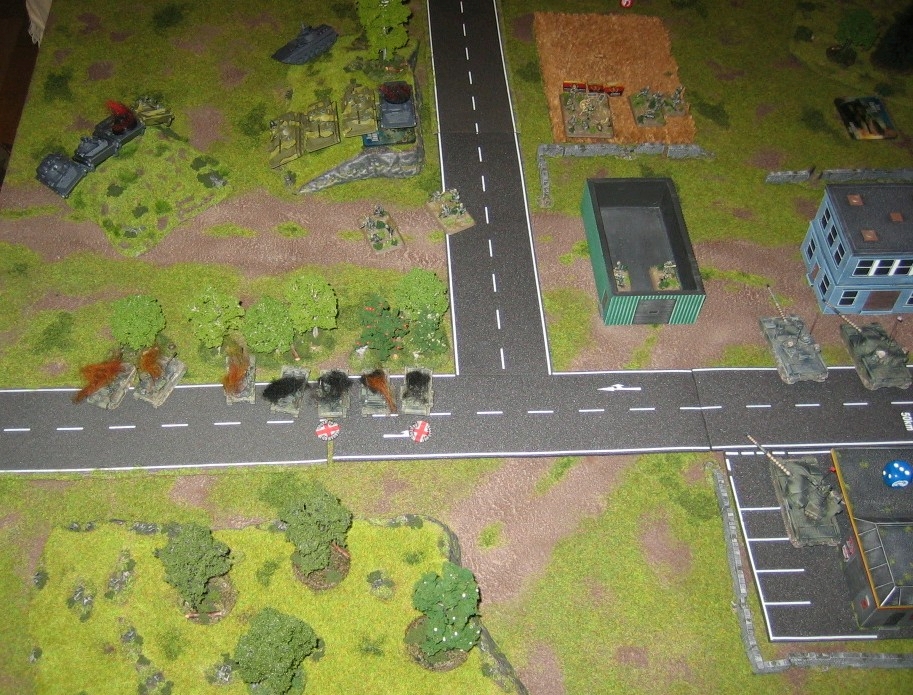
His Infantry don`t manage the dice role to dig in and will so be a good food for my incomming gun fire next round ;). But he brought two bases into the near (into 8") of my Units to prevent that they can use their dash speed next turn. Good idea! So they don`t were capable to reach the hills.
Now i rolled two dice for my reserves and the next Chieftain platoon arrived on the table. They took the same way like the first platoon.
The two other Chiefs crossed the walls on the fuel station and reached the street, a good fire position at the infantry. The Scorps and Scims hold theire positions to be prevented from the counterfire by the BMP`s they will come.
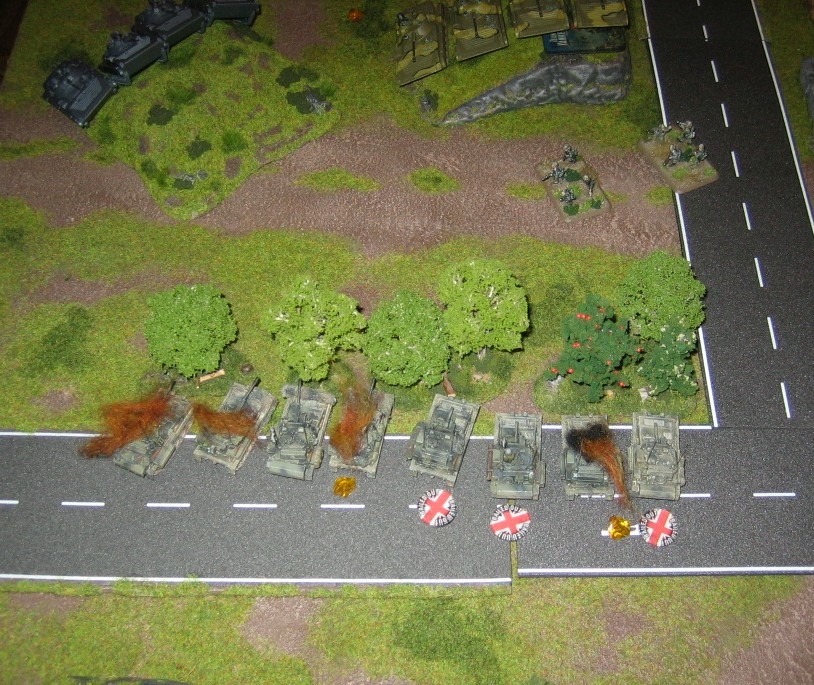
Now it was time to open fire. Cause Paul`s infantry was not in foxholes i could use my MG´s. After 15hits from my liitle friends and 5 from my tanks, only 5 platoons leave the battle :(... not good!
---
Now it was time to bring his ambush and open the fire onto my formations.
He don`t moved any unit and open the fire. After that 3 Scorpions where bailed, one destroyed and 3 Scimitars too.
Ohoh, all was open, when the guys will remound theire tanks and hold!
All rolls for morale were good and the don`t fled, phhhhhh, yes!
The reserve roll`s showed 2 5`s and so i could bring in the rest of my force. They "Blized" onto the battlefield.
But only one of my Scorpion crew get back to their vehicle :(. The lone Survivor test showed that my Scimitar had lost their nerves and fled. The Scorps hold.
The Chiefs rolled forward to raise the pressure and get got fire positions, but one "Blitz move" failed. Less shot`s, fu..!
The first Chieftains opened the fire onto the now digged inn Infantry and could destroy only one team. The second team shoot`s at the BMP´s and could destroy 1 of them, to less.
The Scorpion fired at the Infantry, but could not land any hit. Also my Swingfire`s. My Commander destroyed an other BMP.
All to less to survive Paul`s comming shooting step!
---
The first Tank platoon arrived on the battlefield.
But he could them not bring into firing position.
His shooting step was startet with a lucky shot on my commander and destroyed him.
The other BMP`s split their fire onto my Chief`s and the Scorpions, they destroyed the remaining ones and bail one Chief.

Now i don`t had any more reserves and it was time to save the game and play for a draw. And it was daytime.
I pushed my 1st Chieftain platoon into the factory terrain to engage the T-64 and in the middle to hold the line. But the Blitz-Dice sayed now, again less shoot`s :(.
The Swingfire`s take a position on the bottom of the table to engage later the BMP´s and T-64`s, one bogged.
After the attacking of the T-64`s only one was bailed.
But i could destroy one of the BMP`s, not enough.
---
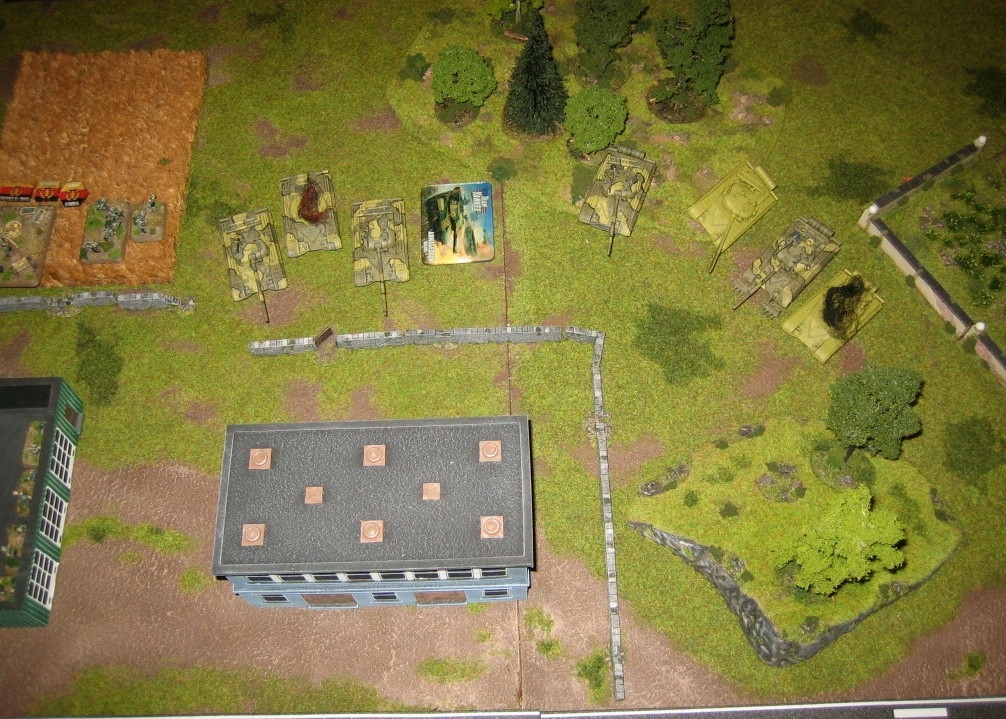
The next T-64 platoon arrived and speeded up, but the bailed one closed the gate. The others take a flank position on my Chieftain platoon. One of them bogged.
The BMP´s hold and targeted my other Chieftain platoon.
Paul`s shooting step was ok, he could bail one Chieftain and the crew`s decided to flee.
But the Tank battle on the top of the board cames not to an end, only one crew bailed, but hold their positions.

I will speed up now.
---
My remaining Chieftains platoon hold`s and opened the fire at the T-64`s. 2 destroyed tanks later they hold.
The Singfire missed their targets.
More was not to do for me.
---
Paul could bring his Commander into battle and hold`s position with the T`s.
The BMP´s had now open space and start an advance.
The firefight with my Chieftains brought one to bail, but the crew`s decided to leave the Battlefield now.
---
The Swingfire`s could not land any hit. One bogged again...
---
Now the battlefield was open, but he had no more time to engage my mission objectives.
The T´s start an advance into the middle of the Battlefield and the BMP´s attacked my Swingfire`s, one was detsroyed, but the other one hold`s.
With his T´s he shoot at my Infantry, but they hold their heads down and no one was injured.
"Hotel 6, this is Hawk04" ... "Report Hawk04" ... "The advance on poition 342 failed, lost Hawk01 and 03, ... Hawk02, 05 and 06, retreated after heavy casualties, ... holding possitions and need emediatly reinforcements!"...
"This is hotel 6, reinforcements on the way, the air force was called, will arrive soon, ... HOLD this position, End"
...
---
It was a very interesting game, we both learned a lot.
We played 2,5 hours.
Afterwards i must say the battle plan was good, but i had to use the tanks in the forward position`s, with spearhaded deployment areas and saved my "Little freinds" for later turns, that was the mistake, i think.
Learned a lot ;) ...
Till the next report and thanks for reading and you comments.
Best regards, Frank.


Smashing report here, good graphics, a nice long one too.
Hello,
thanks to you. You can use all i posted as examples for your reports, no problem for me and it would make me happy, so i can give inspiration to others.
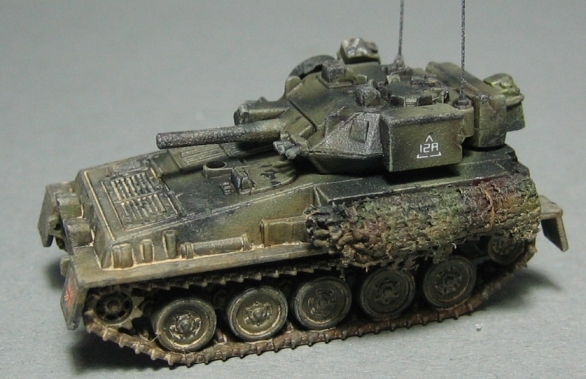
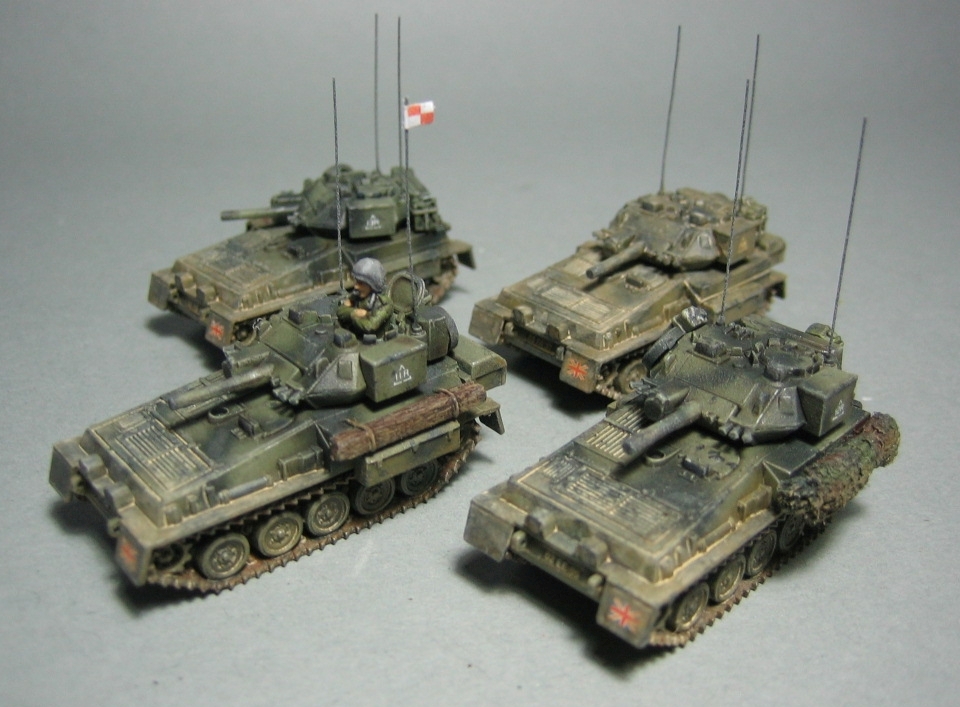
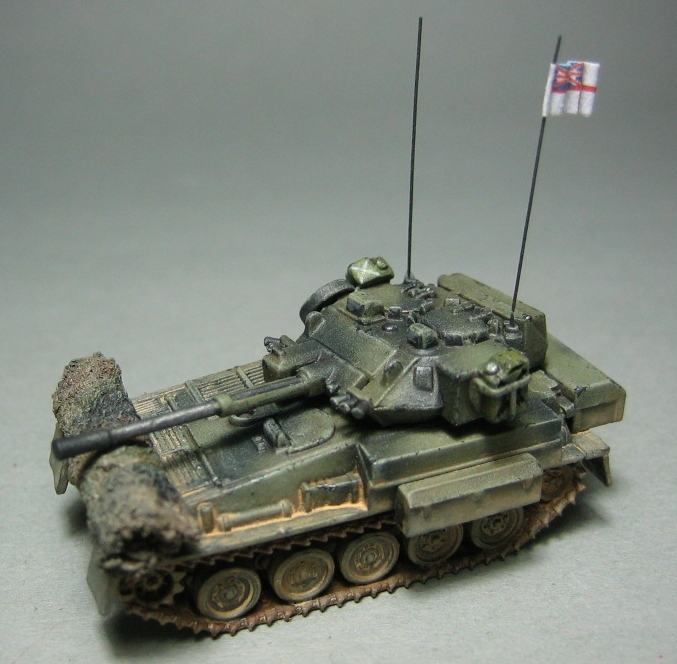
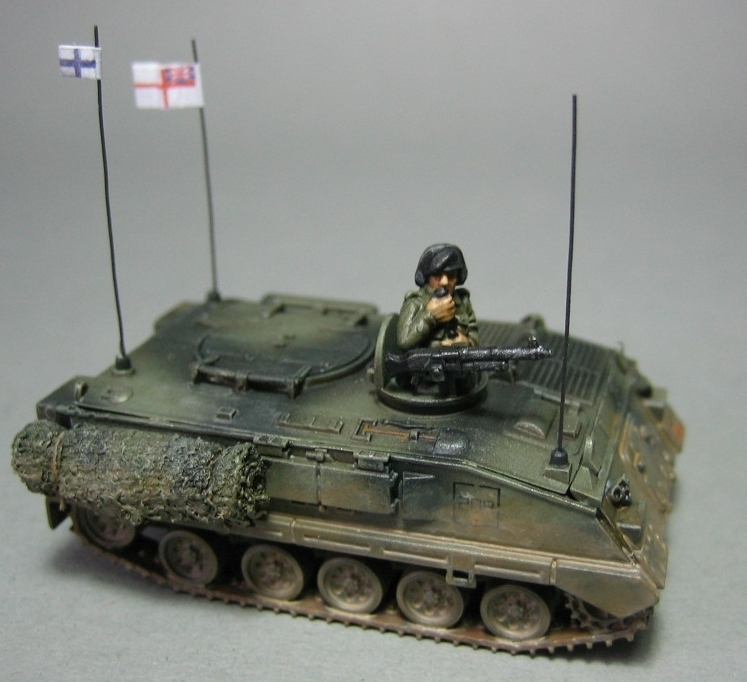
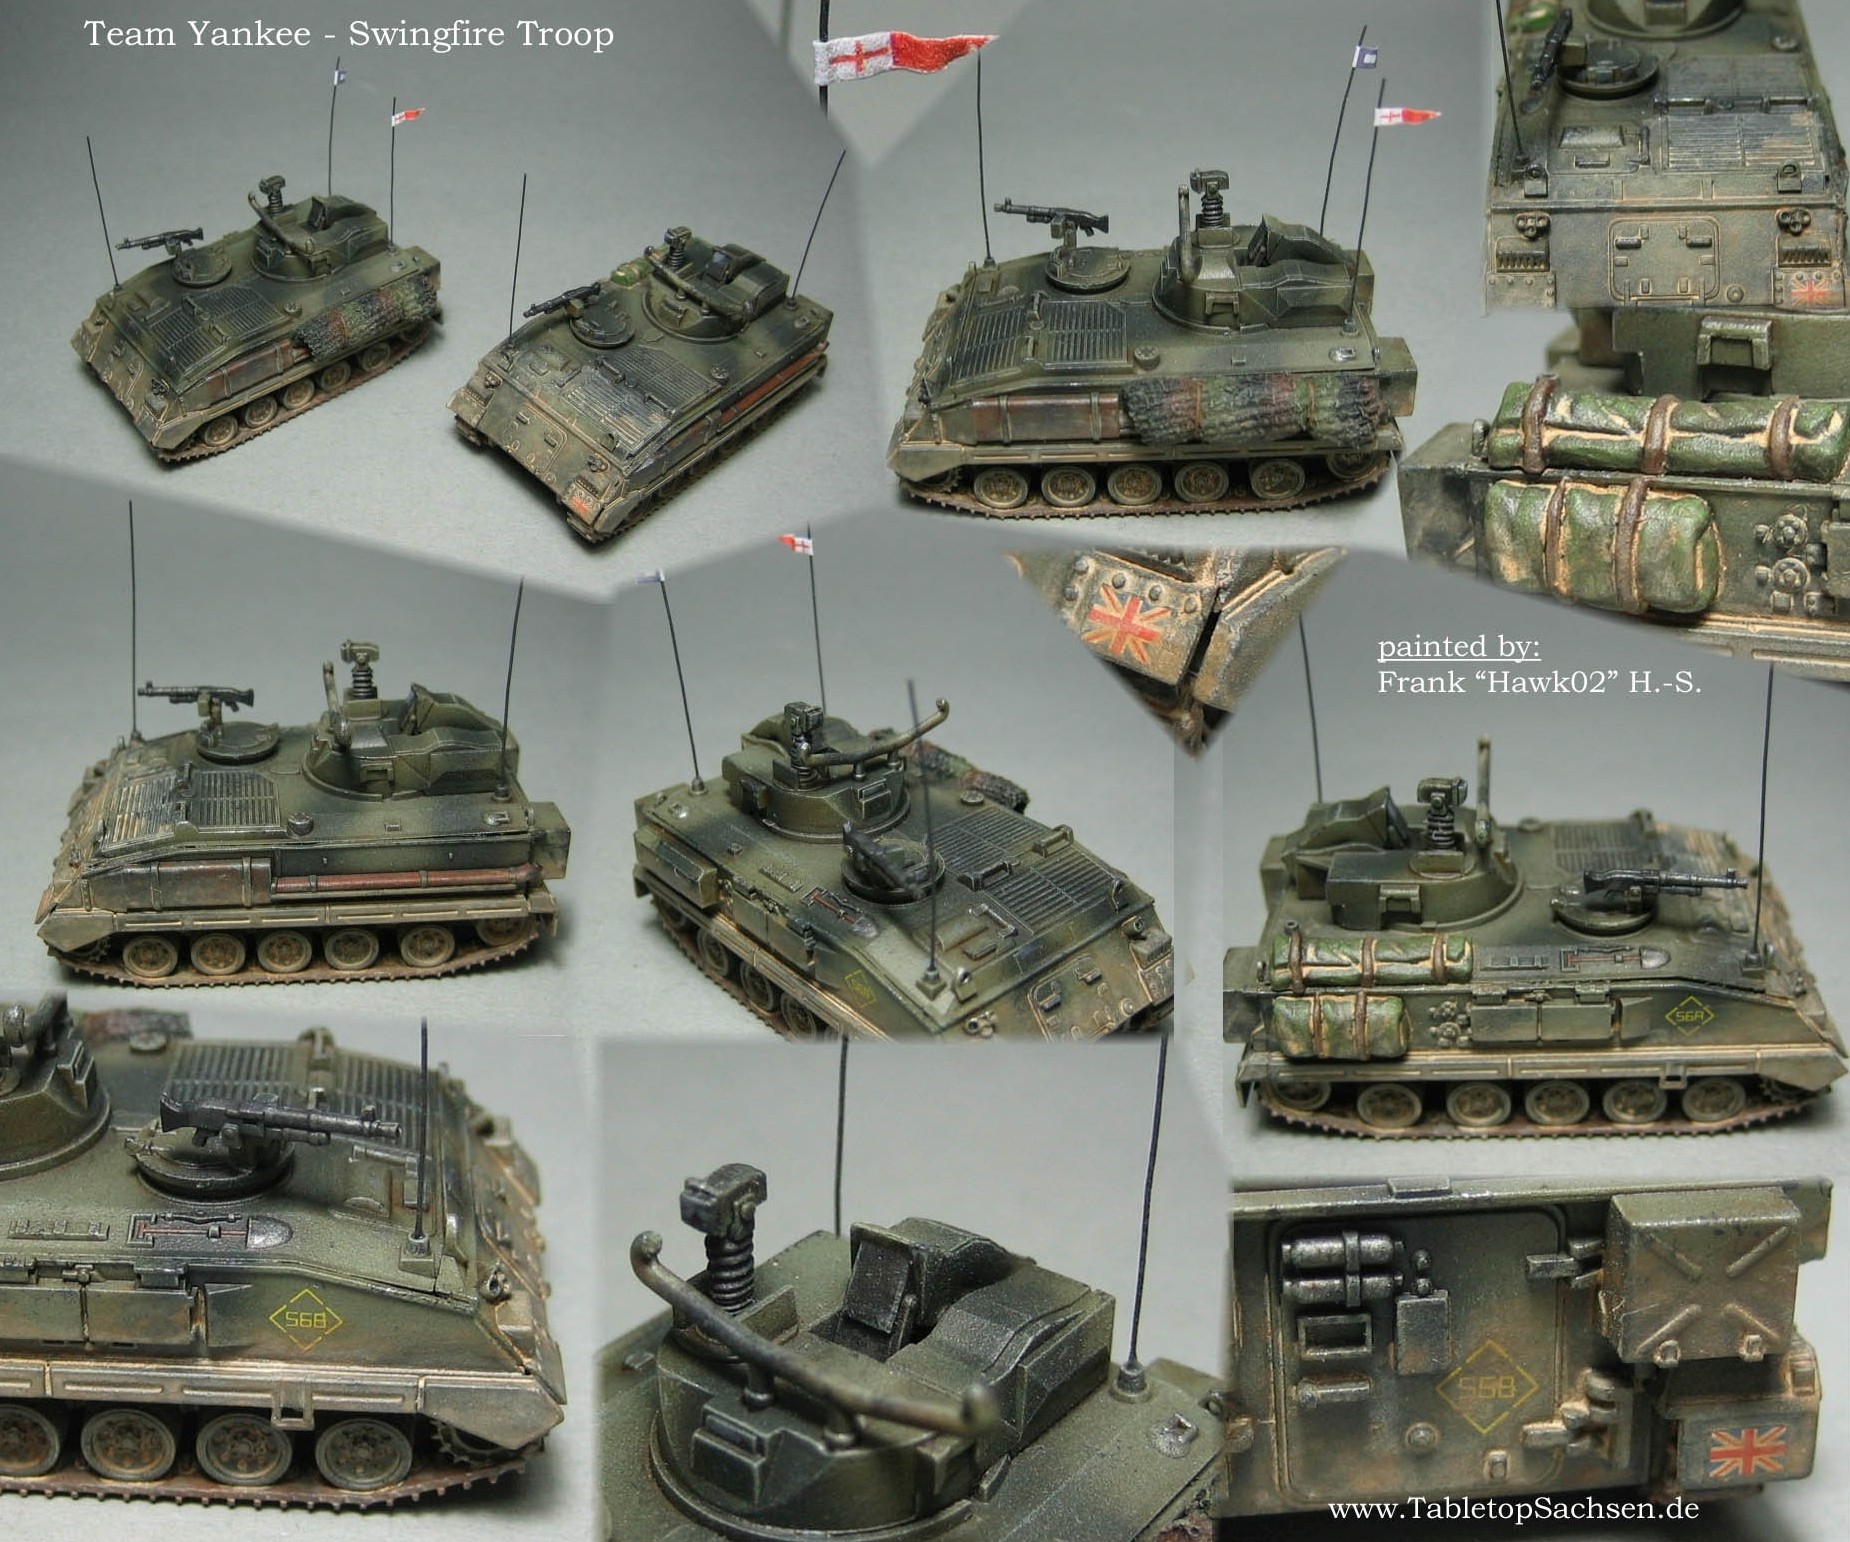
The flags are printed paper, this are signal flags from ships, meaning alpha, beta, zero, and so on, or letters.
You can find such ones at Google, Bing, and so on. Then you must scale it in word, or an other text programm and print it out. Glued are they with white glue, cyanacrylat also works, but you must be fast :).
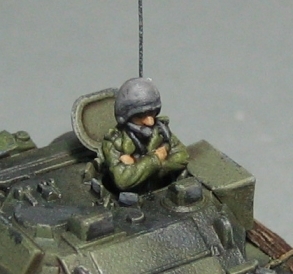
The antenas (poles) are hairs from brooms, cut of and cut into the right length.
Hope that helps, best regards, Frank.
This is awesome report. I enjoy the game but writing these reports is not my thing, however, seeing yours really gives me ideas.
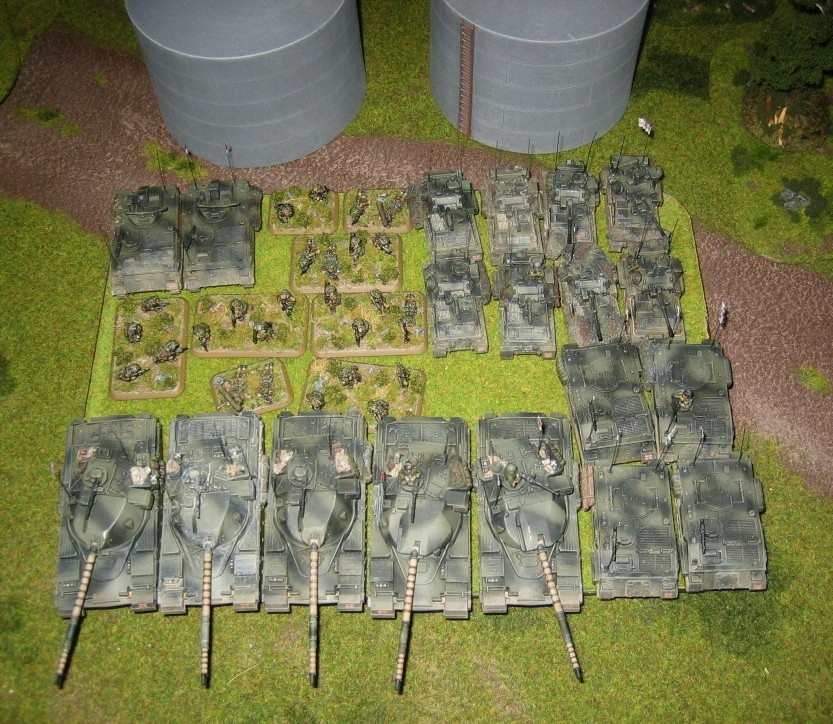
Loved the pics of your forces. What did you use for you flag poles and flags please…
Awesome pics of models…
Good report – especially appreciate your note about game length and also your lessons learned. I plan to incorporate those into my own reports. And of course, beautiful battlefield and minis!
Hello, many thanks to all of you. It makes me happy that you enjoy this report.
The “battle” picture is made with 3d paint in windows.
The tactical symbols you can find at google, bing, … you must use .png pictures to drop them into the opened picture.
Best regards, Frank.
Very nice Report and cool looking Brits.
Great report guys. Beautiful looking army as well!
This is a first-class battle report! What do you use to overlay the flow of the battle on your first picture?
Nice report
The Scorpion + Scimitar tag team normally works wonders! Shame it didn’t pay off in the end.
Nice report
A good battle for you both. It could have gone either way.
Nice report as always. One of the most interesting and exciting games we had.