Fought At Hanover
2429 days 21 hours 17 minutes ago
Battle Report
Kaiserschlacht pt. 2
80 POINTSSo, as the first game was a bit dull with my opponent's reserve never arriving and always getting on the wrong side of the table when they did :D , we decided to have another fight. Since I won the first match, I would have been in control of the refinery complex and my battered Chieftains would have had to wade across another swarm of T72s and BMPs to reach the objectives on the other side. Oh well...

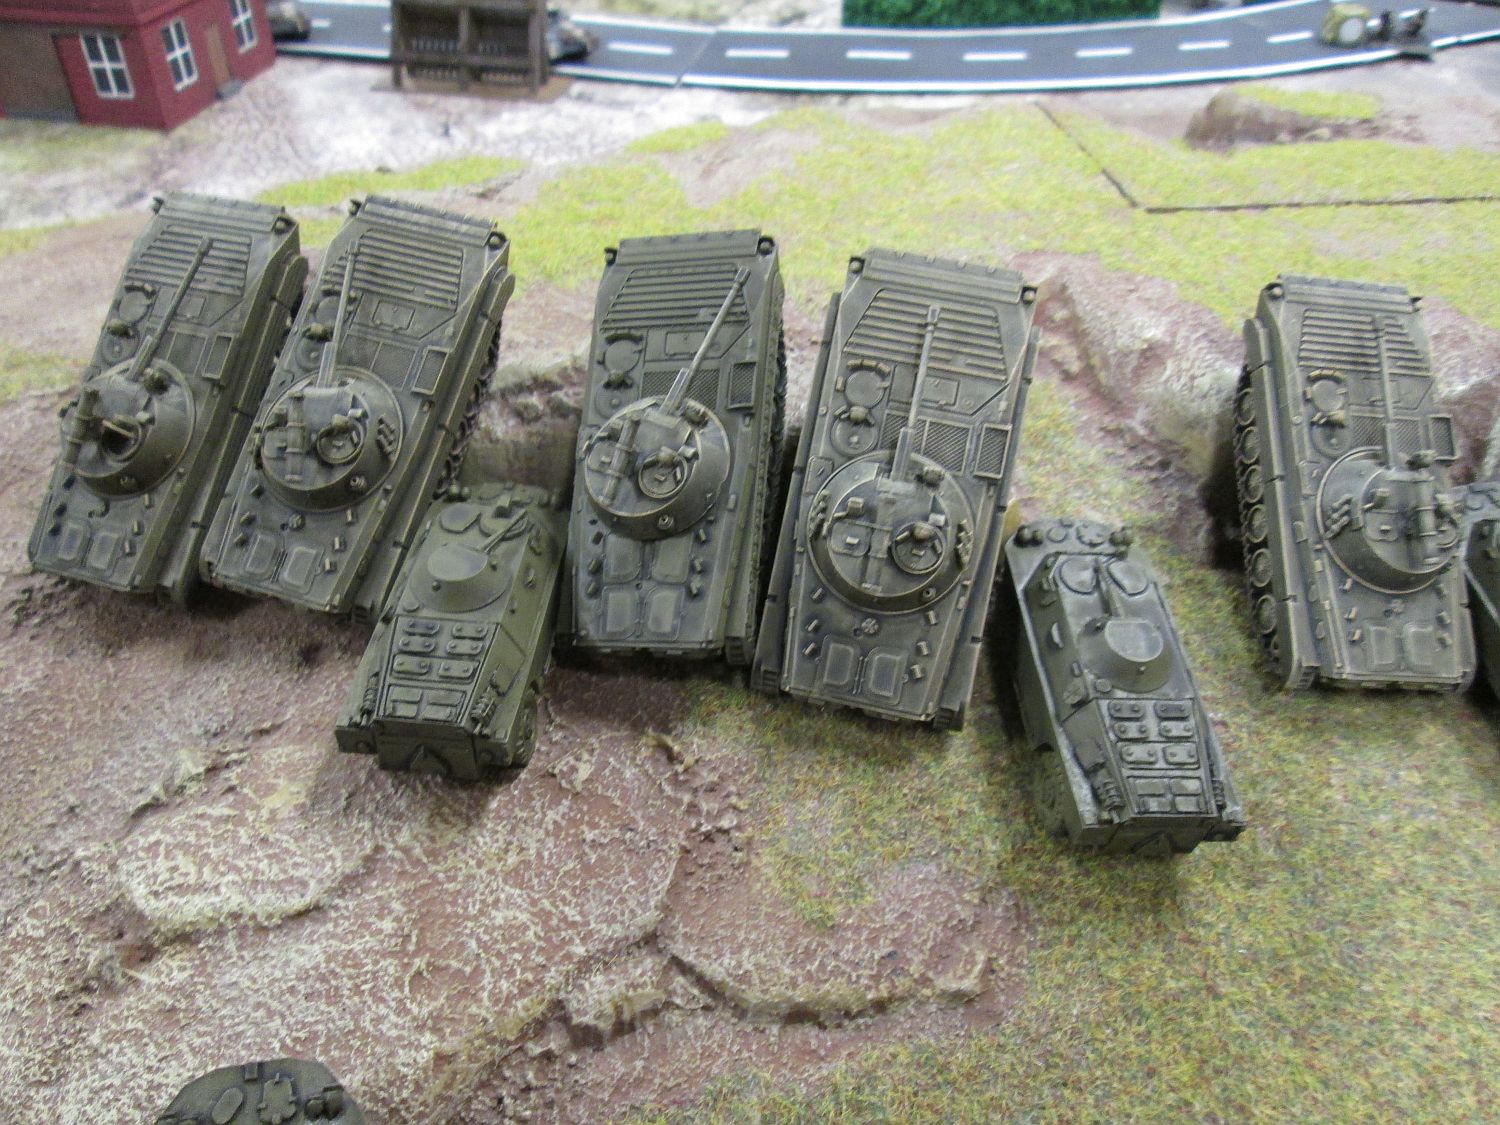
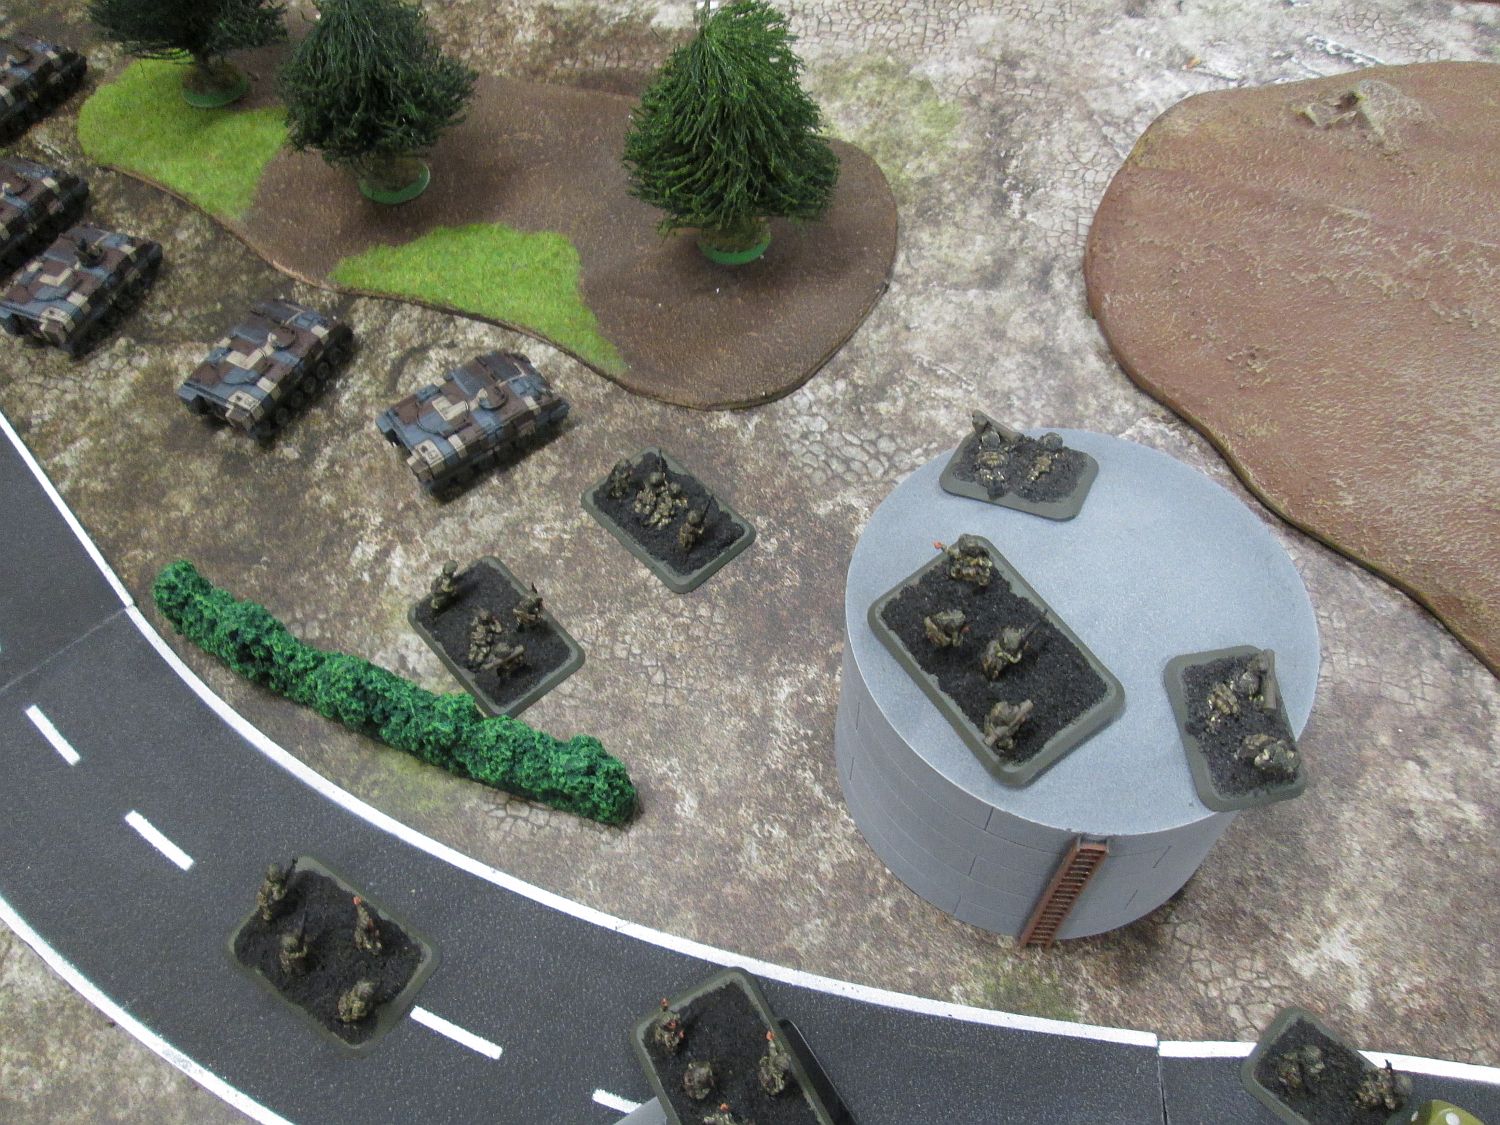
Having a stronger understanding of the terrain (we played on the same battlefield), my opponent used the BRDMs to infiltrate the BMPs behind the large hill while the infantry sat tight on the objective to my left, supported by the Gaskins and Shilkas. Two units of T72s guarded the other objective.
I deployed all of my tanks, the infantry and the Scorpions as I did in the previous game because I really needed to whittle down the BMPs before they could knock out my support vehicles.
I got the first turn and the weaknesses of the British army were made all the more evident! Dropping ROF on all tanks and not being able to use Milans meant my fire was pathetic. I only managed to knock out 3 BMPs before facing the red storm...
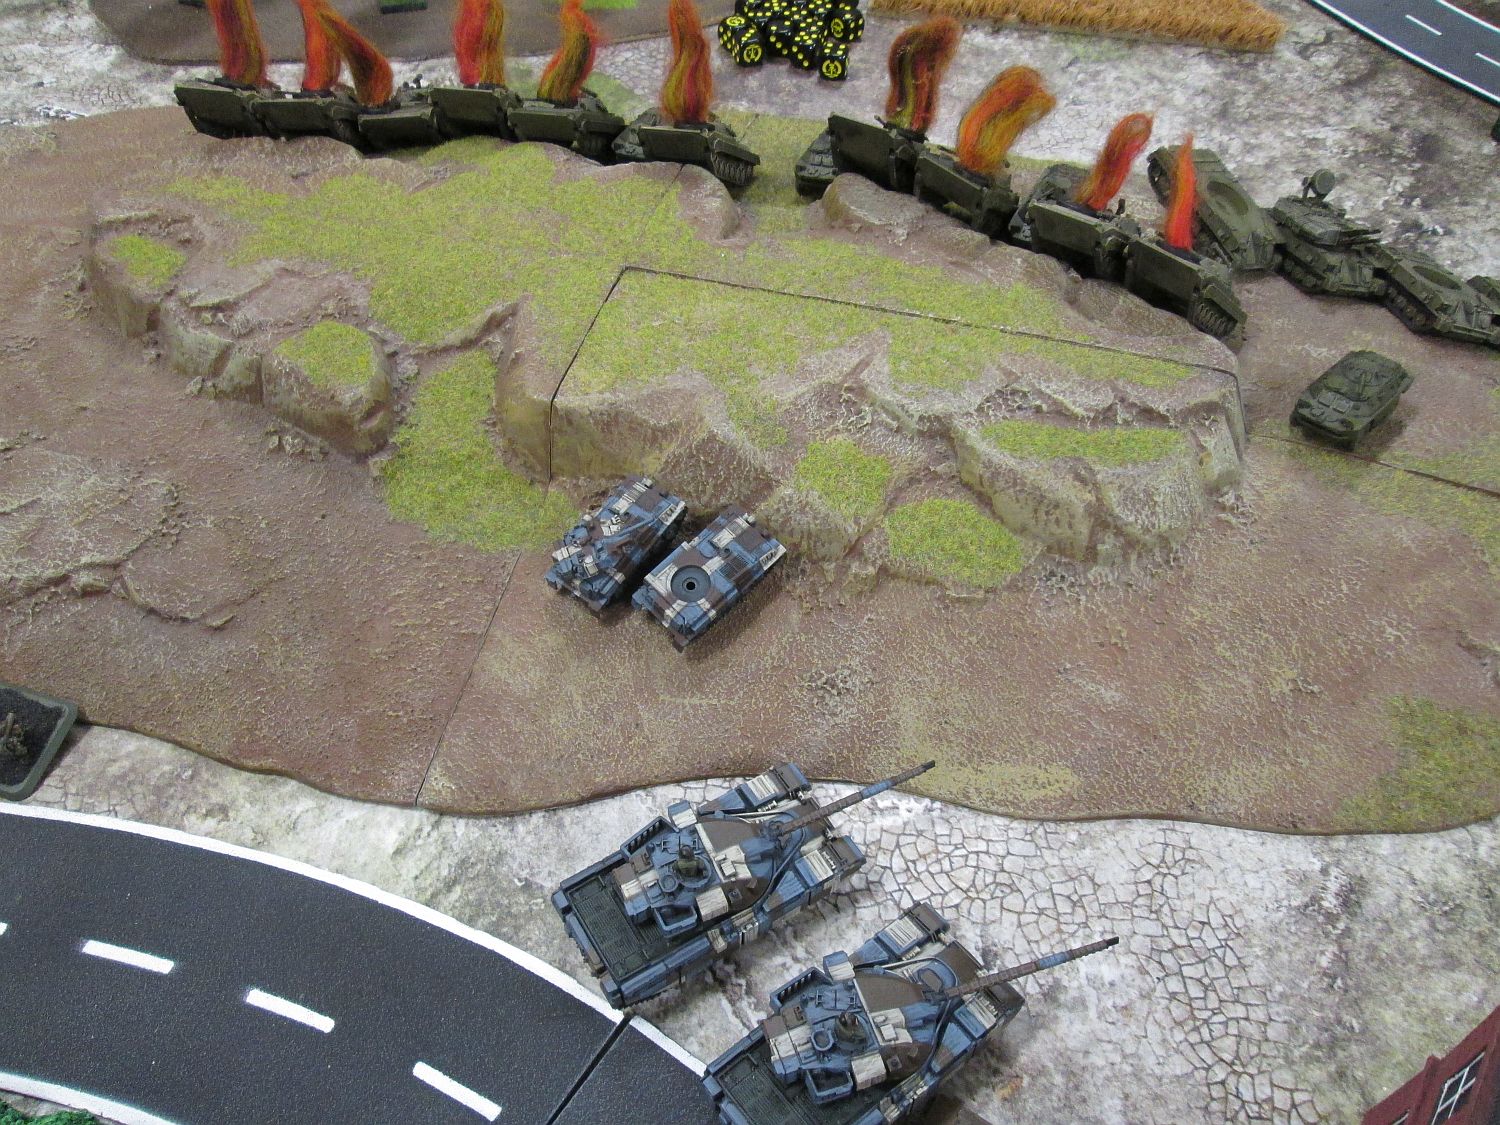
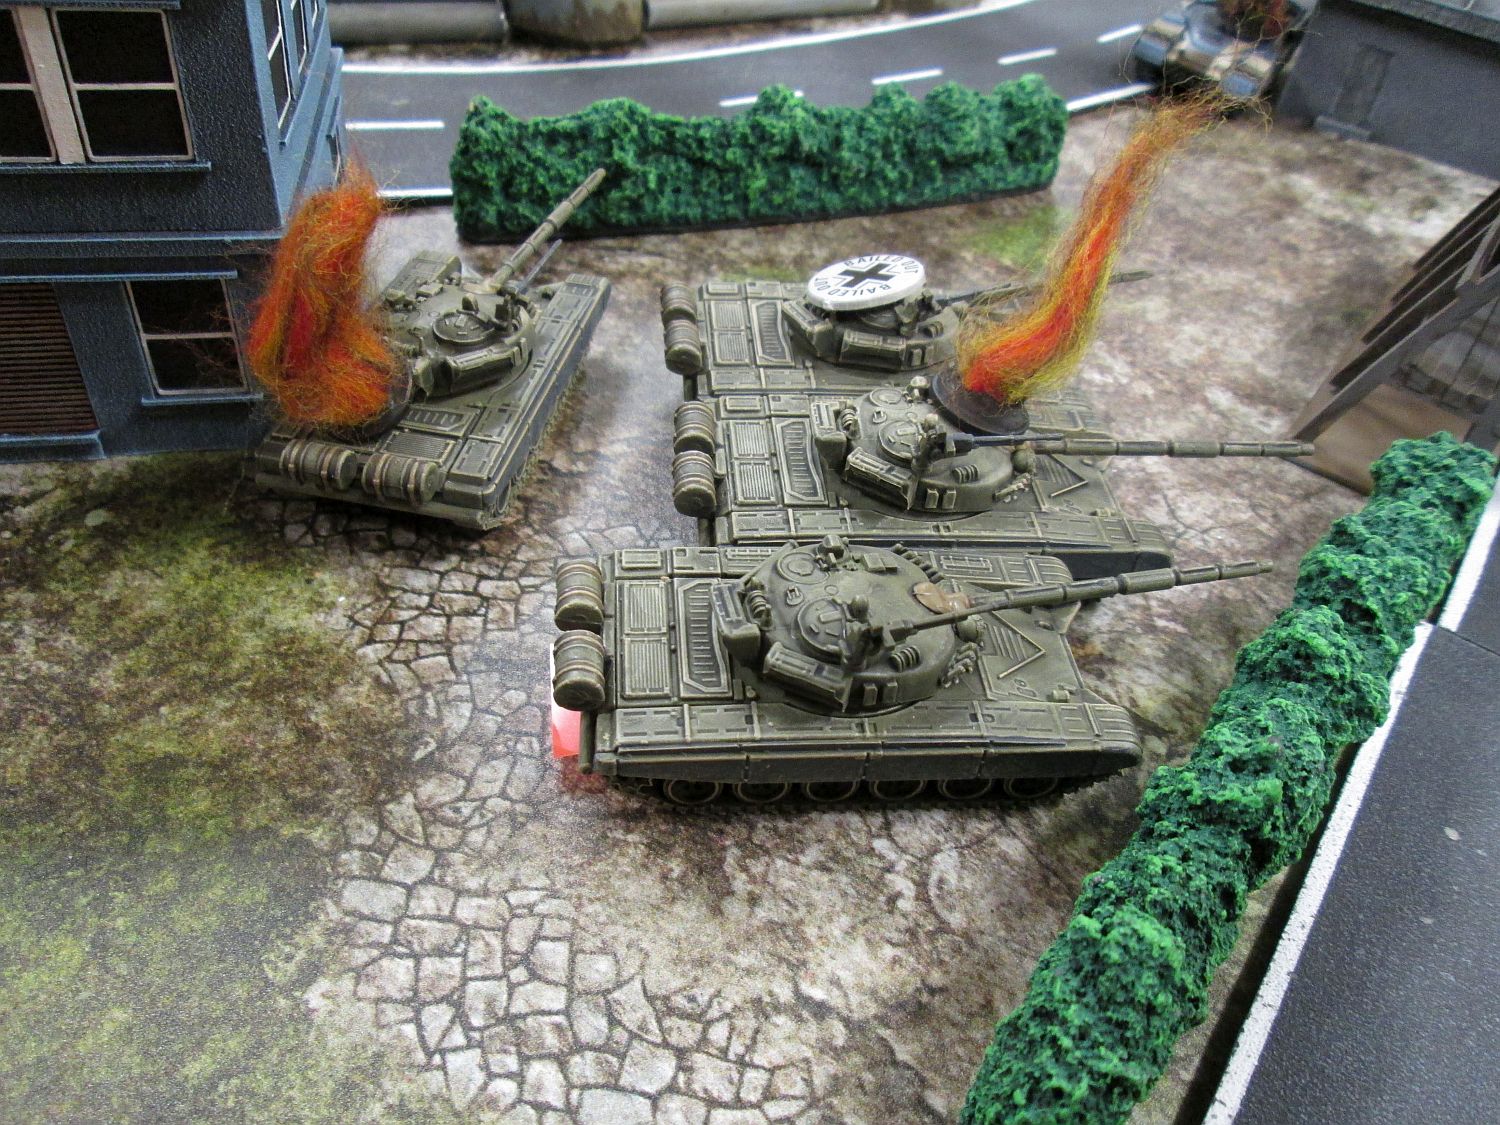
... and the red storm meant 2 bailed Chieftains and the platoon promptly failing morale, leaving my right flank entirely free of British troops. 2 Scorpions were also bailed by Shilka fire in a spectacular flurry of failed shots from my opponent, who only got 2 hits out of 16 shots!
In my turn 2 I blitzed (and failed) the Chieftains on my left flank to get more hits on the BMPs hiding behind the hill. They pathetically followed this practice for the next 2 turns, so they were always out of command and their fire was rather meh. The infantry got out of their defensive positions and chased the BMPs in a blossoming of fireworks, failing most of the FP checks but still inflicting casualties with the Carls and Milans. The surviving Scorpions and the HQ Chieftains in the middle engaged the Shilkas and BMPs bringing more wrecks to the tally as the T72s were still relatively out of sight and I couldn't afford to move (and drop ROF) to engage them until I was 100% sure I could wipe them out and with such bare forces, that was certainly not an option.
At this point (WarPac T2) my opponent moved his tanks forwards to engage the HQ Chieftains, while the surviving BRDMs tried to hose the infantry with MG fire, but firing was ineffective. I only got a bailed tank. In my turn 3, I finally got some reserves. The Swingfires blitzed on the table and the combined firing of HQ Chieftains and missiles accounted for three soviet MBTs, while the infantry and always-failing-to-blitz Chieftain platoon destroyed the remaining Shilka and BRDMs. I had cleared the centre, but with reserves bound to arrive and no idea where they'd enter I held my force back.
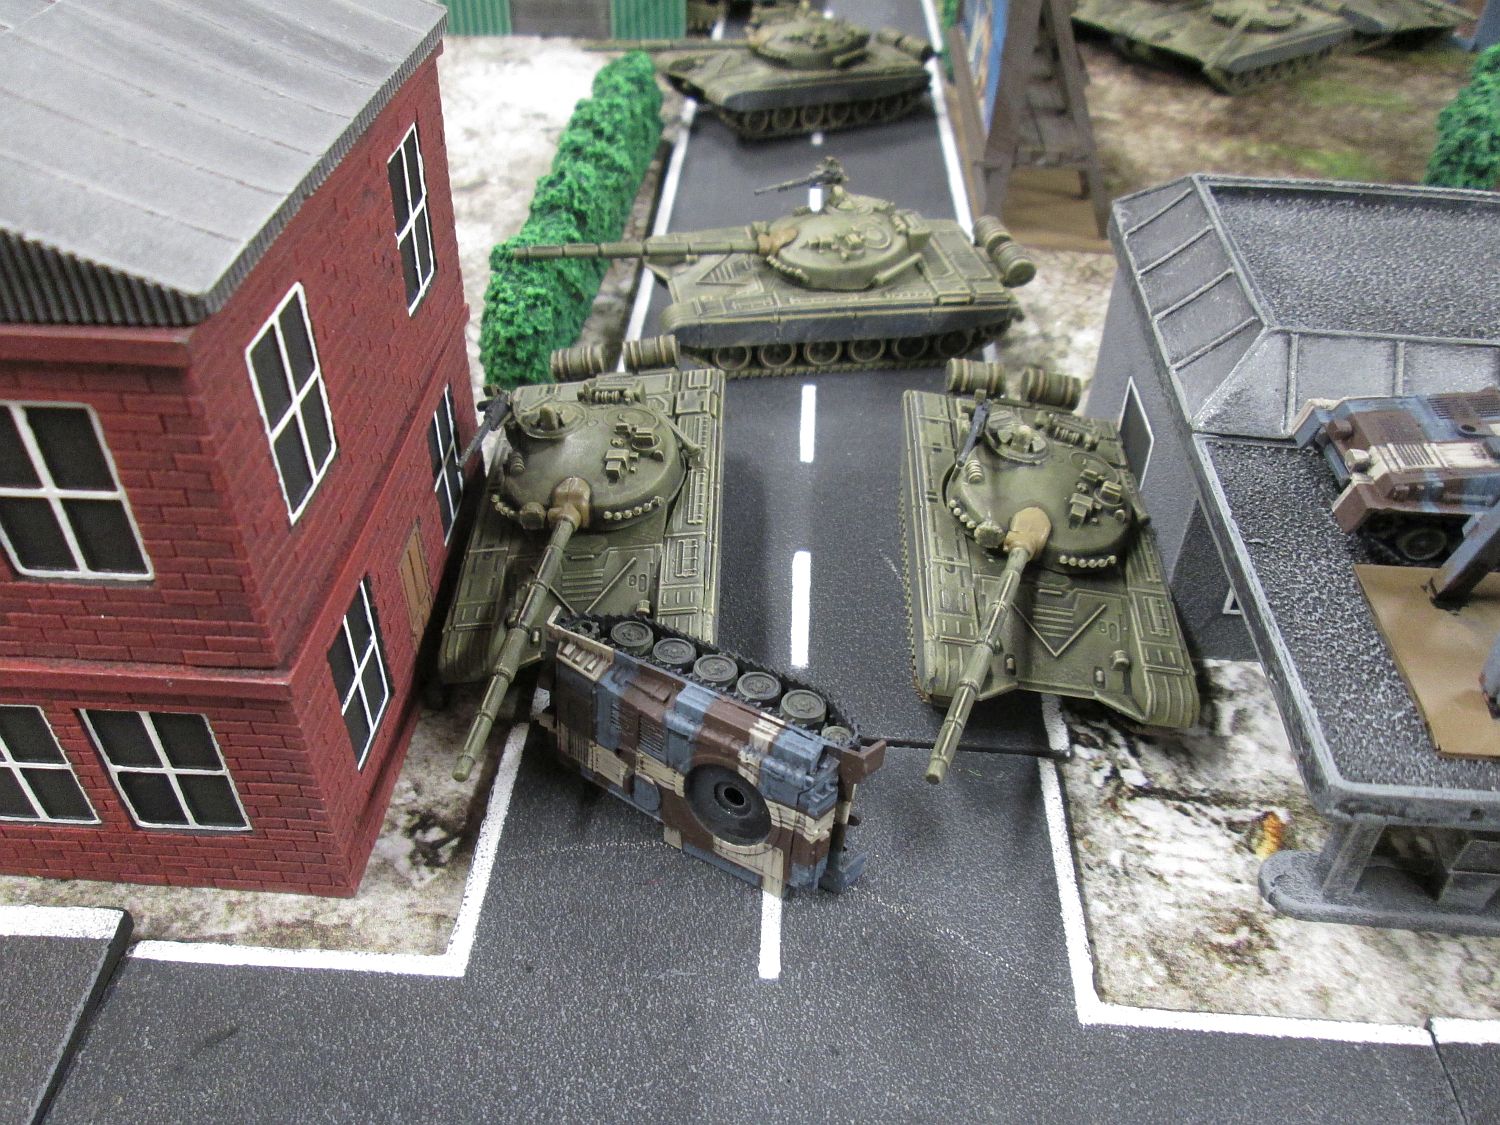
My opponent threw caution to the wind in his T3 and advanced using the stabilisers with the tank force, so that he would have been in objective range by the next turn. His firing was even worse than usual with the added penalty and I suffered no hits on the Chieftains although the Scorpions were wiped out.
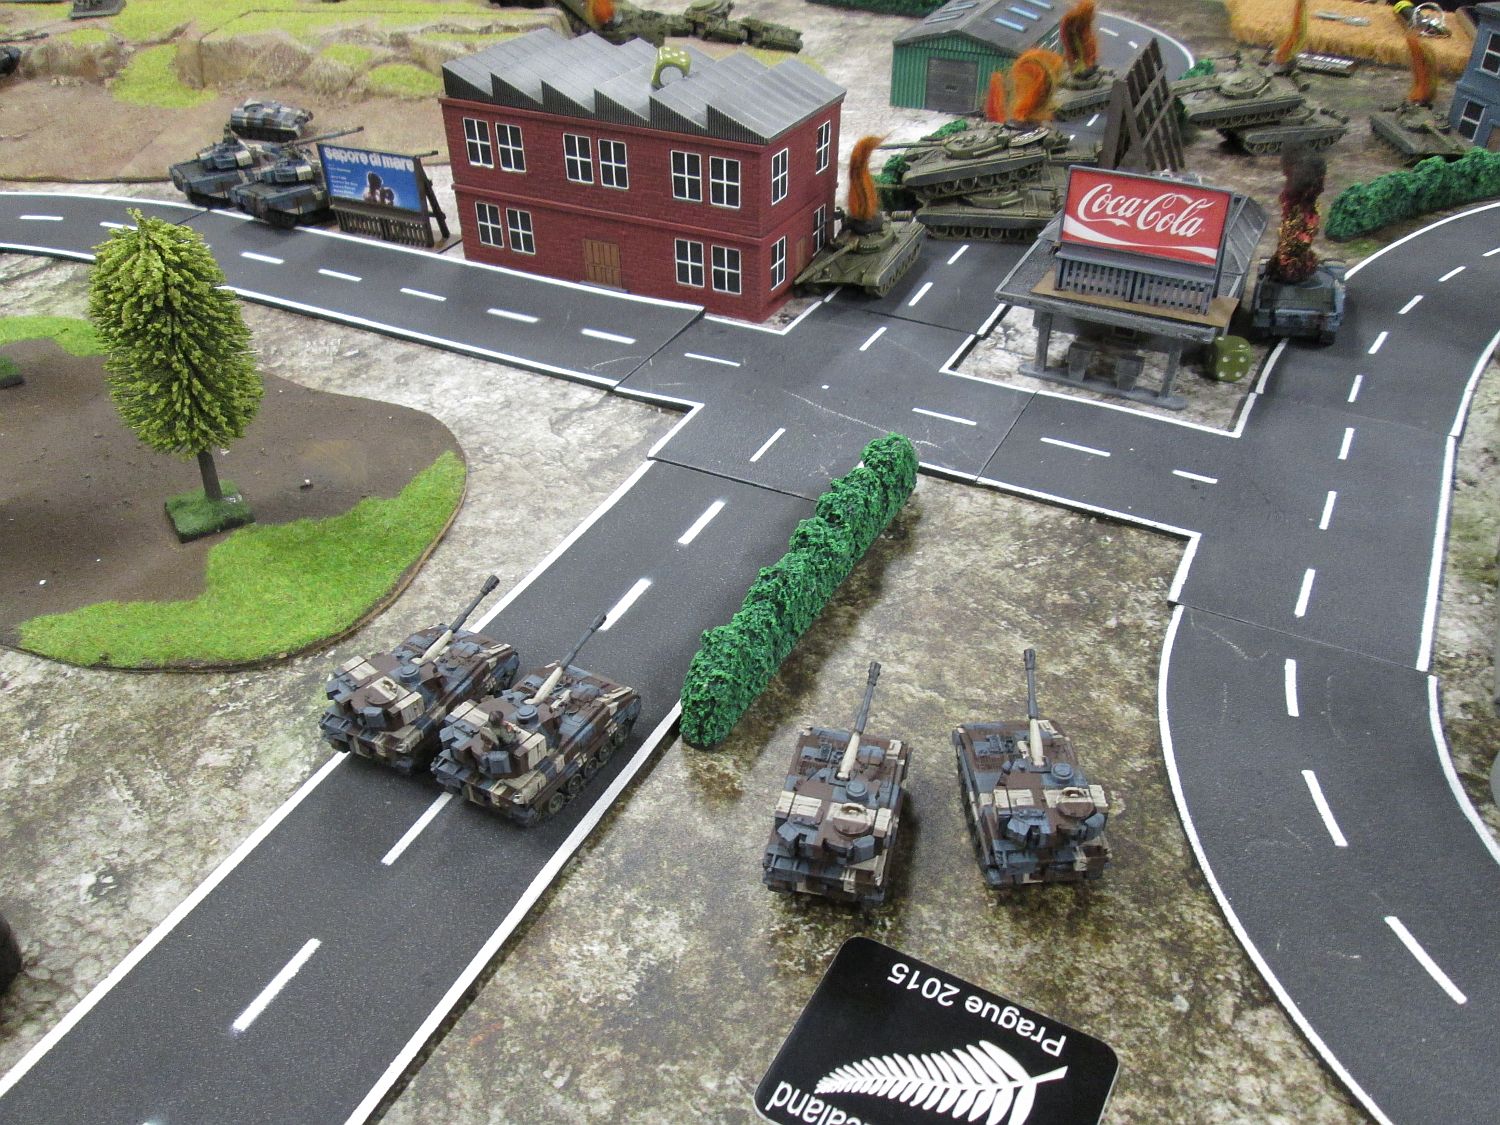
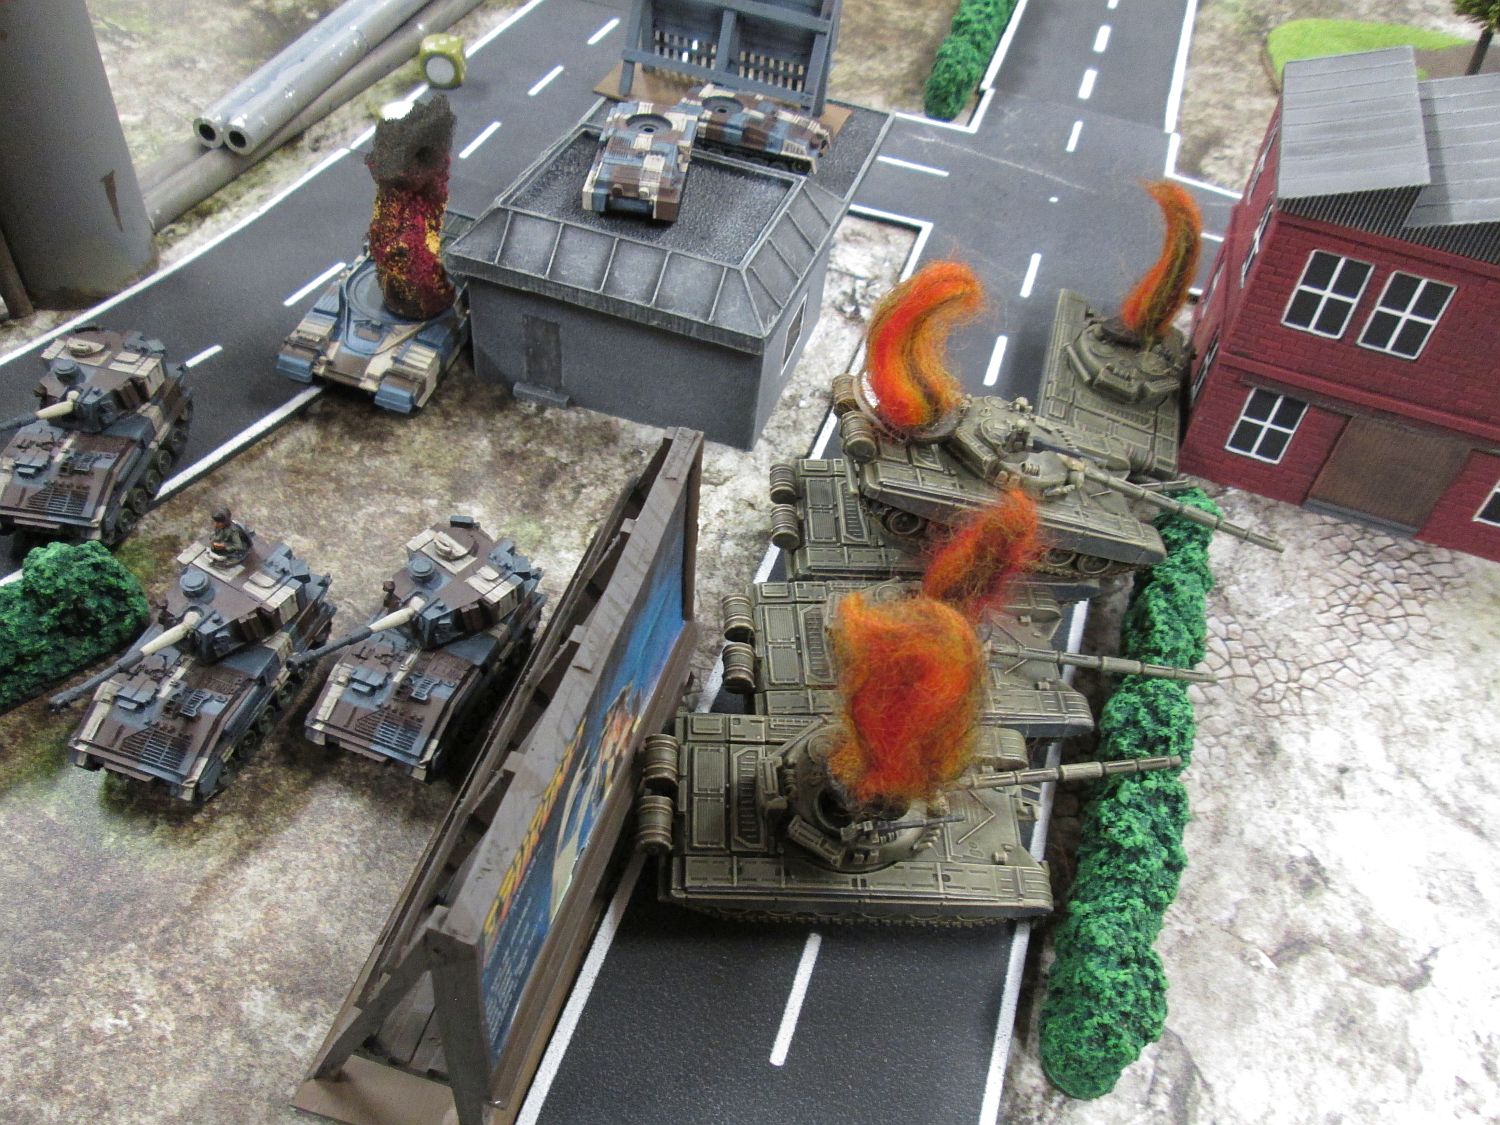
I got another reserve in turn 4, and the Abbots rolled in from the long edge, which put them in a very good position to try flank shots at the T72s. The area between the factory and the petrol station became a true tank graveyard as concentrated fire from all sides smashed the armoured spearhead, leaving only 3 tanks in working order. To do so I had to expose the flanks of two Chieftains from the platoon to a potential rear shot in case reserves arrived on the other side, but I really needed to put a stop to the enemy advance.
The reserves DID turn up in his turn 4 and accounted for two Chieftains, but the survivor this time passed the morale check (I'd dread to think of it in V4!), and spent the rest of the game destroying tank platoons as they turned up on that side (he bagged 2 T72 platoons and a Spandrel unit with the help of a Milan). Good show!
On the other side I received the blowpipes on turn 5 and had the mad idea of rushing the objective before too many reserves could arrive. Except I forgot he had another BMP1 unit with infantry (it never turned up in the first game so I hadn't realised it was there!), which arrived in his turn and caused some damage. With my newly arrived helicopters in turn 6 the Swingfires knocked the BMPs while the Abbots and surviving Blowpipes killed a few infantry teams, but that didn't save the AA vehicles as another T72 unit turned up in his turn 6 and wiped them out. My HQ Chieftains and Lynxes bagged those as well and the Abbots could finally march on the objective, winning the game.
Battle Report Author
Army Lists Used In This Battle
Recommend Commander For Commendation
Share this battle with friends
HMS_BelfastWins

Berlin Brigade – so envious right now.
When you start the game with 17 T72s, you can’t really expect to go home with all of them 😀 !
Destroyed T-72’s :'(
Congrats on the win and nice report 🙂
I can’t Believe that people painted the Berlin camo xD
I’ve added the turn numbers for clarity. Cheers!
The House of Hannover would be so proud.
The shots look great with the board and the models, although I got a bit lost with the turns in the text.
Support looking photos
Hello,
Cool terrain and a short, all saying report.
Grats for winning and well done!
Best regards, Frank.
Nice job MAJOR
Another good win, Belfast, keep up the good work.
Nice looking report… the Red Army will return!