Fought At Frankfurt
2424 days 16 hours 2 minutes ago
Battle Report
Counterstrike
80 POINTSI had promised another report before a week break for work but I couldn't take pictures. So I'll use some vintage pictures from an old report some forum users might have already seen. (Those who actually did will remember I won 6-1 but this time things didn't exactly go to plan!).
Maurizio wanted to try the new units available with Red Thunder so we decided to play Breakthrough with my forces as the attacker while he defended to try the new Shturm and Krasnopol artillery.
He ambushed with the BMPs while the infantry edged the southern table quarter, ready to move into the village; the small infantry platoon occupied the road in the northern table quarter with their BMPs hid in the woods to deter sudden rushes with my armour.
I deployed my army in a very threatening-looking wedge, but I knew that the only way to get the objective was an infantry assault, so the rifles went in reserve to turn up right where they were needed with the minimum risk of casualties.
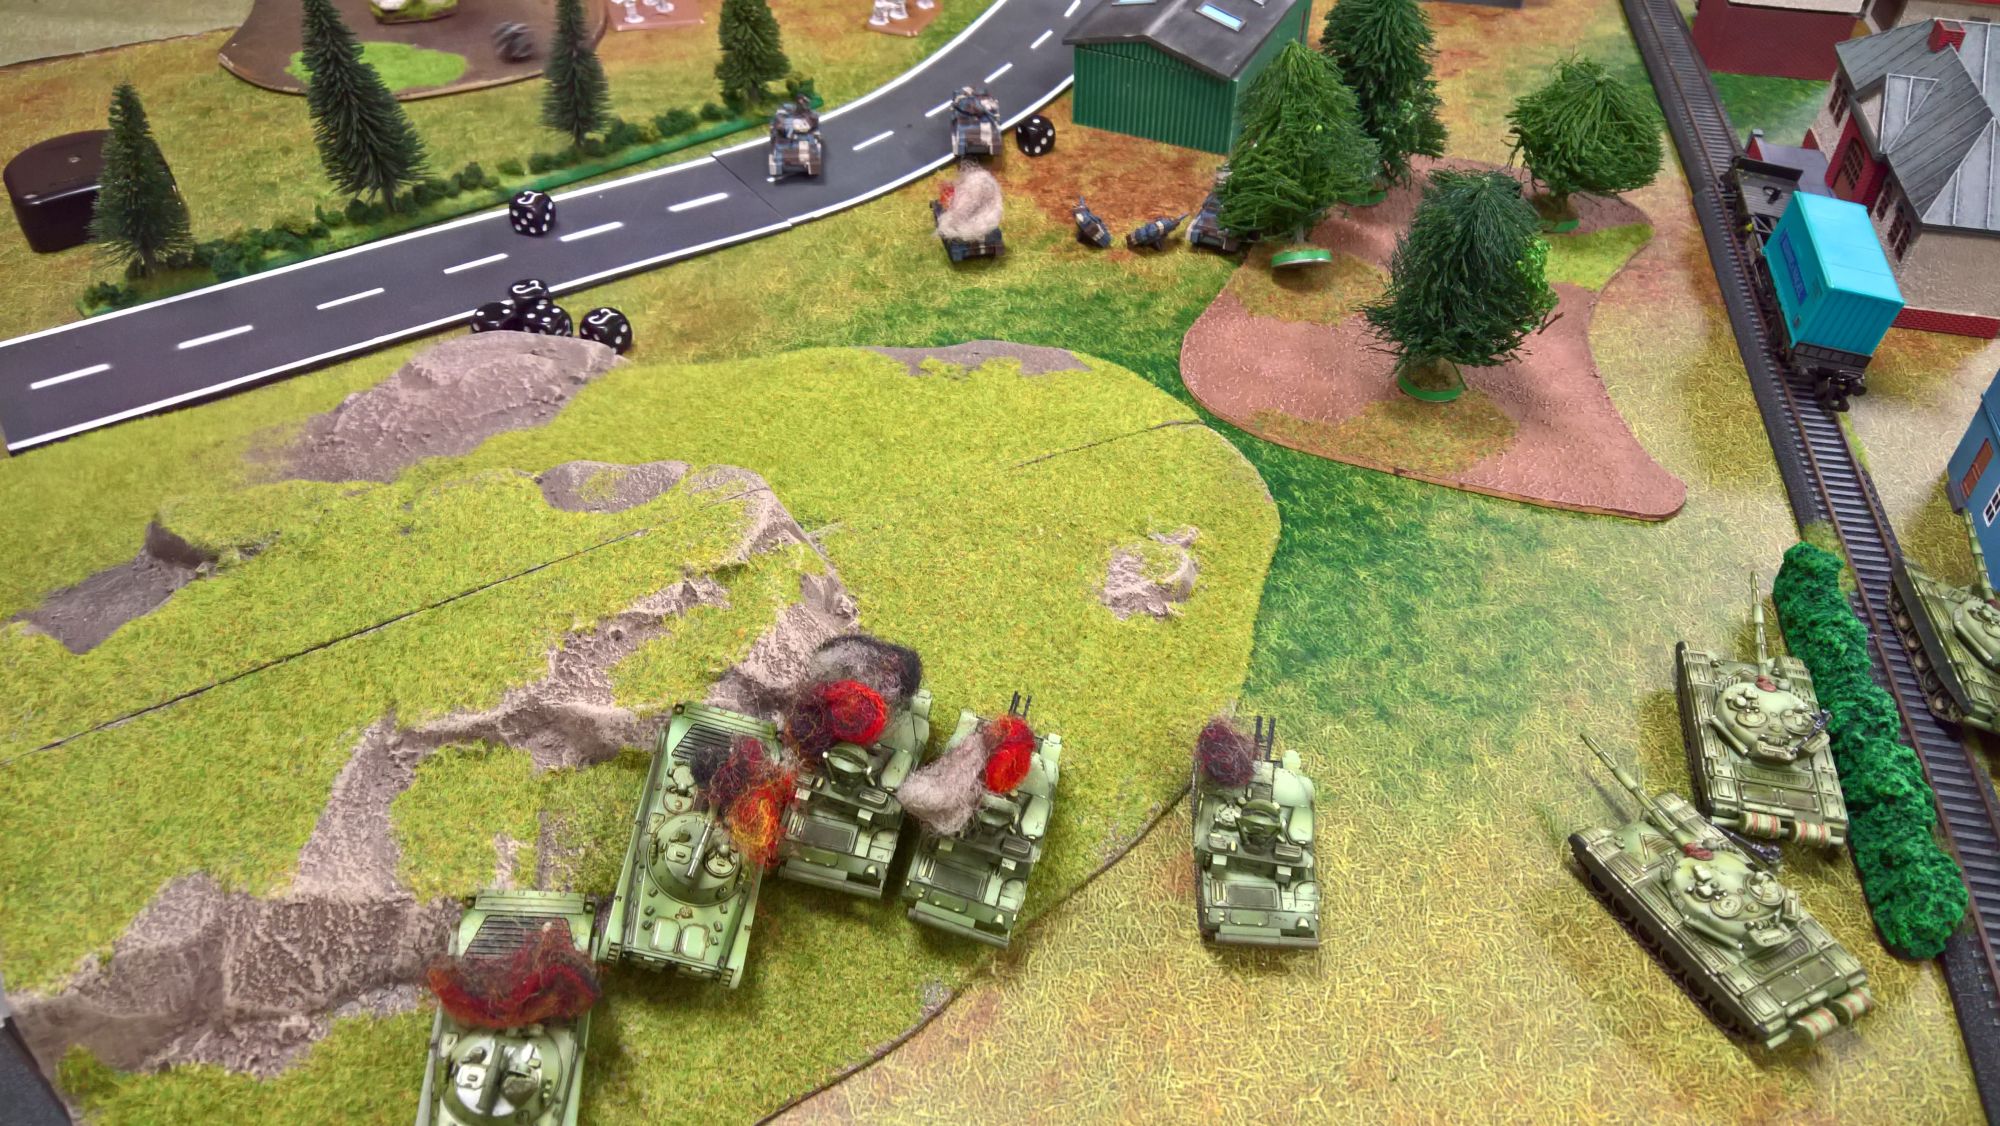
In the other large game we tried, my tanks spent many fruitless turns trying to get rid of the RPG armed infantry who could prove very dangerous for the flanks of the Chieftains. This time I decided to bypass them altogether, giving the infantry a wide berth while the advance was screened by the Scorpions and Abbots, which could deal with the BMP1s supporting them. I knew my opponent could get T72s on turn 1 firing at my back which meant I had to put as much terrain as possible between them and my tanks' derrieres. My firing was okayish as I knocked out 2 Shturms (with the last one failing morale) and 2 BMPs. But the dreaded BMP ambush was yet to come...
The ambush came on turn 1 as expected, with a horde of BMP2s springing out of the crop fields. Fortunately for me, no reserves arrived. The large infantry mob ran for the buildings while every available missile armed unit trained their sights towards the MBTs, while the Acacia battery fired Krasnopols at the Swingfires, not missing the chance to hit them on 5s because I had moved them!
2 Chieftains were knocked out and one was bailed (but passed the test) and the Swingfires likewise suffered two casualties (and failed). That pesky observer had to die and the sooner the better.
In my turn I successfully blitzed most of my vehicles to retain ROF. The two Lynxes came in action before AA assets could make their way onto the table and sent two missiles streaking at the BMP OP, making sure the Reds didn't spend any more guided rounds.
My 6 Chieftains knocked out 4 BMP2s while the Scorpions finished off the BMP1s and the Abbots kept the small infantry platoon pinned, but didn't cause any casualties. I was really banking on my opponent's reserve rolls to hang in the game.
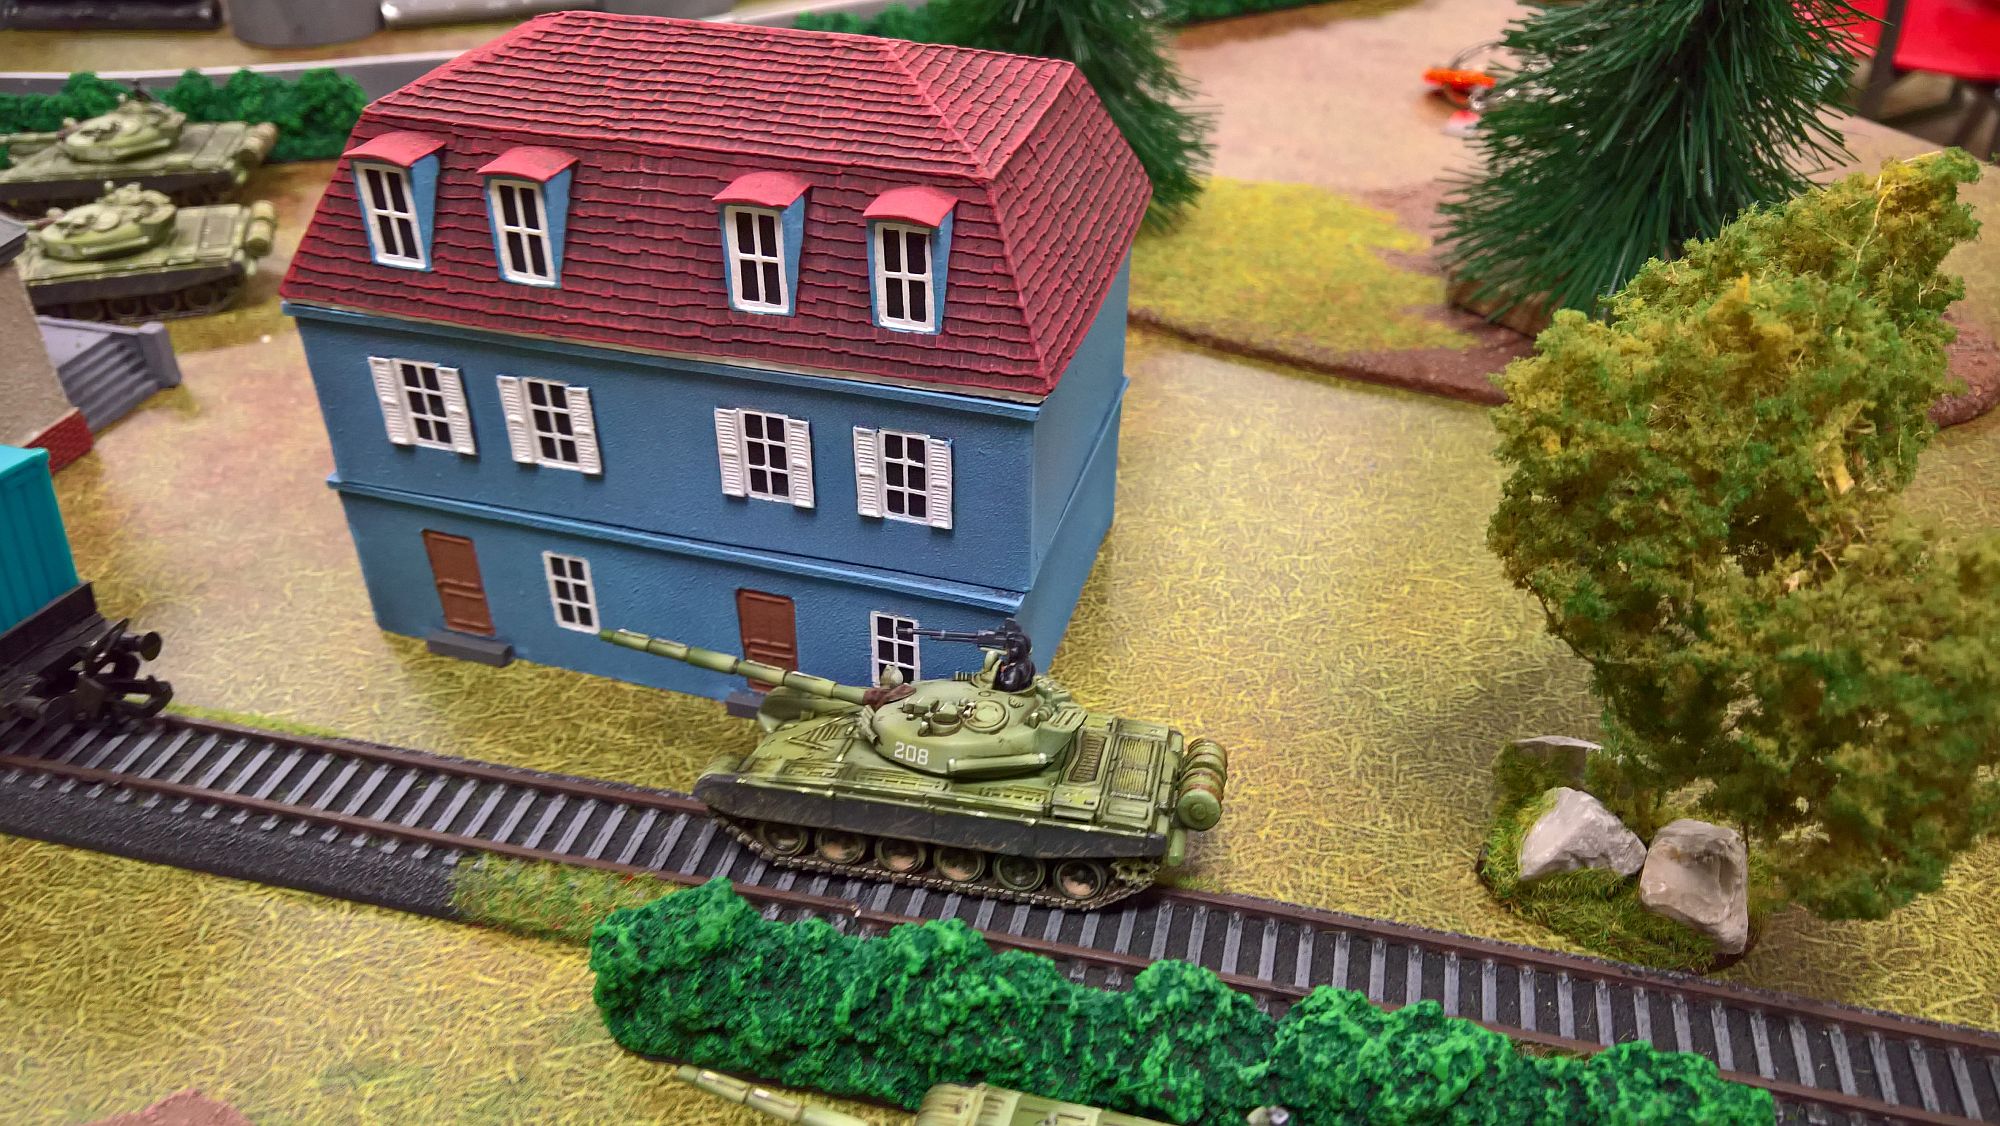
Reserves did turn up and in went the T72s and Shilkas. But this time my Scorpions were at long range and suffered only one casualty from the AA guns. The BMP2s moved to get flank shots, but the combination of cover, good armour saves and low FP meant only one HQ Chieftain was bailed. The T72s were a lot more effective as they destroyed two Rapiers (paving the way for the Hinds that were still waiting to enter the table) and the last Chieftain from the battered platoon. The infantry occupied the objectives and waited for my reserves, but with their low skill they couldn't dig in.
In my turn the infantry didn't arrive but I had bigger fish to fry! The remaining Scorpions destroyed the Shilkas before scooting away, the Abbots knocked two BMPs and Lynx blew a T72 up. The Chieftains split their firing between the APCs and MBTs and killed two apiece. The rear looked a lot quieter but there were still two T72s at large.
Only one reserve arrived in the Soviet turn and he opted for the two Hinds. Maurizio hoped he could kill the remaining two Rapiers before the helicopters fired, giving him a free rein for the following turns. With the infantry failing to dig in again, firing was left to the artillery (which did nothing) and the T72s at the Rapiers (which did nothing despite firing with 50 cals to have more shots). The Hinds were pressed against the SAMs but one was shot down and the other's cannon rounds didn't make the mark. The last Hind fled, to top off a very anticlimatic turn.
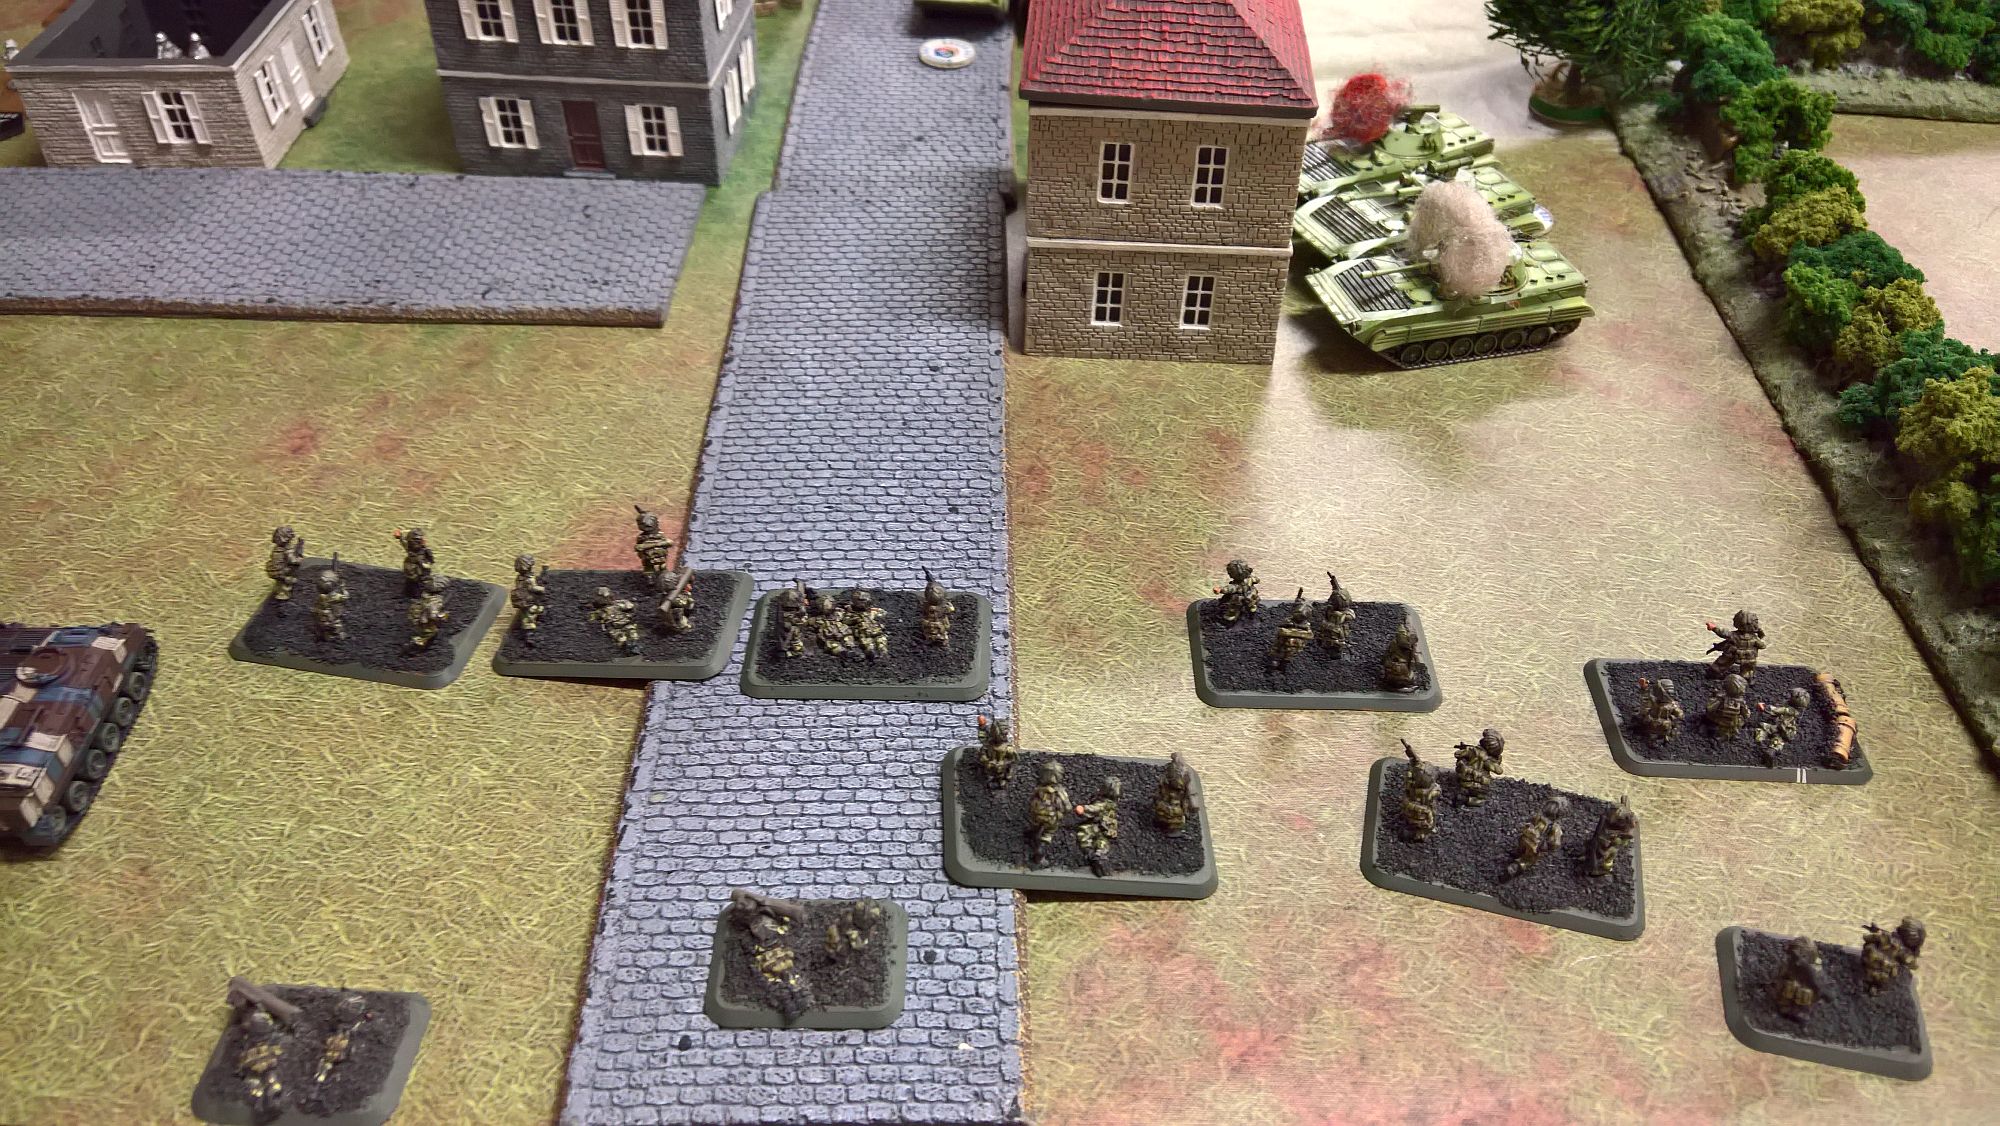
In my turn the infantry arrived and made a double blitz (APCs and infantry) to get in objective range as soon as possible. Despite hitting on 5s, firing was very good - the platoon was pinned thanks to the high volume of fire from the FV432s and the unit suffered three casualties. A drop in the sea but every little helped. The Lynx destroyed one T72 and a Chieftain killed the other while the rest of the army pushed forward to inflict more casualties on the infantry in the village. The Abbots kept firing at the small infantry platoon. I was in a very good position but I needed to minimise casualties.
More reserves poured in (BMPs and Gophers) but they were not able to make a great impact on the objective quarter. They were still pretty threatening though and the BMPs managed to destroy 2 Scorpions with the last one fleeing. The Acacia failed to range in on my infantry and the RPG7s were just out of range of the FVs - they had to choose between moving close to fire or keeping a firmer grip on the objectives and they decided to do just that.
In my turn I was aware I had 4 BMP1s hunting down my support units but I might just be able to pull off a win by pushing the infantry off the further objective. The remaining tanks blitzed and then moved to harass the soviets from the north while my infantry moved in a position to assault. The Milans fired at the buildings but did no damage, but massed rifle and MG fire scored 4 casualties to the troops in the open including one PKM. The Abbots to the back killed only one BMP1 and were in a dangerous position, but all that mattered now was the assault on the objective, where my infantry managed to get past the other PKM fire and inflicted 3 casualties for no loss. Maurizio chose not to counterattack because there was still time left and he could bring more infantry to the fray in his turn.
He unpinned the infantry that could retake the objectives and got the remaining reserves. The BMPs destroyed 2 Abbots and the small infantry got out of their holes and wiped out the rest. The large motor rifles bailed 2 FVs and destroyed another prior to the assault and the PKM killed a rifle team before trying to assault, but defensive fire was still too intense and they couldn't get past it.
In my turn 5 I nailed a BMP ravaging my rear lines with the Lynxes before throwing over 30 MG dice at the soviet infantry in the open, while the Milans killed the HQ BMP1. With that the game was effectively over as the Red Army had nothing to reclaim the objective before my turn 6, but the small infantry unit managed to destroy the remaining Rapiers out of vengeance. Still, the village was taken by the British, though at great cost (one Chieftain platoon, the Scorpions, Abbots and Rapiers).
Battle Report Author
Army Lists Used In This Battle
Recommend Commander For Commendation
Share this battle with friends
HMS_BelfastWins

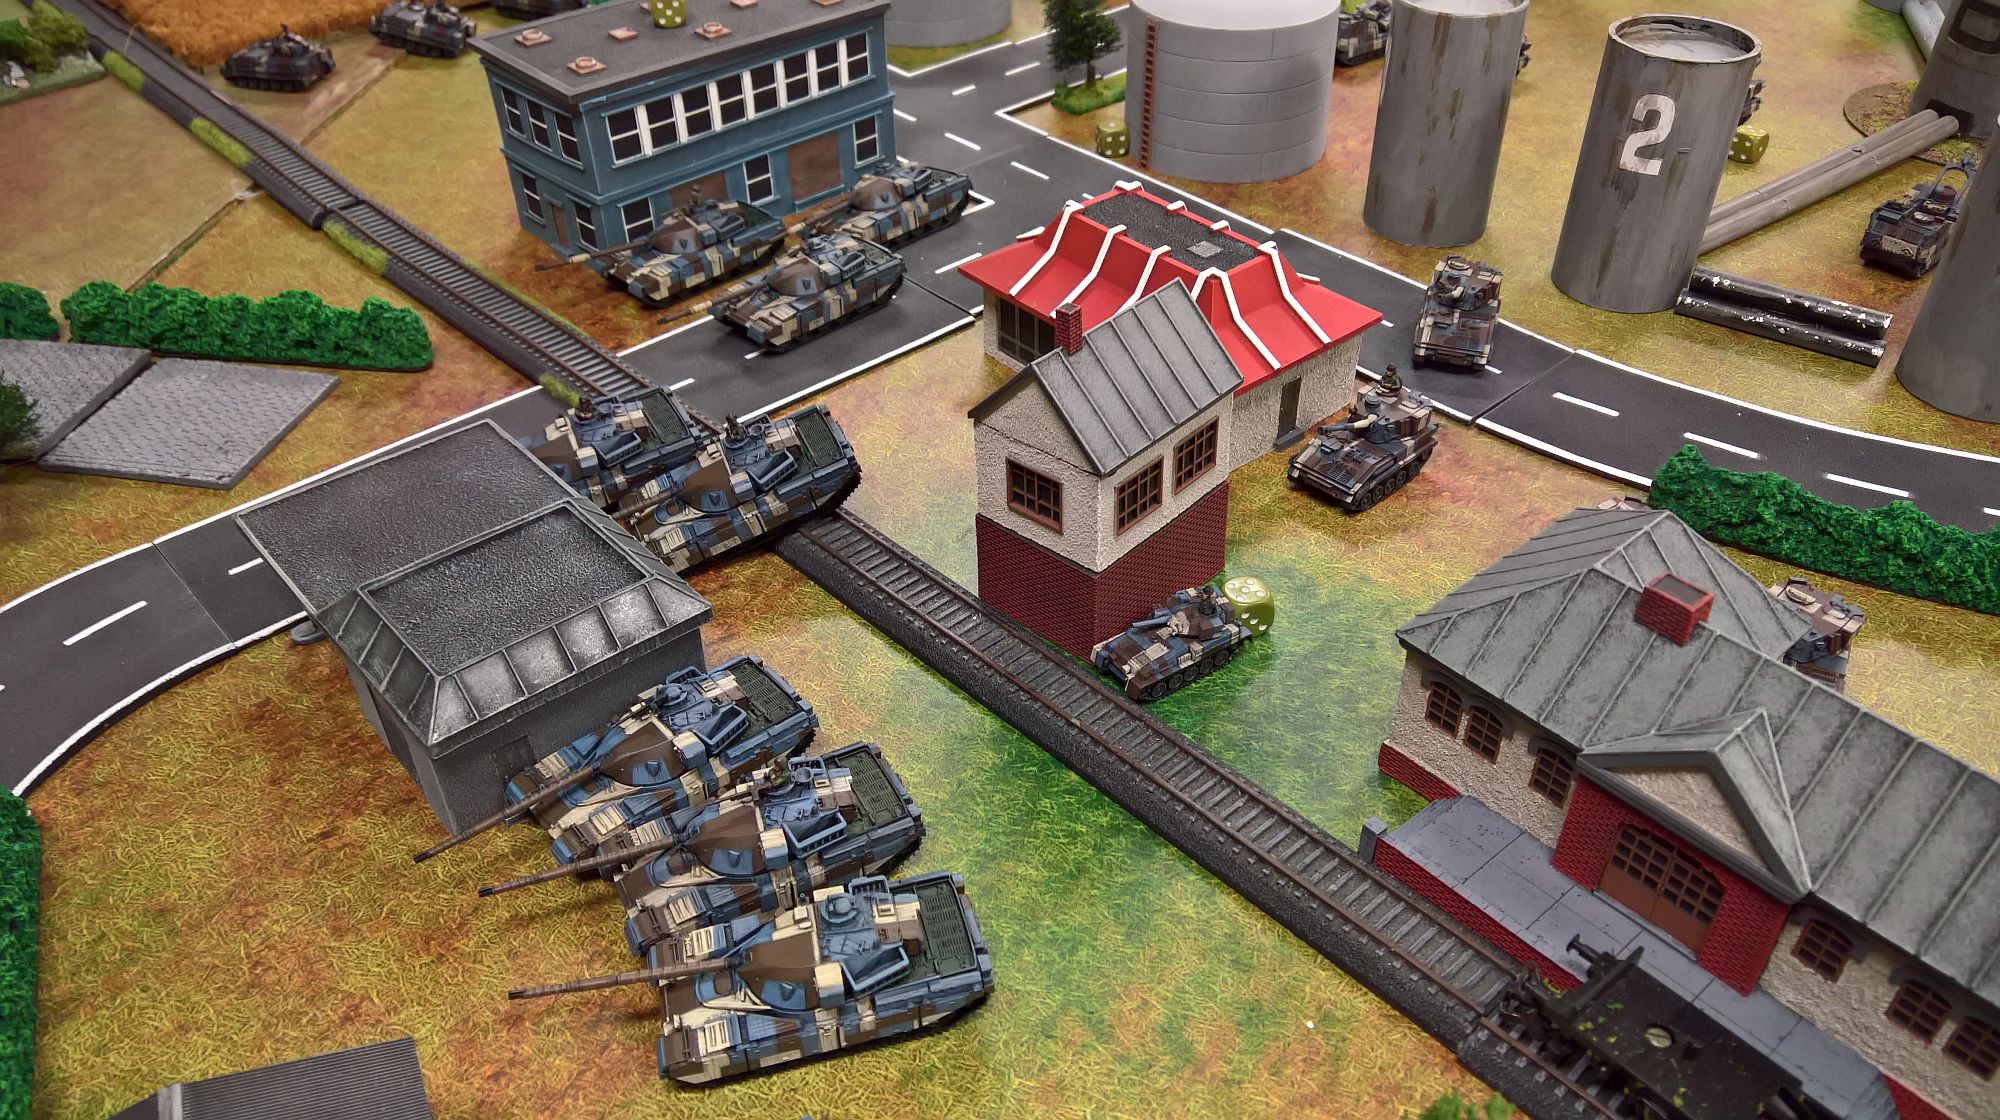
Like the British paint job on your army.
Very nice Pictures and I do love the table as a whole,
congrats for the win 🙂
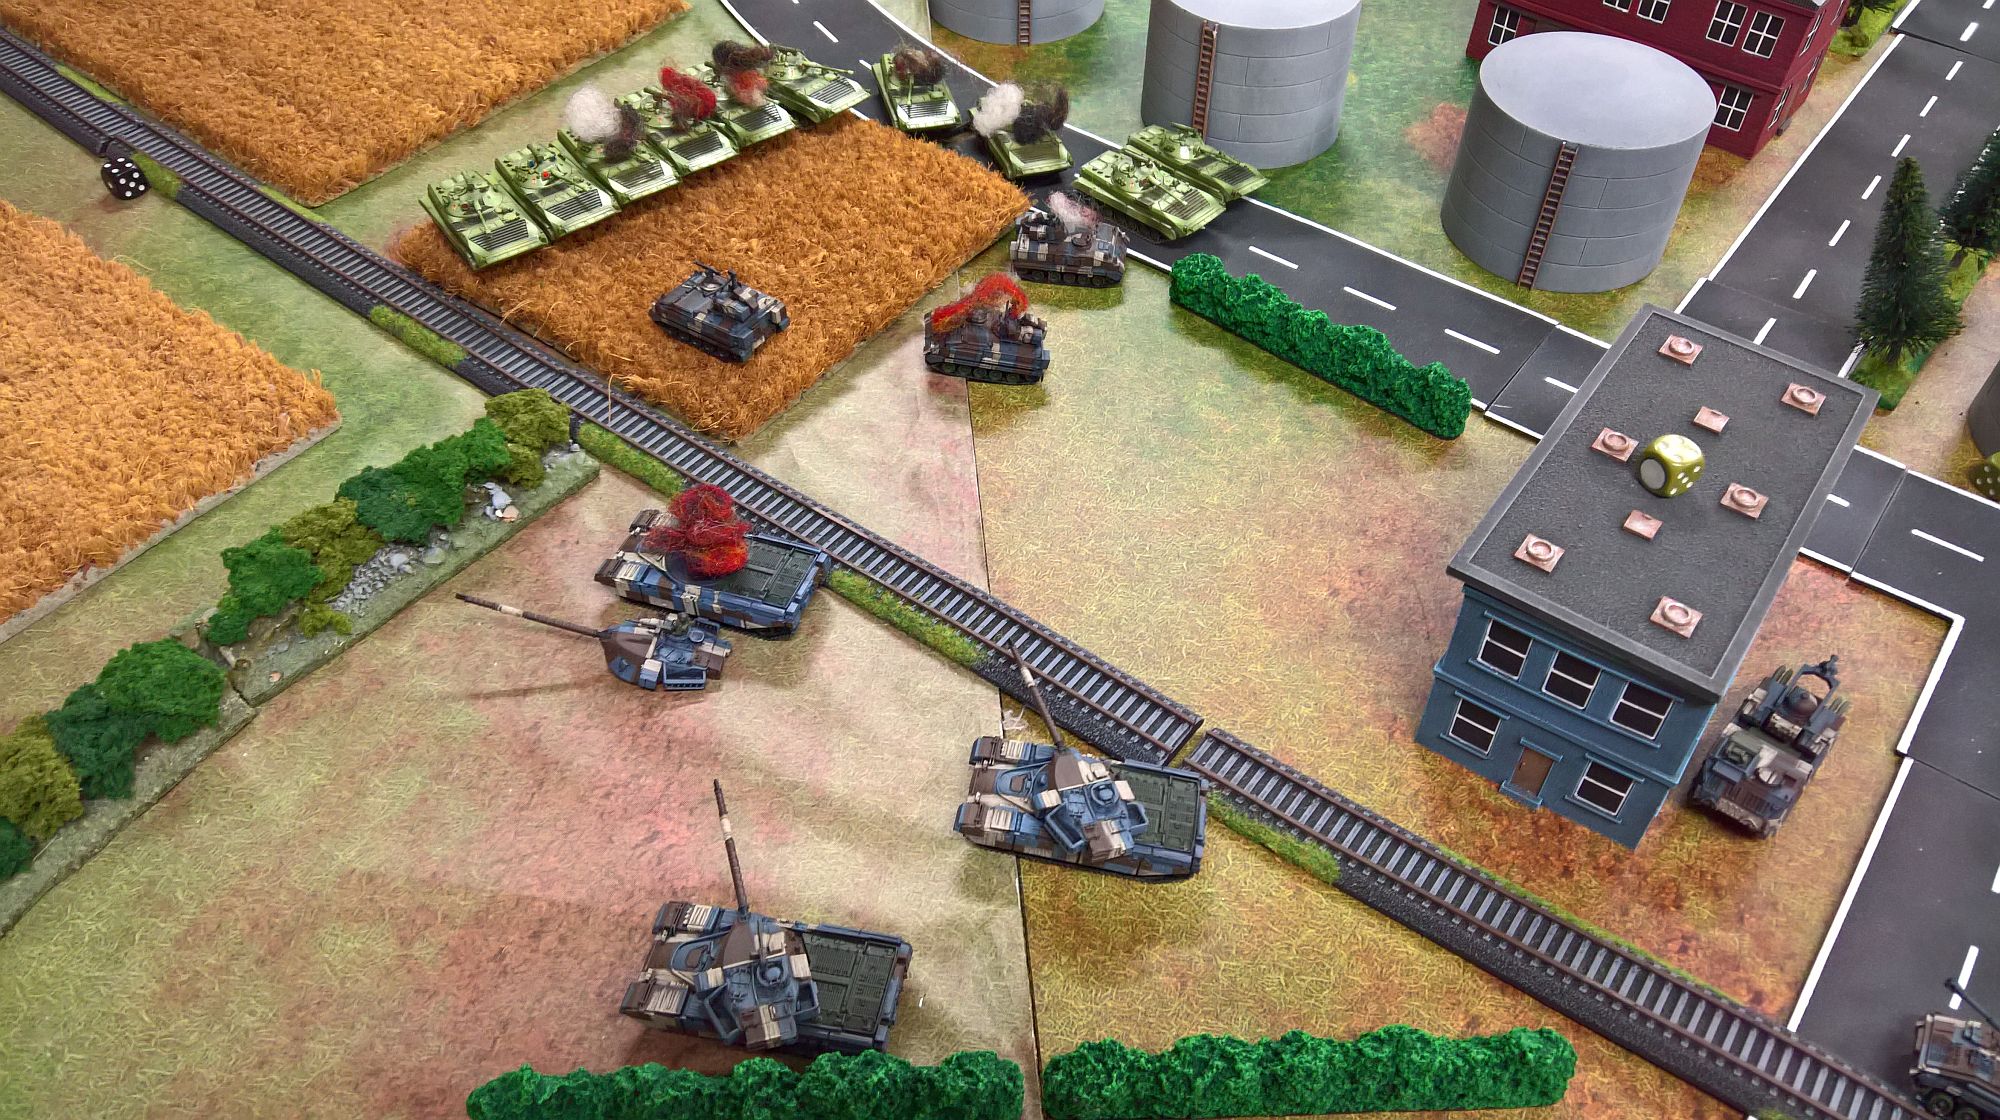
The pictures are from another battle with the same mission against the same player with the same list and me as the attacker. So there are some inconsistencies with the text or actual layout of the table (for instance, in the 4th picture only one Chieftain is dead but this time I lost two as in the text). Phone ran out of juice!
I’m confused, were the pictures relevant to the report? I was unsure with the opening statement but I’m still confused after reading it :p Good write up though!
Nice report about bad outcomes
Nice job Belfast!
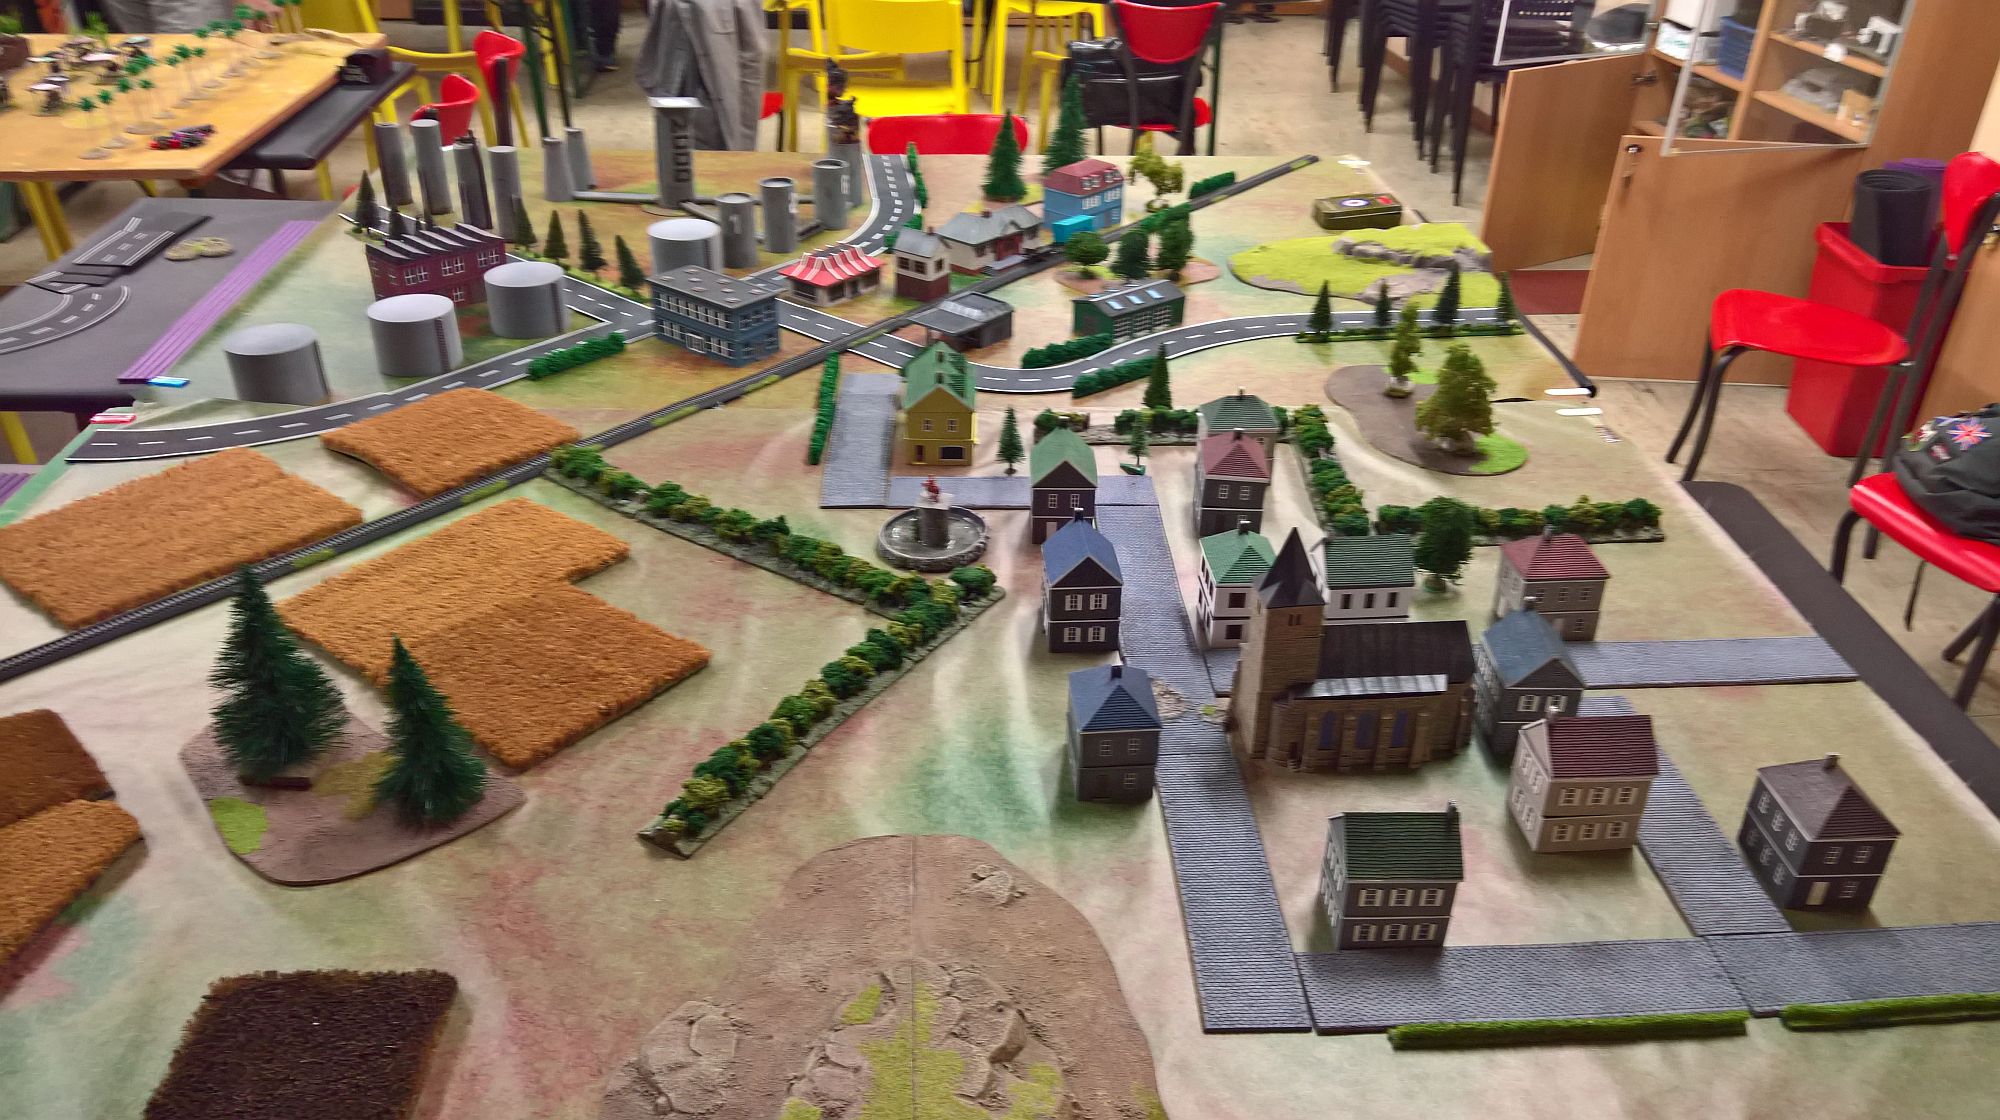
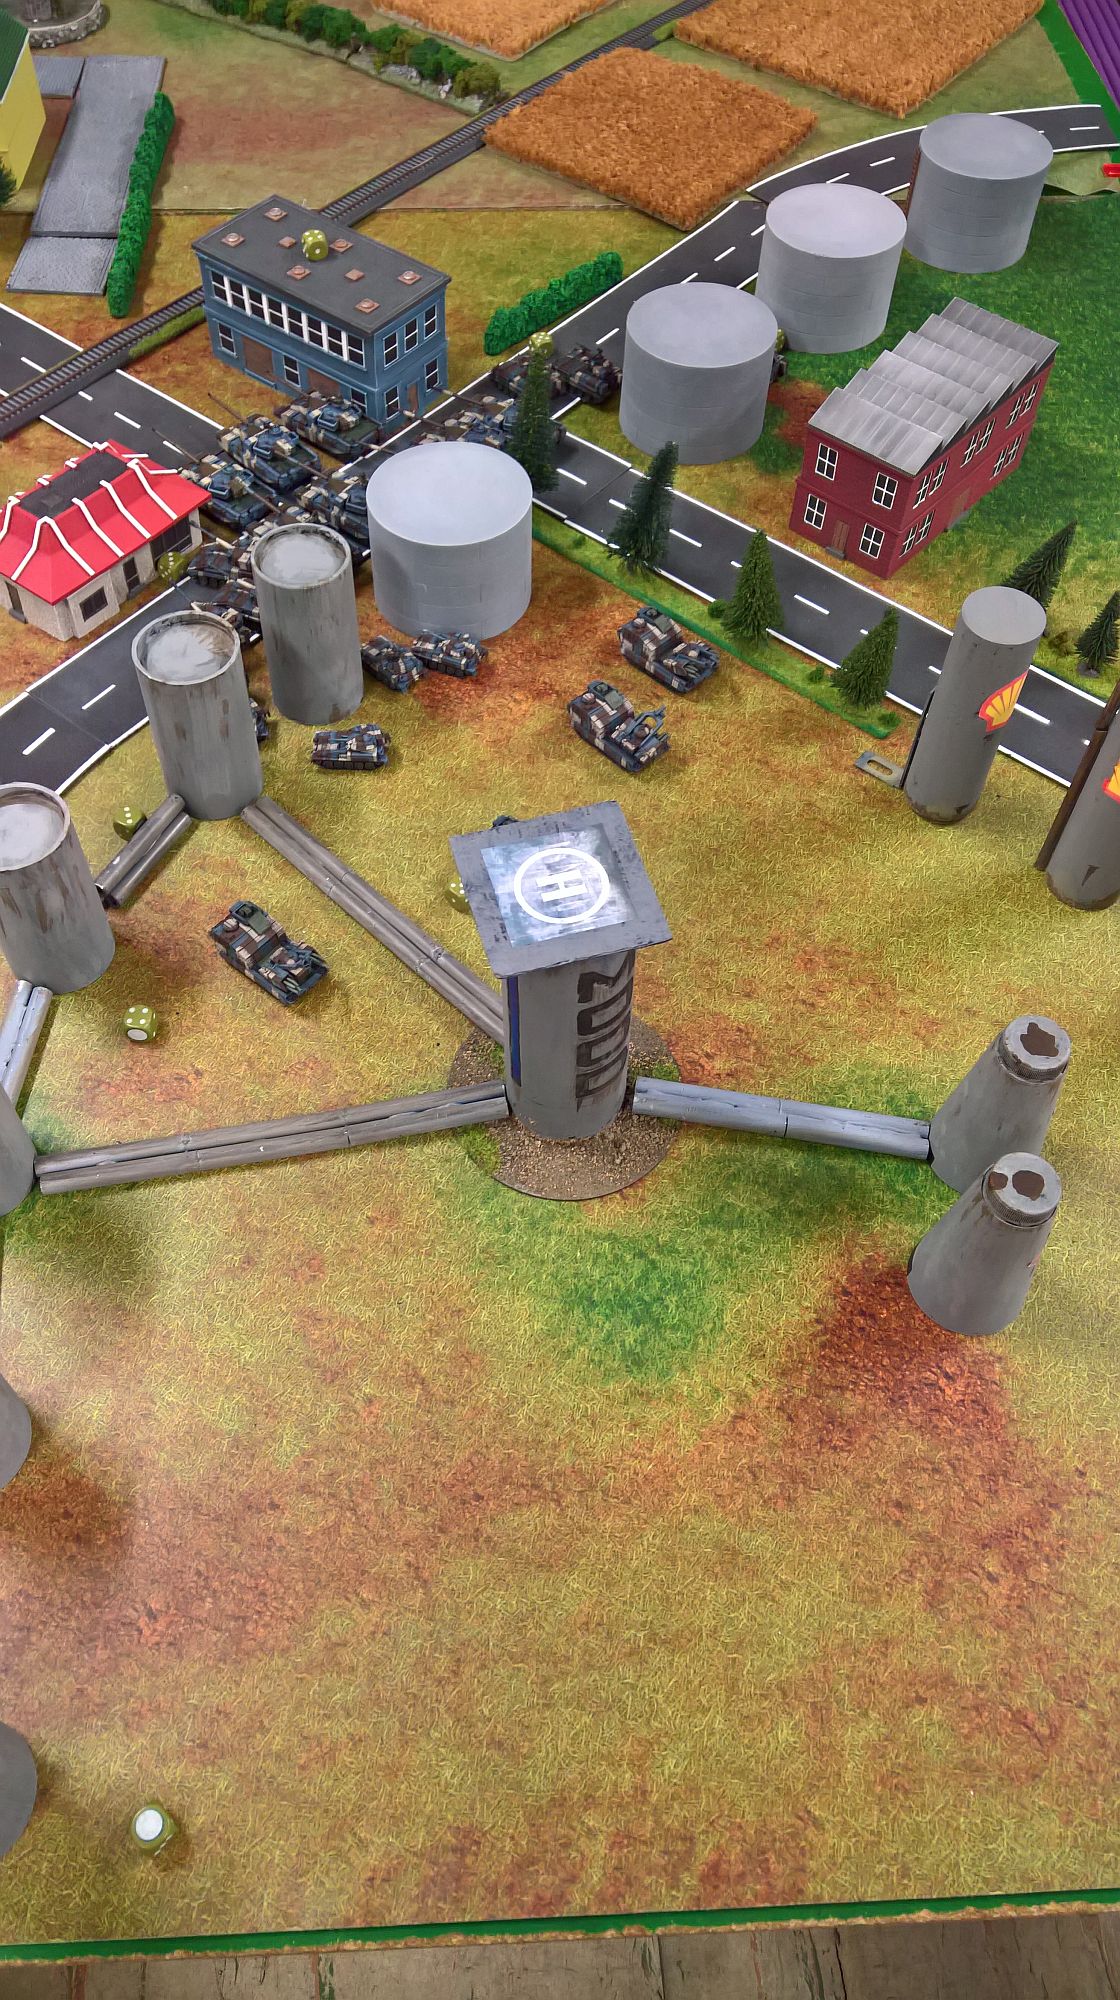
Great looking army, great looking table (I love the industrial complex with the heliport!). Bummer on the outcome! 😉
Great report, awesome table
Another excellent report., Belfast. Good to see you helping out our US allies in Frankfurt.