Fought At Ruhr
2414 days 1 hours 5 minutes ago
Battle Report
Beach assault
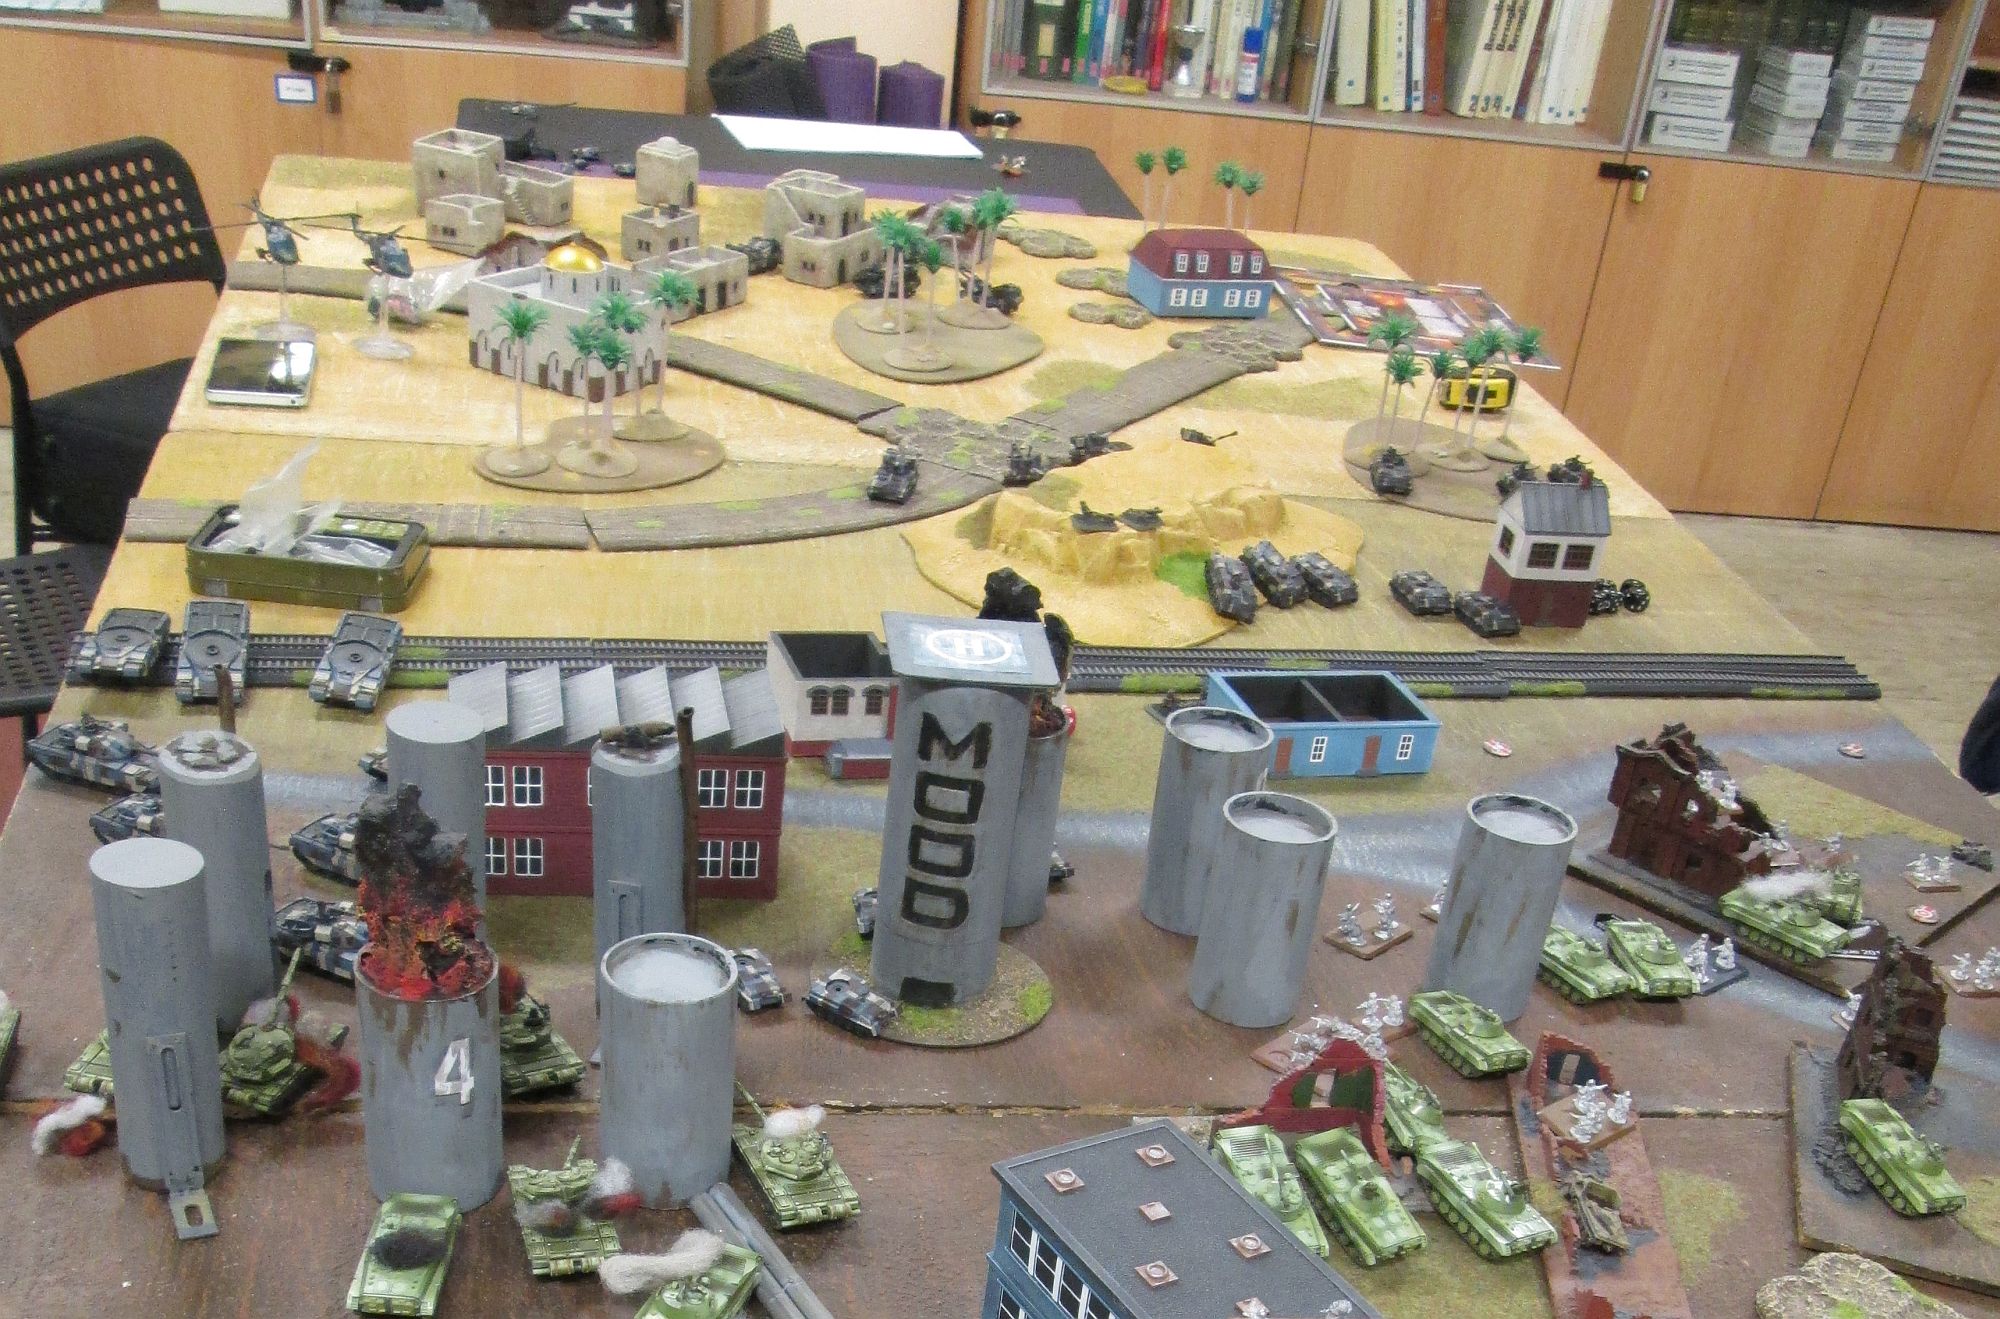
80 POINTSIt was a while since we used the desert buildings, so we decided to have a slightly unusual table. Nevermind! I was the attacker against the soviet BMPs in No Retreat (or, more realistically, "Prevent the Brits from retreating back to their initial positions!").
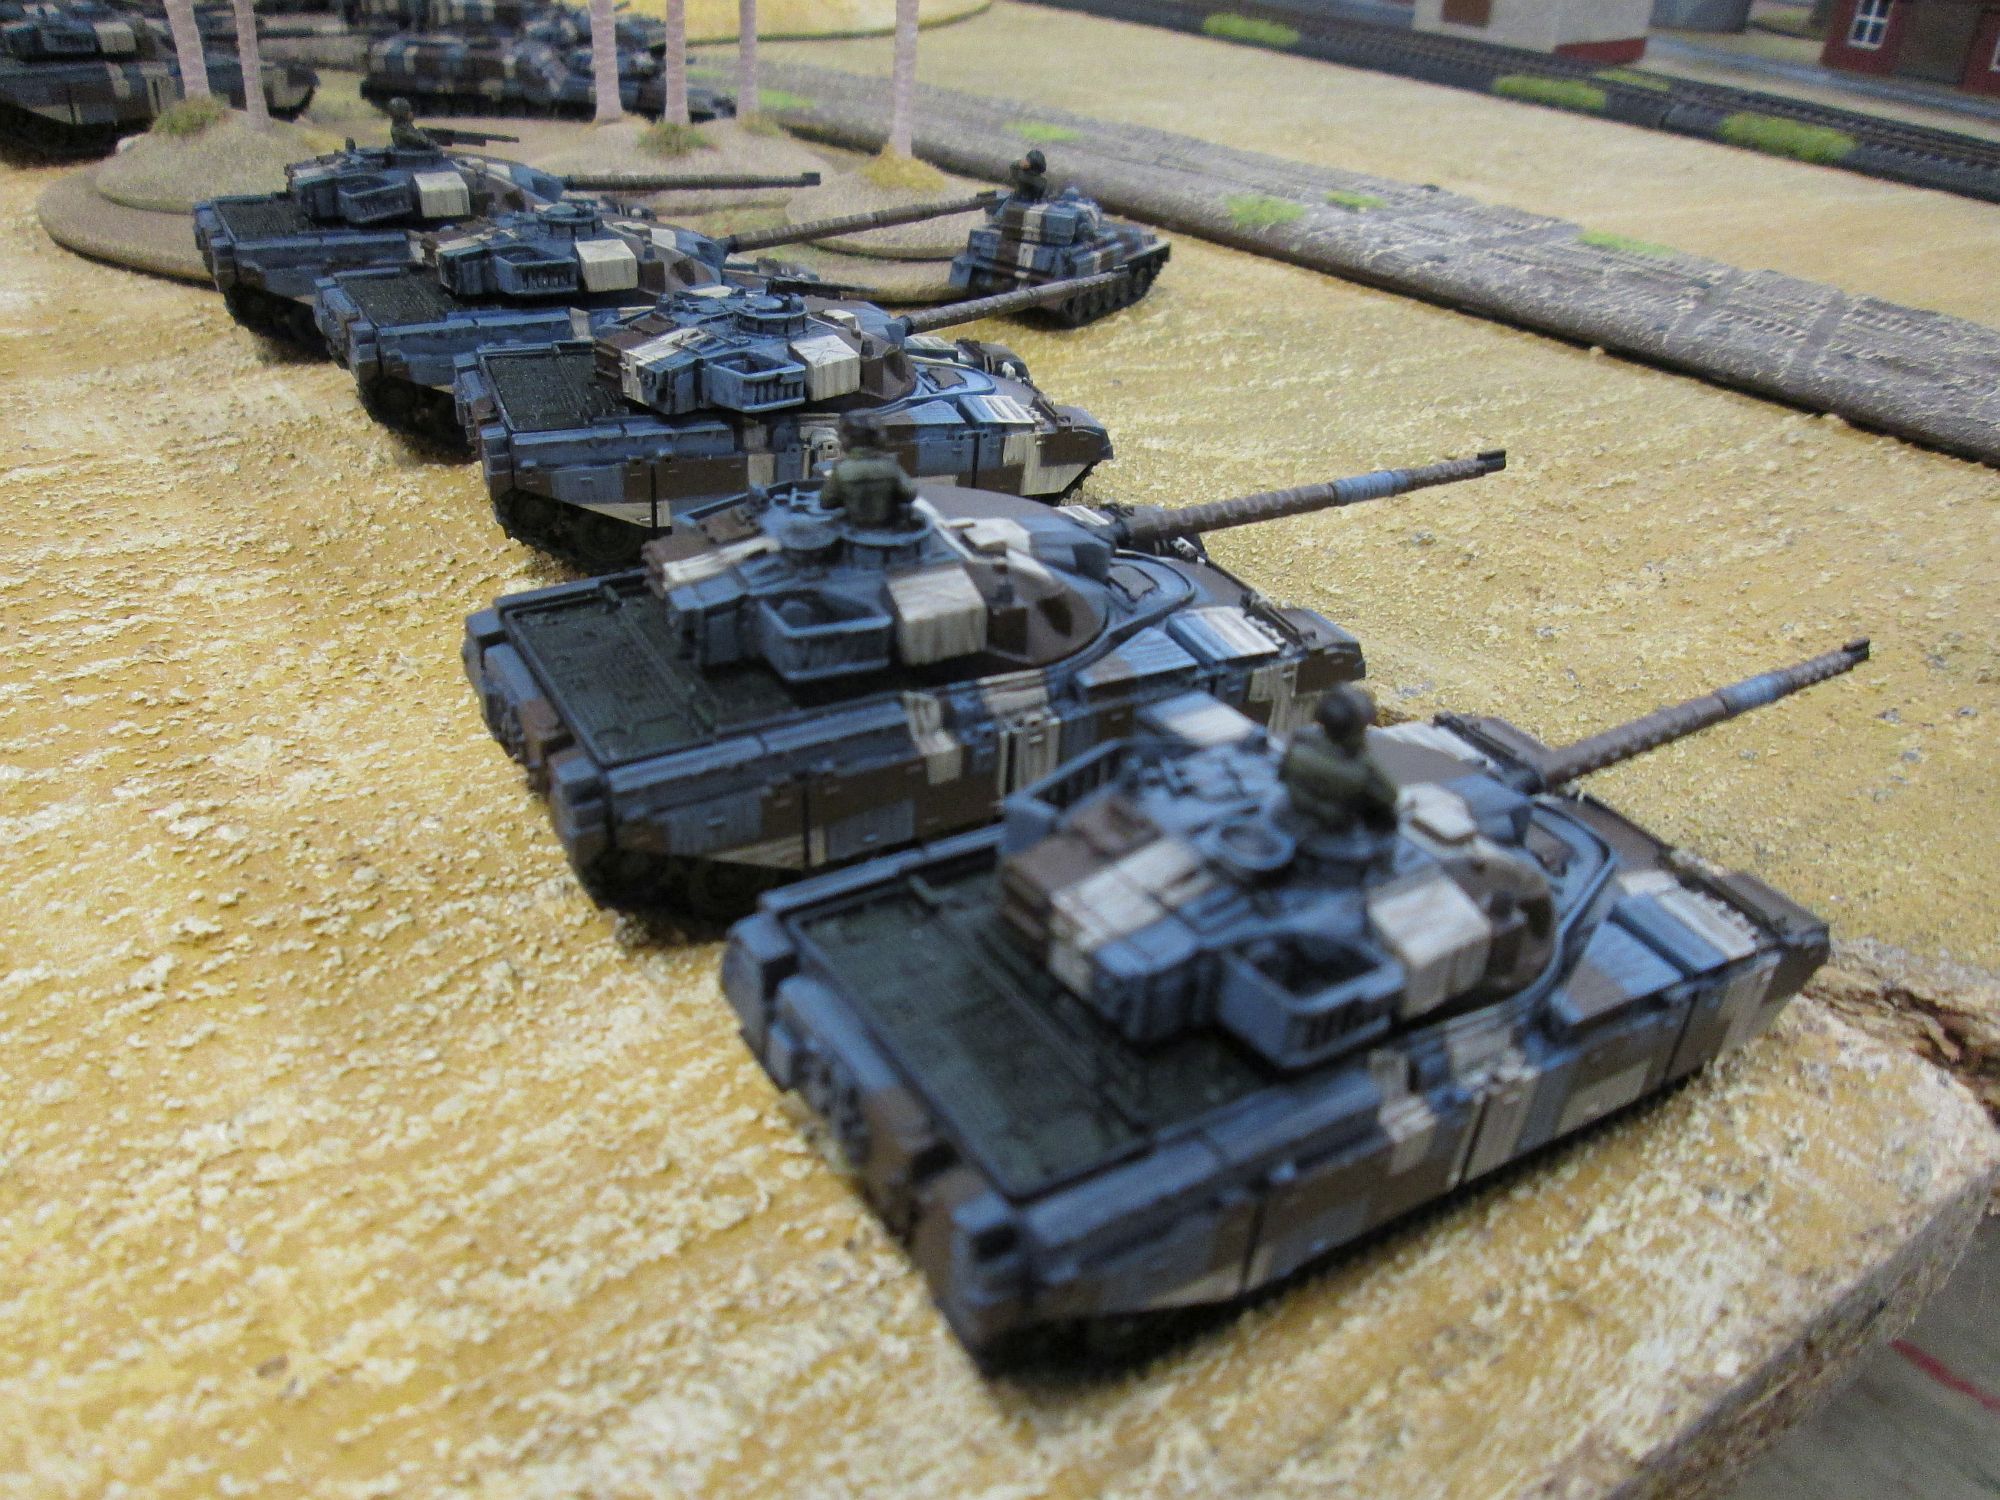
Given the narrow frontage and minefields to dodge, my army was set fender to fender in a very clumped formation on the right side (from my view) of the table. I chose to attack at dawn although that meant causing few or no casualties to the defenders until daylight broke, but I couldn't afford early losses.
My opponent decided to keep the T72s in ambush because they could move and fire to my tanks, thus minimising the risk of ineffective first volleys. It was a good idea and would prove very effective, unfortunately for me!
In my first and second turn very little happened: everything advanced and my infantry cleared a minefield before re-embarking on their FV432s , leaving just the Milans at the back to provide covering fire. My opponent didn't get any reserve in either turn but repositioned his BMPs on my right flank to be ready to fire as soon as the sun rose. His BMP OP got a glimpse of my Scorpions and the Acacias fired at them but couldn't hit them.
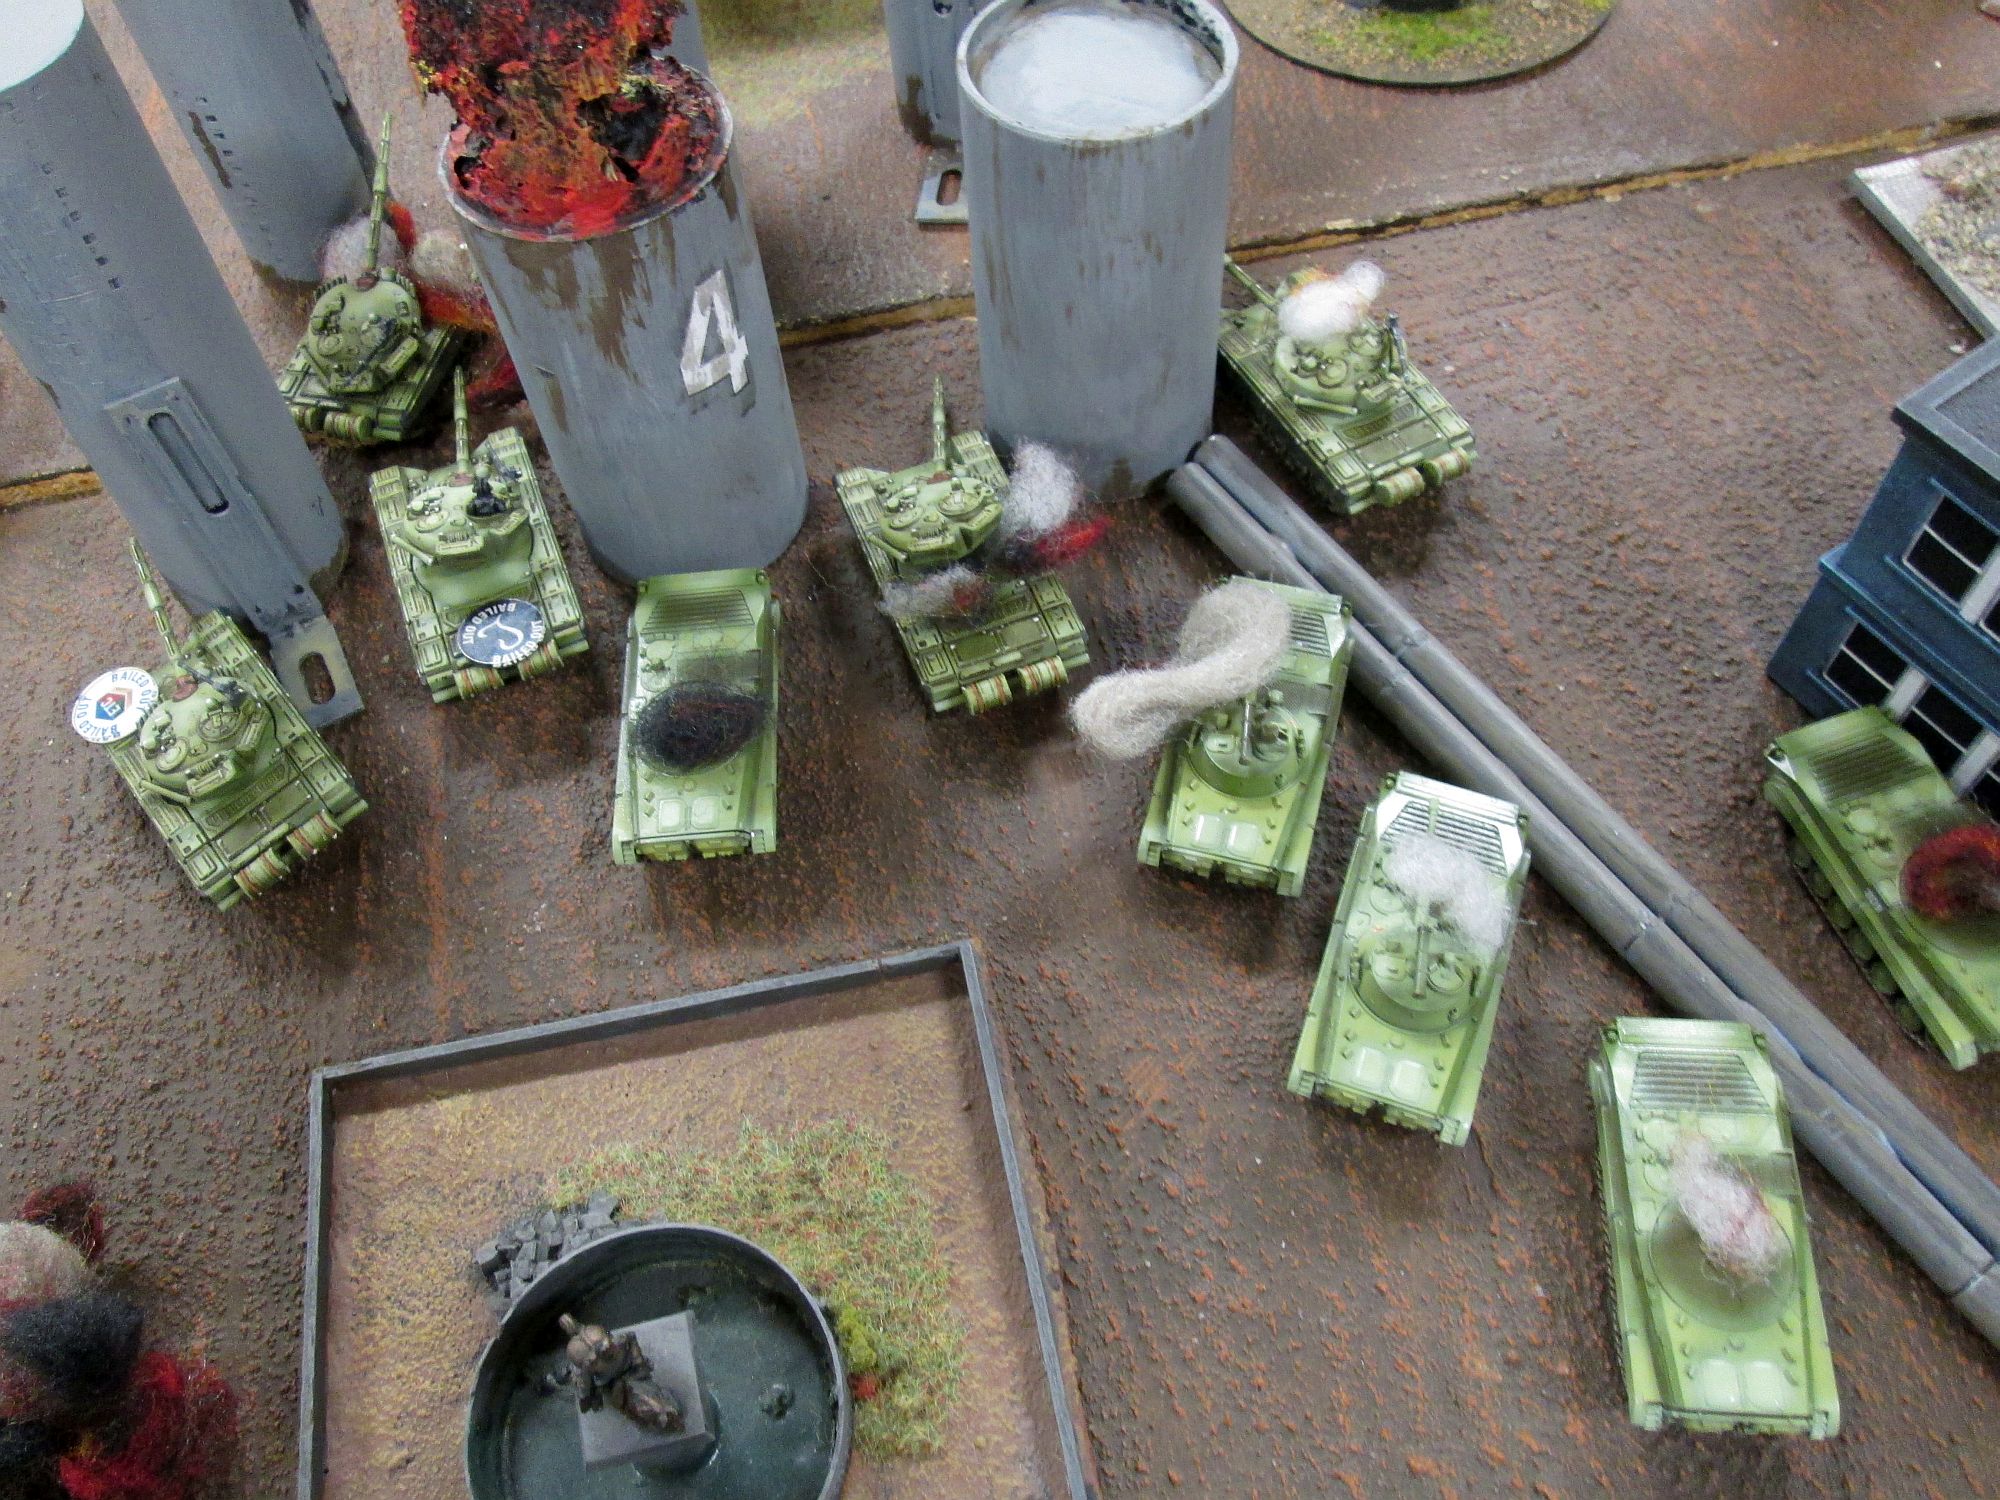
Things got more complicated on turn 3 because I could be facing reserves + ambush + sunlight and so decided to throw caution to the wind and fire with everything. However casualties were very light, only a couple of BMPs and two Shilkas. My artillery successfully ranged in on artillery and plastered the unit with bombardments for the whole game.
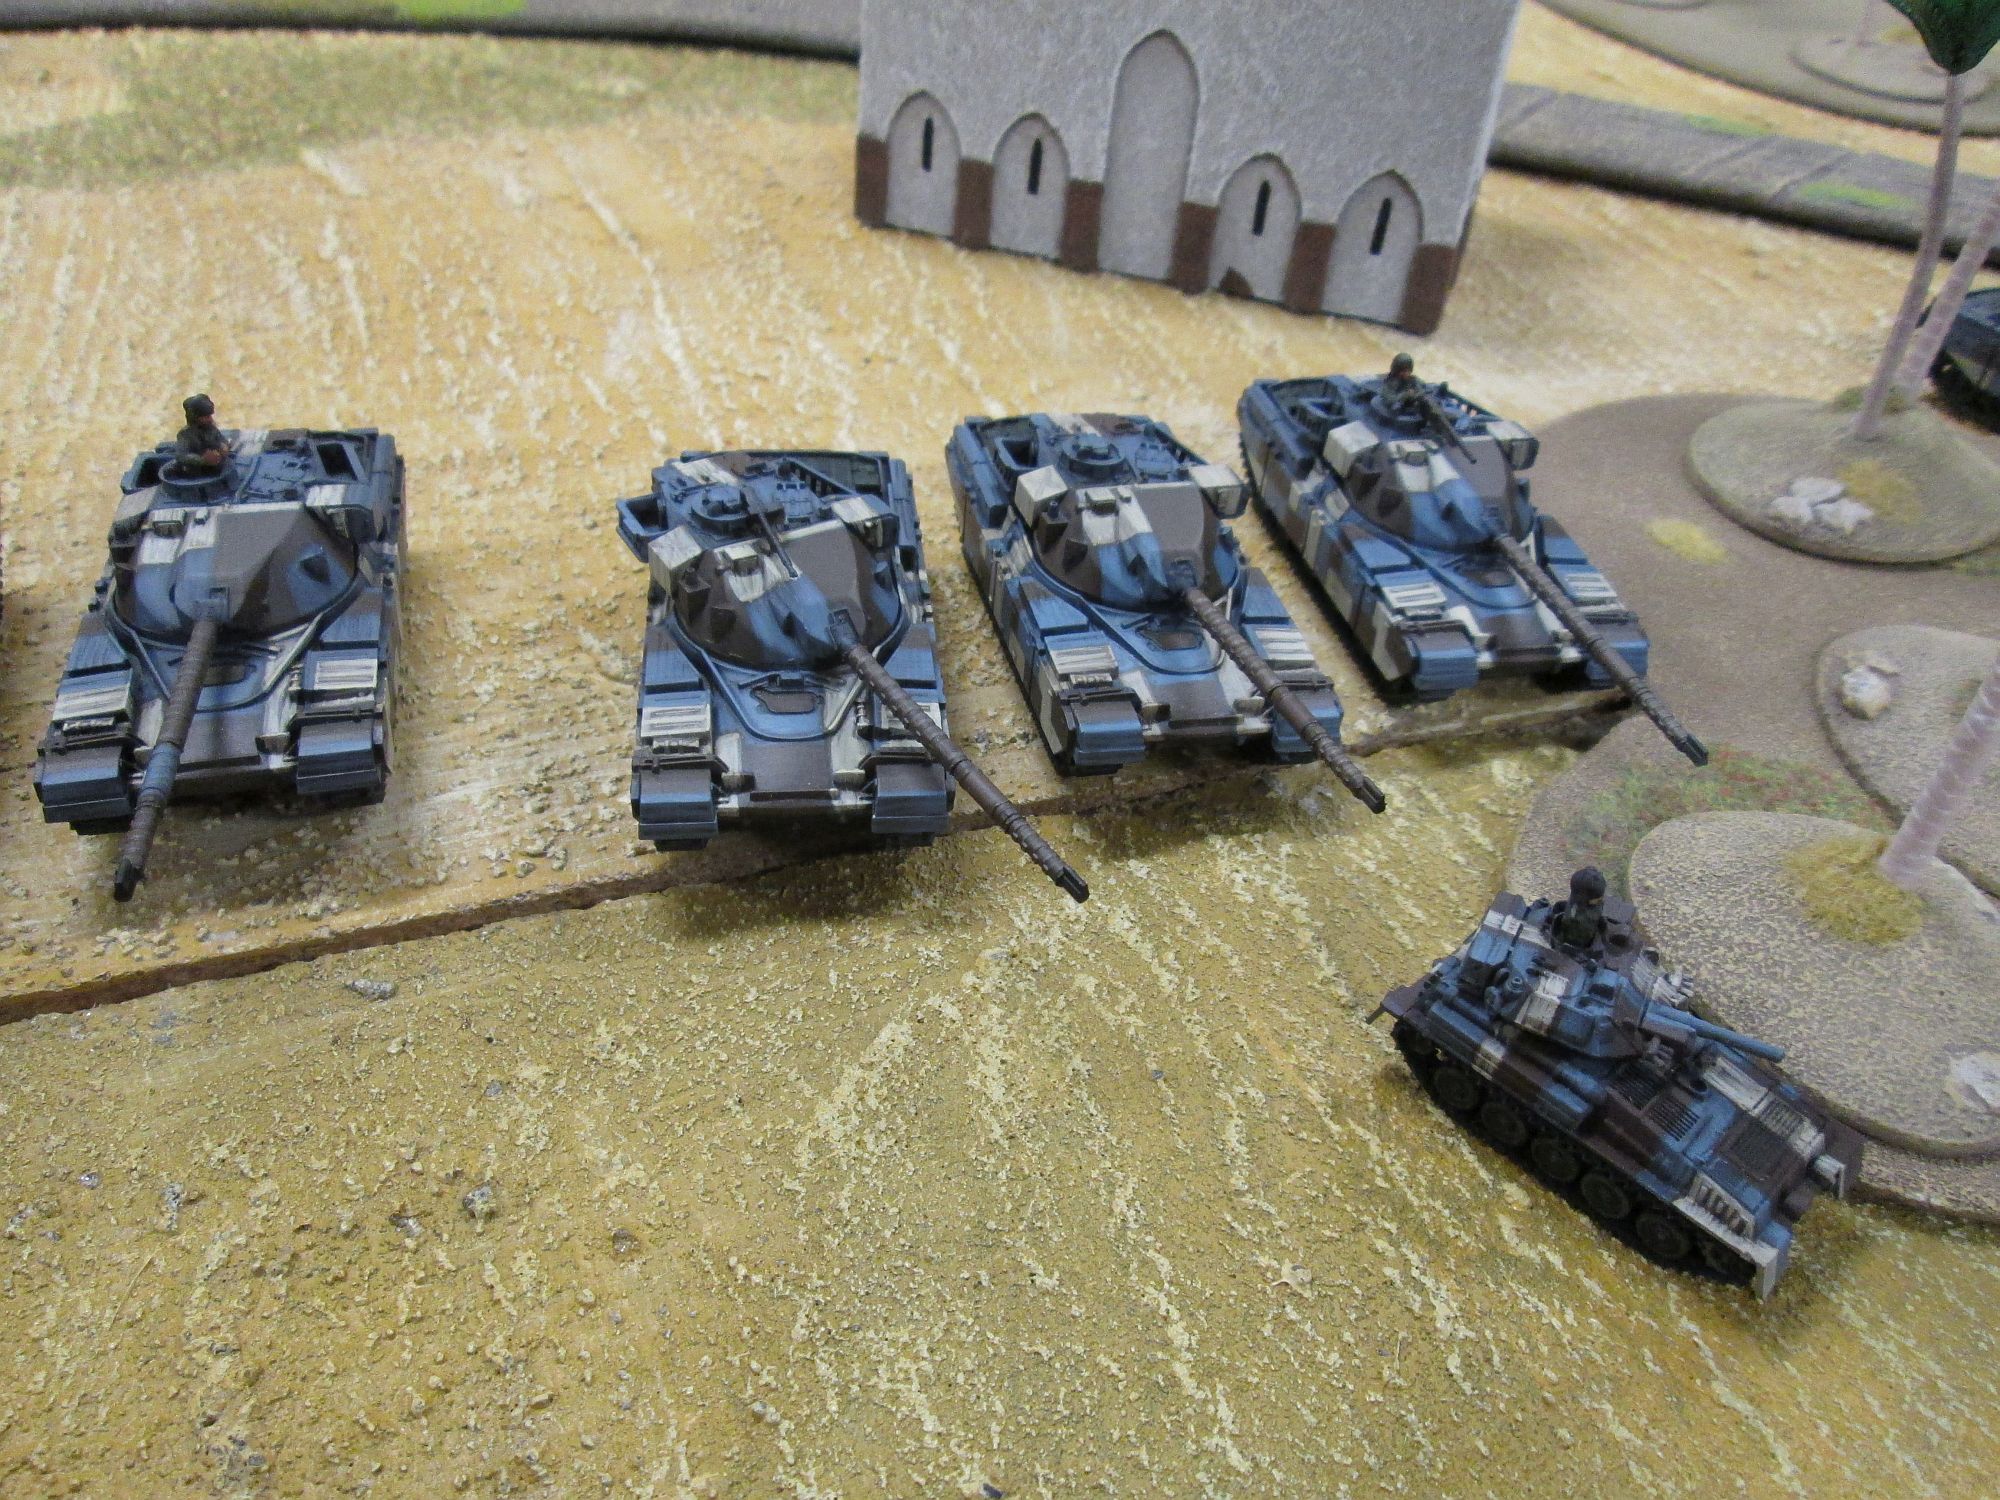
In Maurizio's turn, as predicted, the sun turned up, he revealed his ambush and got the second BMP infantry from reserve. The resulting fire was pretty lethal, with a Chieftain platoon being incinerated by the efforts of T72s and BMP2s, one dead Swingfire and two bails on the FV432s. As usual, the HQ Chieftains had to win the game on their own...
In my turn, I blitzed the remaining Chieftain platoon in a position that allowed them to fire at the BMPs while the HQ tanks, Lynxes and Swingfires would engage the T72s. My infantry kept racing for the train station that hid the closest objective.
My firing this time was true and all the T72s were accounted for in a flurry of "you save on a 6" shots, with the two Milans bailing two. The three Chieftains, combined with the Scorpions, destroyed more BMPs and the rest fled the field. The artillery struck the infantry once more and kept them pinned, making my infantry's advance more confident.
The Soviet turn saw the appearance of the Spandrel and BMP recon unit and both moved at full speed towards the hotzone. While the Acacias were once again ineffective, the missiles from the Shturm unit took down two more Chieftains, with the last one passing the check. My armoured spearhead was being blunted at an alarming rate and unless I did something the game would have been over way too soon!
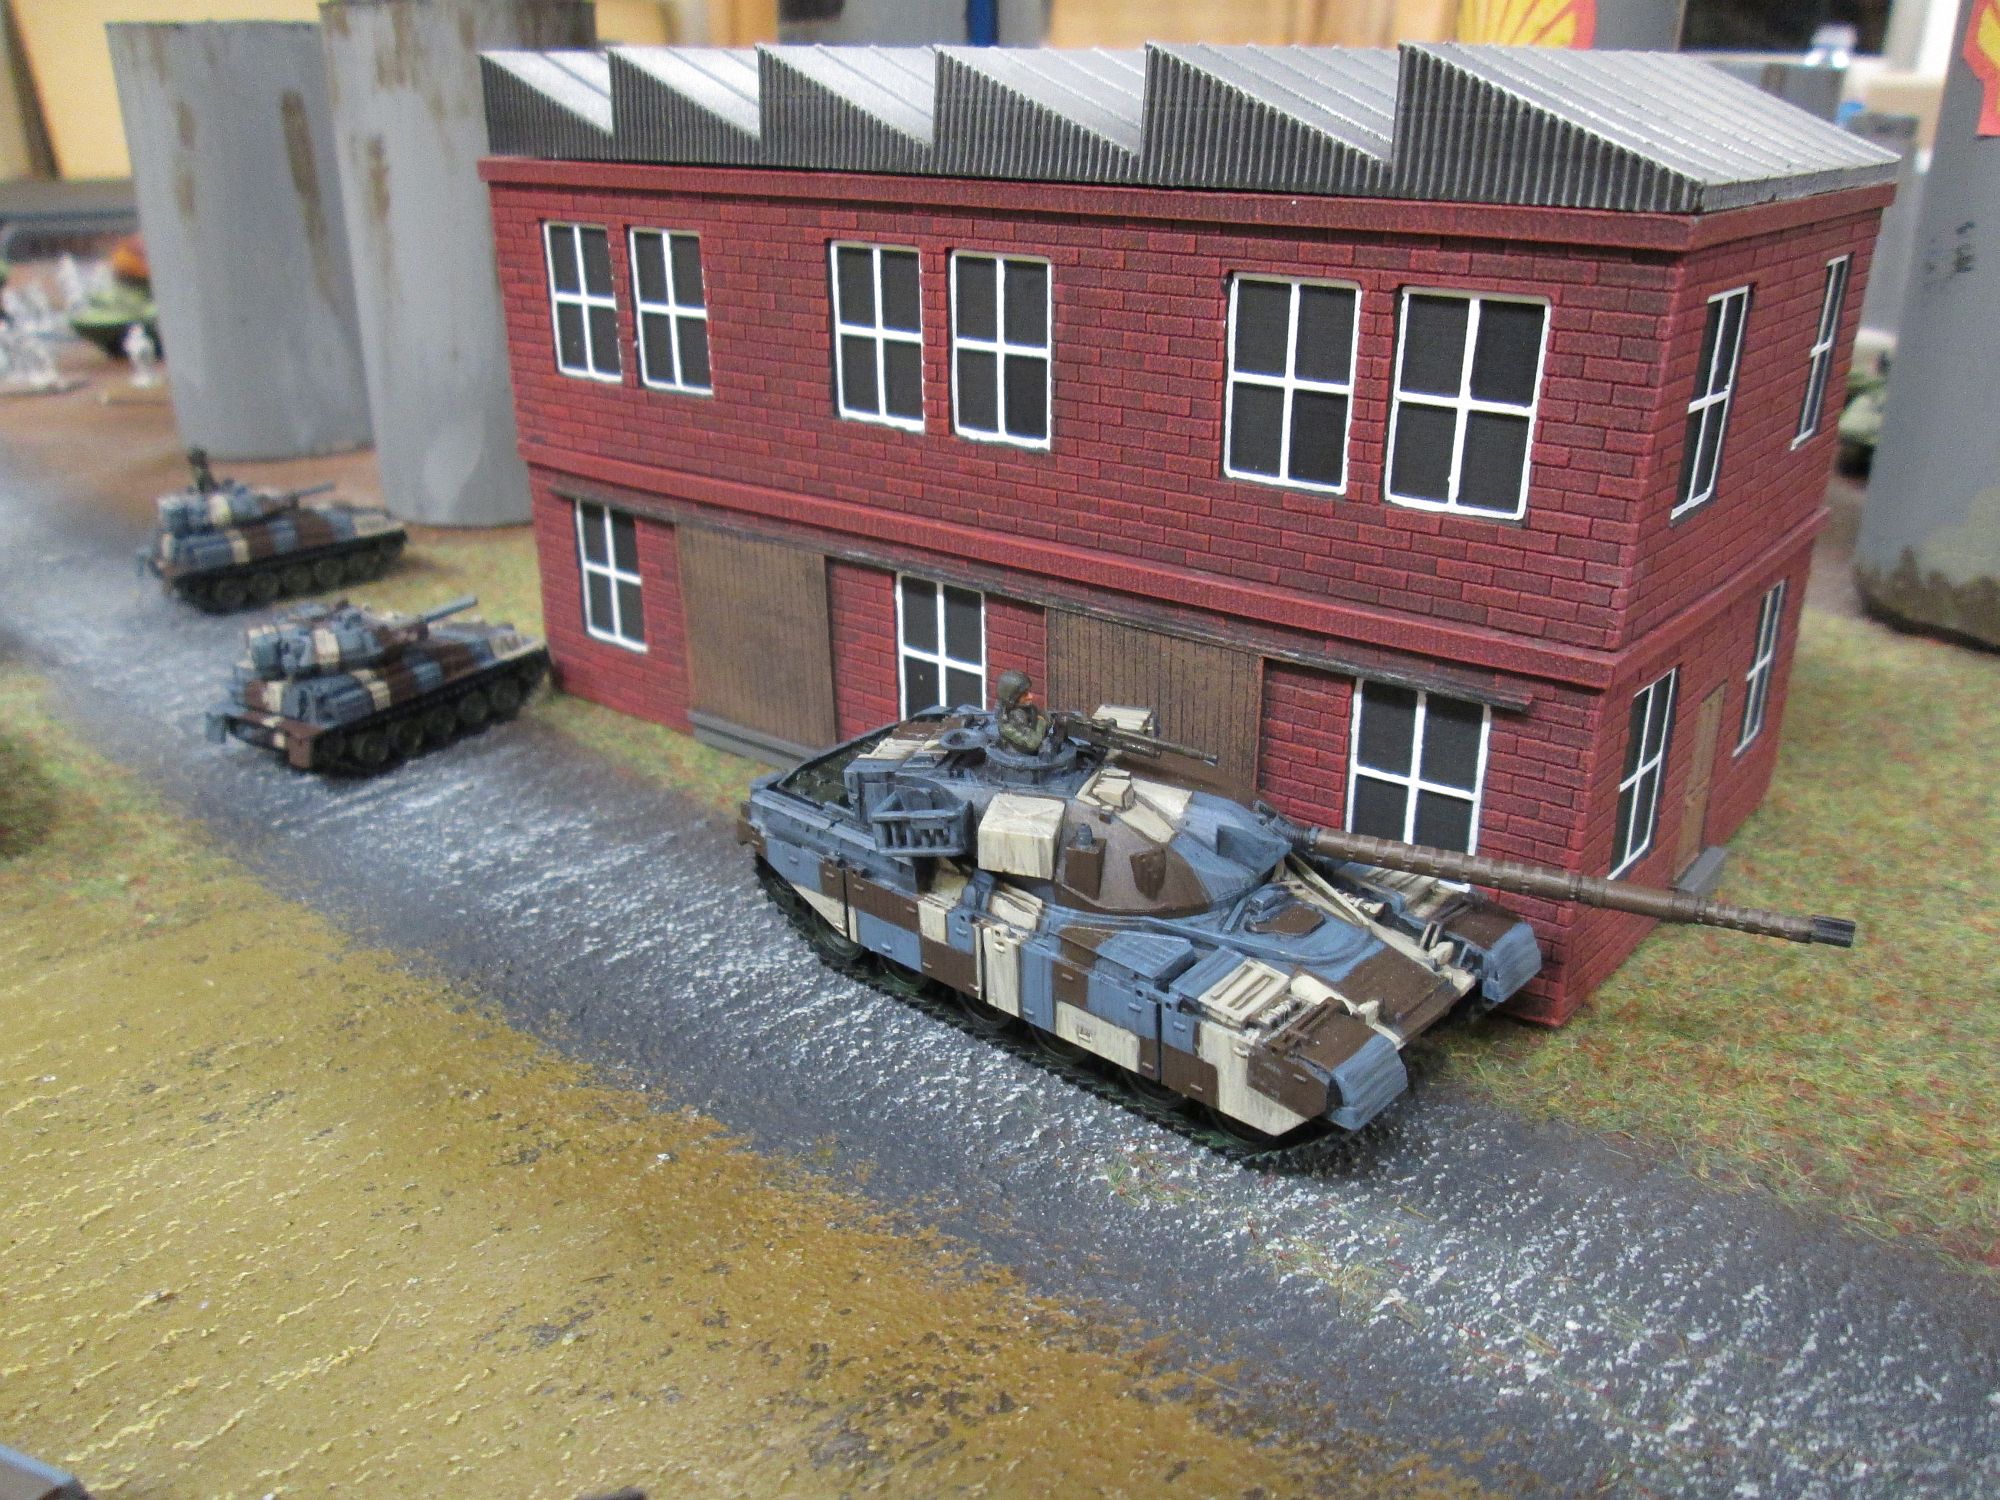
In my turn I moved the Scorpions so that they could fire at the Shturms, disregarding their own safety and the mass of personnel carriers to their left. My infantry finally occupied the station and blue mansion, while the FV432s engaged the motor rifles from the front to keep them in their foxholes. The remaining Chieftain destroyed the last Shilka while the HQ tanks fired at the Spandrels. While my shooting step was good, there were still too many vehicles and infantry stands ready to move over the objective, so I braced myself for the inevitable.
The inevitable came with the demise of the bold Scorpions at the hand of the BMPs and infantry. Unfortunately I couldn't avoid getting within 12" of those accursed RPG7s and the platoon was annihilated. However, every cloud has a silver lining and at least the presence of the recon tanks made everything in the Soviet army stay put, buying my infantry time for the final push on the objective. The PKMs managed to pin them down, but if they recovered I would have a good chance of winning.
Elsewhere on the table the Krasnopol rounds were aimed at the Swingfires but they were too difficult to hit; the BMP1s were more effective, knocking 1 and forcing the other to flee, and the Hinds were shot out of the sky for the umpteenth time - I frankly doubt they will make another appearance in pairs!
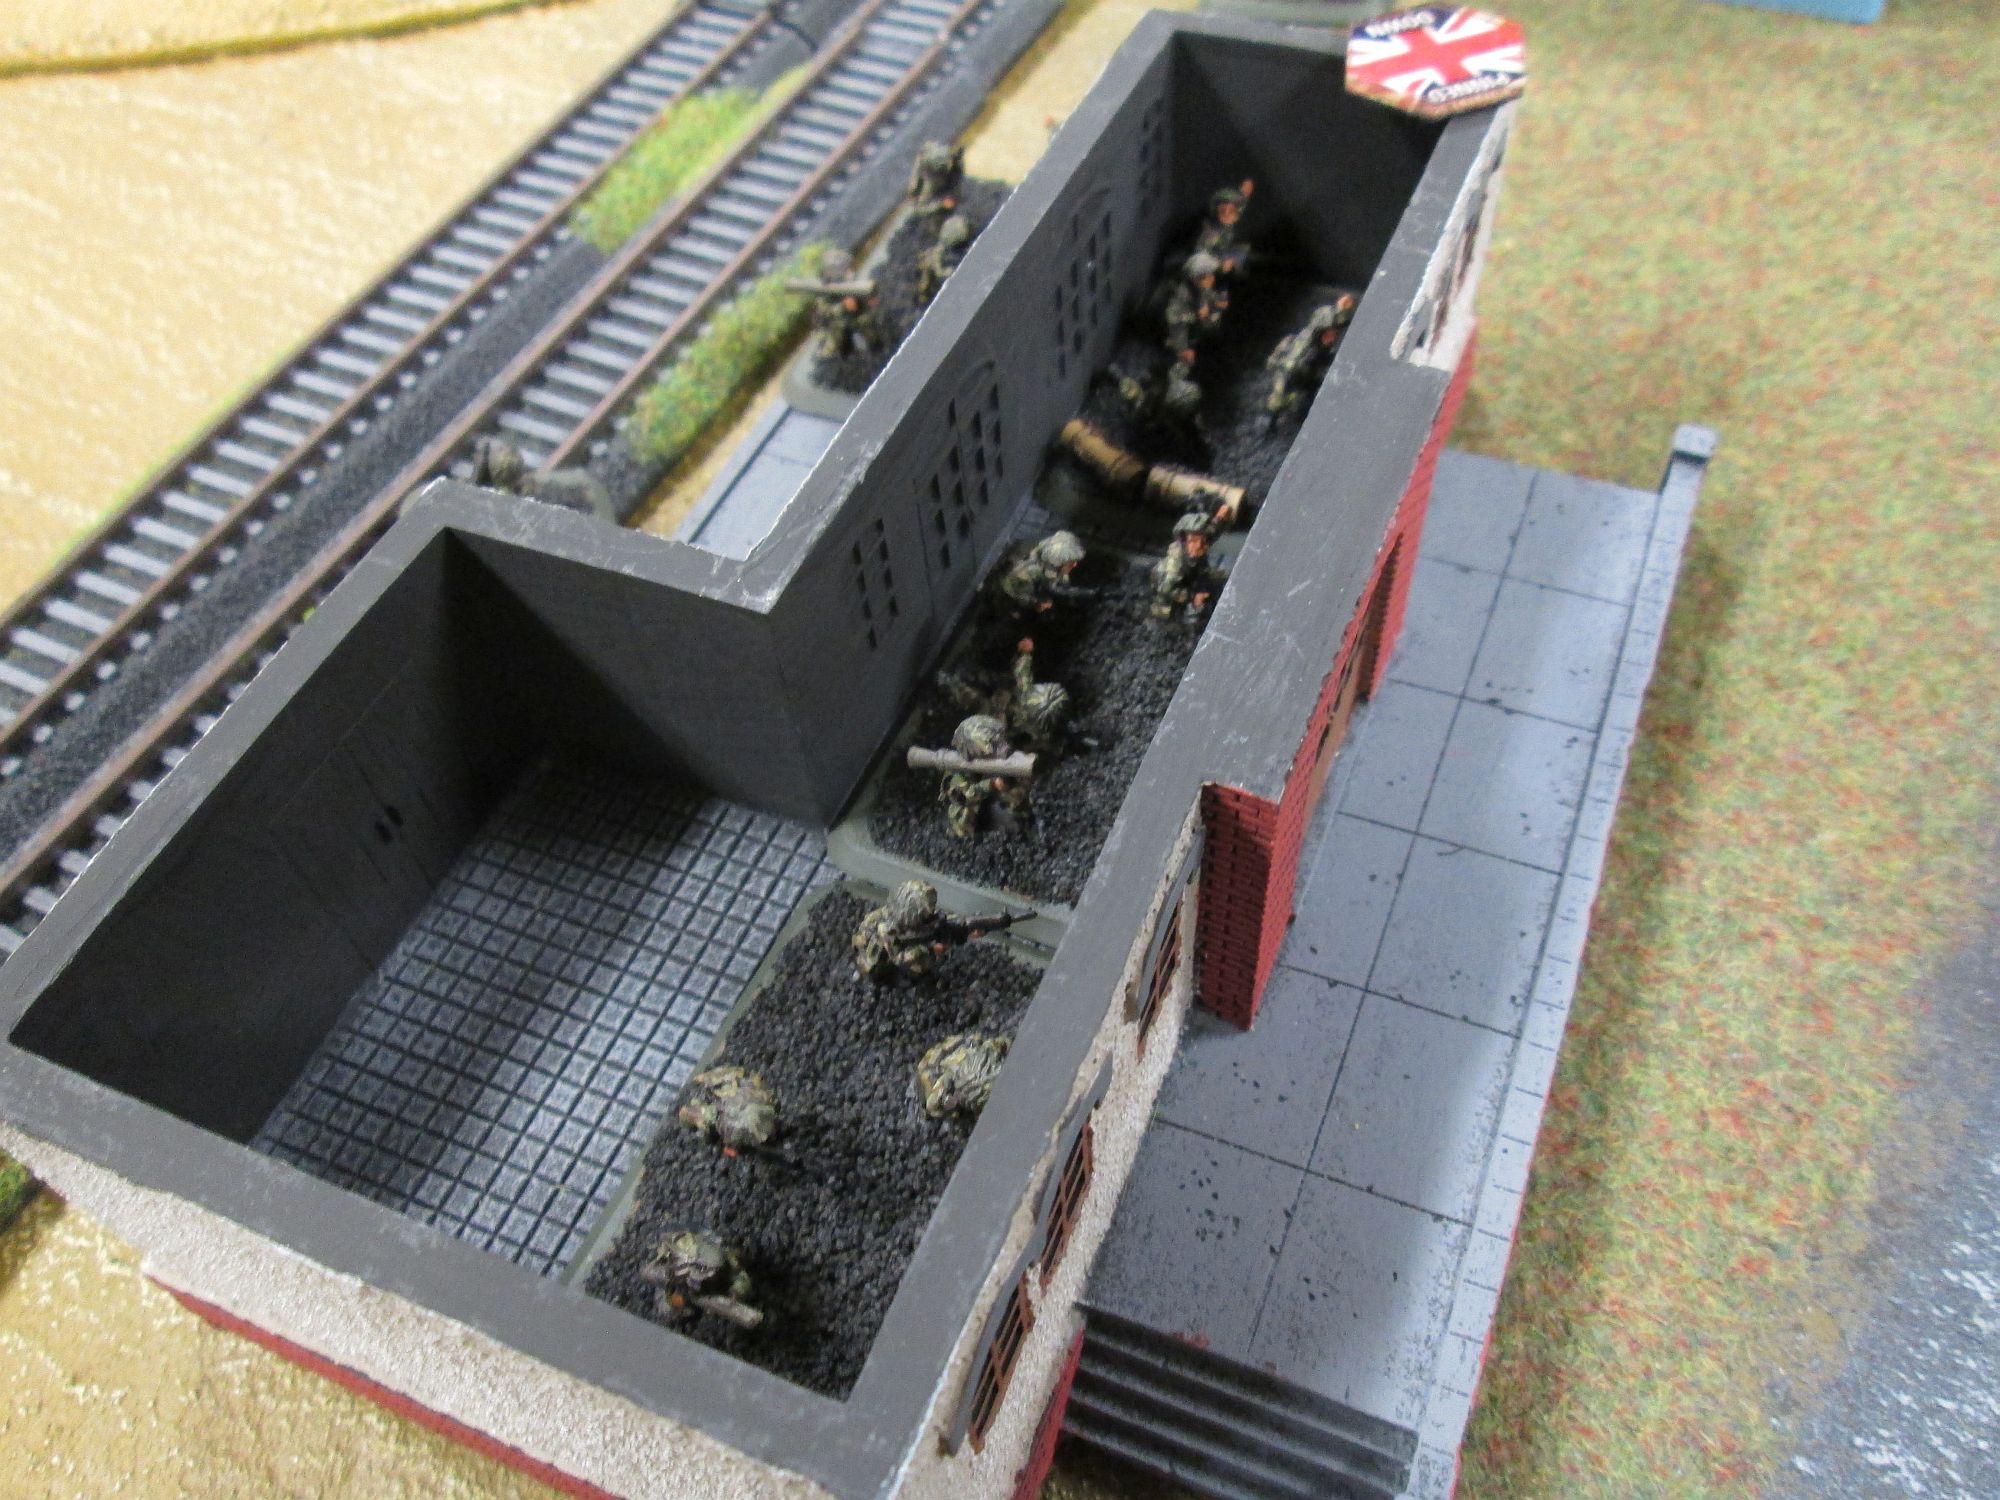
In my turn, my infantry felt the urgency of the moment (i.e. I could roll a 4+ when needed!) and emerged from the railway station to cover the objective. The number of anti-tank weapons available to the unit made them very dangerous for the BMPs nearby and if I could destroy them all the game would be won. My HQ tanks successfully blitzed to add more fire, while the Swingfires and helicopters attacked the recon BMP unit.
Fortunately for me, the lead BMPs were destroyed by the infantry, freeing more weapons to destroy the rest of the unit. The artillery assisted the infantry well, killing the two closest infantry teams and that left my rifles in control of the objective, again at a great cost.
Battle Report Author
Recommend Commander For Commendation
Share this battle with friends
HMS_BelfastWins

Love that paint scheme and a good battle report.
It appears I have to lose one armoured platoon per game at least. I am sure the guys at logistics won’t be happy about it!
I’m always happy to see those Berlin Brigade Chieftains, a good report again! Those poor turn 3 Chieftains though, RIP.
Teasing 🙂 They look awesome
Wow, love those Berlin Brigade Chieftains! Awesome AAR, loved the terrain setup.
Nice looking army as always – we had some weird desert terrain show up in The Netherlands last week… don’t know what’s up with that!
Well, given that in FOW you can use the festungskompanie lists that lasted 12 hours at best and the Arhnem paras that lasted 3 days, I don’t think representing a force that would be destroyed in 60 minutes is a bad idea anyway 😉 !
Great report! Top five read!
Very cool looking Berlin Brigade Tanks.
Nice batlereport and outstanding armys on both sides!
Hello, a very good report, many thanks for posting and gratulation for the victory.
I like your forces too, very good paint job!
Best regards Frank.
Love your Berlin Brigade. But I fear they had a life expectancy measured in minutes.
Awesome looking table
Nice report
Actually I took a Mansfield /Nottingham /Manchester train back in 2012, under the foulest weather in the history of wargaming 😀 !
An excellent report, Belfast. I have but one question?
Why on earth would anyone want to go to Manchester? But to answer yours; there are 48 trains daily that travel from Nottingham to Manchester Piccadilly. Perhaps your lads are a little homesick.