Fought At Ruhr
2399 days 23 hours 30 minutes ago
Battle Report
Ruhr Breakthrough
60 POINTSHe did not liked to be used as a bait, but knew it was necessary.
The Soviets outnumbered them and they did not know how long it would take, before the reserves arrive. As the only unit with the new Leopard II tanks, they at least had a chance to survive long enough to make it count. Still, as he was watching the approaching soviet tanks, it gave him little comfort.
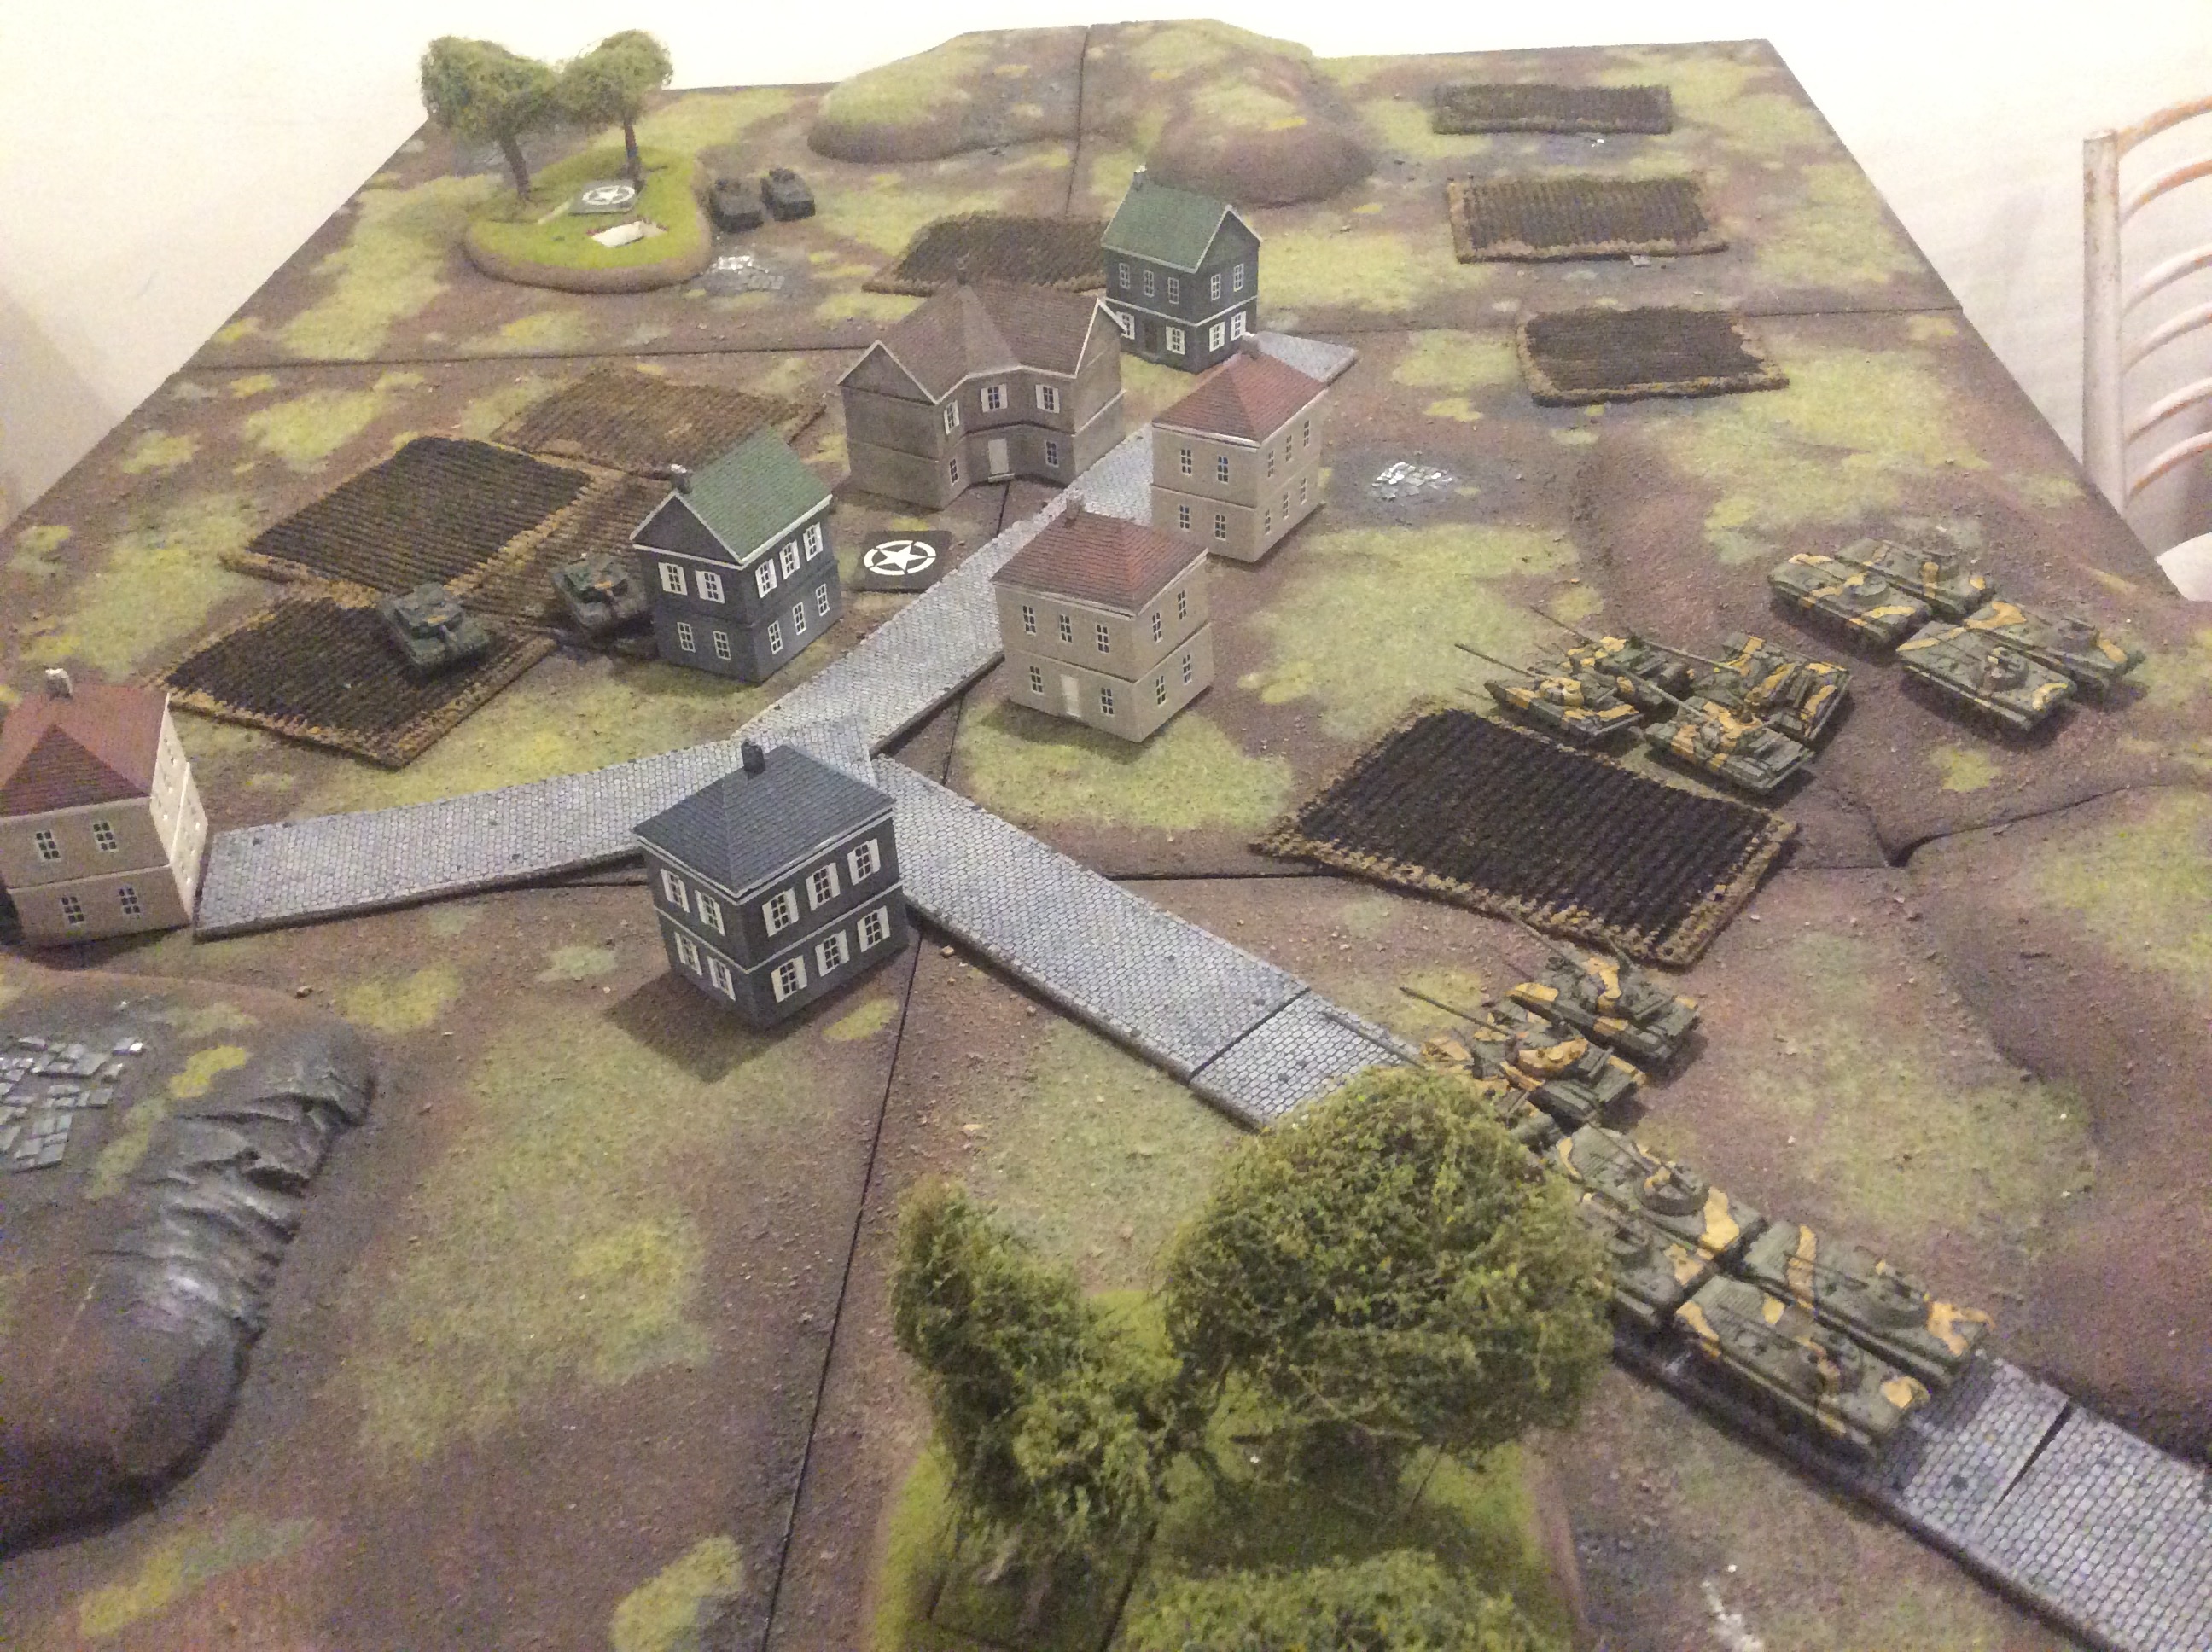
Deployment
I have decided to put Leopard II's on the table, right next to the closer objective. Leopard I's were lying in ambush and one Luchs patrol spearheaded onto the further objective to slow down enemy infantry coming from reserve (Note that I have made a mistake and moved them too close, we have realized it after Soviet turn one, but as his reserves did not come on first turn, It had no impact on the game).
My opponent put both infantry units in reserve deploying all the tanks and BMP's as close to me as possible avoiding terrain as he knew he will have first turn.

First Turn
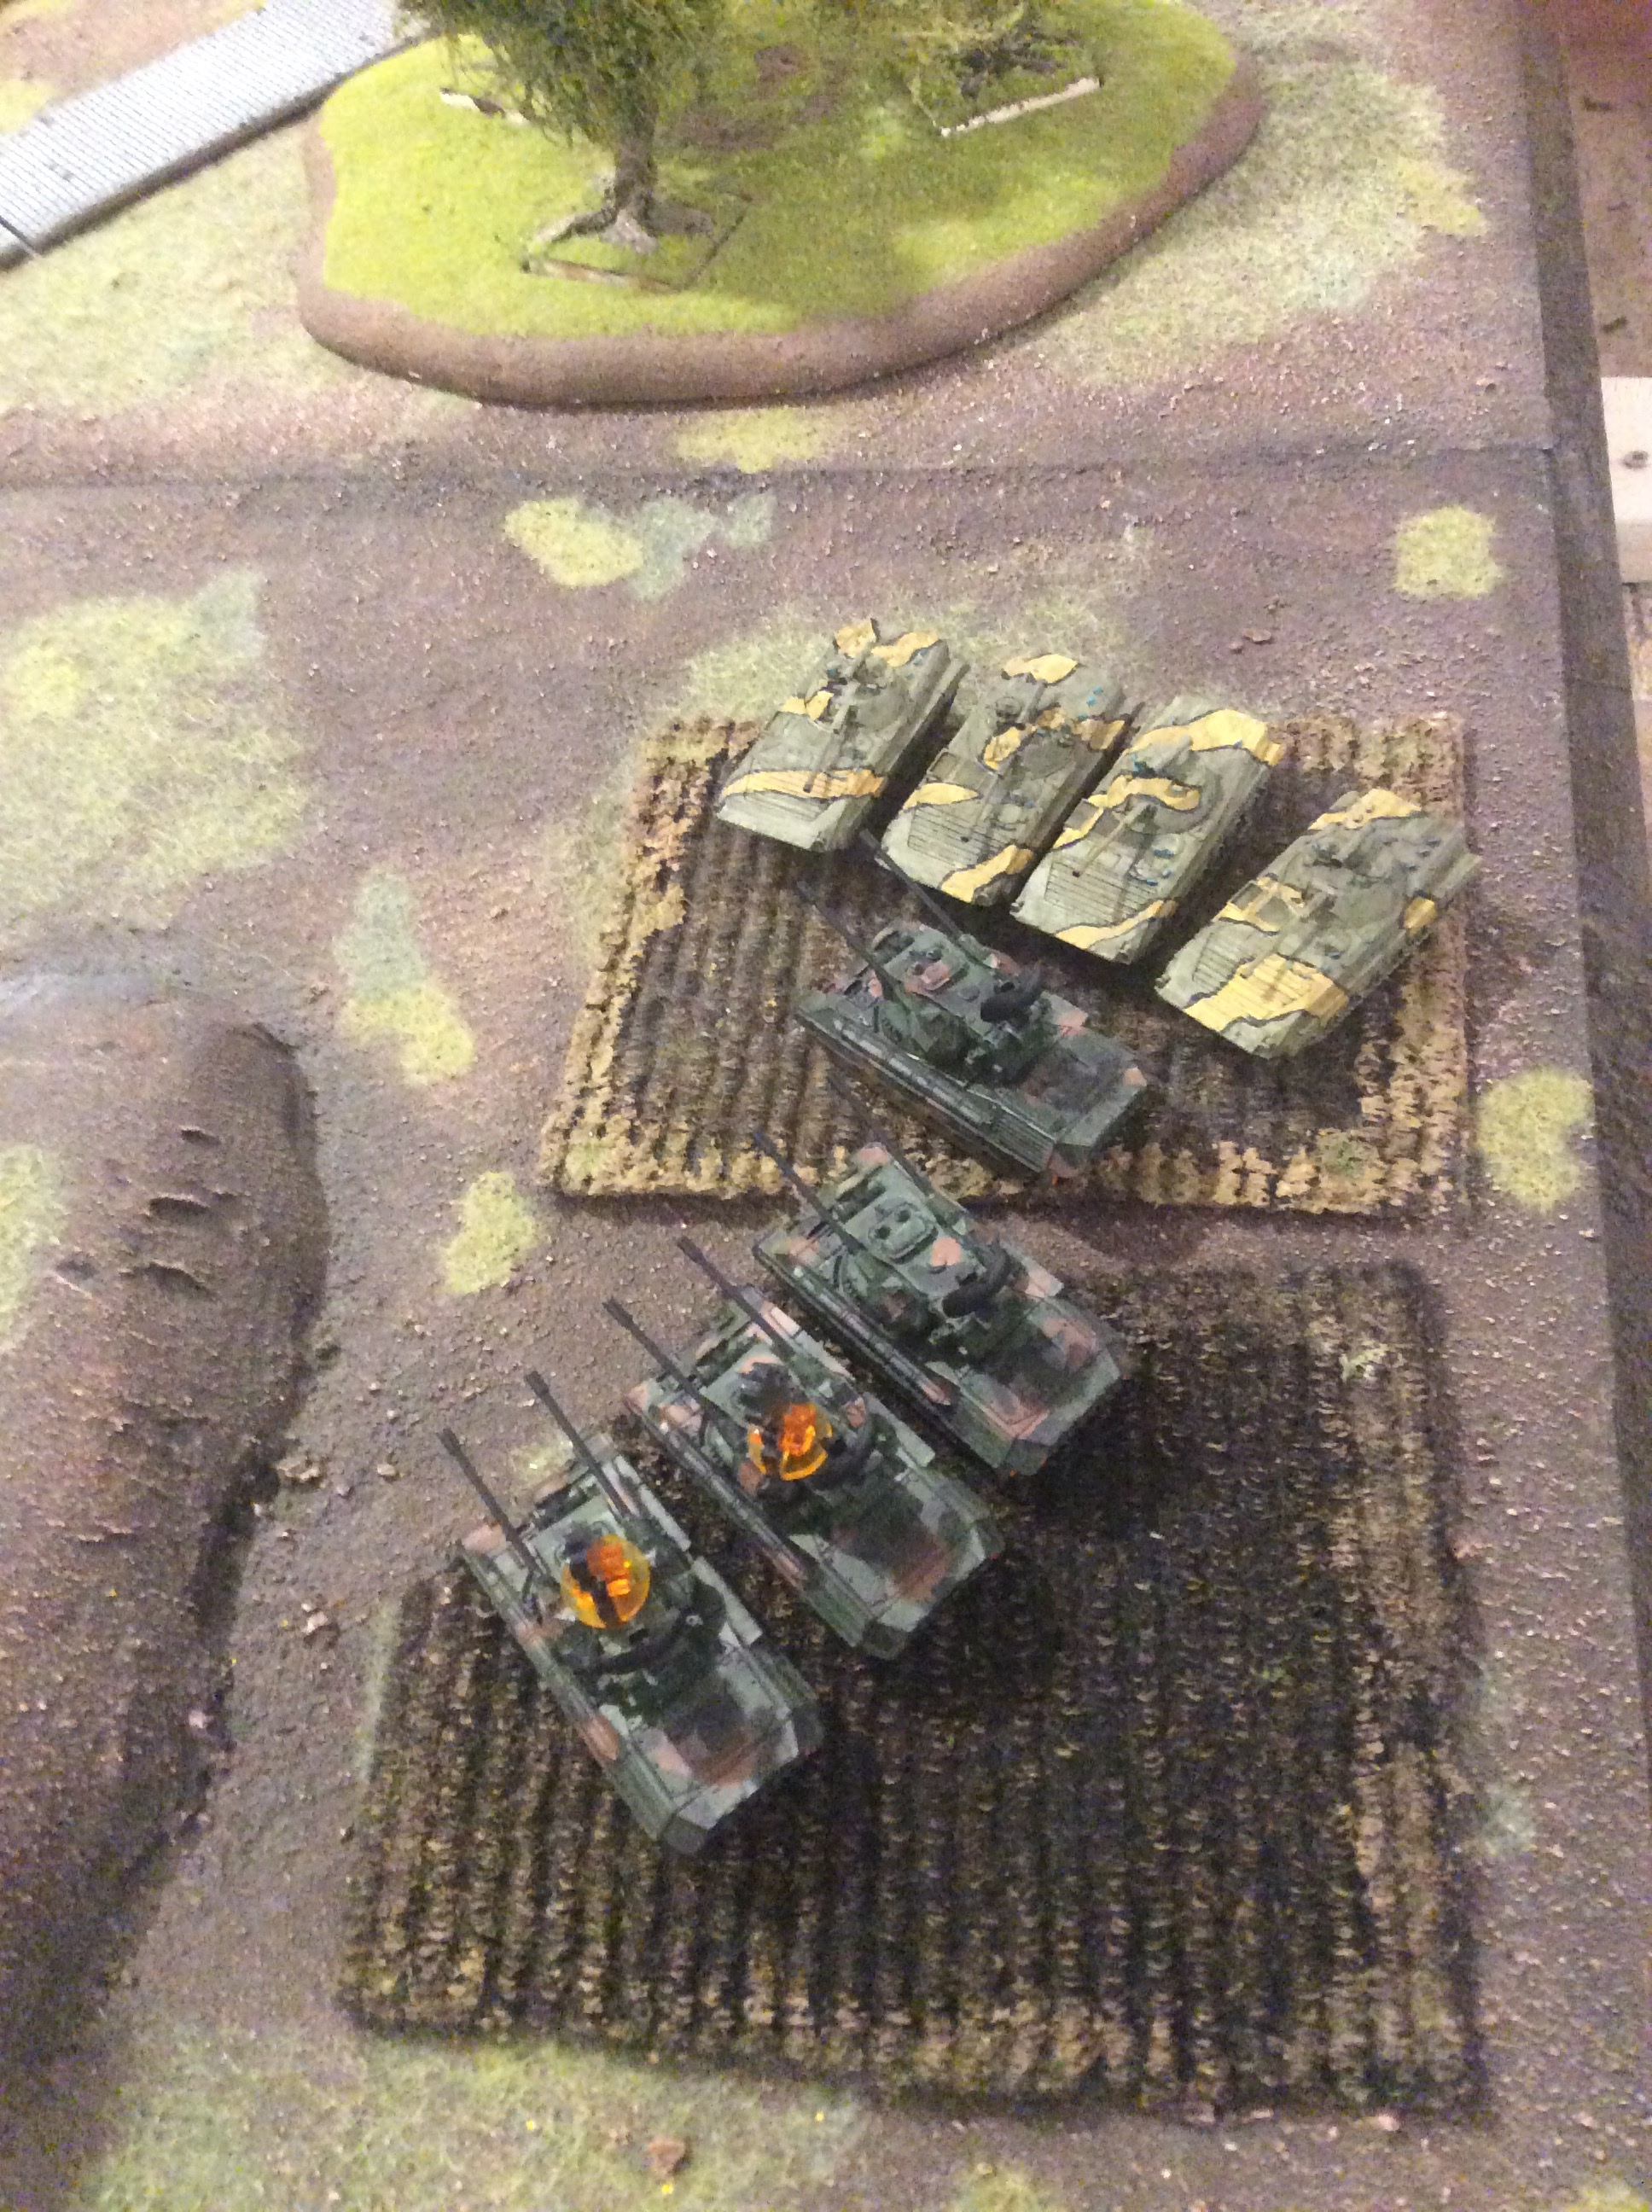
Reserves do not show up for my opponent. Still he does not wait and moves on both flanks, trying to encircle the Leopard II's so that he can get flanking shots next turn no matter what happens. BMP's on the hill reposition just using blitz (successfully) so he is able to shoot them this turn. Two of the T-64's are actually able to get into my Leoprad II's flank.
In the end, his shooting is not successfull, even though he manages to hit me 3 times (once with T-64 and twice with Spandrels from BMP's on the hill). I am able to bounce one missile and the tank shot (thankfully he missed both of the sideshots so it was a frontal one) and the last missile just bails me (and I ma able to get back in).
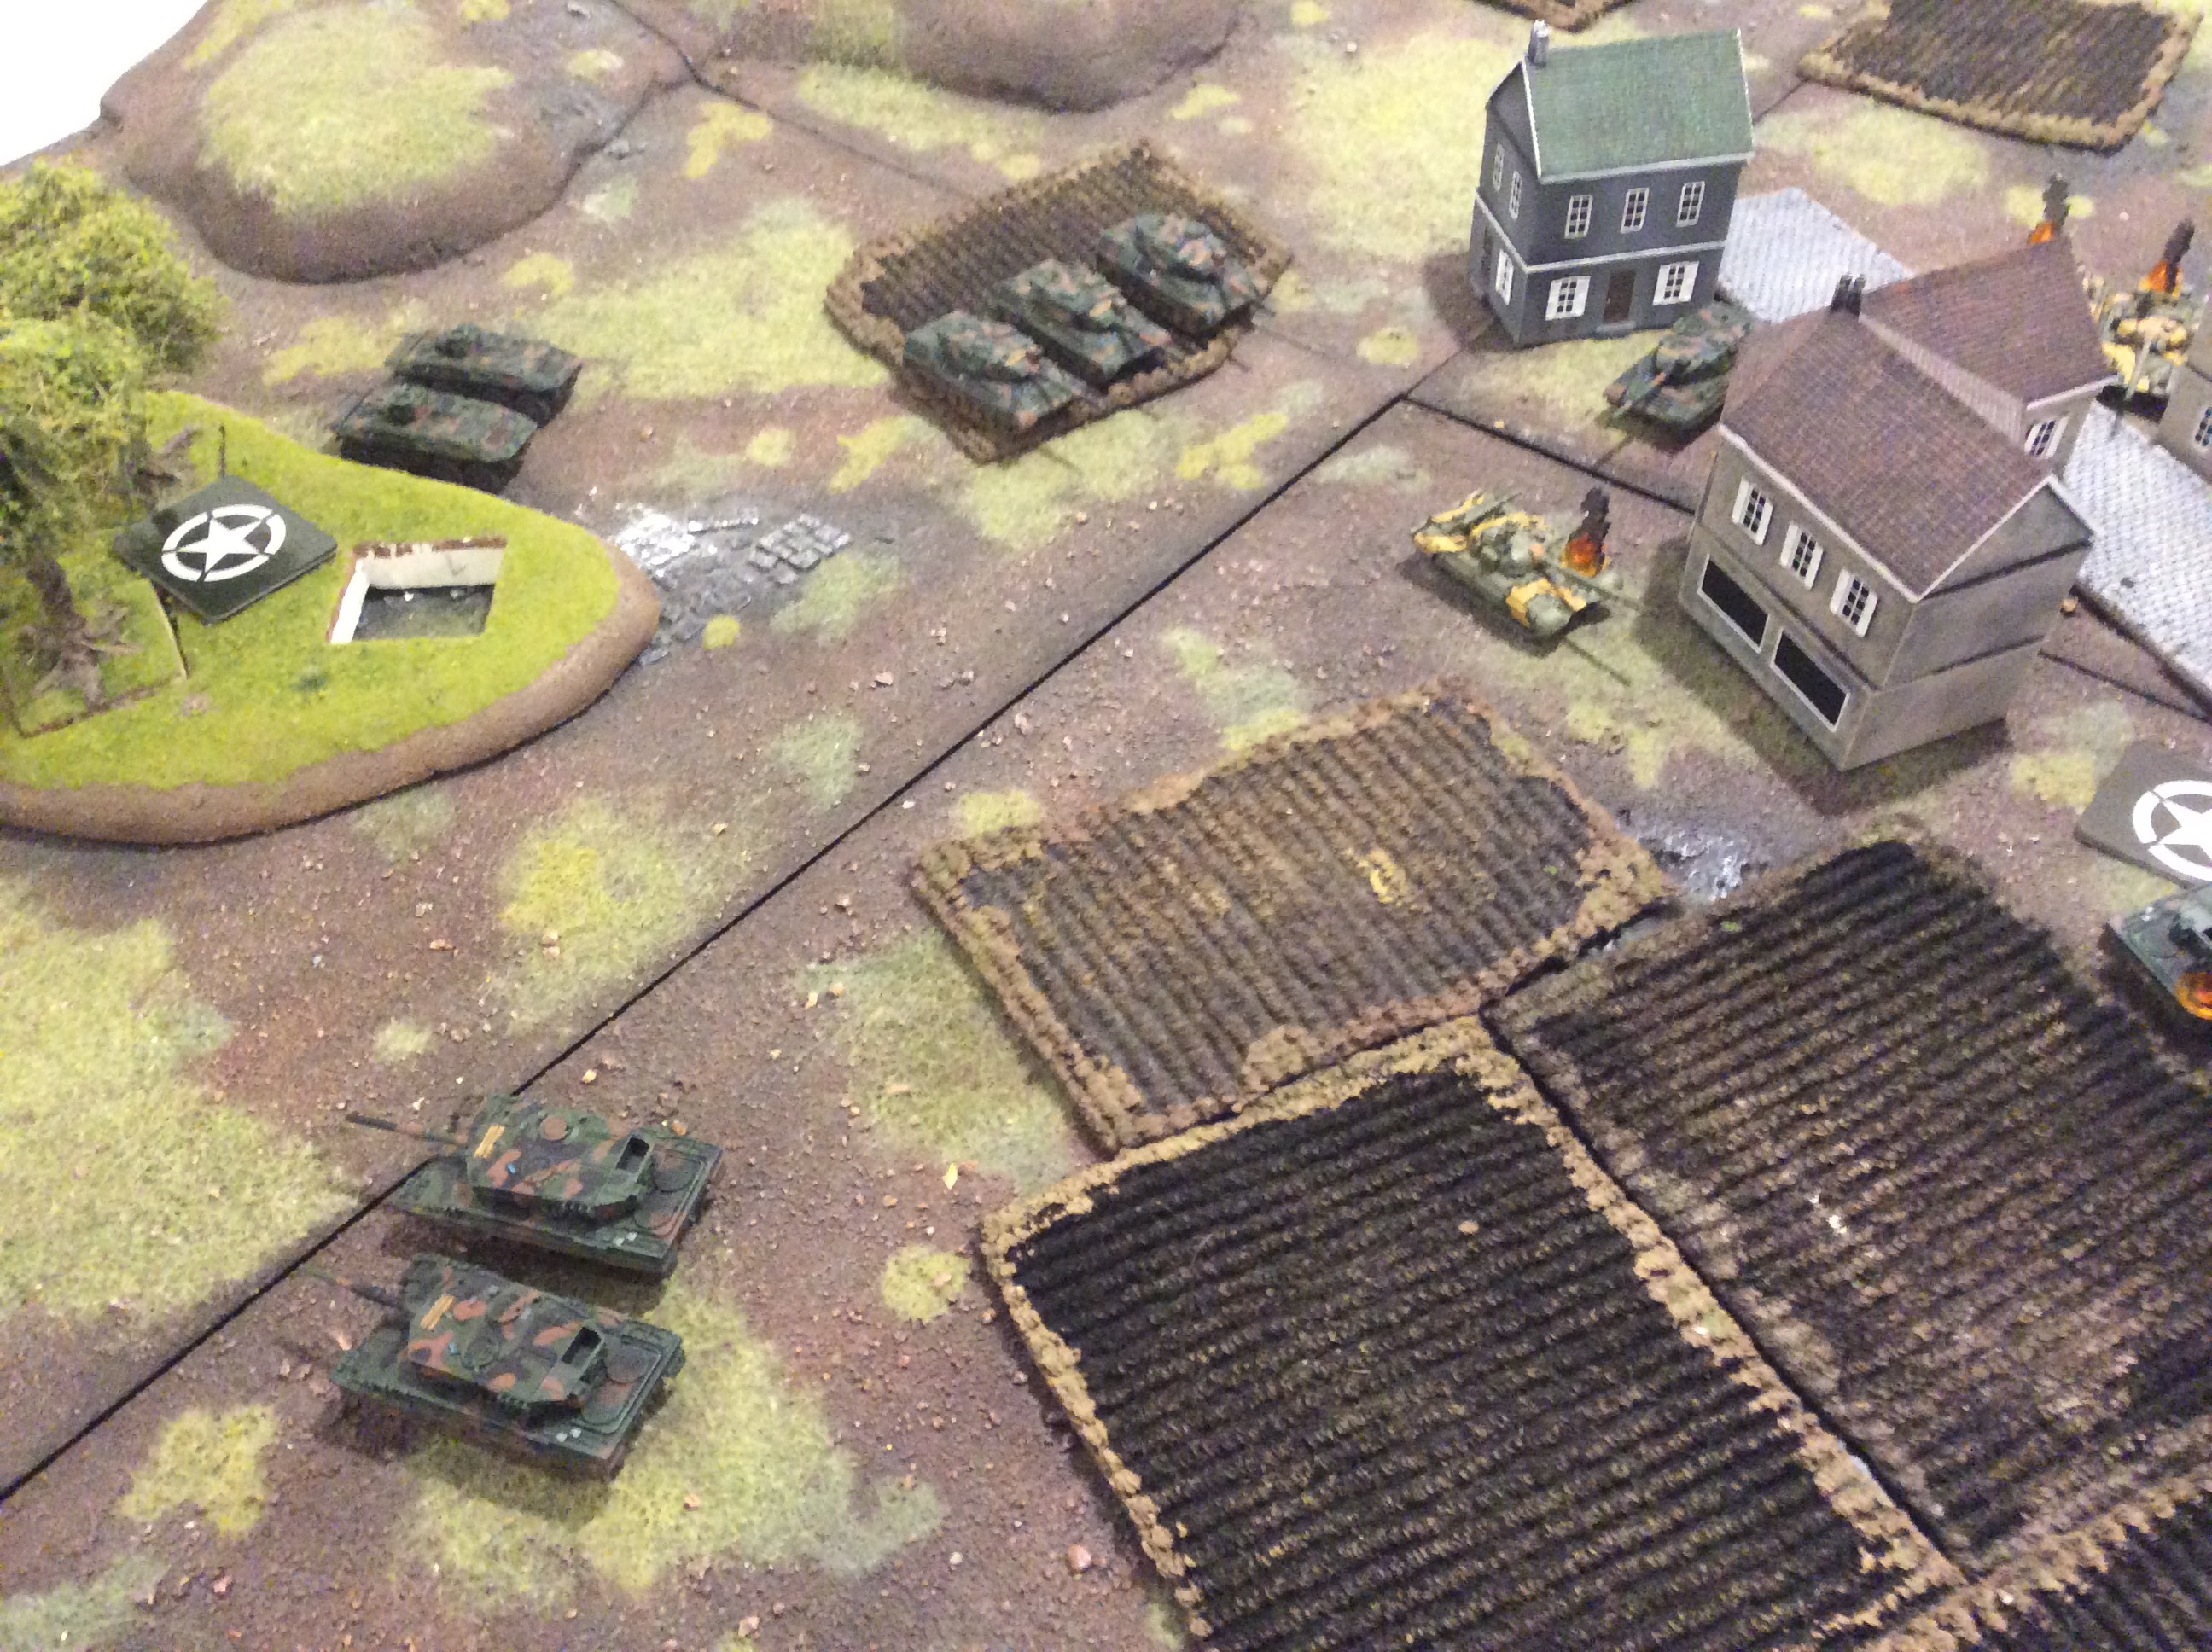
On my turn, I spring the Leopard I ambush and also my first reserves come in, so I choose Gepards.
I move the Leopard I's behind the flanking T-64's and the Gepards move behind the other T-64 platoon. I also reposition the Leopard II's so that they can shoot either at T-64's or BMP's on the hill while they are out of LoS of the other BMP platoon.
My shooting is devastating. Leopard I's kill two of the T-64's from one platoon and the HQ tank. Leopard II's kill all four BMP's on the hill and Gepards kill one T-64 and double bail another two. One of them fails the morale and then the whole platoon fails its last stand and runs away (the other platoon with just one surviving T-64 makes it).

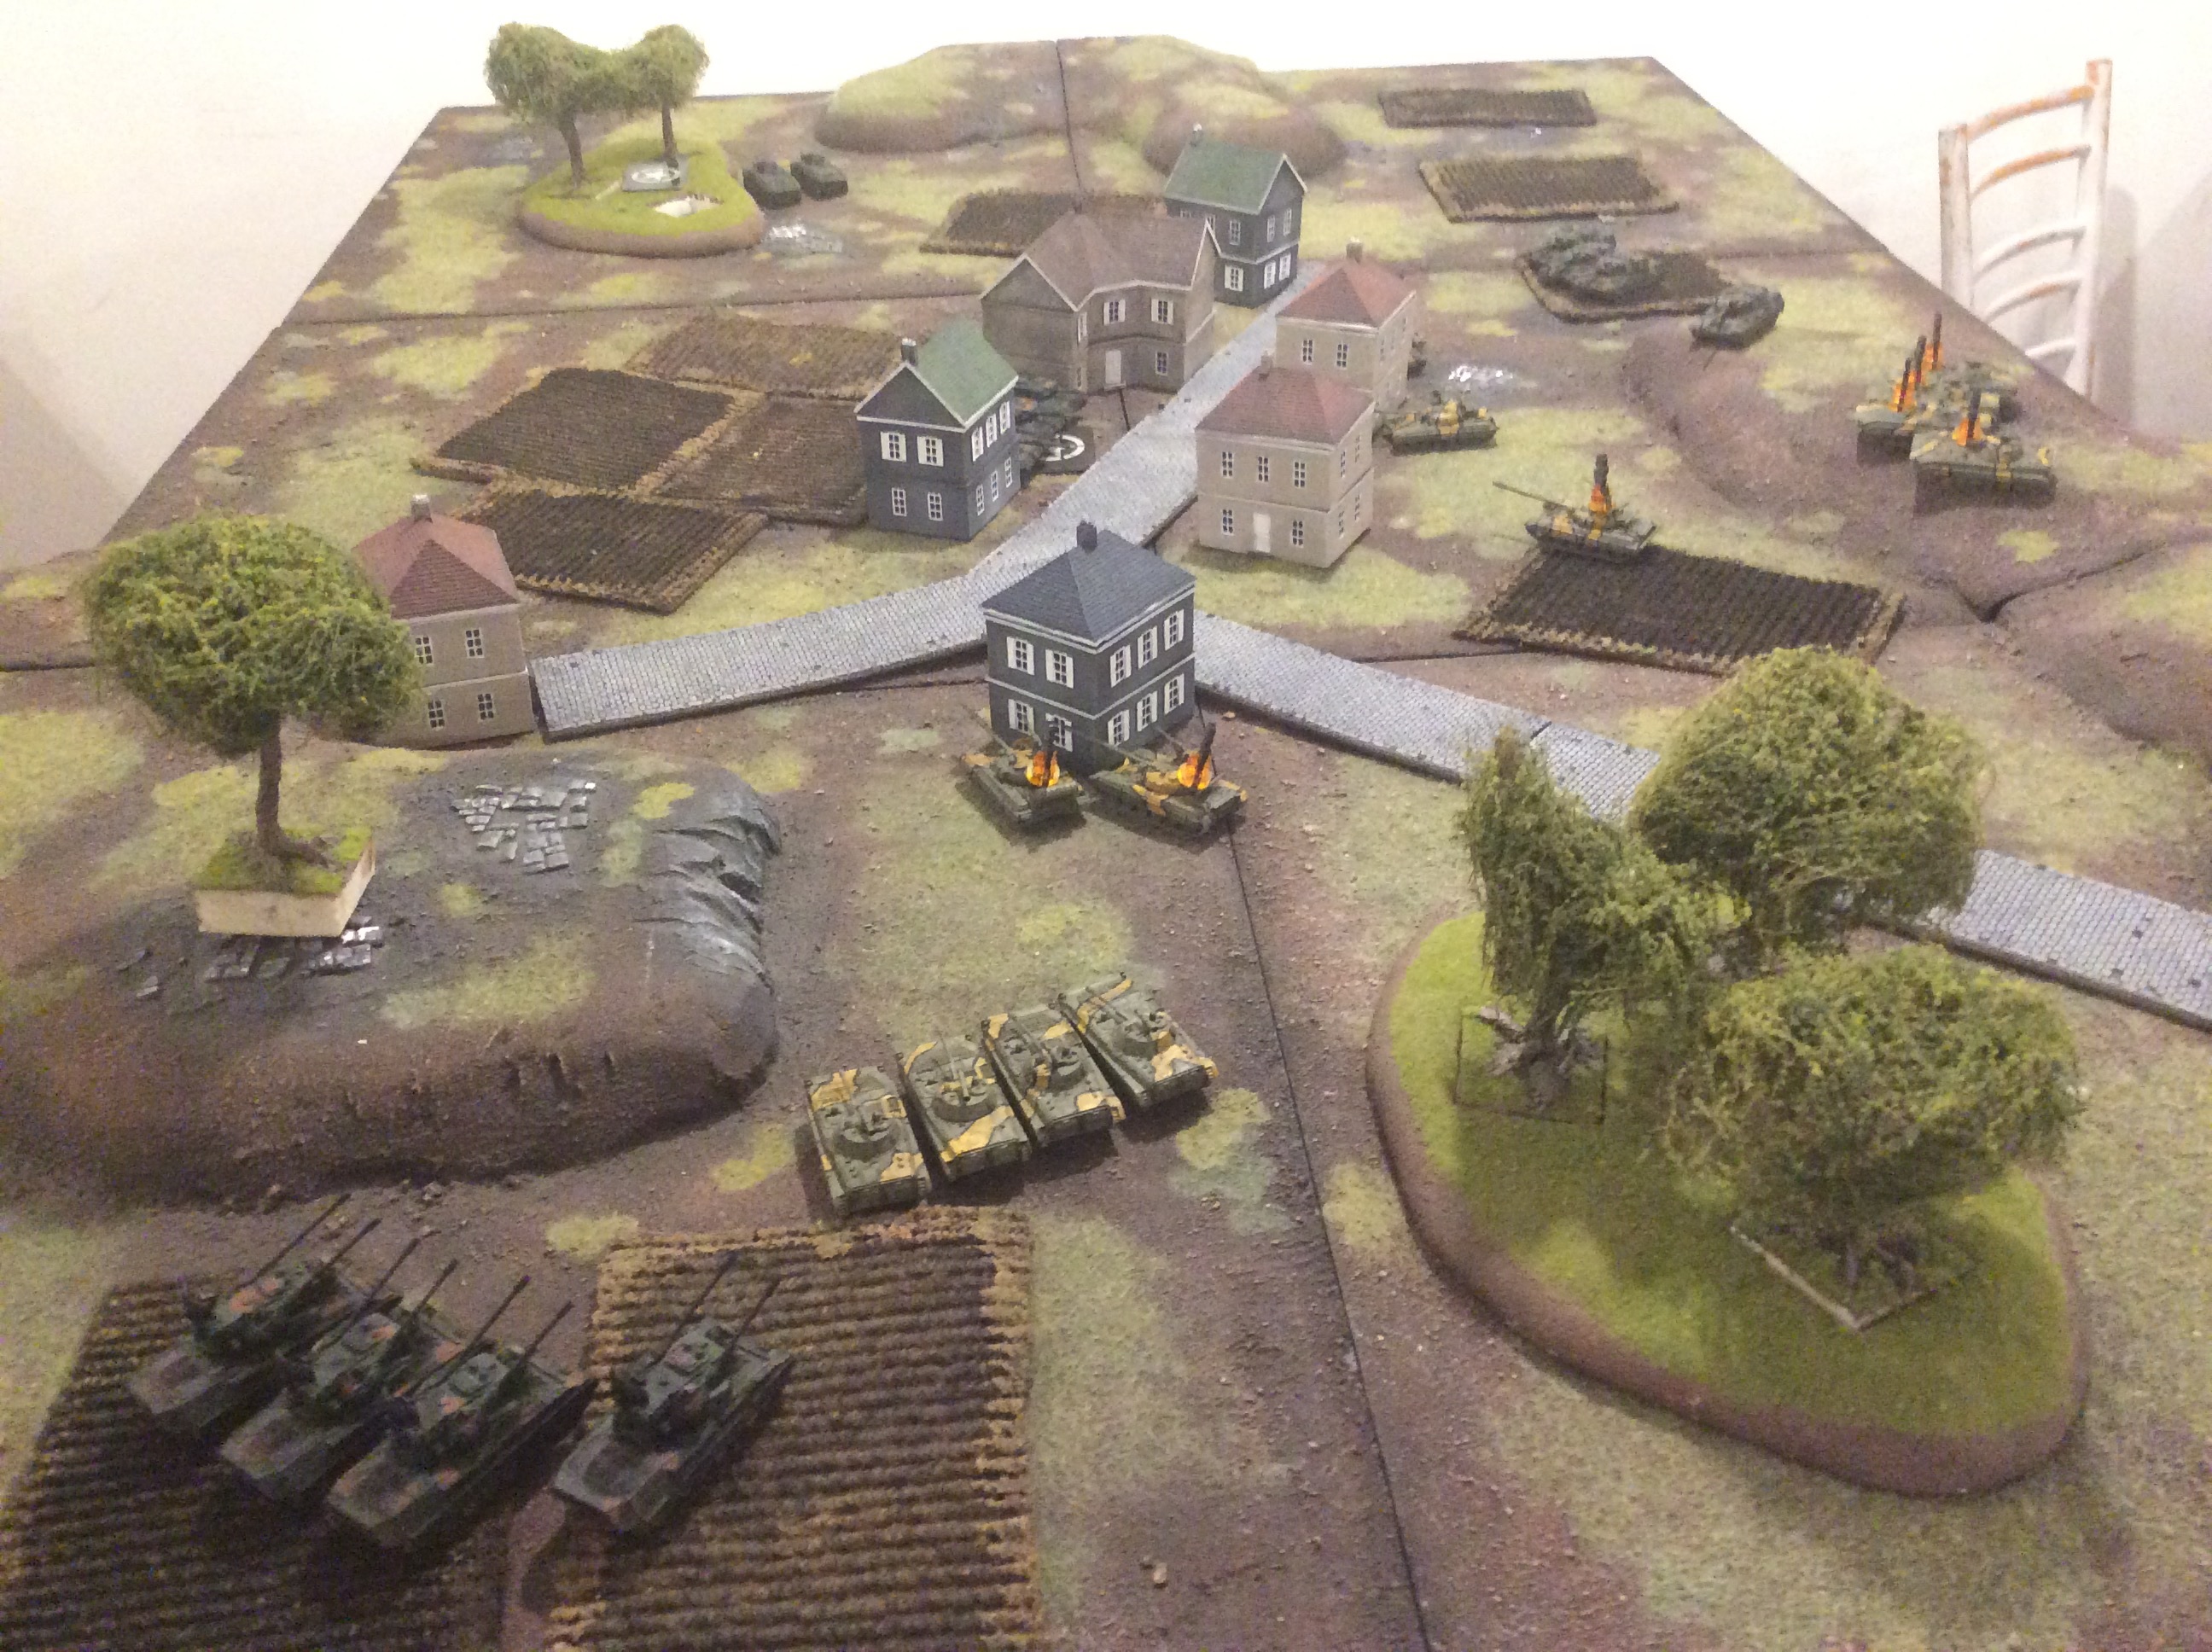
Second Turn
Soviet reserves still wont show up and so there is not much left to do for the Soviets.
The surviving BMP's go for the Gepards, while the lone T-64 flanks the Leopard II's.
BMP's are able to hit all of my Gepards, but kill just two and I pass all my morale checks and survive.
The T-64 gets his revenge and kills one Leopard II.
On my turn both Gepards unbail and return fire, while my Leopard I's go for the last T-64 and Leopard II's race for the objective. I am able to kill all remaining BMP's and the last T-64 ending the game.

Battle Report Author
Army Lists Used In This Battle
Recommend Commander For Commendation
Share this battle with friends
IandaredhWins

Nice report
Great Report… not the best result anyway 😀
Is it me or are the tables getting improved? I haven’t seen a valley of death table in some time now!
Good report and great table
Cheers
Scott
Great looking table, and love seeing Leopard Is on the pounce! Good work!
Nice win. Those Germans are tough.Great report too.
Great report and video! well done! commmended
Nice looking table… nice looking tanks… nice looking report… bummer on the result! 😉
Thanks for taking the time to post a good report!