Fought At Frankfurt
2423 days 21 hours 33 minutes ago
Battle Report
Frankfurt Free For All
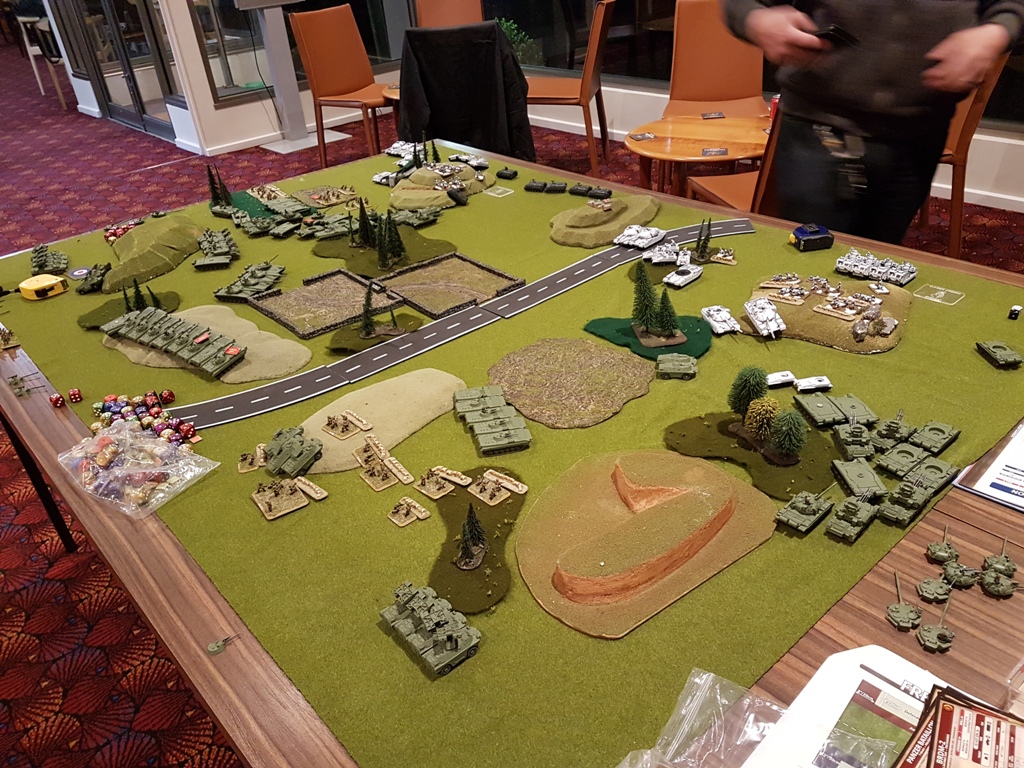
View Linked Report - CLICK HERE 100 POINTSNATO had finally responded to the deep penetration of their rear areas by counterattacking General Leadgend's East German 7th Panzer Division sitting astride the NATO supply routes to Frankfurt. Newly arrived British forces still painted for winter or fresh out of the factory pushed northwards in an attempt to force a way through. The two forces met in a free for all.
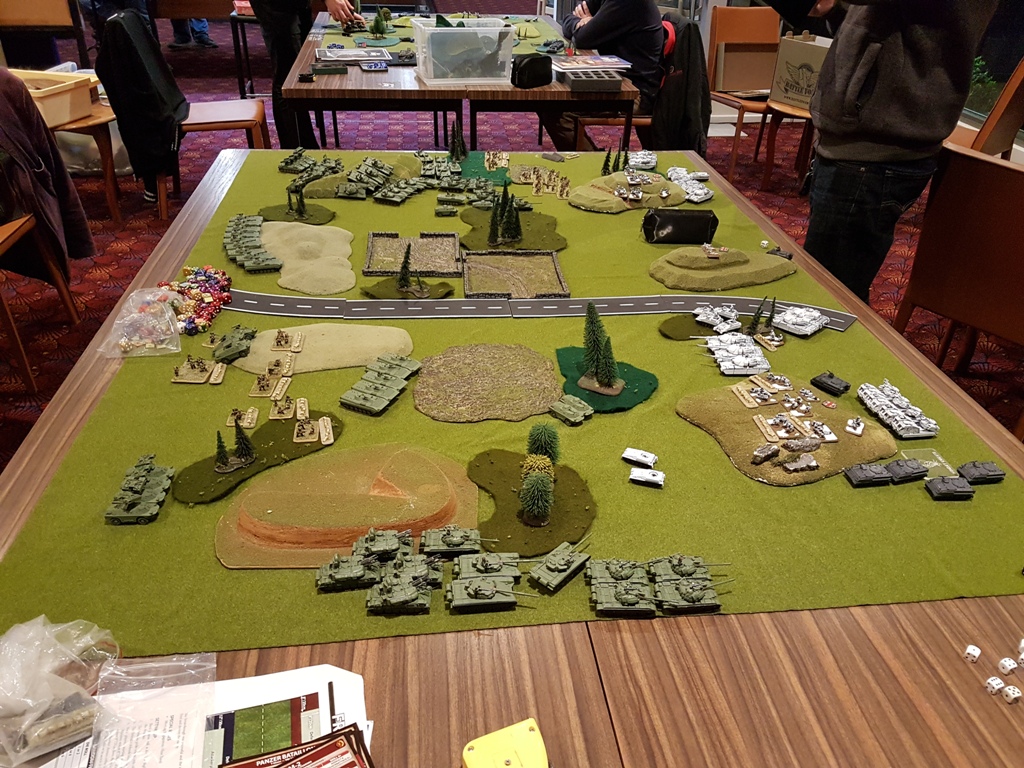
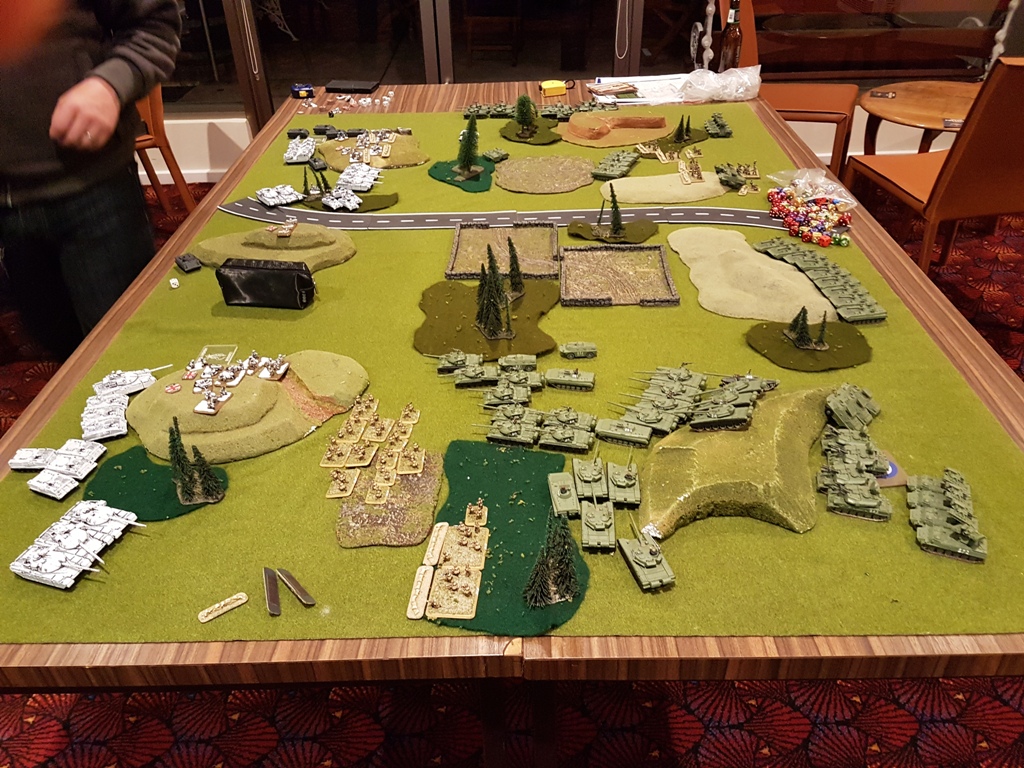
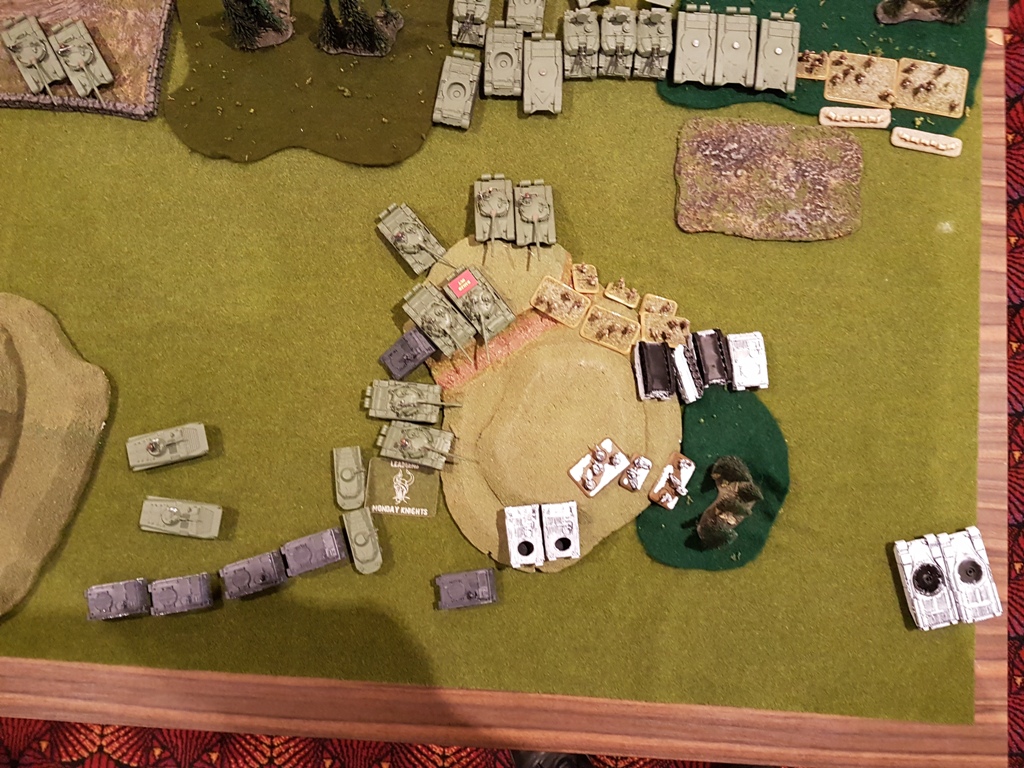
Hills on either side of the Autobahn were assessed as being critical objectives for both sides. While it was the British who were on the offensive, tactically it was the East Germans who rushed to the attack. Recon units quickly secured routes of advance and infantry infiltrated forwards with tanks moving up behind and missile units waiting behind hills to pop up when targets appeared.
The British quickly lost their recon unit and our intense fire pinned down their infantry. However they didn't stay pinned for long and they in turn edged forward with their tanks and we quickly lost a number of tanks on both flanks, mostly the older T55 though. The left flank infantry ran into a wall of fire from enemy infantry and APCs.
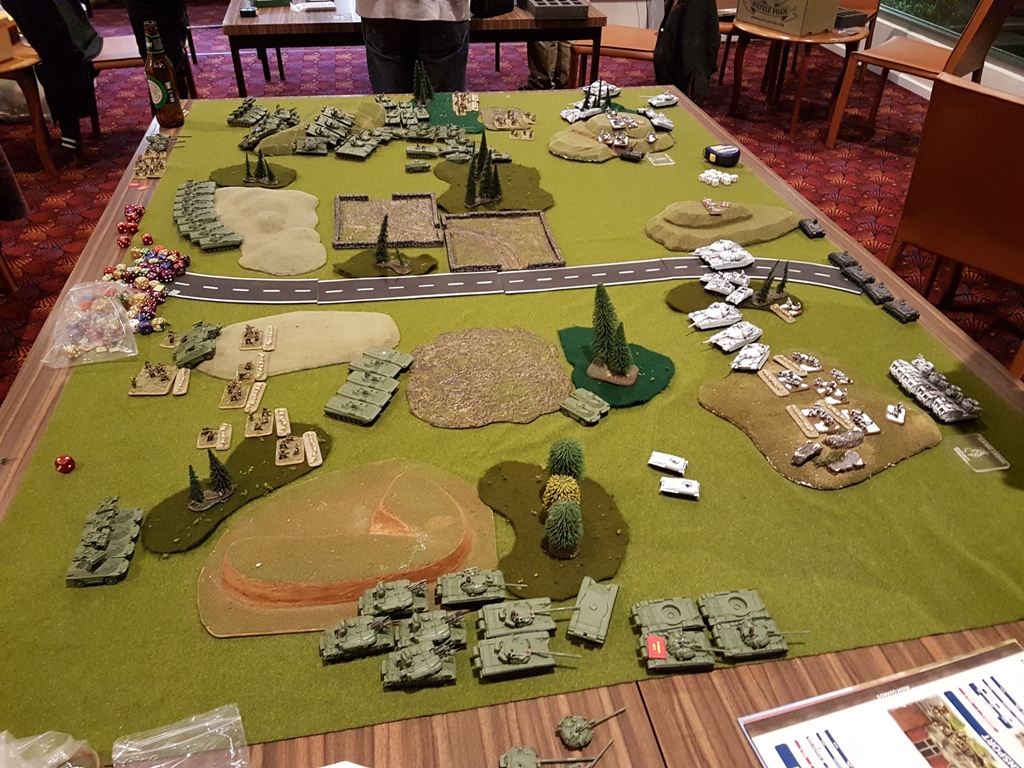
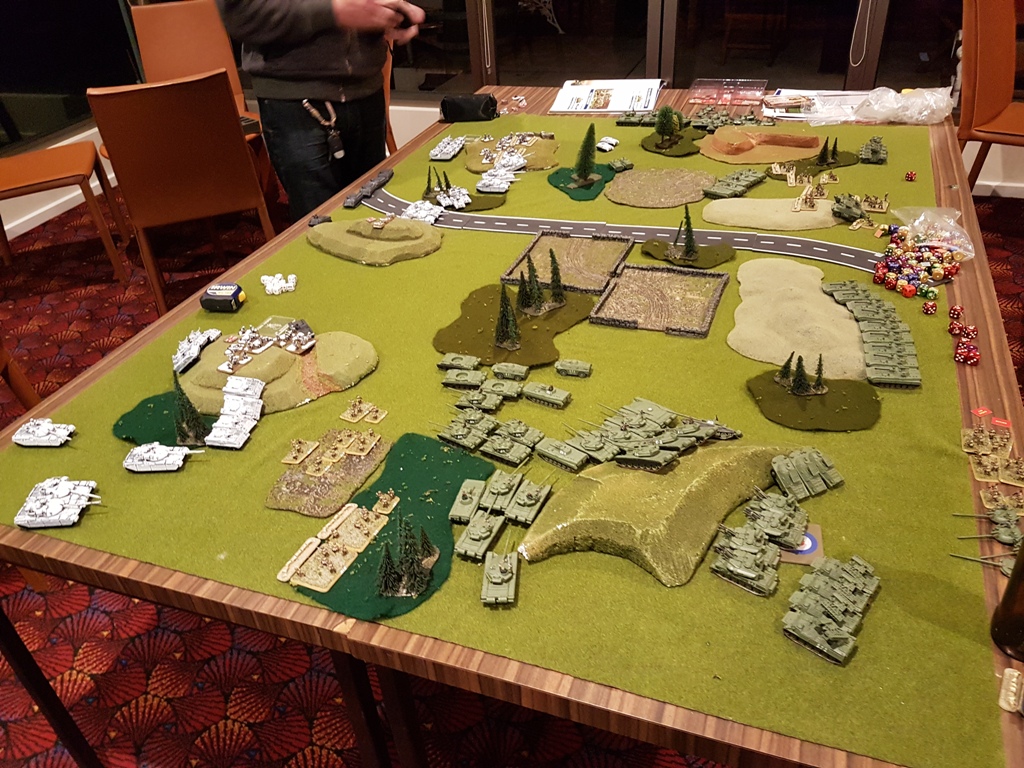
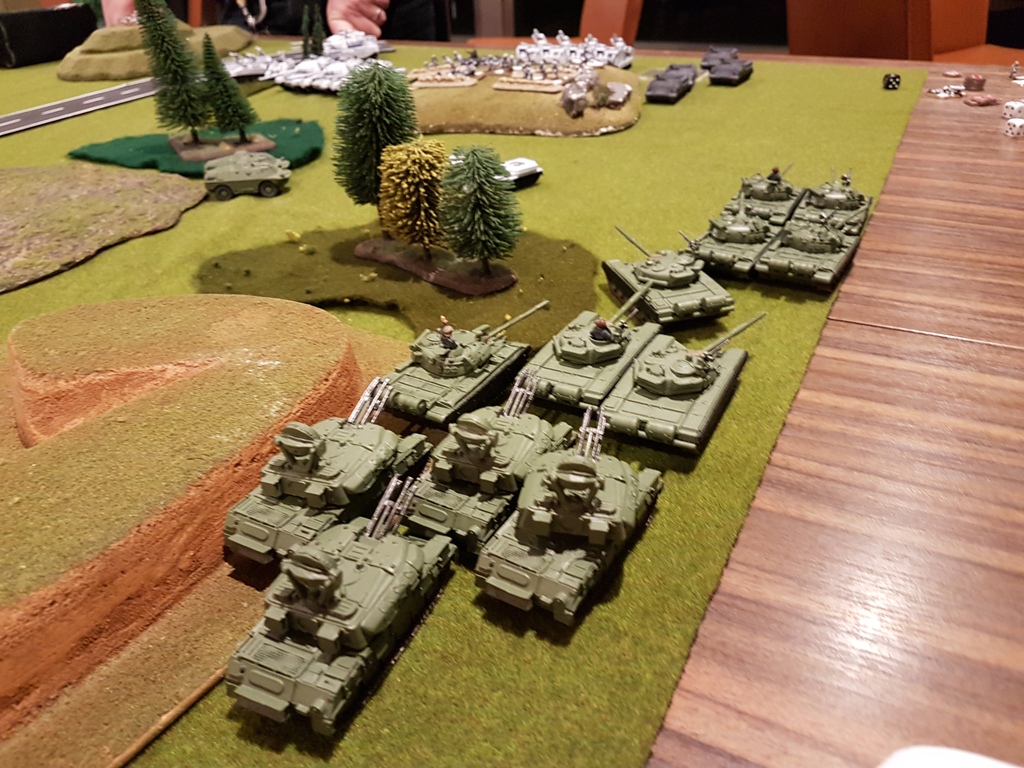
Now that the British had come forward it was time to spring the trap, all the Spandrels and BMP2s were in position and the T72s pushed into the gaps to line up the British tanks all down the line. Even average luck would see most of the British armour burning.
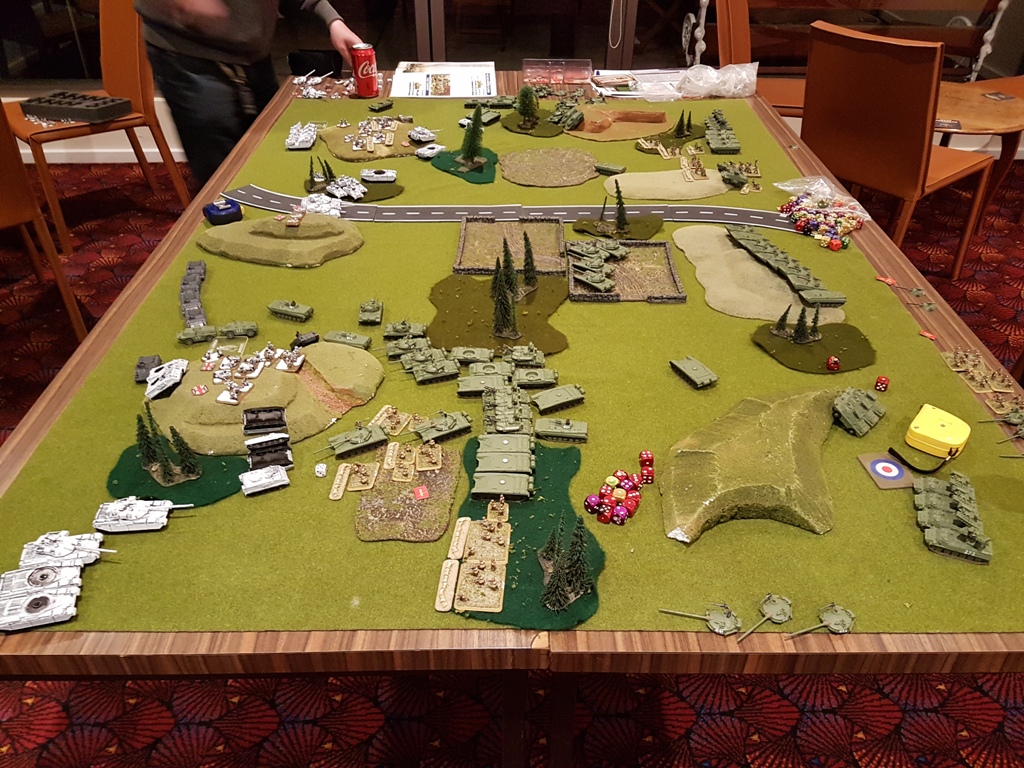
New Czech made 125mm anti-tank rounds for the T72s and AT-5 missiles loaded on the BMP2s and Spandrels had been received in the last supplies. Two weeks ago General Leadgend had been foiled by the actions of traitors and enemy agents in Czechoslovakia, and it had happened again! Of the missiles used most had failed to launch at all! The T72 shells bounced harmlessly off the British tanks! Only one had been destroyed and little other damage had been done to the British lines!
The British took advantage of the sabotage to return fire and destroy most of our T72s. The BMPs only took light casualties though, the heavy shells from the British 120mm guns passing straight through them without hitting anything important.

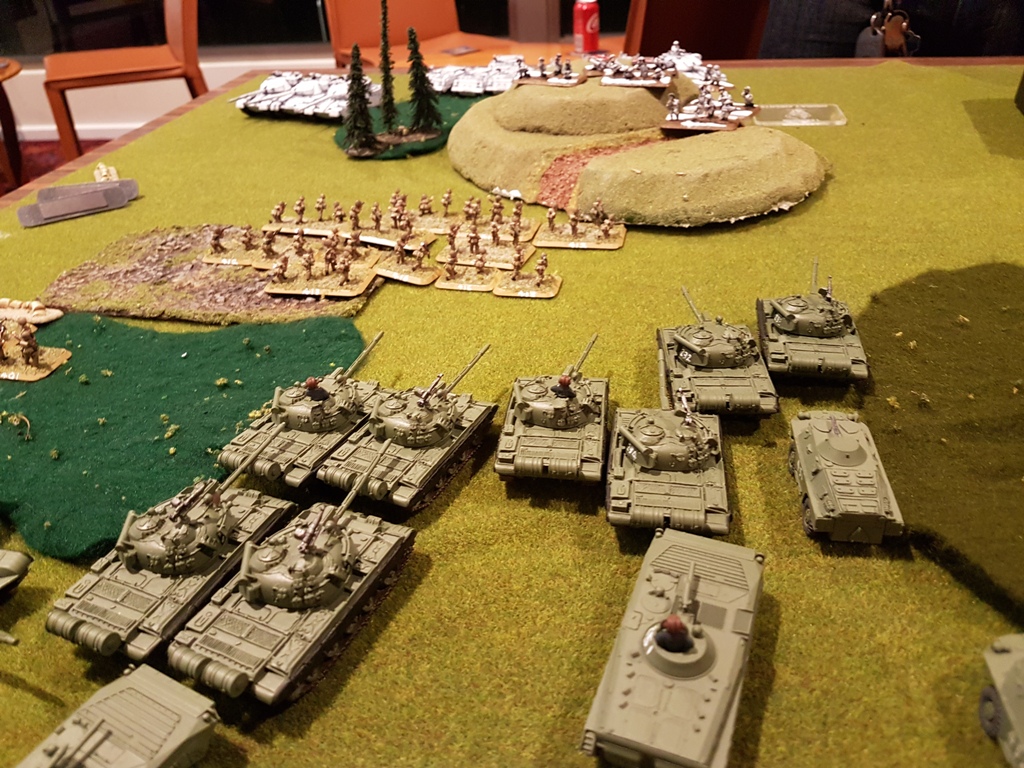
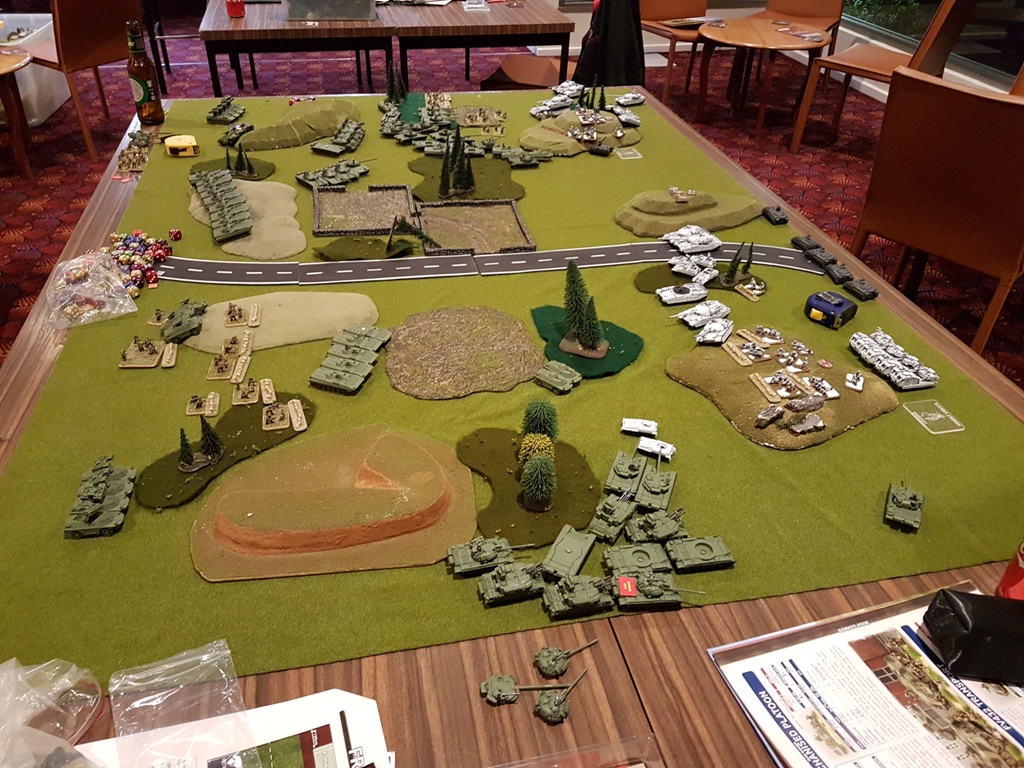
Fortunately the British concentration on the T72s had left our T55s free to push forward from the left flank towards the road and the exposed flanks of the British tanks of our right flank. The remaining T72s could position themselves to best effect in the gaps now cleared. On the right our overextended units pulled back. The call went out to all units to switch back to East German ammunition and now the British tanks were crippled by effective fire.
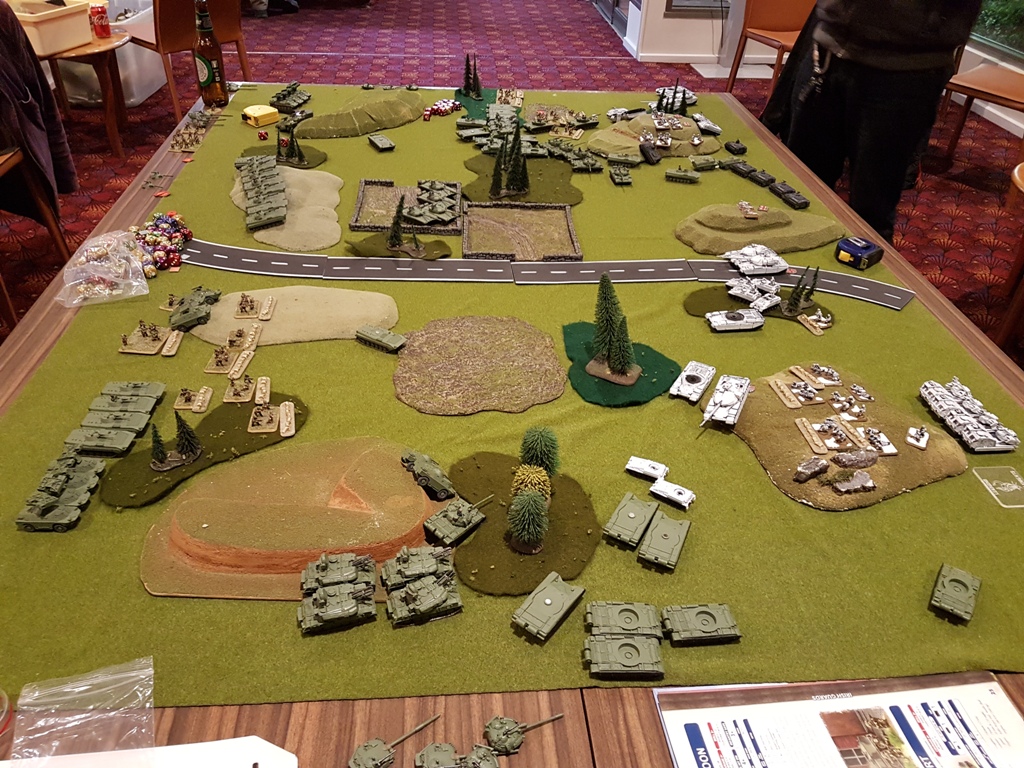
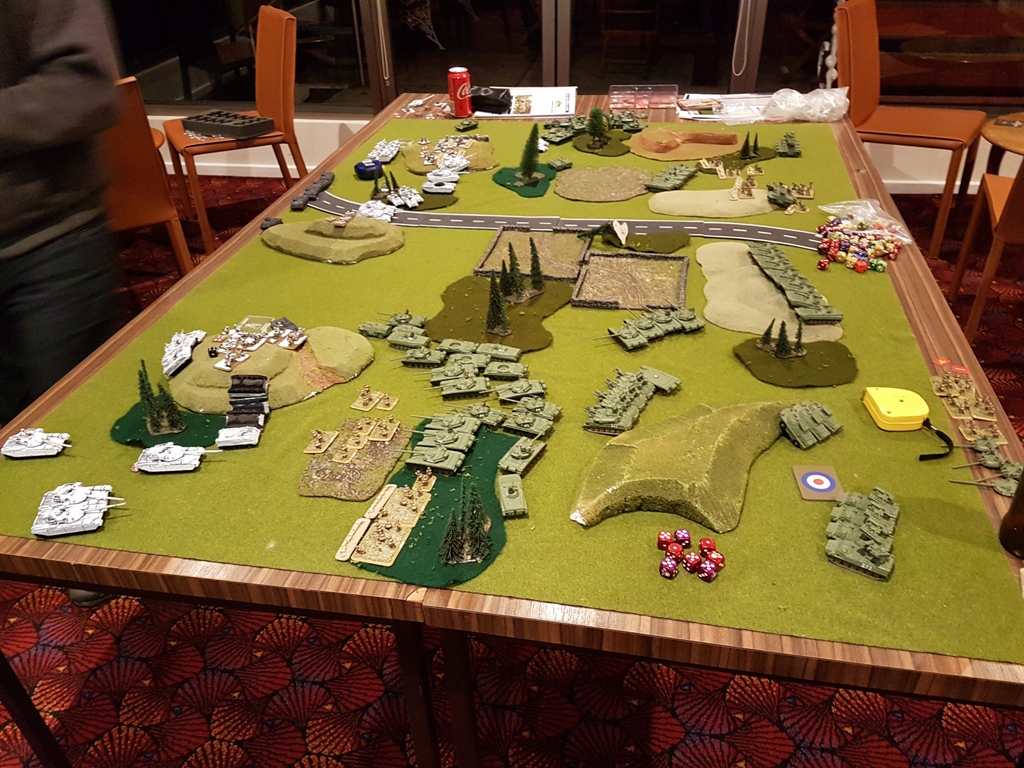
With the losses sustained the British Tanks lost heart and abandoned their infantry to their fate. All our available forces moved to fire on the British infantry on the left flank and churned the hilltop into dust. Our T55s then swept forward and cleared the hill and the remaining British forces turned and ran.
Battle Report Author
Opponent
Army Lists Used In This Battle
Recommend Commander For Commendation
Share this battle with friends
LeadgendWins

Great Warsaw Pact win.
Congrats on the victory mate! 😀
I have to agree with Leadgend. I brought Arty and a spotter once, I would rather have another unit of BMPs and INF
For smoke you need artillery. For artillery to be effective not firing smoke you need large units. Warsaw pact forces don’t get cheap large units. Therefore you don’t see pact artillery as there are better things to spend your points on.
NATO do get access to cheap large units of mortars and they have been used effectively but once you have artillery that is effective at killing stuff smoke becomes less attractive as there is usually a better target to be fired at.
Super report and well done victory
Another nice report, well done.
@Storm Caller – Limited smoke ammunition within the AO!
I have been reading up about smoke, but haven’t had the chance to use it yet.
+++
If you aren’t attacking you are not winning.
Spasibo for bringing a victory in this Dogfight Comrade!
+++
Great report and congrats on the win.
Great report,
Why aren’t commanders using smoke?
At the Monday Knights Wargames Club. Look at the clubs list. It’s the one with the most members. 😉
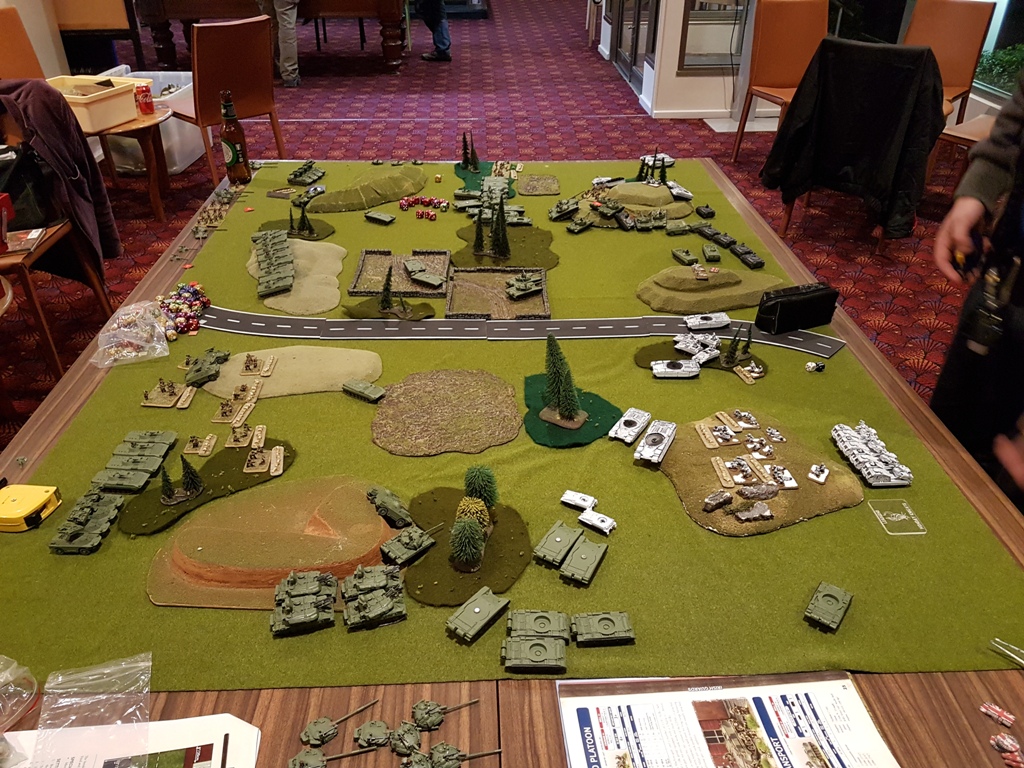
Nice report! Cool table. Where are you guys playing?
Nice one