Fought At Hamburg
2441 days 22 hours 54 minutes ago
Battle Report
Hamburg Surprise
View Linked Report - CLICK HERE 100 POINTS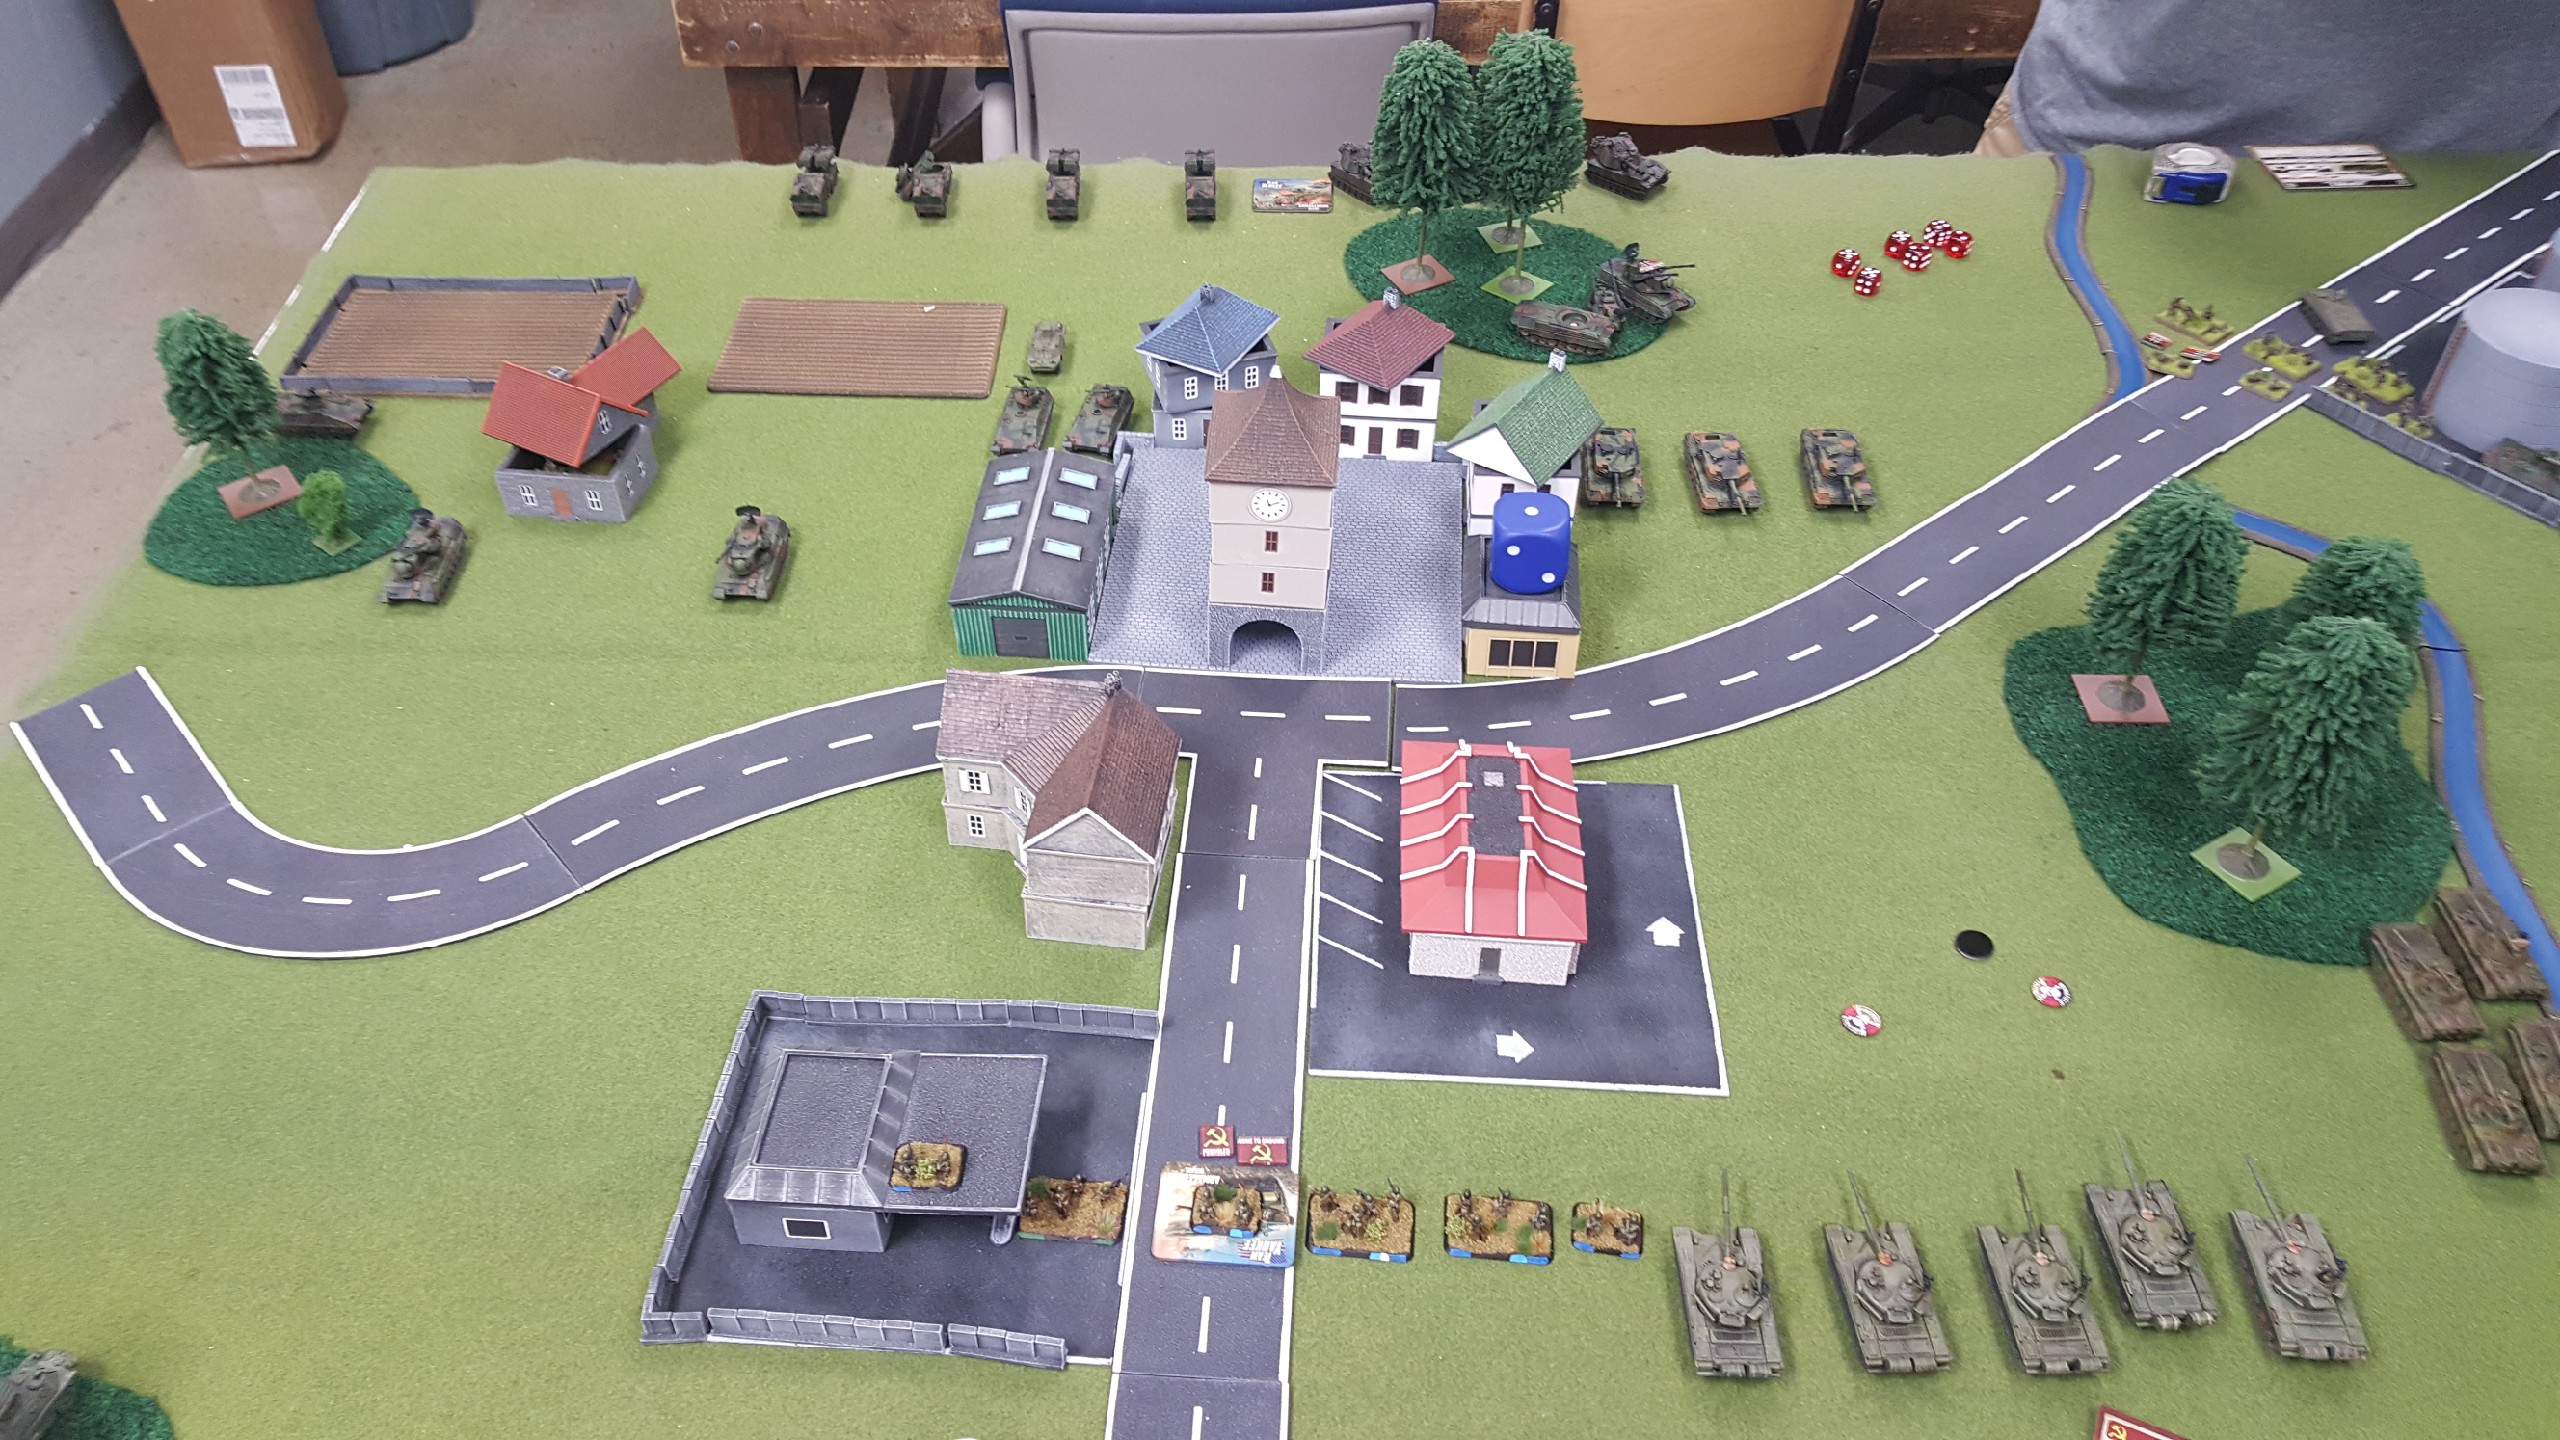
Second go around with this,
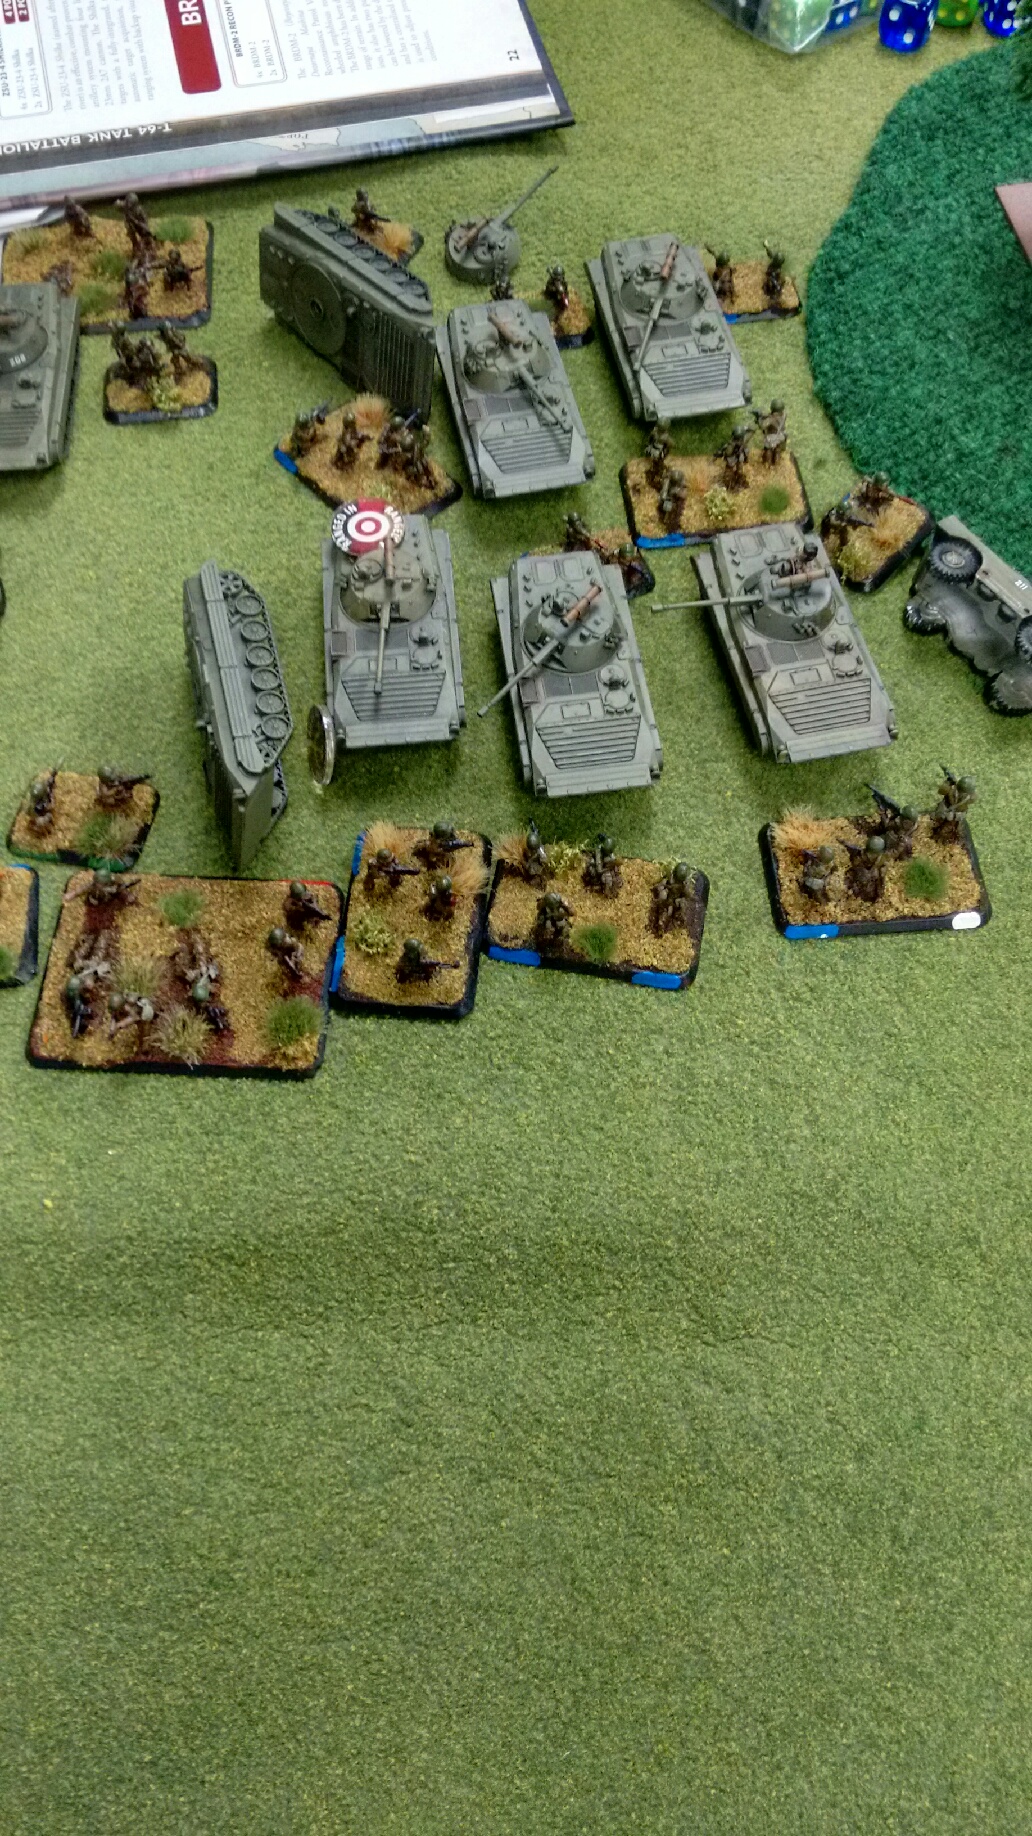
I had two formations a BMP2 Infantry and a BMP1 Formation. Took Spandrels and put them on the Left flank, Parked some infantry on an objective on my end. The plan was to swarm the right flank with BMP 2 first trying to take a objective on that side of the table. Artillery played a huge role in the game, slowing down my infantry and cusing me to dismount early.
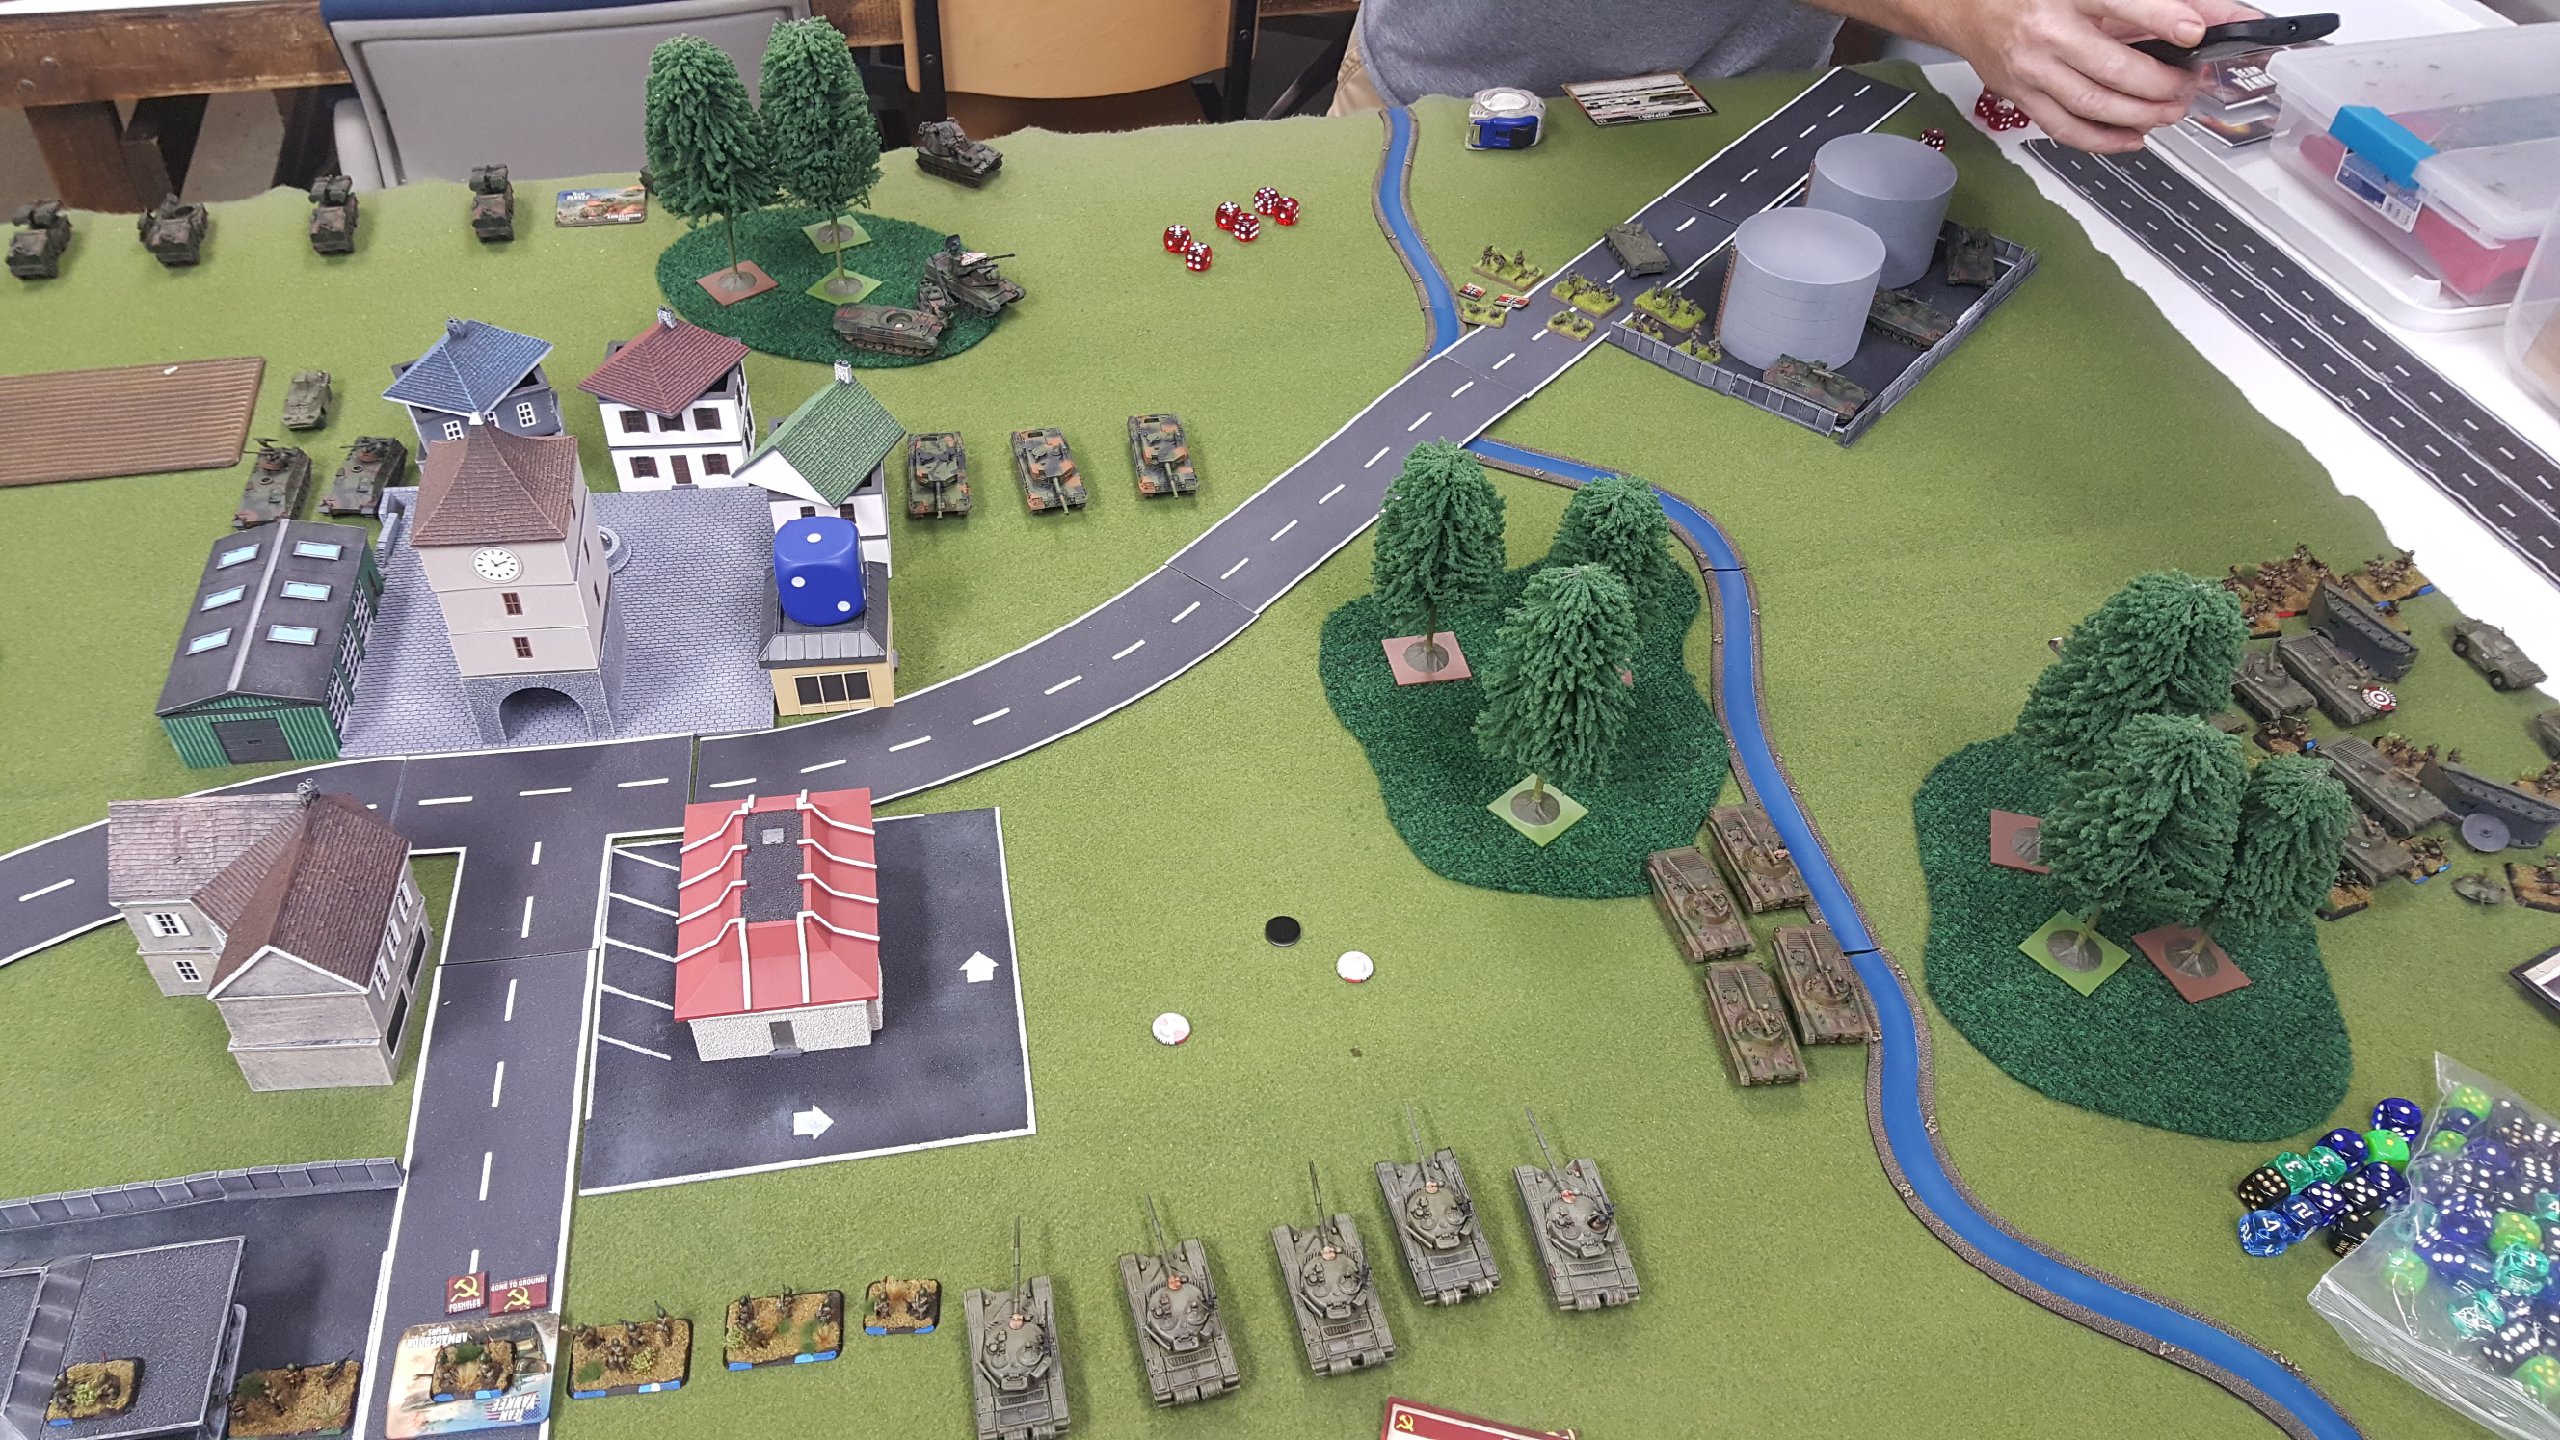
T72 in the center were not effective and dies in the second or third round, Left flank was trading shots with Marders and Gepards the Spandrels eventually lost.
Reinforcements showed up and I parked the tanks in the center again ( bad idea) ad tried again to rush the right side with BMP1's. End result I had to call it early and he was able to take my objective.
Takeaways: Kill arty, Kill Gepards and roll better.
Battle Report Author
Army Lists Used In This Battle
Recommend Commander For Commendation
Share this battle with friends
RampagingGameraWins

Always roll better 🙂
annoying as crap, I posted text and thought it saved.
Nice pictures, but some text can go a long way, even just image captions. Good work!
@gandri those are BF carparks, email me lochmoigh gmail and I can tell you how I made some.
May i ask how did you make the car parks ?
It should, you set it up.
That looks like a lovely table!
For Warsaw Pact, Poorly. I need to advance more and not worry about trading shots. W Germans are no joke though. I did file an after action report. We were doing a Hasty Attack and I failed to take an objective.
Very nice armies and scenary, how did the game go?
Will there be an after action report? 🙂
Did you get any units of the table?