Fought At Niederbayern
2427 days 14 hours 17 minutes ago
Battle Report
Bruder gegen Bruder
60 POINTSJust a short report from me here.
My good friend Frederik and I wanted to get a quick game in to let him experiment a bit with the West Germans he's working on. As he didn't have quite the luxury of choice regarding army composition, he went with a force not quite as well-rounded as he would have liked. Nonetheless, he's grown tired of the defensive posture of his British force, which I can definitely understand.
As we didn't have much time, we decided to sample one of the new Quick Missions, rolling up Capture the Bridge. We'd already set up the table, but quickly added a river and makeshift bridge (boggy ford) just beside the town we'd set up.
In creating my list, I wanted to get as many hulls on the table as possible, but also give myself a bit of air support. With an addition of 5 T-55s, this gave me a few more choices than I'd had before.
DISCLAIMER: I took a few pictures, but decided it wasn't doing much for me because the room was rather dimly lit. I'll put in a few, but I really just wanted to give a quick run-down rather than an epic narration.
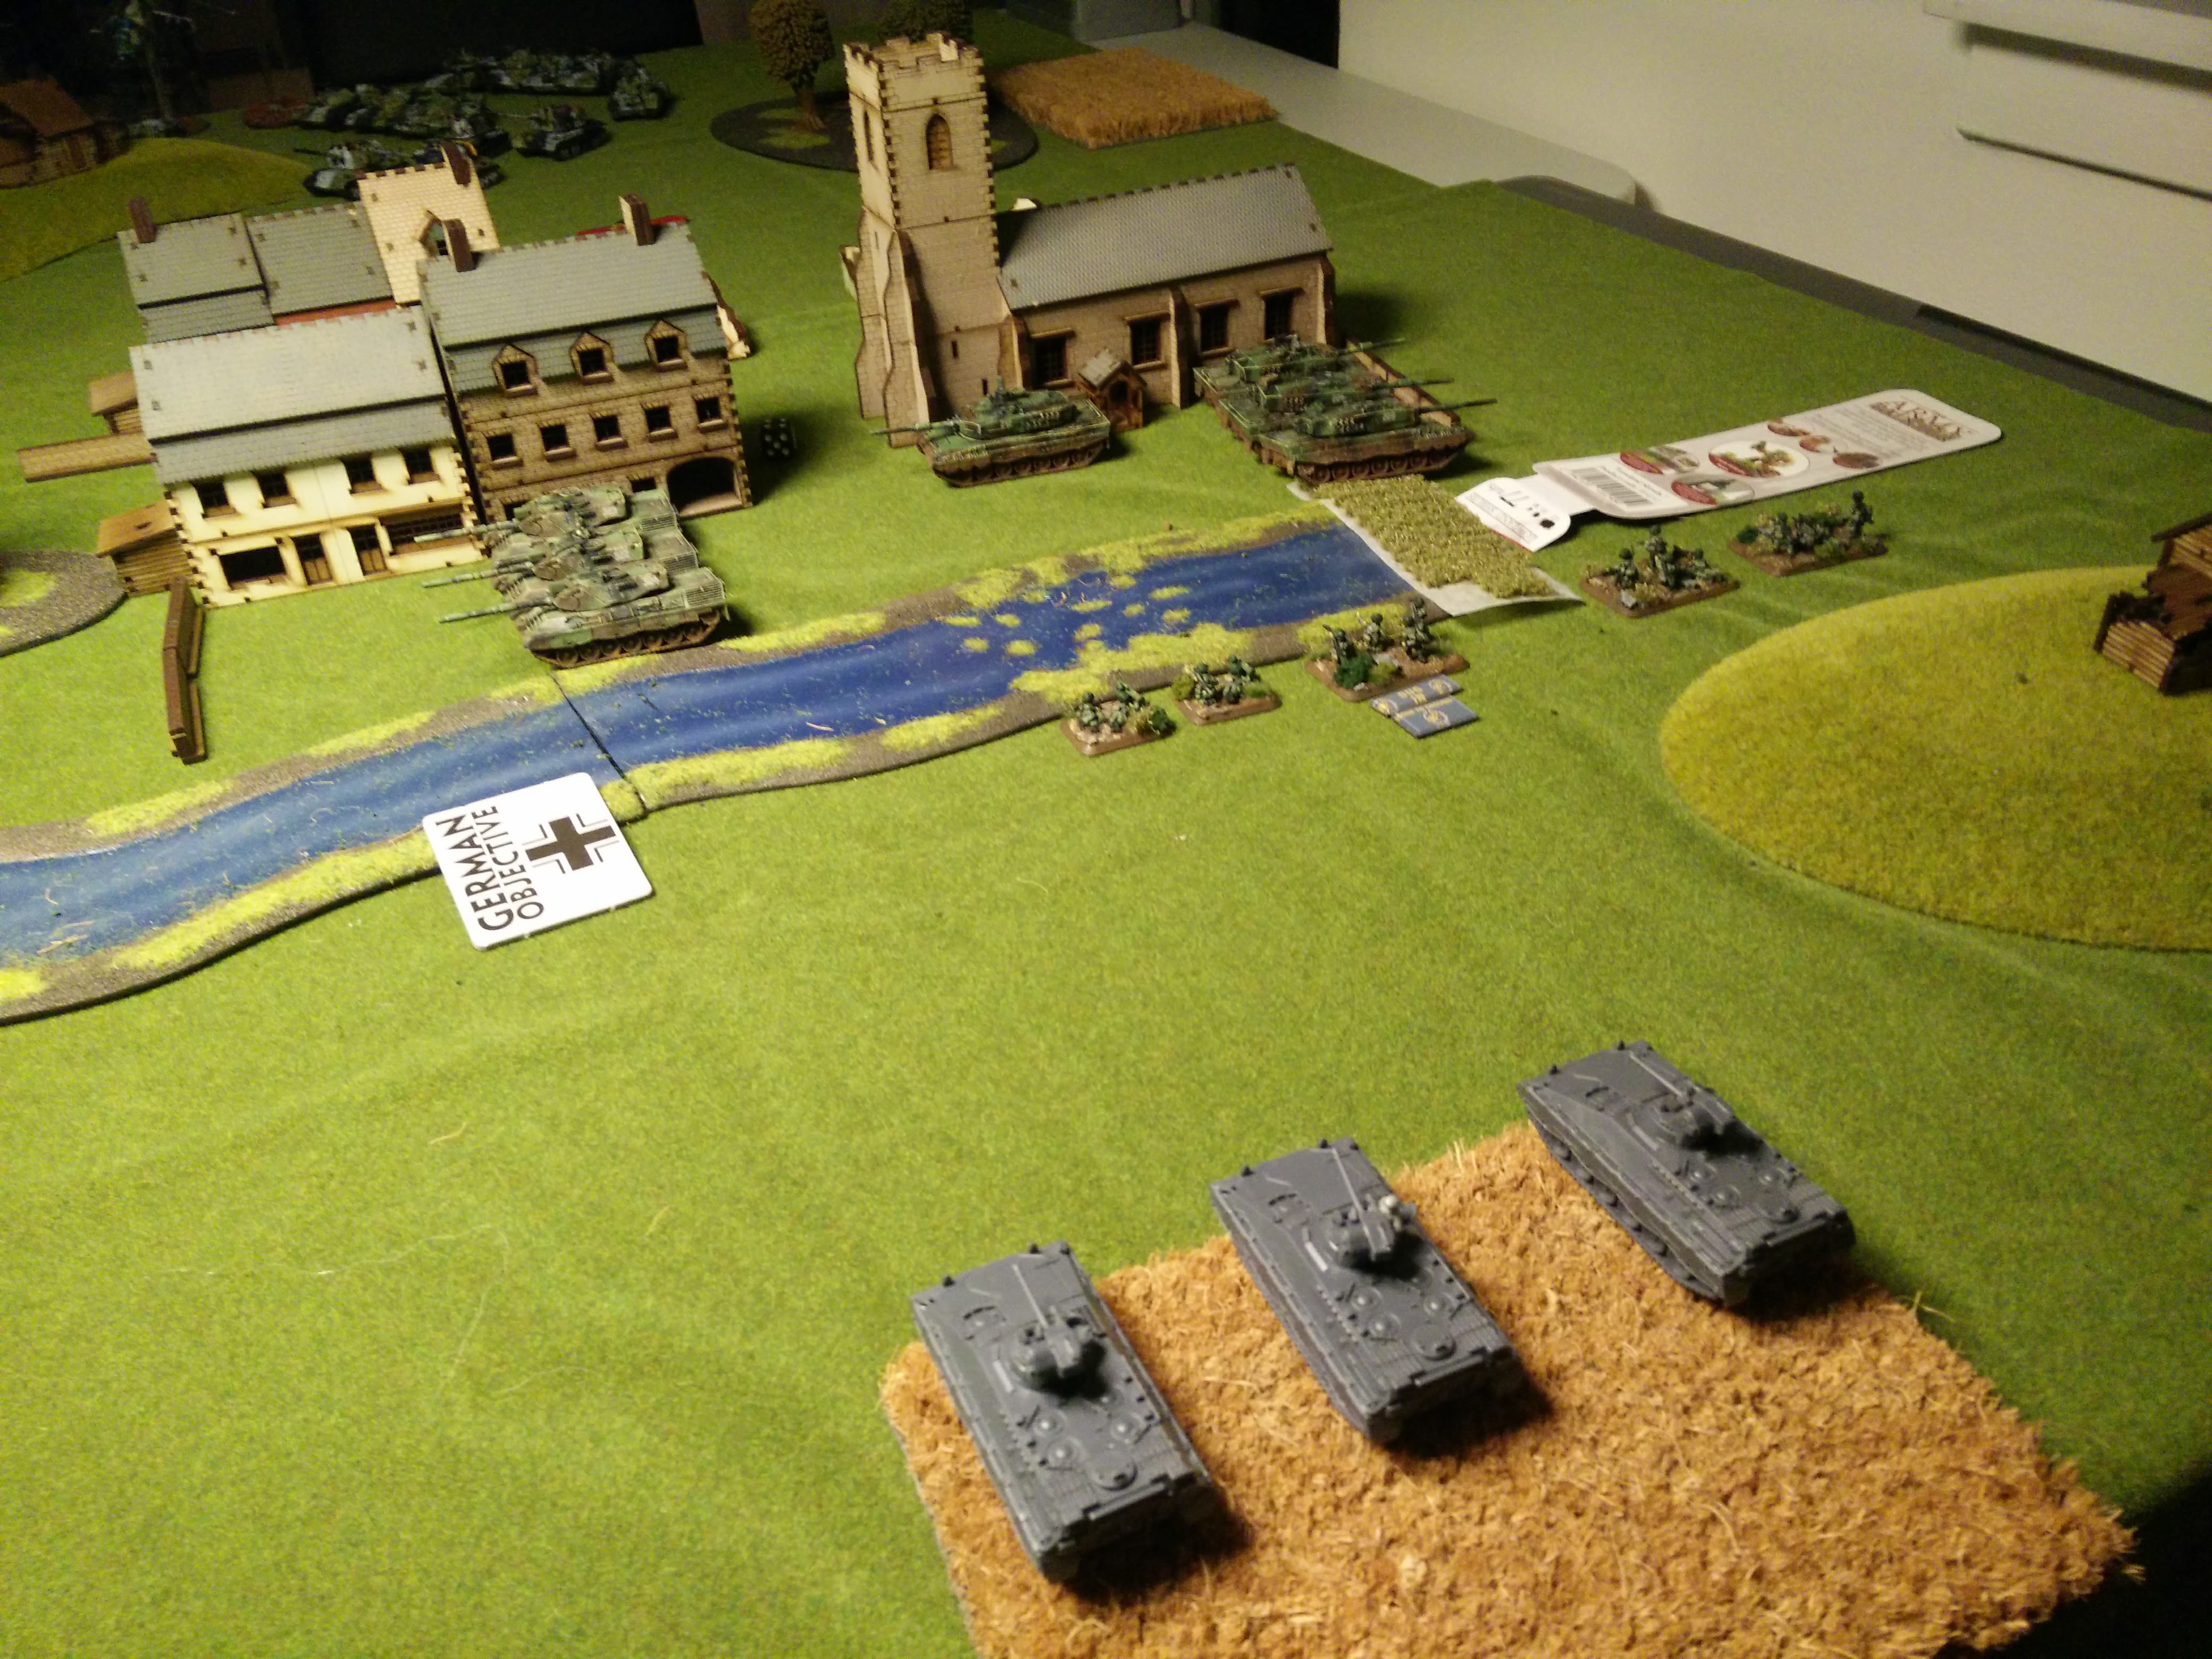
Frederik deployed his fearsome tanks behind the large buildings near the town, with Leo 1s and 2s covering each side of the buildings, whereby I would have to face the business ends of Leopards if I was to go for the bridge. On the far side of the bridge the Panzergrenadiers were dug in, with their Marders covering them from a nearby field.
I sent my Shilkas, my 4 T-72s and Spandrels into Flanking Reserves.
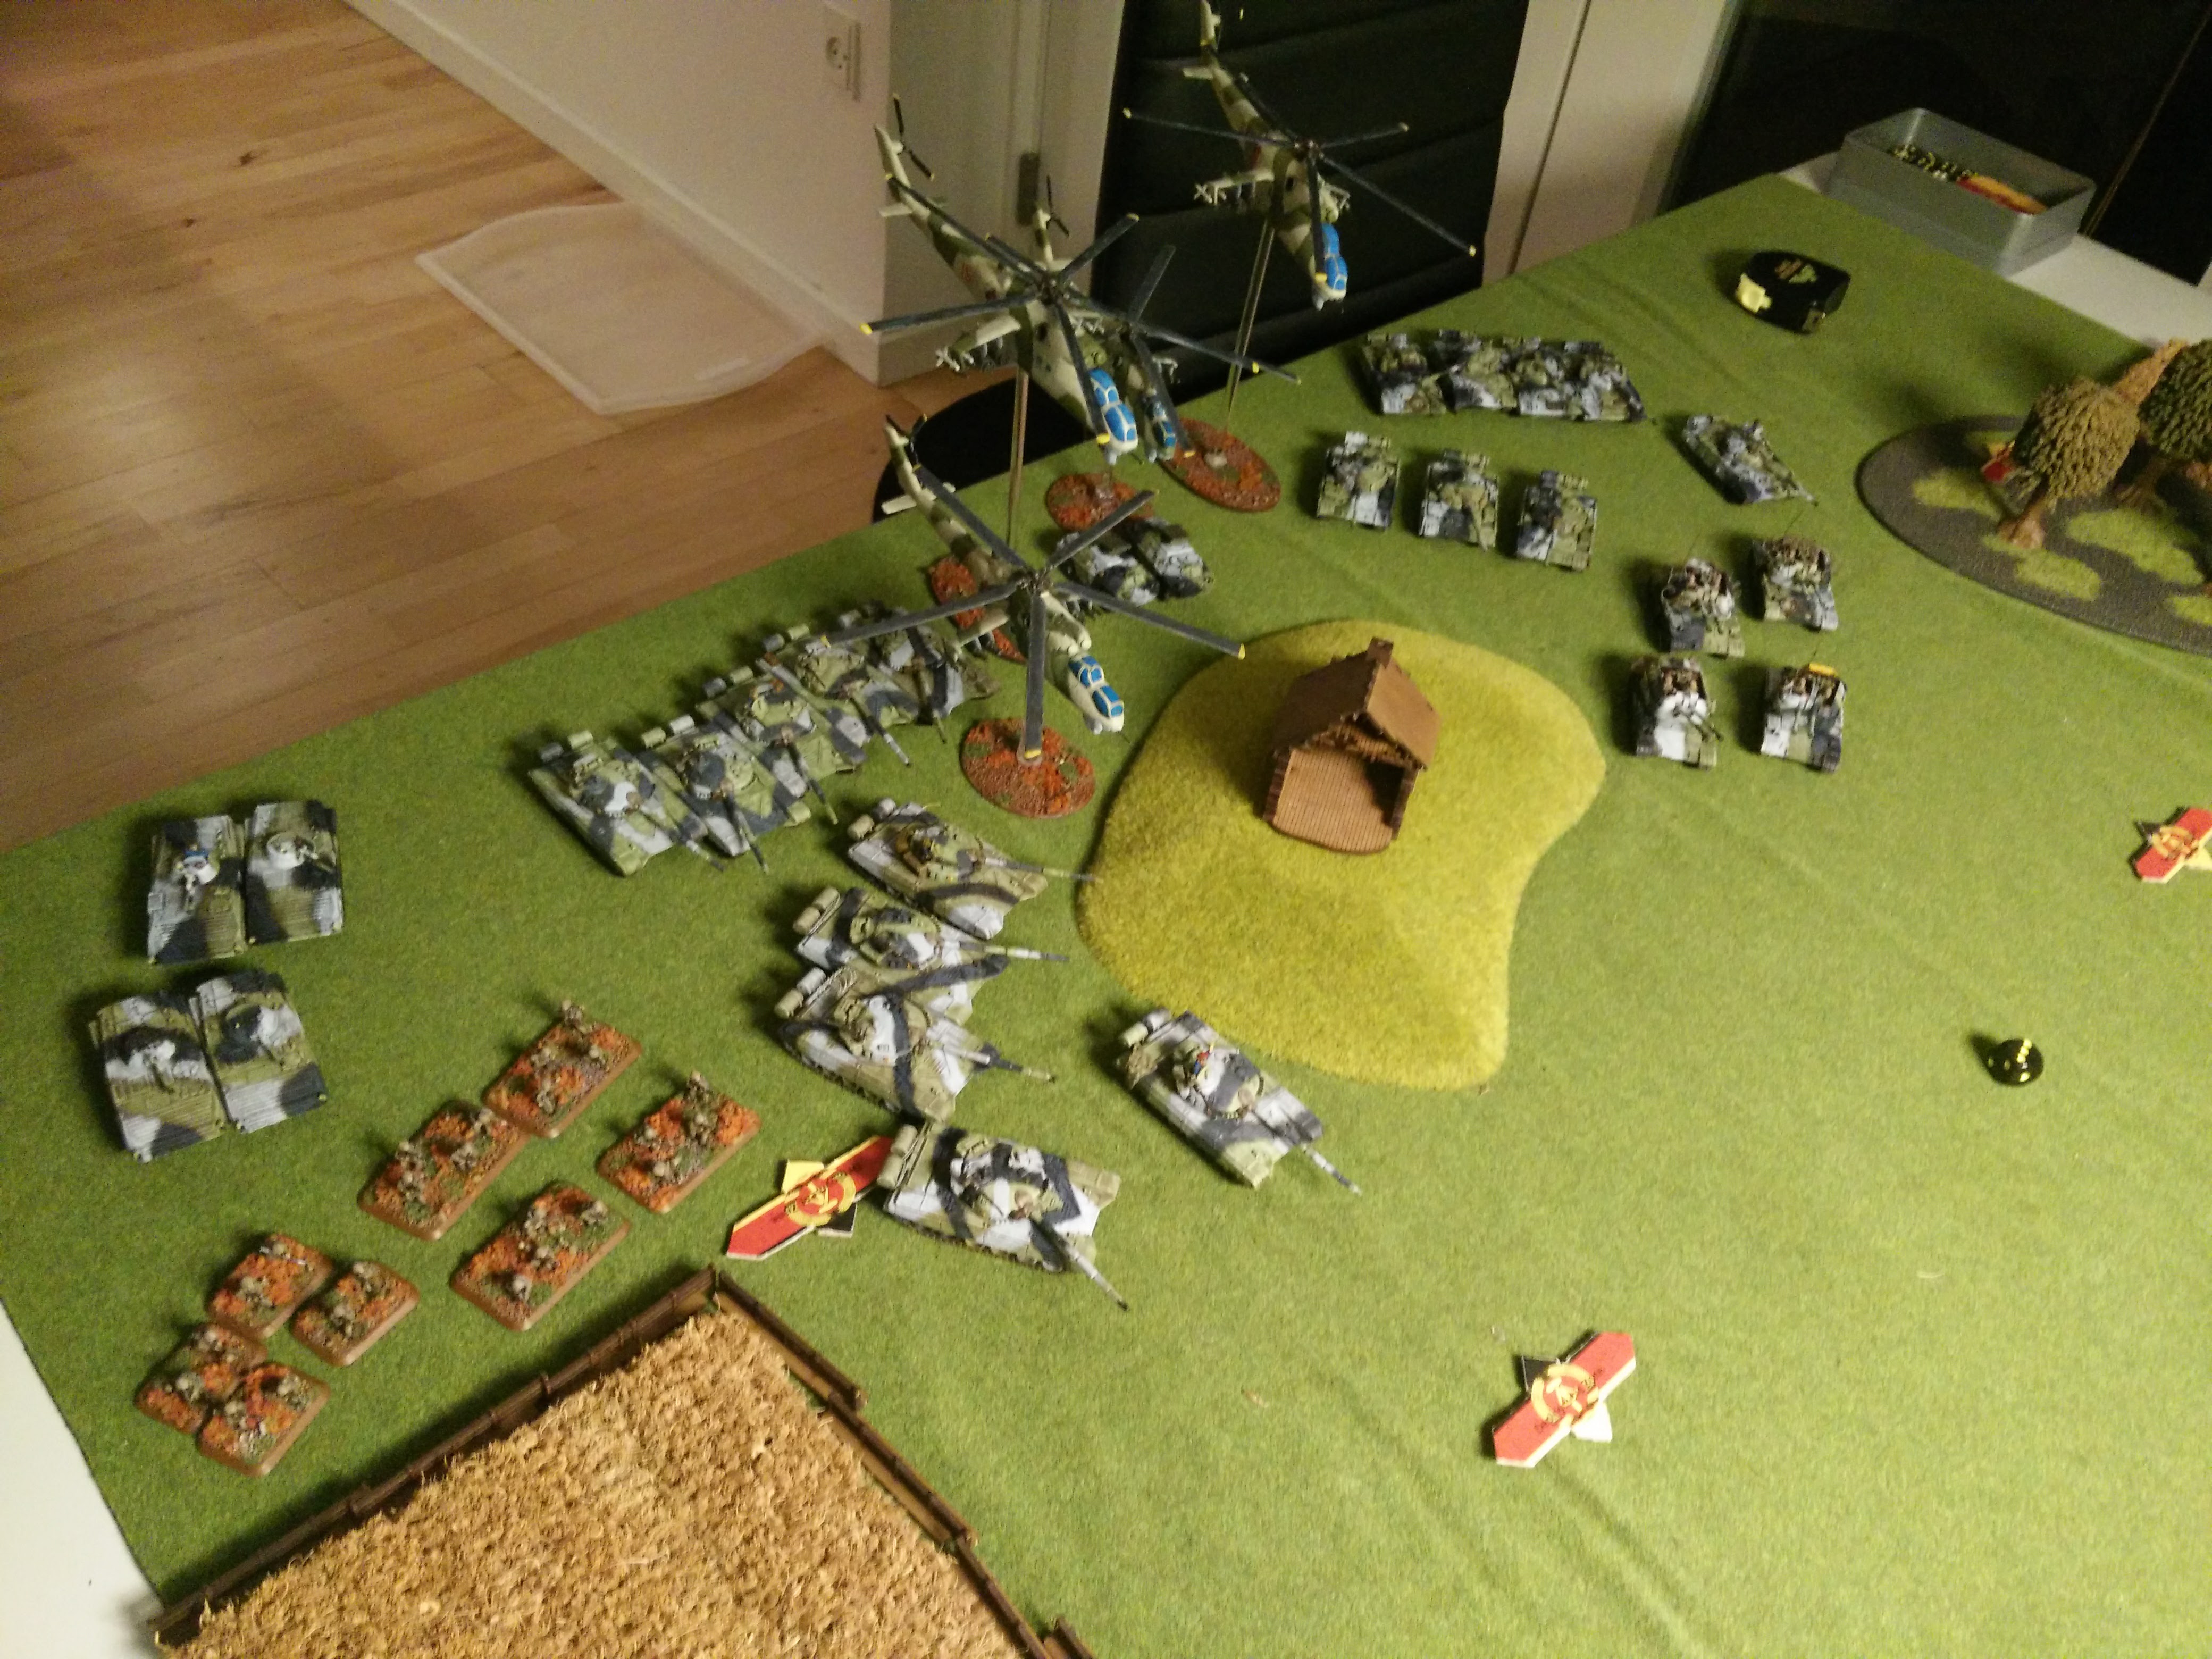
The T-55s were all relegated to a flanking maneuvre along the left flank, and taking sniping shots between the town buildings. The 5 T-72, commander and BMP-1s Spearheaded into a nearby wood with sightlines into the West German positions. The Landing Company were deployed between the two, aiming at the buildings.
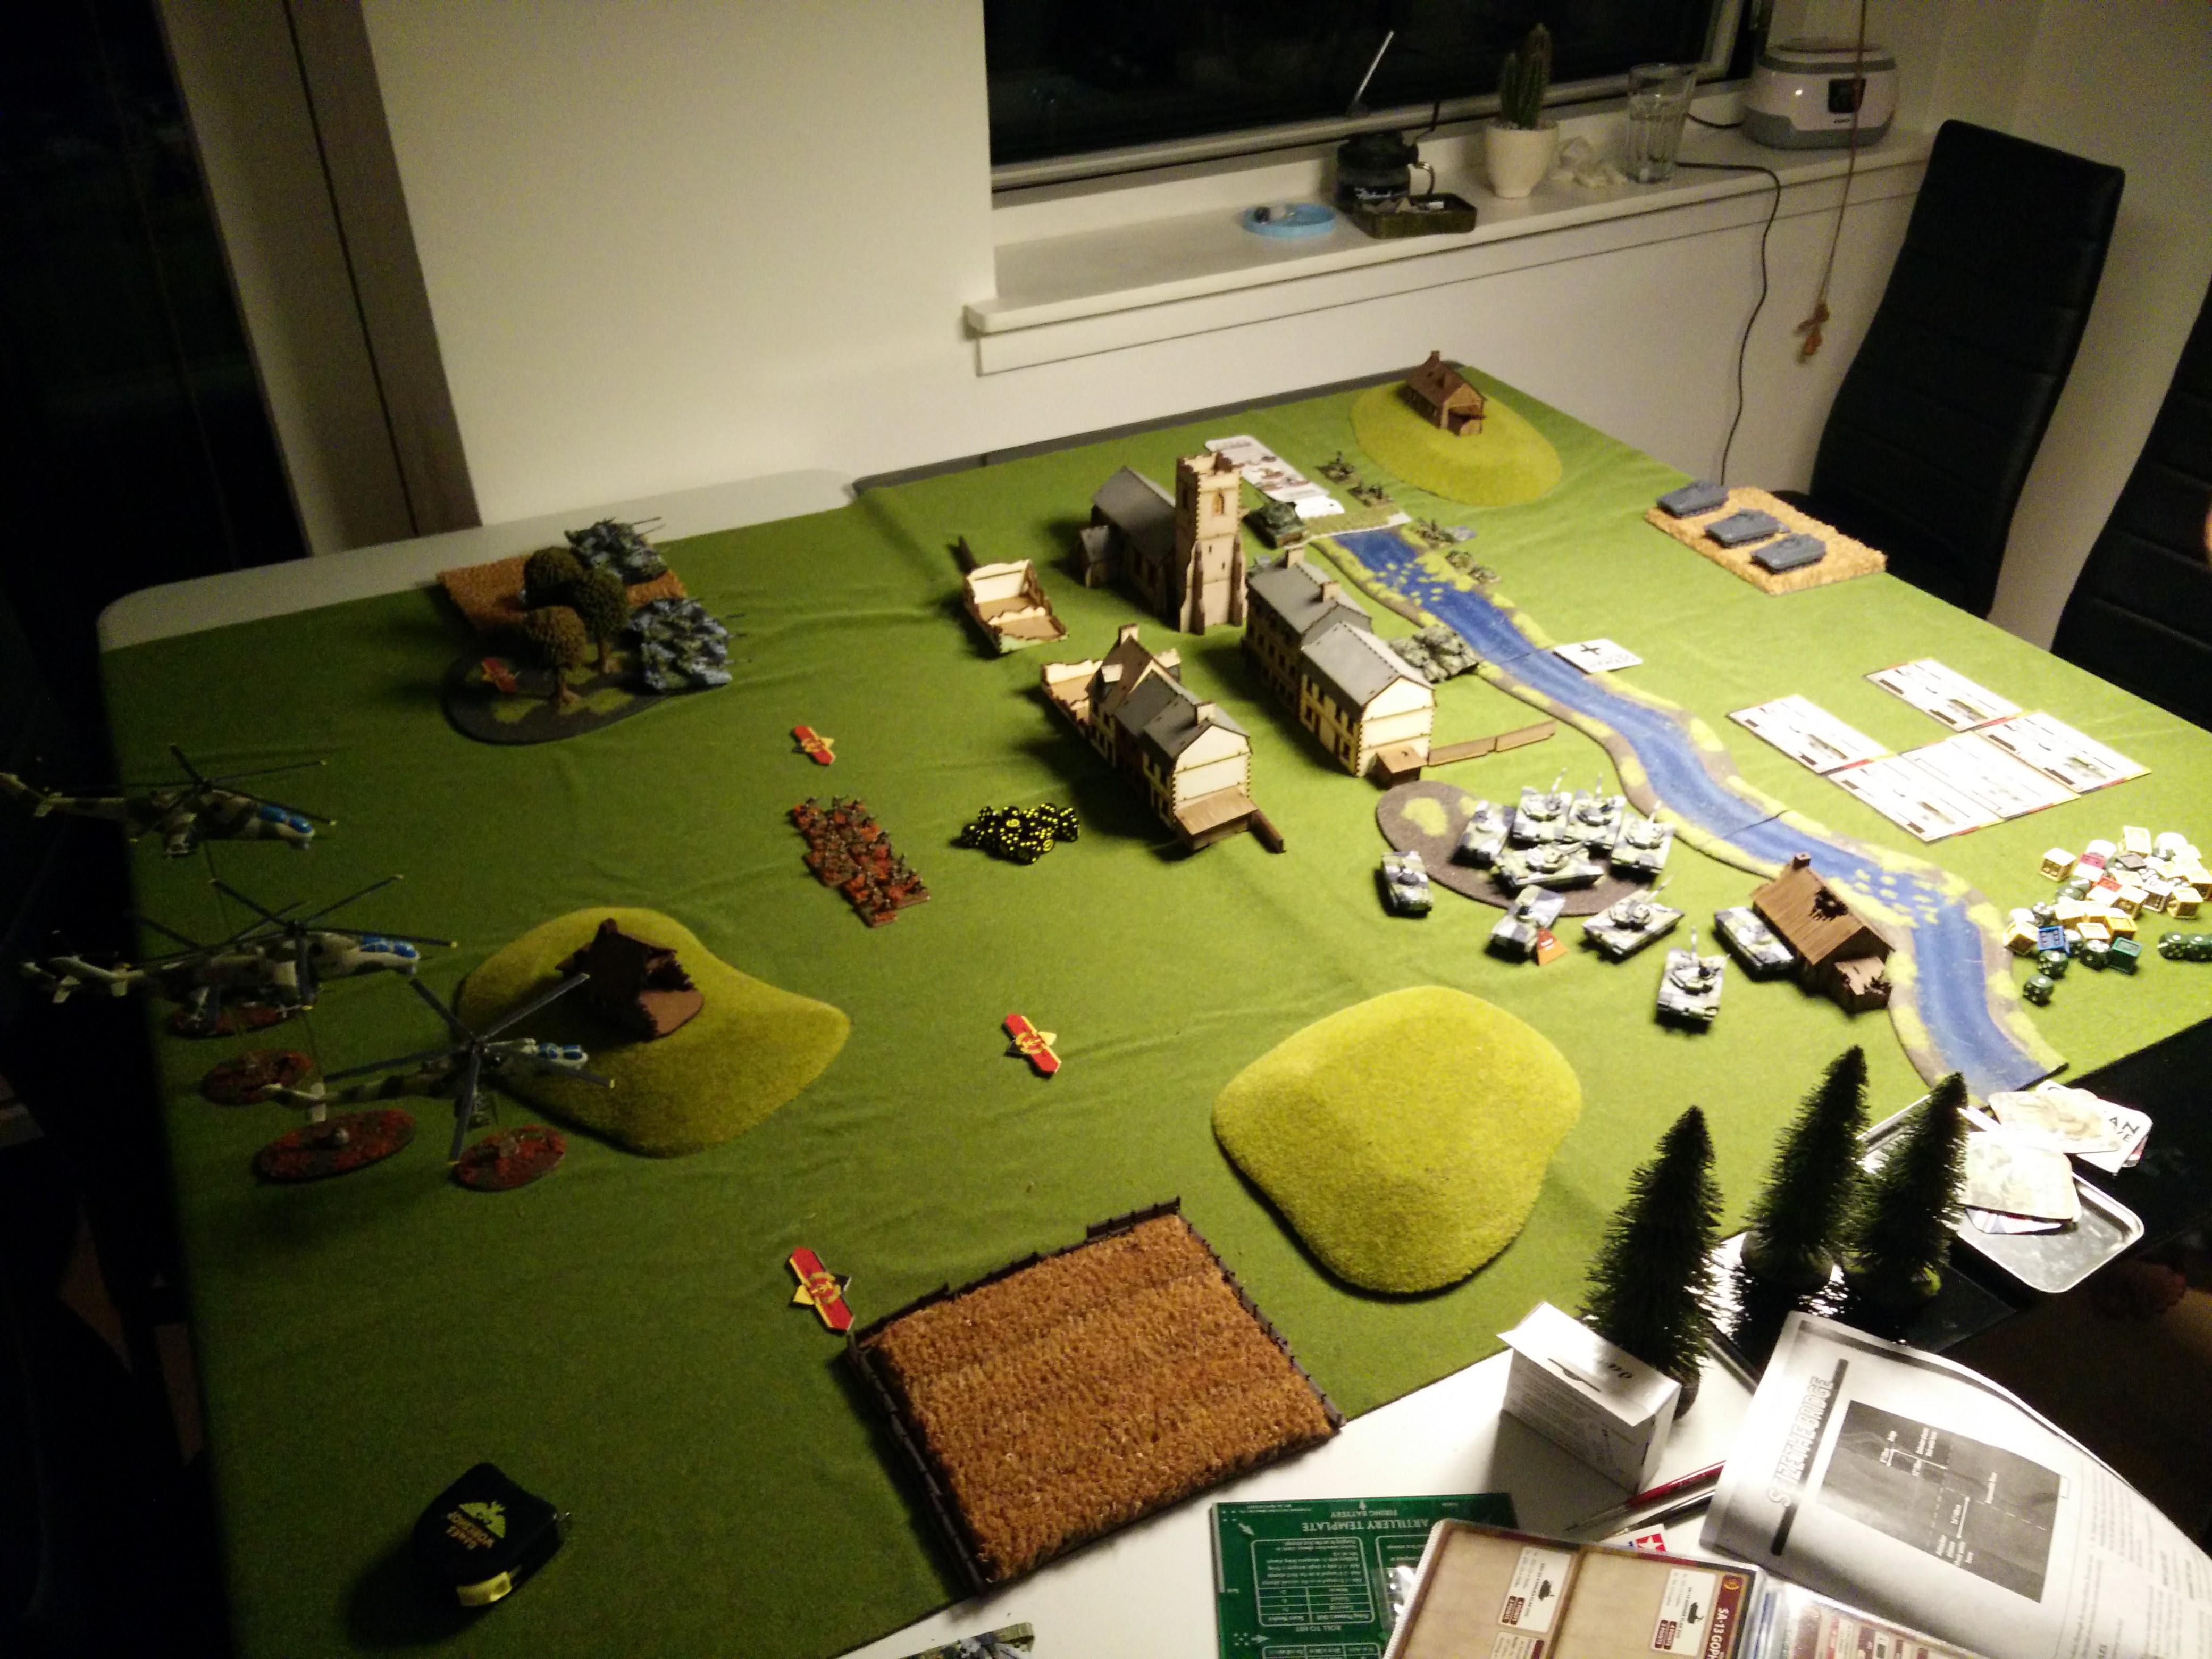
 West German deployment. Perspective opposite to the last photo. Marders in the foreground, Leos in front of buildings. Panzergrens in front of river. (white paper stands in for the last section of river). Right side of the picture features "left flank", where my T-55s would advance. Ignore the objective marker, this was used to denote Deployment area. Bridge imitated by grassy bog crossing the river.
Turn 1 saw me get 0 reserves, advance cautiously on the left, take a lucky sniping shot with a T-55 into the rear of a Leo 1 and destroying it, and opening up with my spearhead (aiming at the furthest Leos rear armour) to no avail. My Hinds arrived, braved AAMGs, and bailed 2 Leo 2s.
Frederik remounted everything, and made a number of repositioning moves that removed focus on the left flank, and positioning one Leo 2 on the bridge, before lighting up 2 T-72s and bailing 1. I used the battalion commander and managed to pass unit morale.
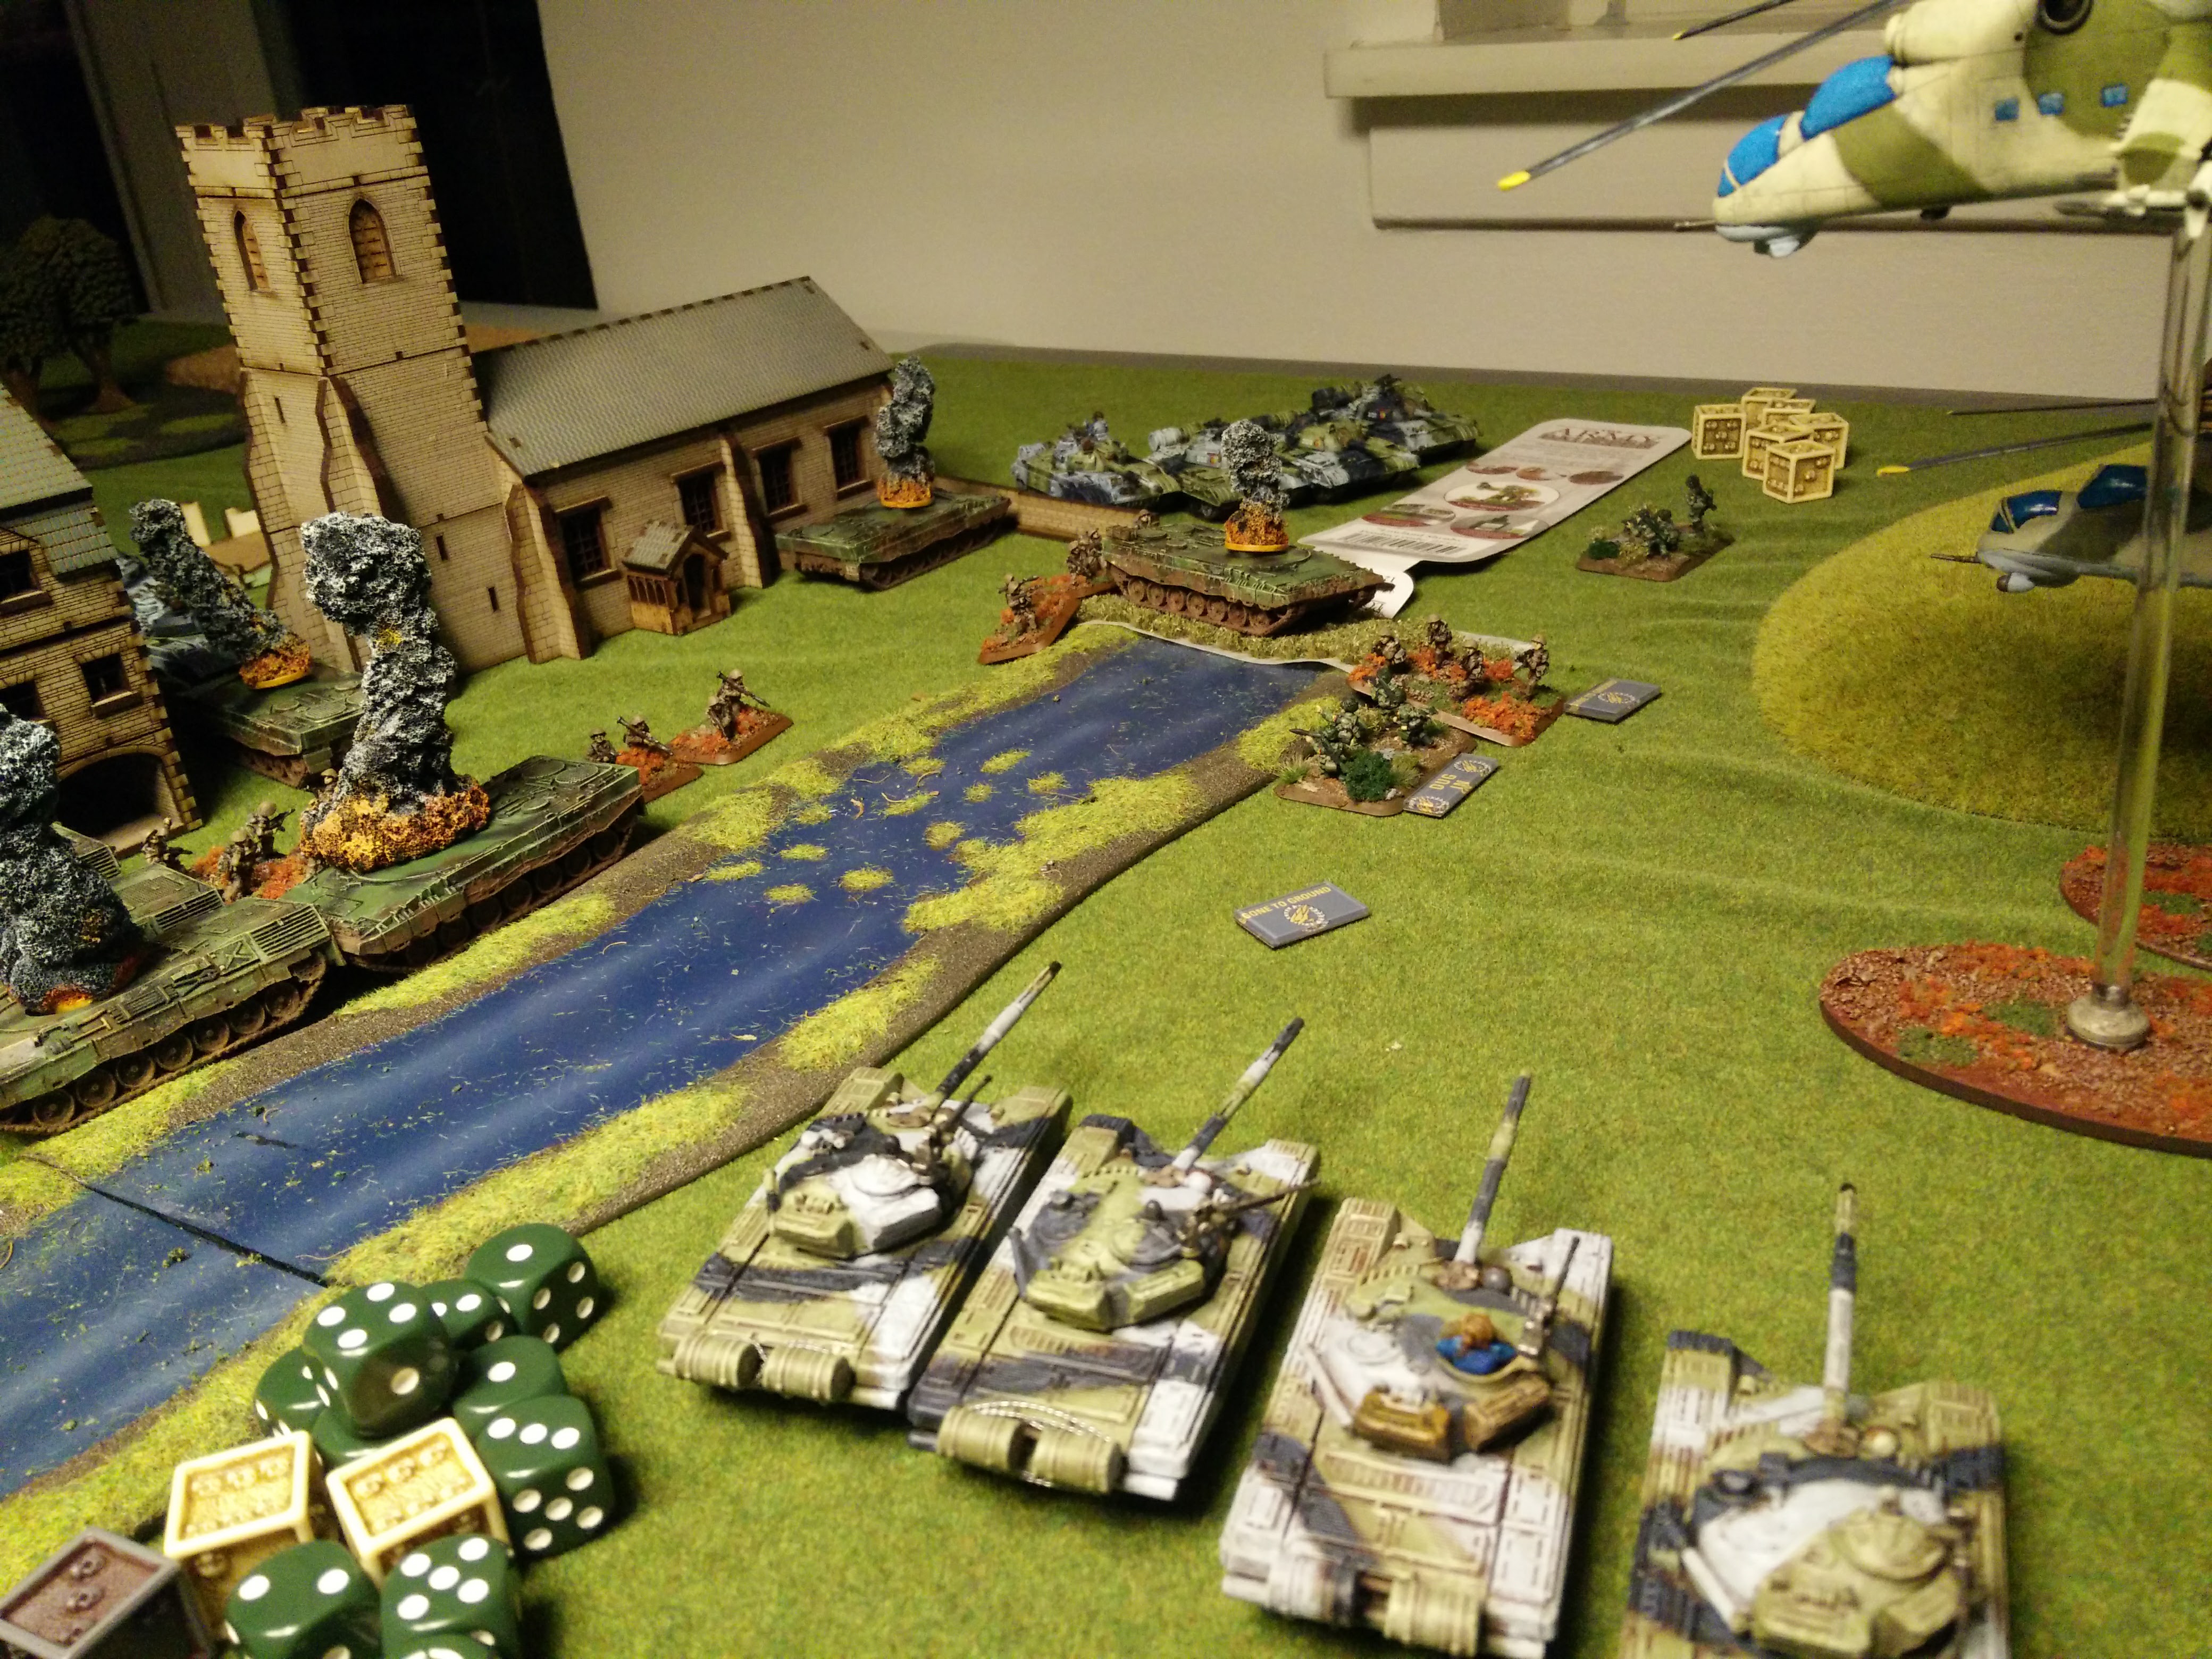
Turn 2 still gave no reserves, I remounted my T-72. The 3 T-55s were joined by the battalion commander and made their Blitz move, which along with their Tactical move was able to carry them into sight of the Leo 2 on the bridge. They managed to hit rear armour despite Slow Firing, and destroyed the Leo 2. The 4 T-55s were also lucky with their hits despite Slow Firing, managing to score a hit and a kill on a Leopard parked between two buildings. The Hinds opened up and destroyed another Leo 2, whilst a BMP-1 got lucky with it's main gun and destroyed a Leo 1. My infantry reached the buildings and shit RPGs out of the windows, destroying another Leo 1. The Spearheading T-72s caught the rear of a Leo 2, and managed to destroy it. By the time the dust settled, all the Leos were out of action.
Frederik played a defensive turn to cause me some casualties with the Milans, and took out a T-72. Another had remounted, so I didn't need to roll Morale this time.
The next few turns saw my reserves arrive and manage to take out the Marders, before I was able to pin down the Panzergrens and assault them over the bridge with a few stands of infantry. My T-55s and even T-72s hadn't been able to dug them out over 2 turns.
I missed with my swing, but they failed Counterattack, and would fail Formation Morale at the beginning of the next turn.
A fun game that I thought would be almost impossible for me to take, as Frederik cleverly used the buildings to shuttle me into narrow corridors, and my Hinds didn't perform as well as they have done in the past. A few lucky rolls were able to save the day though.
A learning experience for us both, Frederik was confirmed in his belief that quantity has a quality all of its own.
Battle Report Author
Recommend Commander For Commendation
Share this battle with friends
Major Arnold BraunschweigerWins

Yeah the paintjob look very good, especially the whole army together.
Superior job on the report and in the outcome. Nice paint jobs.
I see what you mean about the lighting, oh well, good report!
Well done, I would even think this mission was extra hard on the T-55. But you pulled through.
A good AAR (After Action Report)
I love the Volksarmee colours you have 🙂
It was quick battle report but nicely summarized. I would like to see more pictures next game, and maybe a photoshoot of the actual army as a whole on a nice parade photo!
Nice paint jobs