Fought At Hamburg
2435 days 8 hours 4 minutes ago
Battle Report
Disaster at Hamburg
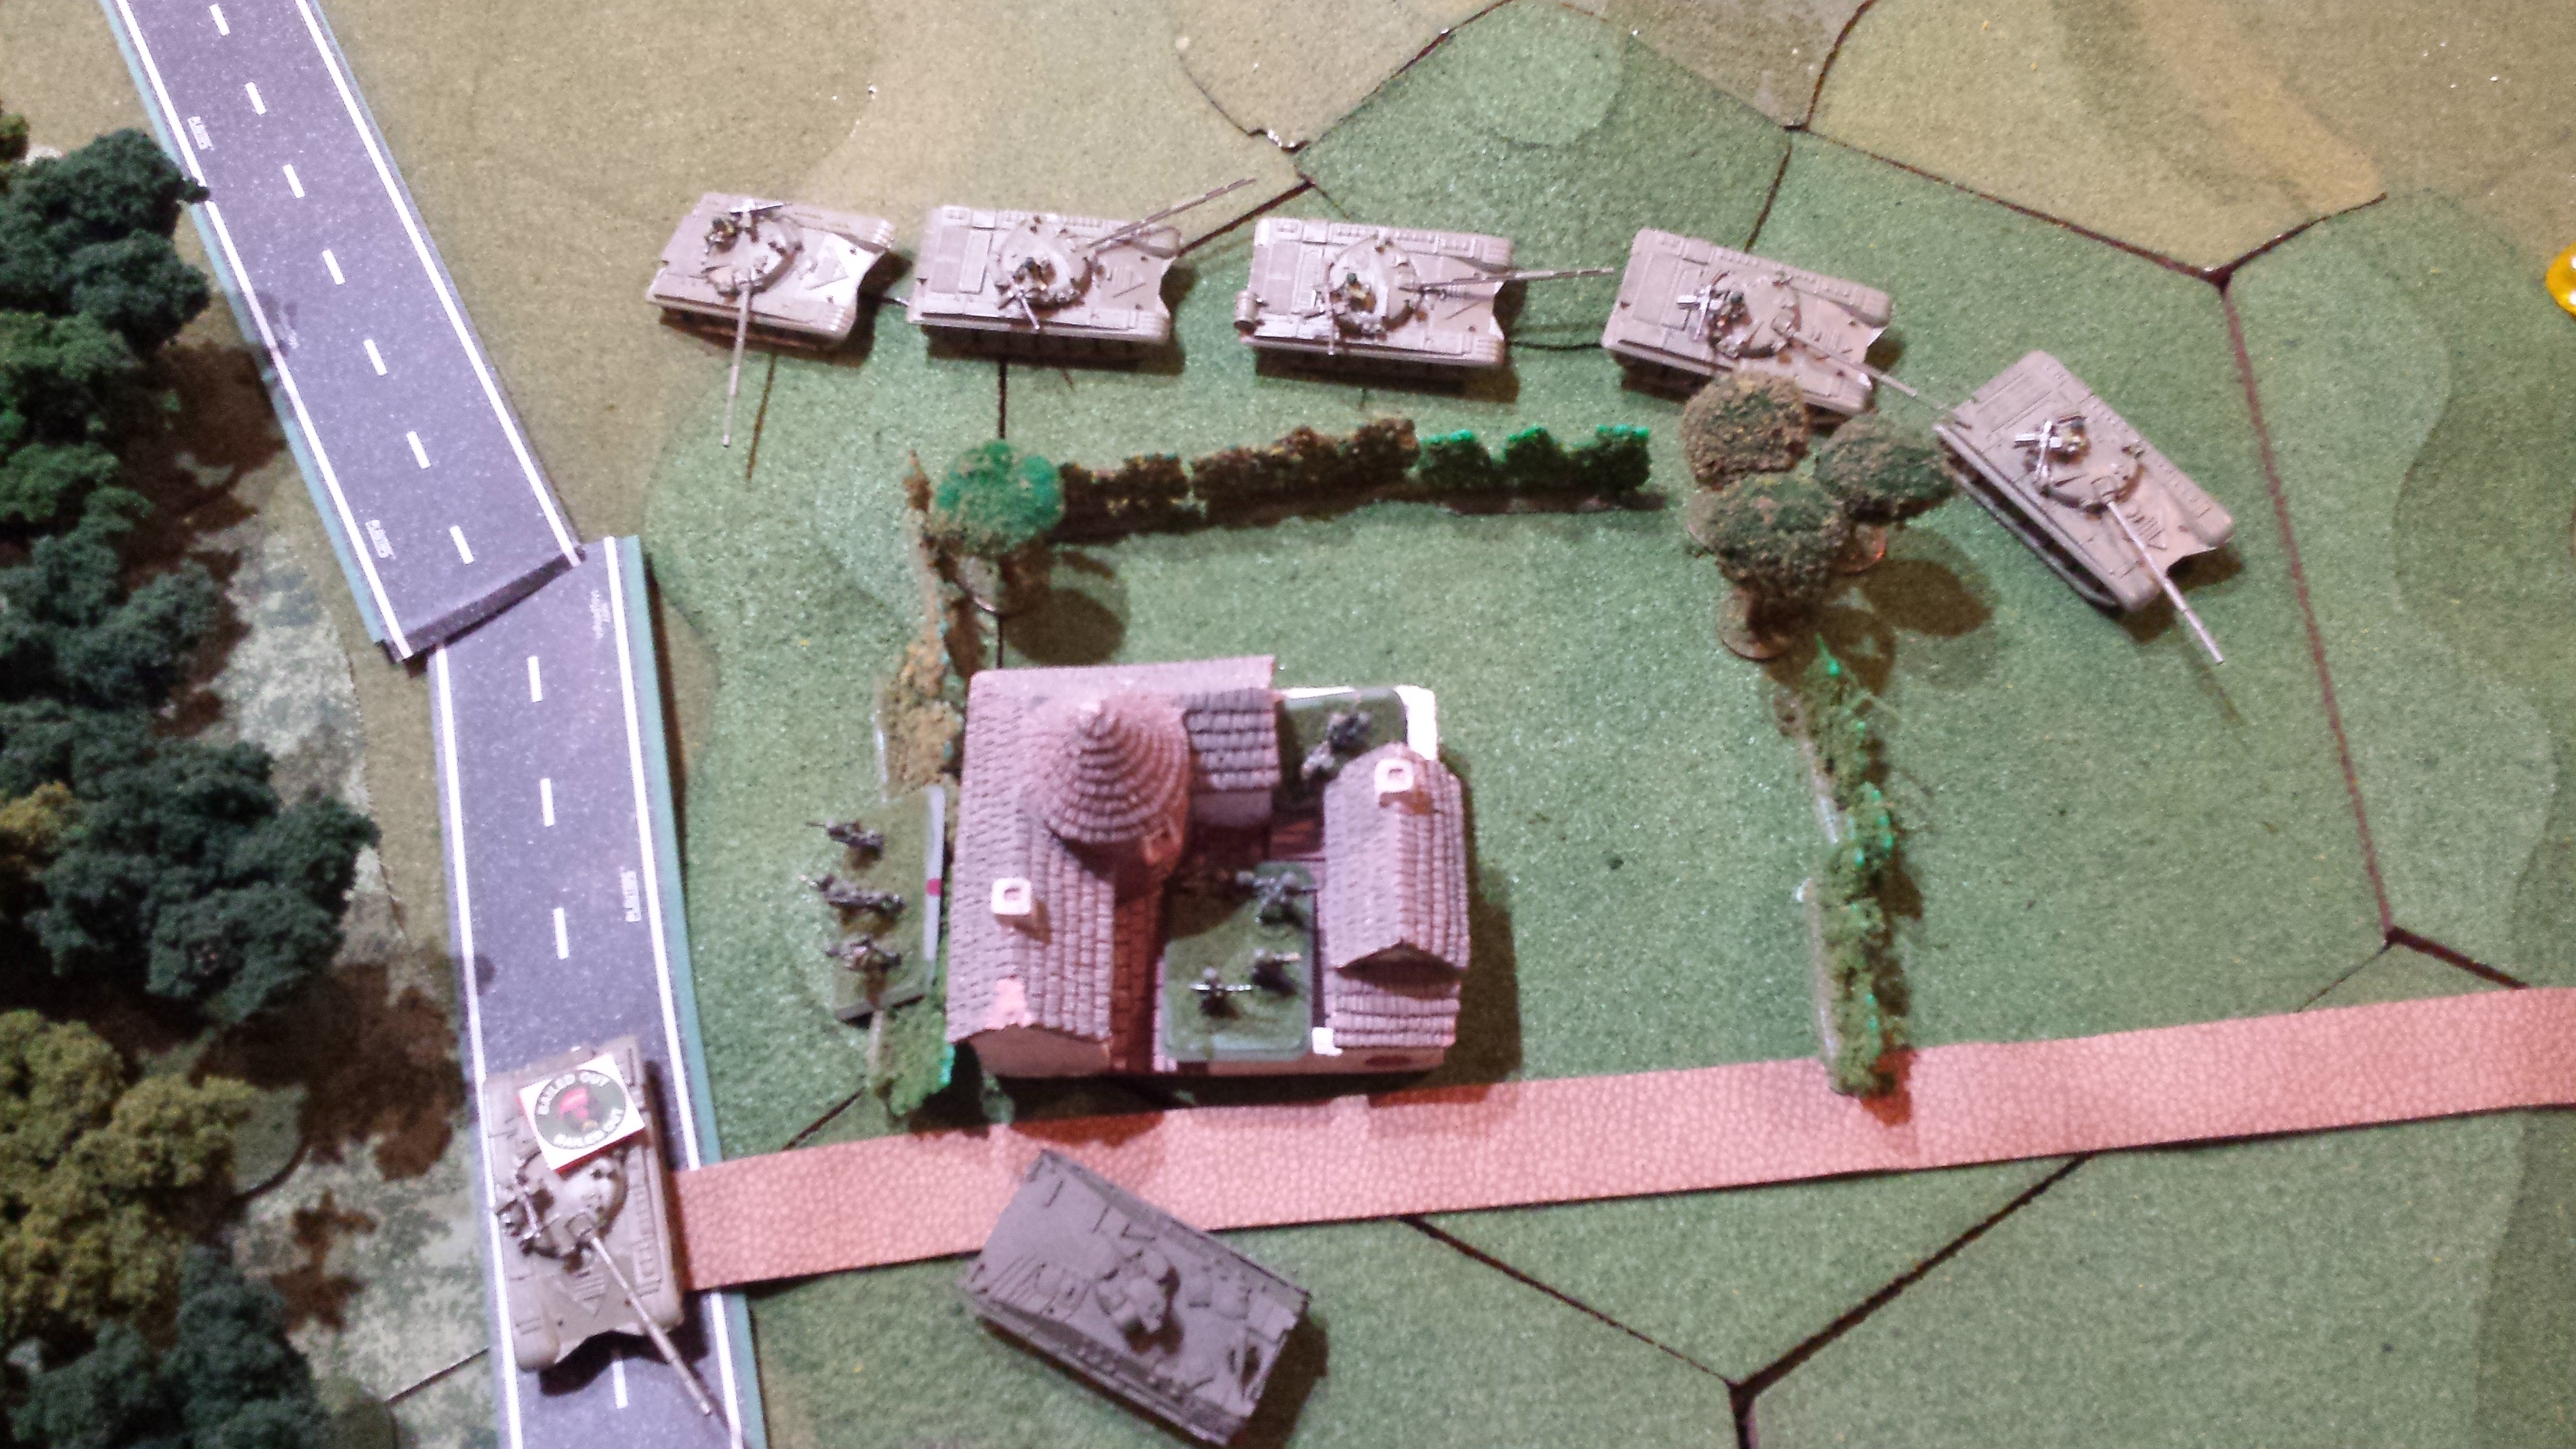
View Linked Report - CLICK HERE 75 POINTS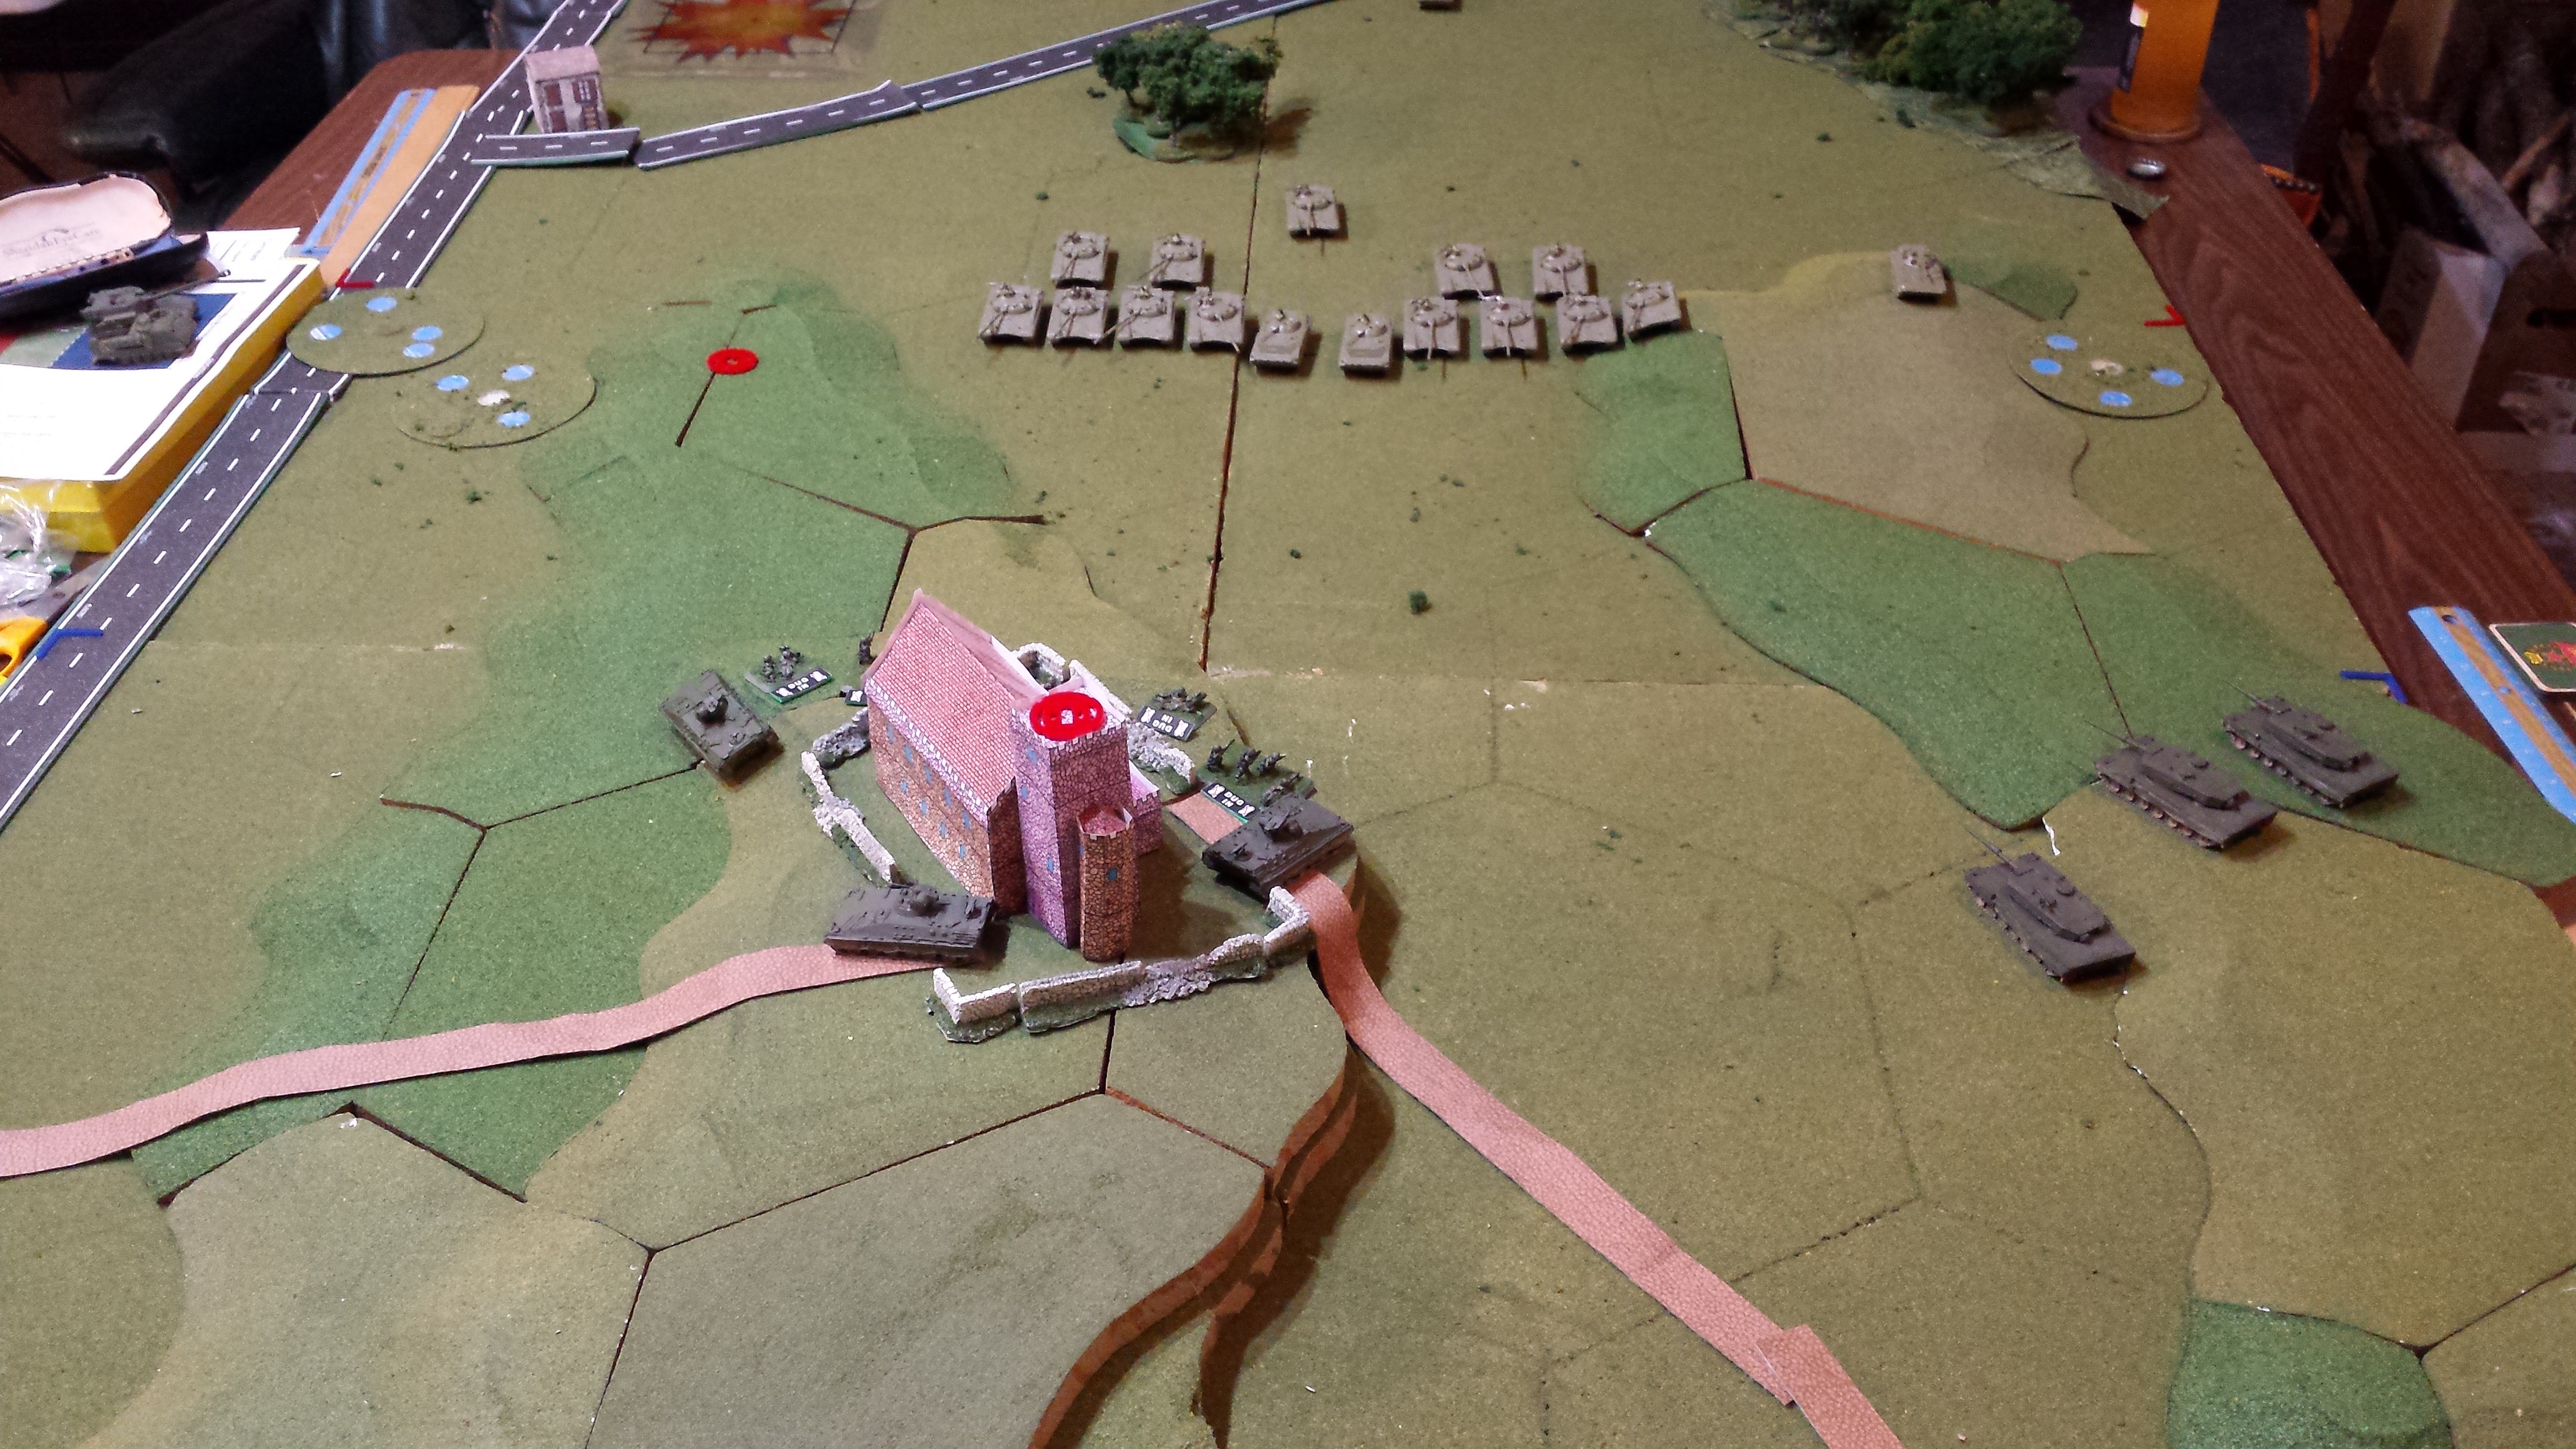 Initial deployment: Mines cover high speed avenues of approach. The Soviets are learning to use the Recon Platoons to extend their deployment zone
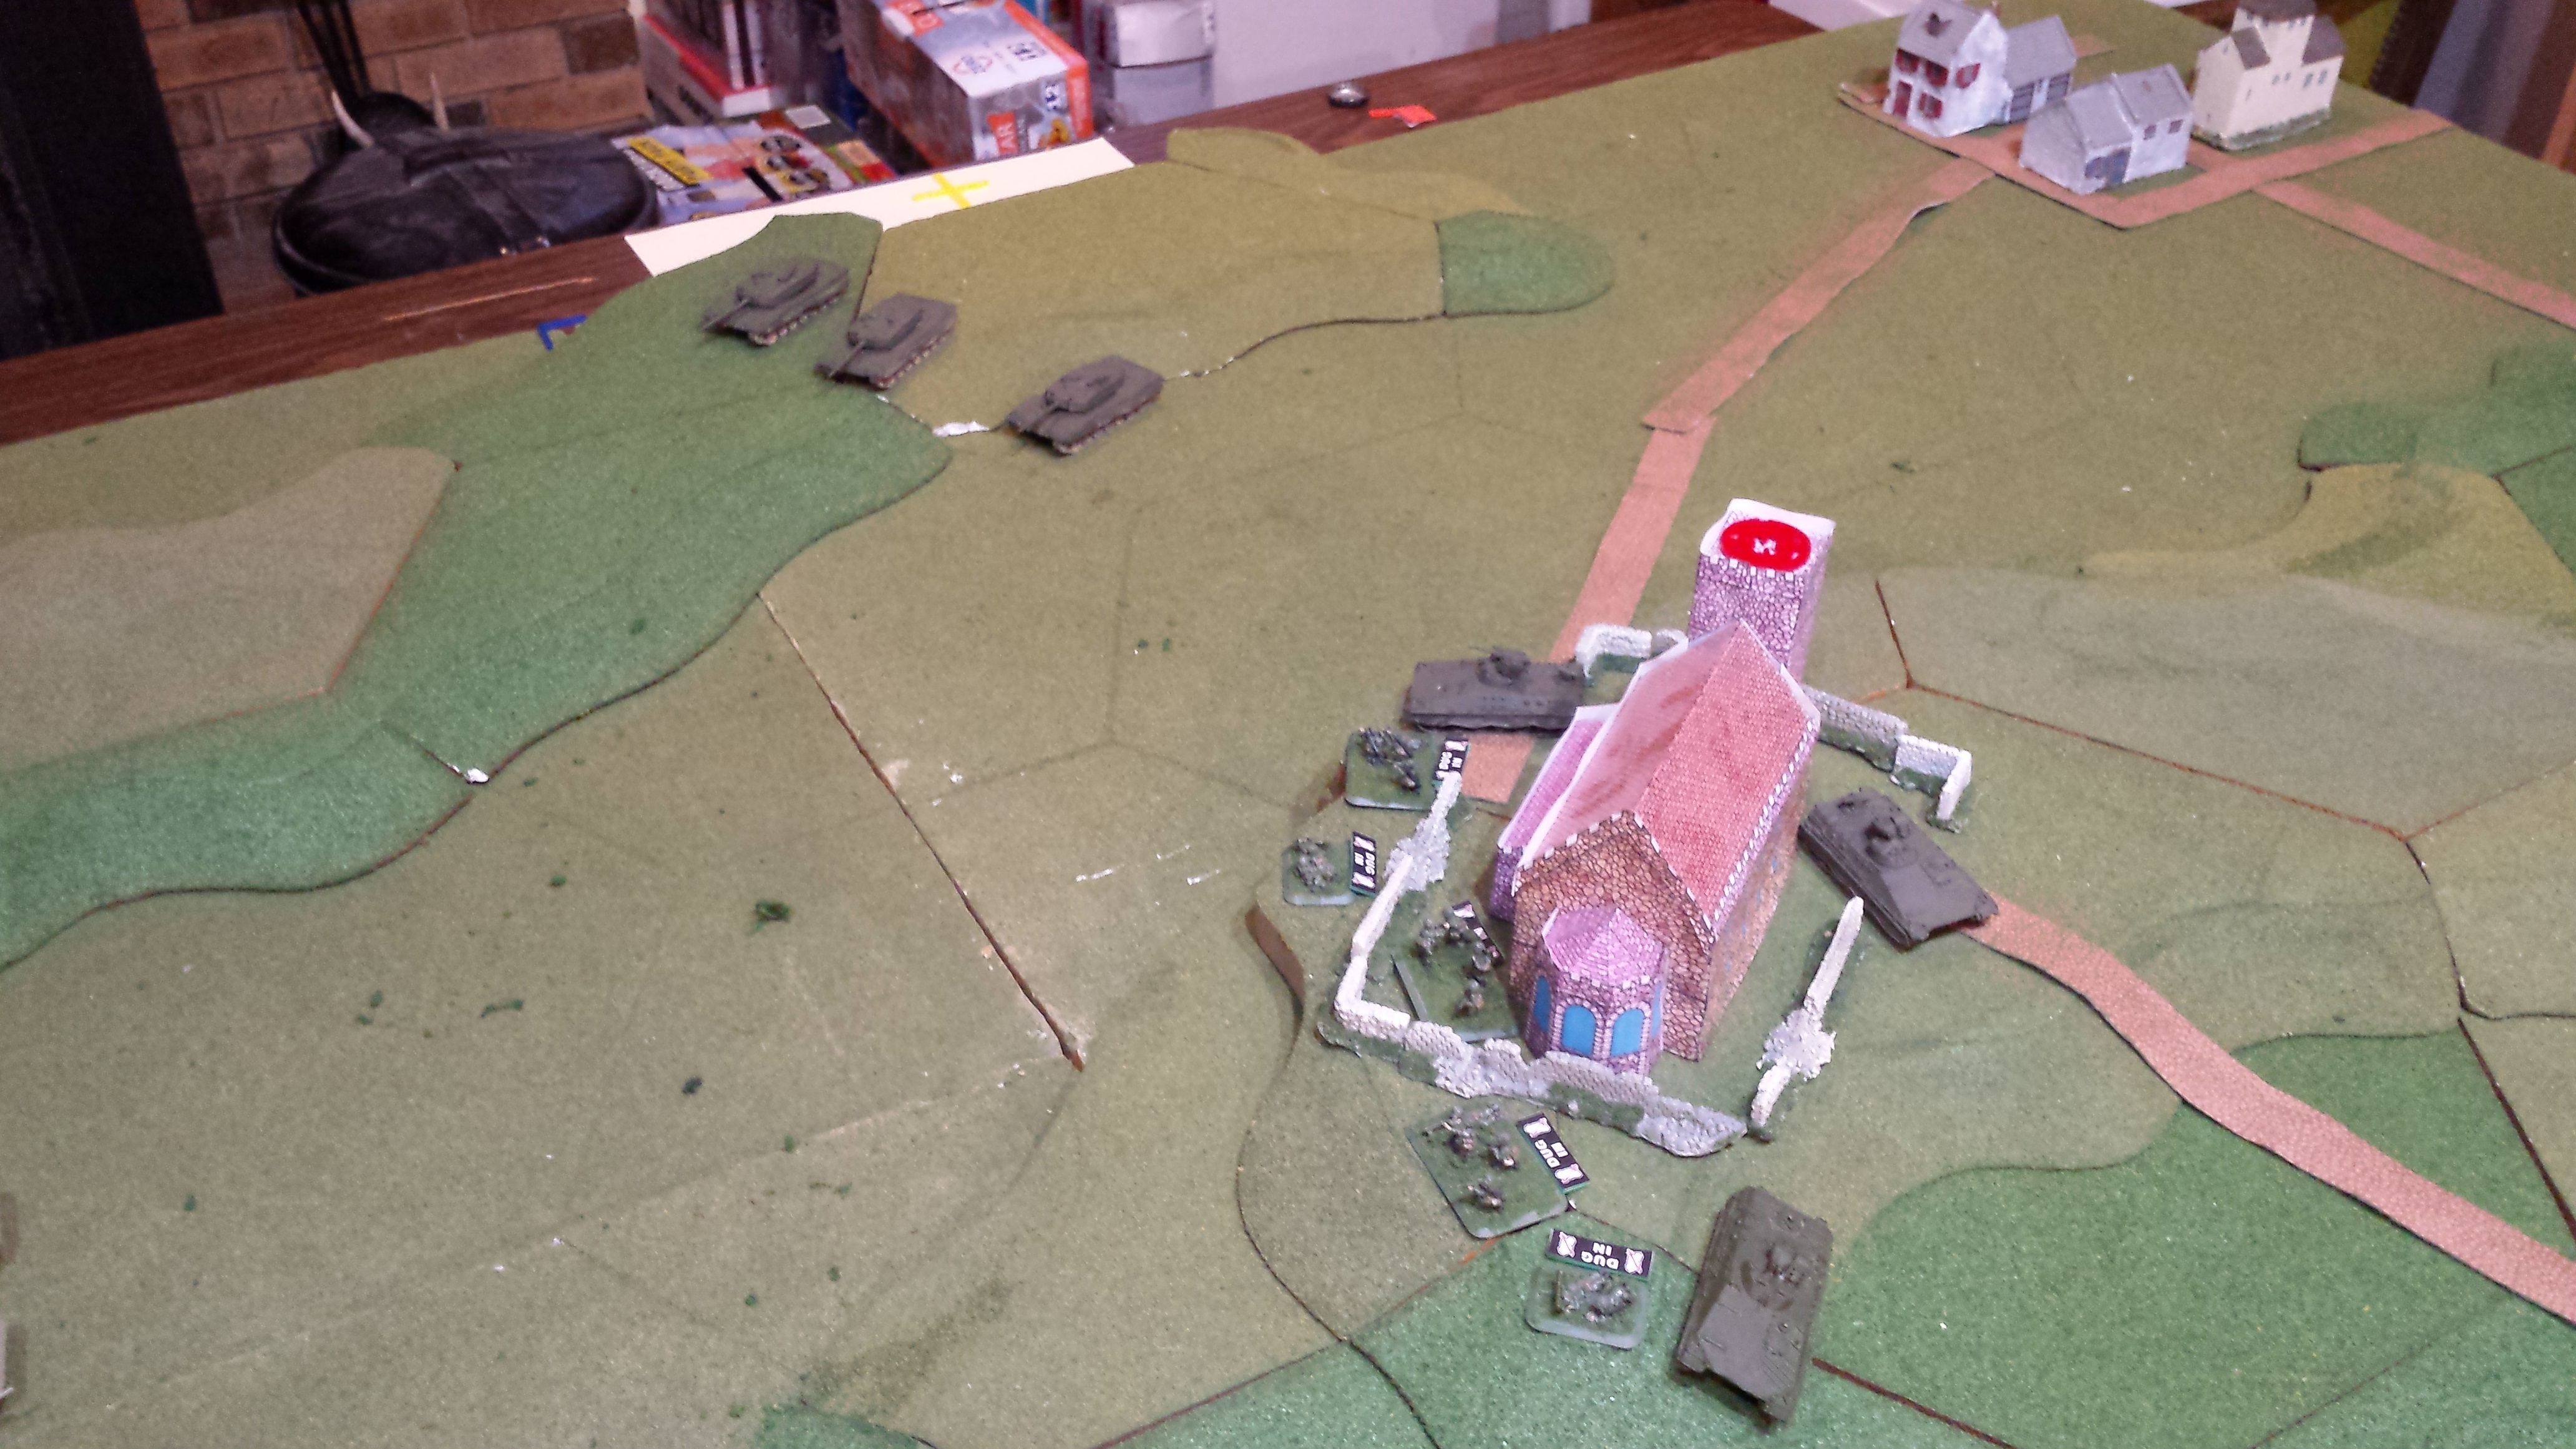
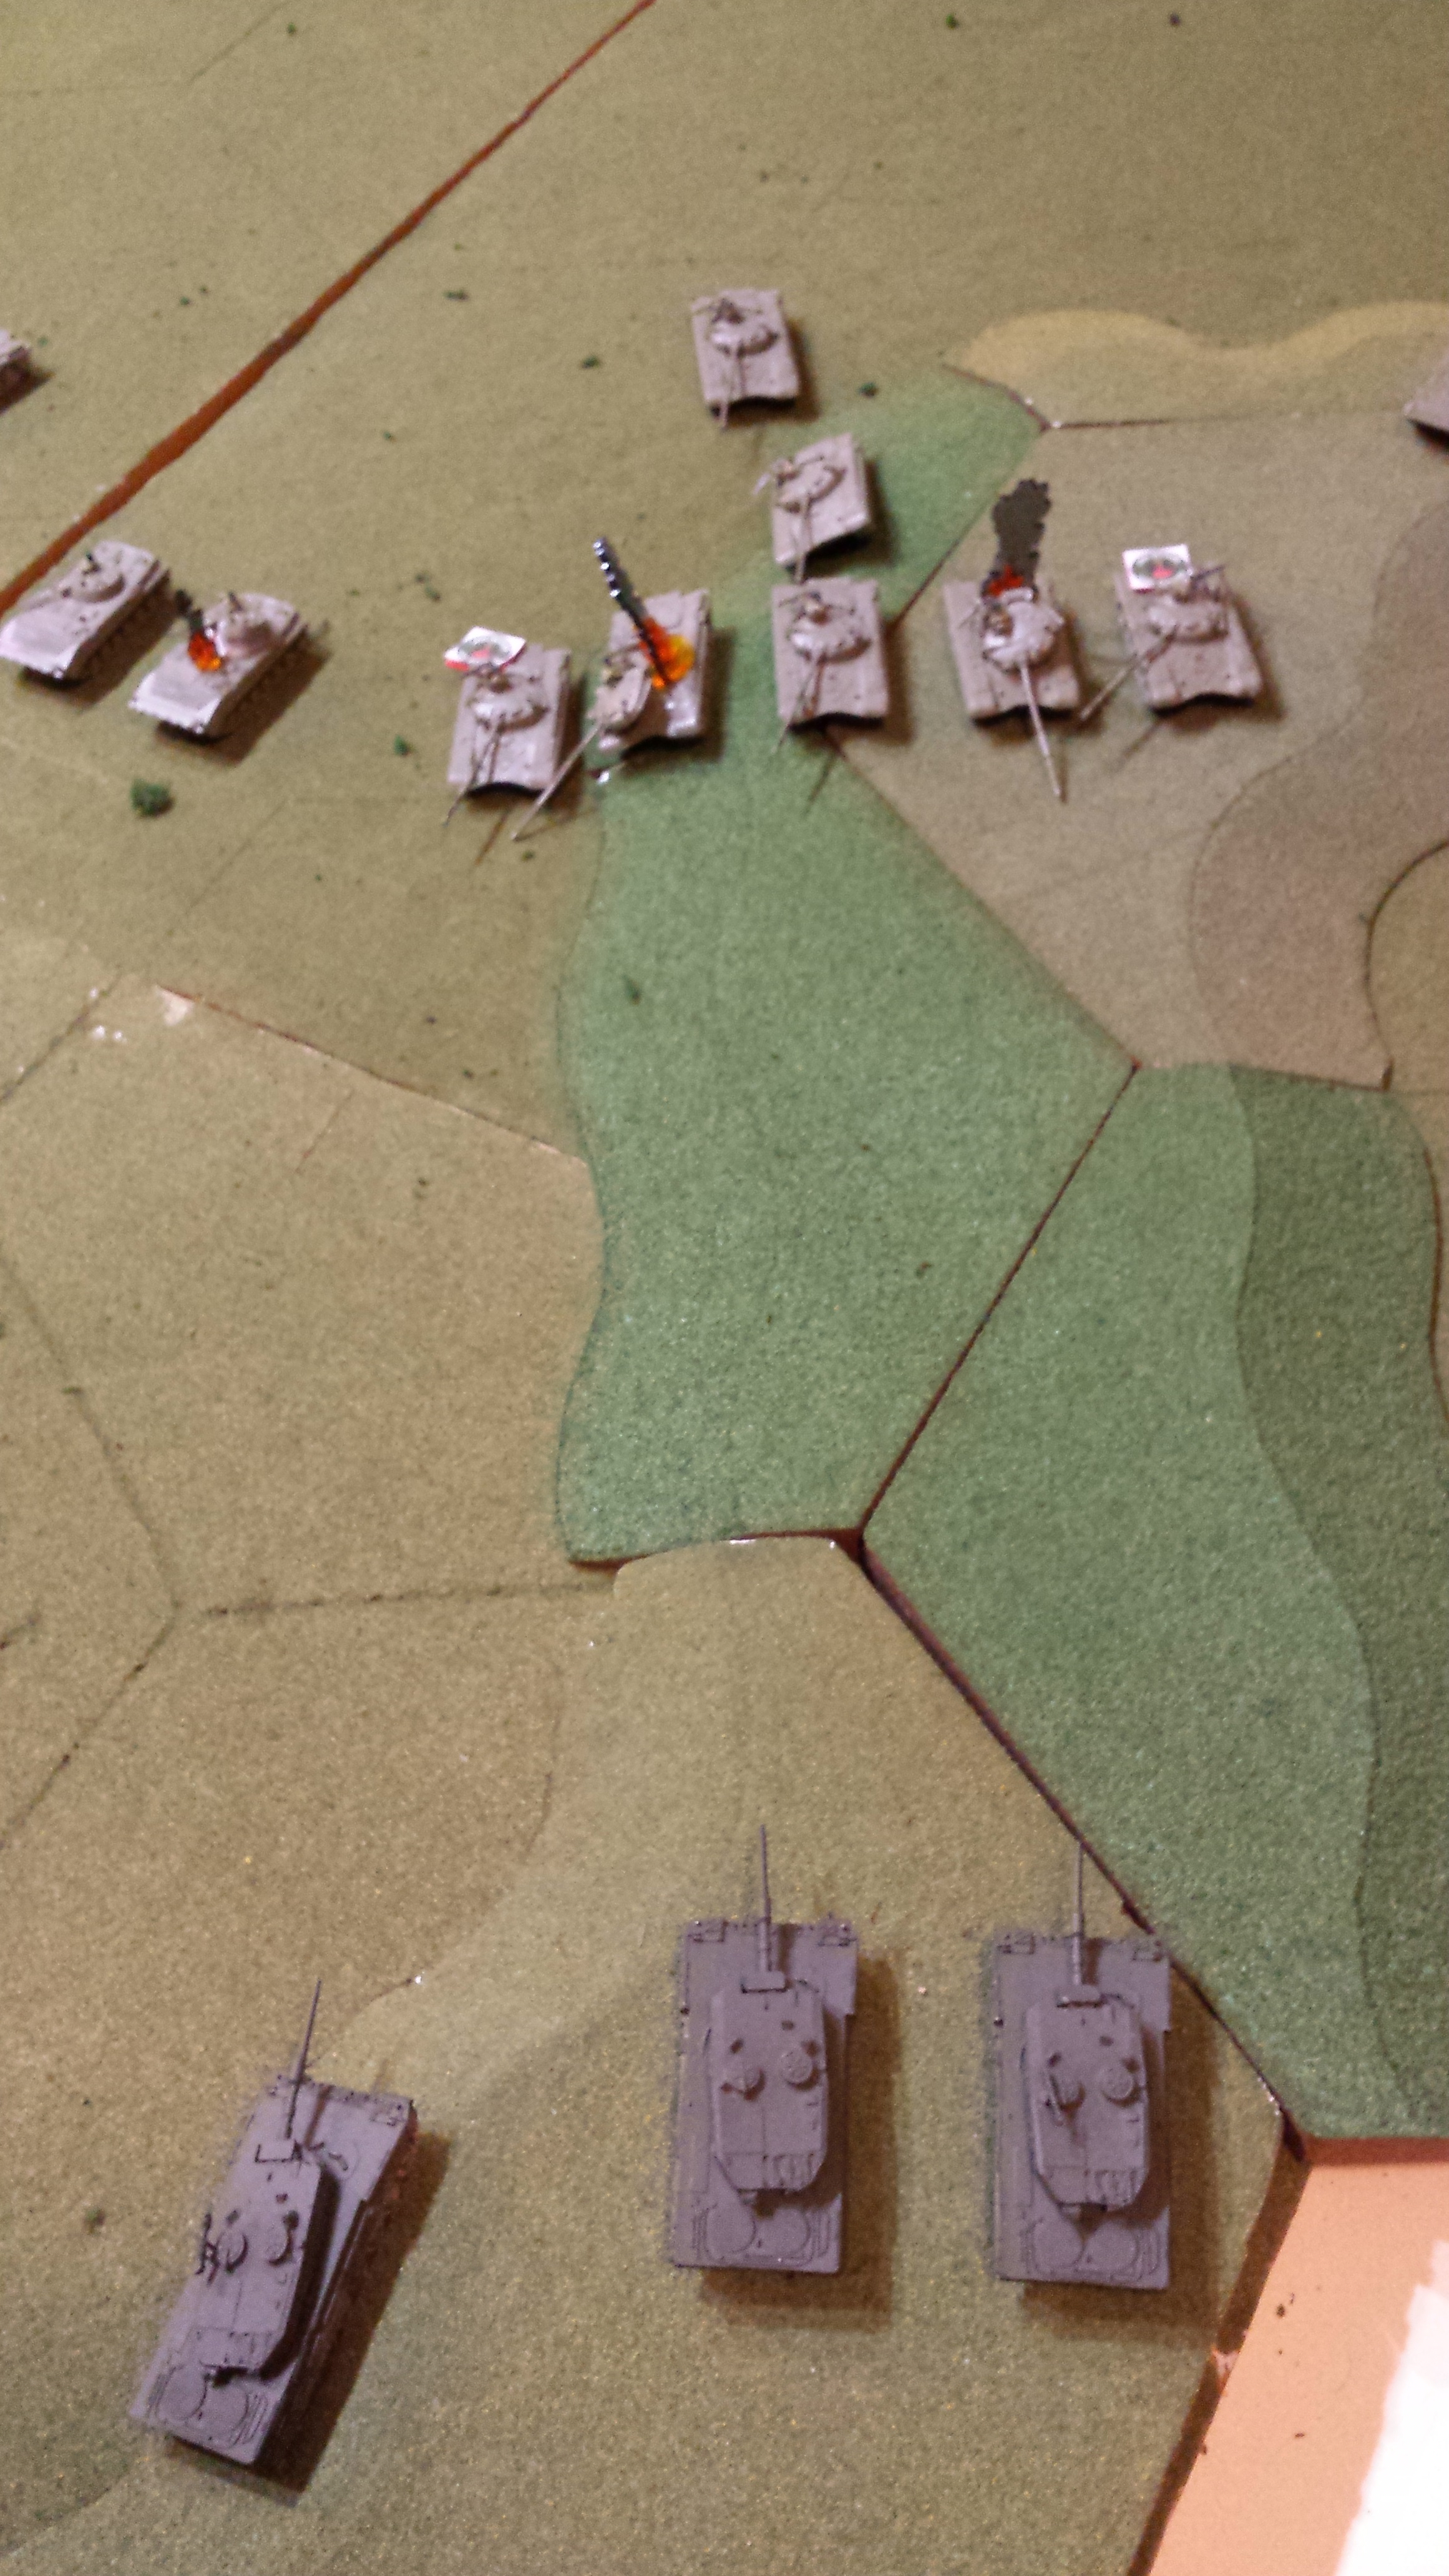
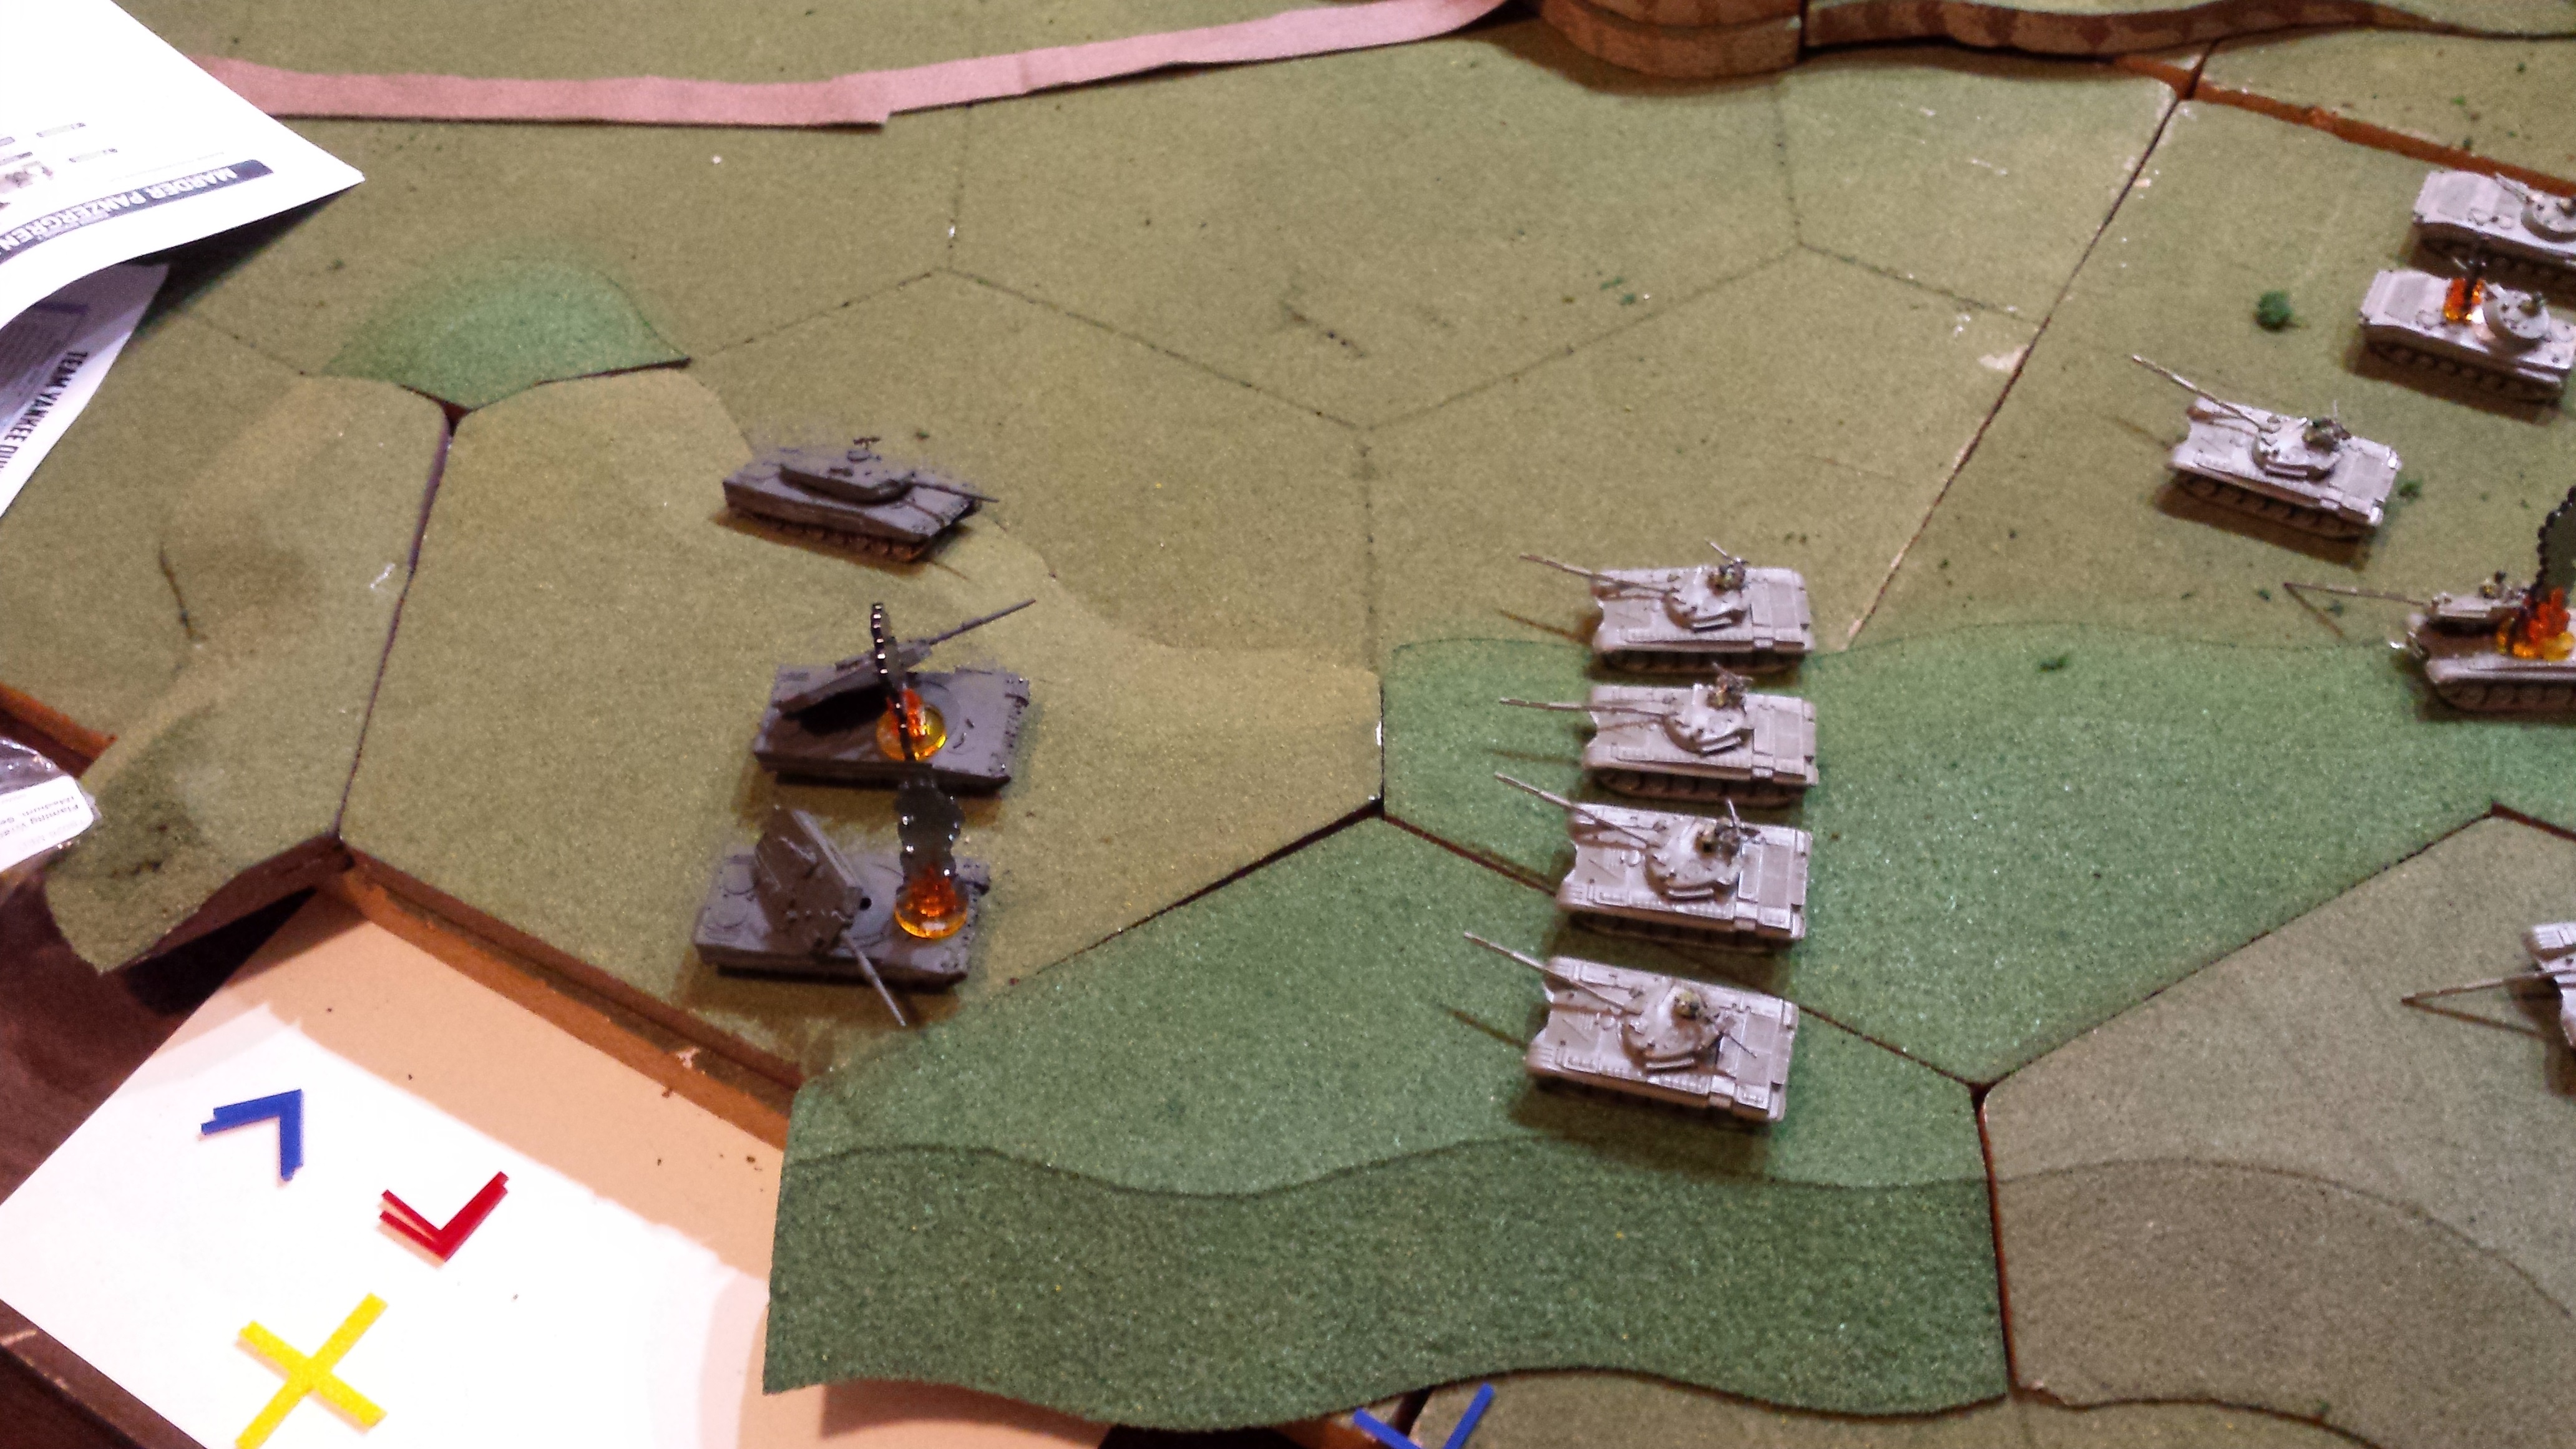
First Fire for the Panzers, Soviet fire had been ineffective. Six shots, 2 missed, 2 bailed and 2 burning. Need to do better than this!
Marders on the hilltop deal with the BMP
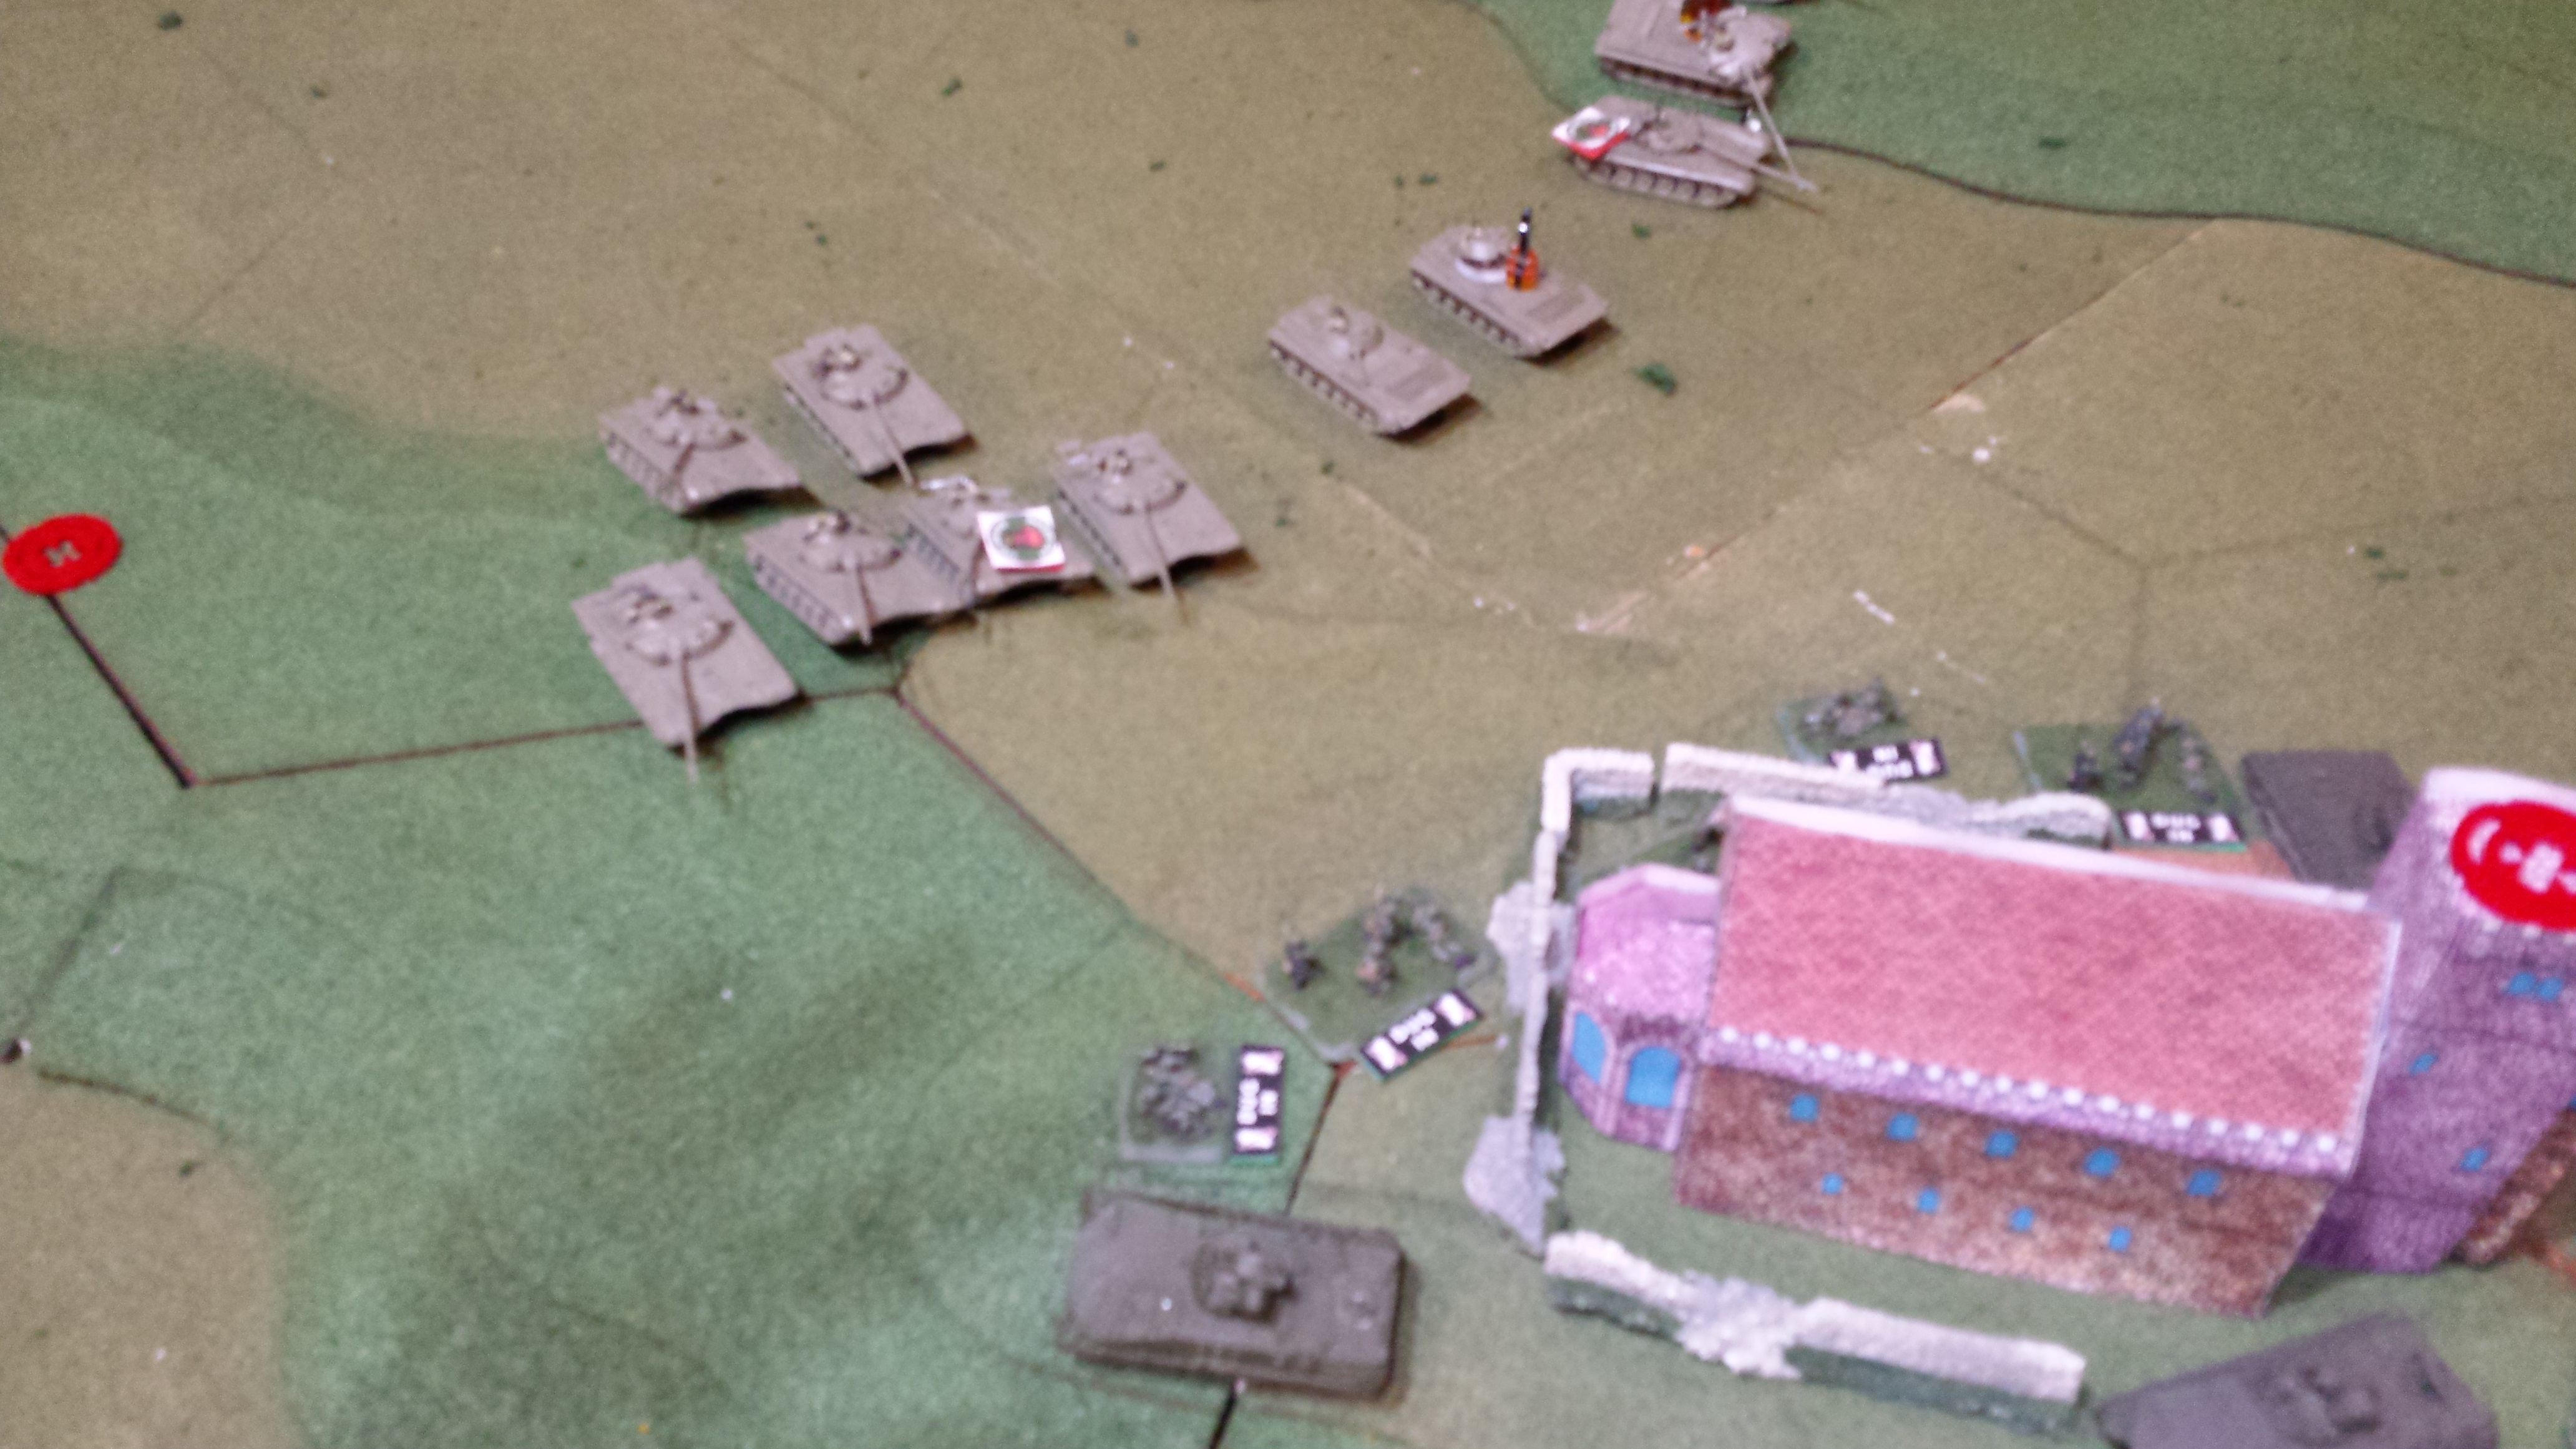
The Soviets continue to close and kill the remaining Panzer. All that is left is the CO's Panzer. This really turned the battle. Unable to bring effective fire I could not really slow him down.
I should always take full strength platoons. Lesson learned.
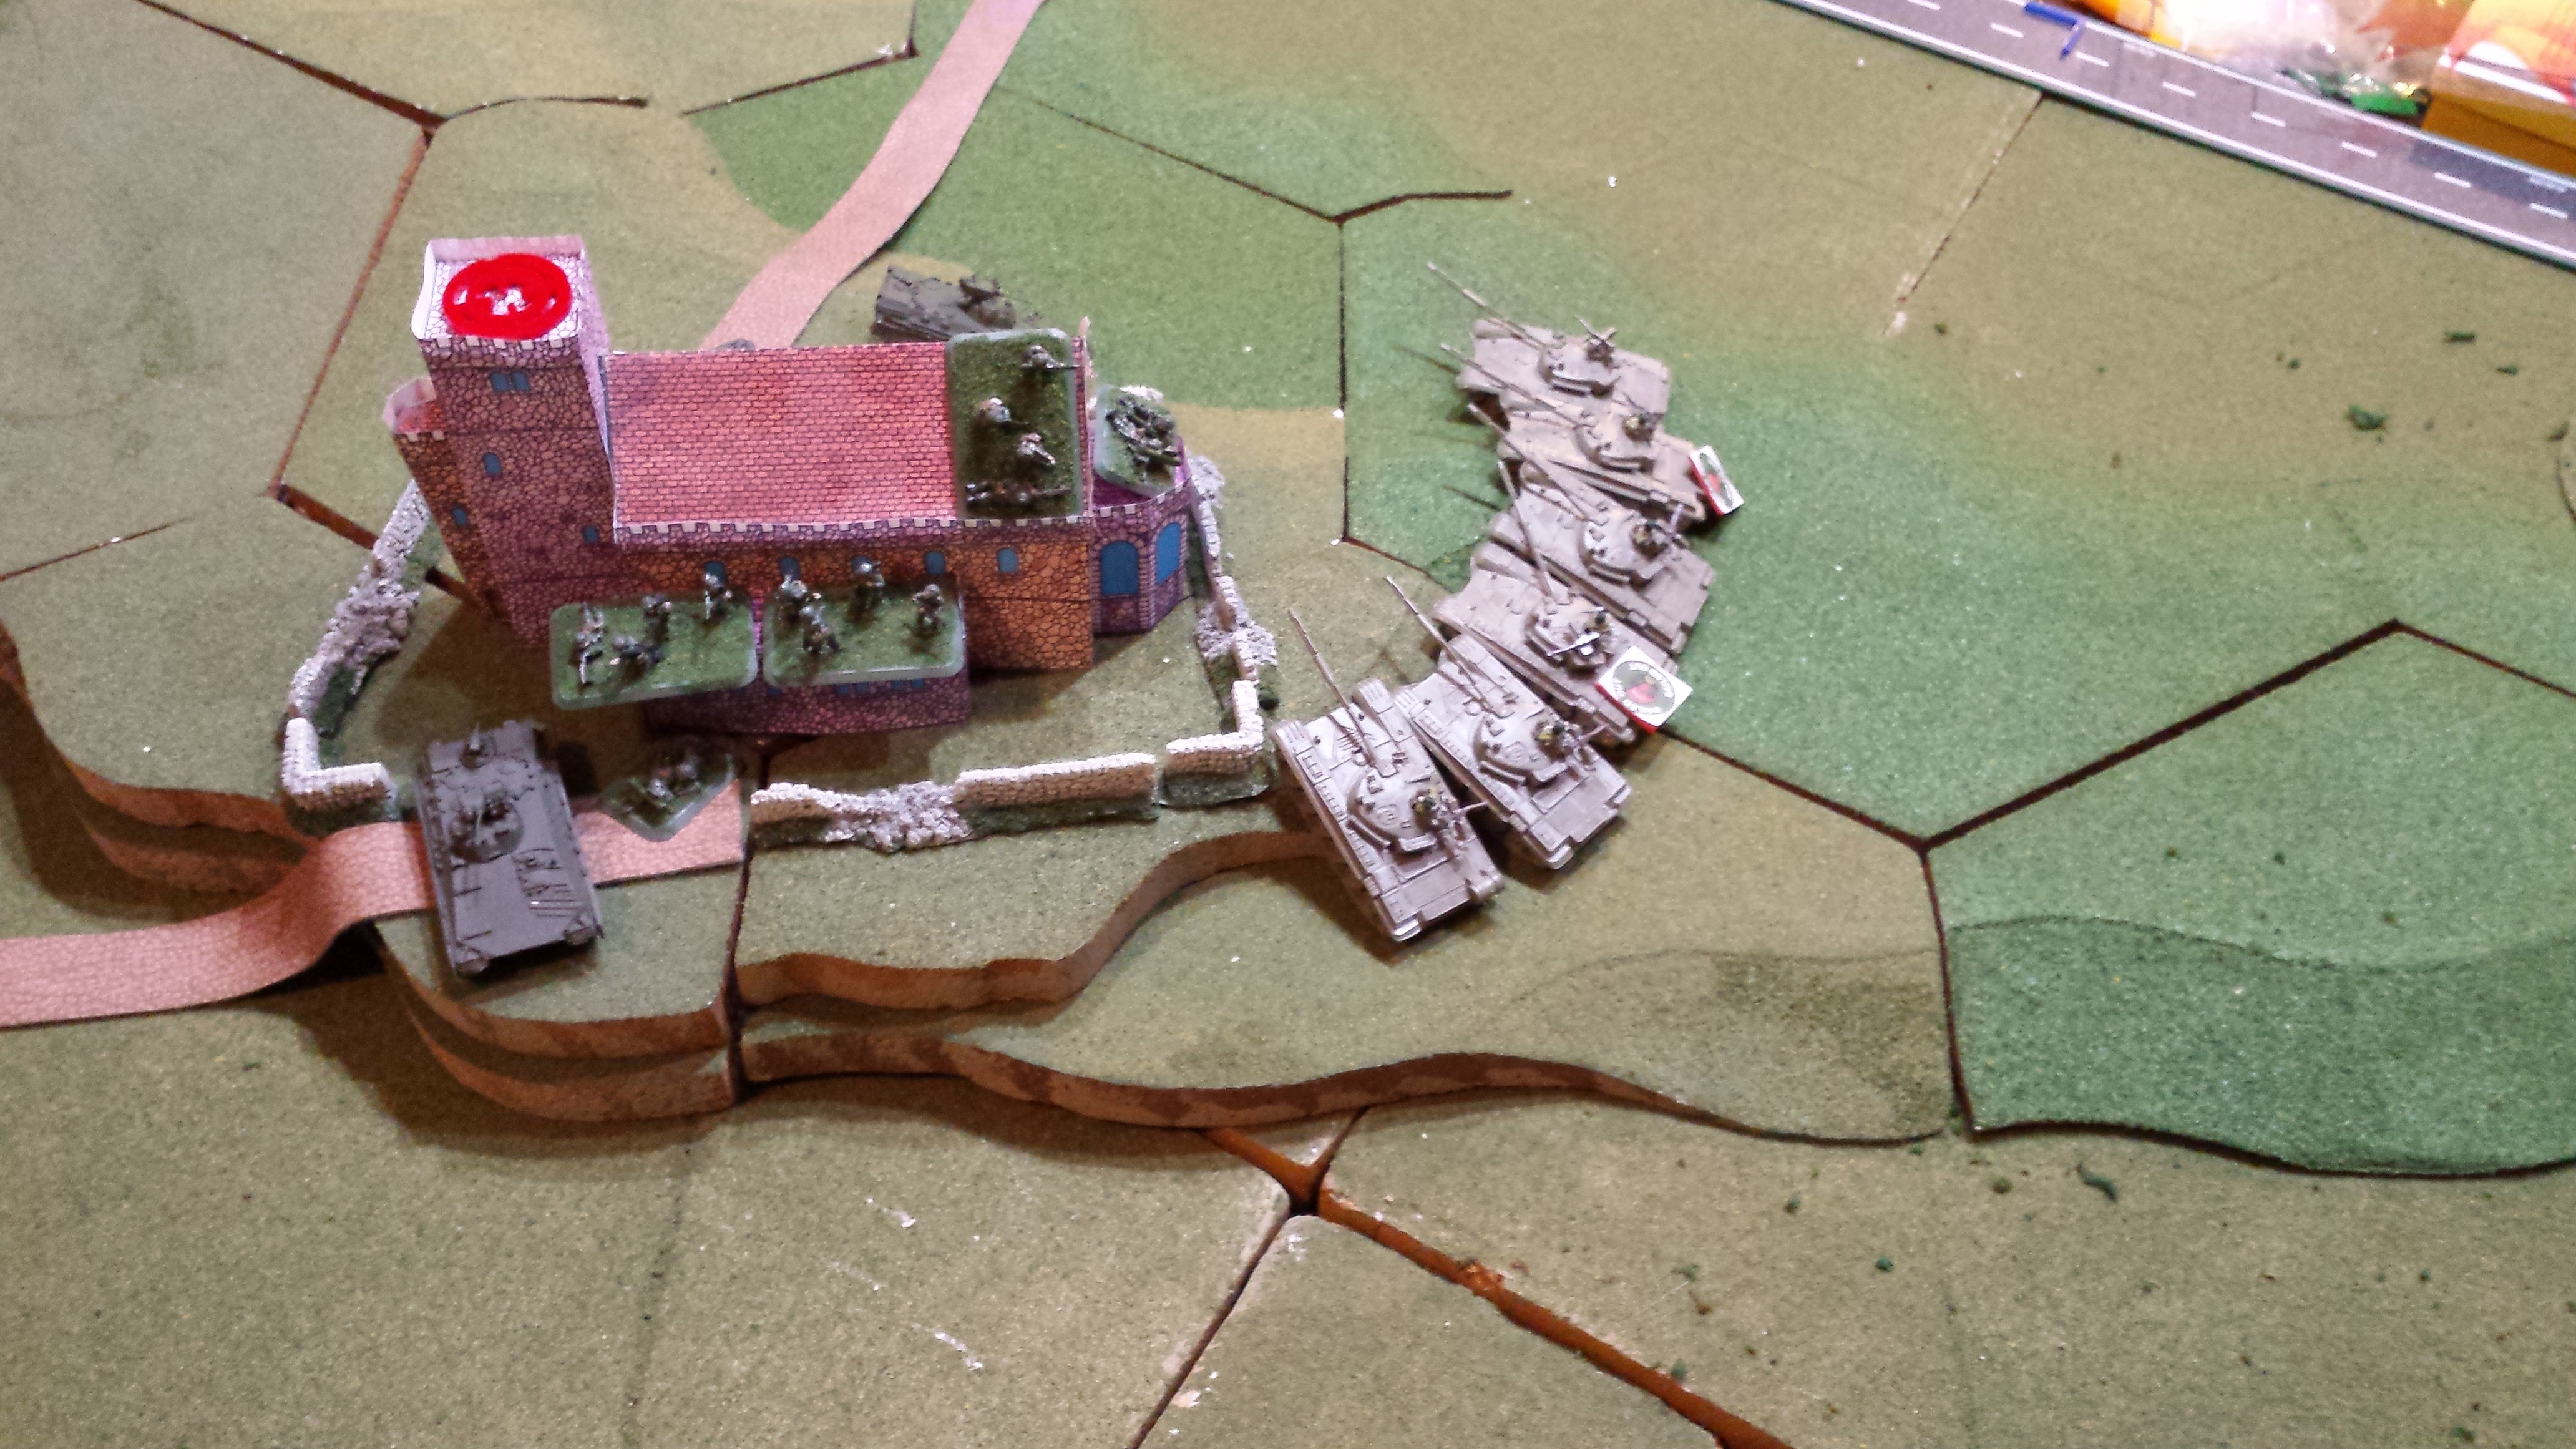
Soviet tanks assault my Panzergrenadiers. No losses, I counter attack but fail. His counter attack forces me into the Abbey where I'll stay for the rest of the battle.

Mannhiem6 manages to kill one T-72, and miraculously survives the return fire (4 shots, 3 2s and a 1). This would not last. Milan fire from the Abbey continues to be ineffective. If they hit they fail to kill.

Dawn breaks (Soviet turn 4) and the Soviets remember their Objective. A Cross country dash gets them within sight of the exit.
Reserves failed to show. The end is coming.
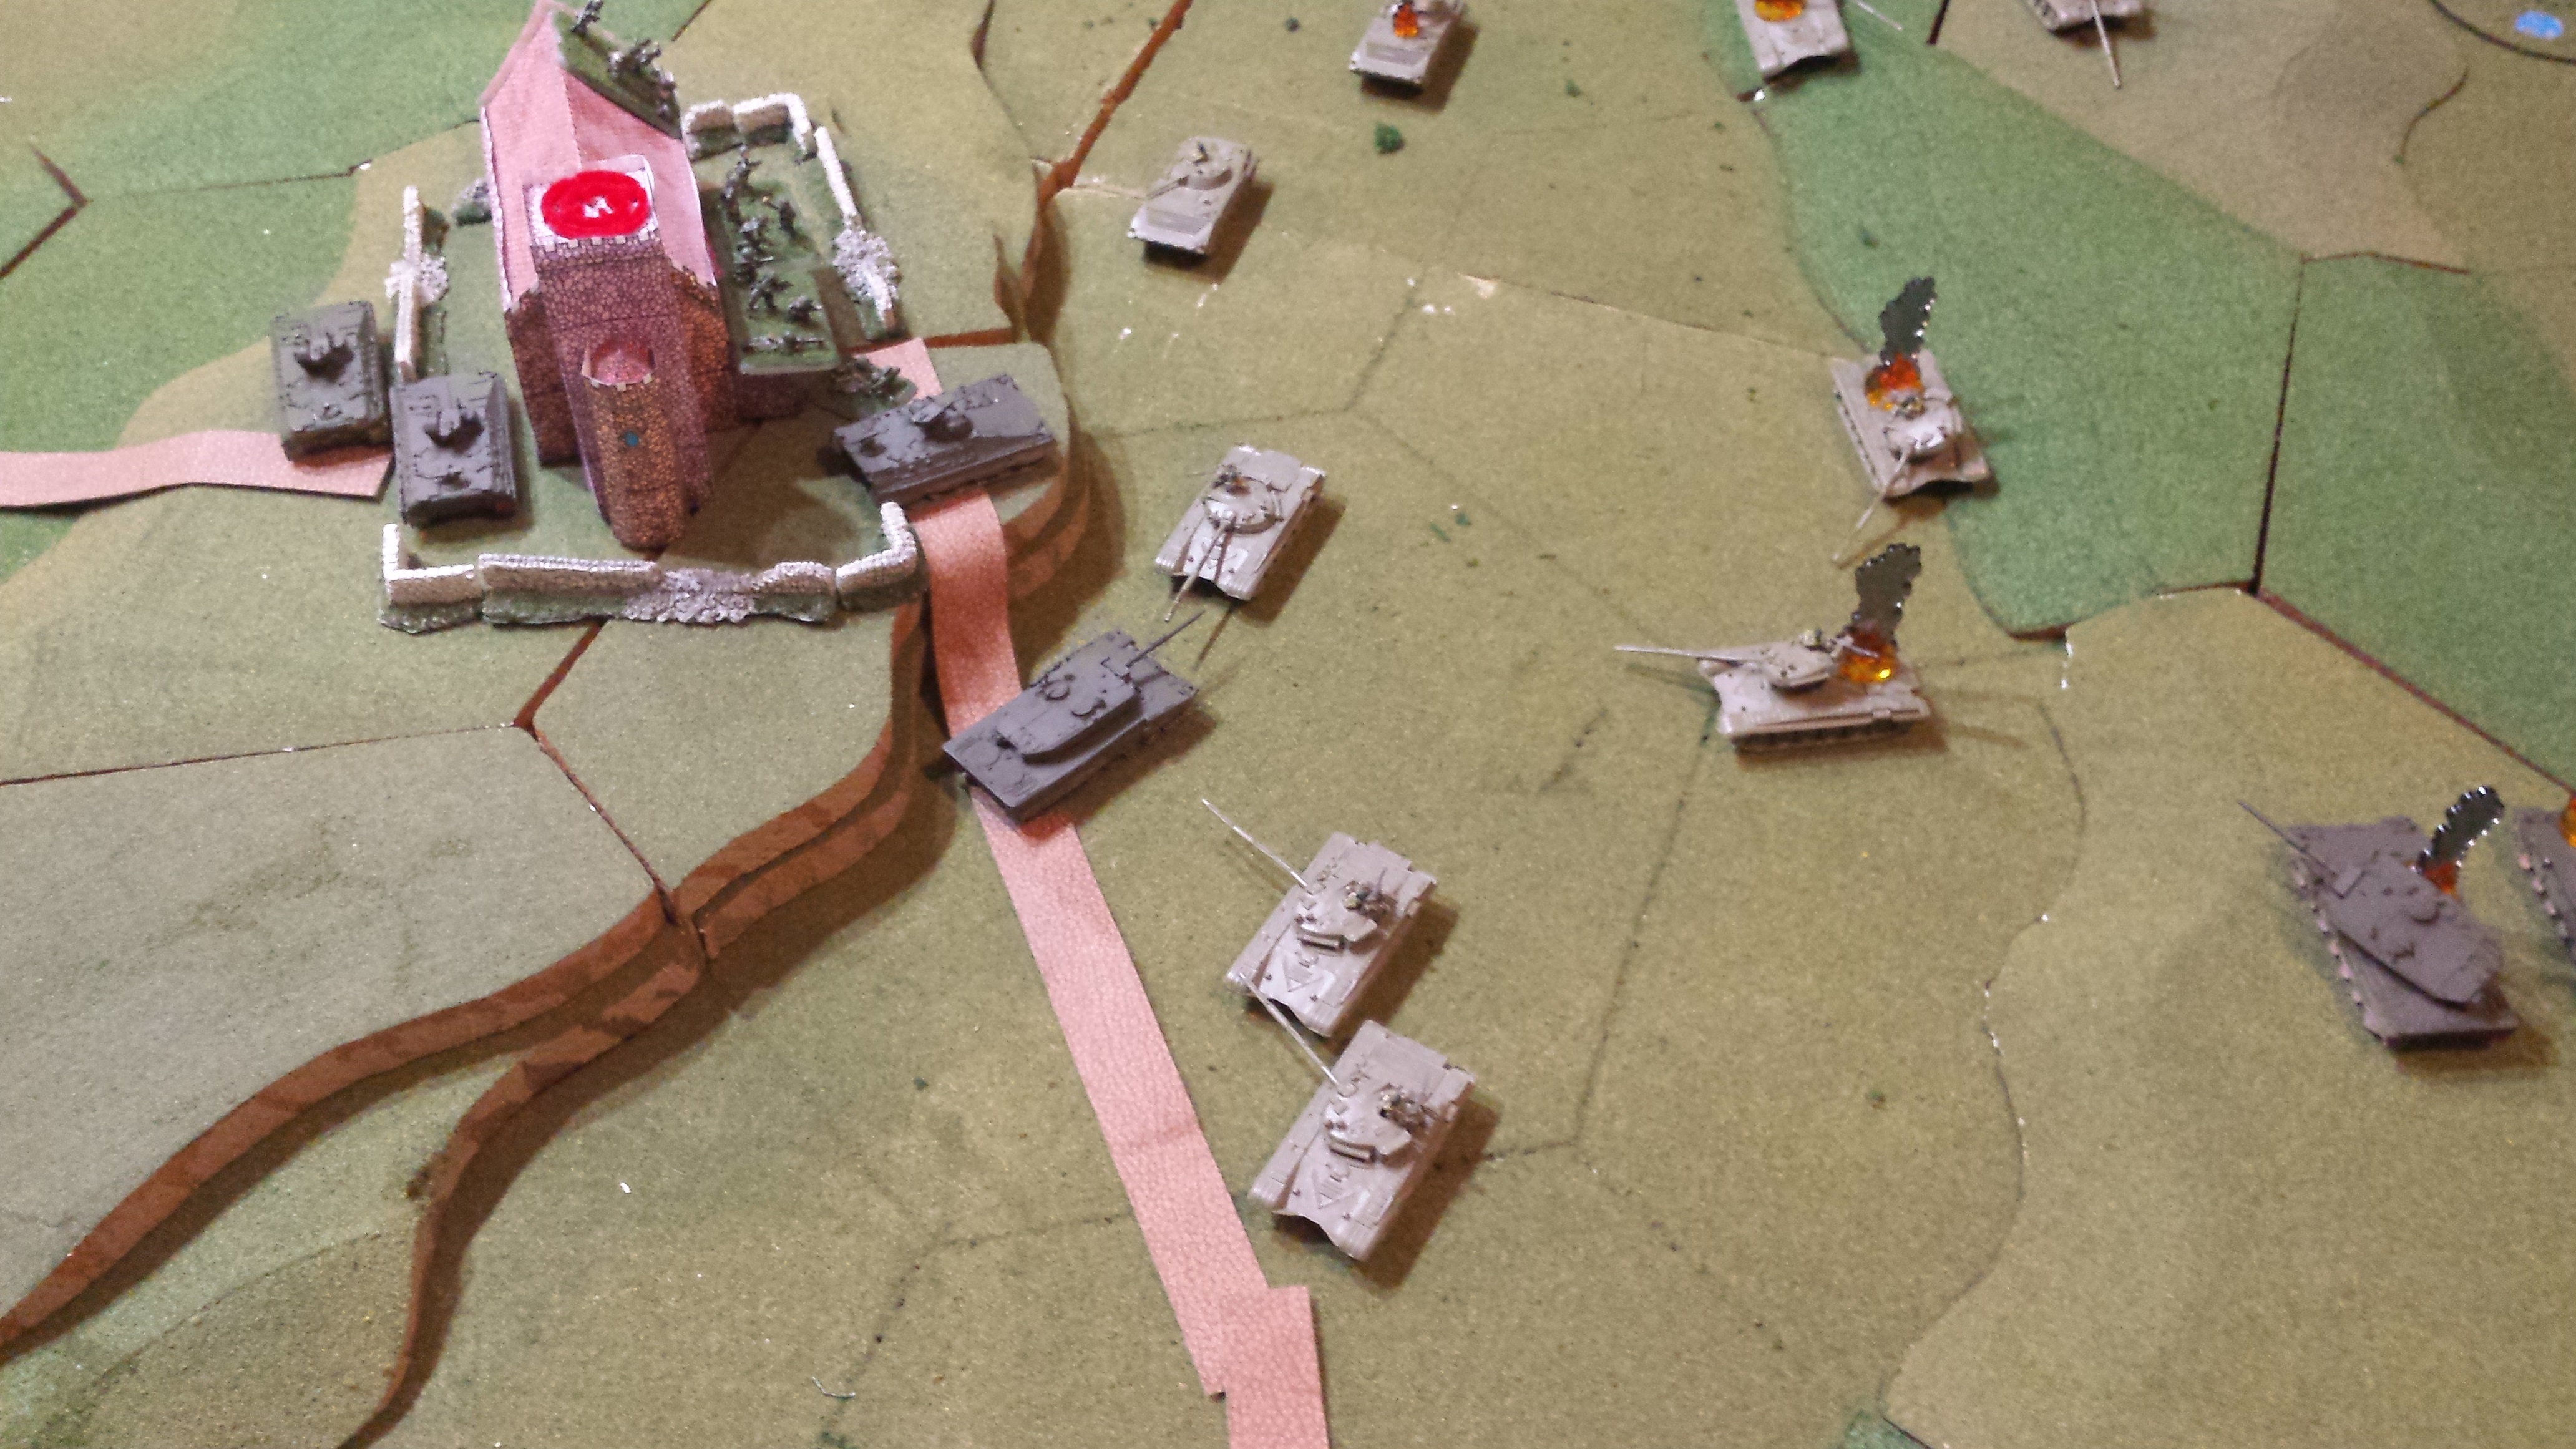
The last runners on this flank deal with the last Leopard. He won't be able to return fire. Finally the Milan's hit and take out the Command T-72
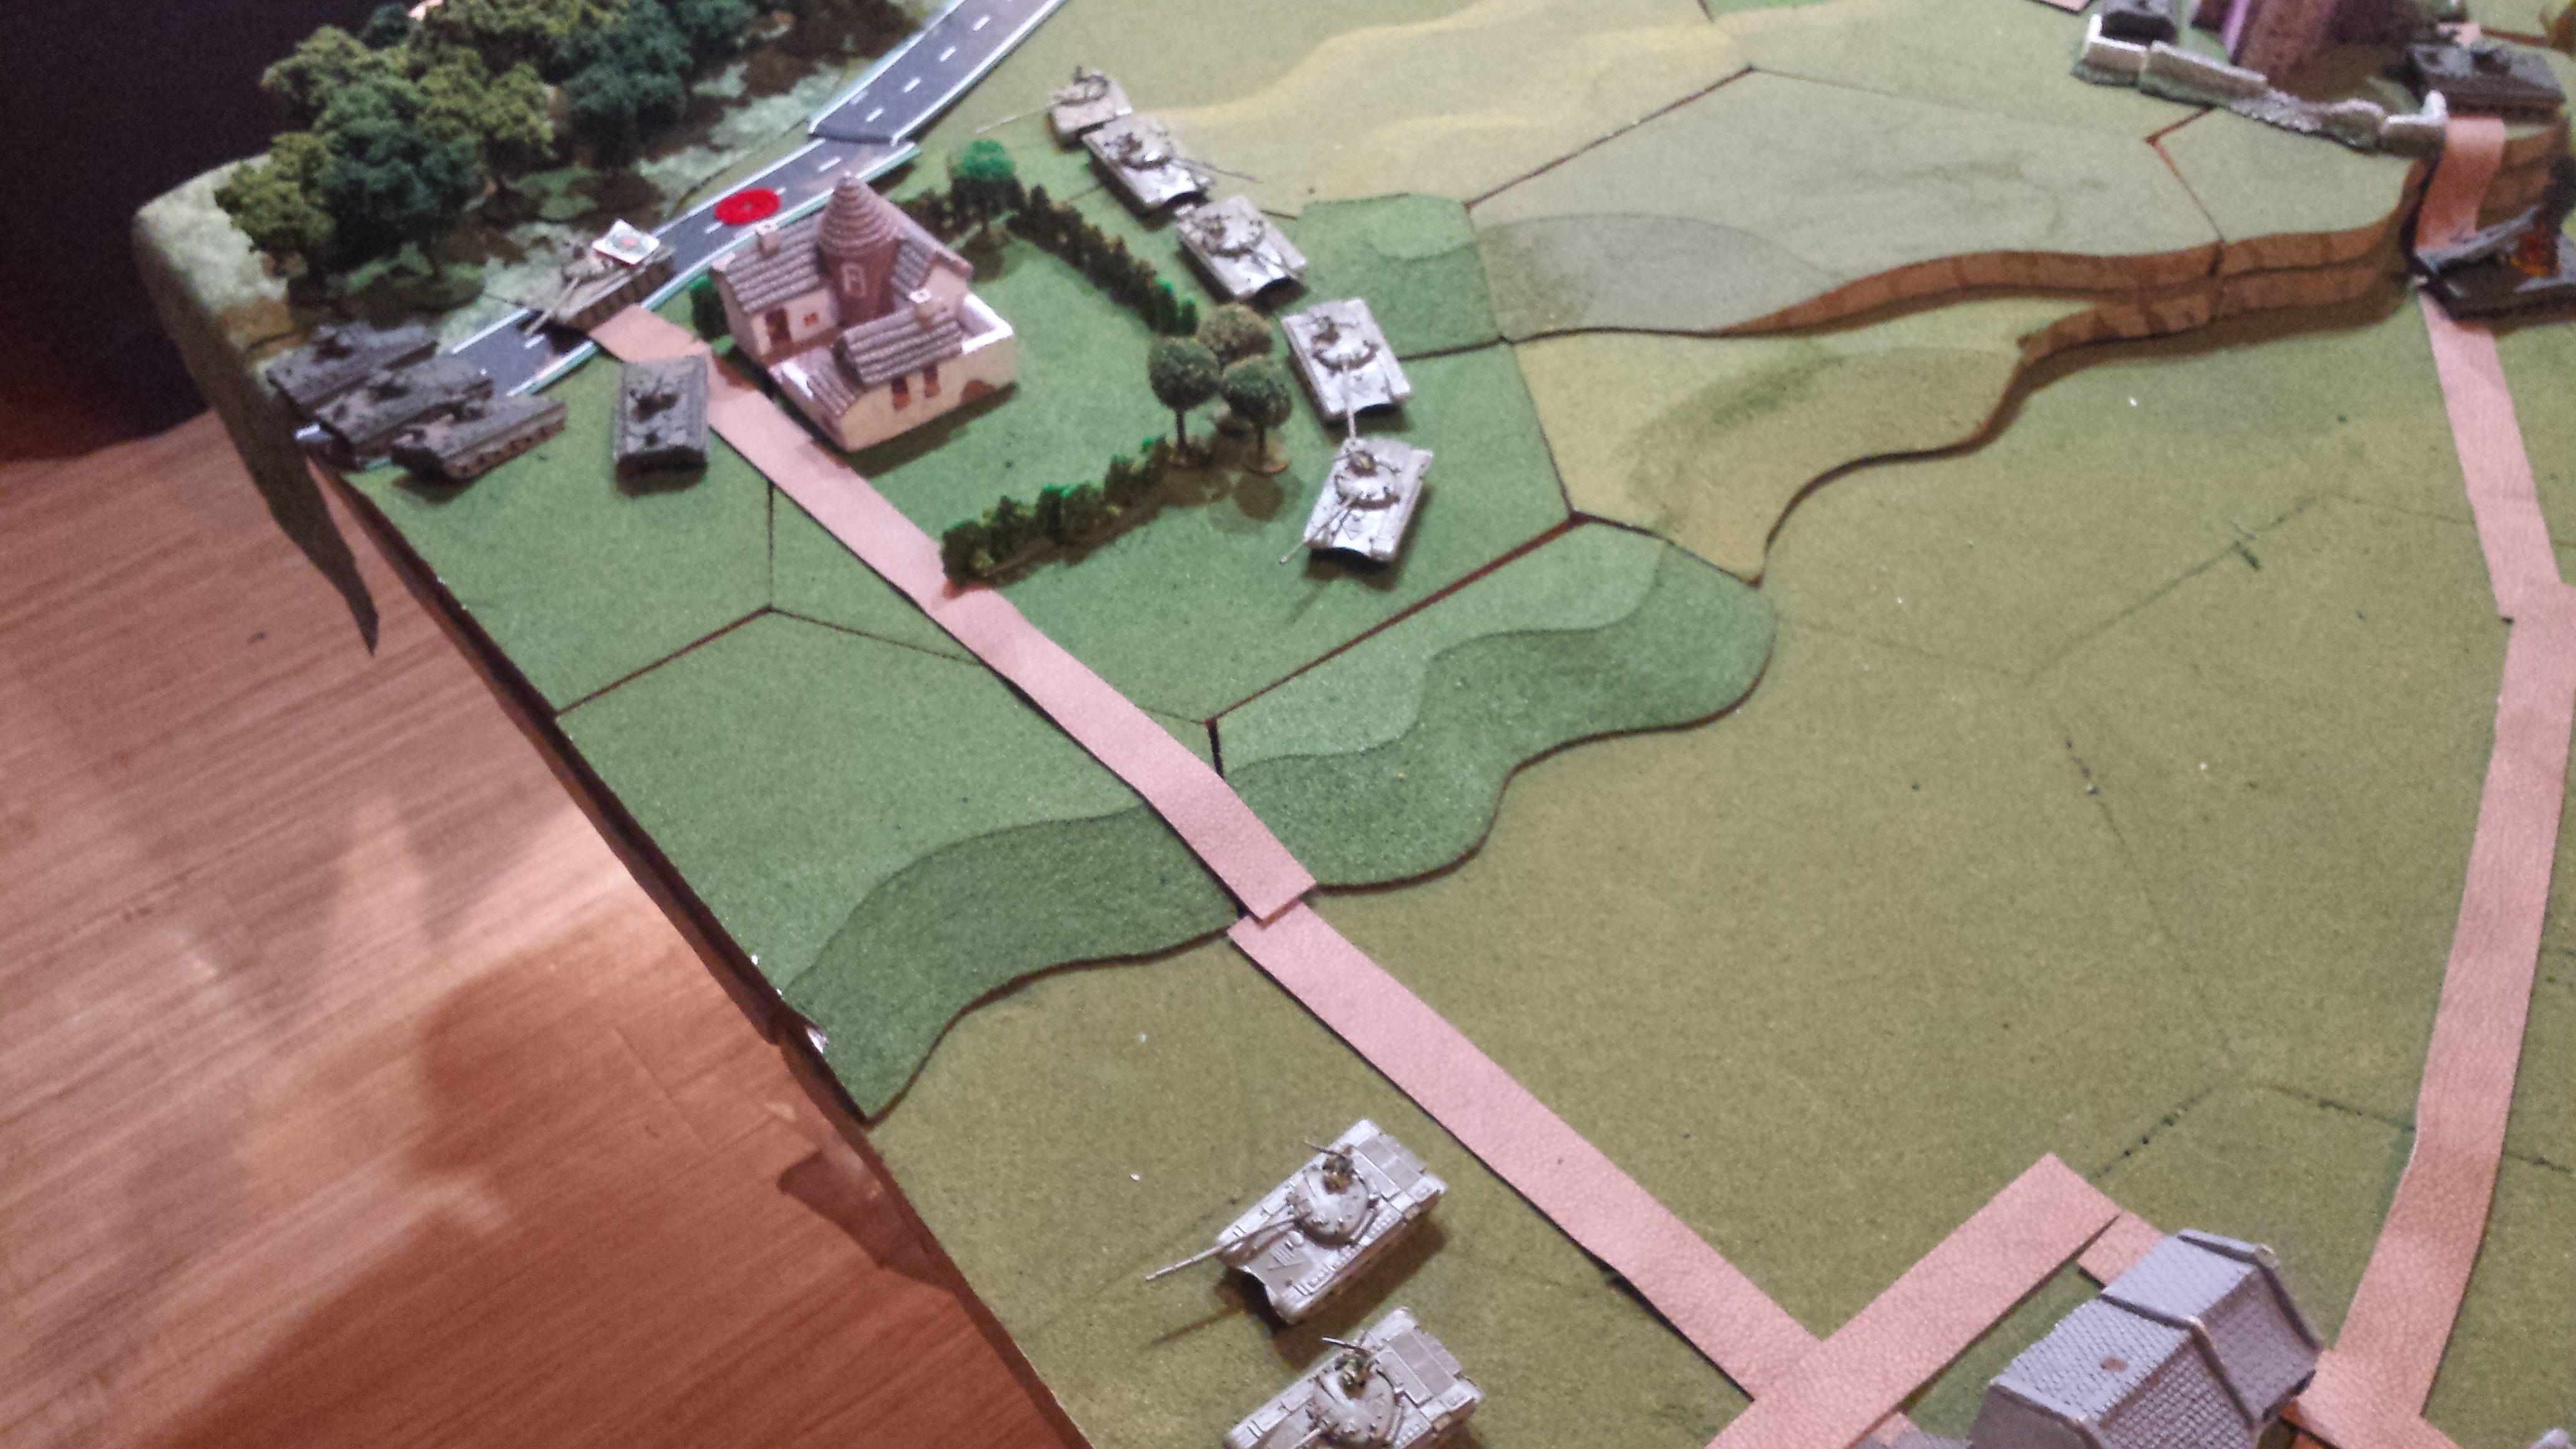
All the reserves arrive, but can only form a road block. Artillery force the lead tank to bail and the rest skirt around the farm. The Panzergrenadiers dismount and attempt to assault, only to be thrown back into the farm. One of the pair of tanks at the bottom will die to Milan fire form the remaining Panzergrendier platoon that had pulled forward hoping to get some flank shots in. Two were forced to bail by fire. The last killed the T-72 closest to the edge.
It proved to not be enough. as the Soviets mad morale on the single T-72 and exited both units in good morale.
Battle Report Author
Recommend Commander For Commendation
Share this battle with friends
BiomanWins

Like many have said Before, having more in the unit means they might stay a Little longer due to morale. Americans have the same problem when they lose tanks in the Abrams units :/
i agree witg Nabeshin, always 3 of them. They flee to easily otherwise
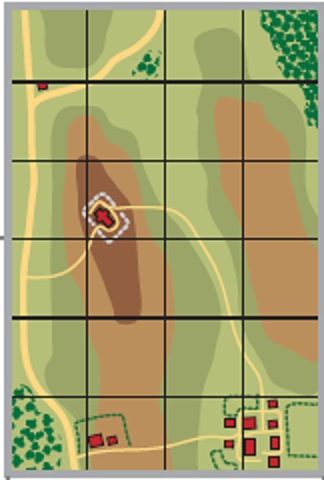
Really nice details, love the map
Great picture story and some good lessons learned! Always 3x Leo 2s, or none at all! 😛
I love the modular hills. More terrain types could lead to a more interesting game. As a NATO player especially, you definitely want to find ways to break up line of sight and force your opponent to have to issue (and likely fail) movement orders.
For NATO terrain is your friend. On such an open table the Warsaw Pact forces can use their numbers to great effect.