Fought At Hanover
2439 days 11 hours 39 minutes ago
Battle Report
Sudden Strike at Hanover
100 POINTSGreetings and welcome to my first batrep here! For one of our first games in this campaign, my motor rifle battalion would test its steel against the might of the valiant American infantry forces of my opponent. Staying true to the fluff, the US would mount a static defense to blunt the soviet onslaught. We decided to throw the dice to see what mission would be played and came up with hasty attack.
The forces:
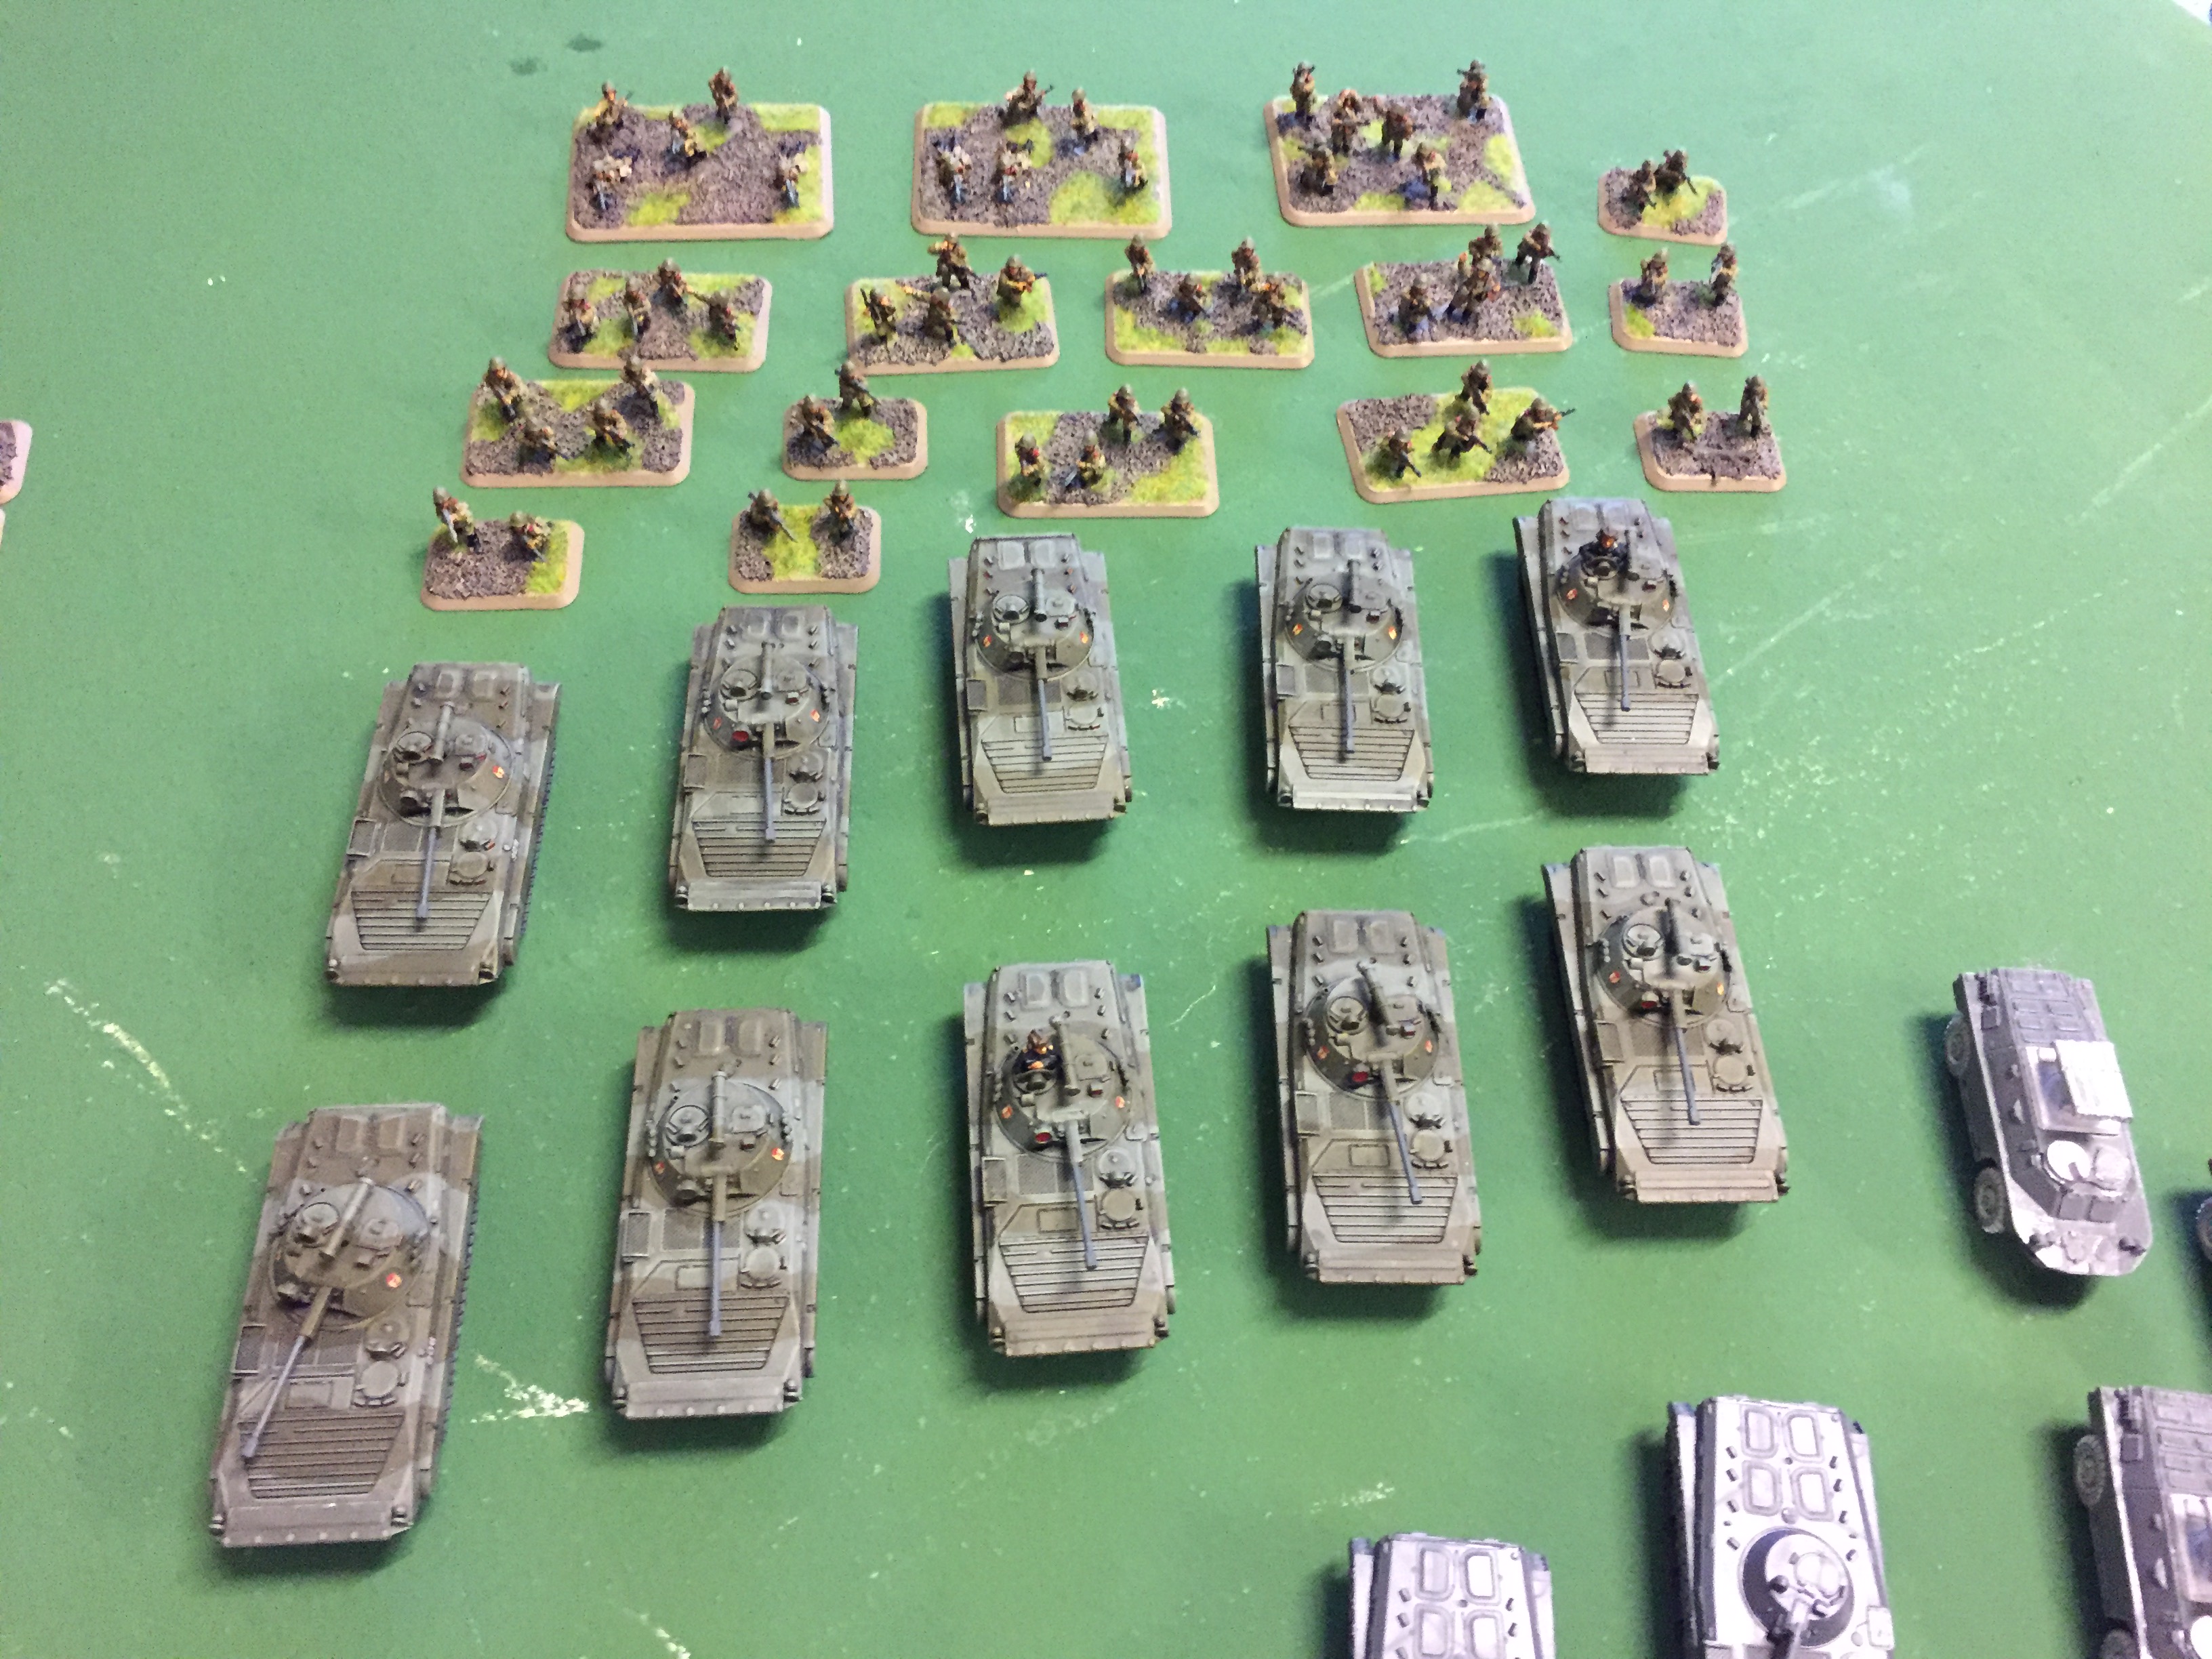
I played my BMP motor rifle battalion with plenty of support as usual:
HQ: 1x BMP-1 / AK-74 Team 1 P
BMP-2 MRC: 10x BMP-2, 7x AK-74 Team, 6x RPG-7 Team,
2x PKM Team, 1x Gremlin AA Team 20 P
BMP-2 MRC: 10x BMP-2, 7x AK-74 Team, 6x RPG-7 Team,
2x PKM Team, 1x Gremlin AA Team 20 P
Shilka AA Platoon: 2x Shilka 2 P
BMP-1 Recon Platoon: 2x BMP-1 Recon 2 P
T-64 Tank Company: 4xT-64 with AT-8 Songsters,
3x Mine Clearing Device 22P
Support:
MI-24 Hind AHC: 6x Hind 15 P
BM-21 Hail RLB: 3x Hail 4 P
Storm AT Platoon: 3x Storm 3 P
SA-8 Gecko SAM Platoon: 4x Gecko 8 P
BMP-1 Recon Platoon: 2x BMP-1 Recon 2 P
BMP-1 OP 1 P
Formed around the solid core of 2 beefy motor rifle companies, my single formation also brings a lot of support in the form of artillery, 2 recon units for spearheads, decent AA assets - and not to forget, the brutal hammer of 6 Hinds. (The Spandrels serve as stand-ins for the Storms)

My opponent would stand his ground using a combined force of 2 US infantry formations:
Note: Due to the severe lack of high-power AA units for the Americans, we decided that the US player could use one unit of West German Rolands, instead of the VATs – we are fighting on German soil after all ;-)! Also, we had to use a lot of stand-ins.
Formation No.1: M113 Mech Combat Team
HQ: 1x M113, 1x M-16 Team 1 P
M113 MP: 4x M113, 4x M249 SAW Team, 4x Dragon Team 7 P
M113 MP: 4x M113, 4x M249 SAW Team, 4x Dragon Team 7 P
ITV AT Platoon: 2x ITV 3 P
ITV AT Platoon: 2x ITV 3 P
ITV AT Platoon: 2x ITV 3 P
ITV AT Platoon: 2x ITV 3 P
M1 Abrams Tank Platoon: 3x M1 Abrams 24 P
Formation No.2: M113 Mech Combat Team
HQ: 1x M113, 1x M-16 Team 1 P
M113 MP: 4x M113, 4x M249 SAW Team, 4x Dragon Team 7 P
M113 MP: 4x M113, 4x M249 SAW Team, 3x Dragon Team 6 P
Support:
Roland AA platoon: 4x Roland 6 P
A-10 Flight: 4x A-10 20 P
M109 FAB: 3x M109 + bomblets 8 P
M113 FIST: 1x FIST 1 P
Relying on the staying power of 4 big infantry platoons and supporting artillery to slow and weaken the enemy, a counterattack would then be possible with a unit of M1 tanks and the awe-inspiring might of a full flight of A10s!
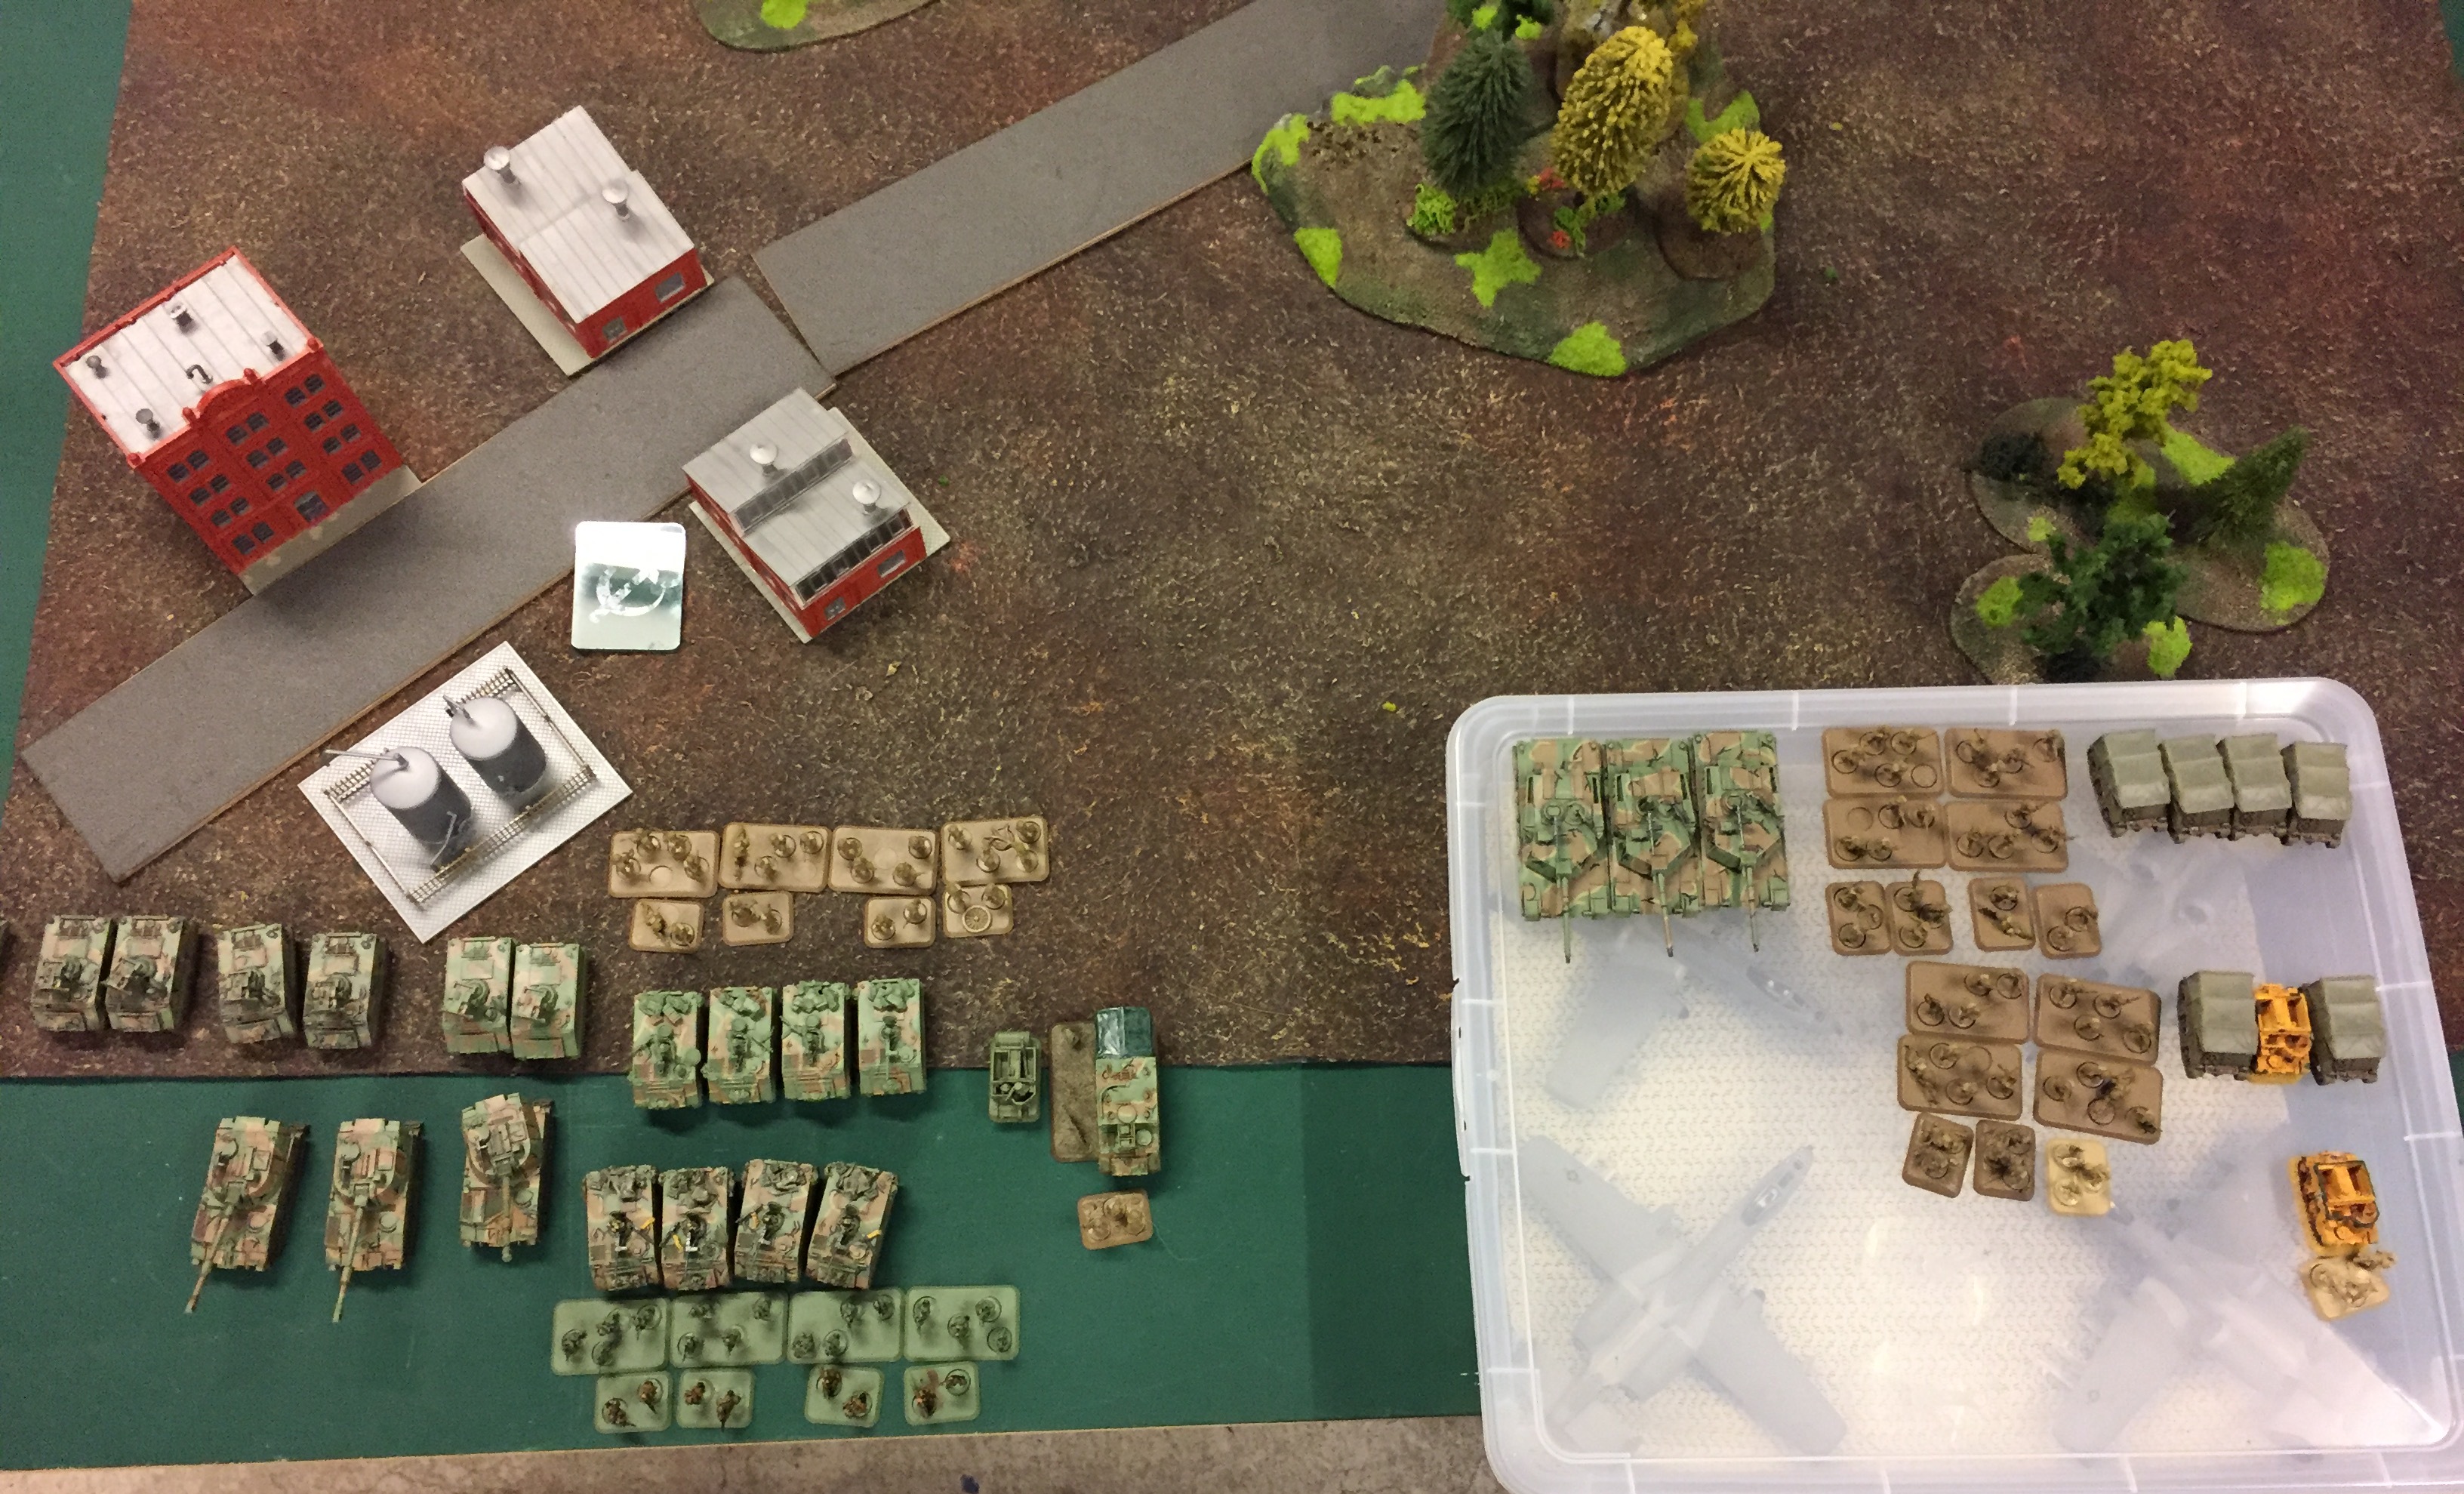 The US forces - all non-WW3 vehicles are M113 variants and non-WW3 infantry stands are either SAW (medium) or dragon (small) teams
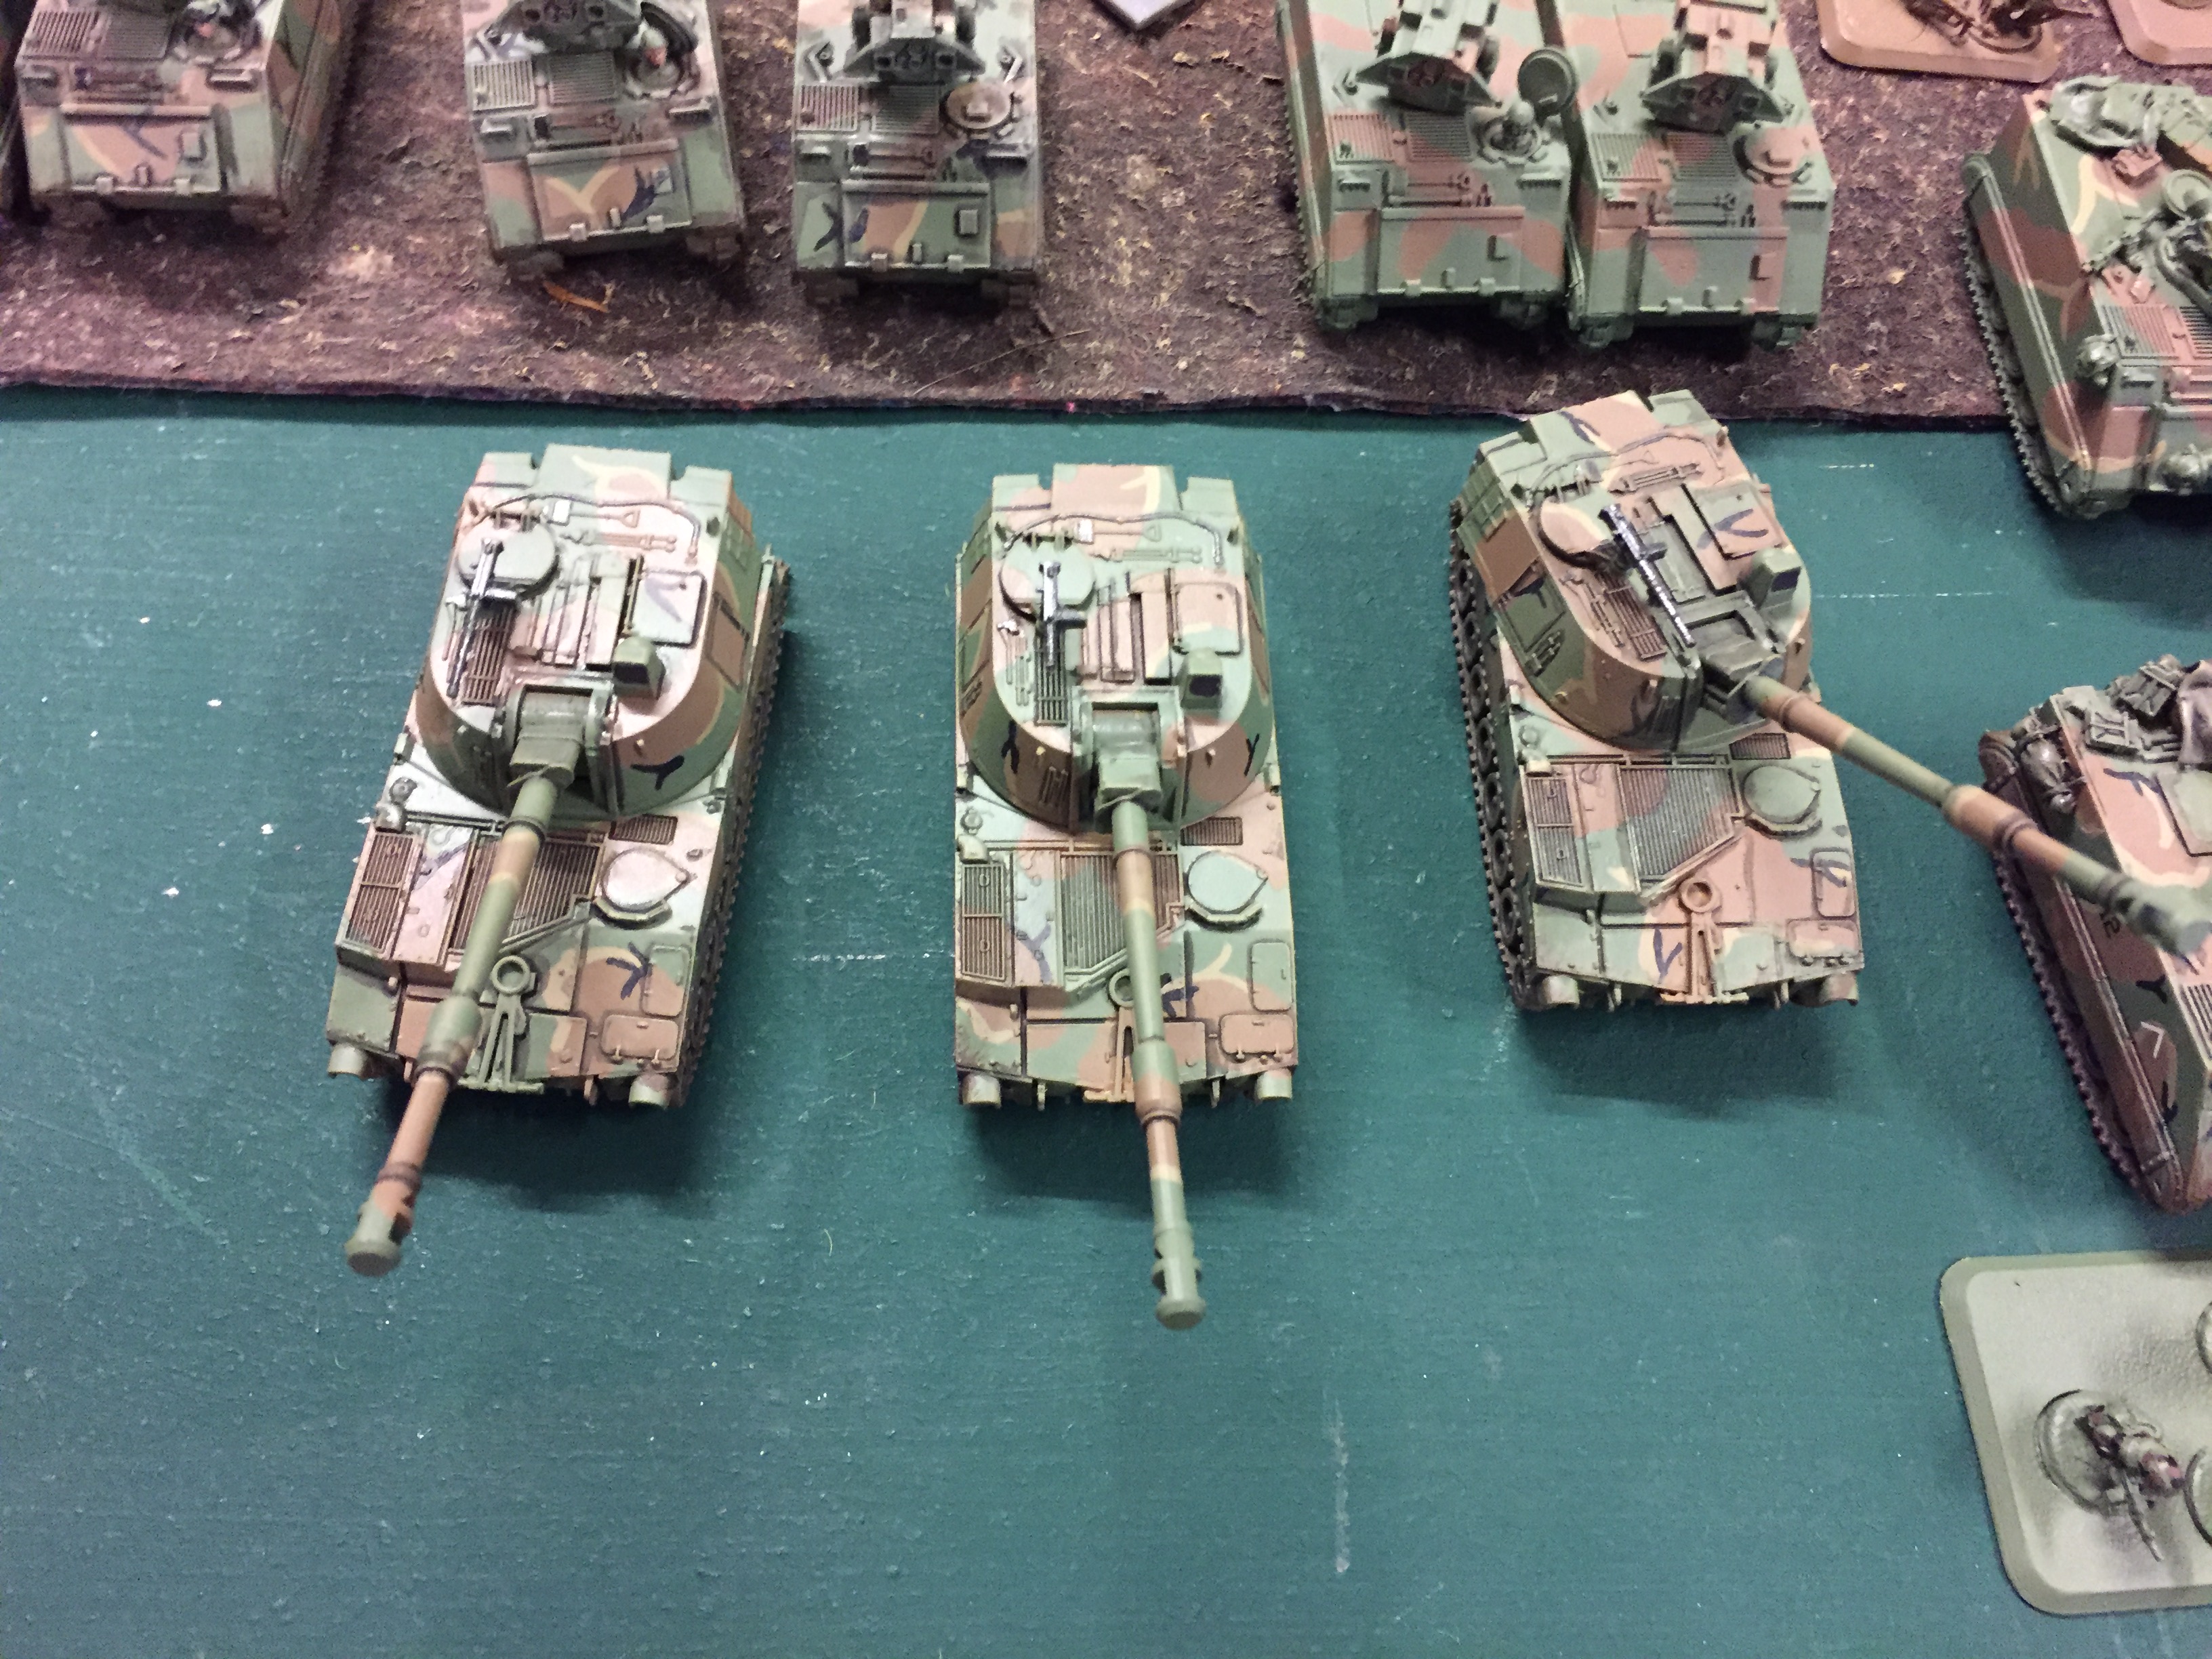
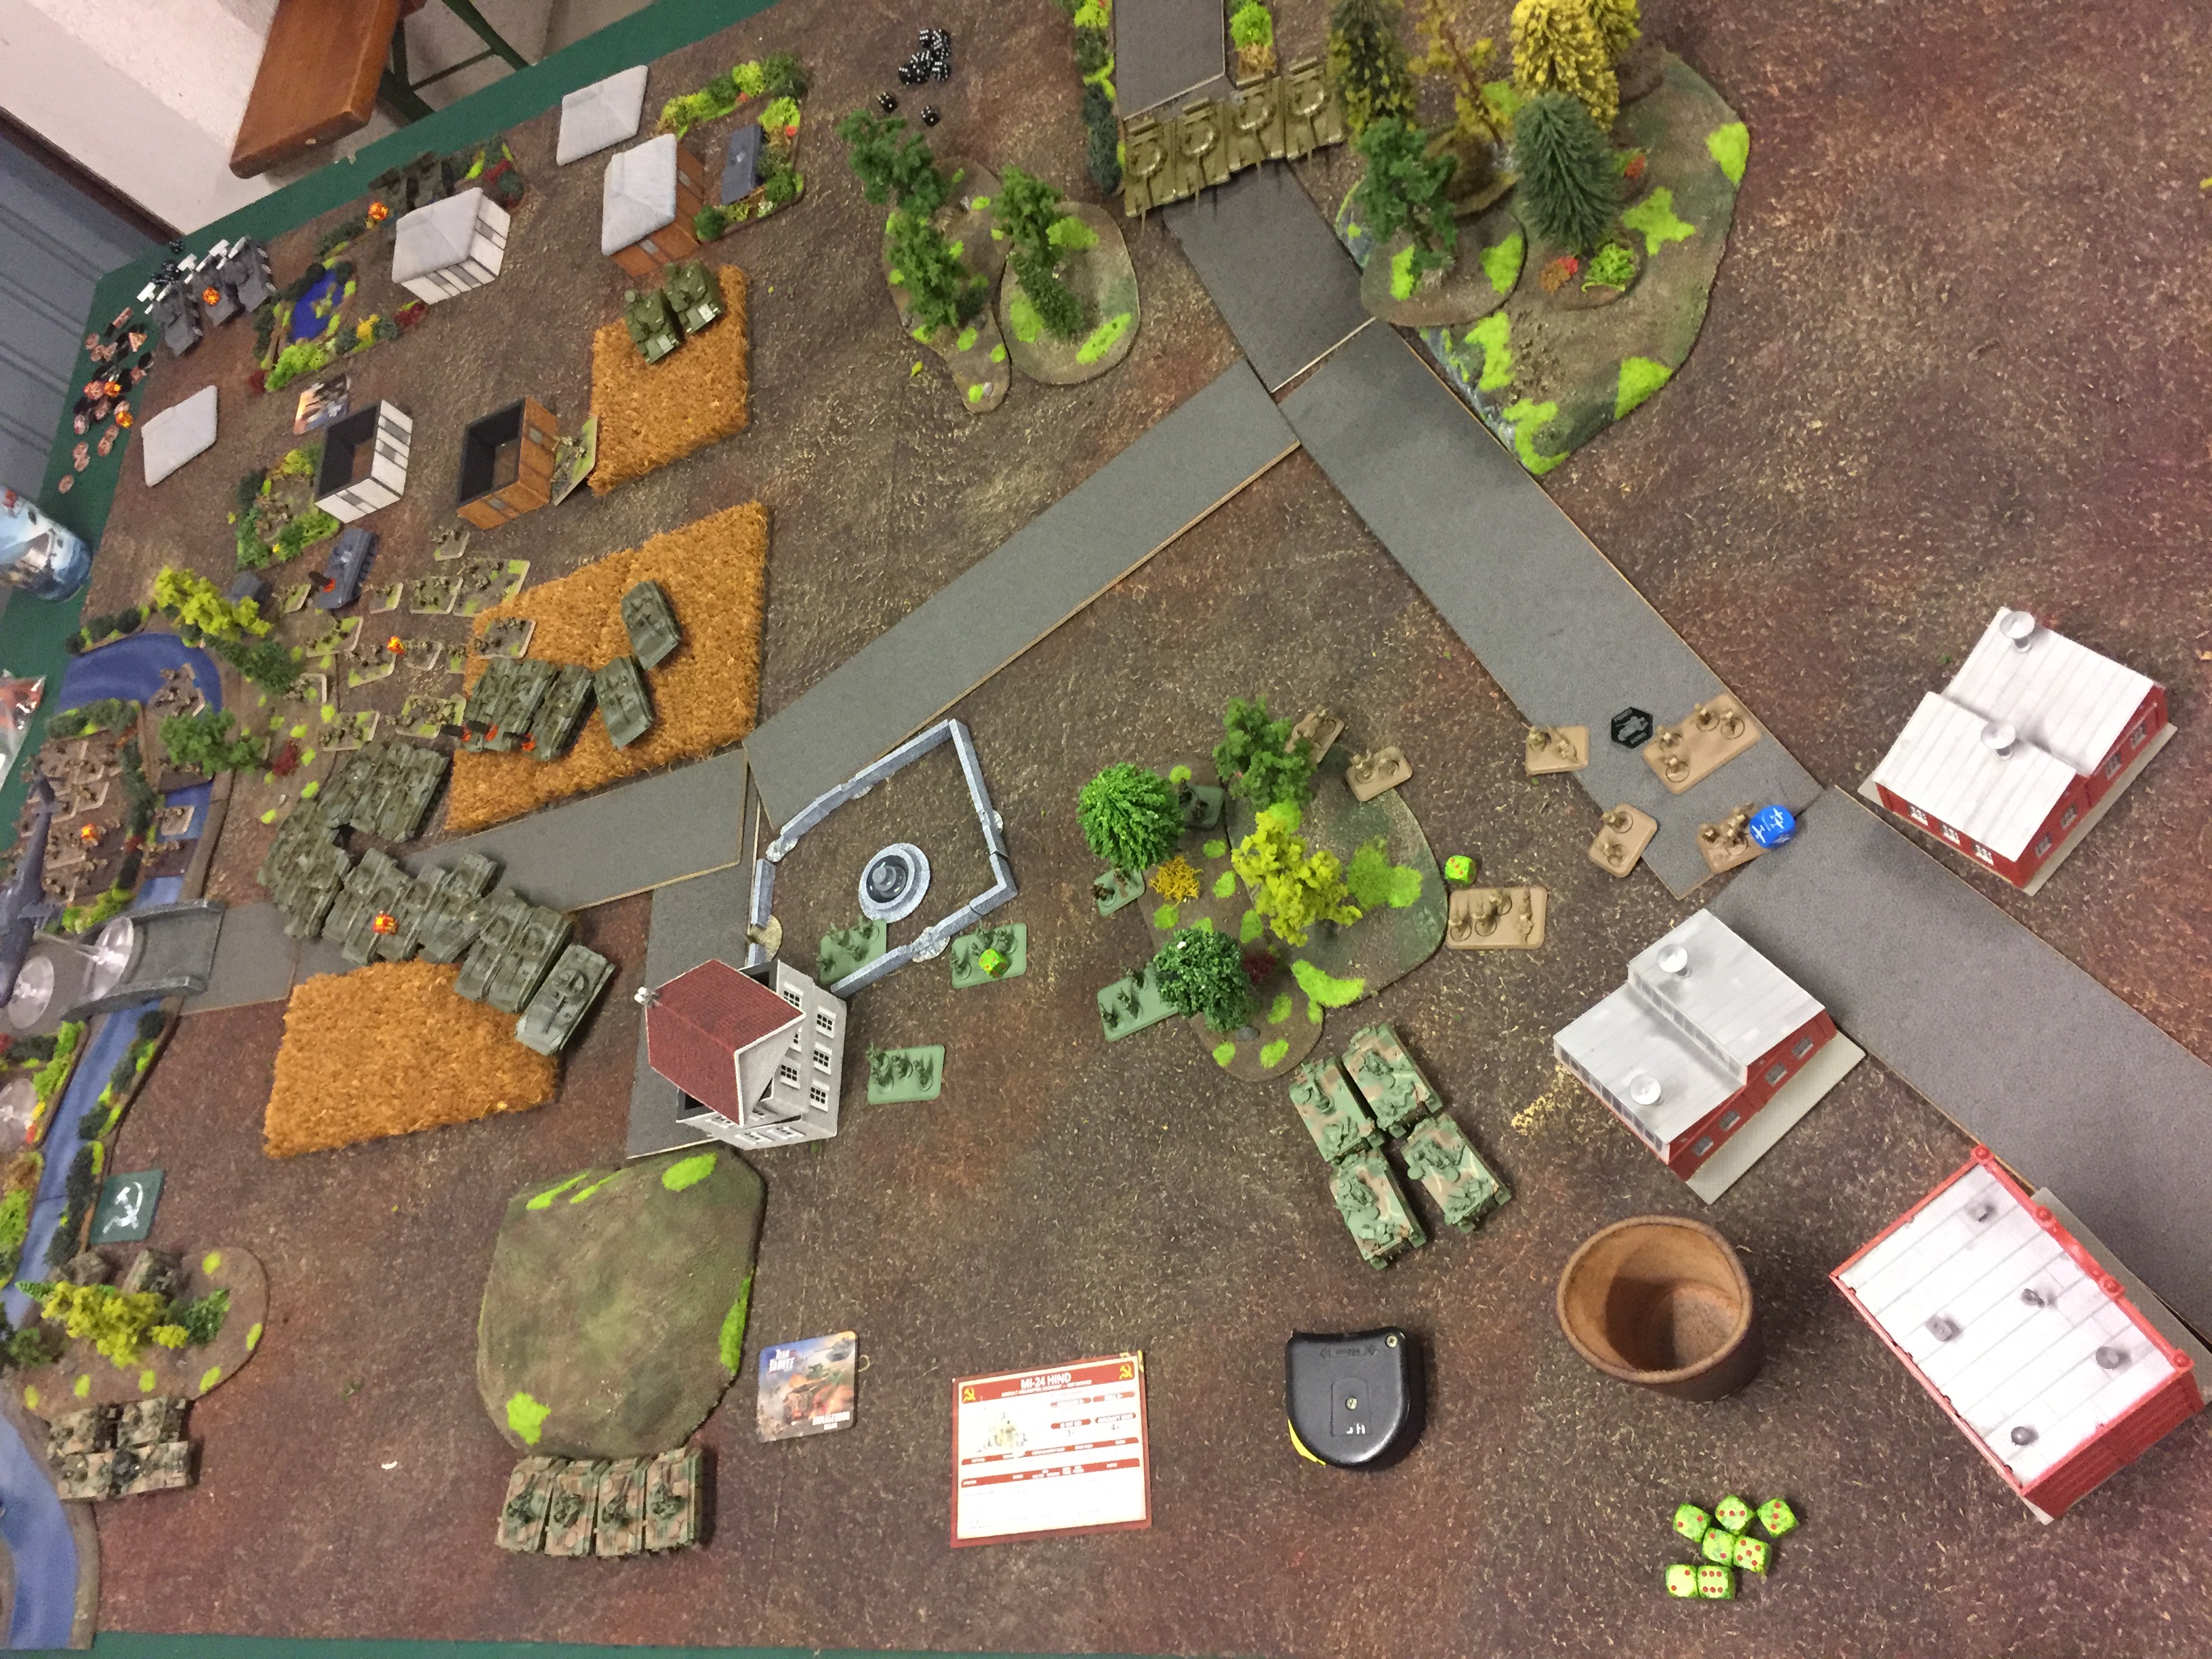
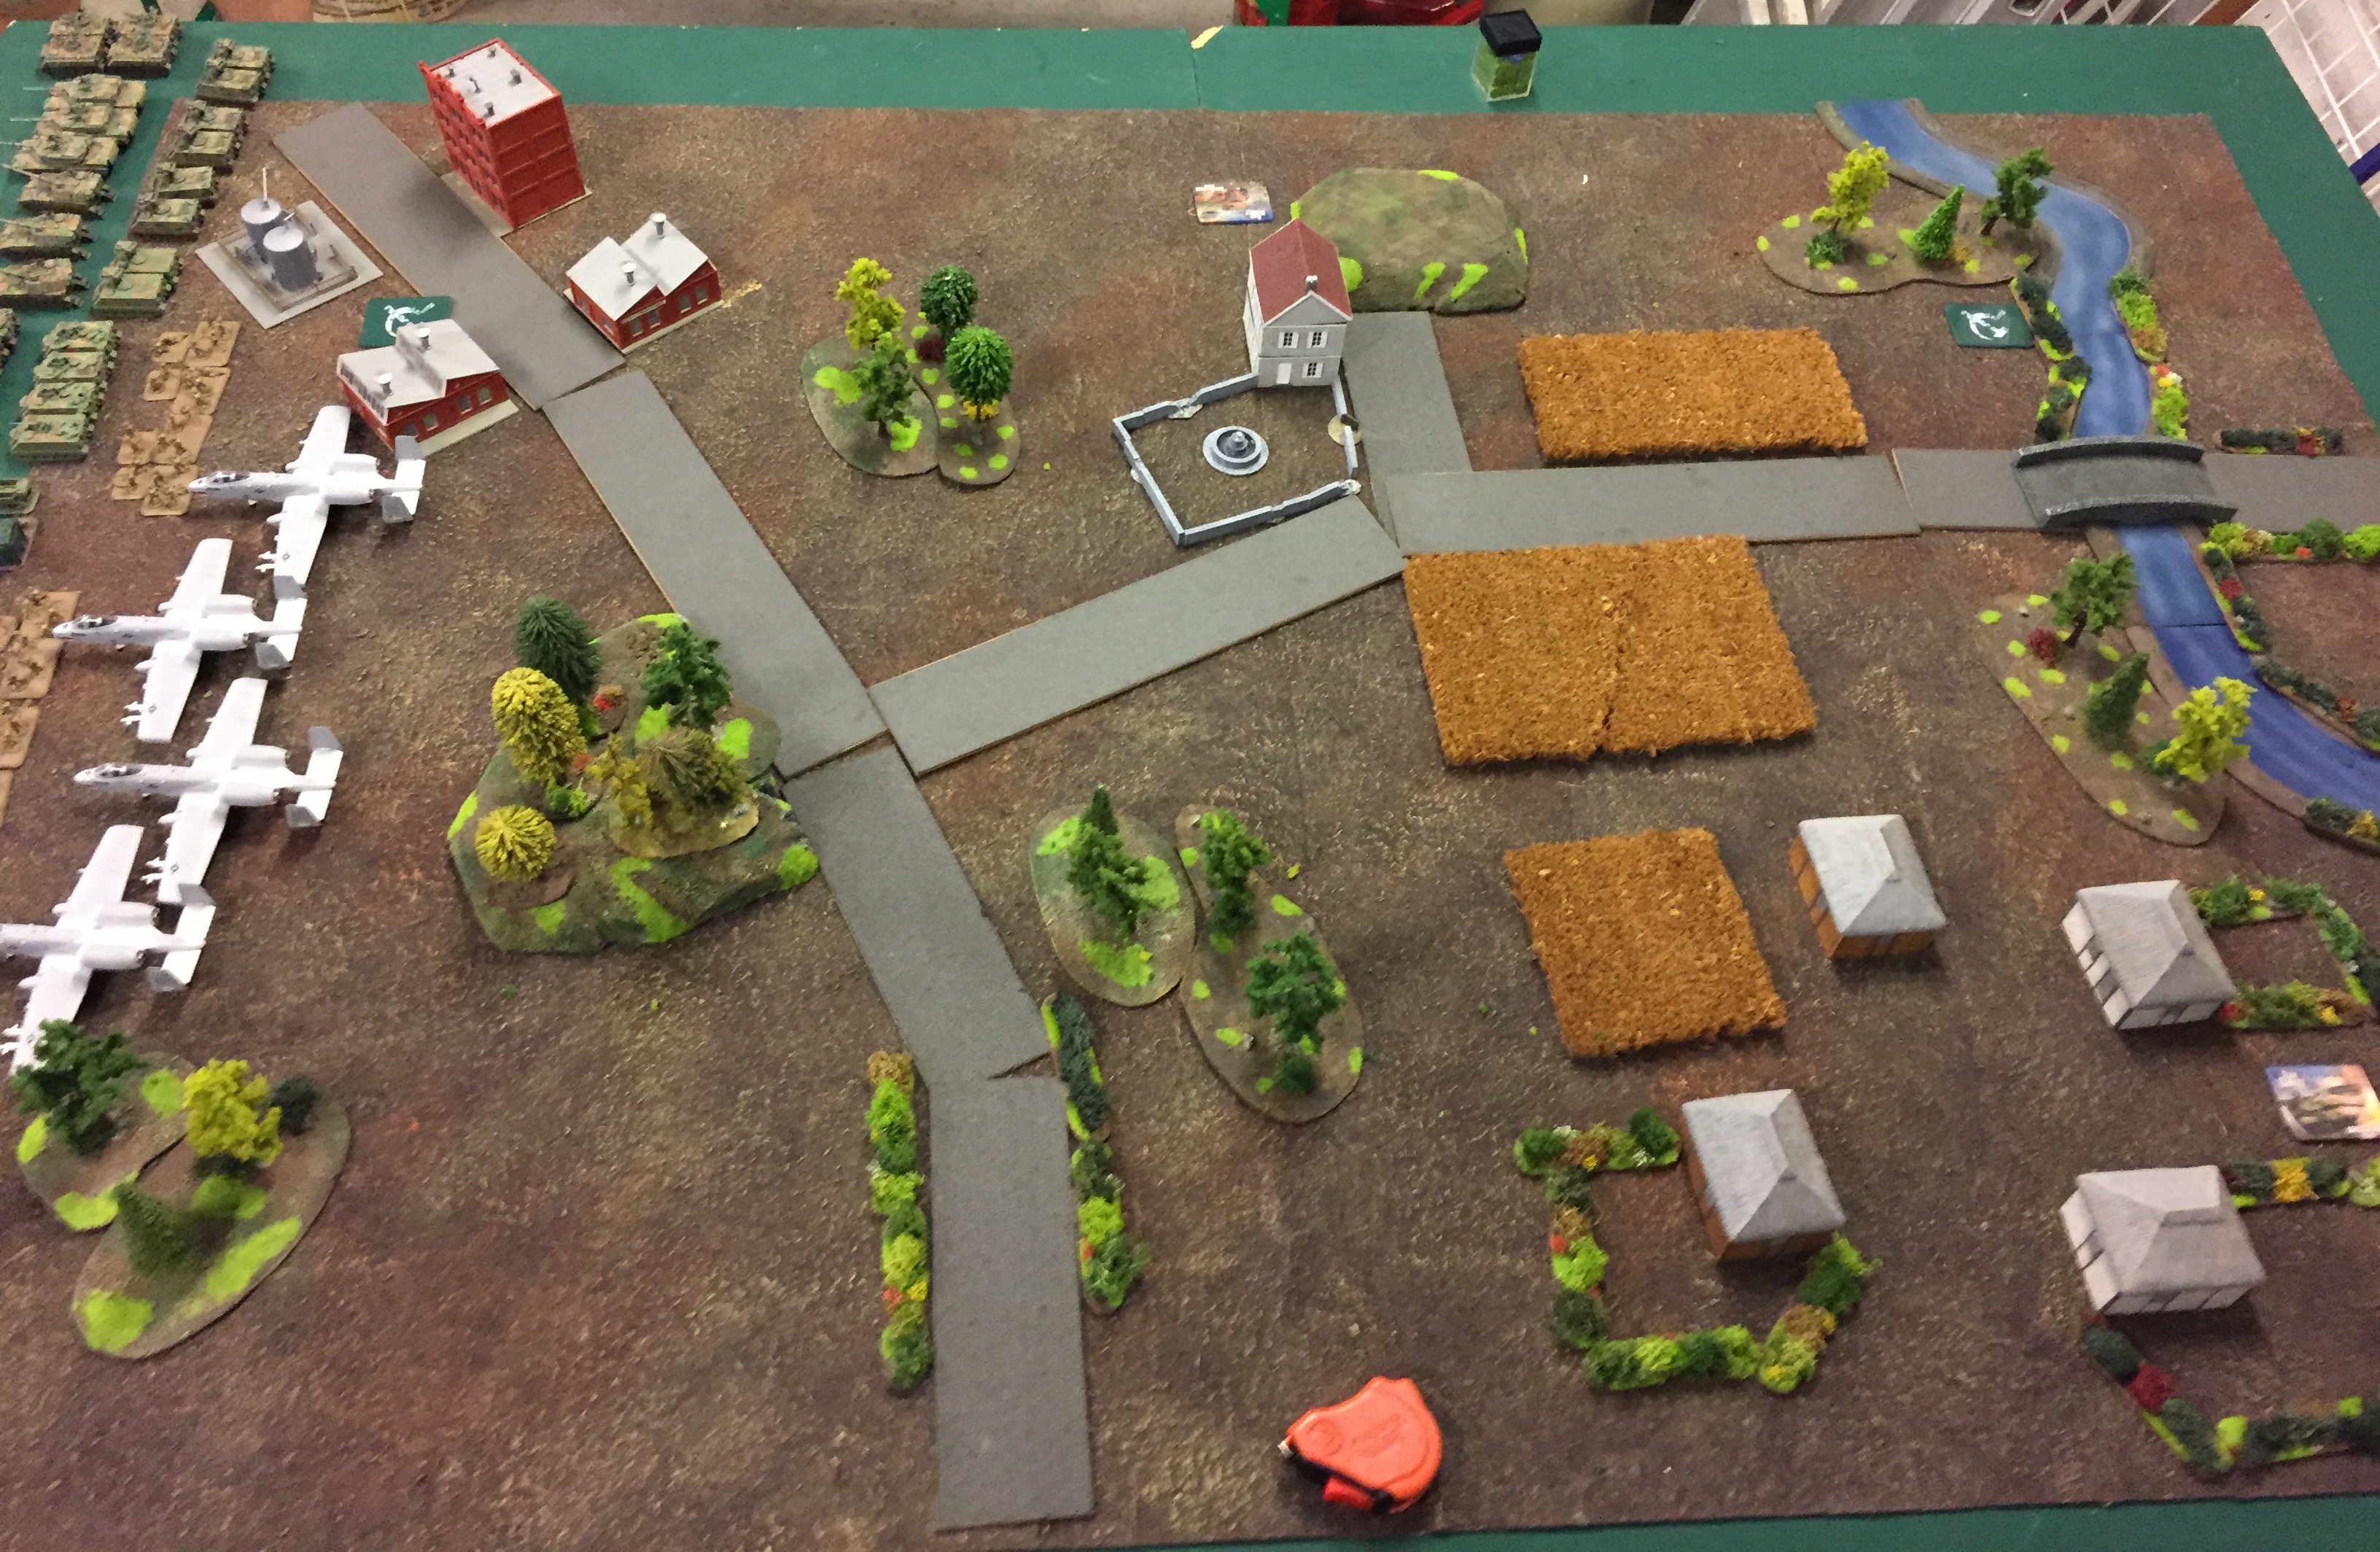 The battlefield: Our battlefield reflects a pretty standard rural landscape with a small industrial complex in the upper left corner, the outskirts of a small village in the south and a segment of river on the eastern edge.
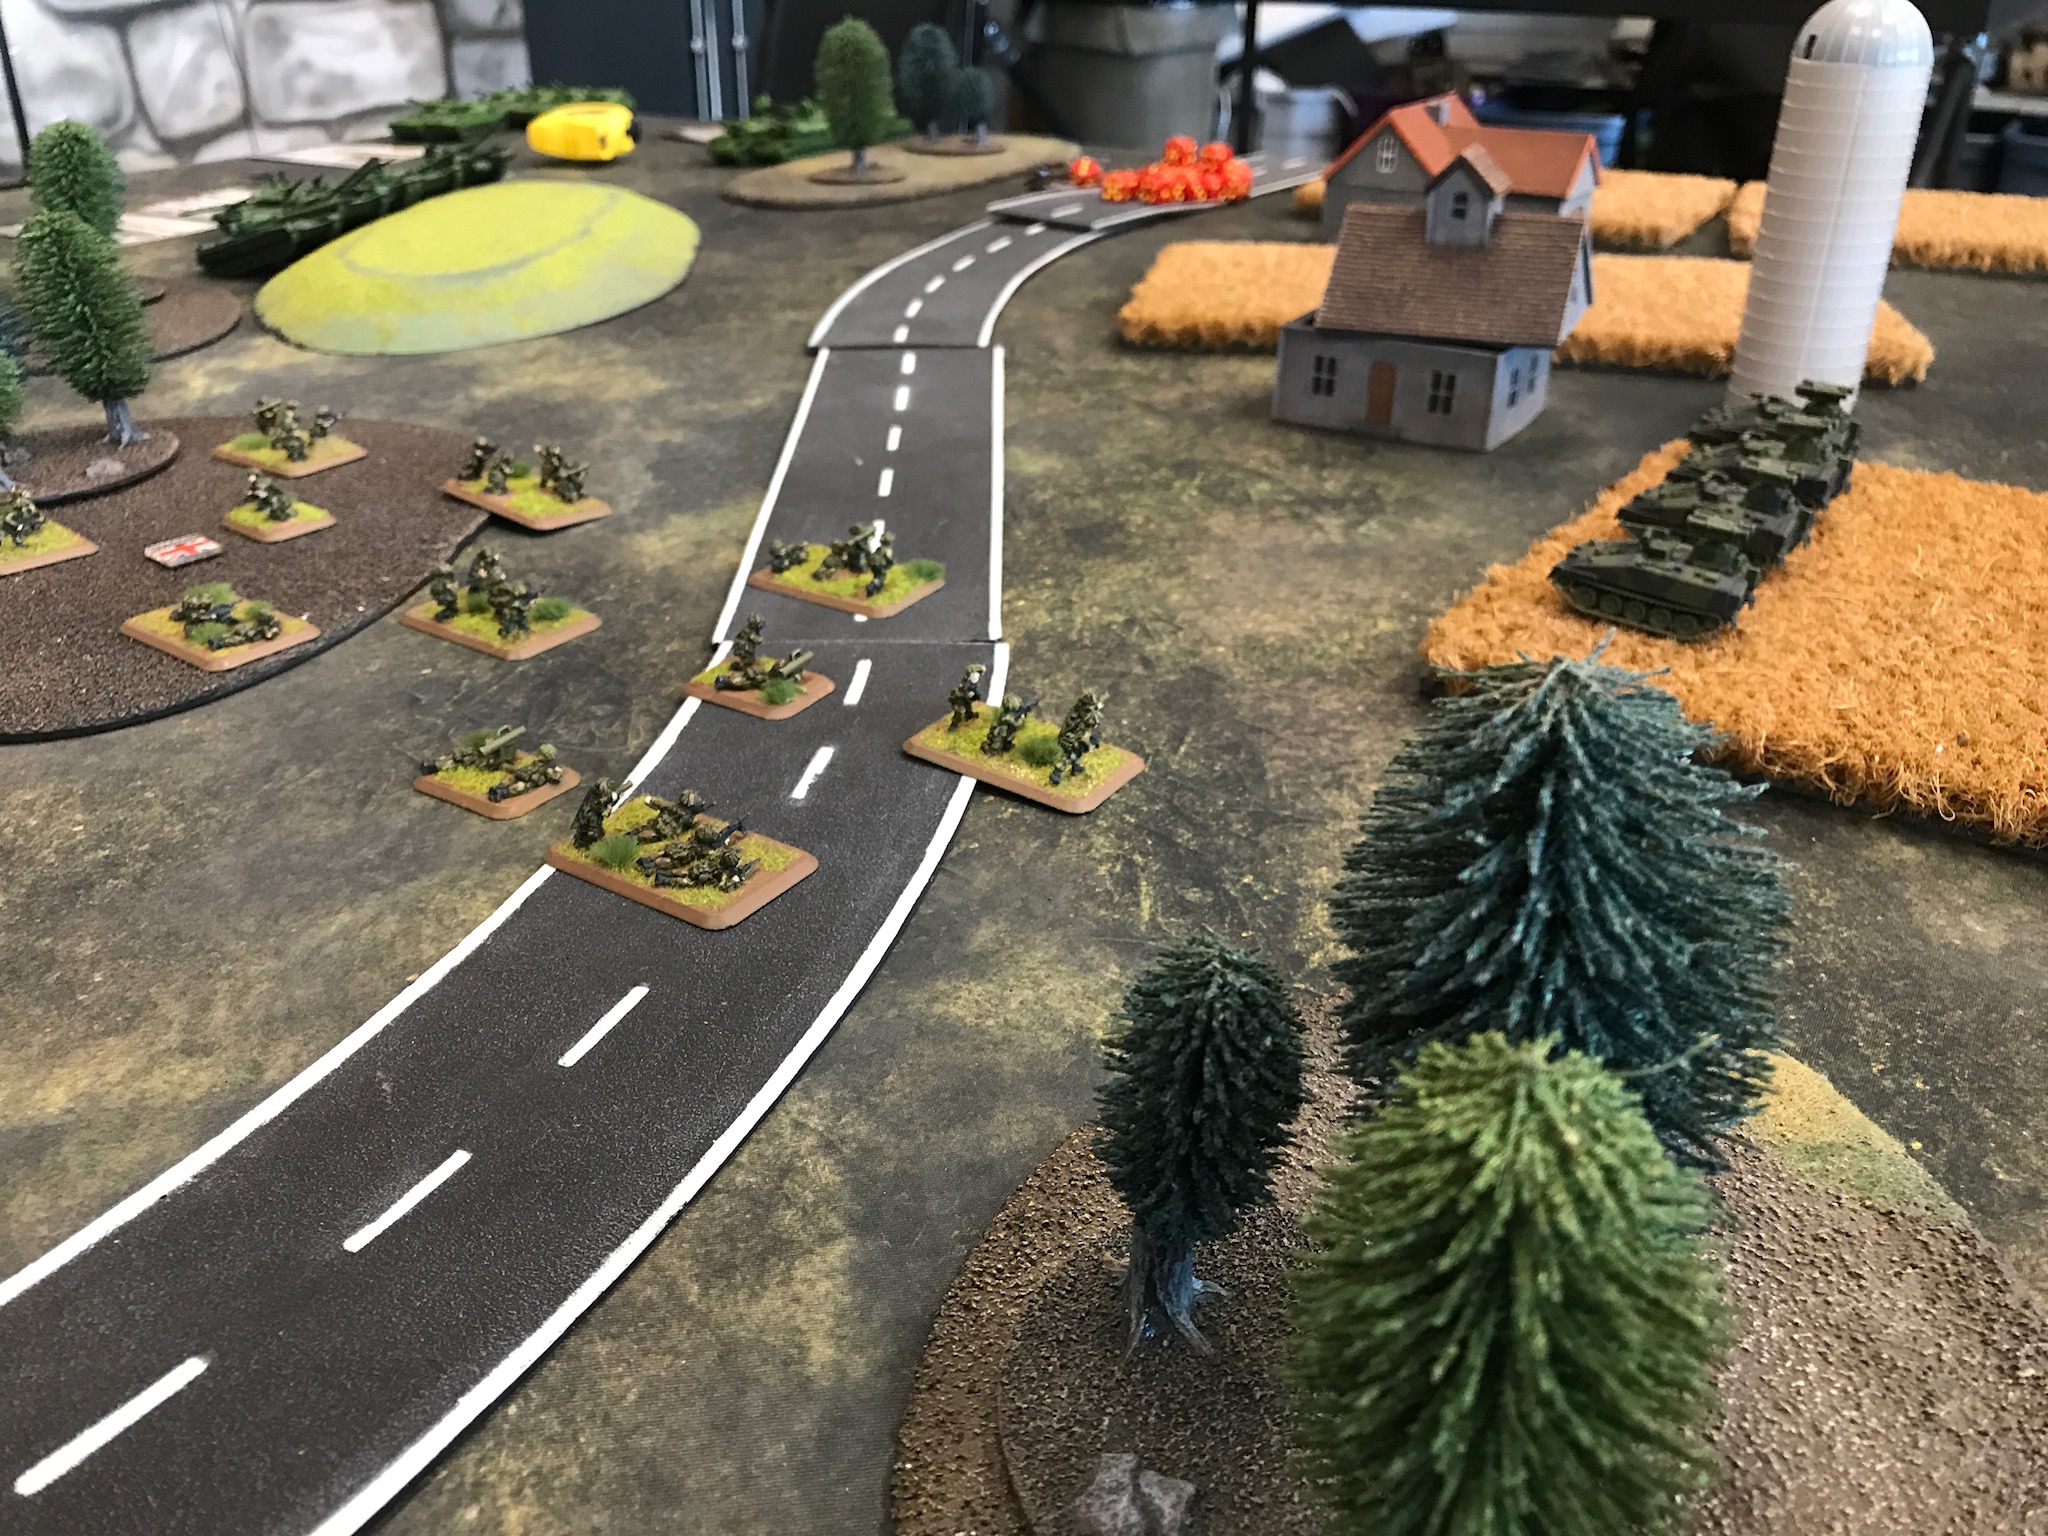 The soviet command set up its temporary field headquarters in the village. Unbeknownst to them, a local citizen was able to get a message through to the NATO forces, alerting them to this fact. If the US forces could capture this position, the soviet push would be in disarray and likely be forced to regroup.
The Russian forces of course had plans of their own. This area would have to be passed quickly, so the NATO lines could be penetrated and a surprise attack on Hannover be launched directly afterwards. Therefore, the soviet army would push for a quick victory, instead of a battle of attrition that would give the US valuable time to reinforce their line.
Three points on the battlefield would be vital to achieve this:
The paved road would lead directly through the industrial complex, allowing for quick traverse of forces – at least if the breakthrough could be achieved before pioneers would mine it.
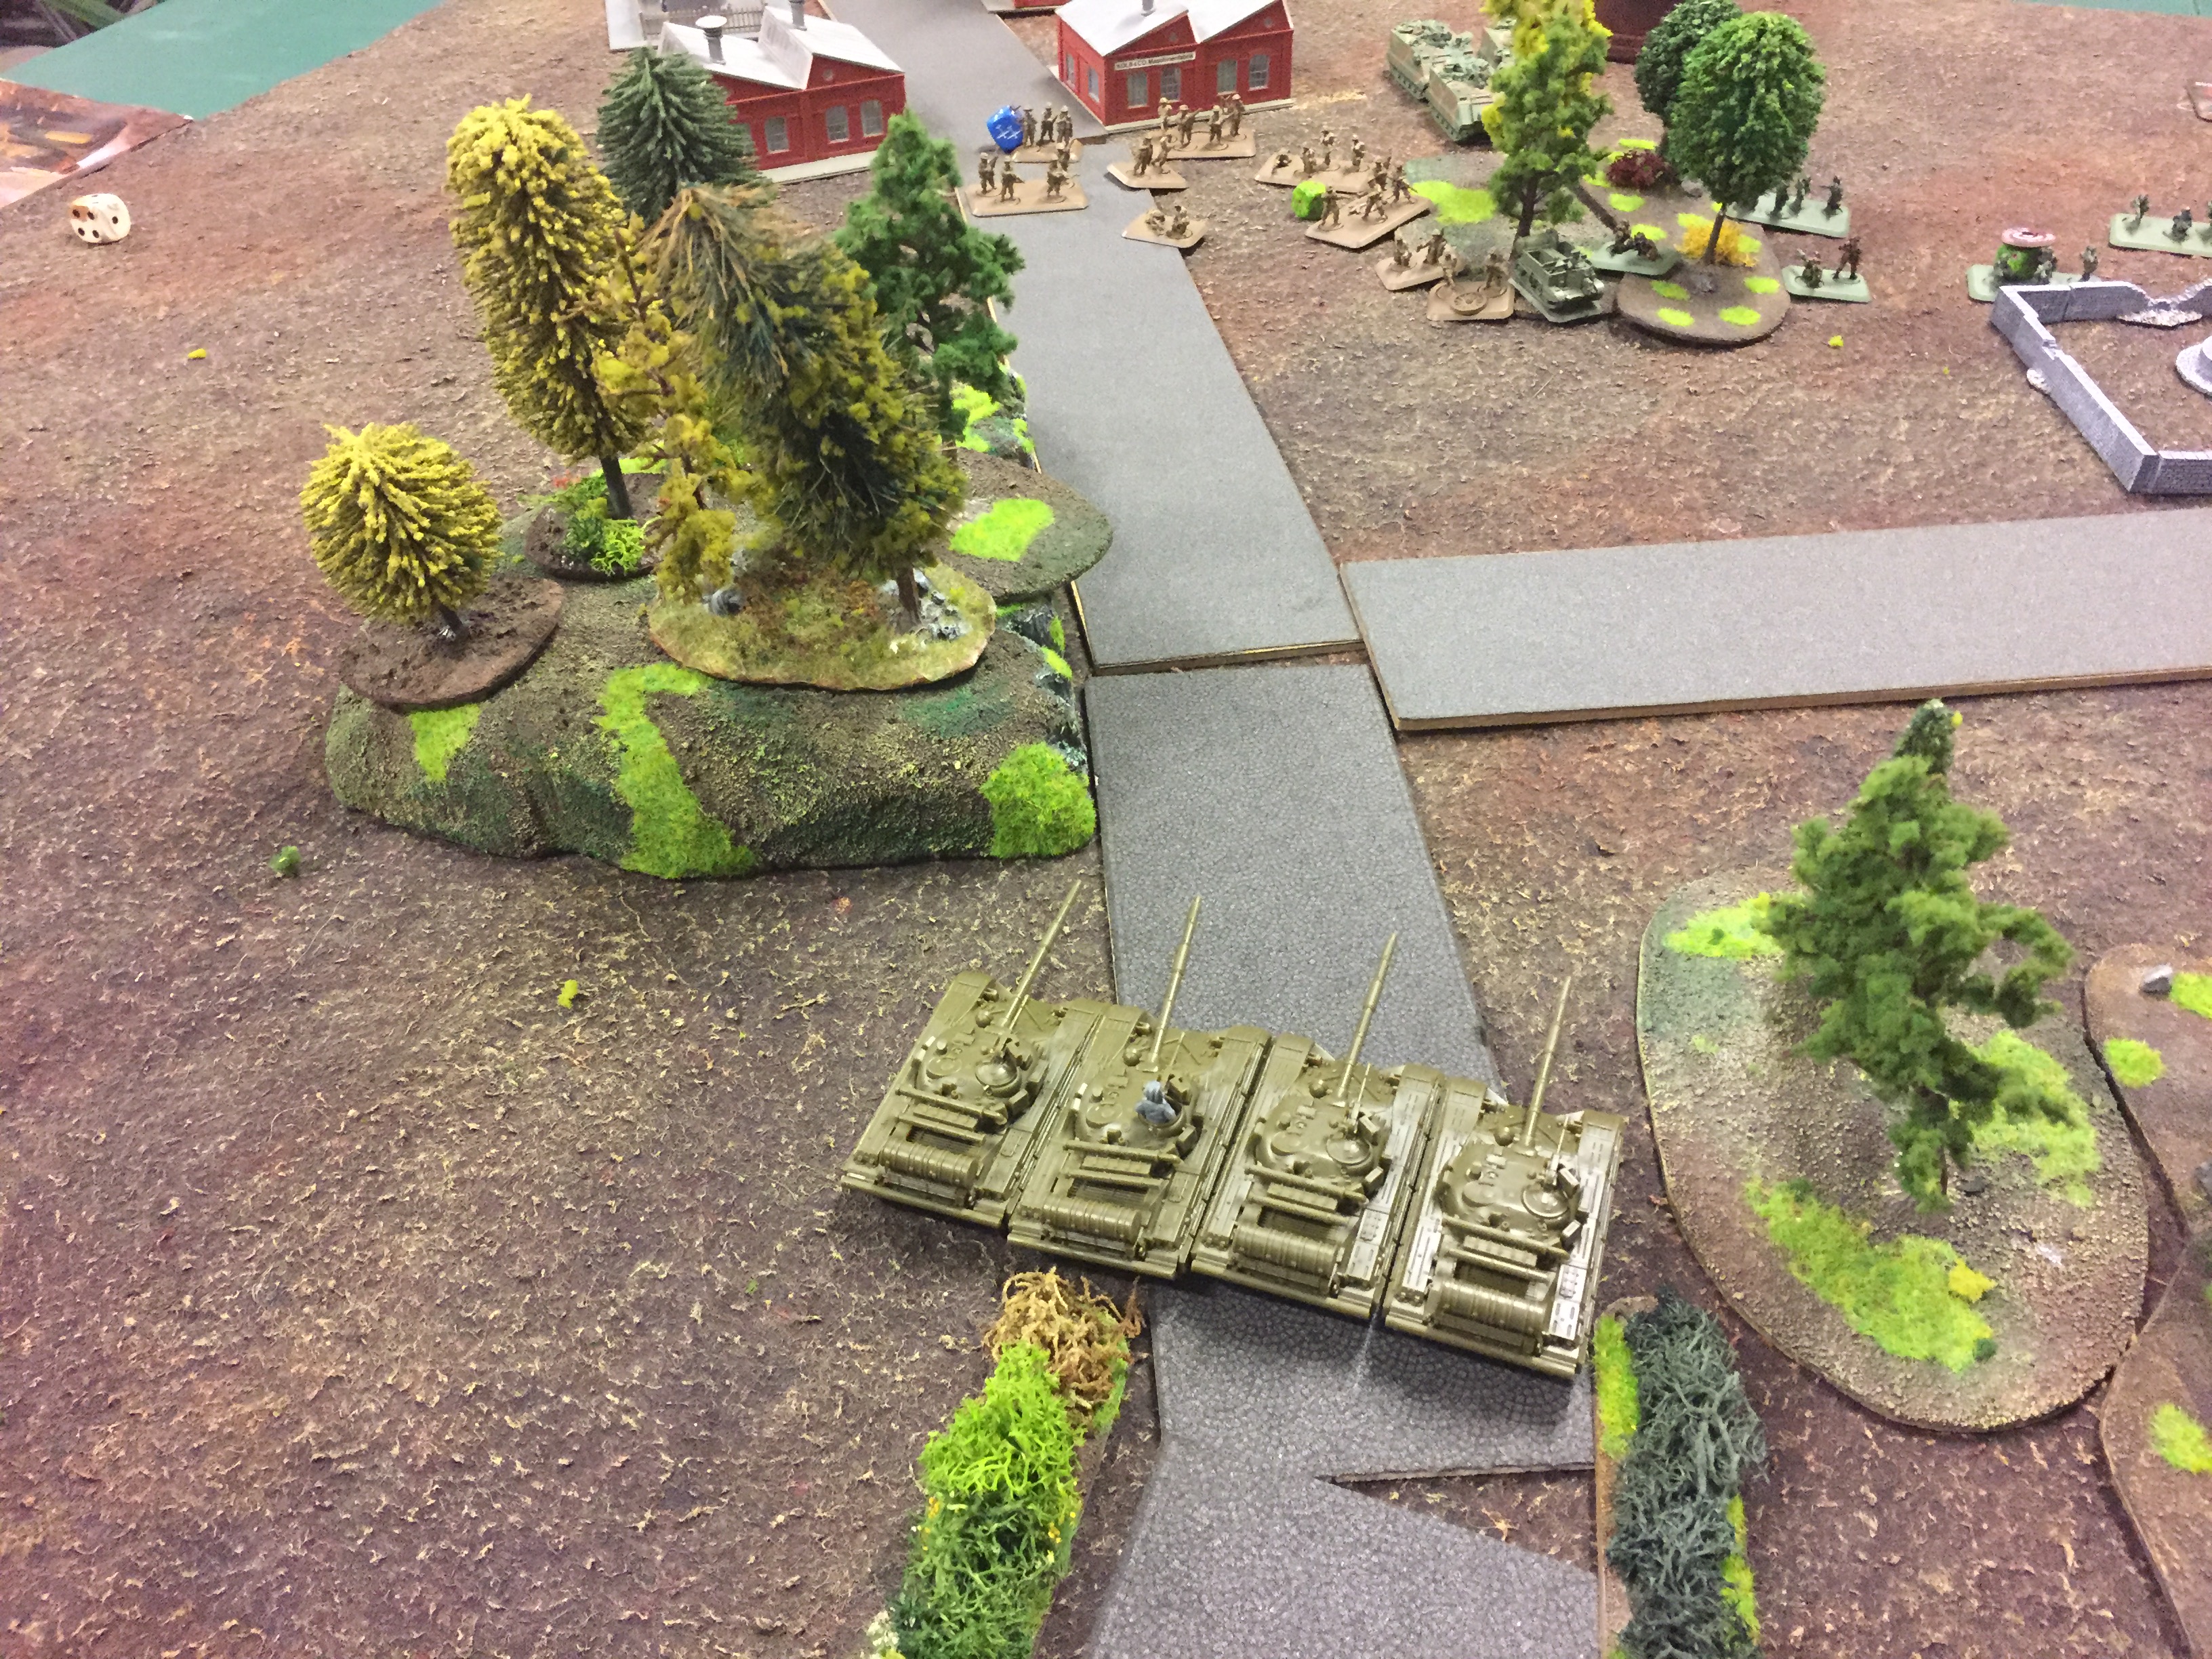
The area in the upper middle corner featured less obstacles like dense woods or potential ambush sites like corn fields and could serve as an acceptable gap to push the advance.
Lastly, there was an important bridge across the local river on the right side. Although the river was comparatively shallow, it would still slow the advance to an unacceptable amount, unless this bridge could be used.
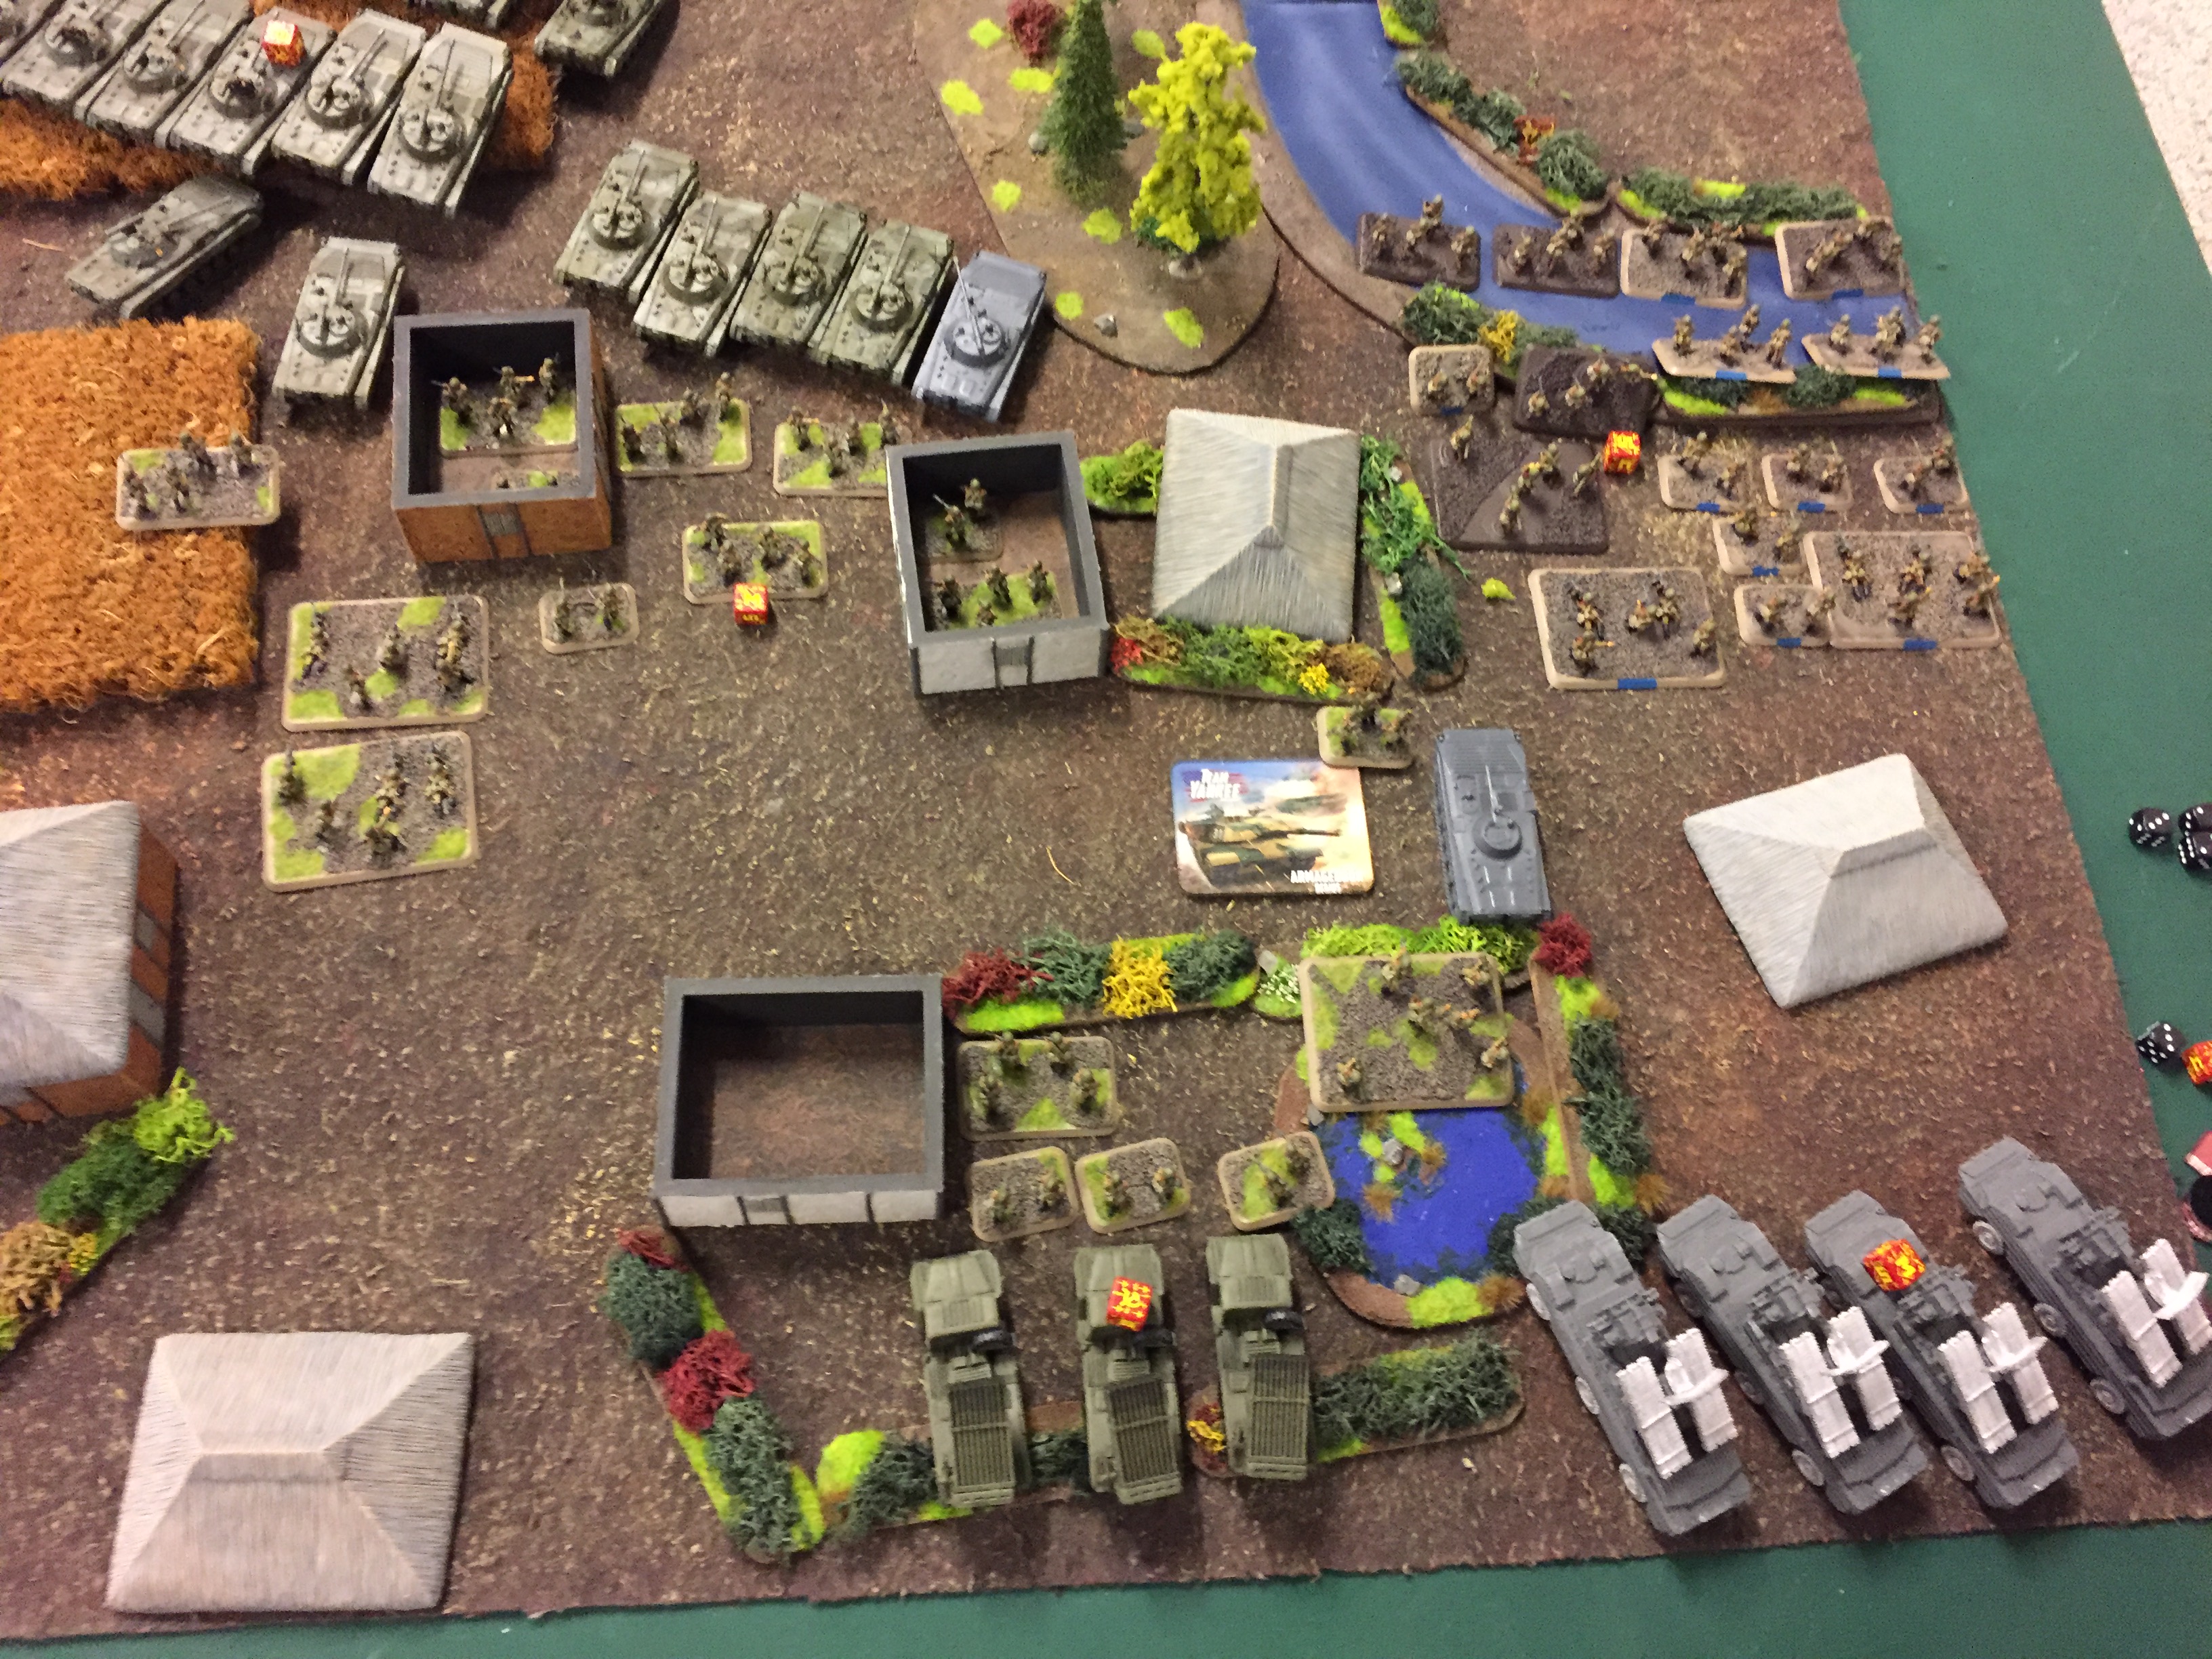
The deployment:
The message of the soviets rapid advance hit NATO headquarters at the last possible moment. The opening moves in this great game of war had been carefully planned by high command and were now executed with an effectiveness, that analysts had thought the soviet army incapable of.
This included a broad jamming of radio frequencies as well as many acts of sabotage carried out by special forces. Scrambling to put up the best possible defense, the US commander sent 2 units of infantry to take up position at the industrial complex and a lush little mansion overlooking the path in the middle of the battlefield.
A unit of Rolands also took center stage behind a hill right behind the same mansion.

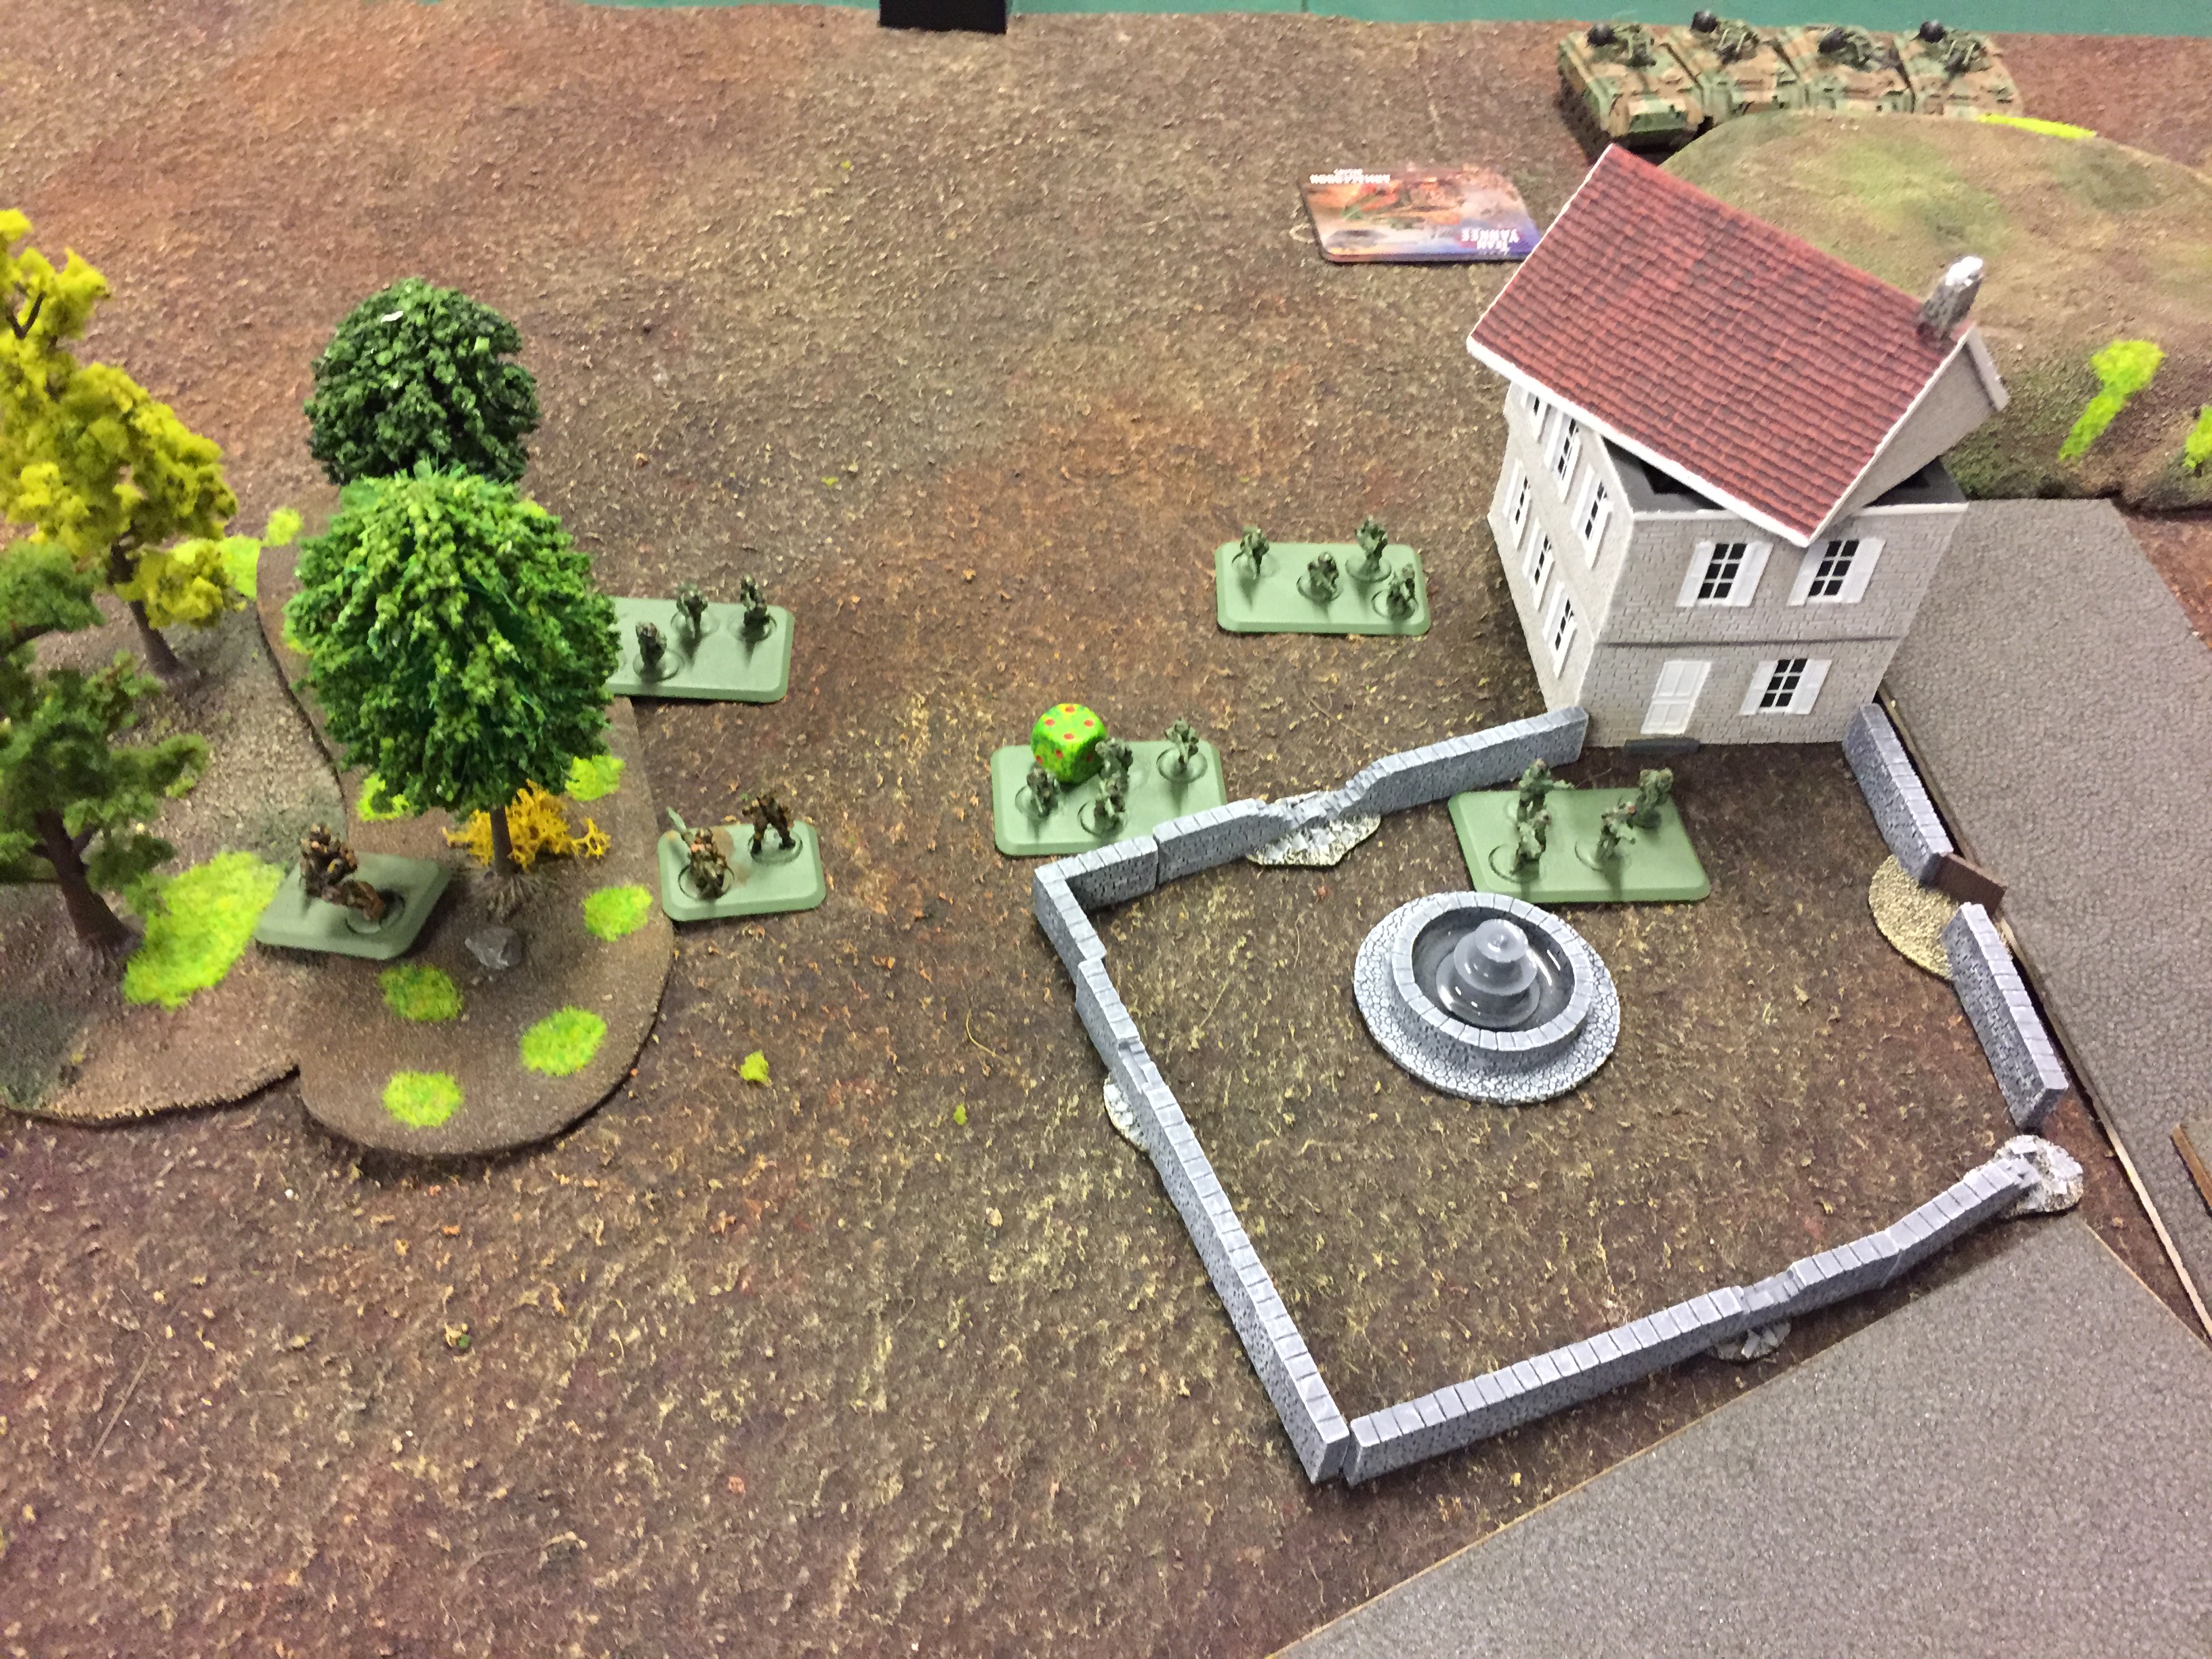
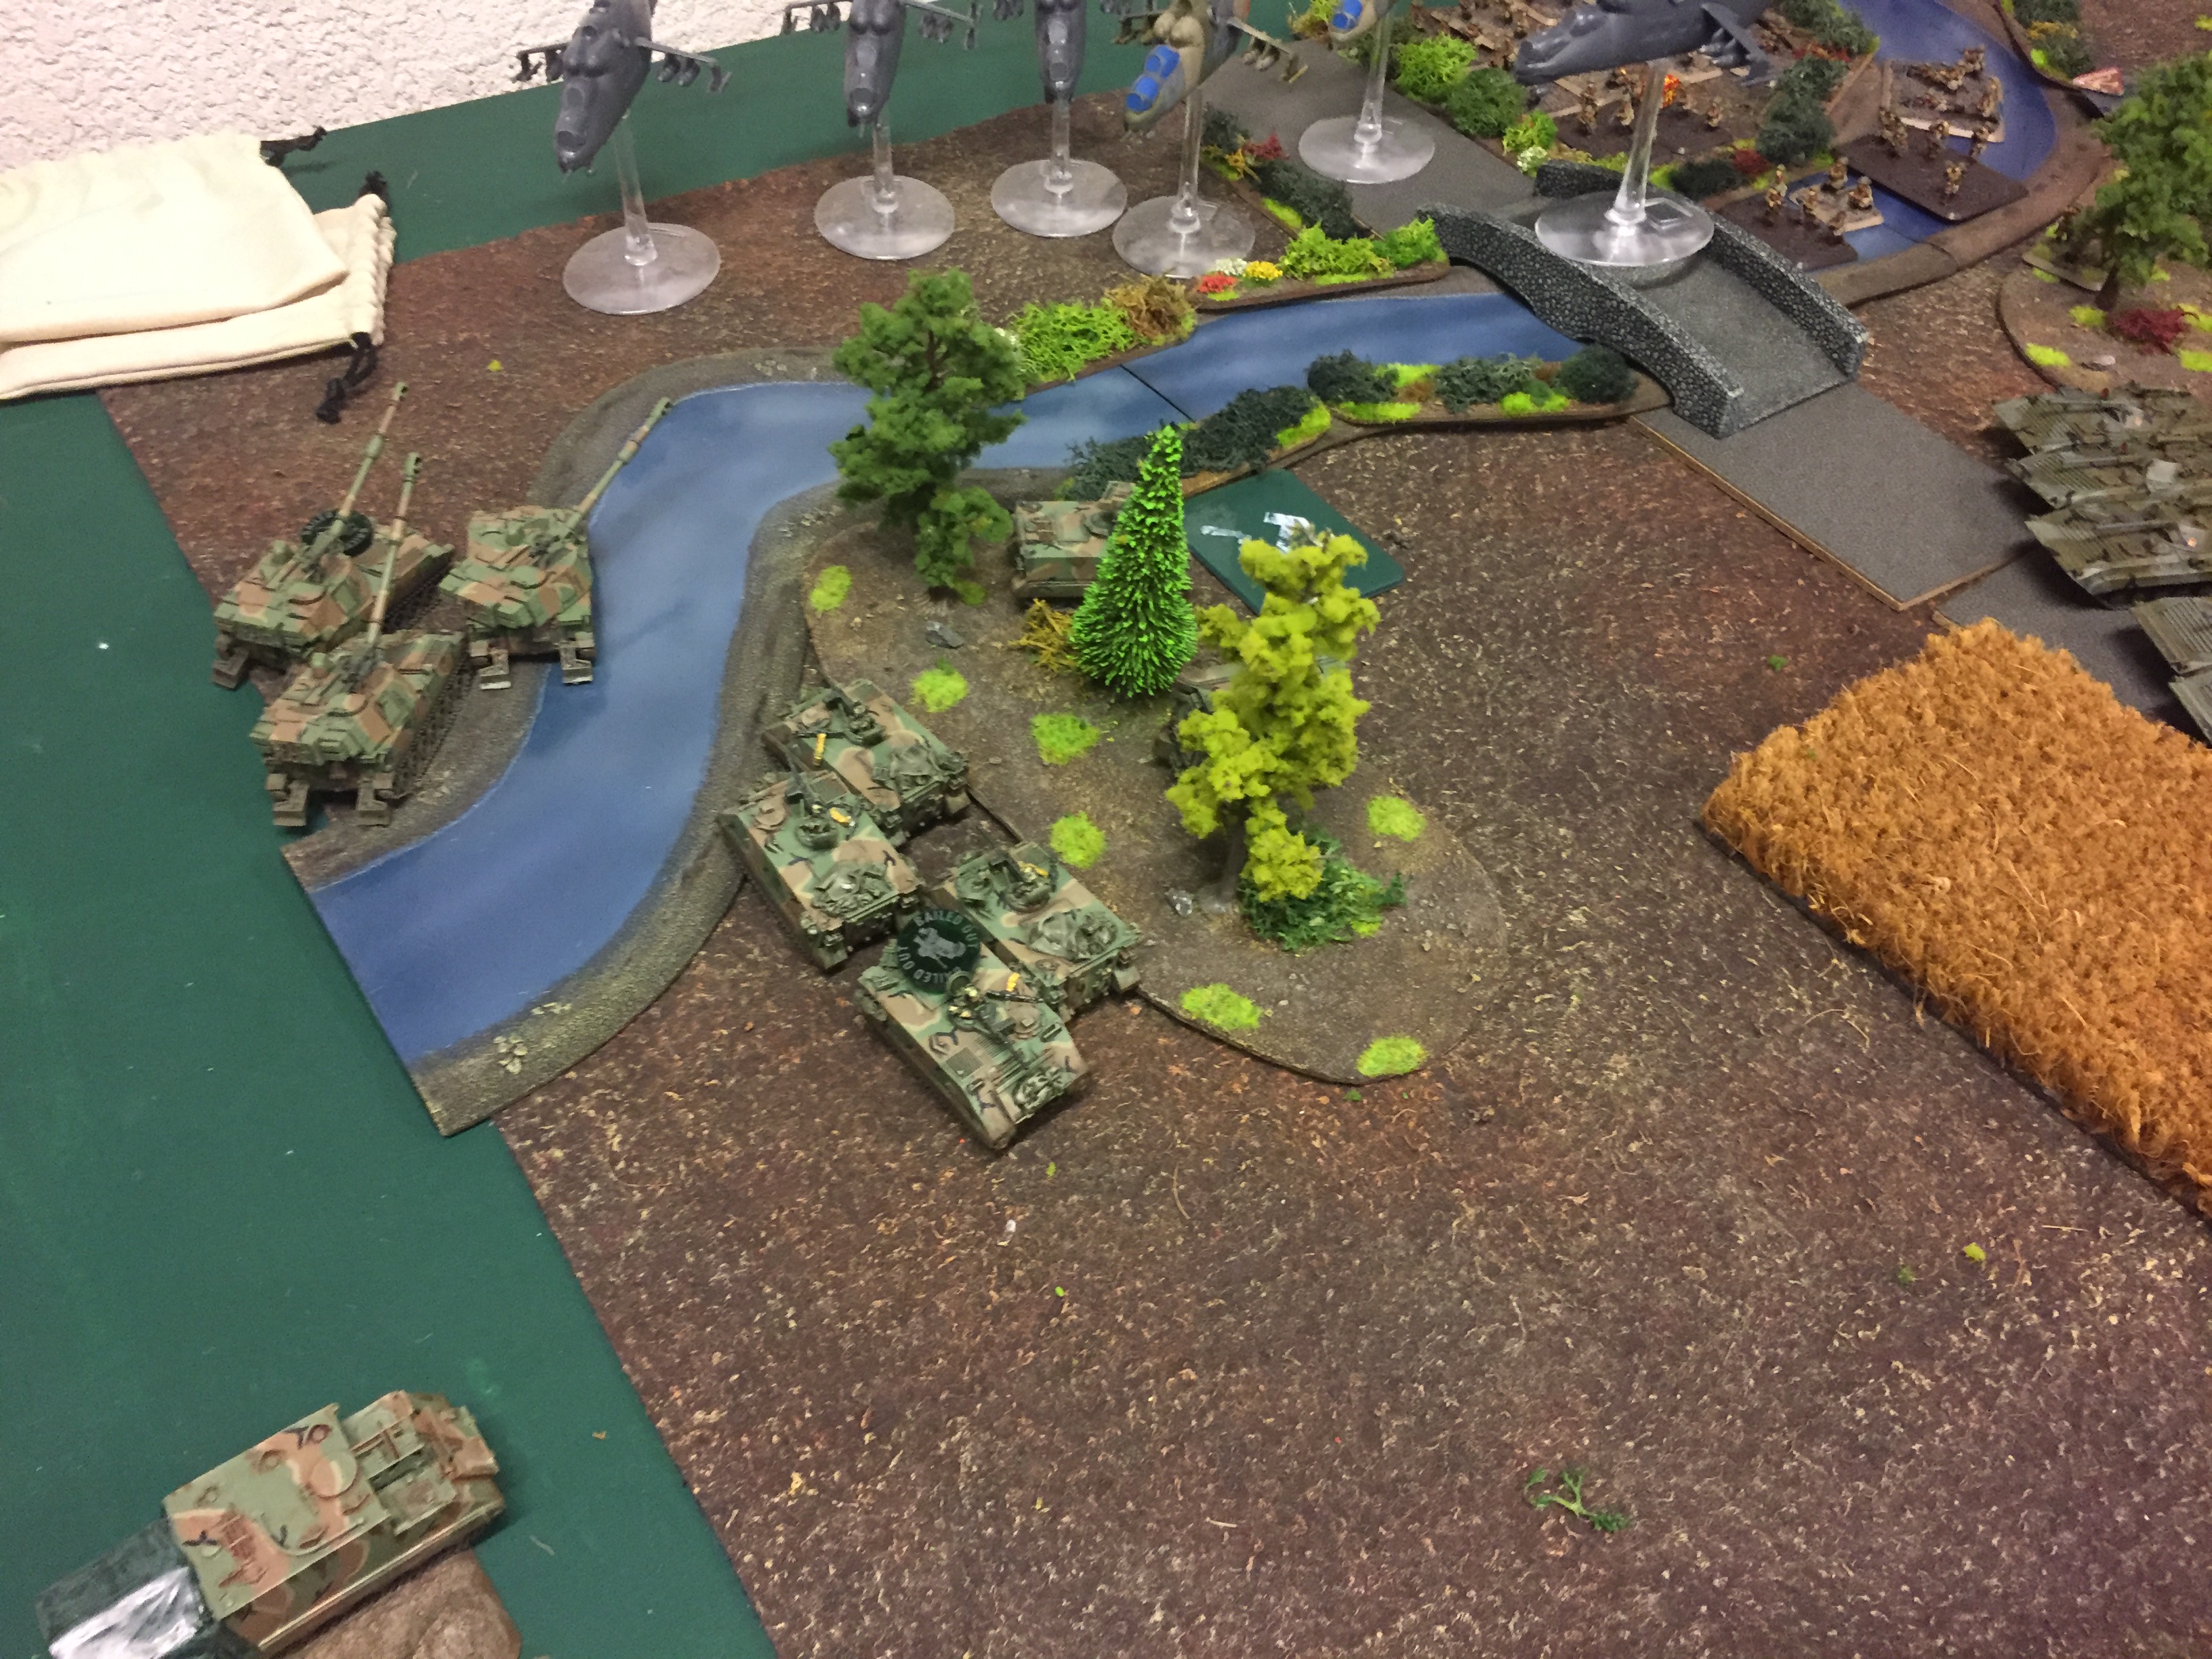
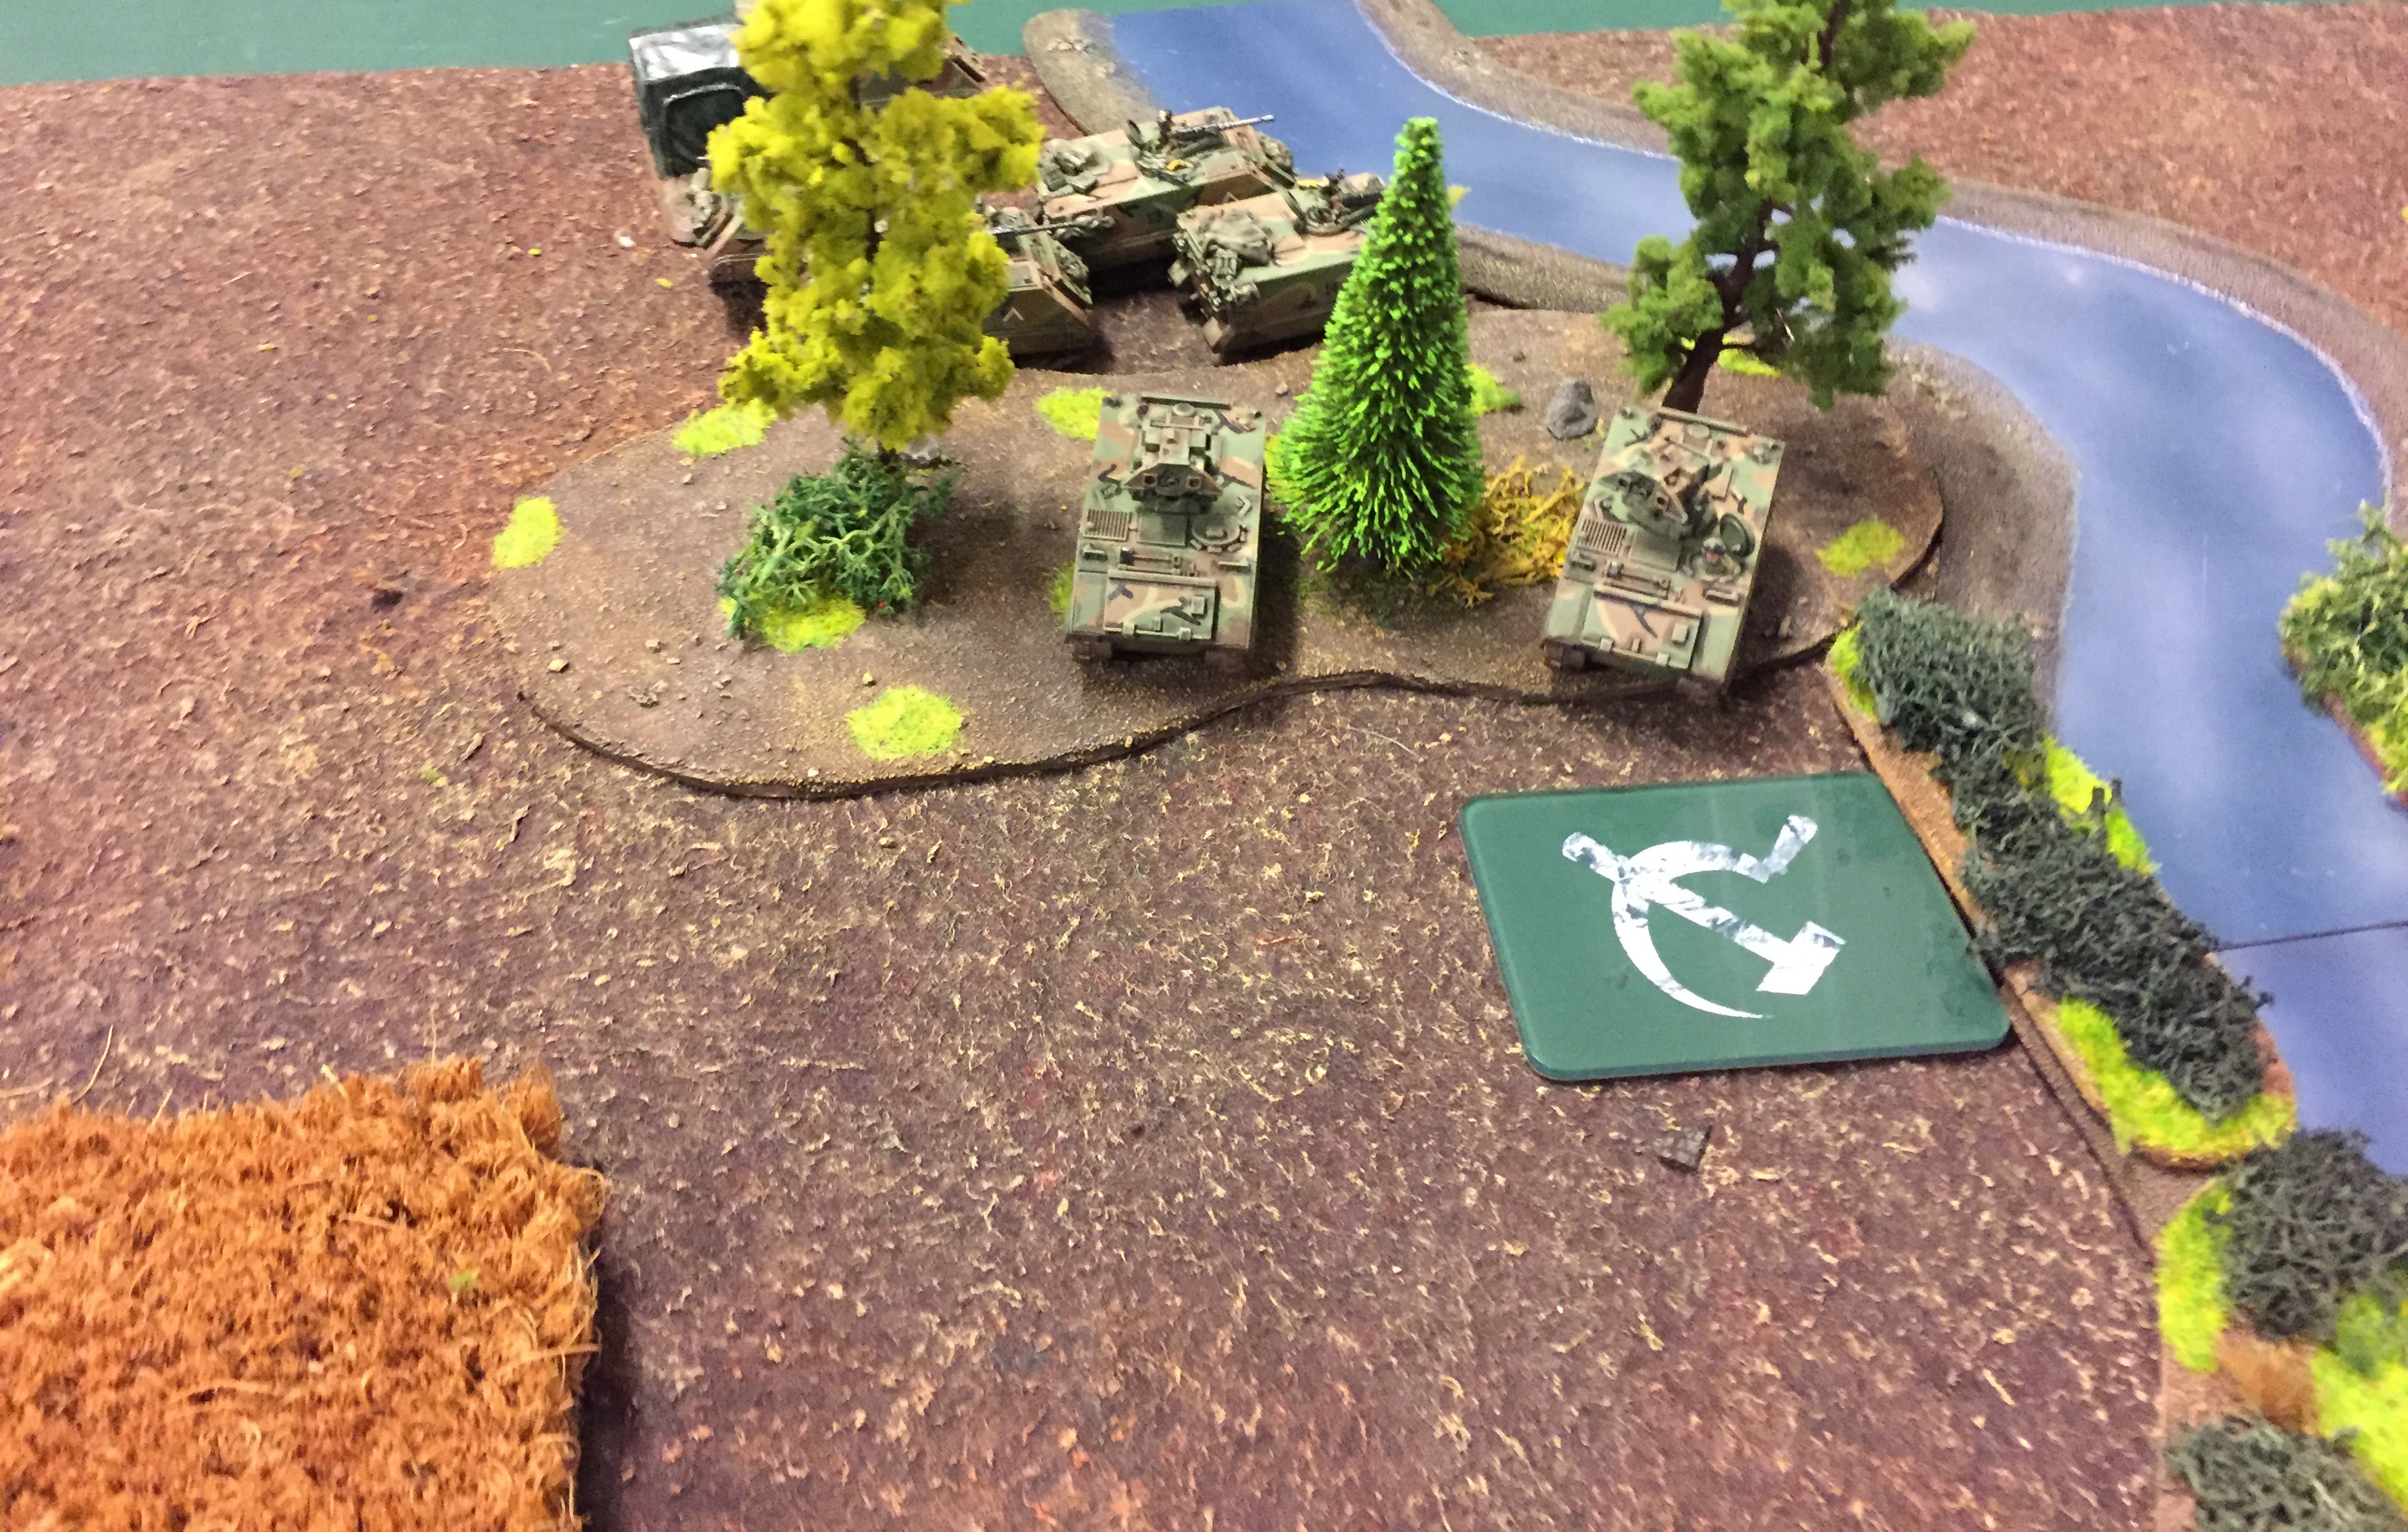 The bridge would be guarded by a unit of ITVs, cleverly hidden in the nearby forest, as well as a unit of M113 transports right behind it.
The US commander also received confirmation for close air support from a nearby airfield, although the connection was severed abruptly.
The soviets had watched the enemy deployment for some time and devised a very simple yet effective plan. Completely ignoring the most obvious exit point objective in the industrial complex, the commander instead signaled for the 2 BMP companies to get into position for a frontal assault on the less guarded positions at the bridge.
His Hail artillery battery and Gopher AA took position at the village while the flight of Hinds was at the ready just slightly off the battlefield.
Soviet intelligence had also notified the commander of an American artillery battery somewhere in the region, but it was nowhere to be found and probably in a good ambush position. Holstering his binoculars, he grunted – this unit could wreak havoc on his advancing comrades from the infantry.
However, there was no turning back now - turning around for his radioman, he gave the order for the advance. Smoke from almost 2 dozen exhausts rose up, as the IFVs gunned their engines and plowed forward. The liberation of Europe had begun!
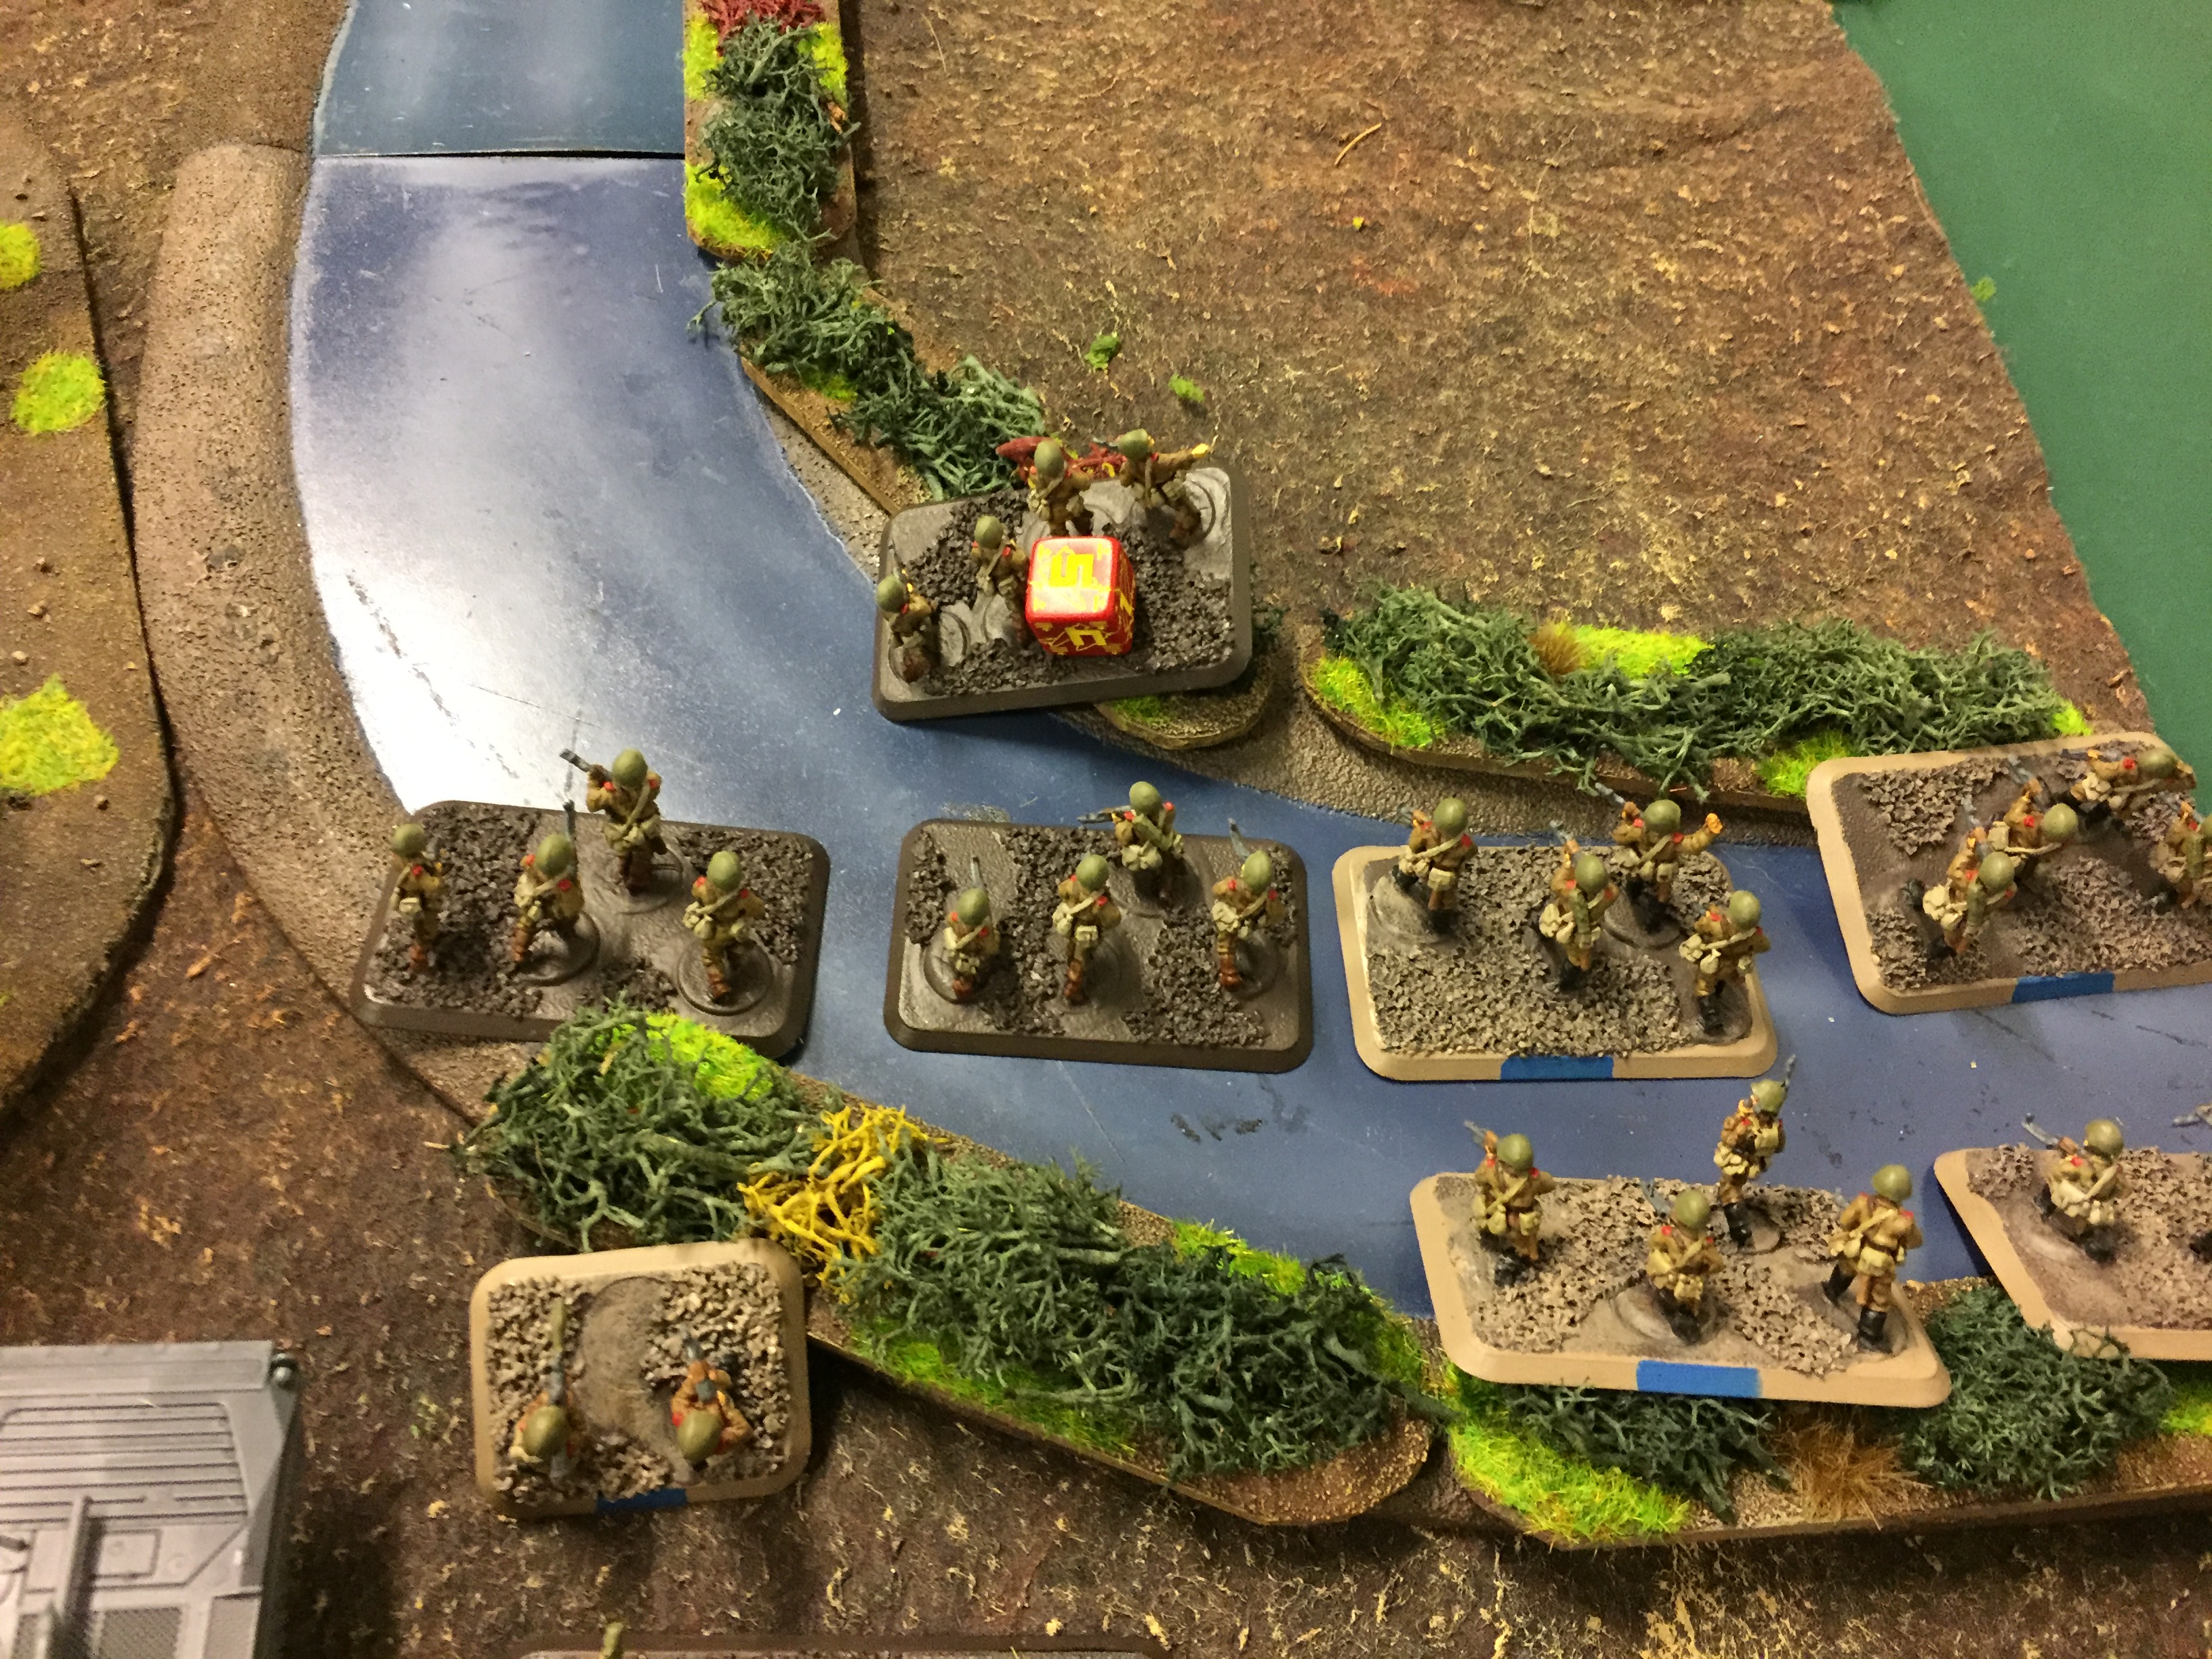
 Soviet Turn 1: After the BMPs had left the village in a daring dash maneuver, the first infantry unit pushed forward towards the woods near the bridge. The second one started crossing the river, heading for the same objective. There was no sign of any reserves arriving yet.
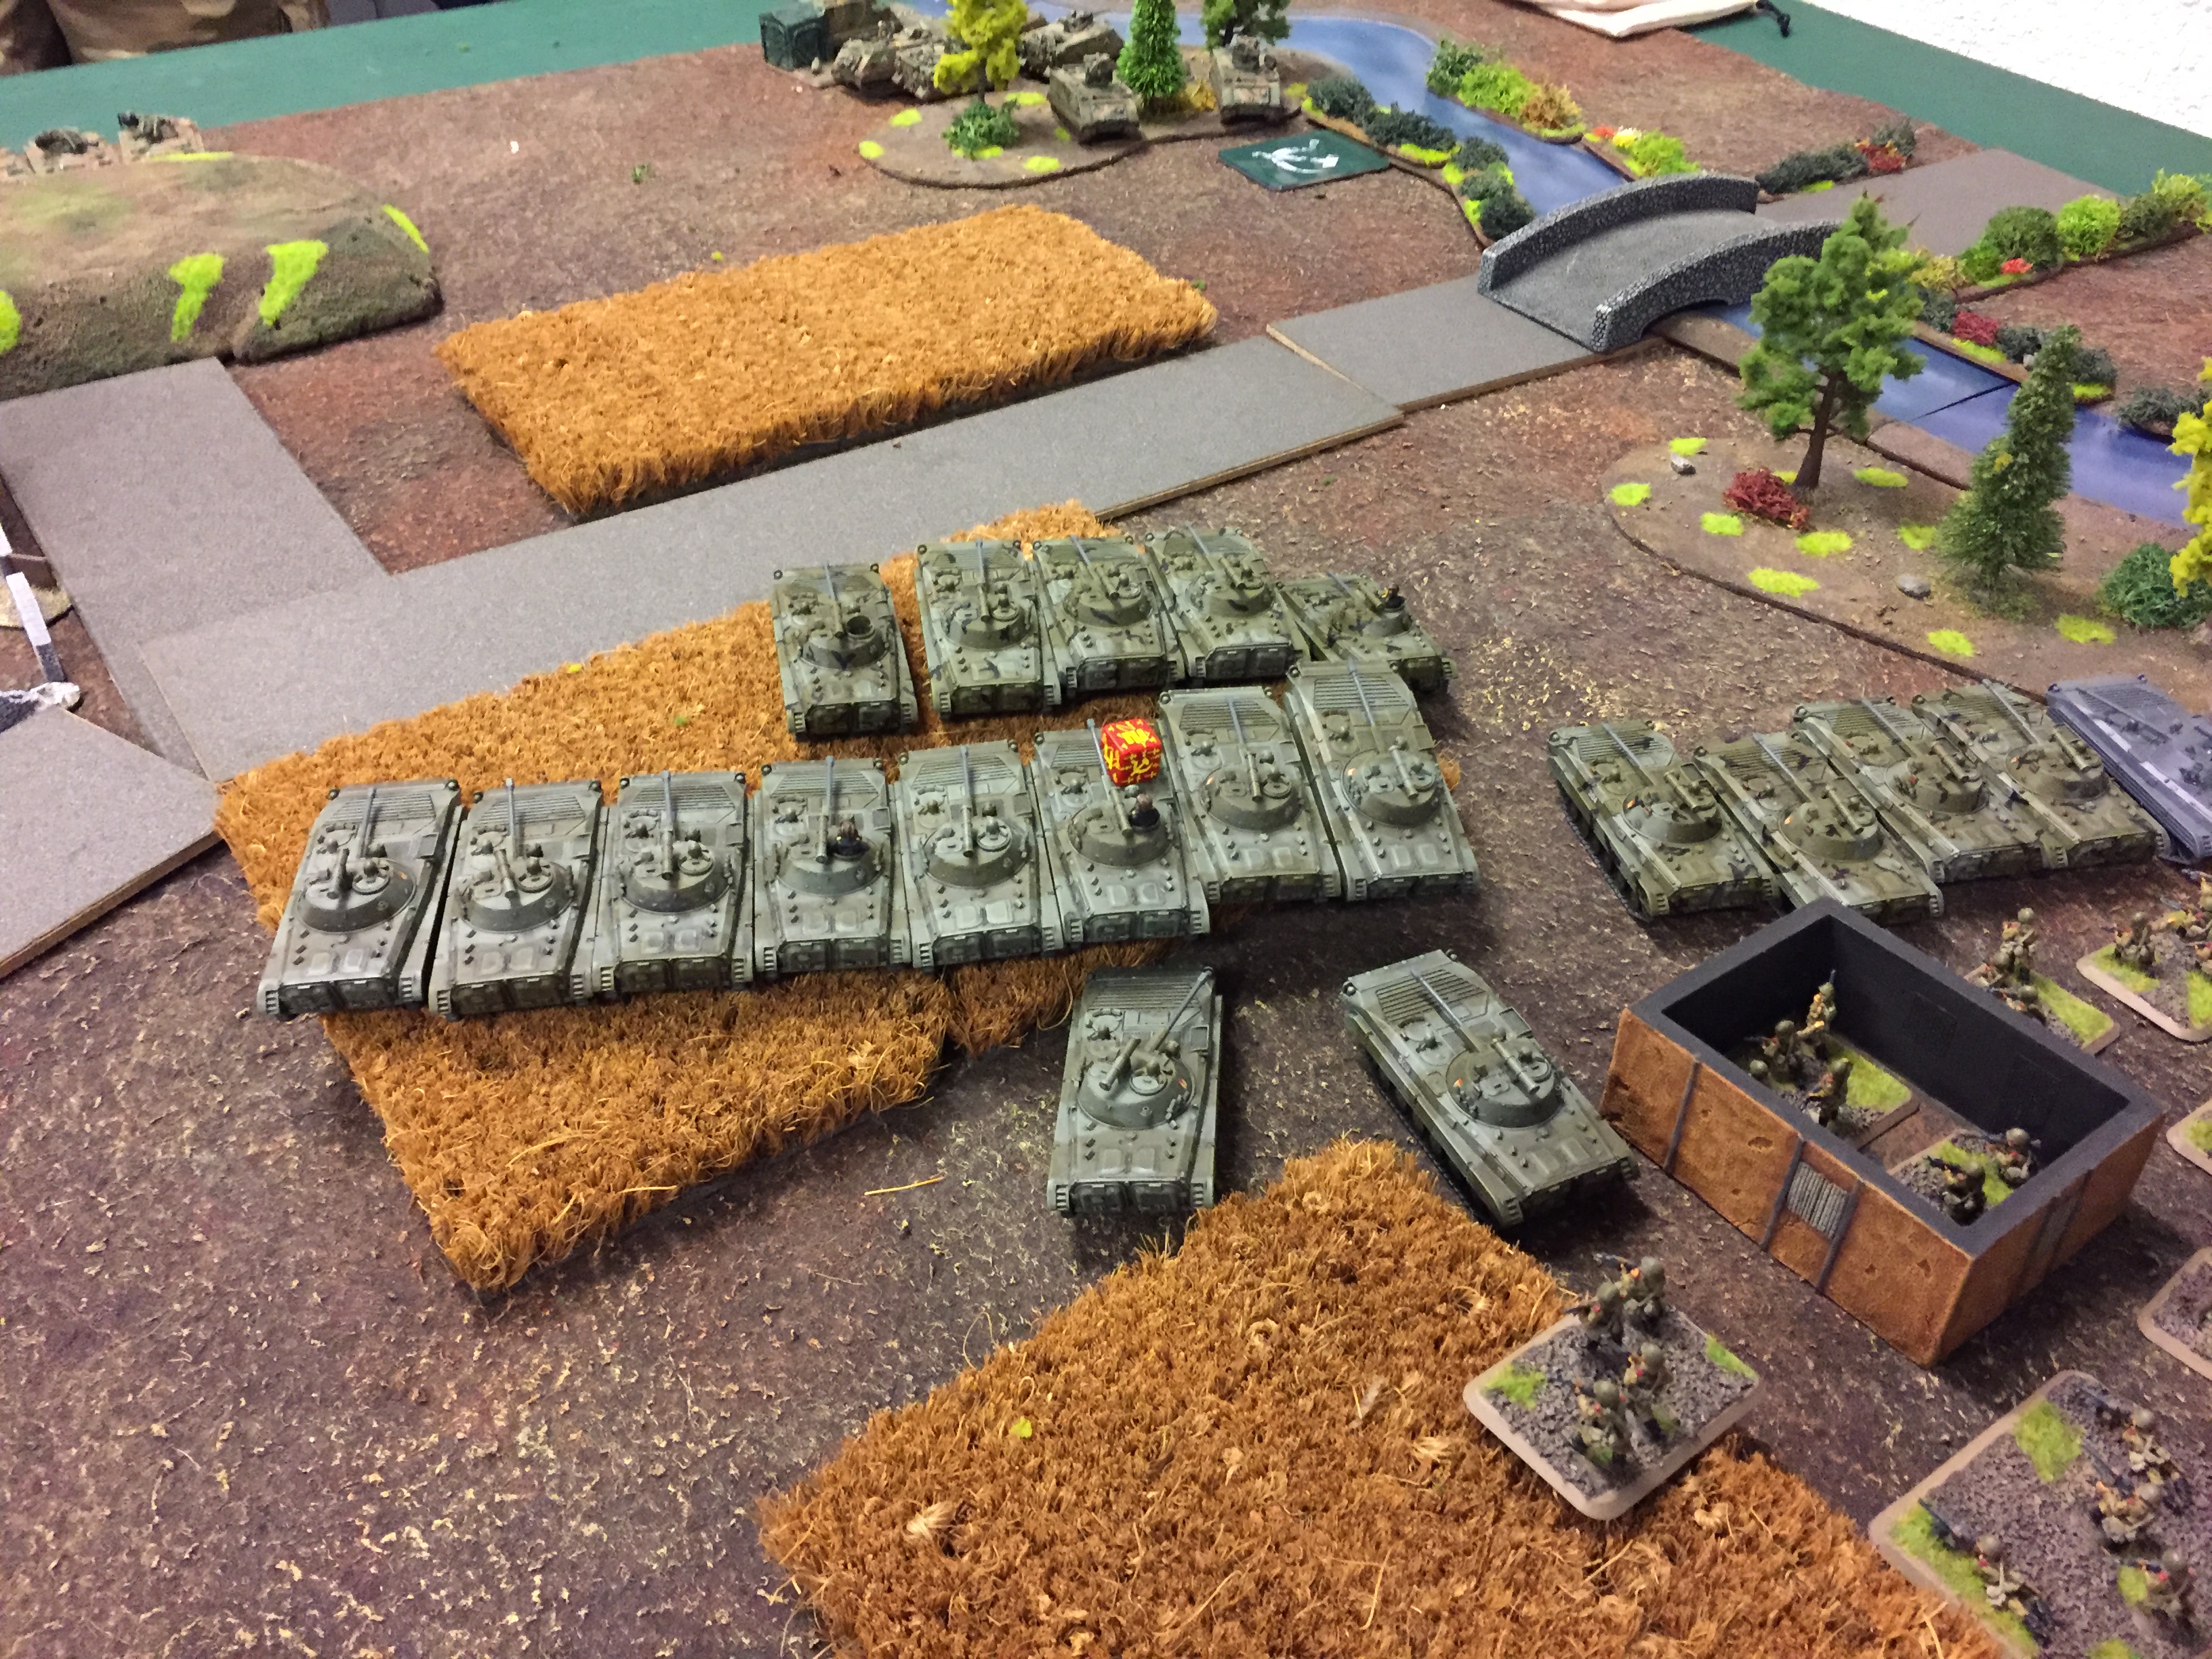
 The platoon leader of the second infantry unit issued a follow me order, supported by the nearby formation commander. However, the order was seemingly lost in the noise of the general advance.
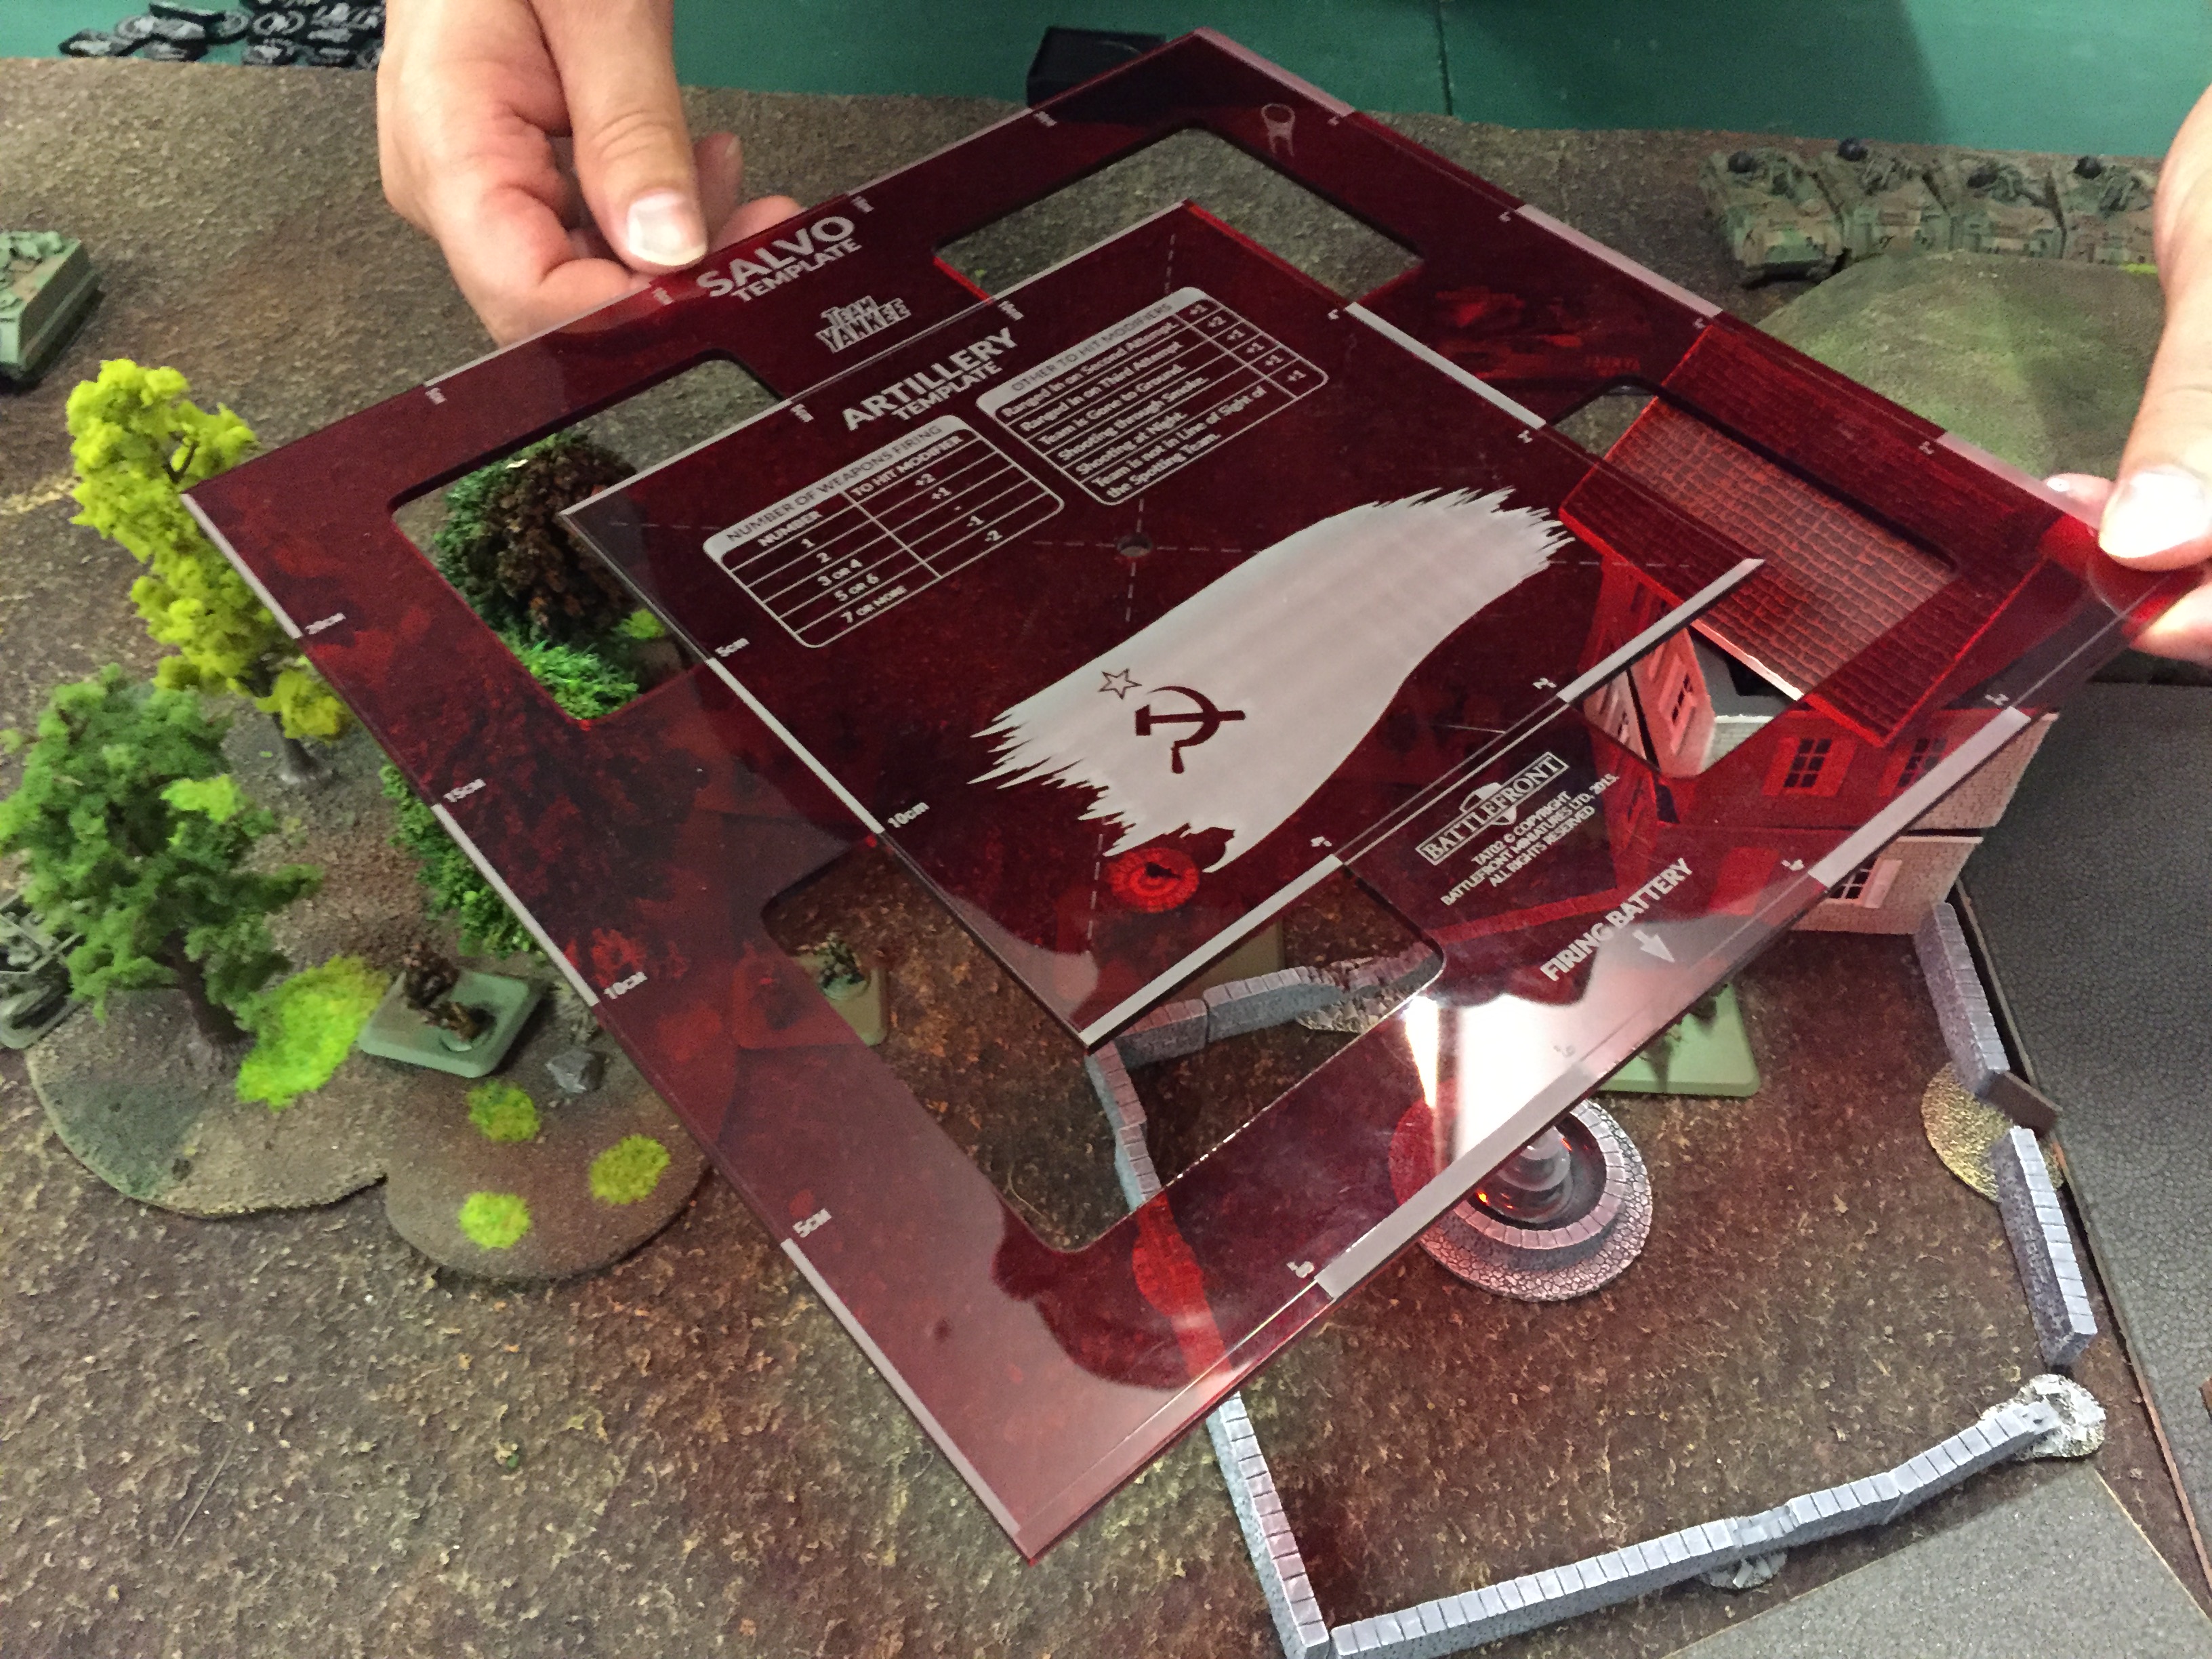 The nearby Hail rocket artillery battery received a target by the observer. Screaming like a banshee, an untold number of rockets descended on the mansion in the middle and the US infantry platoon that had occupied it. But when the smoke cleared, the observer cursed – a miscalculation had caused the barrage to fall short, rendering it completely ineffective.
 US Turn 1: Anxiously looking at his watch and the skies to the west in turn, the US commander called the local airforce a colorful number of names, none of them all too flattering. Sadly, this did nothing to make the desperately needed A10s appear from thin air.
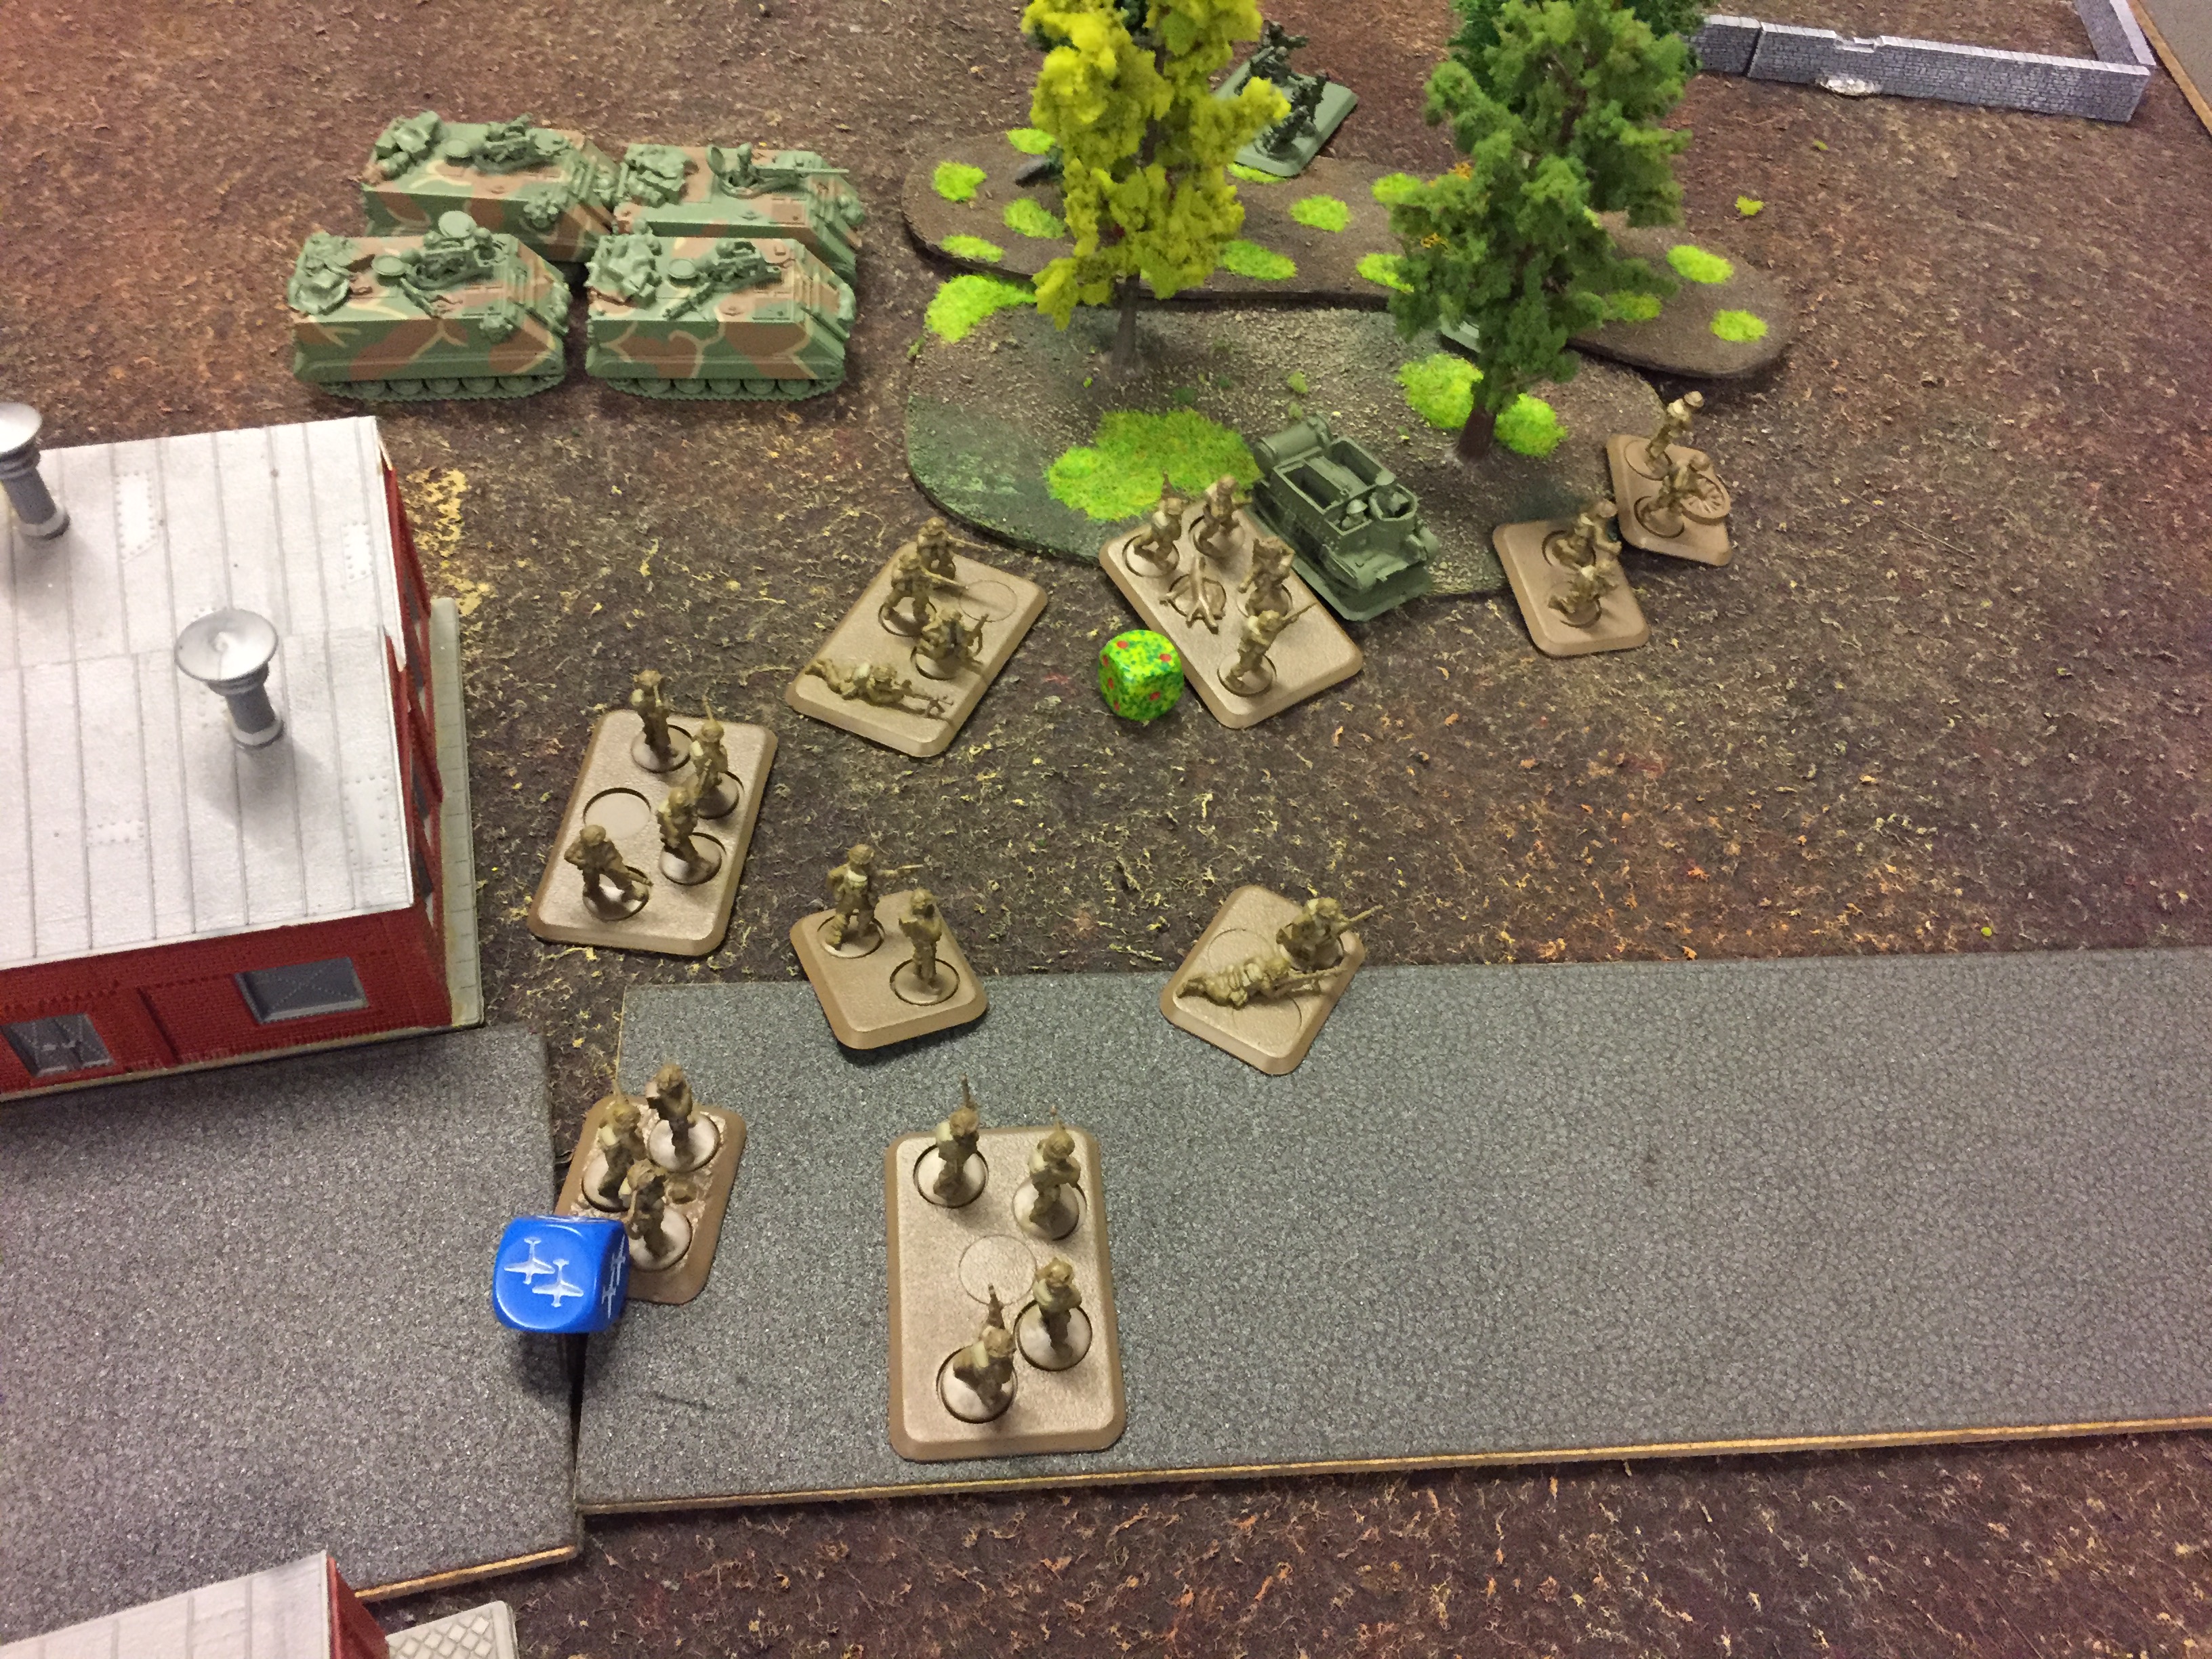 So the stalwart defenders of democracy went to work with what they had: While the leftmost infantry unit blitzed successfully and moved towards the middle of the battlefield, all available heavy weapons opened fire on the advancing BMPs.
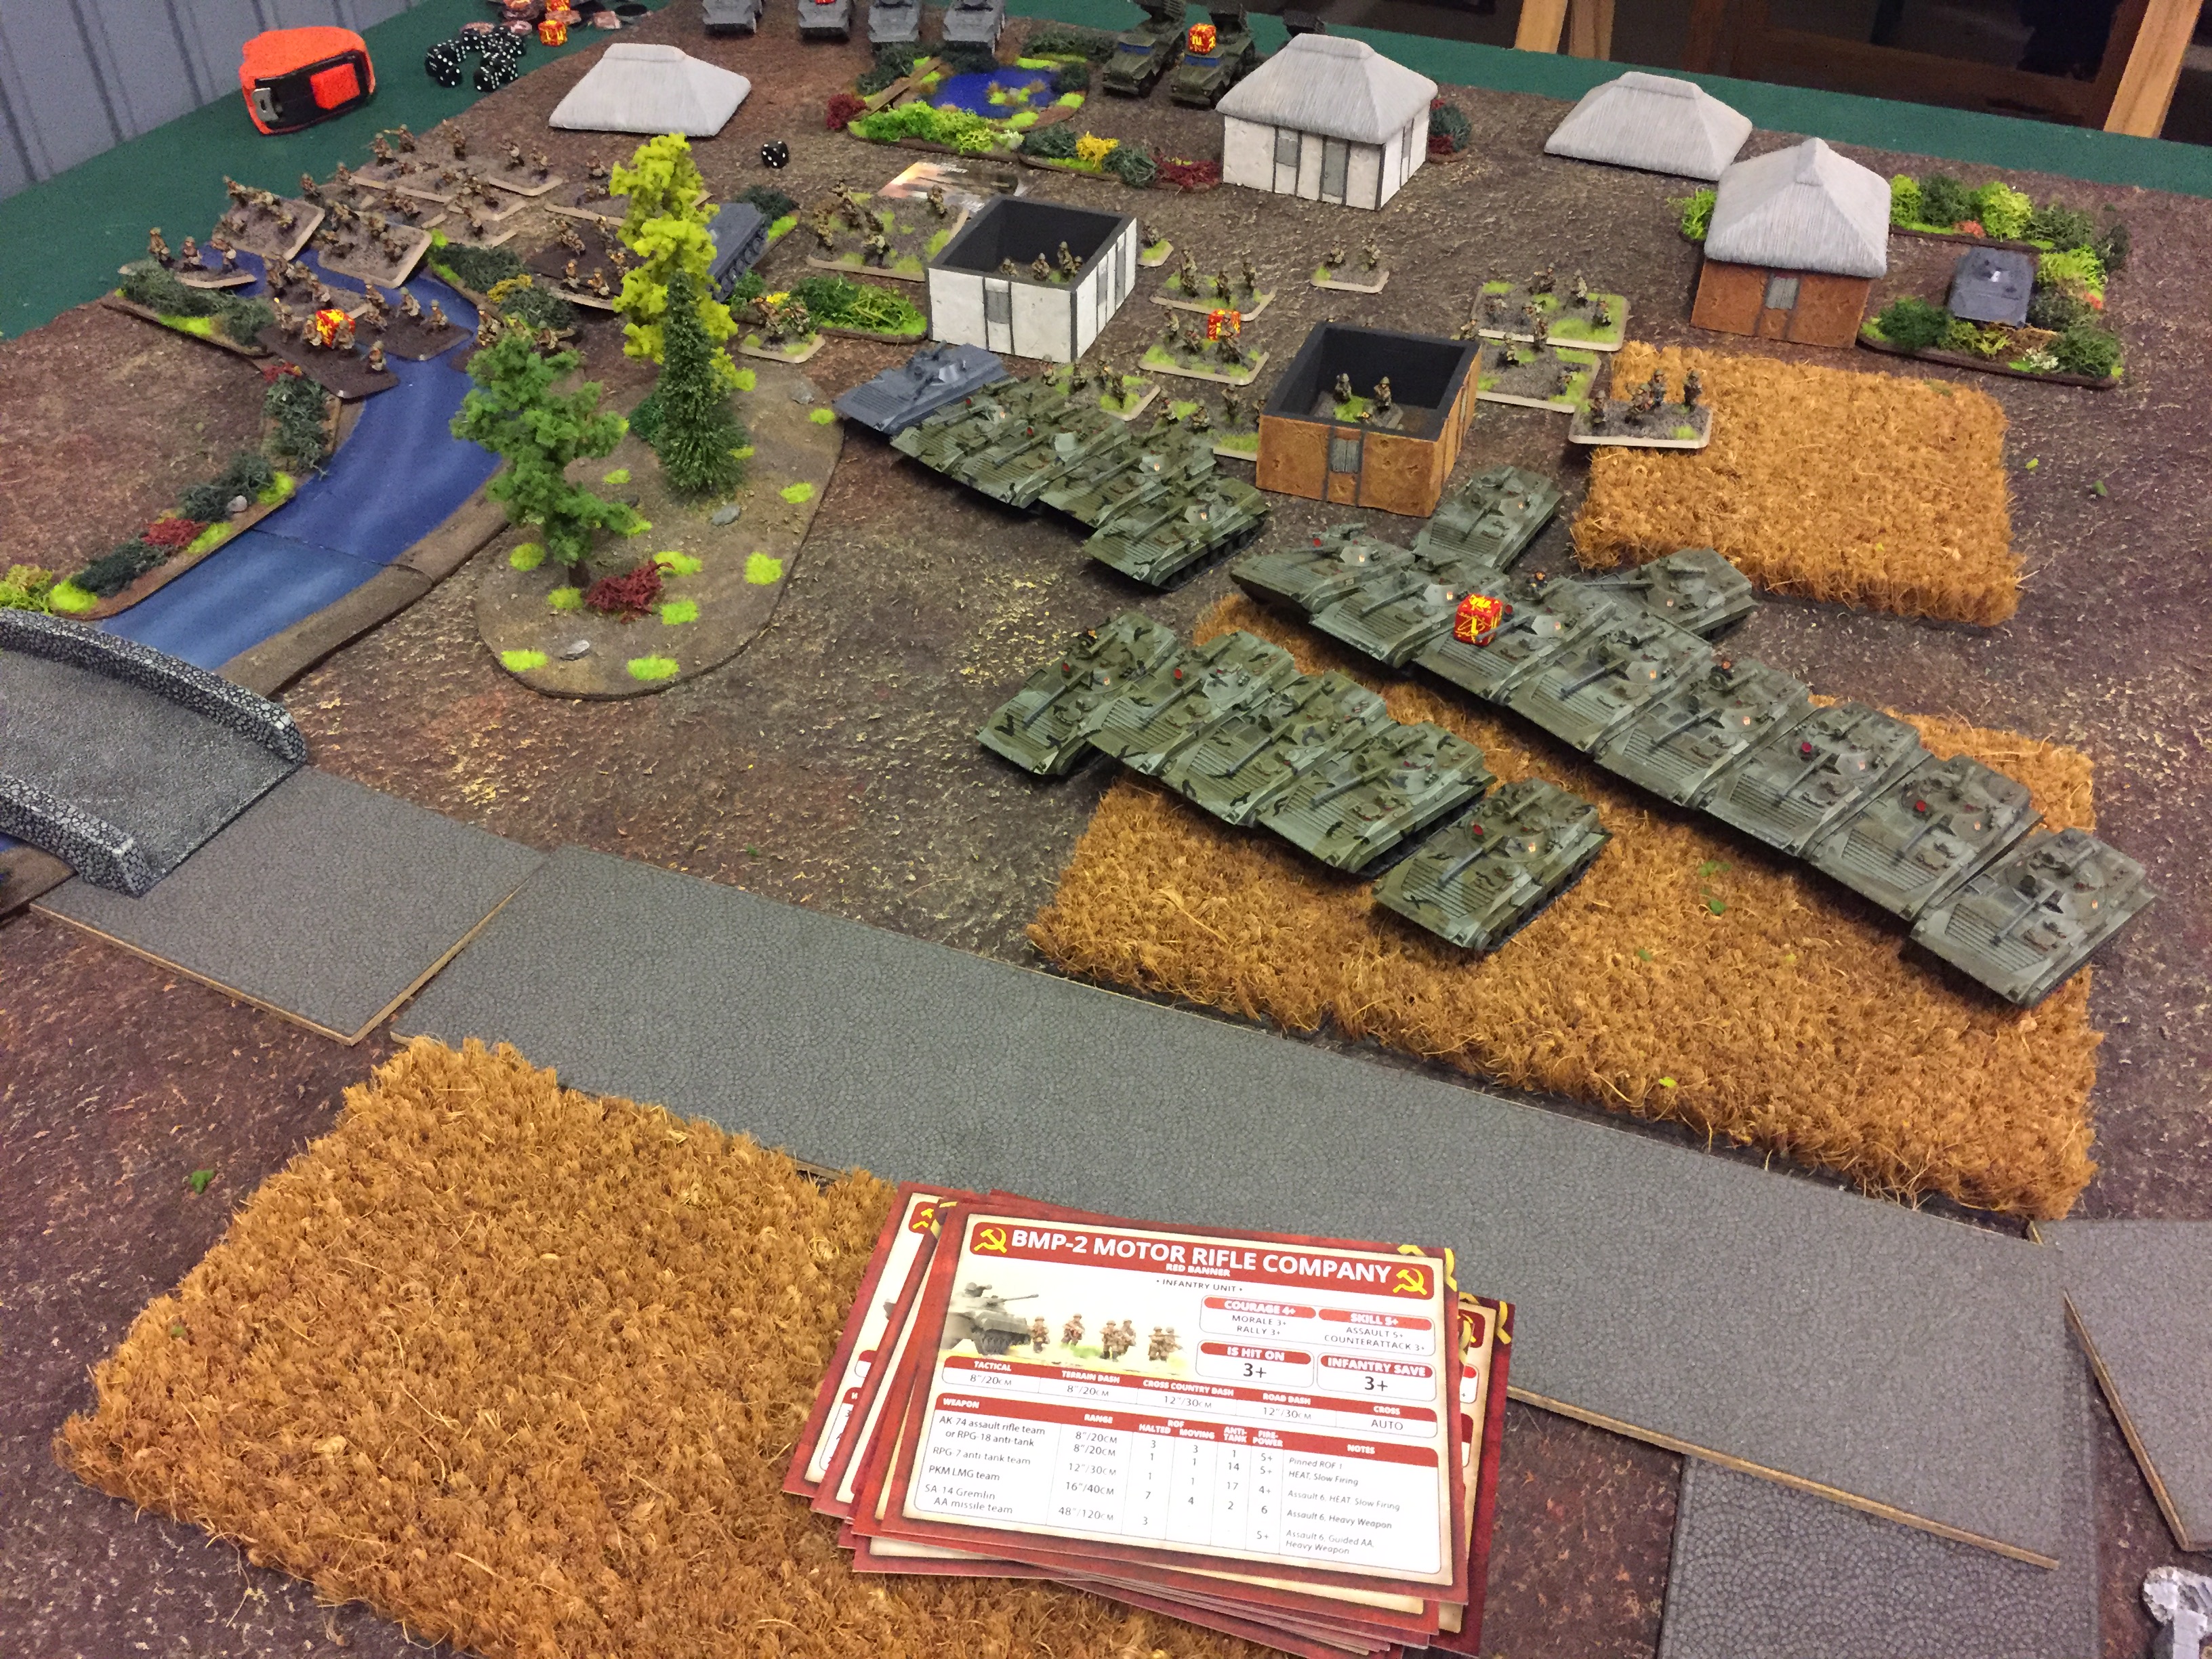
 Smoke trails from the area of the nearby mansion and the forest near the bridge appeared and the deadly impacts of the AT-rockets followed soon thereafter. Several BMPs went up in fire and smoke, showering the surrounding area with burning debris and setting parts of the corn fields on fire as well.
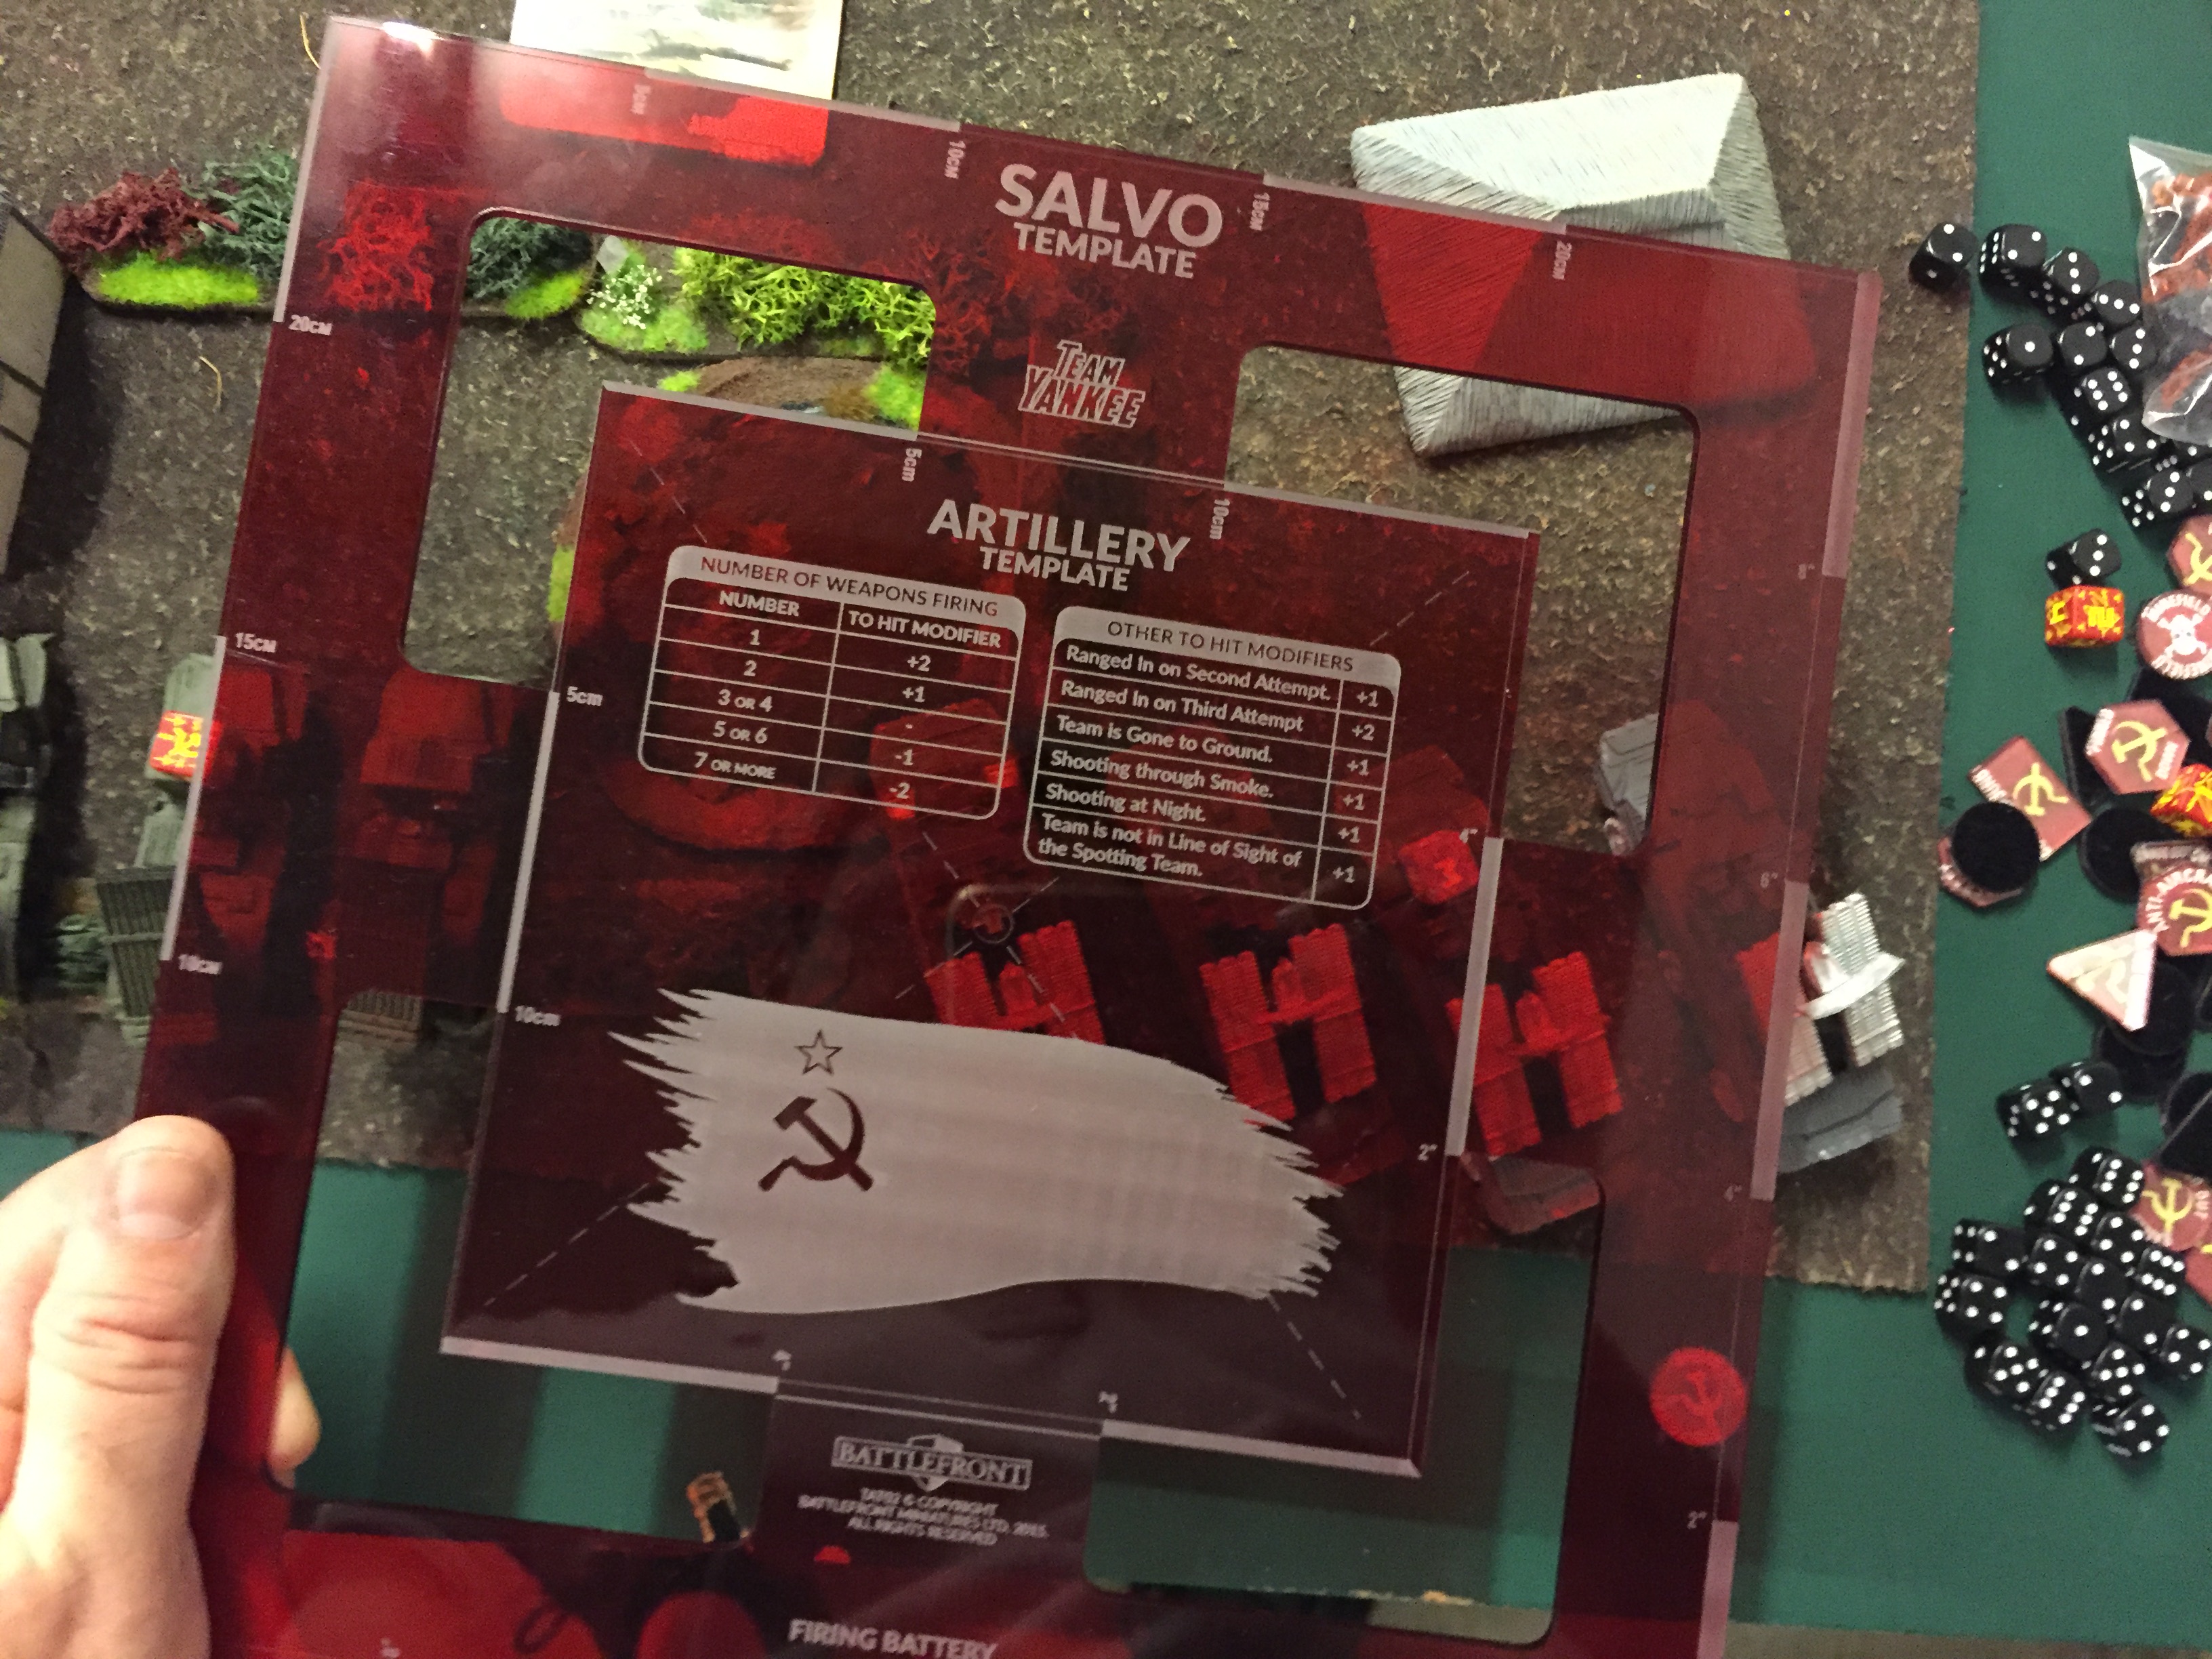 Just as they reached the far side of the river, the soldiers of the 2nd soviet infantry company heard the fire of heavy howitzers from the direction of the bridge and threw themselves flat on the ground. But like by miracle, the impacts never came – instead, the shells screamed overhead and towards the rear of the battlefield. Detonations appeared around the Geckos and Hails at the village. The US gunners had cleverly chosen bomblet ammunition to saturate a greater area. For the unarmored units there, this made no difference. A Gecko AA vehicle was turned into scrap metal and a Hail rocket launcher blew up spectacularly, as its unfired rockets detonated. Needless to say that the crew of both units was immediately pinned down.
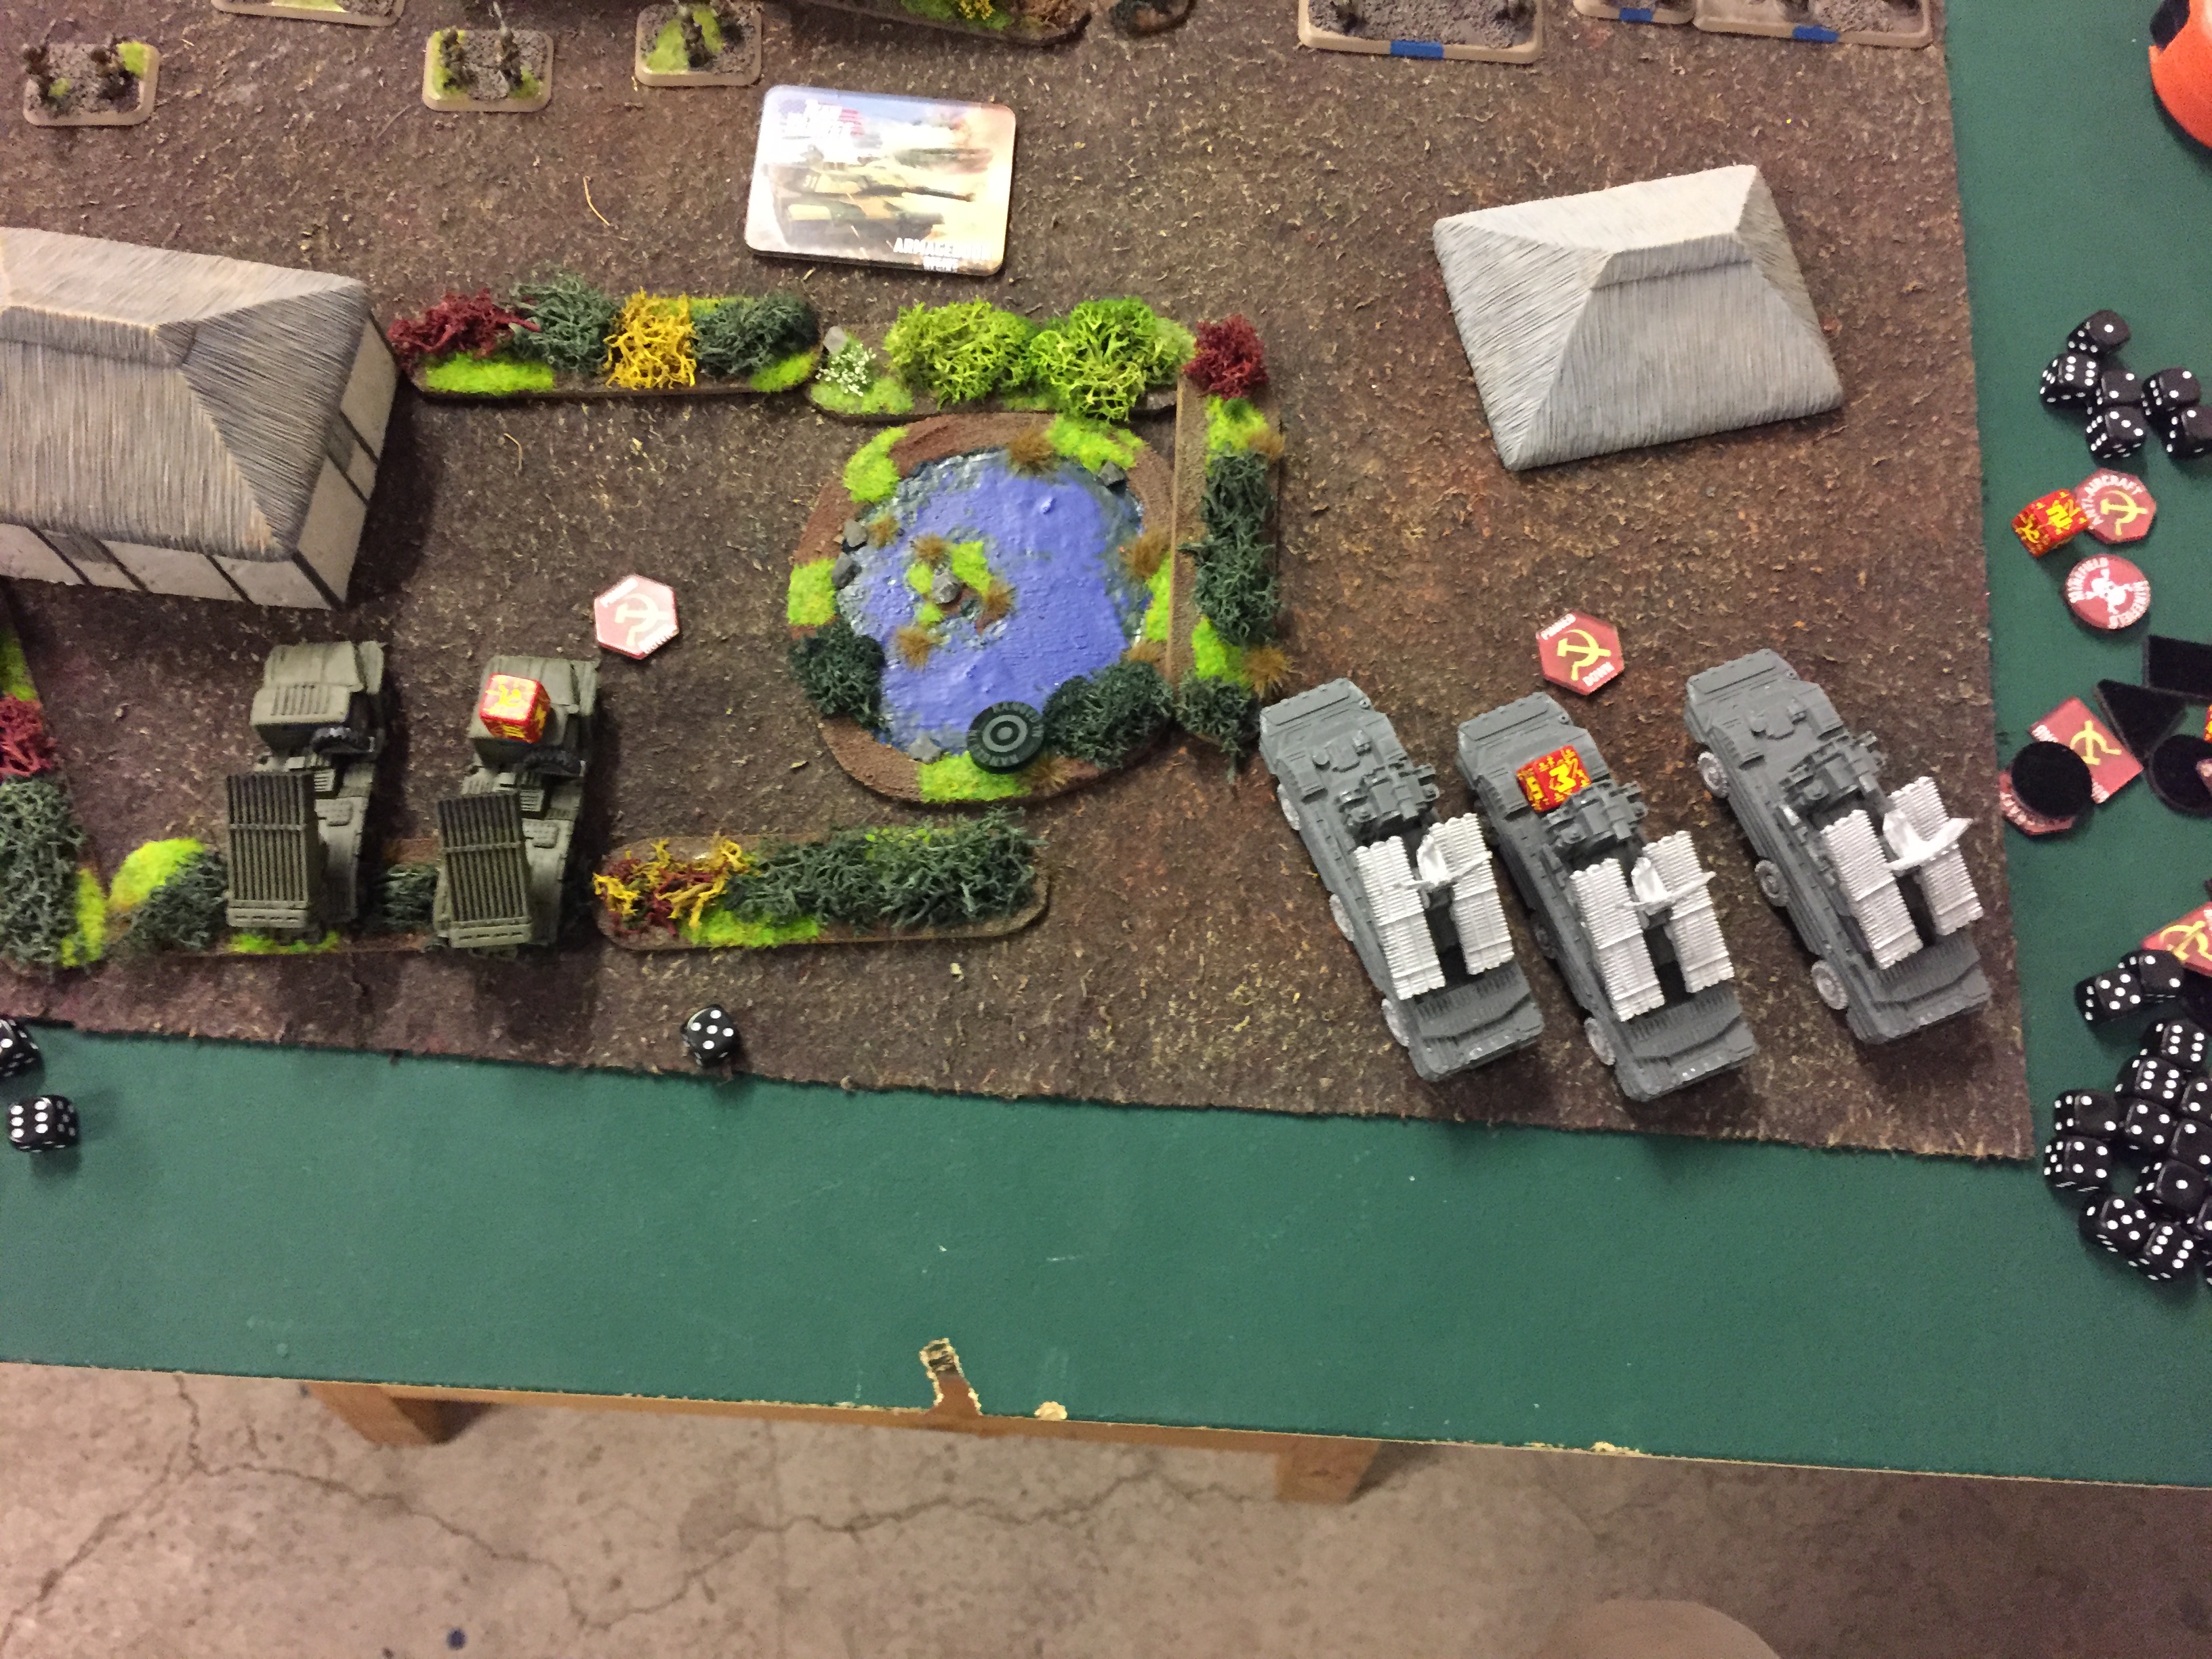
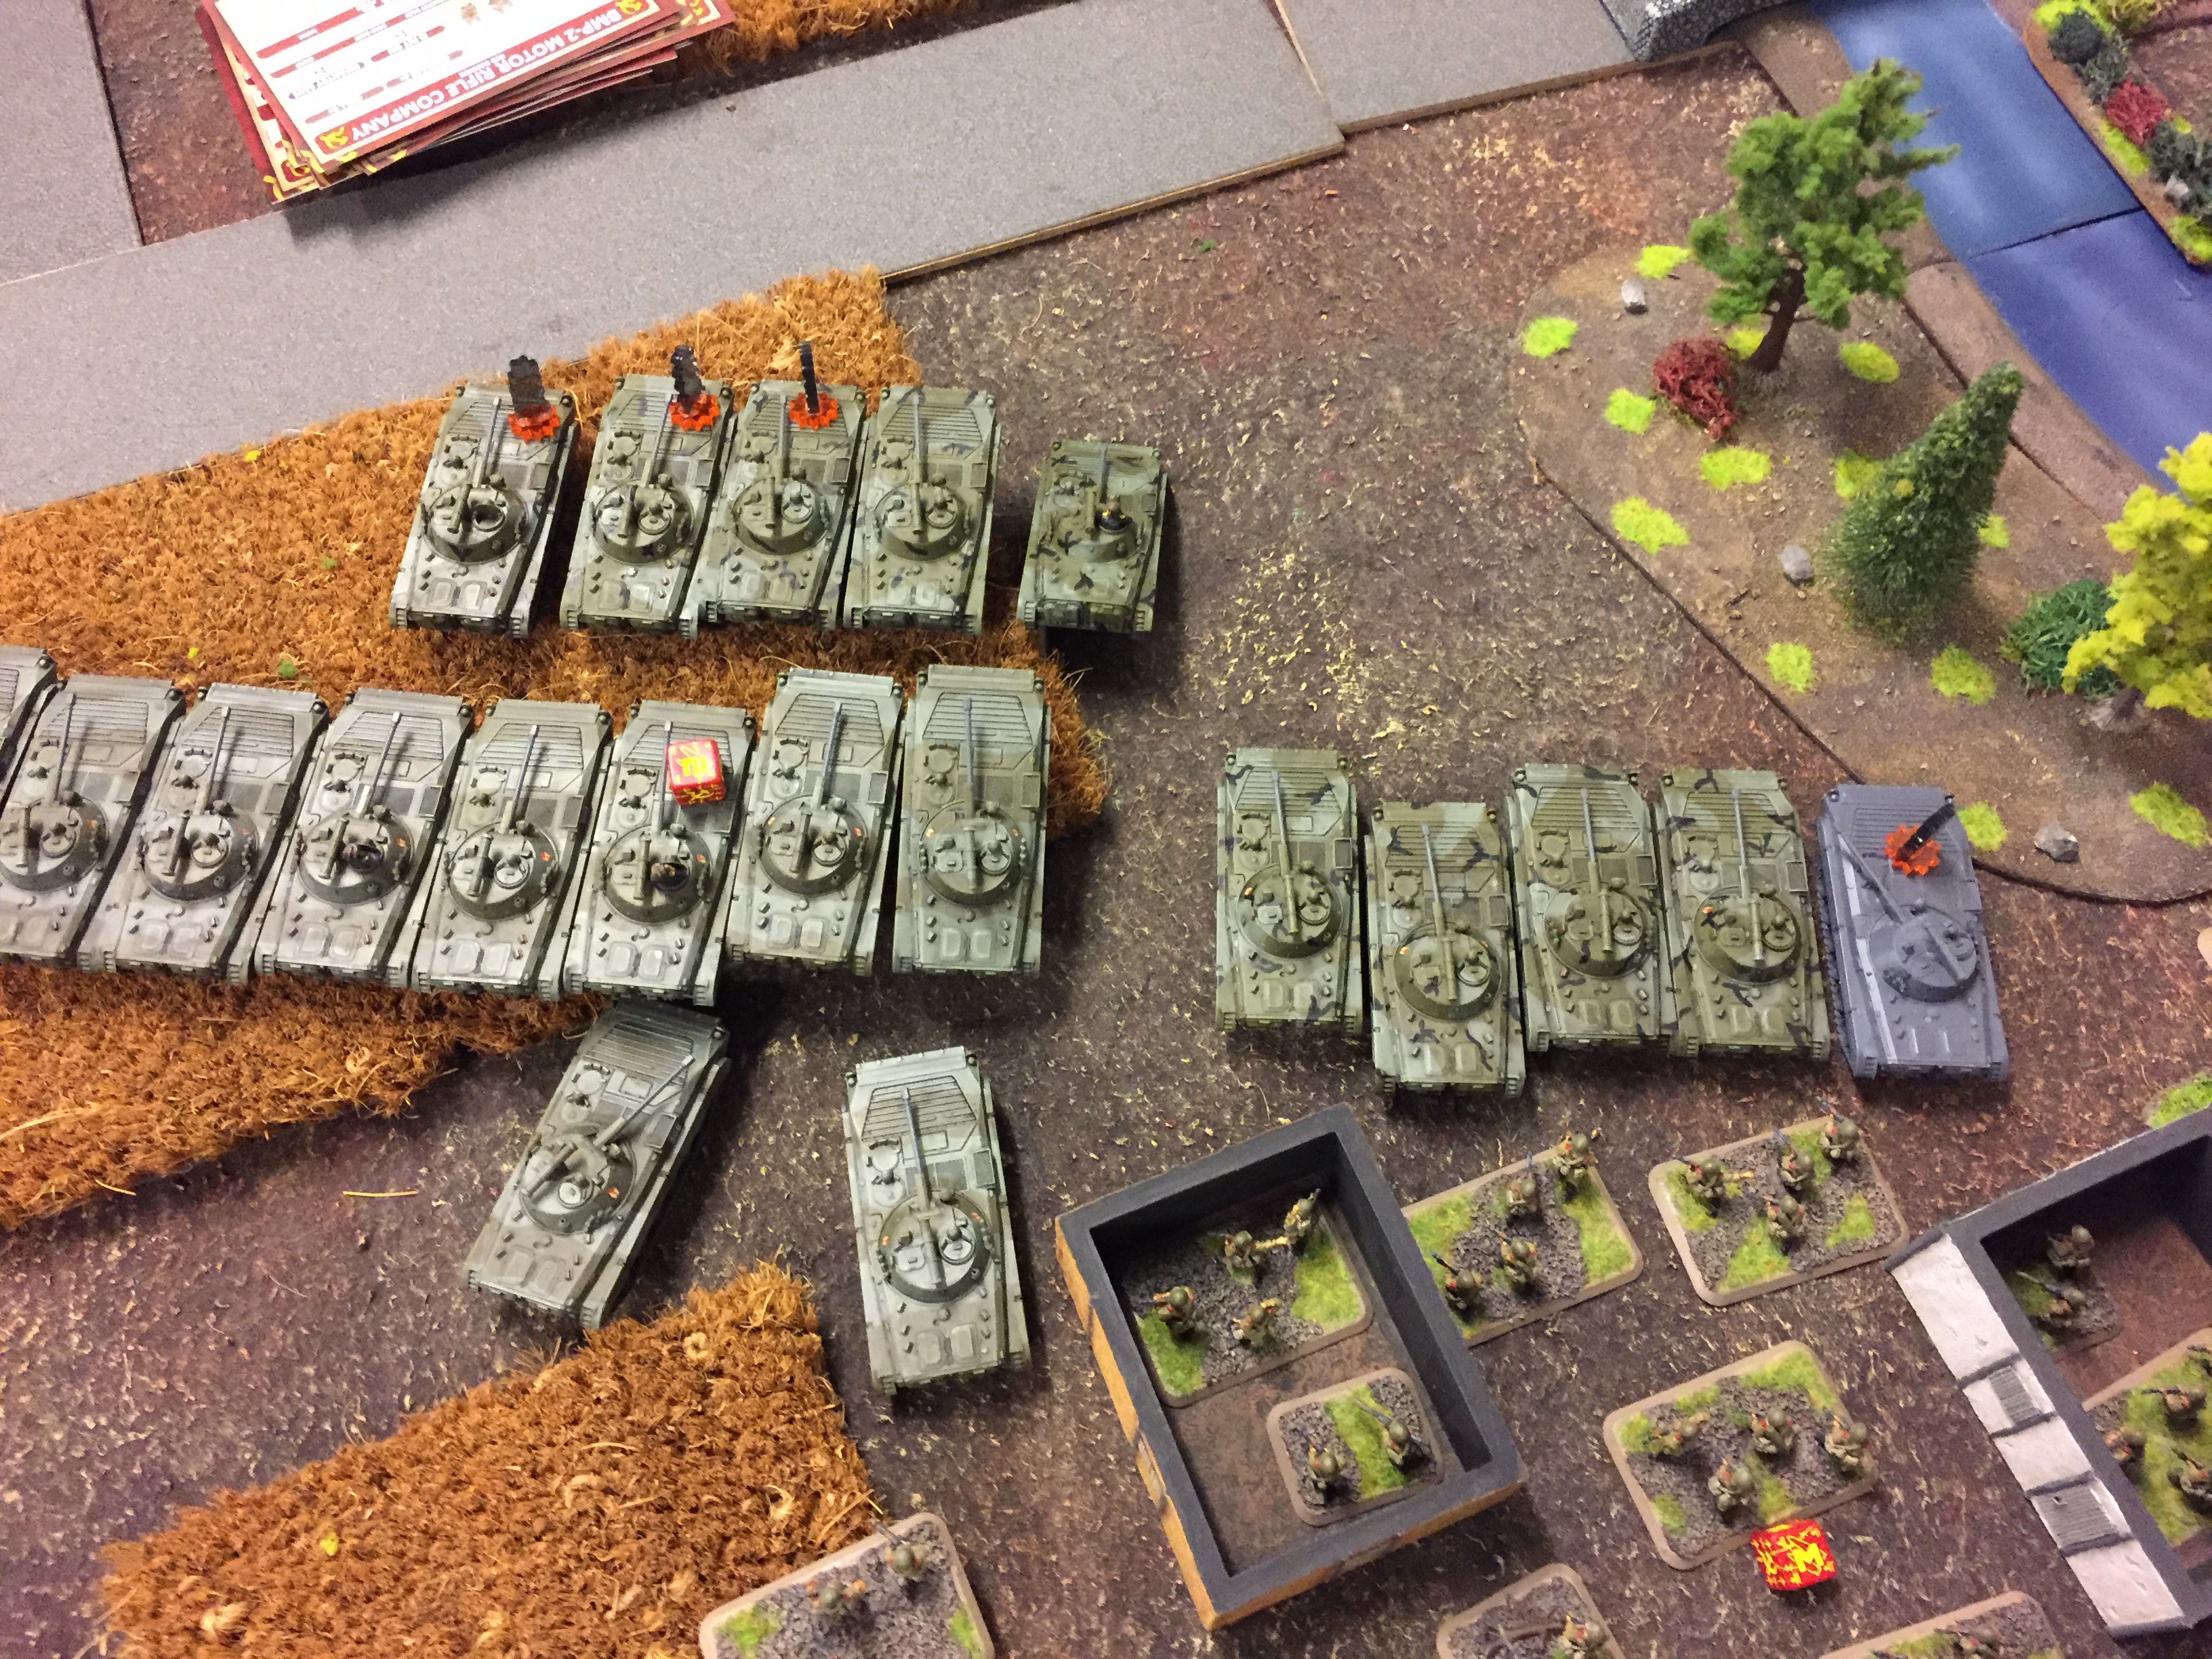
 Soviet Turn 2: With roaring engines, the T-64 and Shilka units arrived on the battlefield. The tanks were immediately directed towards the center of the battlefield to stop the leftmost US infantry unit from reinforcing their comrades. The Shilkas drove in a cornfield near the village, scanning the air for possible threats.
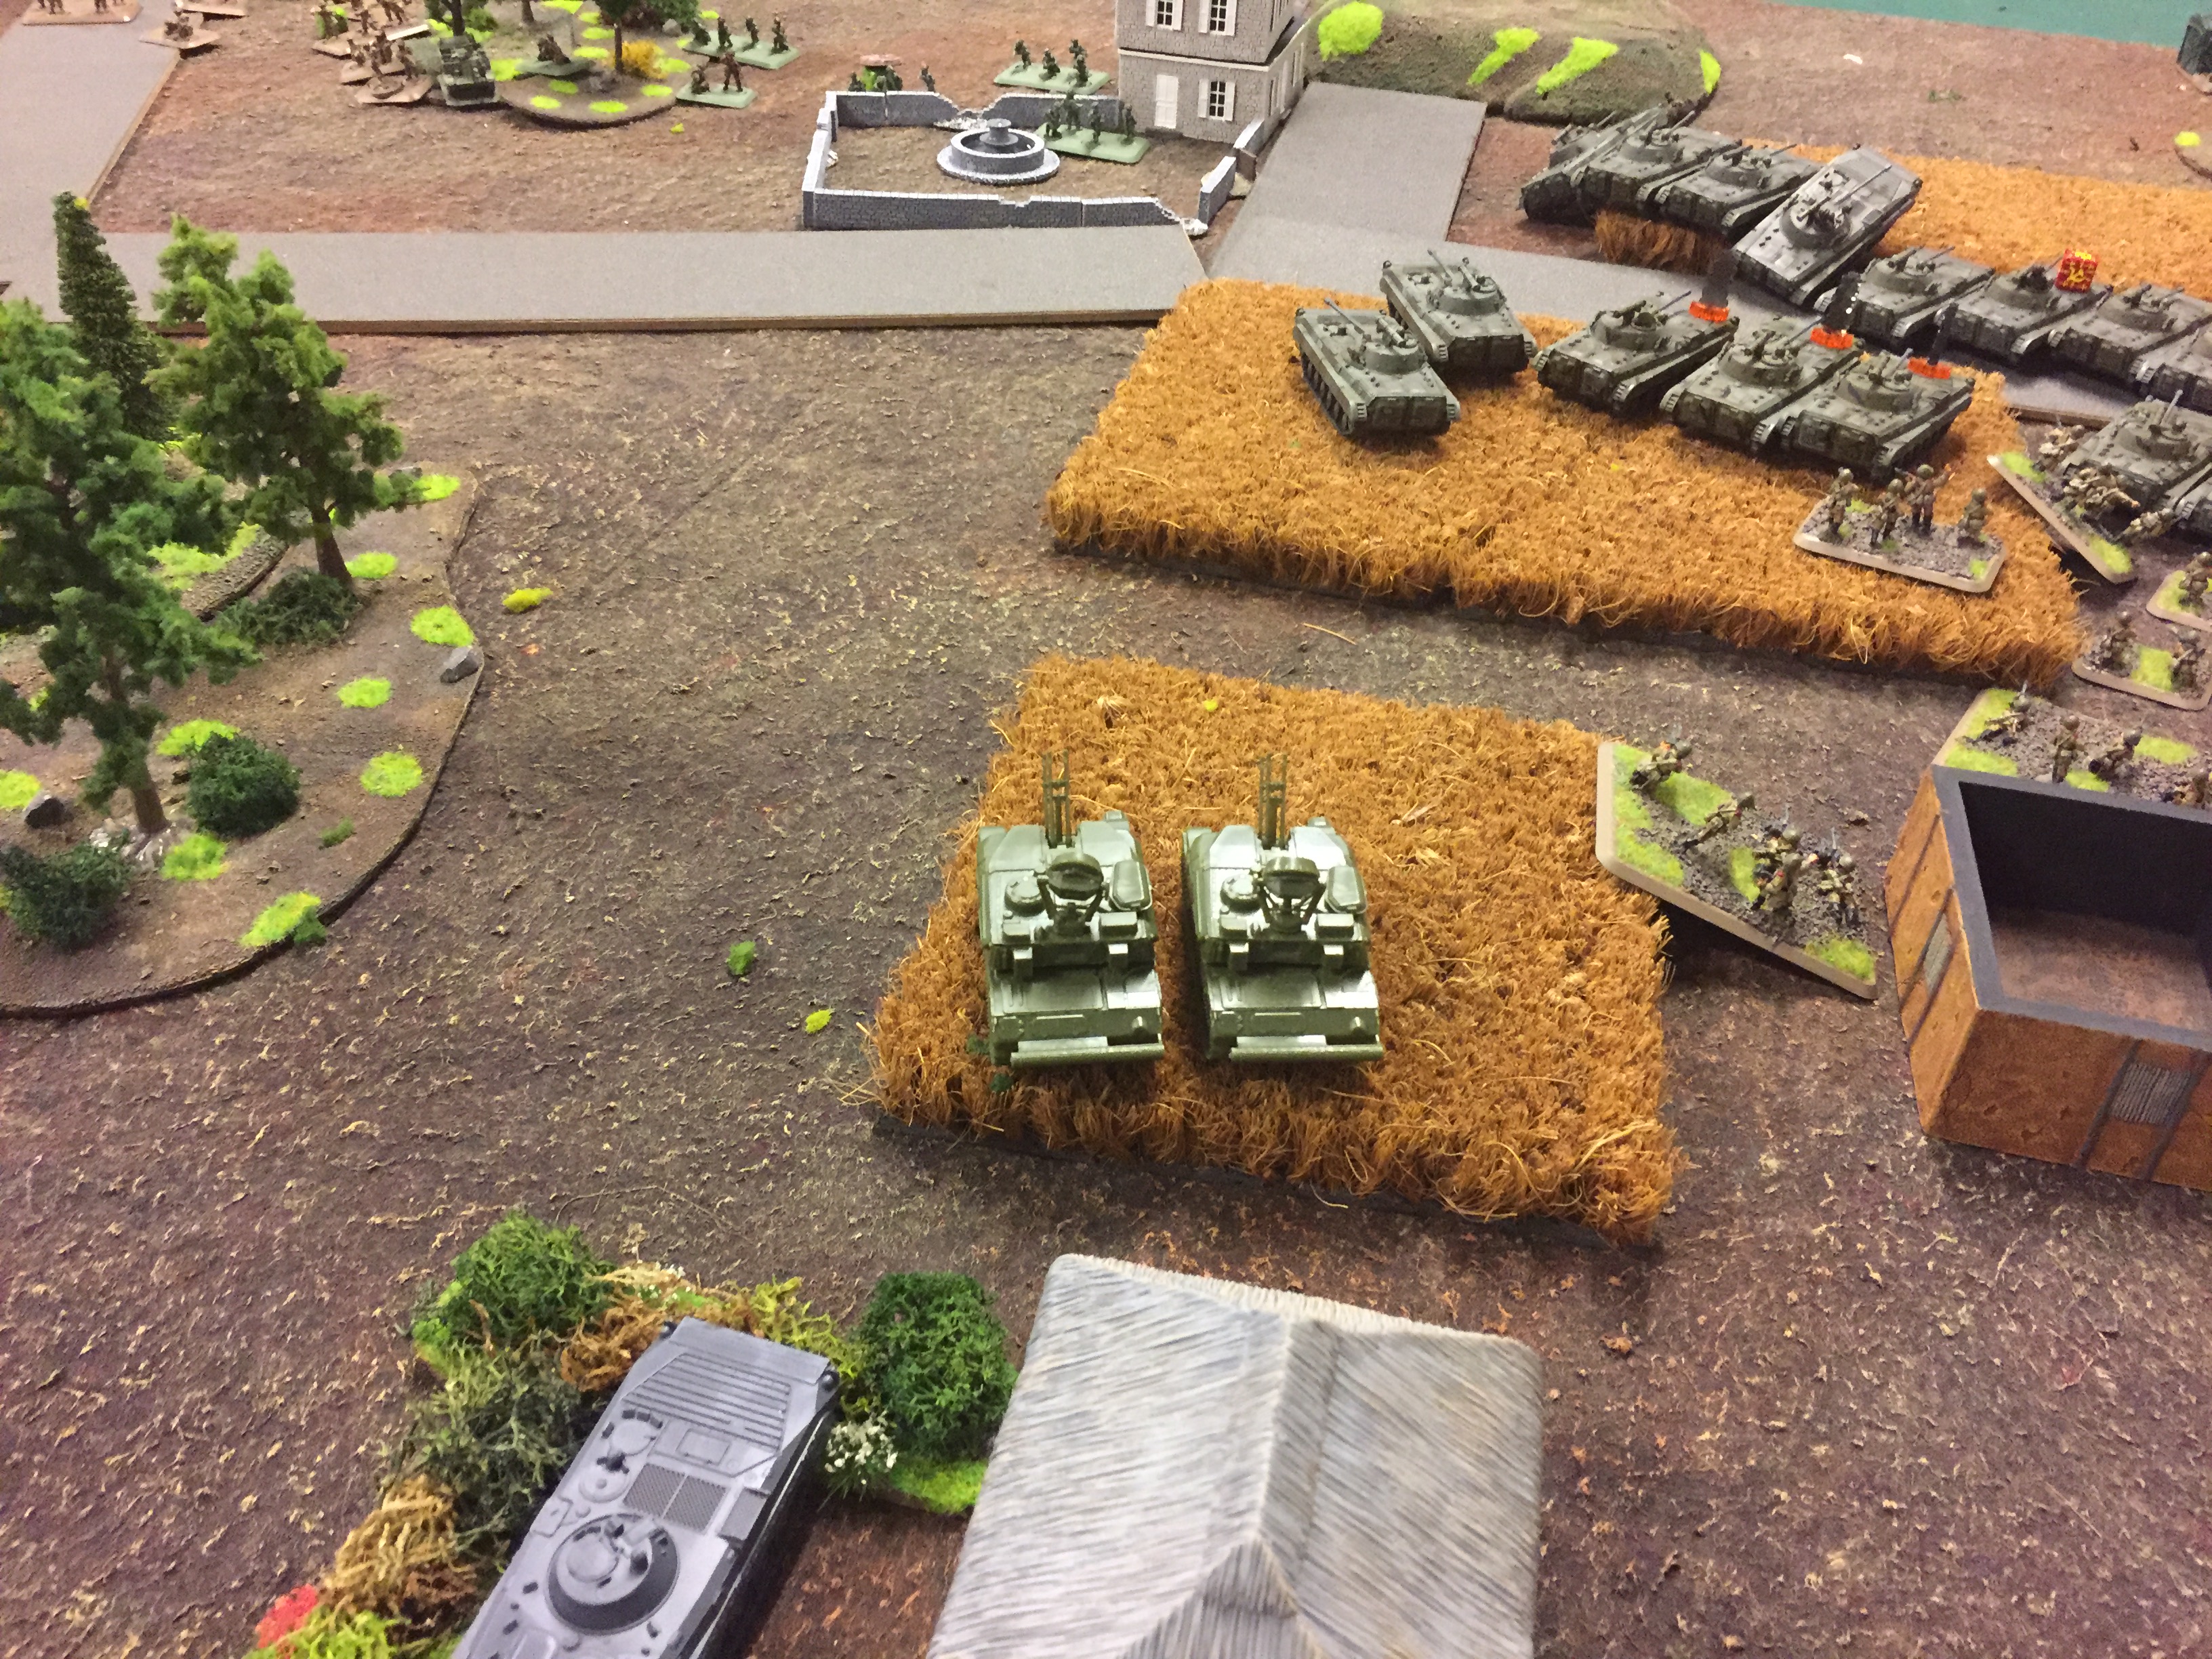
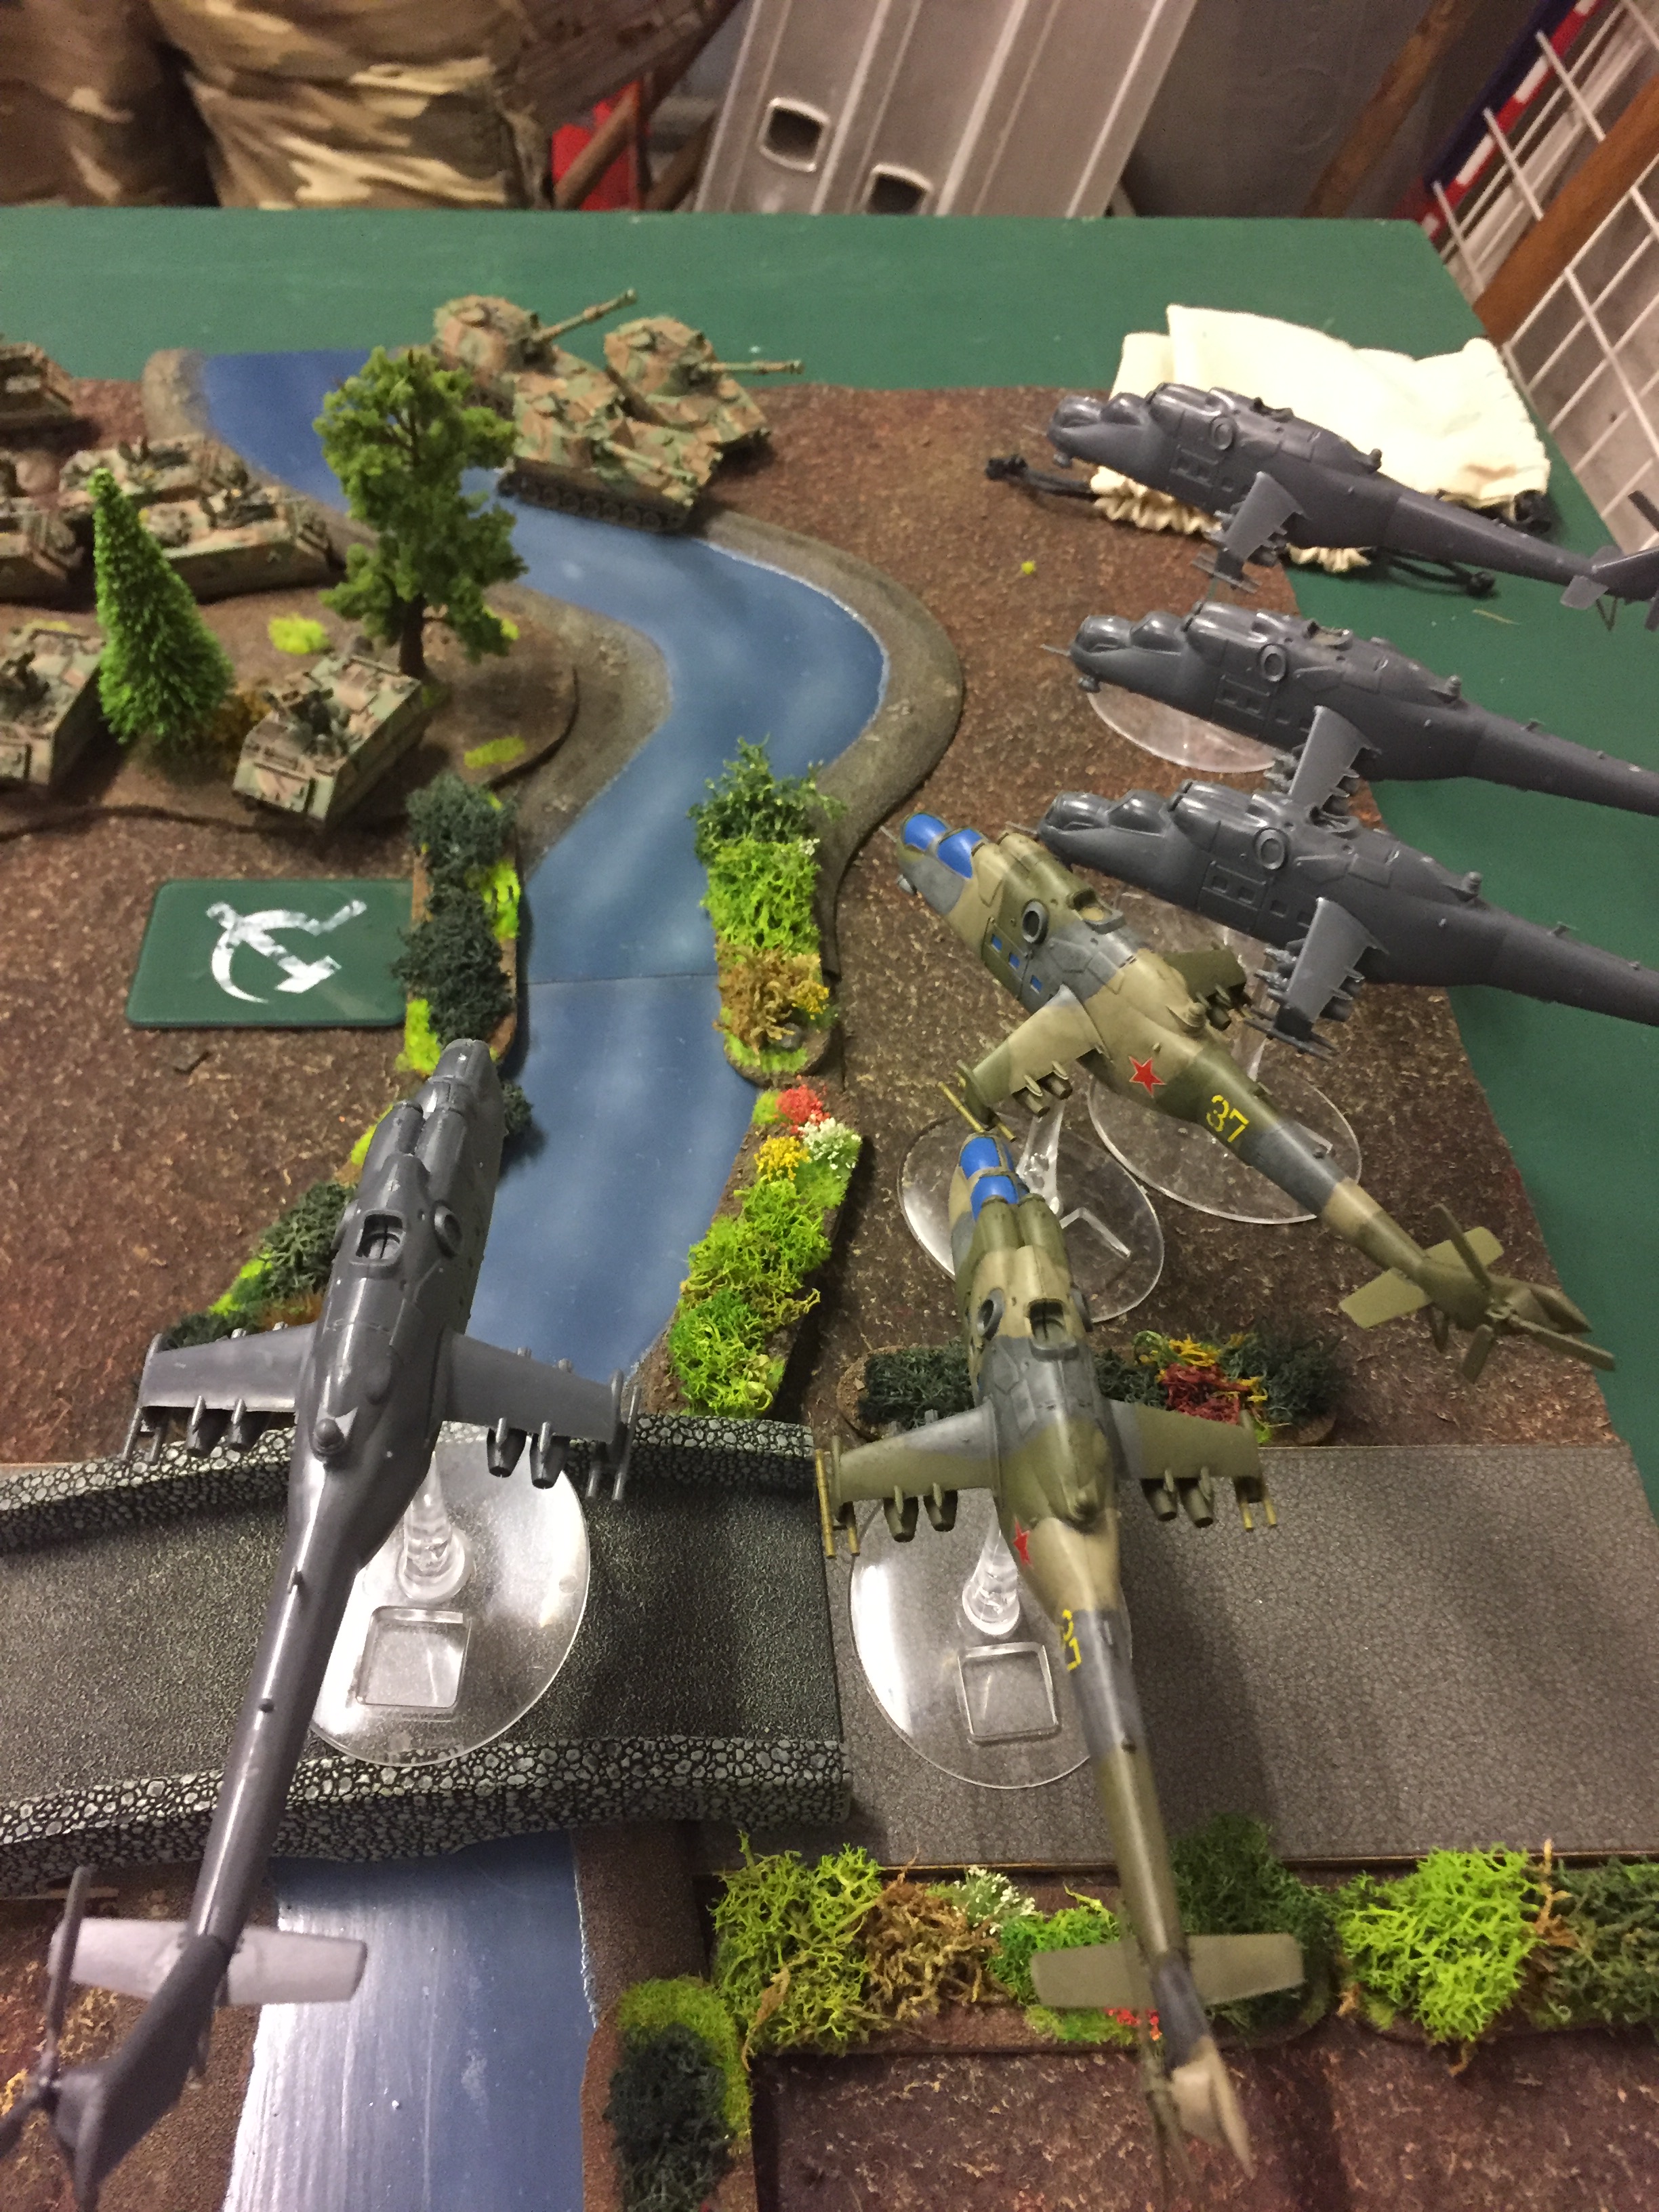 The soviet commander cursed once more – the enemy artillery had revealed itself near the forest at the bridge. Mentioning for his radioman, he ordered the flight of Hinds to immediately come in to deal with this new threat. Enemy AA or not, these guns needed to be silenced…
Meanwhile, coming forward from their cover, the crews of the Gophers and Hails went back to man their vehicles once again.
The BMPs advanced forward, fanning out slightly to maximize their firepower. The infantry pushed towards the bridge, trying to make good use of any cover they could find.
 Roaring and screaming, another salvo of rockets descended – this time directed on the US infantry unit moving to support the center.
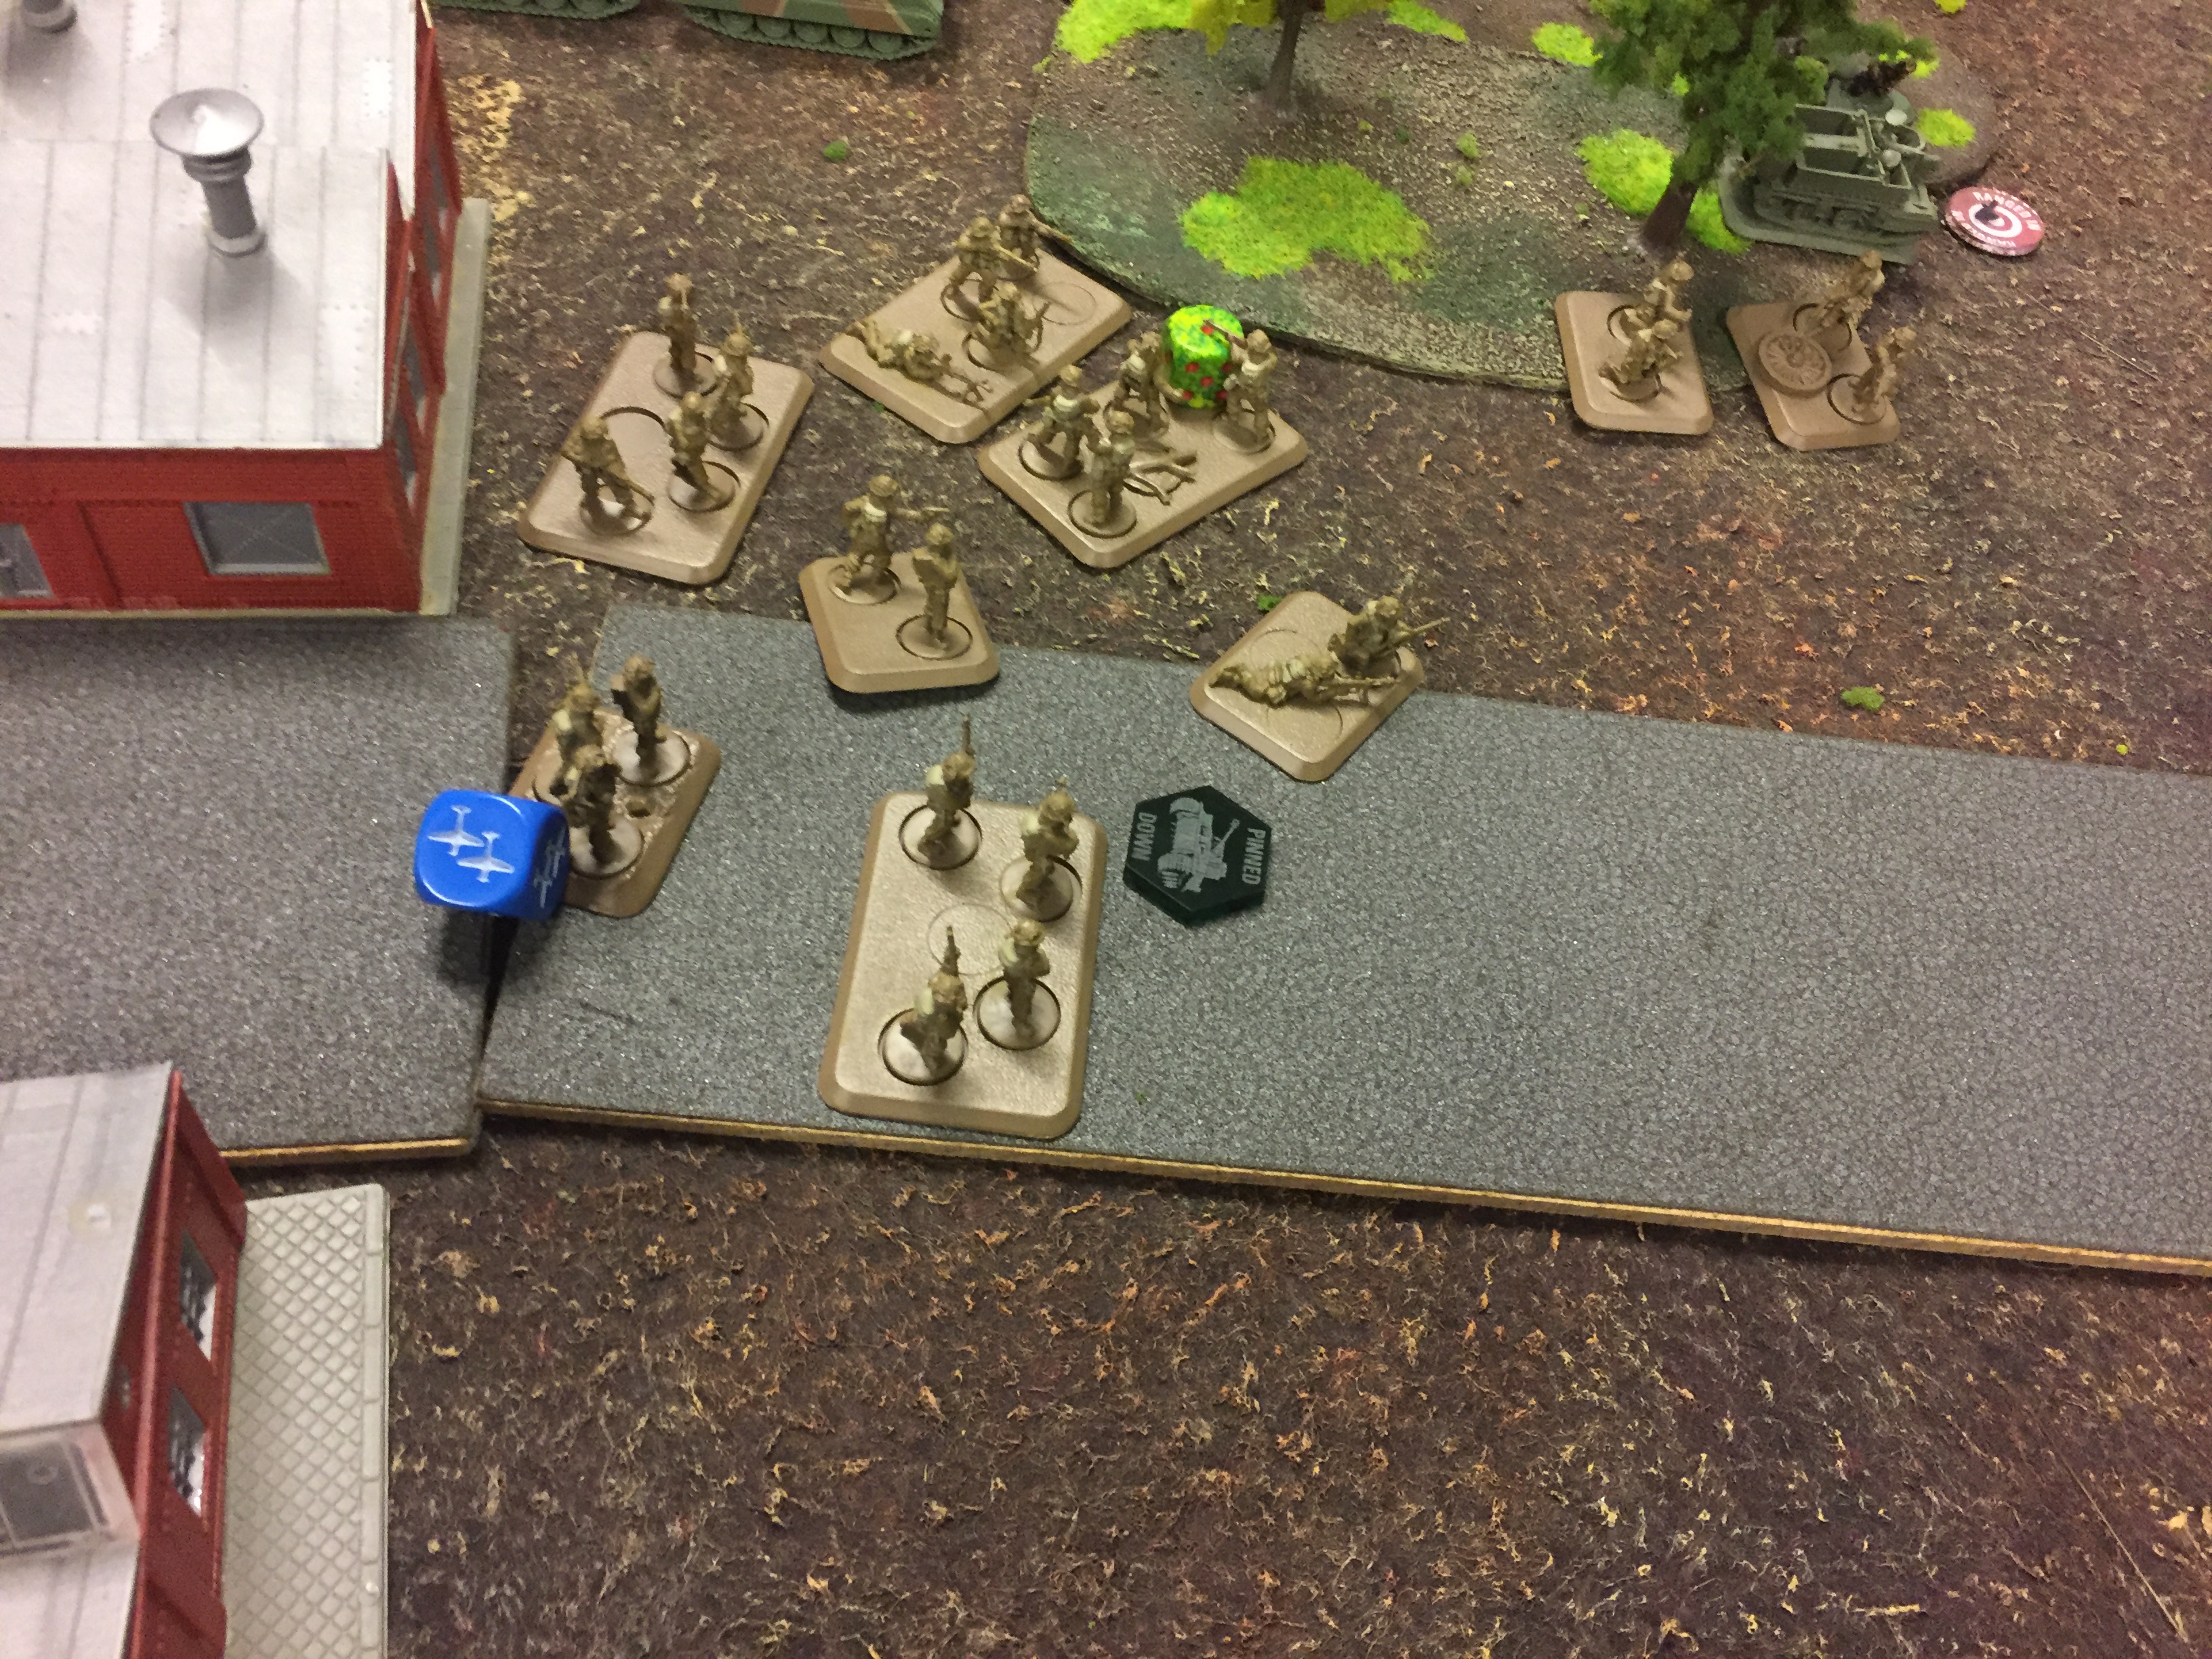 The gunners still seemed to have problems with their accuracy, but the sheer number of impacts pinned the target platoon nonetheless!
The newly arrived T-64 tanks opened fire with their stabilized main guns and managed to destroy 2 teams of the now pinned platoon.
The air was filled with the hammering of autocannons as the BMP-2s opened fire. The enemy proved to be a hard target, but still, 1 M113 and 1 ITV exploded, while another M113 was bailed out. The ITVs, understanding the importance of their position, stood strong in the face of the soviet advance.
The Roland AA battery remained silent for quite some time, expecting the A10s to have finally arrived. To their horror, and the angry screaming of their commander, they realized that the new echoes on their radar were in fact the enemies Hinds! They launched a hasty salvo, but it was ineffective and did not manage to shoot down any of the new targets. However, their salvo, as well as the desperate fire from a number of 50cals, managed to threw the Hind gunners off target and so only one of the howitzers was bailed out.
 US Turn 2: As it turned out, the local airfield had been the victim of soviet commandos – no air support arrived yet again and things began to look desperate for the Americans. Things were not improved by the crews of the M113 and the howitzer refusing to remount their vehicles! And on top of that, the leftmost infantry unit also stayed pinned down.
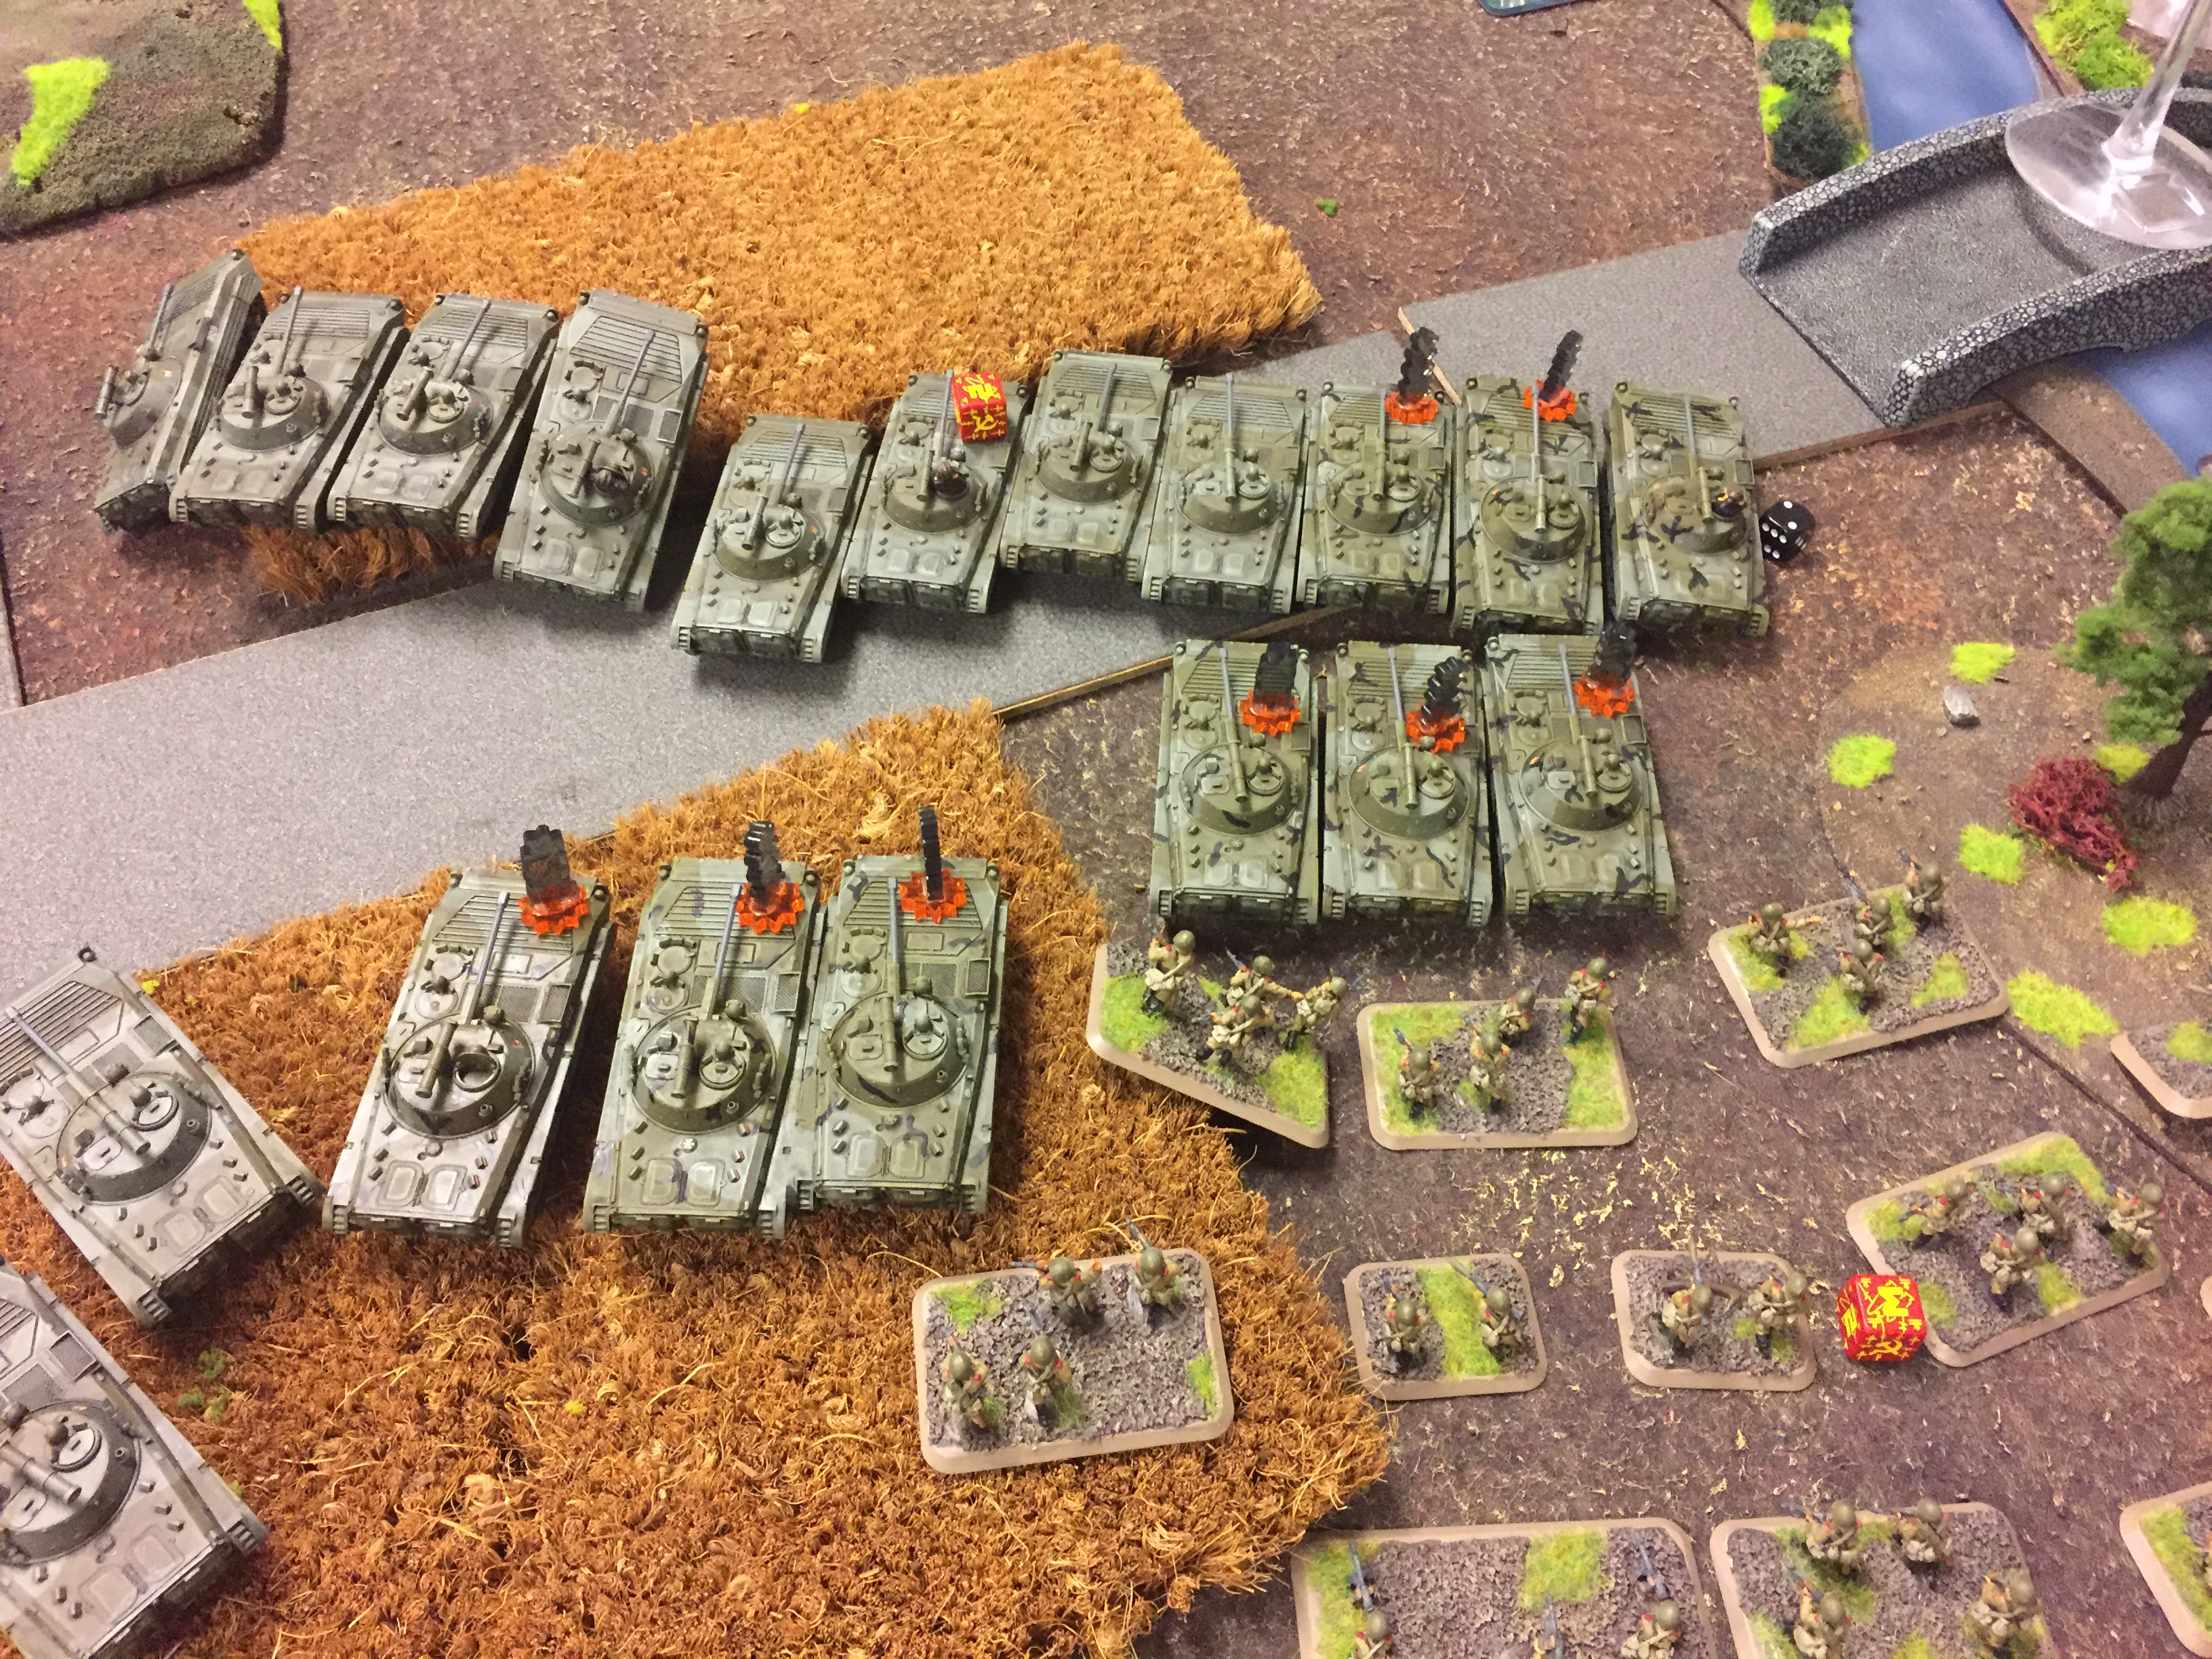 Mustering all of their courage, every single AT weapon in range was brought to bear and devastated the already weakened BMP platoon. All but one of the BMPs was disabled, their comrades passing by the burning wrecks.
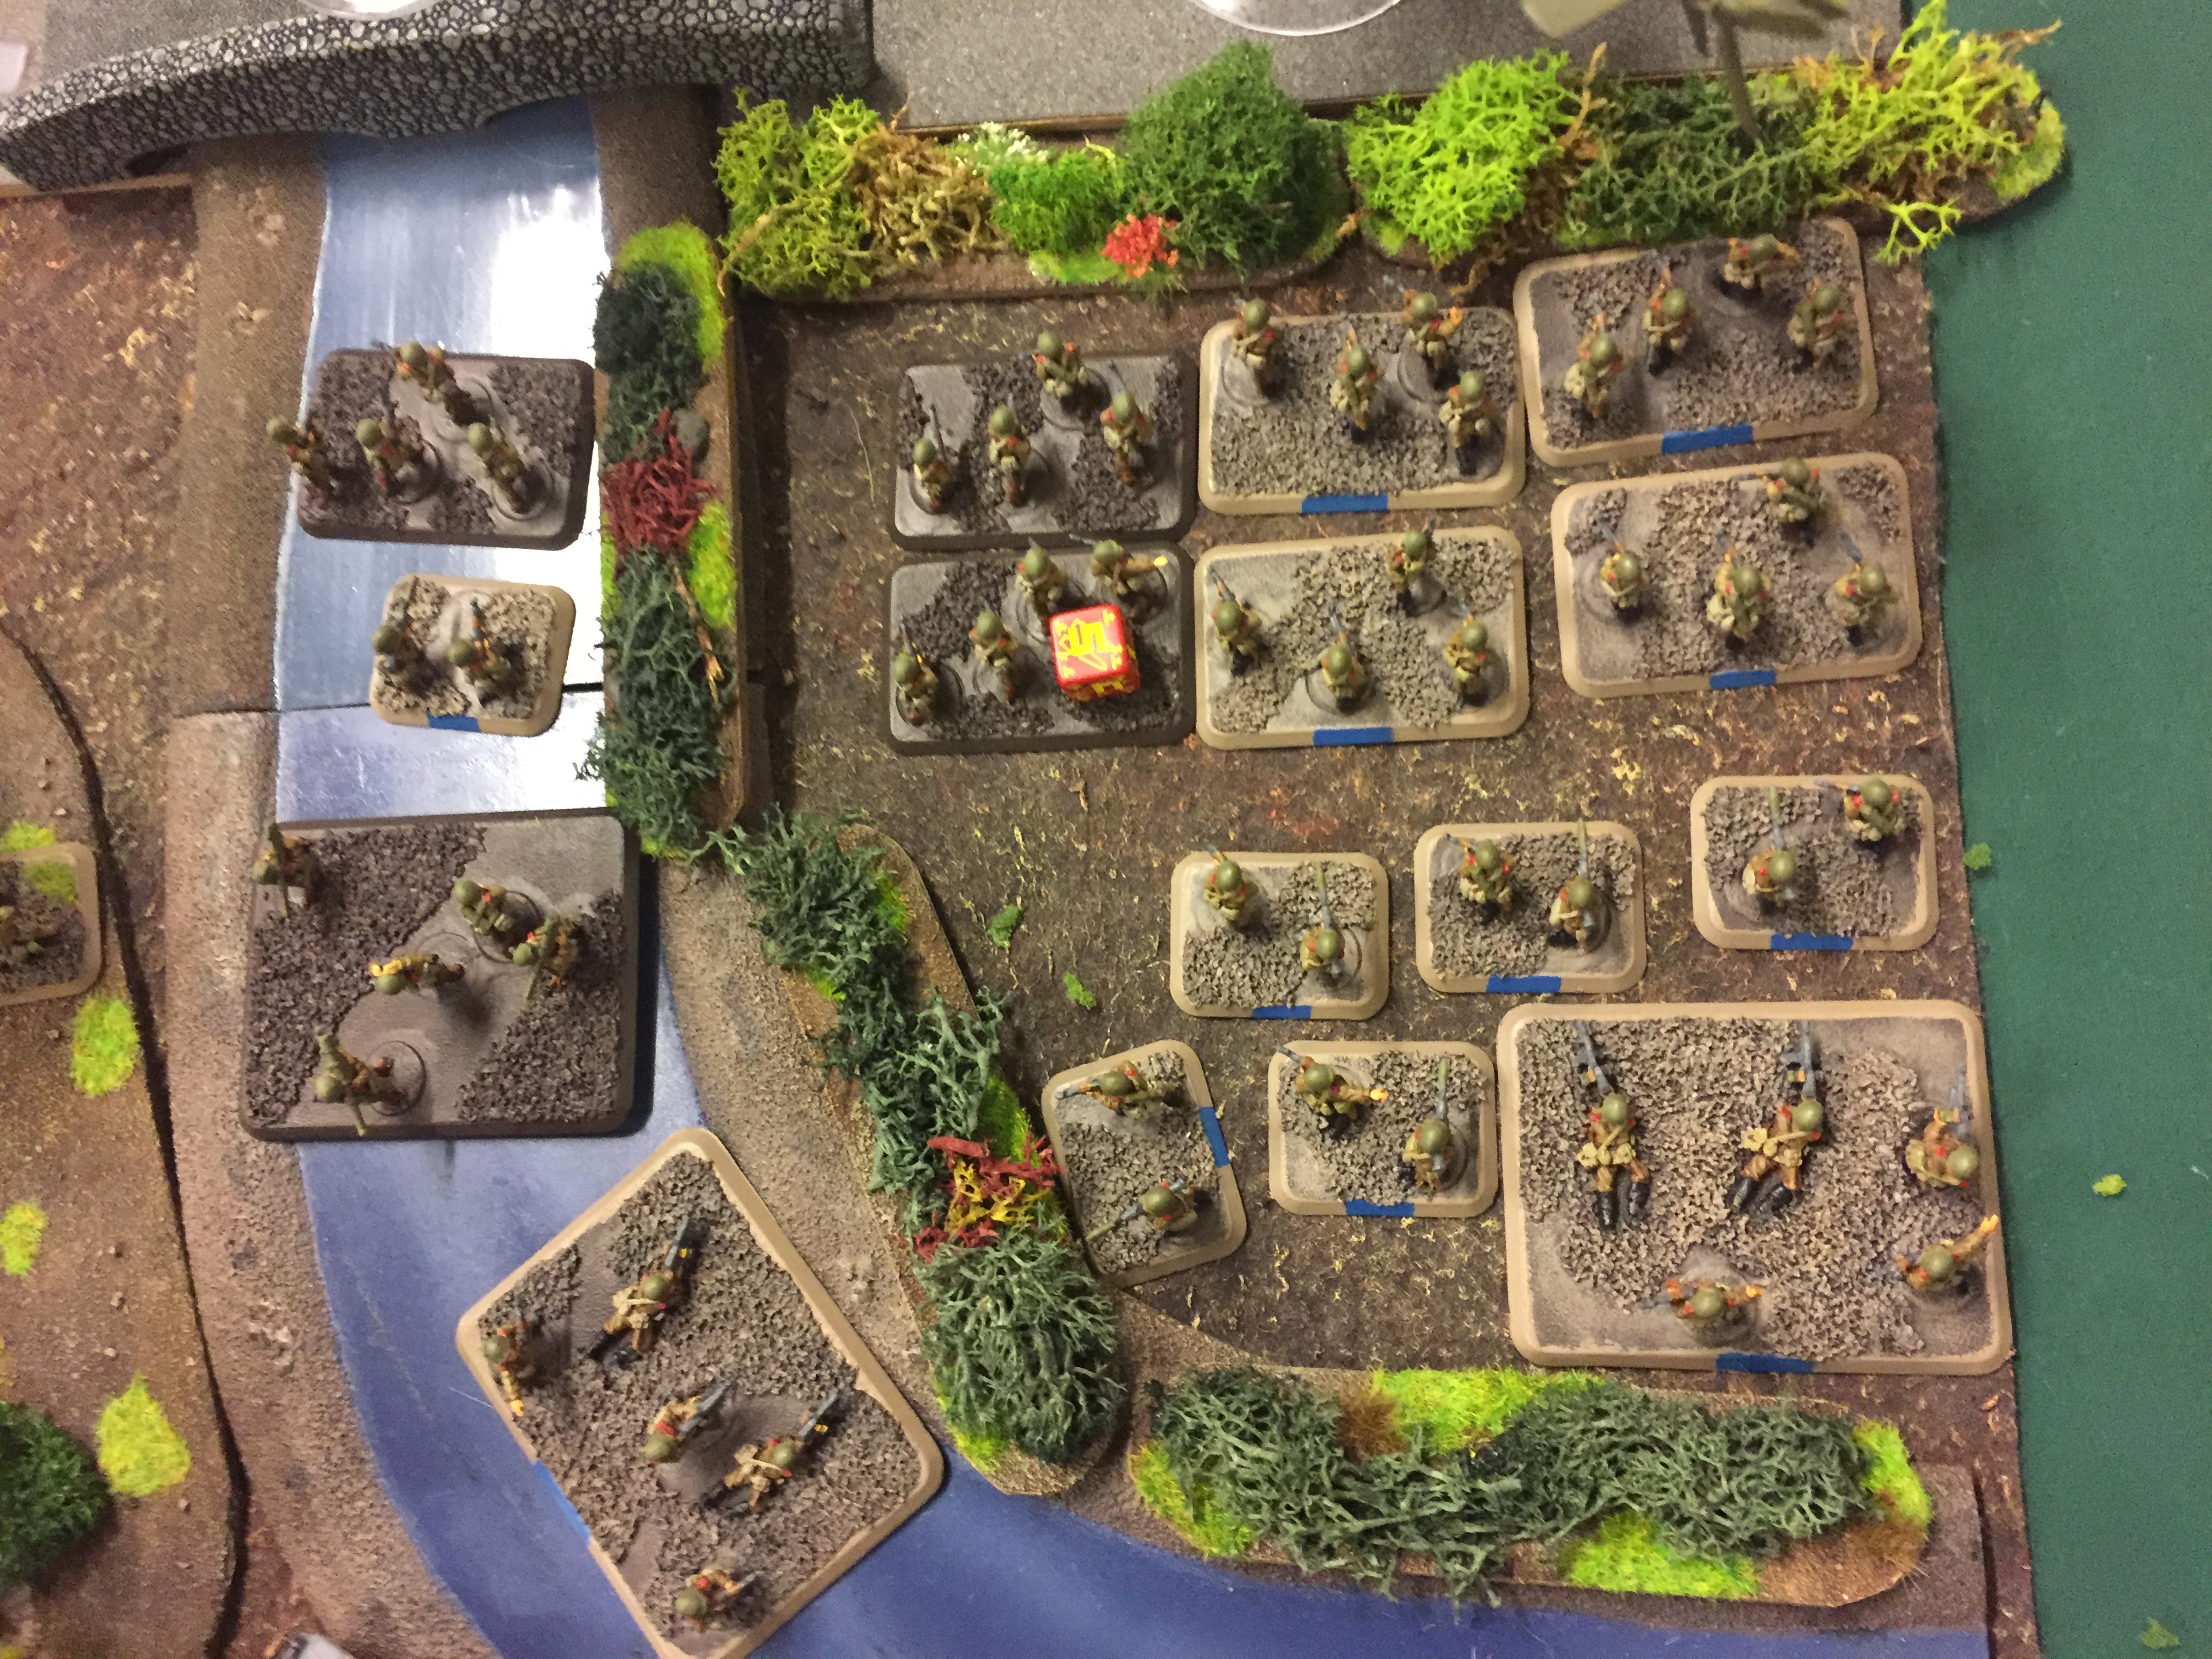 Once again, the infantrymen of the soviet 2nd company were throwing themselves flat – and this time, the shells did not pass overhead. Luckily for them, the river and the surrounding wet and muddy ground made the bombardment less effective, as did the fact that the aim was off by quite some margin. In the end, no real casualties were taken and the company got up to move again. (Ok, I have to say, I have never seen a thing like this – sure, it was 5s to hit, but those were 16 attempts and not ONE single hit!)
At this time, the defenders of the bridge could see a solid wall of soviet soldiers charging forward – there was no way of holding them off, not without support. Cutting his losses, the US commander grudgingly sounded the retreat. His forces would soon be needed for the defense of other valuable NATO assets.
The soviets had achieved their objective – the bridge was secured and the way was free for a lightning attack on Hannover!
Conclusion:
We called the game after US turn 2 – soviet infantry would have been on the objective in turn 3 and barely anyone there to stop them (we were playing the new rules with the adapted victory conditions). Sadly, the A10s never saw the table when they were really desperately needed. This allowed me to push on the objective with little to stop me from capturing it. Reserves for the US forces would arrive in the 3rd turn at best, so they would come too late to do any good. Then again, hasty attack has always been hard on the defender. A big thank you to my opponent for taking it lightly and being a good sport!
Battle Report Author
Recommend Commander For Commendation
Share this battle with friends
PizzamannWins

Very coo looking table there mate! 😀
Congrats for the win aswell!
Great huge report, nice work. Lots of models, fine painting, but why WP wins whyyy?
Really like this report and table. Congrats on the win, even if you are on the wrong side.
Great report
The picture story telling really works for this style of battle report, it was a good read!
Nice report with good pics. I´d appreciate to see more.
In depth report. I like the use of Rolands to make up for the lack of SAMs in the US arsenal.