Fought At Hof Corridor
2442 days 14 hours 40 minutes ago
Battle Report
Clash at the Hof
50 POINTSToday I got to play against my younger son, Jeremy (aka Petaredhammer) in a series of tank on tank clashes in the Hof Corridor. This report covers the second battle from the Team Yankee campaign in the core rulebook: the Battle of Hill 214.
What an ugly place, and a night action to boot! I have to say that this was the ugliest slugging match
I've played in some years. Both sides really dug in their heels and gave it their all. This game took us two hours to play. Granted there was a lot of rules research, but on the whole it was a game full of maneuver and play and that is despite the US being fixed to defending one objective.
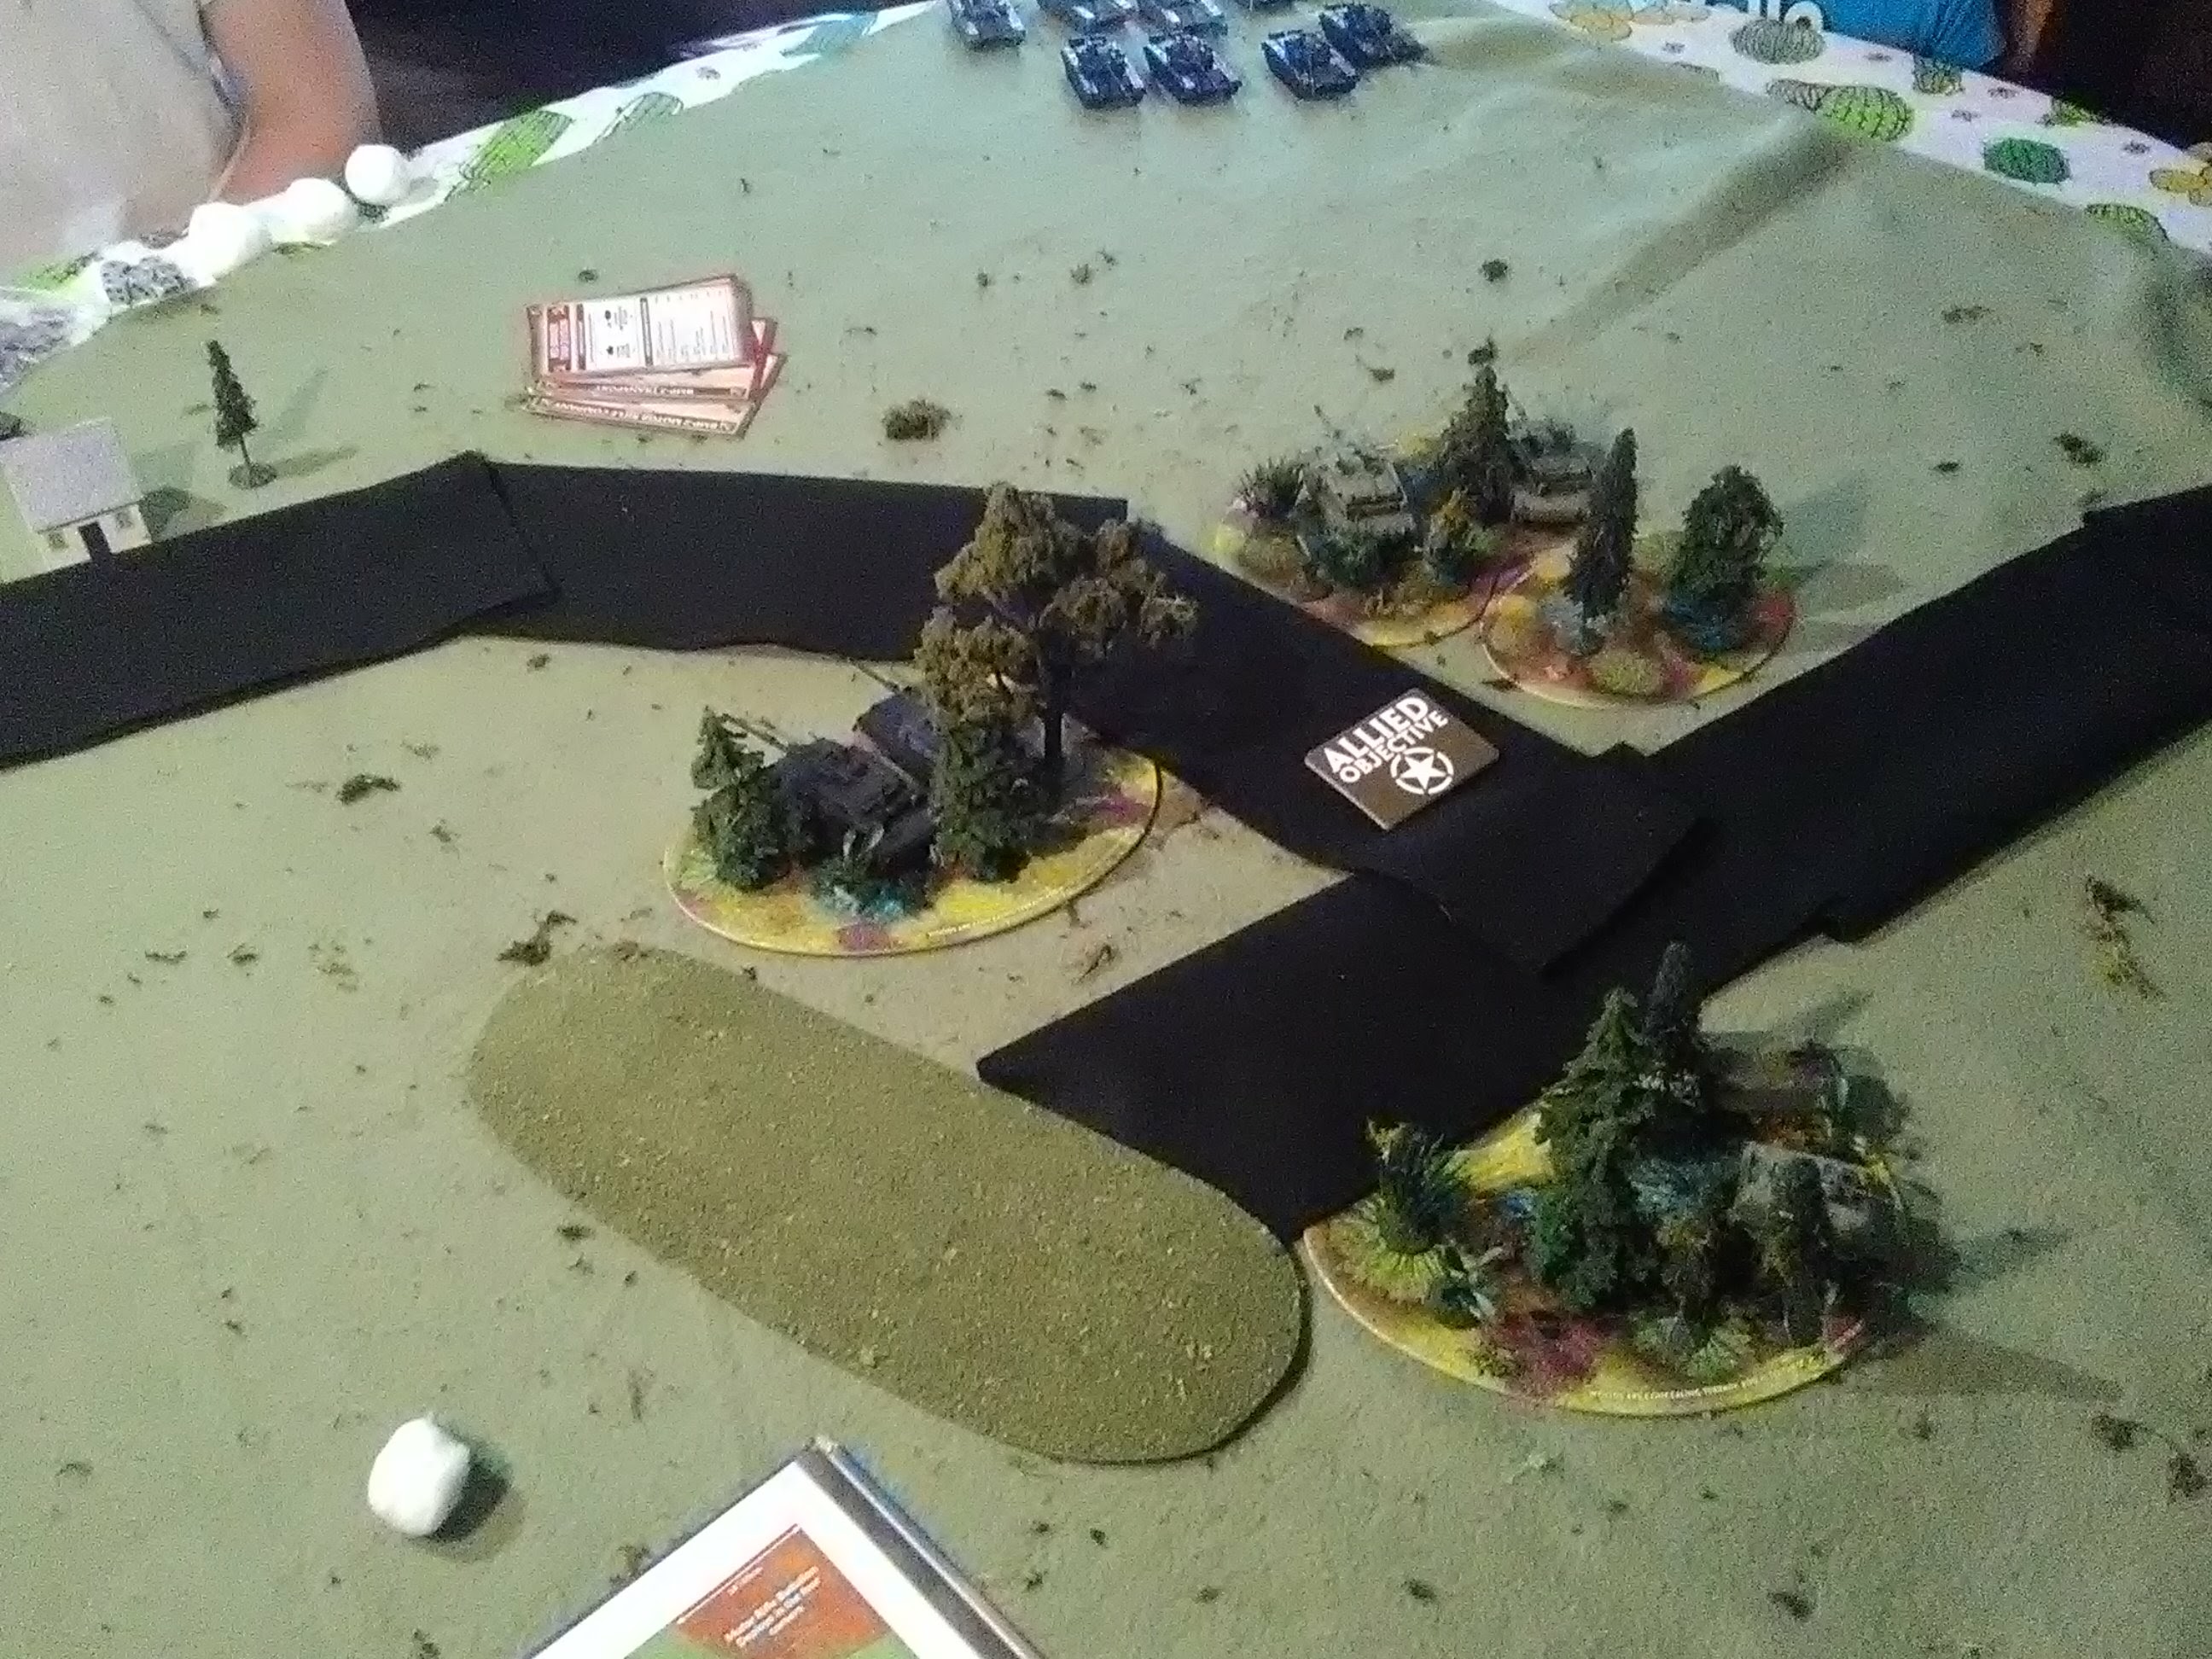
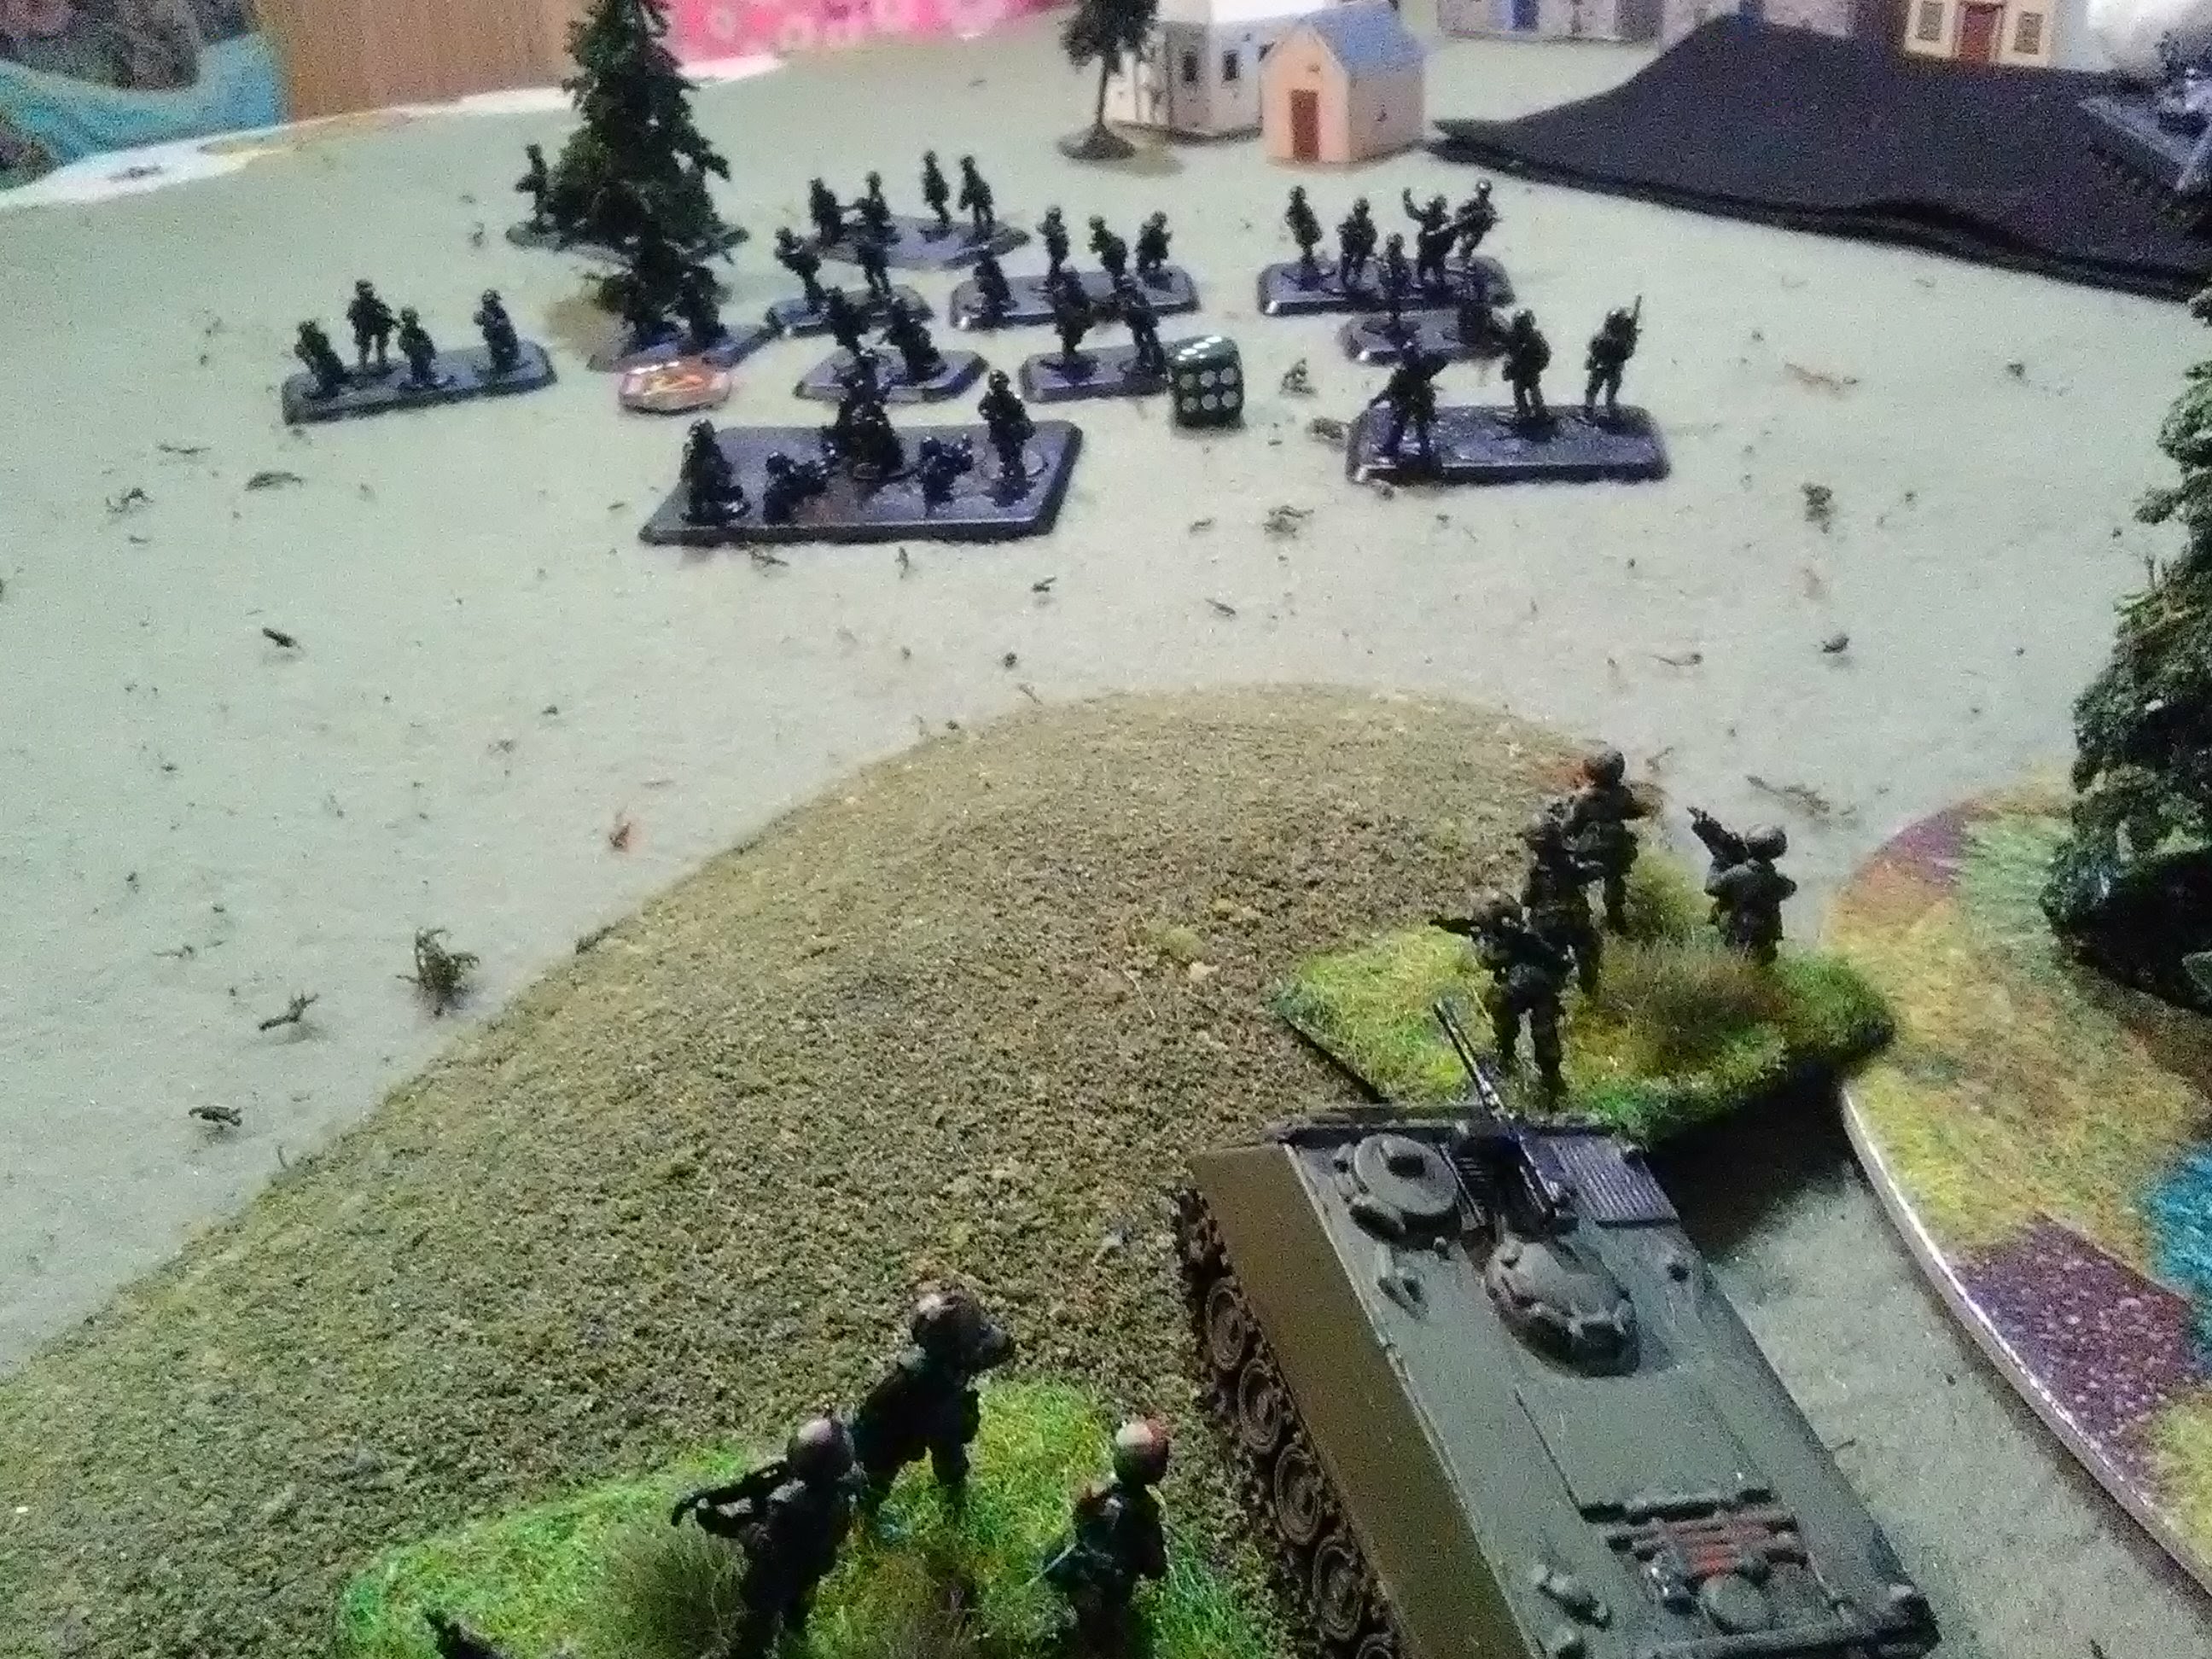
I deployed the two short tank platoons in the two clumps of trees facing north and the M113 carrier platoon facing south and deployed in the woods south of the objective. The dismounts were in ambush.
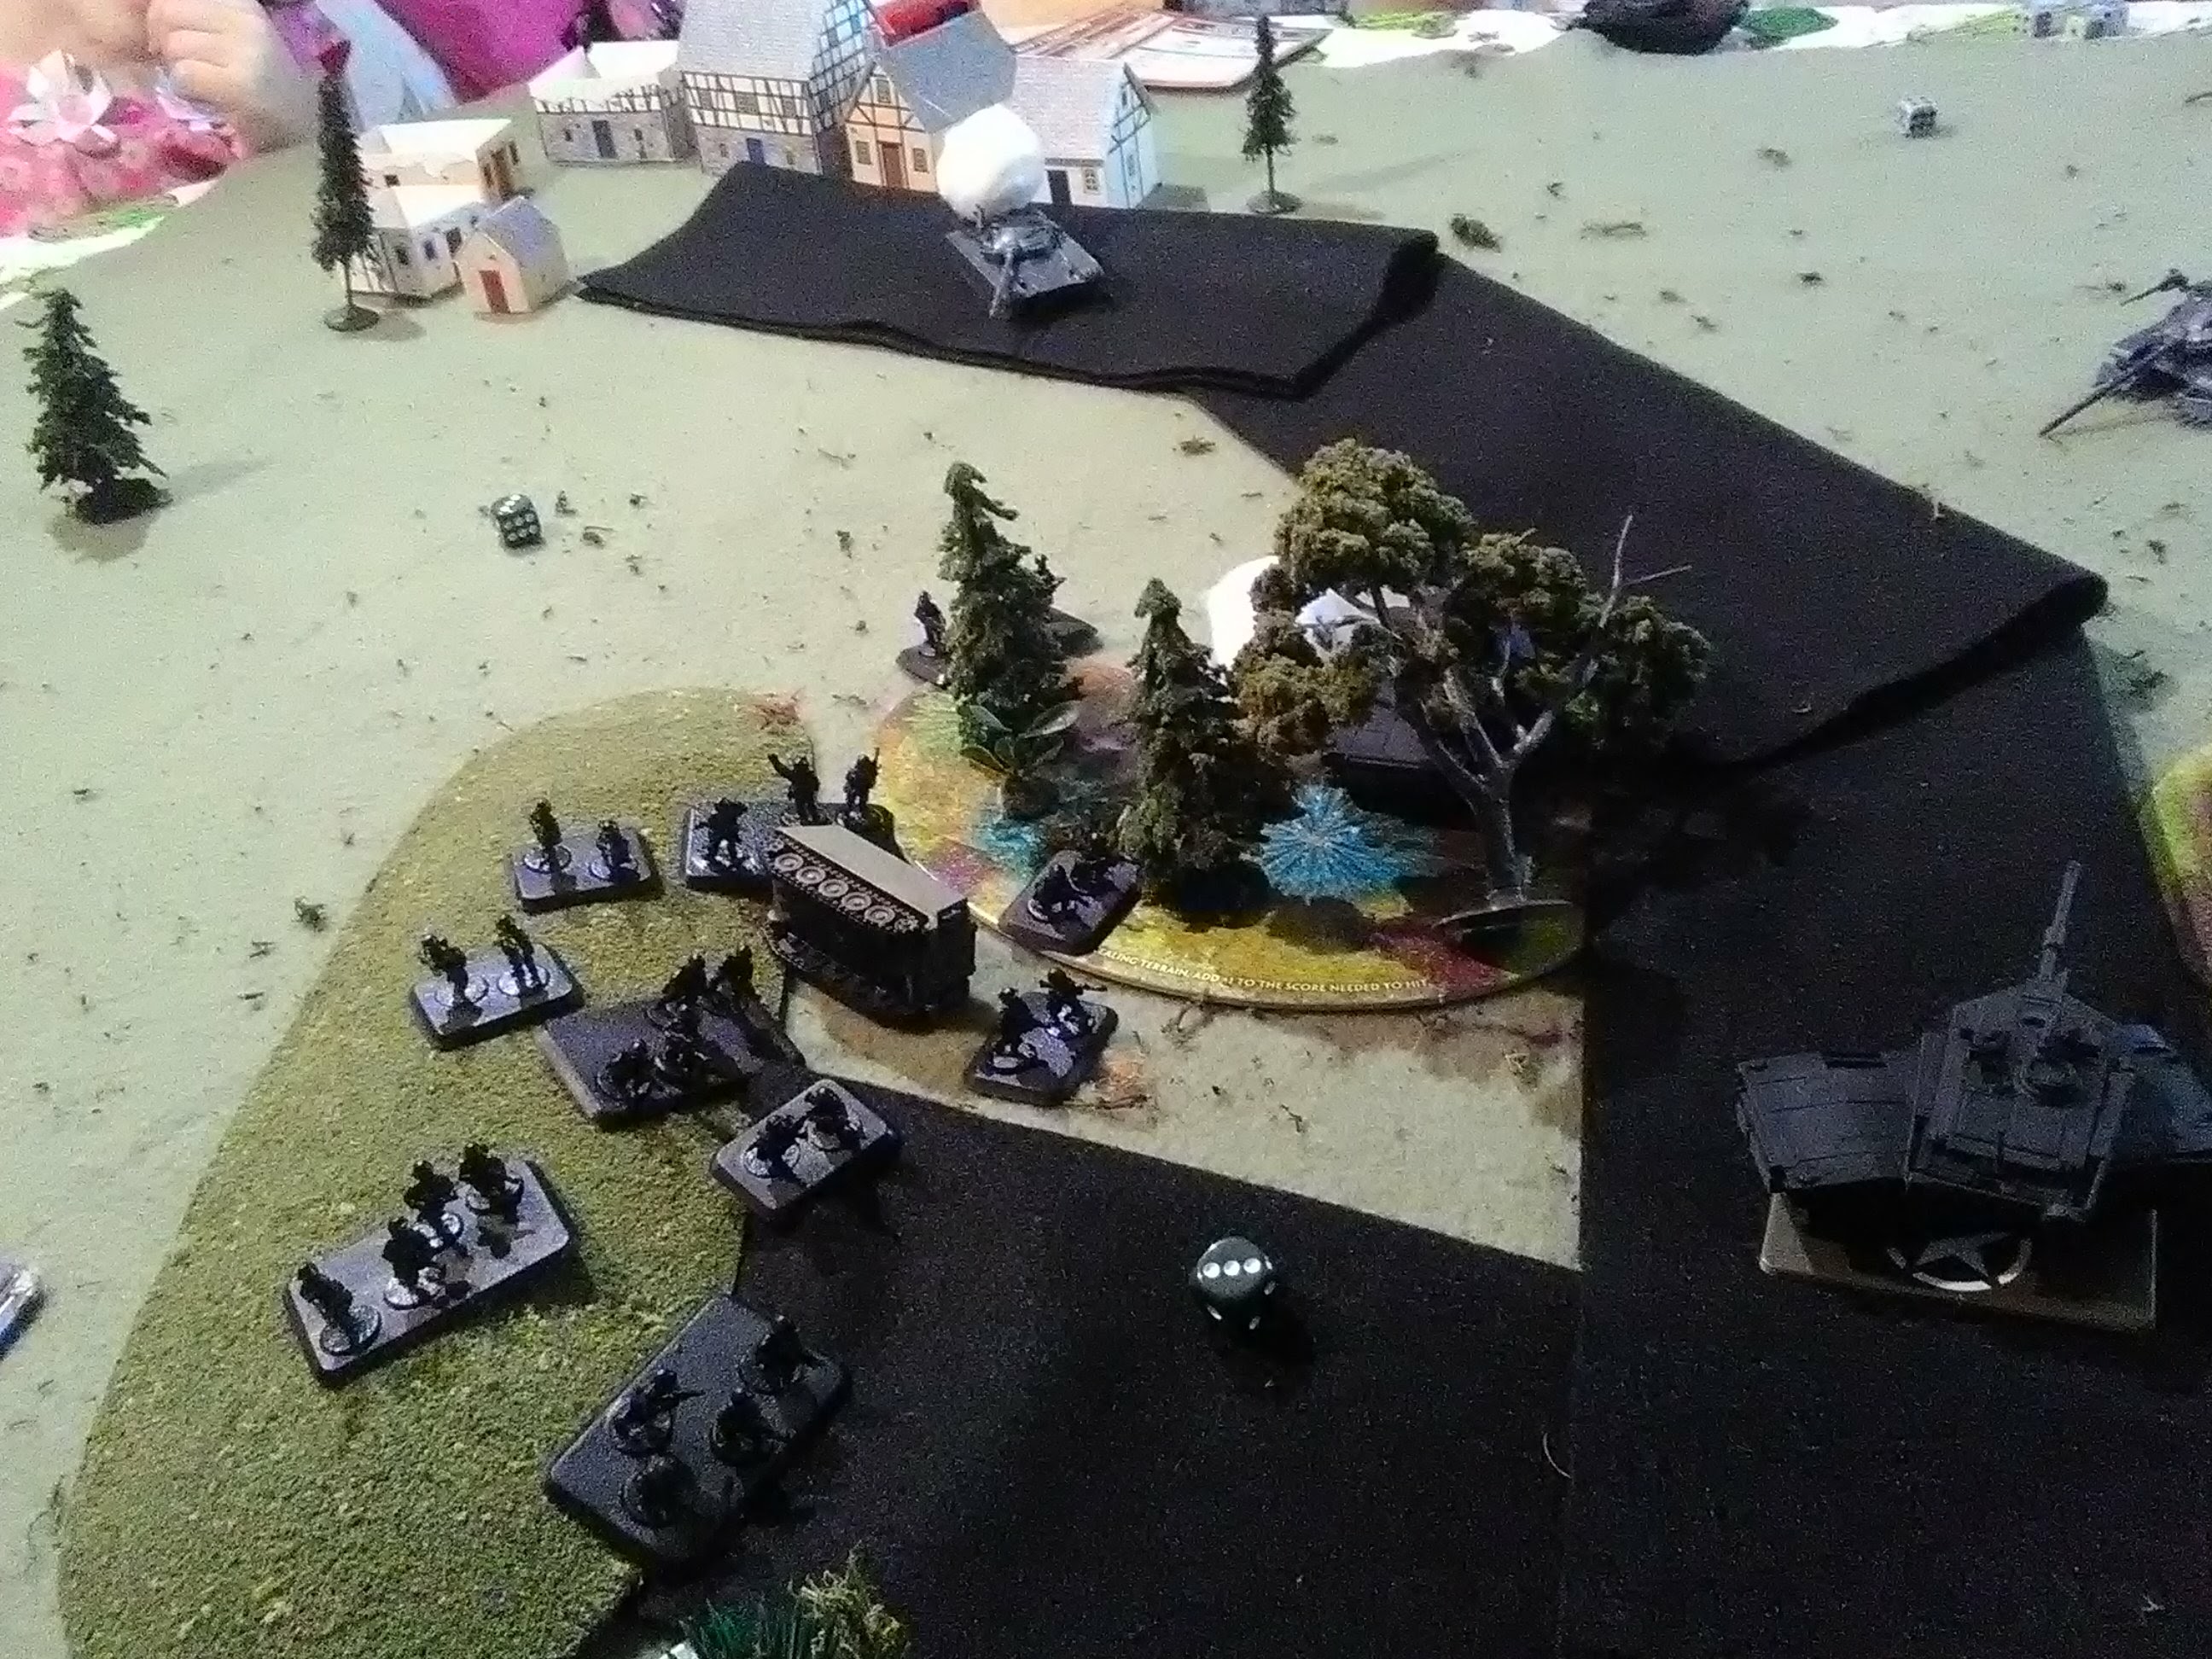
Petaredhammer placed his infantry in the town and the the bulk of his tanks were set up in the top right hand corner. He also placed the battalion command tank on the road near the village to support the infantry.
Because we were short tanks we decided to keep one 3 tank platoon off board until he had lost three total tanks. As events would have it these tanks appeared on turn four.
Since we couldn't find rules that told us otherwise we decided to roll for initiative each turn.
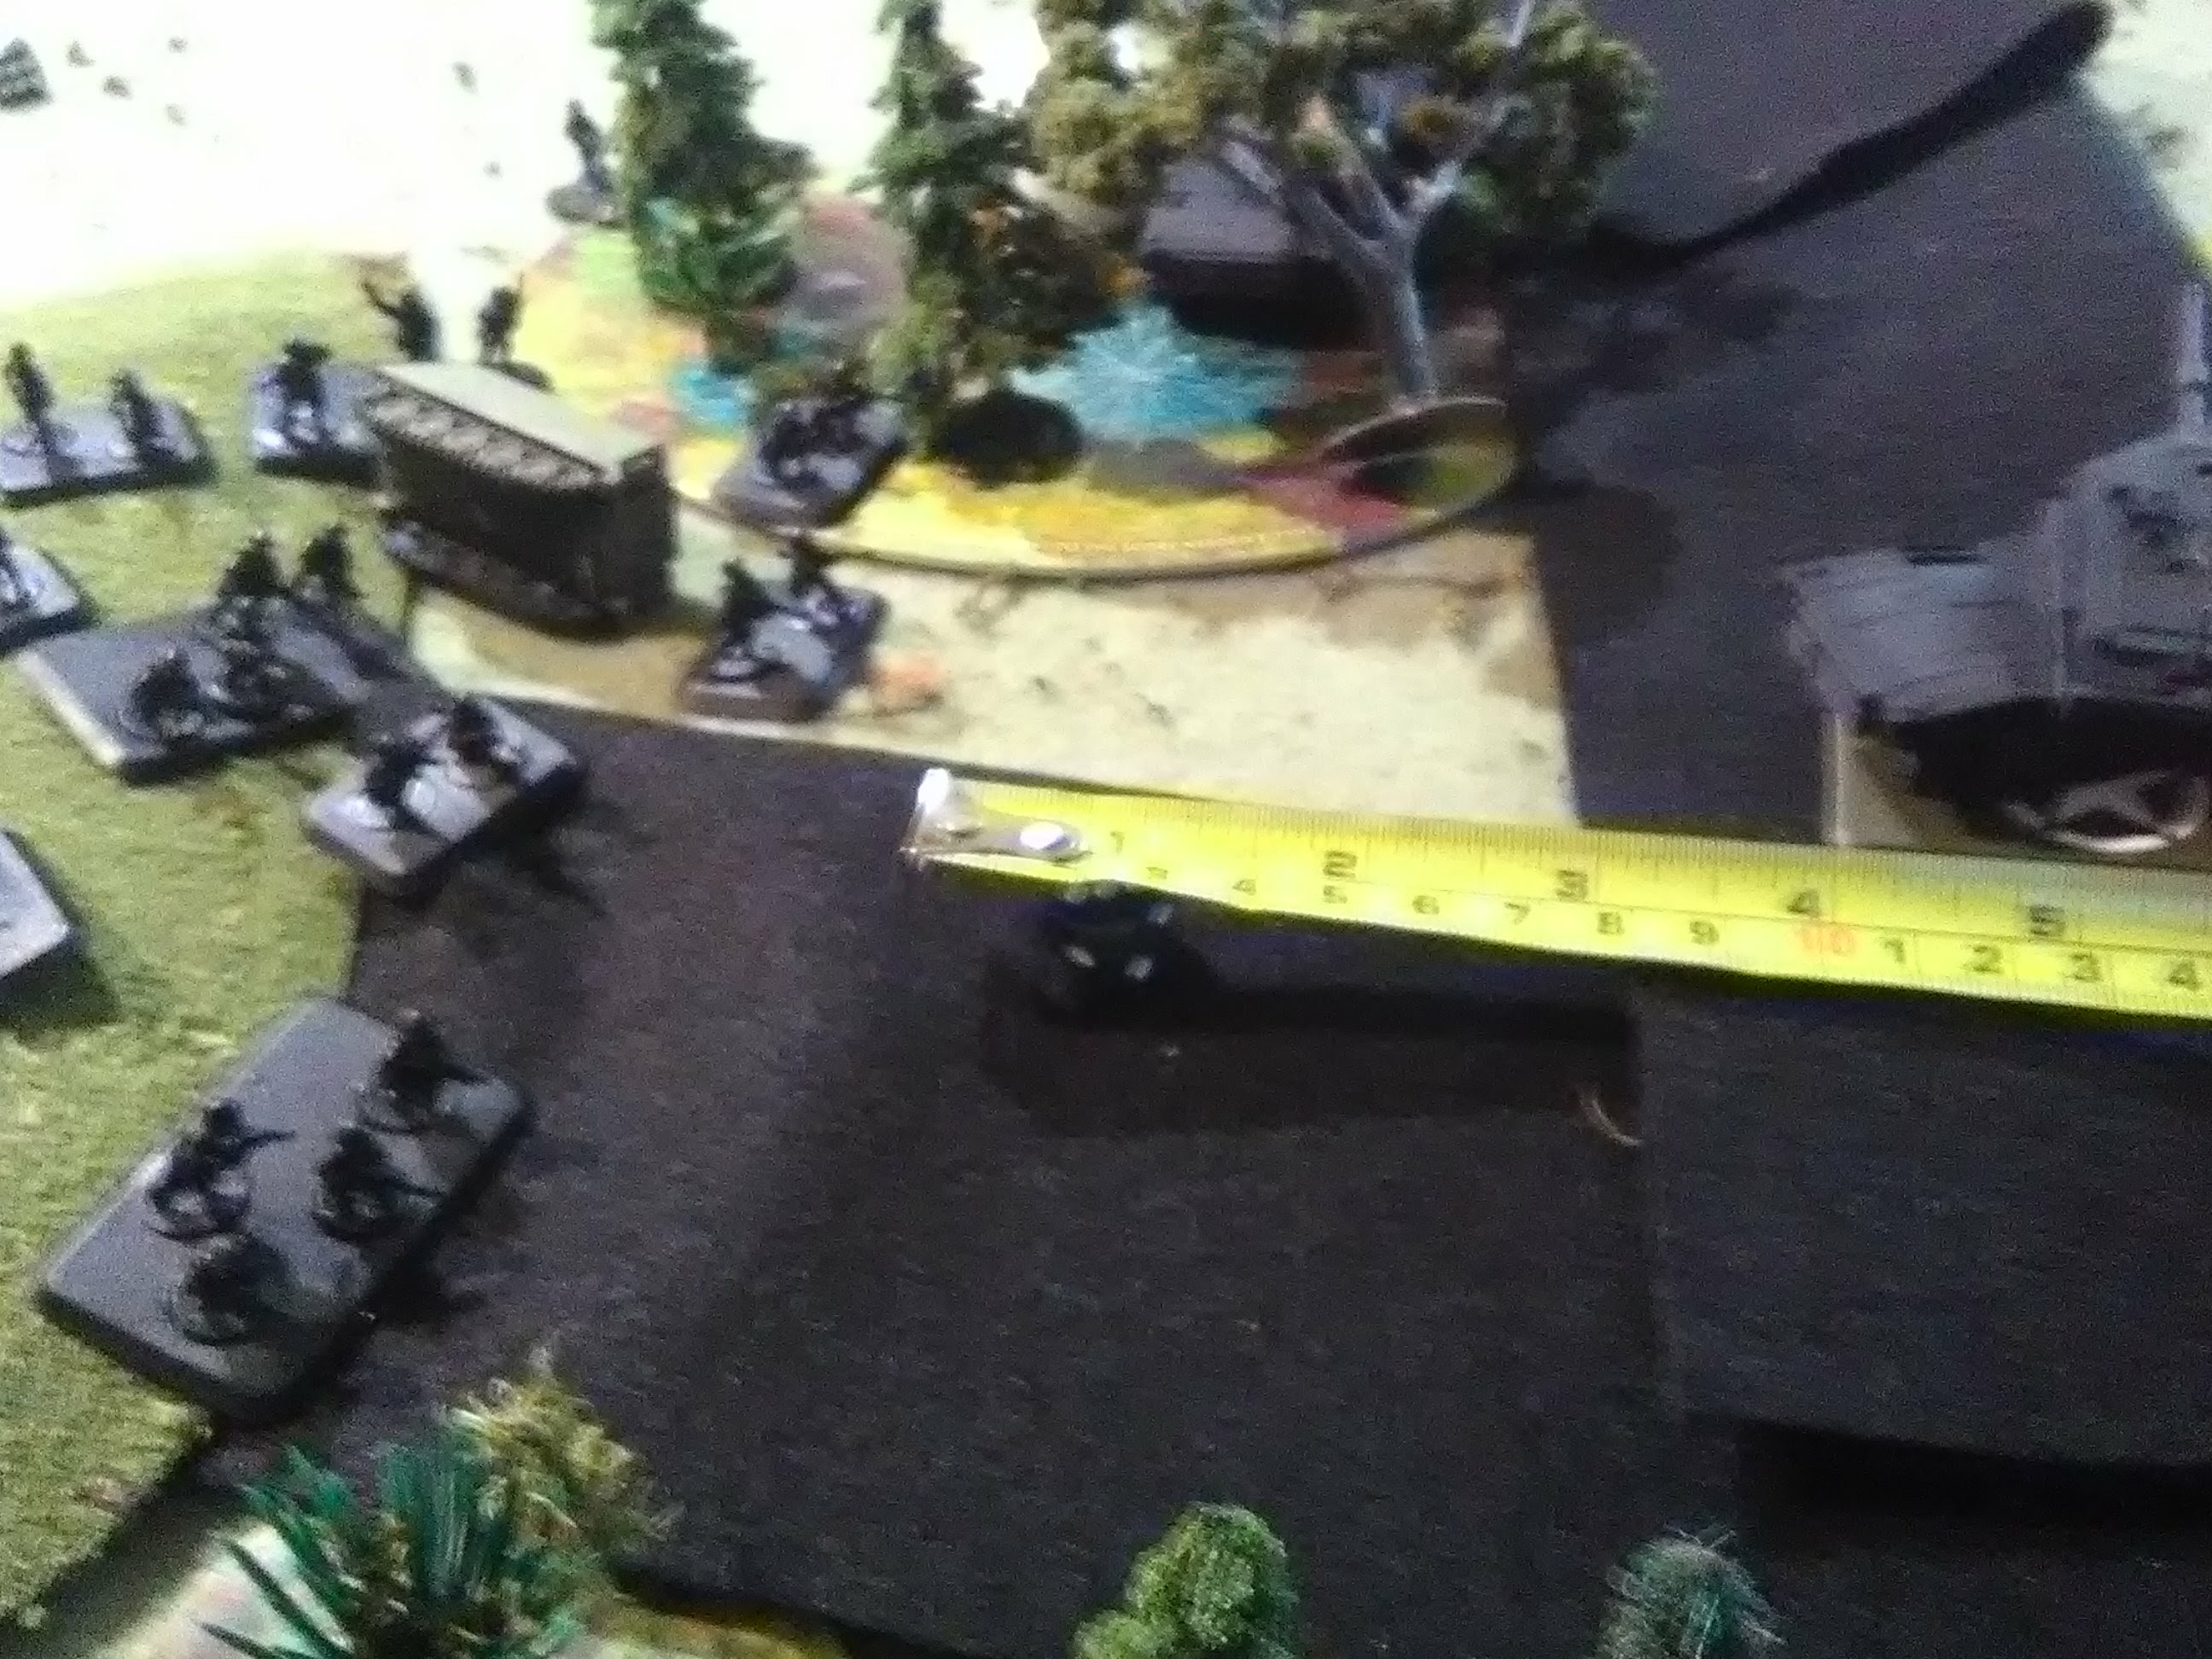
Turn one opened with me winning initiative! I quickly went on the offensive and fired my maneuver platoon at the Soviet battalion commander who was sitting on the road, all by himself!! A 6 gave me a 24¨ engagement range (this was a night action) and I went for it, burying the Soviet colonel under an avalanche of SABOT rounds. My command platoon immediately picked up a 24¨ engagement range and opened up on the two small tank companies that were north east of my position. Yeah... that didn't work out so well. I managed to bail just one tango.
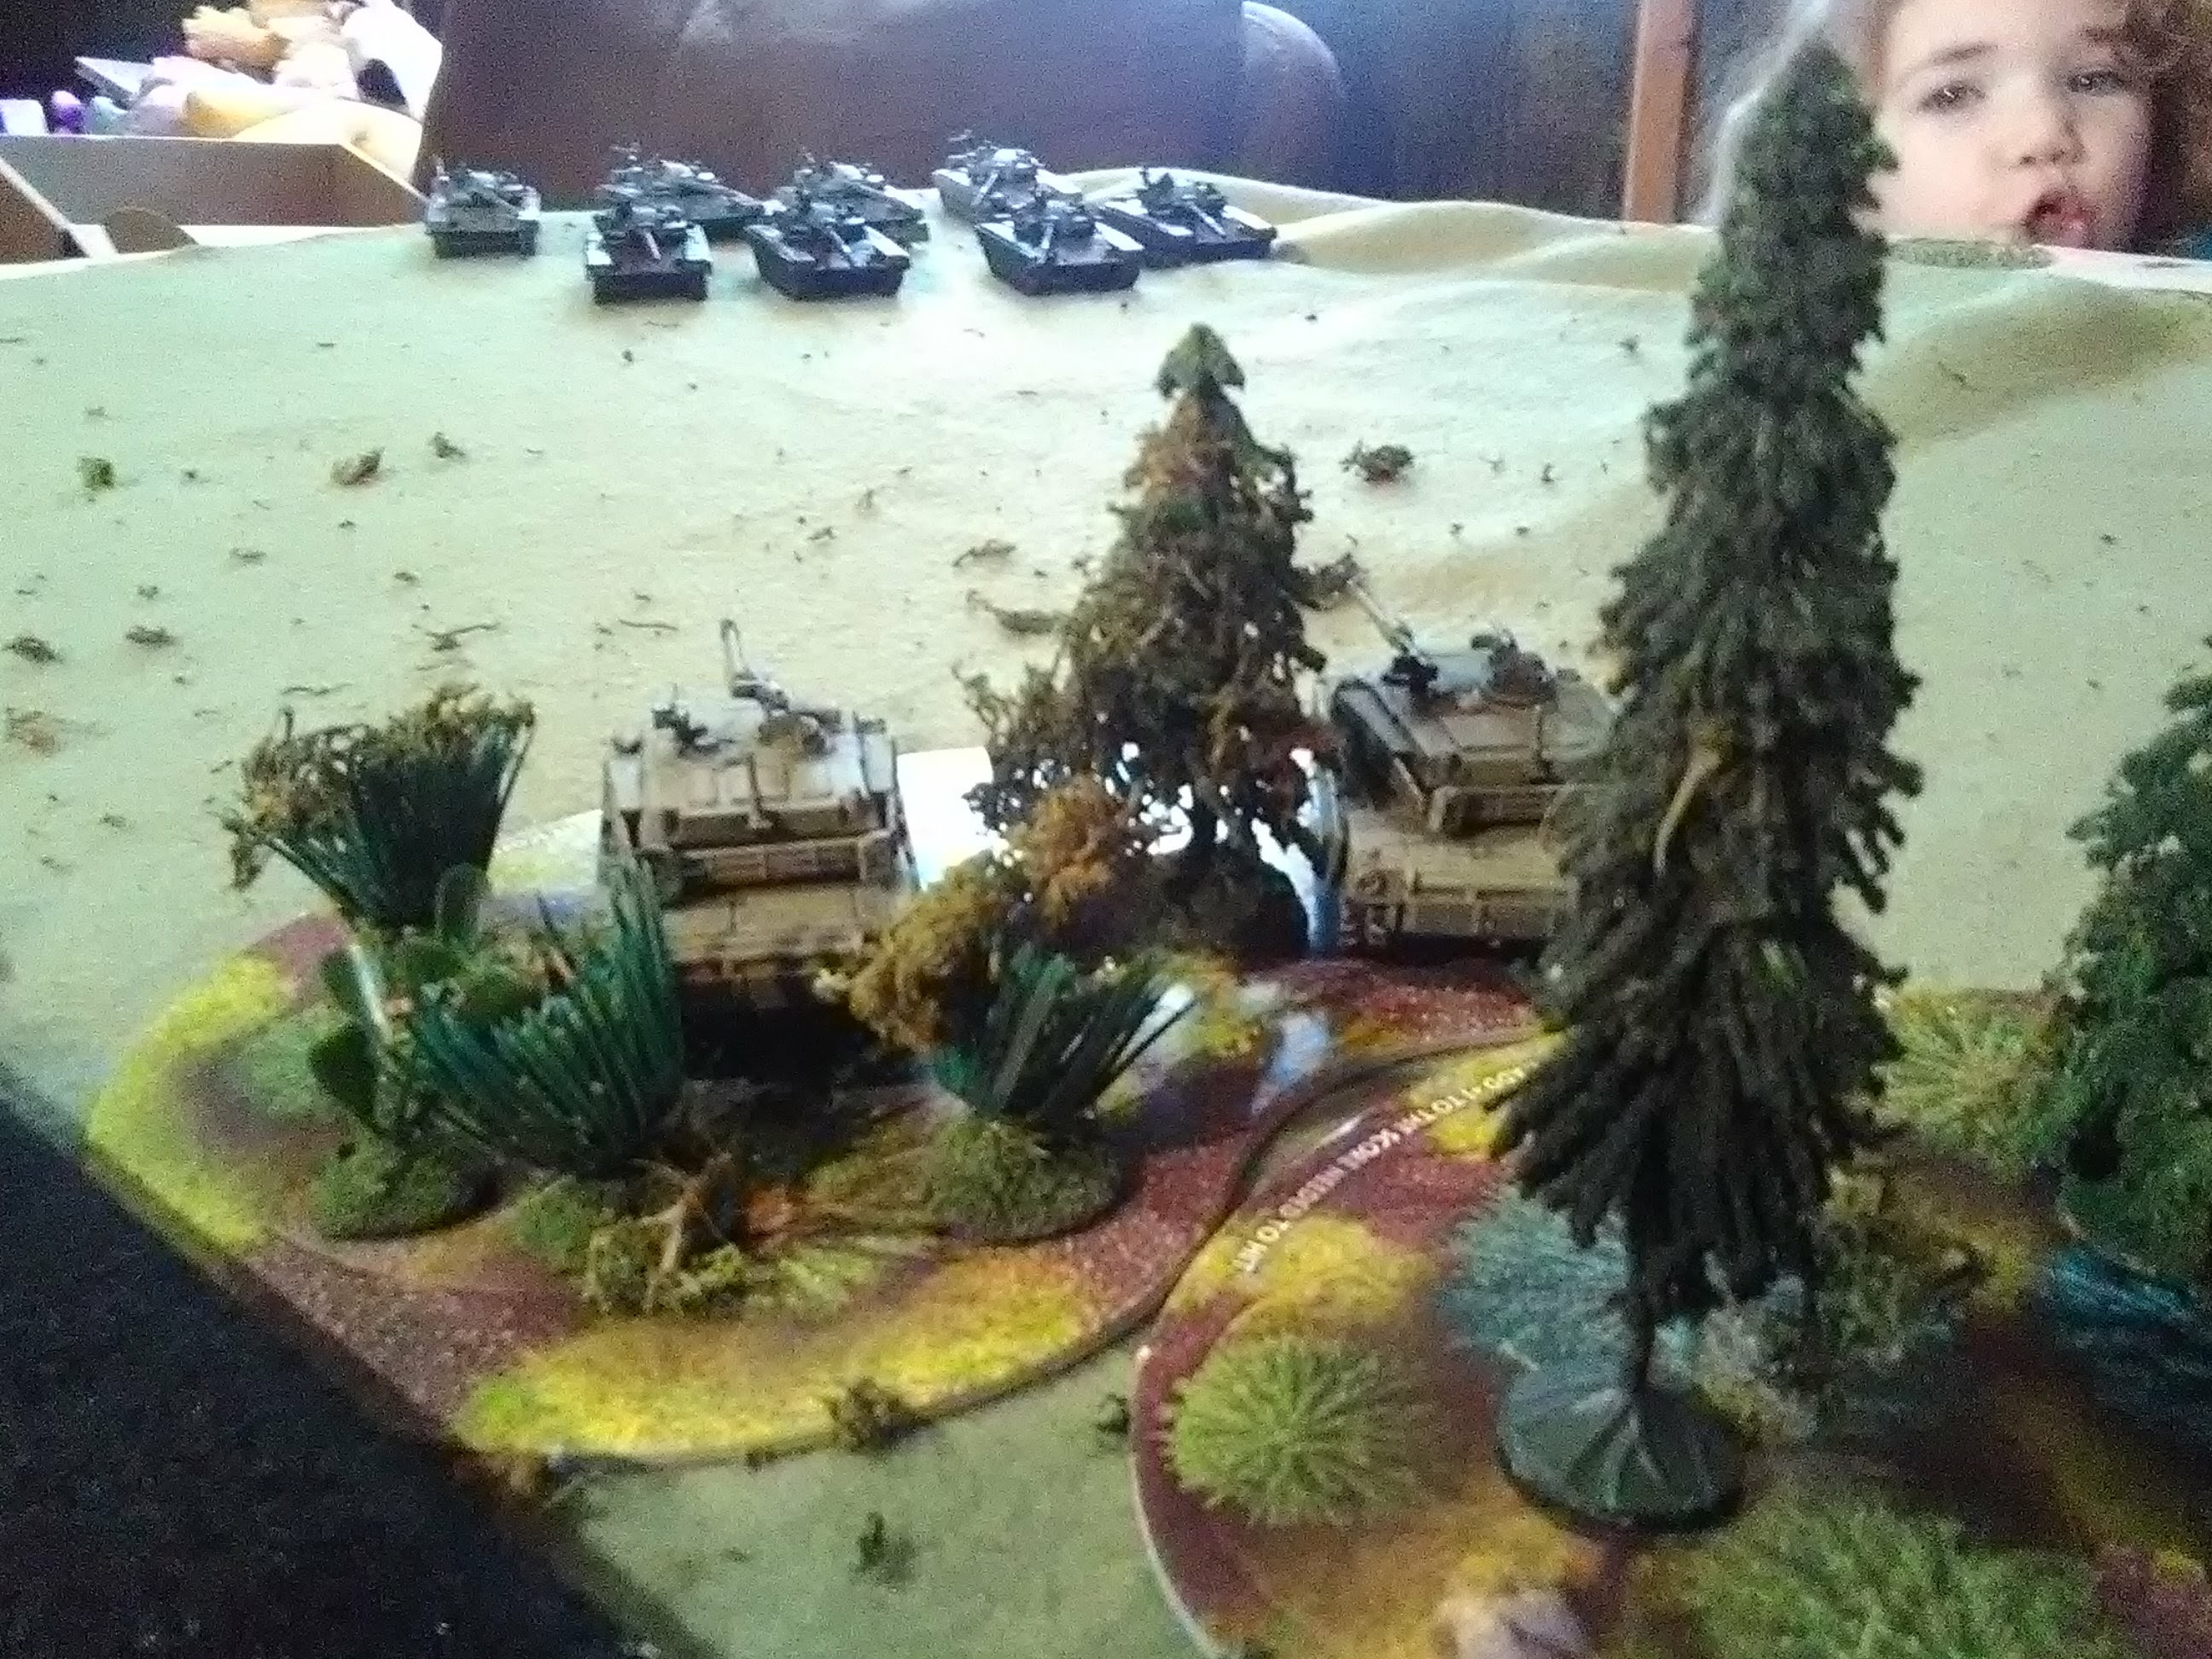
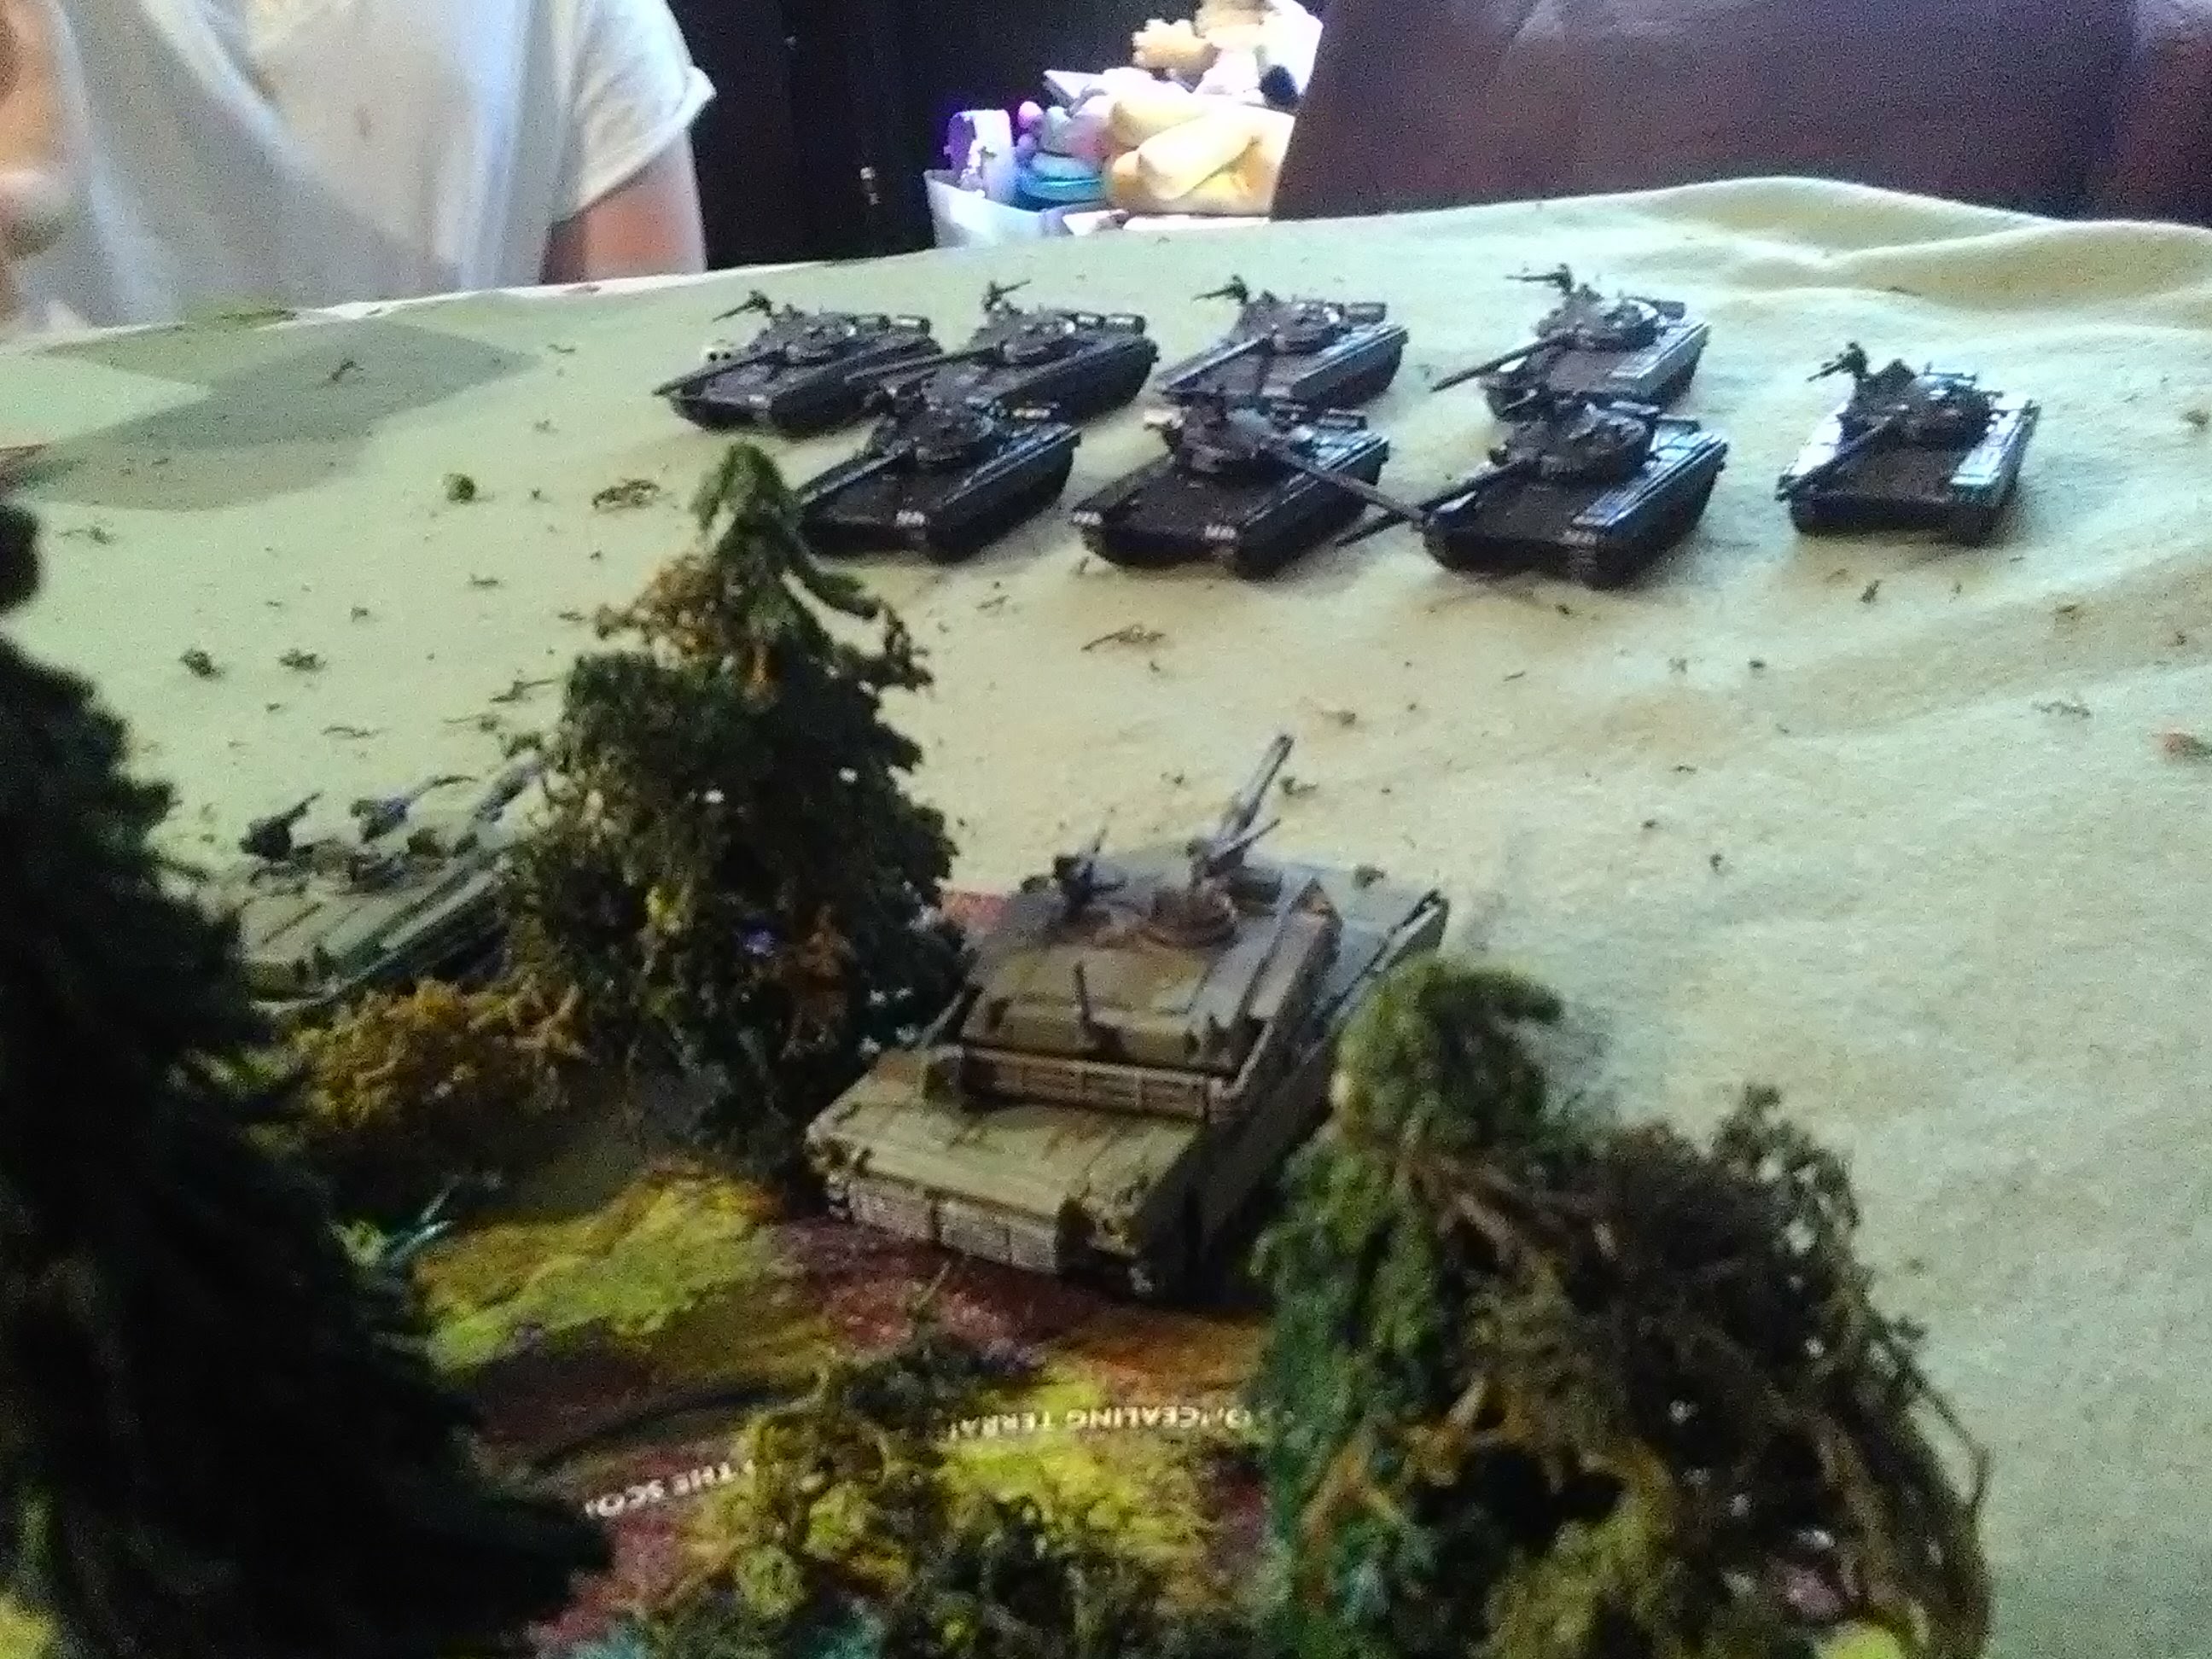
At the bottom of turn 1 Petaredhammer remounted his bailed tank and managed to get his CO into another tank with a lucky die roll. Both tank companies rushed forward in a solid phalanx! It was a lovely sight.... too bad the lead company nearly blocked out trailing company!!!! The No Line Of Sight rule on page 40 can be a real pain. Still Petaredhammer soldiered on and fired what he could. Yeah, Soviets firing at US tanks at night and concealed in woods. Petaredhammer just couldn't pull the sixes he needed to score a hit.
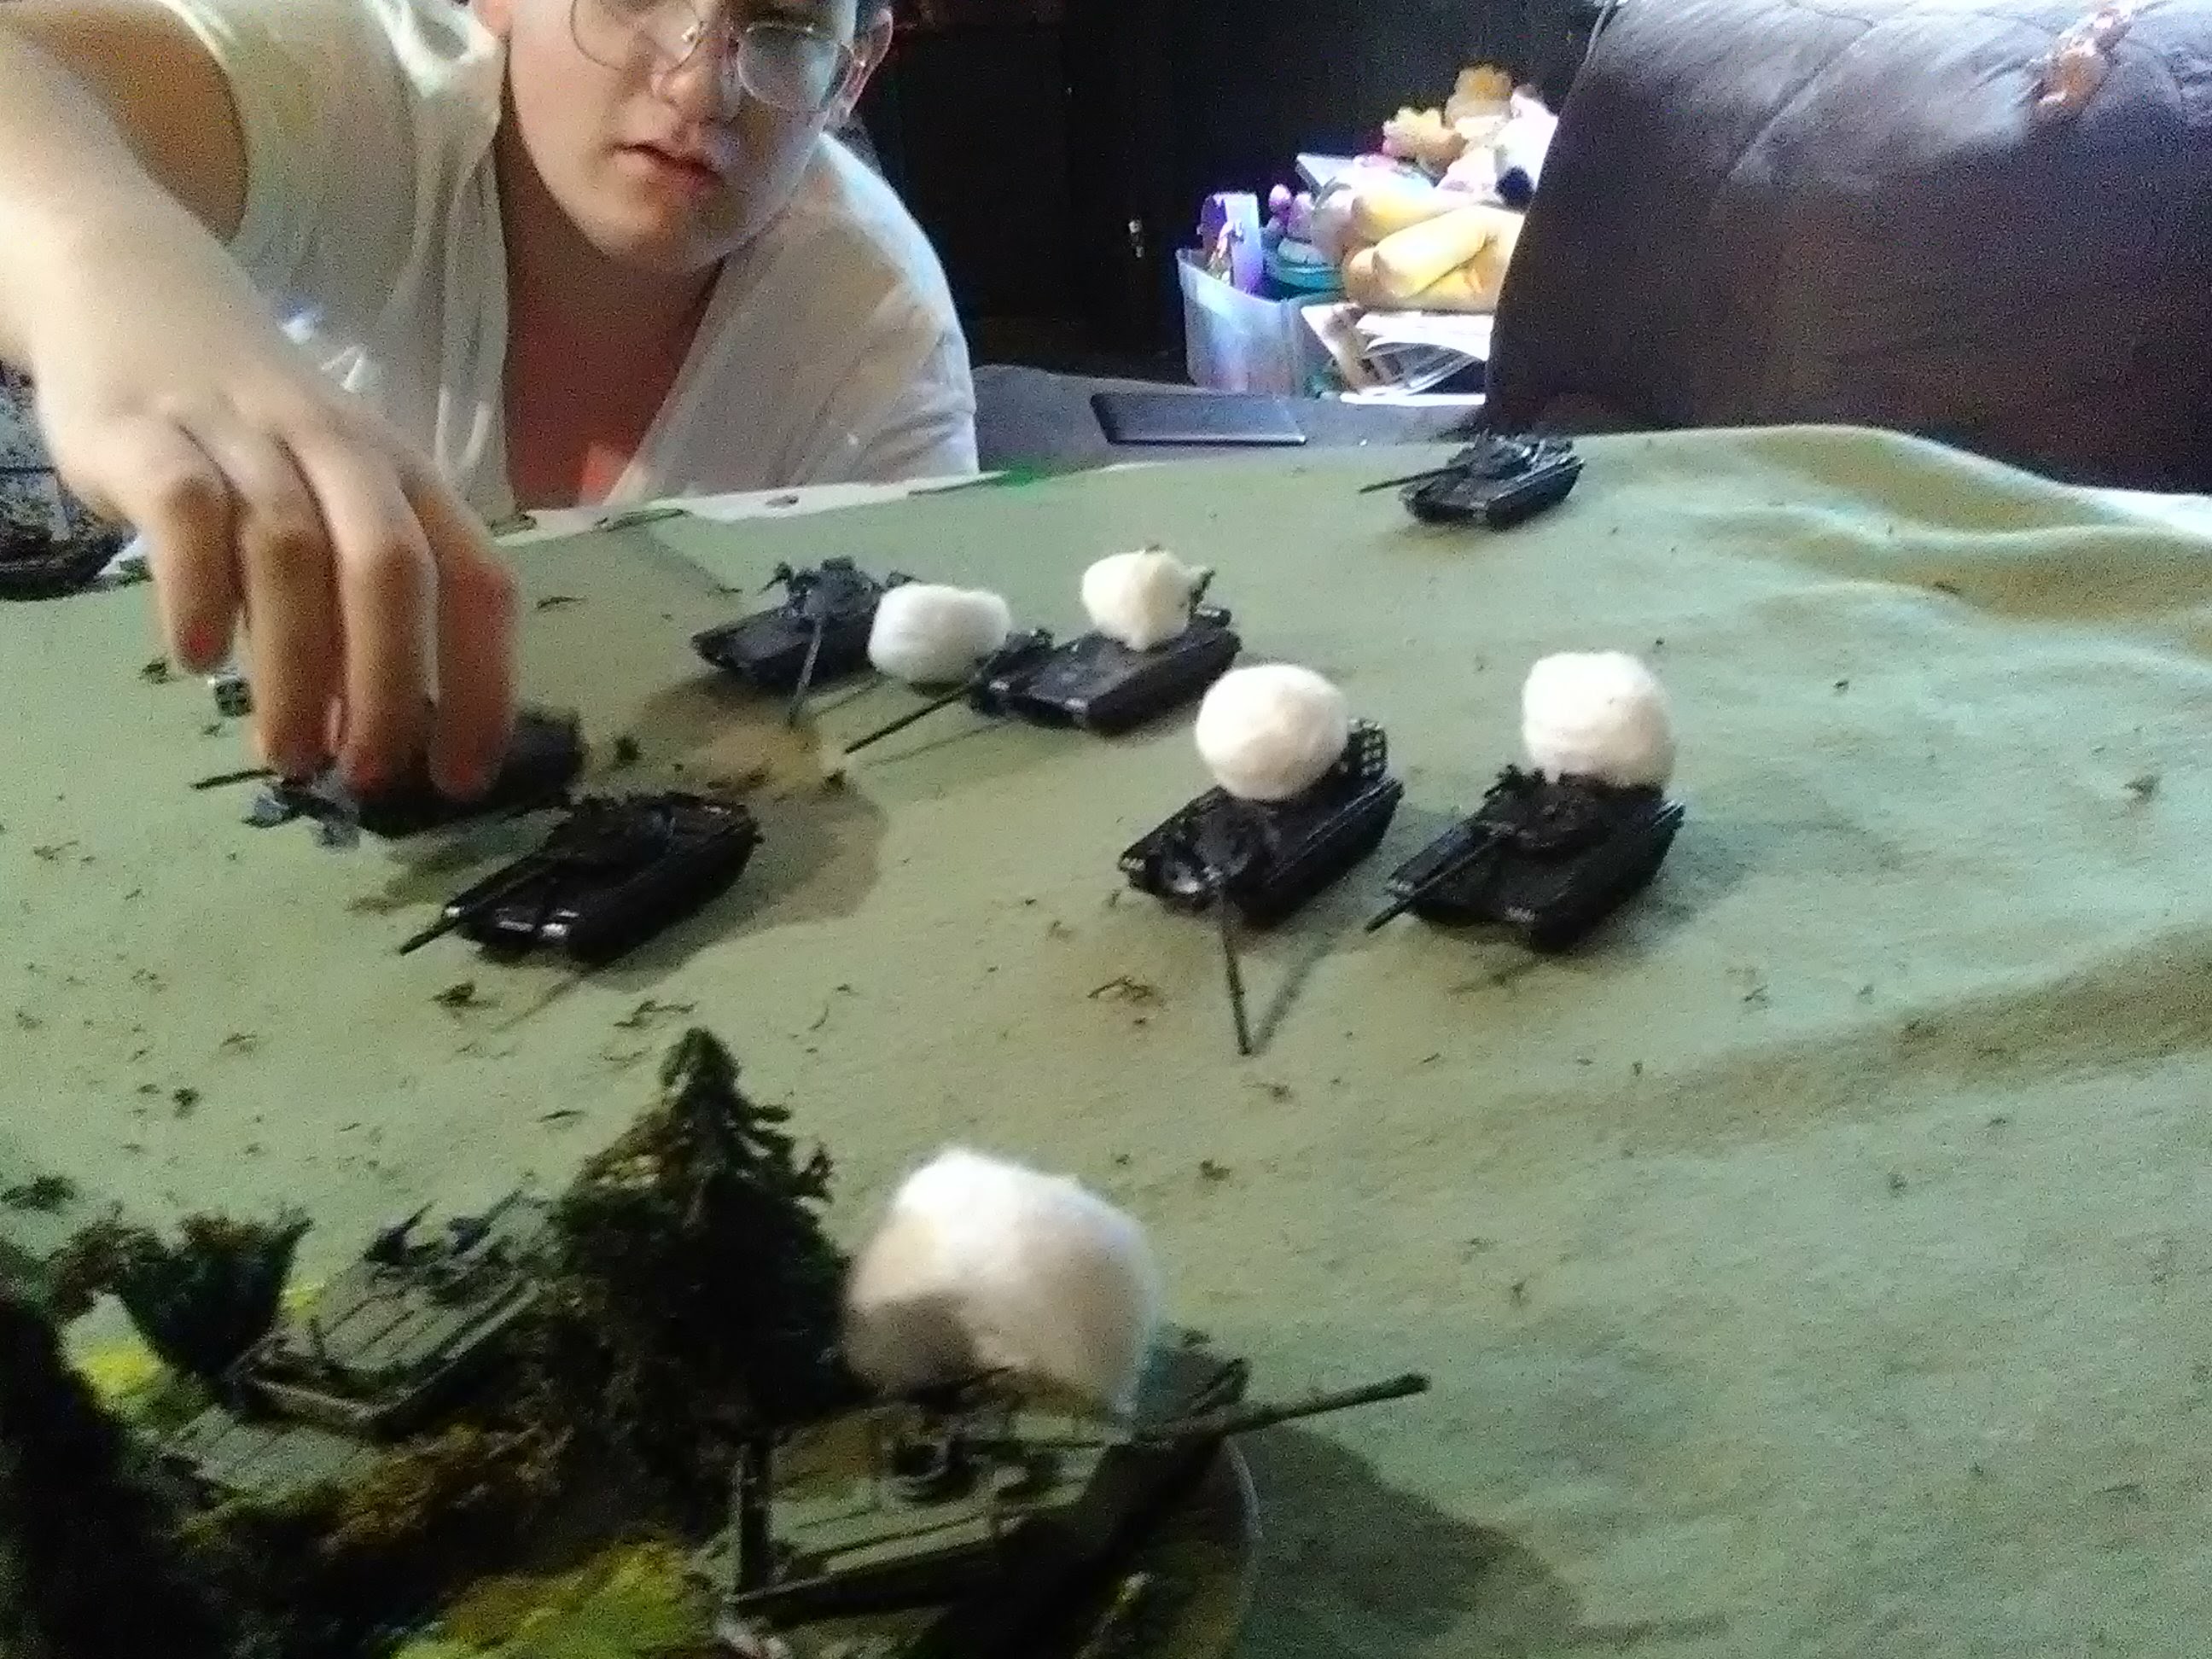
Turns 2-4 were times that tried men's souls, or at least my son´s! My M1s stayed on target and started picking off his T72s, one after another. Petaredhammer was landing hits too and was slowly whittling down my armored force, but I was getting the better of the exchange! Concealment and night with thermals gave me the edge in this tank action. The Soviets just couldn't match the Abrams tank shot for shot. Turn 4 was the worst as my M1s took out three tanks in one shooting phase! Petaredhammer realised that he was going to lose unless he changed tactics and quick!


Around Turn 5 he FINALLY started doing something with his infantry. It wasn't anything particularly clever, but it was enough. Soviet infantry, in swarms, began to emerge from the village and drove like a hammer towards the objective. I rushed my dismounts into position from ambush to join a short skirmish line being formed by the small carrier platoon. Together the grunts and tracks began to pour a weathering fusilade of hot lead into the advancing crunchies. That's when I realised just how nasty a 12+ team platoon with a 3+ save really can be.
I poured fire into them but they just kept coming! By turn 7 they were in position to storm Hill 214 itself, but I was determined to stand! A blistering defensive fire phase saw off the first Soviet rush, but those stubborn commies rallied with a roaring ¨URRAH!!¨ and rushed my position again, this time supported by a fusilade of their own. Bitter hand-to-hand fighting raged along the length of Hill 214 and when the dust cleared the Soviets stood victorious. My infantry teams were wiped out and one of my M113s was engulfed in flames. However the hill was littered with dead and dying Soviets. My surviving track tried to rally, but failed. My left wing was totally crushed!
So I did the only thing that I could. I ordered my surviving tank to ATTACK! The Abrams rolled forward and poured a terrible volley of SABOT rounds into the surviving T72s reducing the survivors to burning scrap in a superb demonstration of advanced gunnery (SFC Lemon would have been proud!). My last runner then turned on the next turn and poured a savage volley of machine gun fire into the mob of Soviet infantry, forcing them to retreat (well, not really. I just killed off the lead teams that were on the objective).
At that time me and my honorable opponent decided to call it quits.. it was time to head home. He was now down to just the dismounted infantry with 7 teams left and I just had a single M1 who was my company commander. Odds are that I would have failed my formation morale roll (I'm terrible when it comes to rolling just one die, just horrible). But Petaredhammer pointed out that his force was hanging by a thread too, so we called it a hard fought draw.
It´s really too bad that I got to the game store with a dead phone. It was an intense game that would have made for some great visuals. Granted, most of the models were unpainted, but still, it was a visually amazing game (note: the pictures in this article are recreations). It was also a bitter and hard fought action to say the very least.
If the rest of the campaign winds up like this then we are in for an awesome ride!
Time now Charlie Mike!

Nice report
Really like the 50pts
I am. He´s a good kid and a good player. He´s also totally in love with the Soviets, but he wants the T64! I have a few right now and might give him his own for Christmas. But for now he´s stuck with my BMP/T72 hoard.
Good report and lucky you are to share a hobby with your son.
No doubt! It was pretty even with the T72 having the better gun and the M1 having the better armor.
Thanks for the heads-up Red Alert. I wasn´t sure because I couldn’t find it spelled out anywhere and many games I play use some sort of initiative system. We´ll use the correct sequence for our next game.
The Frontal armor of that abrams is such a a pain to get past
Like the report.
This is a I Go U Go game. So there is either a set attacker (which has 1st turn) and defender that goes second.
Like WP1-US1-WP2-US2 etc. So you do not roll for initiative each turn. In some missions you roll to see who goes first, but after that the order stays the same.
NATO Forces best use as much cover as they can and limit the number of Warsaw Pact units that can fire on them. Warsaw Pact forces have a numerical advantage at the start and must use this to press quickly to win.