Fought At Ruhr
2414 days 4 hours 43 minutes ago
Battle Report
Action at Scholen Junction
70 POINTSMy Lords:
I regret to inform you that forces under my command have been forced to retreat after being surrounded at the road junction at Scholen.
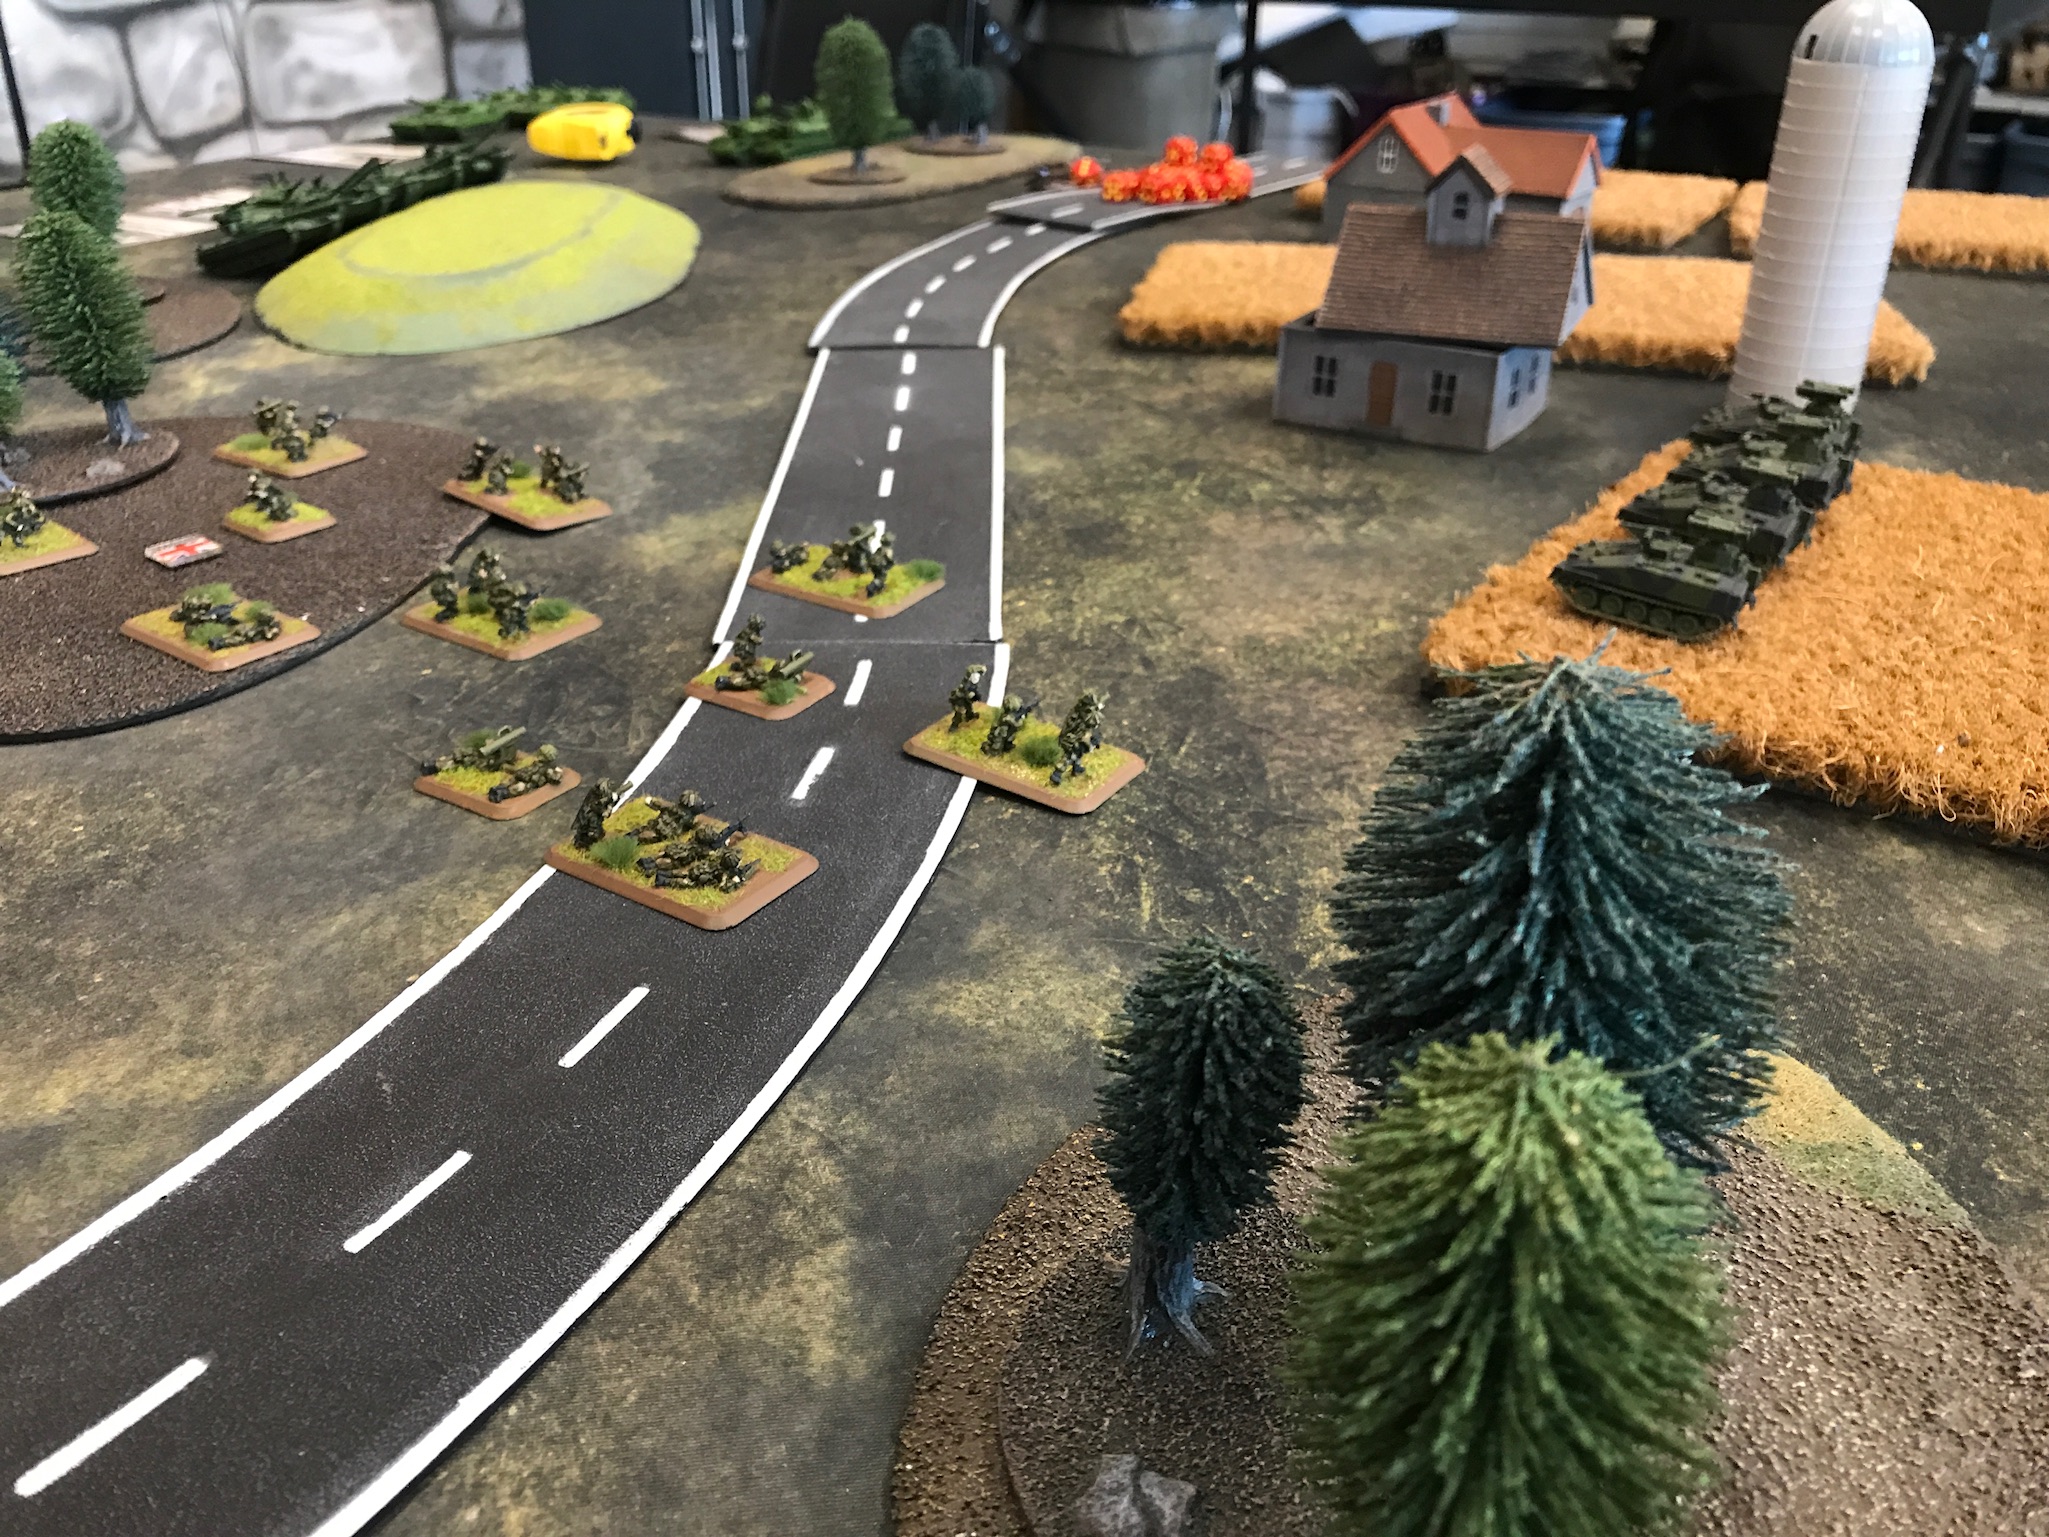
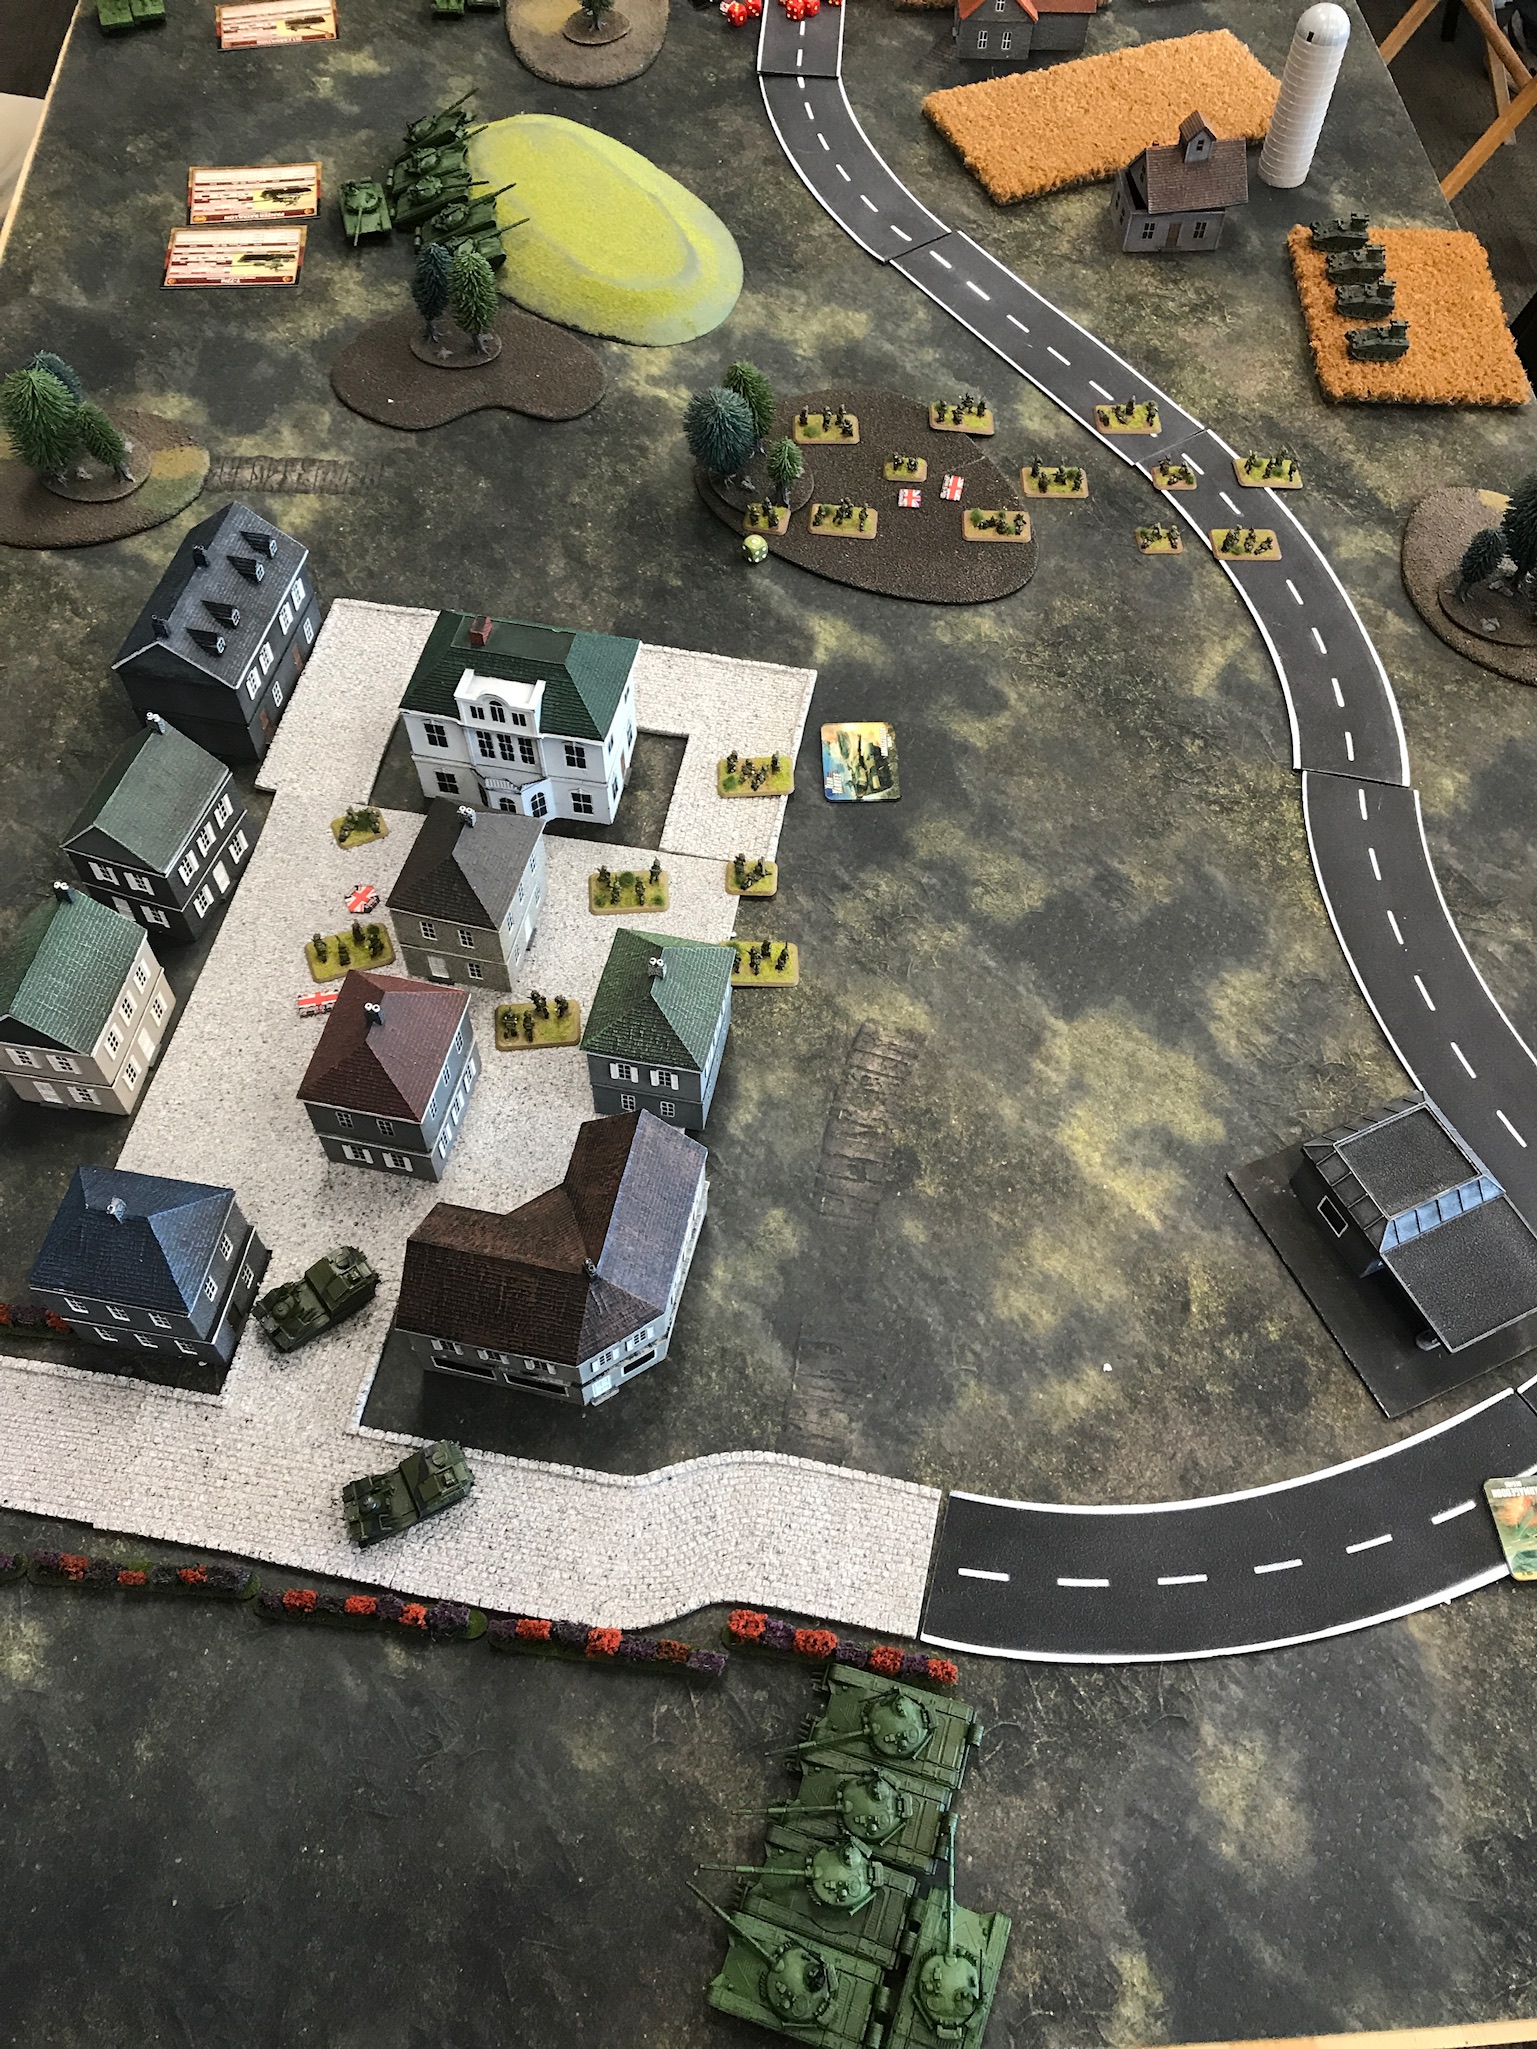
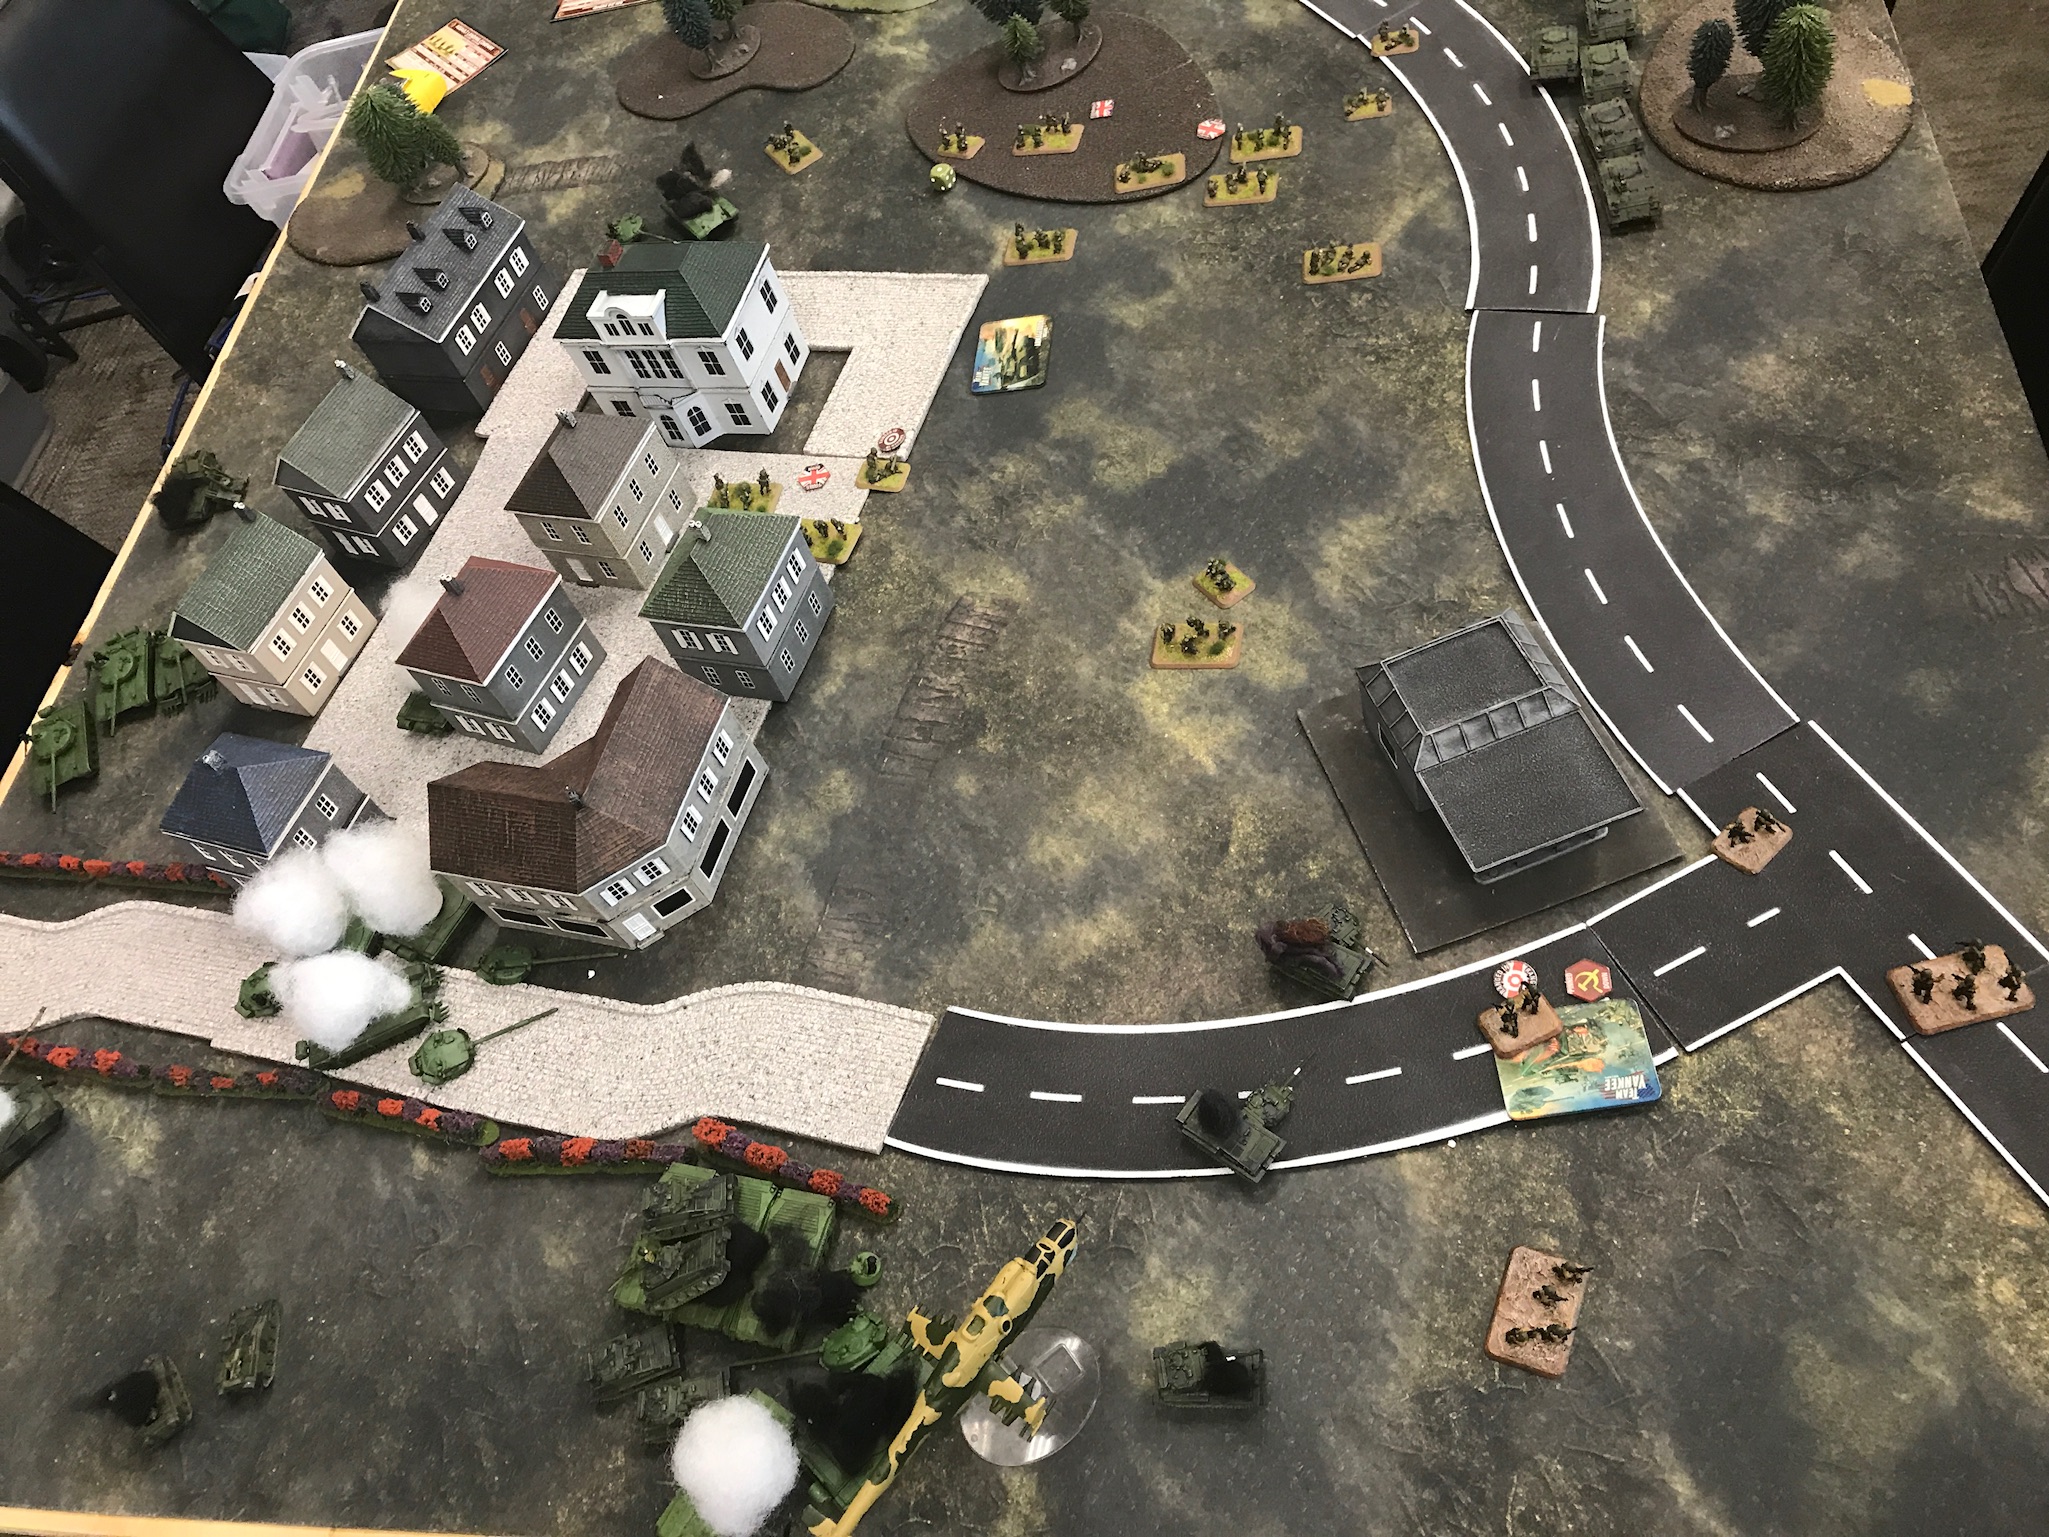
Putting 1 Platoon on my left, and 2 Platoon on my right, both dug in with good lines of sight for their Milan posts. 1 Platoon held the town. On the right a troop of Spartan MCT deployed in a wheat field overlooking the likely avenue of advance. I placed the Tracked Rapier half-section on the south part of town. Unfortunately, at the beginning of the engagement, a company of T-72 arrived behind our positions.
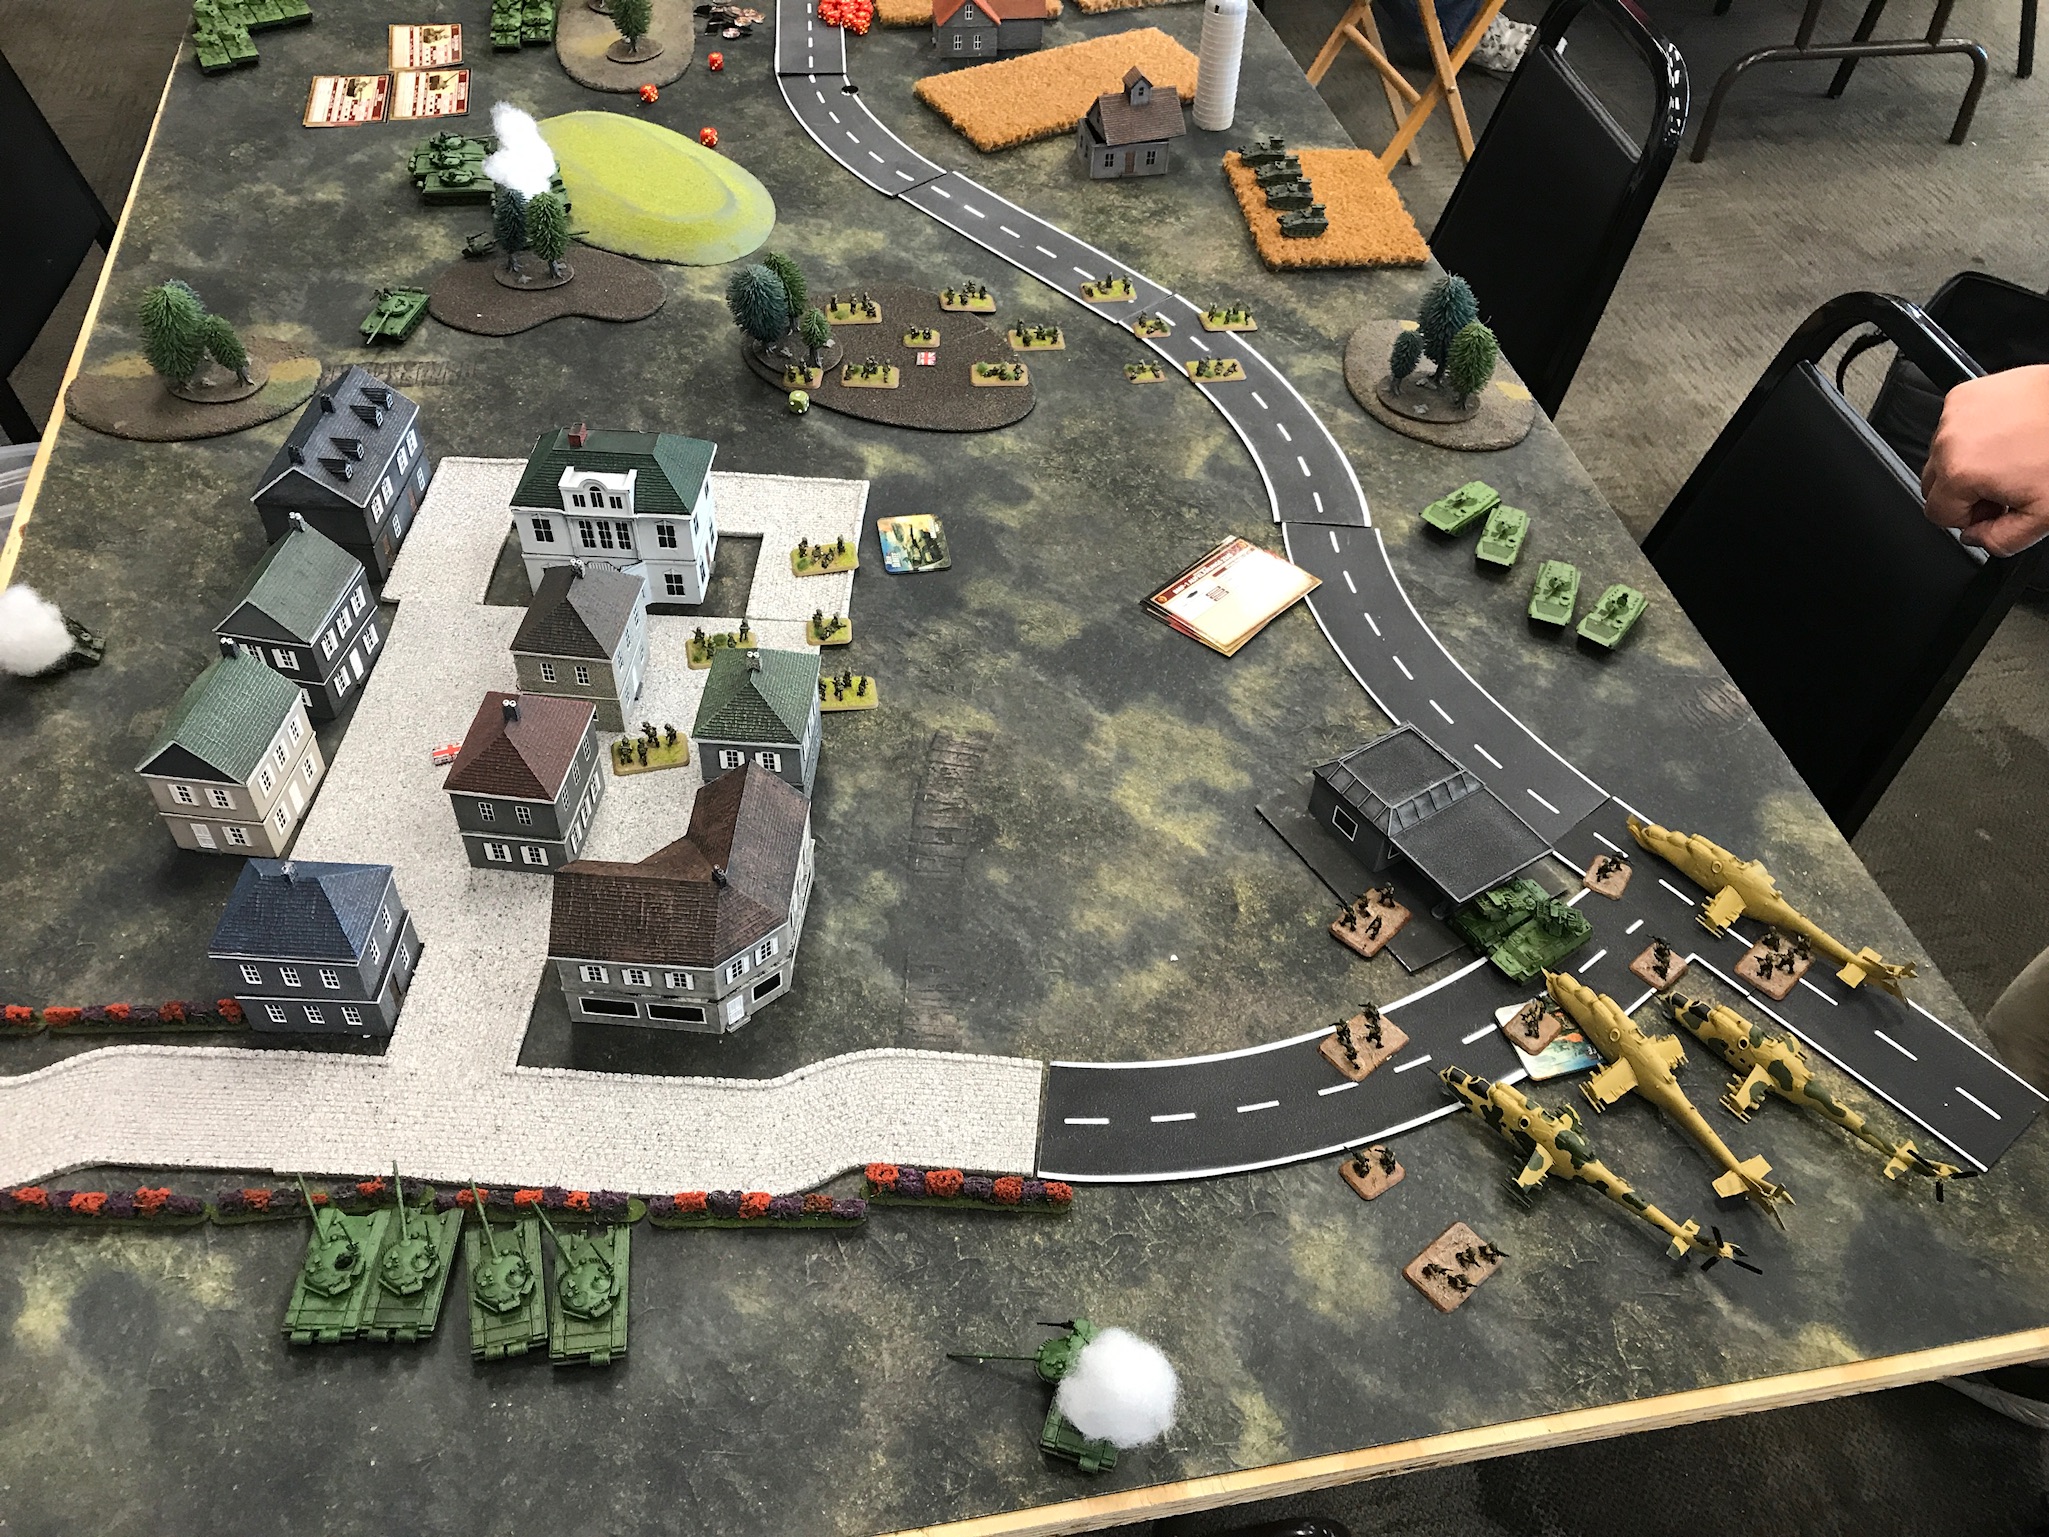
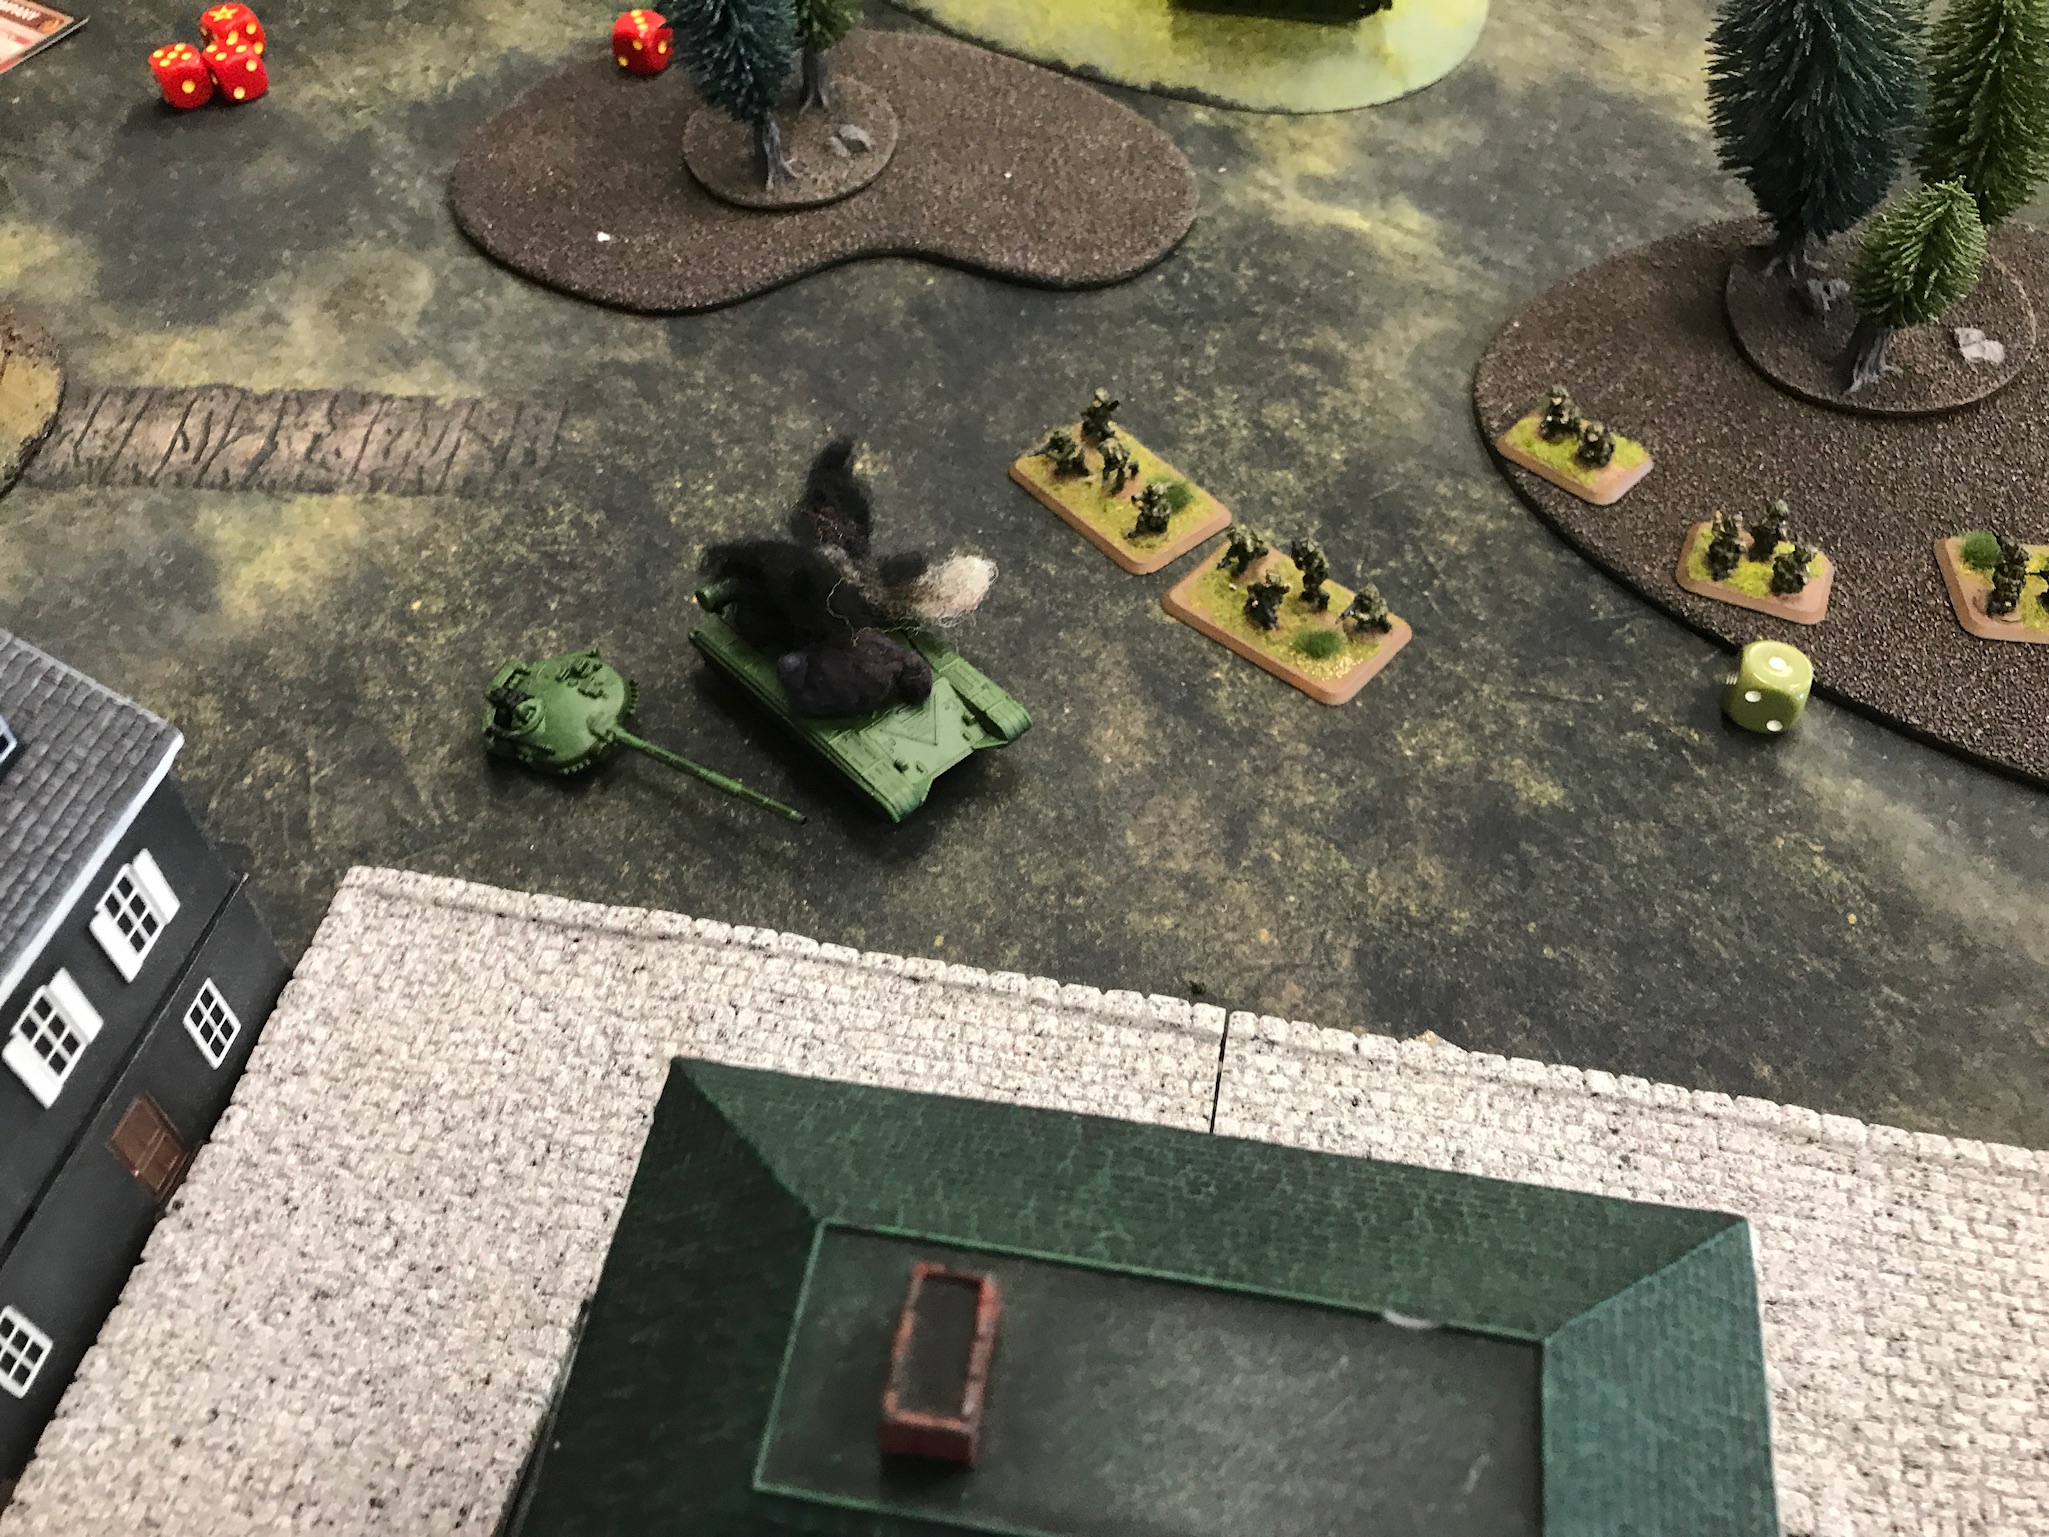
The T-72s destroyed one Tracked Rapier and ran the other off, allowing an East German Airbourne group to land in our rear, taking up a position around the petrol station. A T-72 was destroyed by Milan fire.

The next hour saw confused fighting to the west of the petrol station. A Chieftain troop and Scimitars arrived from our staging areas and destroyed several grounded Hinds, as well as the T-72s, but the firefight eventually resulted in the destruction of the tanks. A follow-on unit of DDR air defense was destroyed by Milans.
At the same time, 1 Platoon came under heavy repeated bombardments, and was eventually reduced to less than half-strength.
As things became quite desperate, Lt. Nash of 2 Platoon led a dash out of cover to take a single shot at the DDR Battalion command tank with a Carl Gustav. I recommend Mr. Nash and his team for commendations.
With the Airbourne troops settling in, a last ditch effort was undertaken to take the crossroads. Every light-caliber cannon and machine gun unloaded on the area, along with fire from the recently-arrived Abbot battery, and a late-arriving flight of Harrier GR.3.
The German Troops were reduced to 3 fire teams, which were promptly assaulted by Scimitars. The enemy was pushed back, but not destroyed.
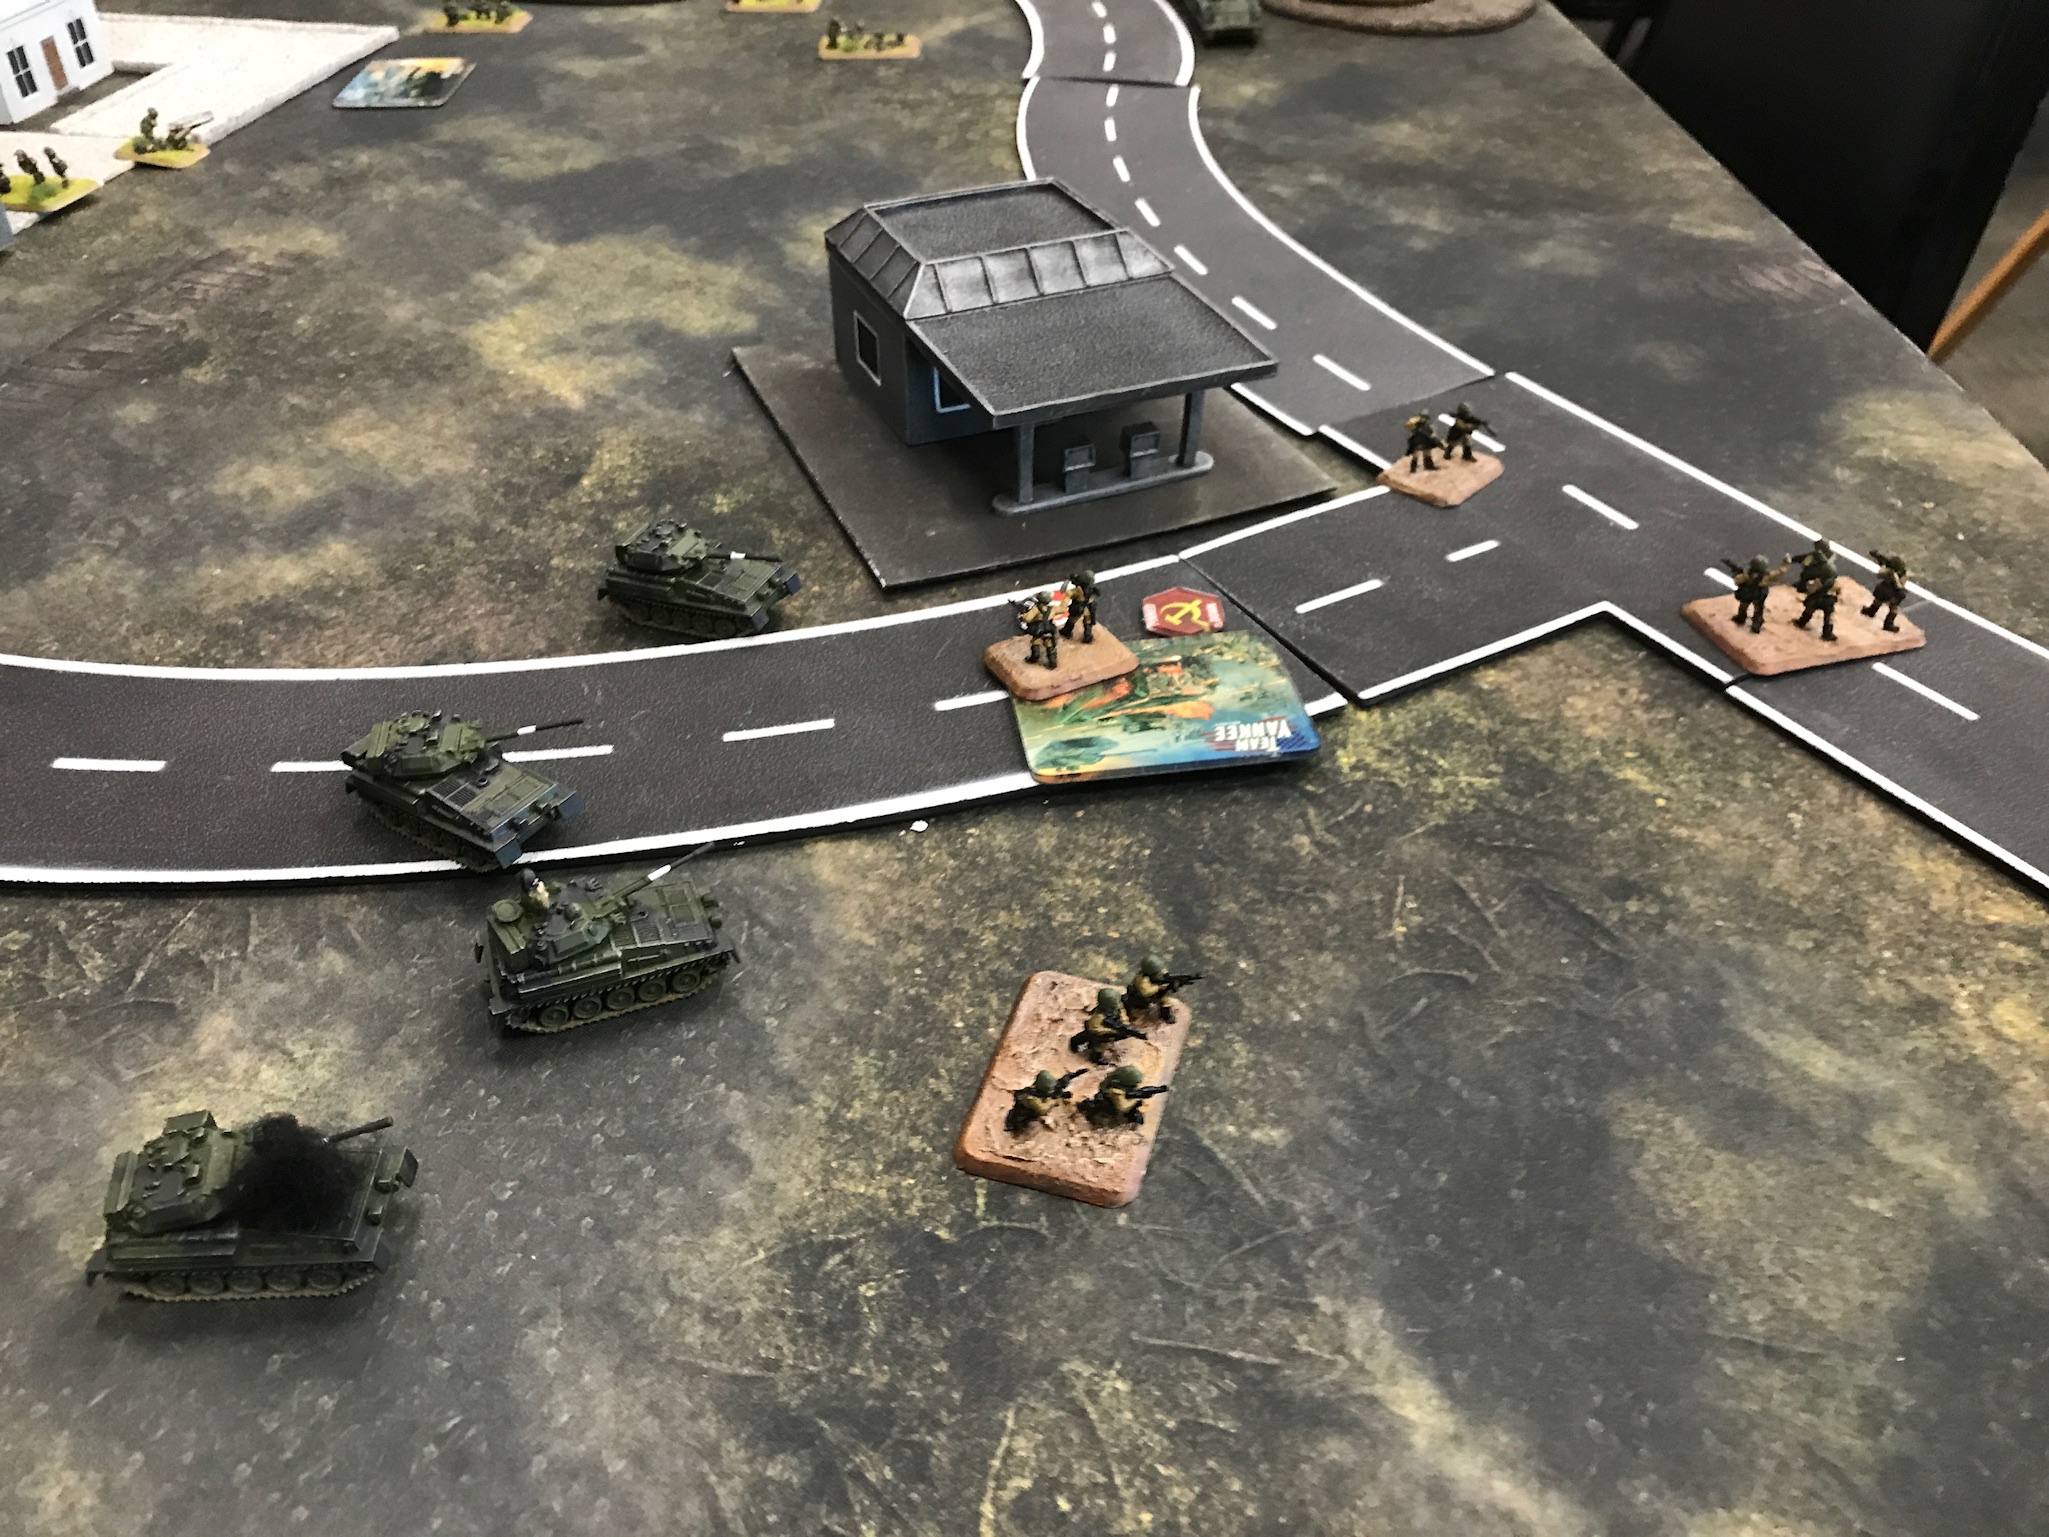
Seeing their opportunity, the remaining troops an a single Hind were able to destroy the Scimitars. With the enemy firmly in control of the crossroads, I was forced to withdraw.
The new win conditions had a big effect here. Kevin was able to place his troops in such a way that it was nearly impossible to move his airbourne troops off the objective before Turn 6. I got incredibly lucky to be able to set up the assault on Turn 6--every Blitz Move and Range In worked just like I needed it to, and then he whiffed on defensive fire, but then the Scimitars only killed one team in the assault and that pretty much sealed it.
We both made some mistakes--I'm sure Kevin would have rather walked the Airbourne on and had the Hinds fly separately--I forgot to deploy my 432s, which would have given a lot more MG therapy to the folks around the Petrol Station.
Battle Report Author
Recommend Commander For Commendation
Share this battle with friends
RedBoonWins

A very nice BatRep! Great photos, it looked like a great game.
Your models look great! Good report
Nice report. Great looking terrain and models.
Nice roads, who makes them?
Nice report !
Thanks for the great report!