Fought At Amsterdam
2419 days 14 hours 1 minutes ago
Battle Report
On to Amsterdam!
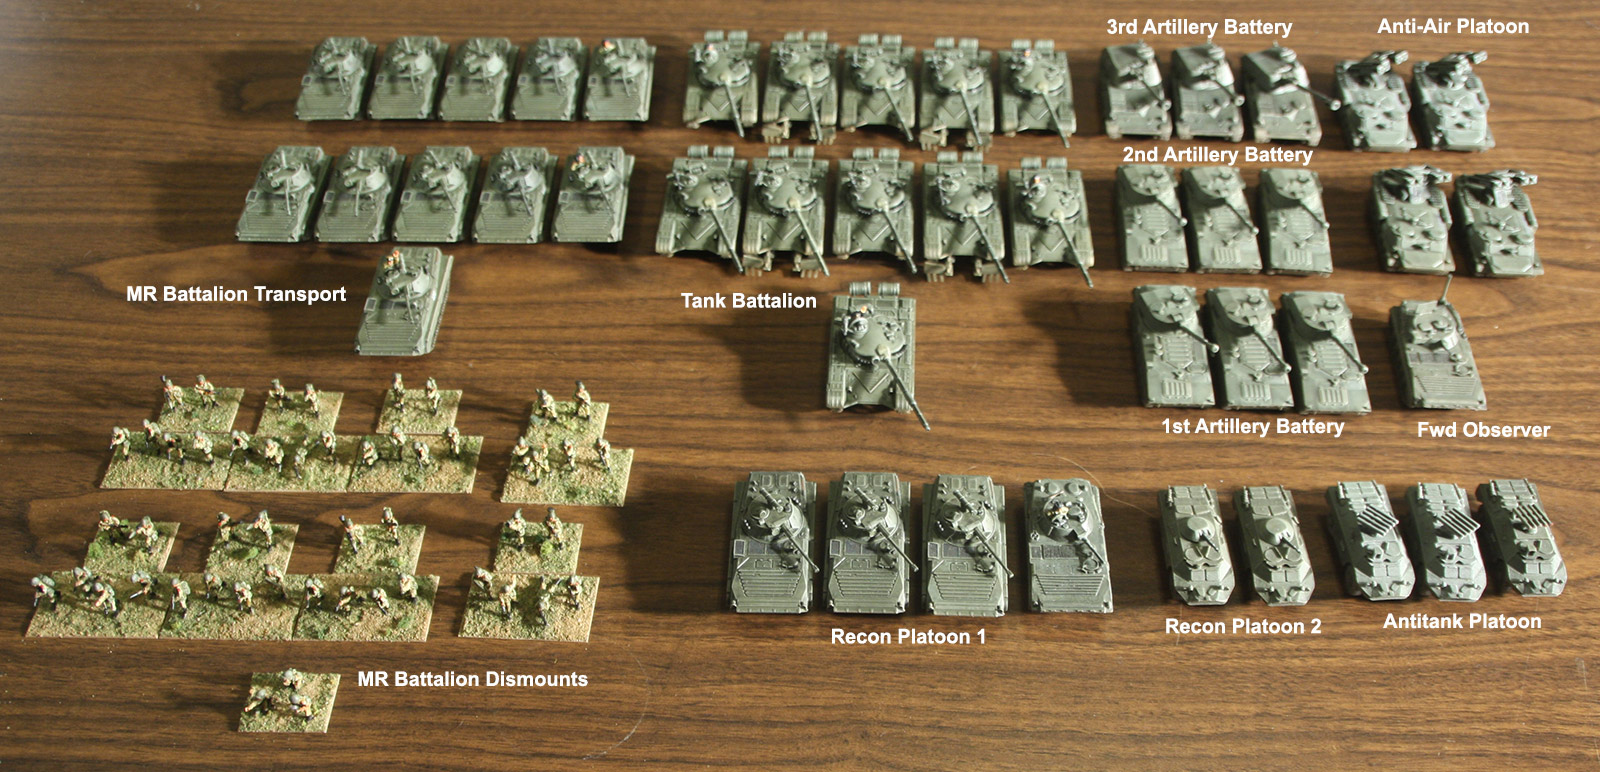
View Linked Report - CLICK HERE 100 POINTSI’m still learning how to use a Soviet force and have been experimenting with various troop lists though I usually tend to go infantry-heavy. This time I fielded two 2-company battalions, one of T-72s and one of motorized infantry in BMP2s, with supports. Artillery was plentiful (three 3-tube batteries) but air support, probably due to the rapid advance, was completely absent.
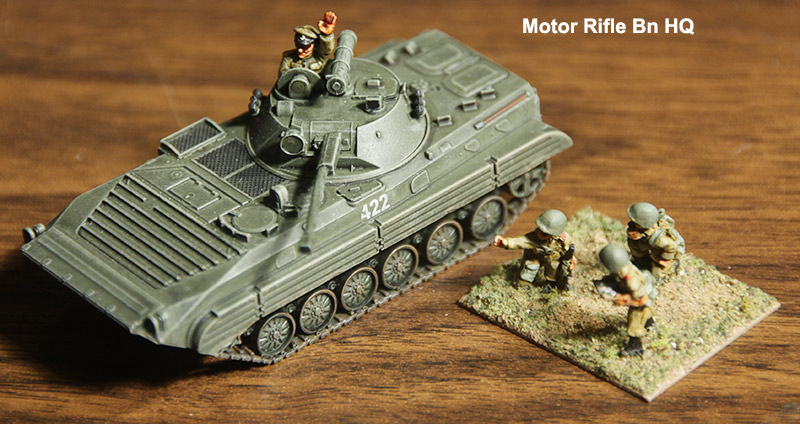
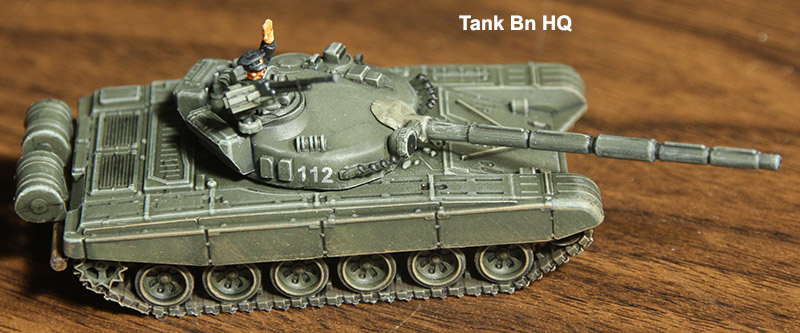
I had no camera at the game so any map references I make below refer to kayjay’s pictures. I have, post-battle, added three images of the Soviet forces involved. A photographer will accompany the troops during their next engagement.
With eleven units, five, including two MR companies, one tank company, one reconnaissance platoon, and an Acacia battery formed the advanced guard, deploying on-table, with the remainder available as immediate reserves.
The British deployed first and tied up the middle of the table with their recce troops so I deployed my recon platoon forward just north of the woods in the table center, as far forward as I could manage.
One MR company deployed their transports to the north of the recon, between them and the two buildings at north-center (i.e. near edge of the picture) and their infantry in position to enter the central woods. The other MR company deployed infantry just east of the large building to the south of the central woods and its transports a bit south of that to protect the gap towards the south end of the board. Artillery was placed behind the woods in the northeast corner of the board and the starting tank company deployed just west of that little rise between the big building and the mid-table woods. The tank company deployed just north of the southernmost MR transports. Kayjay’s second picture shows this pretty well, with north at the far table edge and the Soviets on the right.
There didn’t appear to be many British troops on-table, with what looked like infantry transports behind the hill in the southwest corner of the board, with an observer in a track sitting on top of the easternmost hill, a platoon of infantry dug in, in the ruined buildings on the west side of the village at table’s center, what looked like a CVRT troop in support of the infantry (my eyesight’s not that good and I wasn’t sure if they were Scopions or Scimitars but I decided to be careful), and oddly, a single Chieftain in the woods in the northeast corner of the table.
Turn 1
As the attacker, the Soviets moved first and sent infantry into the big building on the east side of the central village and into the woods north of the village (from kayjay's second picture, they all moved directly forward).
Good reinforcement dice brought in an SA-13 platoon which deployed just south of the Acacia battery, near the north end (a mistake) of the Soviet line.
The BMP company and the recon platoon in the north engaged the Chieftain in the woods and destroyed it. The tank company split its fire, trying to engage a CVRT it could see across the rise and also trying to engage the British FO on the hill in the southwest. The southern BMP company engaged the FO as well, destroying it. The Soviet FO in the woods in the northeast corner spotted for Acacia battery and brought (ineffective!) fire on the British infantry platoon.
During the British move, they cunningly deployed a pair of Lynxes with TOWs at the very limits of my antiaircraft range. The Lynxes killed a T-72 and the $&$#^! Milans with the infantry killed two BMP-2s from the southern MR company.
Turn 2
No Soviet reinforcements arrived this turn. The tank company advanced, with three T-72s going hull-down behind the rise at the north end of the village and the other one attempting to take cover behind a building at the south end of the village. The southern BMPs advanced on the village, using their autocannon to try to (unsuccessfully) pry out the infantry. In the north, the infantry in the woods and the recon platoon tried to outflank the village and engage the CVRTs in that wood, and the BMP transports went towards the objective on that flank; two had the movement to make it but one of those bogged down trying to enter the northwest woods adjacent to the objective and the other ran out of movement just outside the woods. The other three positioned themselves on the north edge of the north-central woods in support of the first two. The SA-13 platoon, out of range of the Lynxes, moved south to try to get closer to them. The fight in the central village continued.
The British reacted promptly, sending their FV-432s north across their backfield thorugh the central western woods. The Lynxes destroyed another T-72 and their artillery got the range on the SA-13 platoon, destroying three out of four of them. The CVRTs on the west side of the central woods engaged the two BMPs on the objective, destroying one and bailing the other. The British infantry in the village bailed two BMPs in the southern group. Failing their morale, that company departed.
Turn 3
The other T-72 company and the tank battalion commander arrived this turn, moving across the north edge of the game board, heading for the northern objective. The remaining three BMPs from the northern BMP company did likewise, moving to the objective to try to keep an eye on any British (e.g. the FV-432s) moving north. The recon company swung around the central woods, engaging and destroying three CVRTs.
The FV-432s arrived and contested the northern objective, the Lynxes continued their evil work, destroying another T-72 of the southern tank company and bailing another one. Fortunately, the company passed morale. The British artillery shifted target to the Soviet recon platoon and managed to bail three of them, but they, too, passed morale.
Turn 4
The Soviet recon platoon remounted, the northern T-72 company moved to the northern objective, and the BMPs around it destroyed most of the FV-432s, causing the survivors to flee. The last CVRT bailed, passed morale, but did not remount in their turn.
The Lynxes killed another T-72 in the southern company but the remaining tank passed morale. The artillery shelled the Soviet recon platoon with less effect than before.
Turn 5
The game ended during the Soviet turn of Turn 5 with the Soviets holding the northern objective.
Kayjay noted that 63% of the British points never arrived. I’m not sure they *ever* received any reinforcements. The Soviets, on the other hand, had 94% of their points onboard by game’s end.
For the record, I hate TOW-armed helicopters and I hate M-109 artillery.
Battle Report Author
Army Lists Used In This Battle
Recommend Commander For Commendation
Share this battle with friends
Tovarishch VilgelmWins

Robert: Whenever I take air power it tends not to show up at all, or with short-ranged Spirals, to get shot down. So I decided to make it formal and go with artillery instead. In this game, due to over half my force starting in reserve, one battery arrived too late to do anything and one didn’t arrive at all. But usually if I can get artillery on board I can roll dice against *some*thing… The Acacia battery at least pinned the British infantry platoon a couple of times.
Nicely done.
Keep hitting!!! 🙂
The hits just keep coming!
Nice report! I was surprised by the amount of artillery you had deployed.
Yes – delayed reserves that never arrived. There were three Chieftain troops out there somewhere… 😉
Congratulations on the win – I take it the British had delayed reserves?