Fought At Hanover
2406 days 18 hours 32 minutes ago
Battle Report
Death Before Dawn
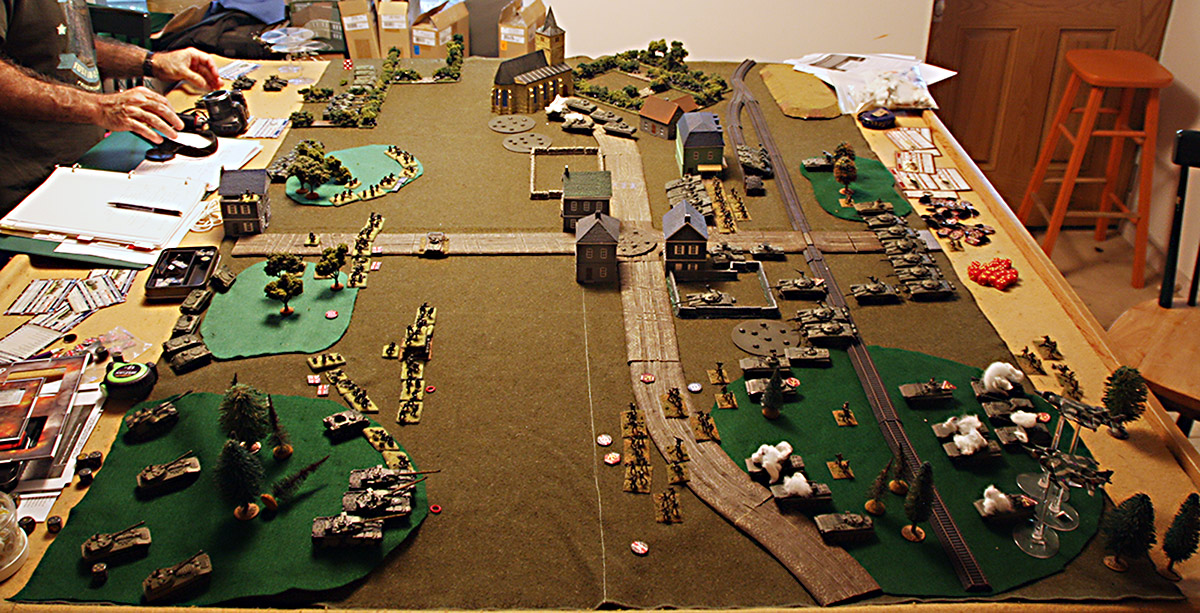
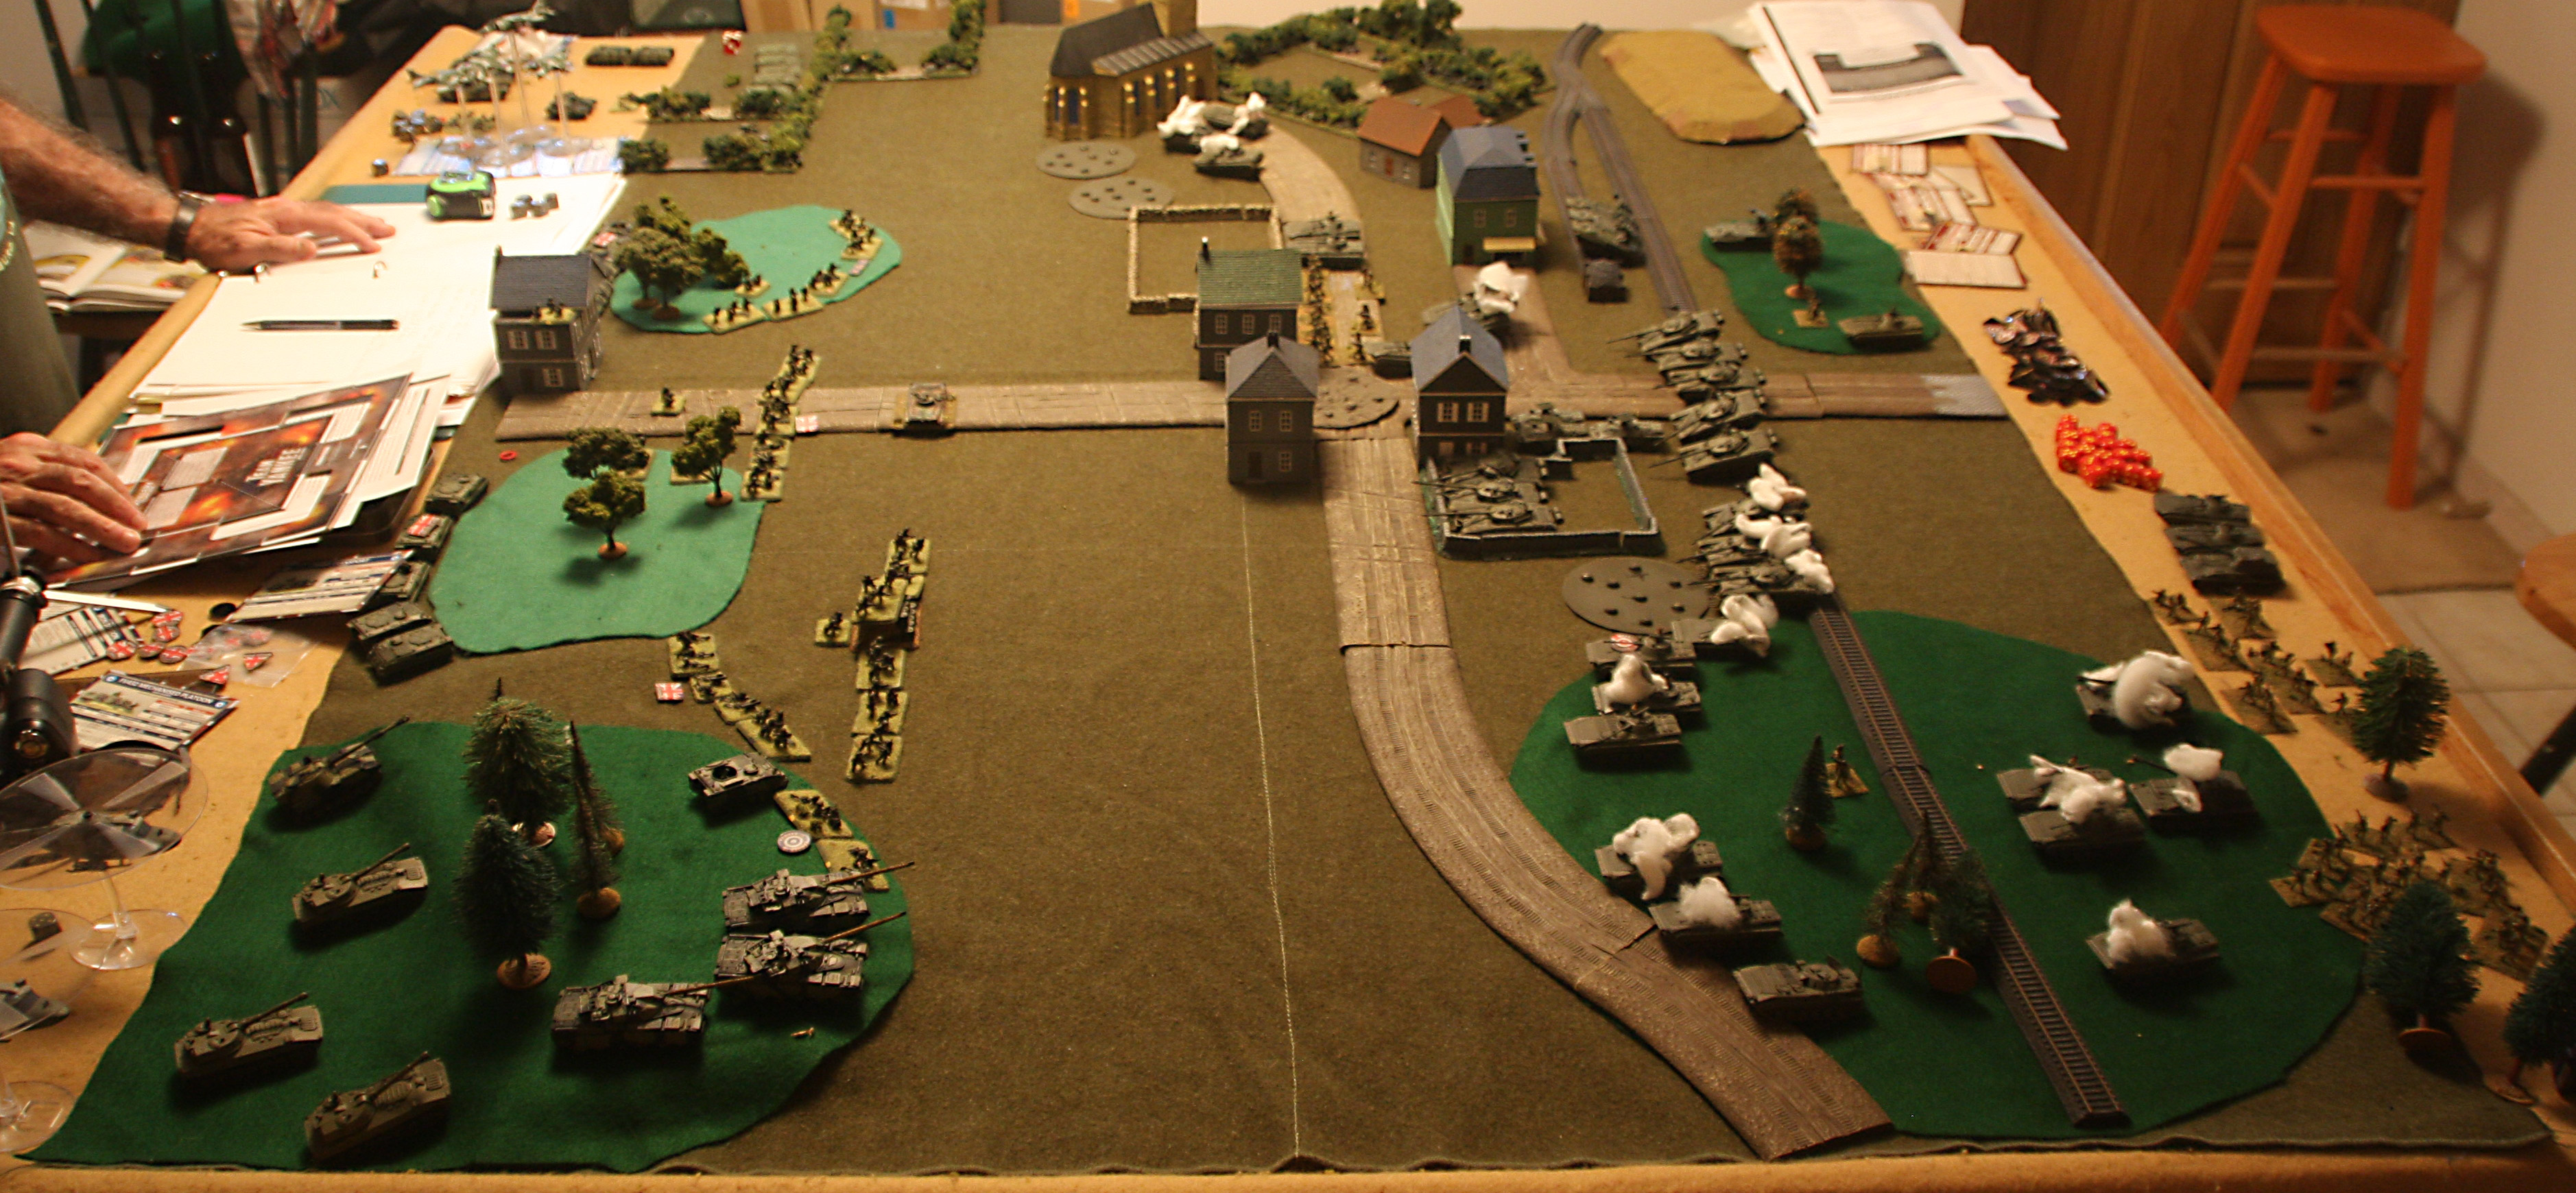
View Linked Report - CLICK HERE 100 POINTSThe road to Hanover is blocked by a British reinforced infantry battlegroup. The Soviet advanced guard tasked with pushing it aside included a motorized rifle battalion supported by a slightly understrength tank battalion. Initial troop dispositions (see the attached OOB) are as shown in the picture below. Looking south, the Soviet force is on the right and what I understood of the British deployment, on the left. Please note, for future images, that north is at the bottom of the map.
The advanced guard was ordered to launch a pre-dawn attack, driving the British off before they could organize their defense, and protected by darkness until they were on top of the British.

The broken nature of the terrain (i.e. lots of crossing checks at night) slowed the Soviet advance. The transports in the south moved to firing positions in case British reinforcements and the two dismounted infantry companies in the north advanced on the British infantry, followed by the FO and those BMPs that didn’t bog down. In the center, the third infantry debarked and the infantry and their supporting BMPs advanced, accompanied by a tank company to their left. The darkness hindered (i.e. completely stymied) all attempts to engage the British.
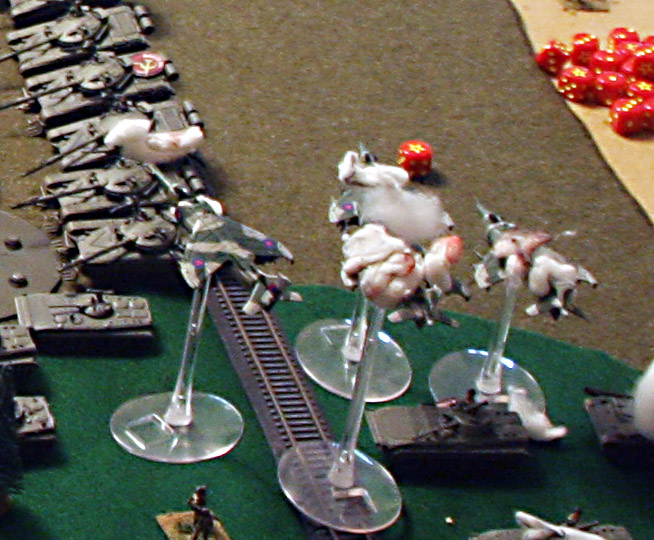
The British response was swift. They managed to acquire (with their artillery) and pin both of the advancing Soviet motor rifle companies in the north, including their SA-14 gunners. Then a flight of Harriers arrived outside the acquisition range of the SA-13 battery and destroyed two Acacias and three BMP-2s. A Chieftain troop arrived from the NATO lines in the north and destroyed two BMPs on the northern wood edge (completing the destruction of that detachment), and another Chieftain troop arrived in the south and destroyed a pair of BMPs there.
The remaining Soviet tank company advanced, a straggling recon BMP made it to the front, and the remaining Acacia fled the battle. A general firefight broke out between the Soviet and British tanks, with ATGMs contributing on both sides. Another BMP in the south was destroyed and the southern Chieftain troop withdrew from the battle. British artillery continued fire on the Soviet infantry in the north, keeping one of them pinned. The Harriers repeated their attack but this time the Soviet antiaircraft gunners were ready and manpads accounted for two of them. The remaining two attacked one of the tank companies, destroying one and causing another to bail out. Meanwhile a Milan sniped and killed another BMP in the south.
The remaining BMPs in the south moved north to support the dismounted MR company. The tank battalion continued to engage the Chieftains in the north without damaging any. For their part, the Chieftains managed to kill a T-72 and reversed into the woods, and a Milan team destroyed one of the recon BMPs. Continued fire destroyed the two infantry companies to the last stand.
And the sun rose. The firefight continued, with one of the bogged Chieftains making it to their woodline and accurate fire continuing to whittle away at the Soviet tanks. The Soviet tanks in the center engaged at trying to blow the Milan section (with four launchers) out of the building on the road on the east edge of the board.
The ongoing firefight saw TOW-armed Lynxes destroy one T-72 and the Soviet tanks destroying two Chieftains.


By this point, things quieted down a bit because the British armor and air support had pulled out of the battle and the Soviet force, with a single infantry company that was smaller than any of the British platoons, the Soviet force didn’t have the ability to take their objective.
The battle ended on turn 7 with a British victory. The Soviets lost four units and the British lost none.

Attacking at night is much harder than it looks. Darkness doesn’t hide the attacker nearly as well as it hides a stationary gone-to-ground, dug-in defender.
Keep in mind that at night one’s antiaircraft assets have a maximum LOS range of only 24” and that’s if they roll well. The Harriers cleverly concentrated their attacks at over 24” from my SA-13s.
Concentrate forces. I didn’t and I paid for it.
Don’t obsess about minefields. I paid too much attention to the one in my line and it halted my attack for a turn or so.
On several occasions (OK – short occasions) I thought things were about to break loose but they quickly self-corrected to my ongoing downward spiral... ;-)
One good thing about miniatures battles is that after the battle you can retire to the club!

Battle Report Author
Army Lists Used In This Battle
Recommend Commander For Commendation
Share this battle with friends
kayjayWins

NIght is definitely NATO’s friend. As commented to Kevin, his aircraft was the most effective I have ever seen.
The Milans in the building were sections from 4 and 5 platoon. They moved there with the Coy CO stand. The independent Milan platoon never fired.
Great game. Next time my friend
Storm Caller: Heh – Couldn’t hit a Chieftain at night if my (troop’s) life depended on it! 😉 Those two were hit after sunrise…There were plenty of pre-dawn misses on them…
Great report!
Nice report
This seems to have been a hell of a battle!
Really like to see so big soviet army ! we can nearly cover a table border ! 🙂
Getting the two chieftains at night is a Major score given there six’s to hit! How many shoots did that take?
Still a great report!
Nice looking report – loved everything but the outcome… 🙁
Hang in there – you’ll get ’em next time! 😀