Fought At Niederbayern
2404 days 15 hours 10 minutes ago
Battle Report
Return to Niederbayern
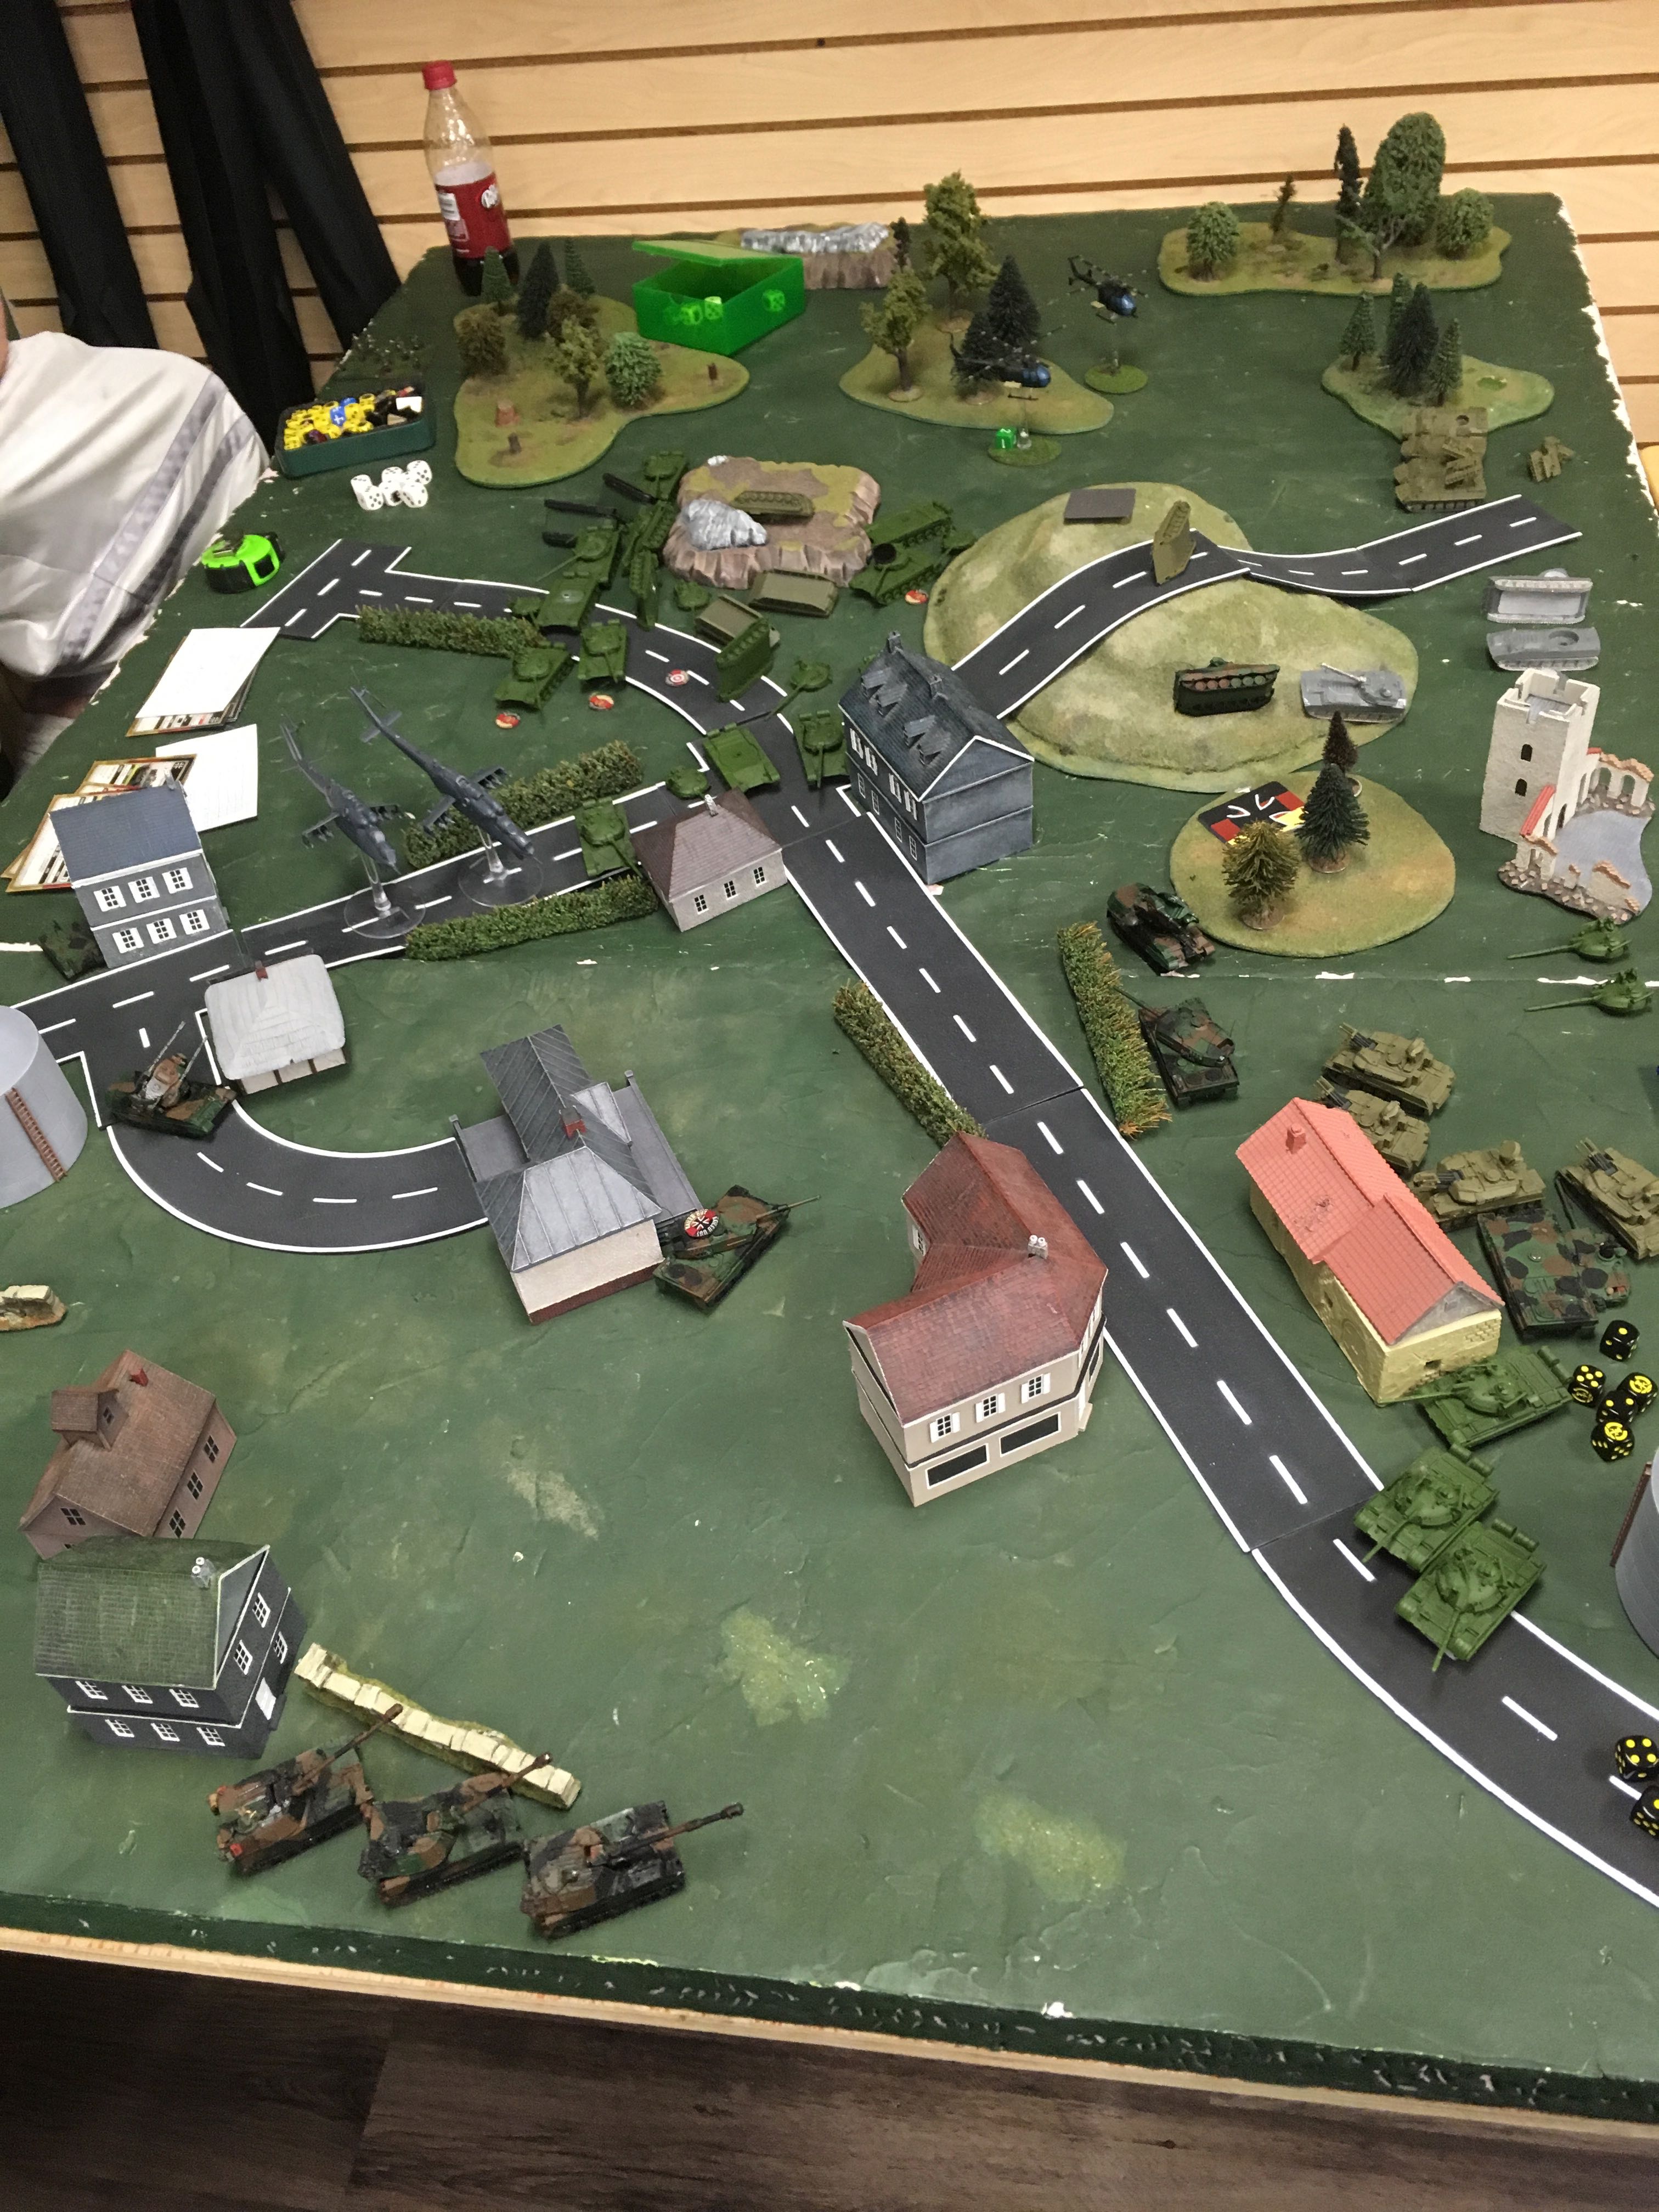
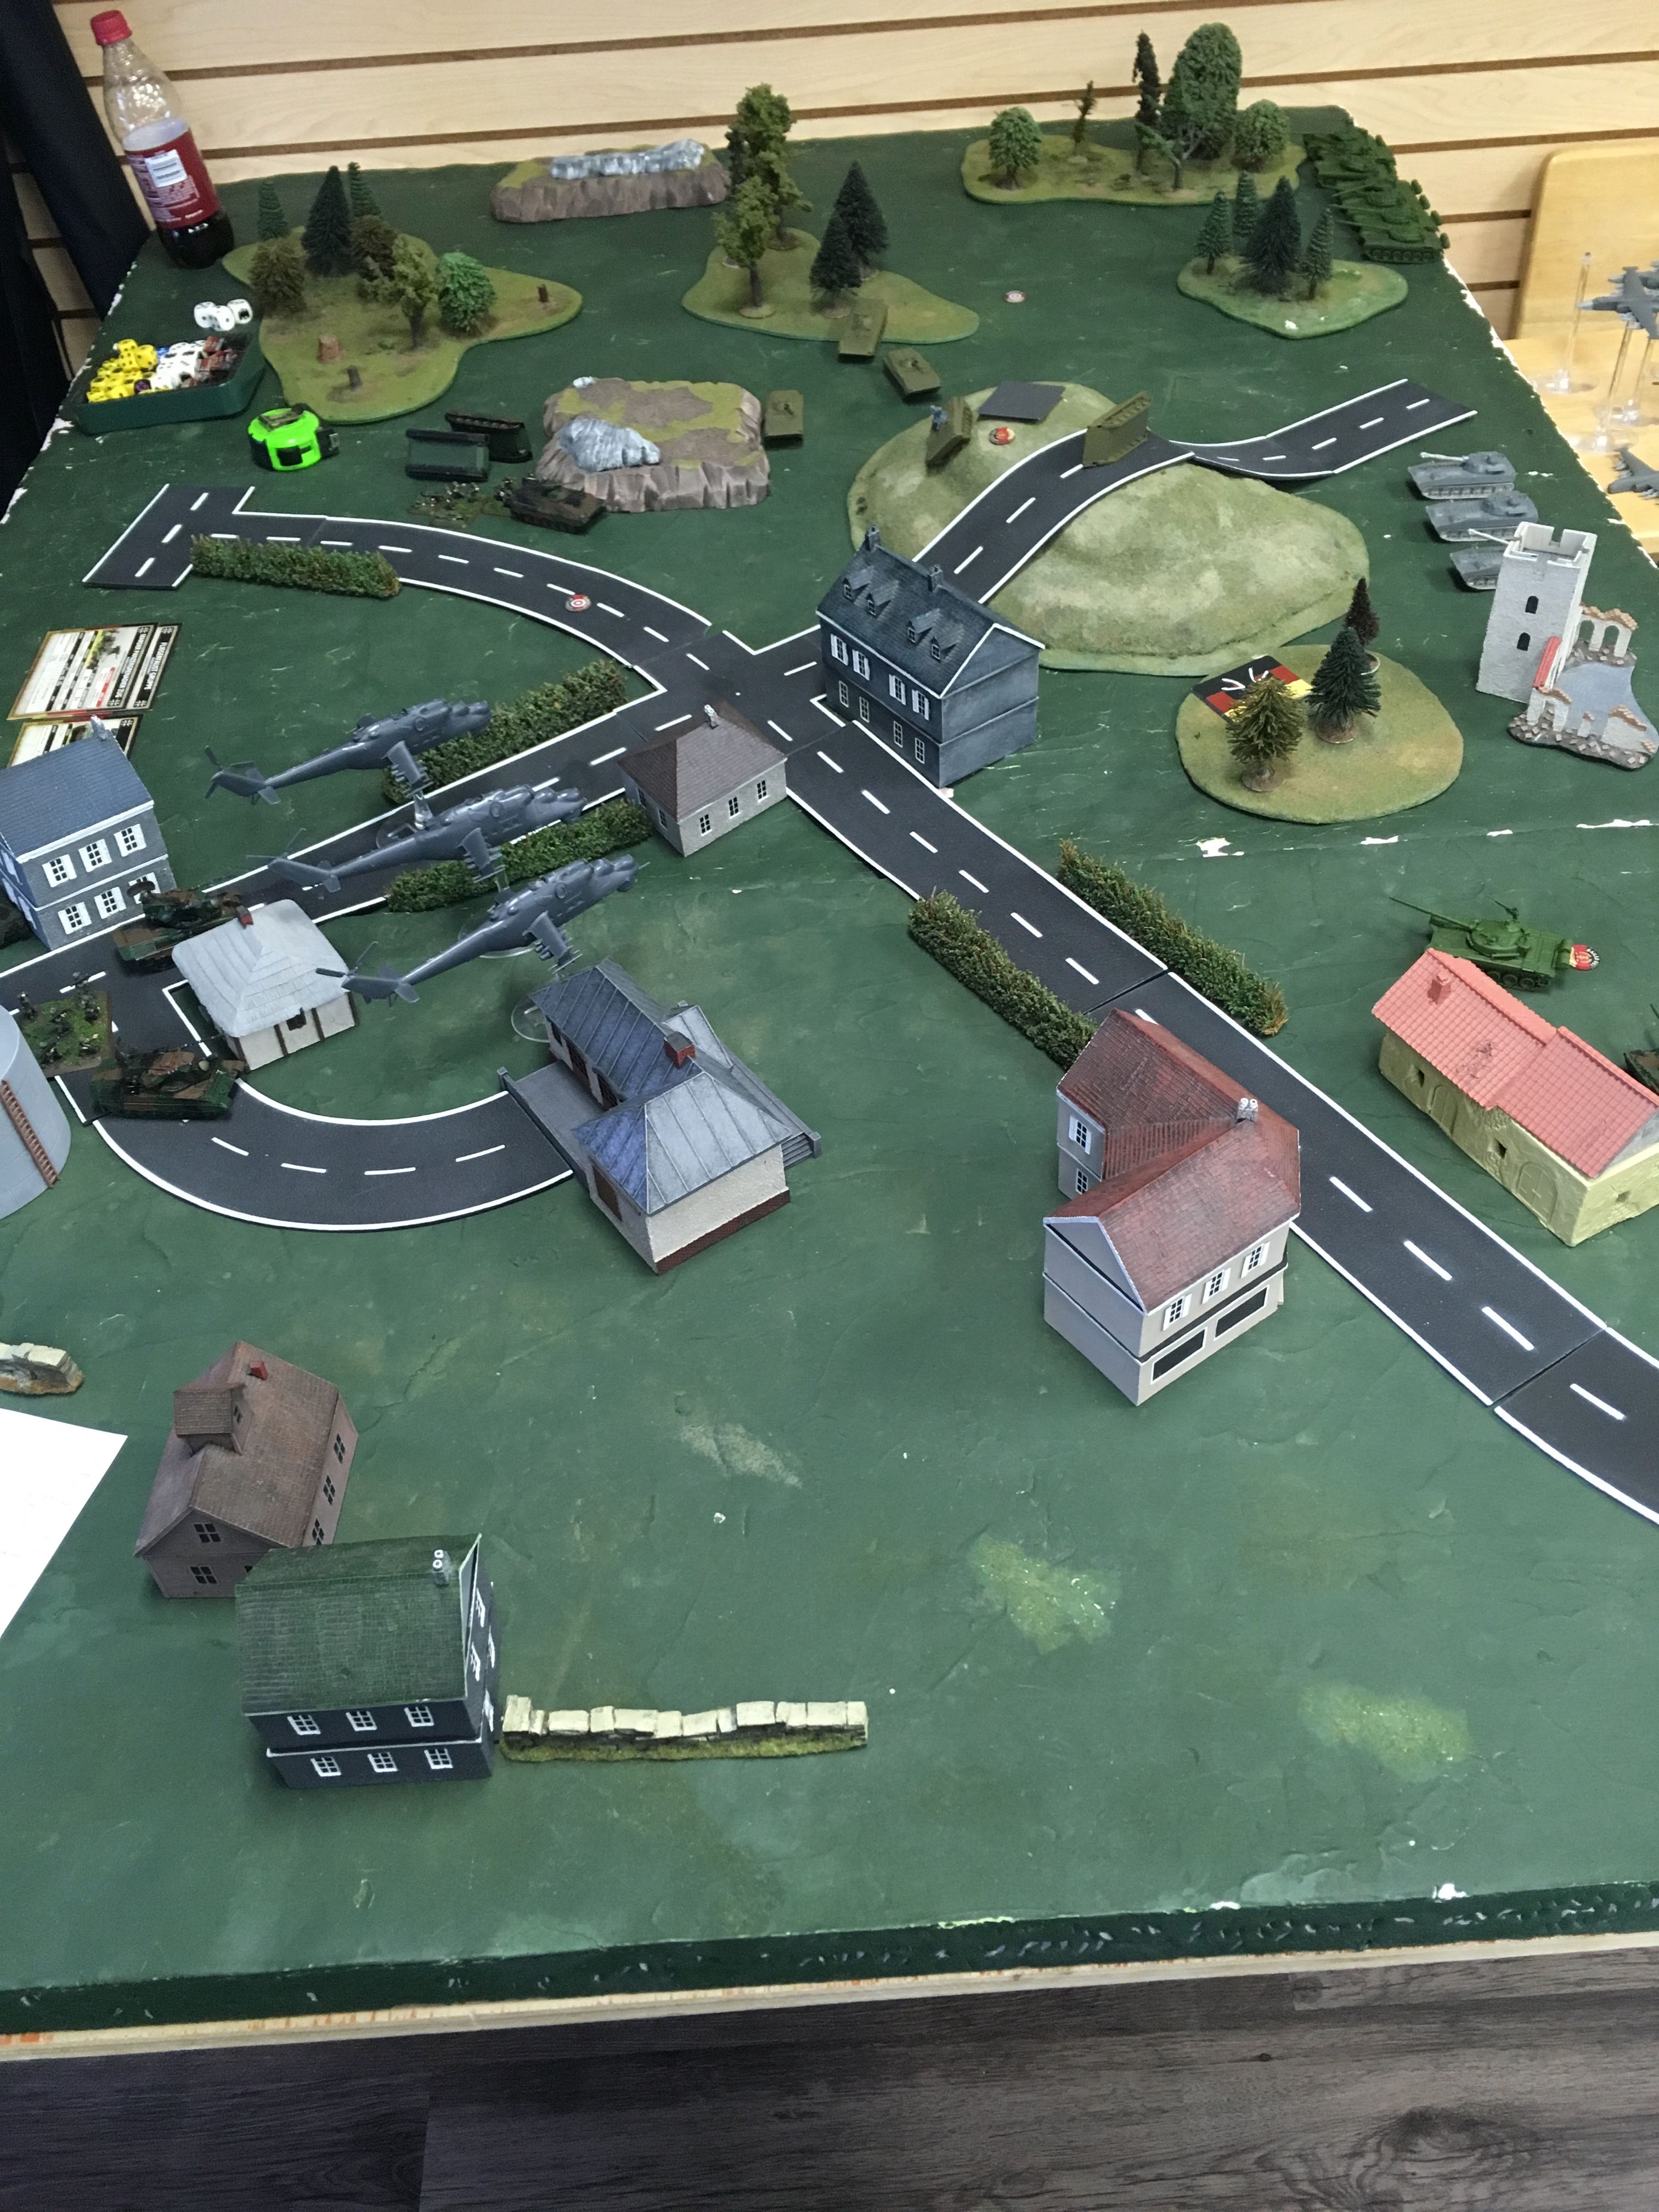
100 POINTSThe heavy Leopard 2 platoon advanced on the town, while the the panzer grenadiers mounted in Marders covered the flank. Not a sound was heard beyond the grinding of the heavy diesels of the armor.
The Hinds approach the Marders from the rear, opening fire with their missiles. They destroy two of the carriers and half of the mounted panzer grenadiers. After that volley, the artillery remains quiet, unable to see any approaching targets.
The last panzergrenadiers dismount after the Hind strike, and the dismounted troops advance under the cover of the Marders' guns. The Leopard 2's blitz ahead, firing on the move. However, their rounds fail to damage any of the T-72's, but do destroy the OP BMP-1.
The BMP scouts have a few sight-lines to the Leopard 2's, but miss with their Sagger. The battalion commander, advancing tries to get a hit on the Leopards as well, but his rounds fly wide. However, the Hinds appear behind the Leopard 2 platoon, weather the storm of AA fire, bail one Leopard, kill the other, and the platoon breaks!
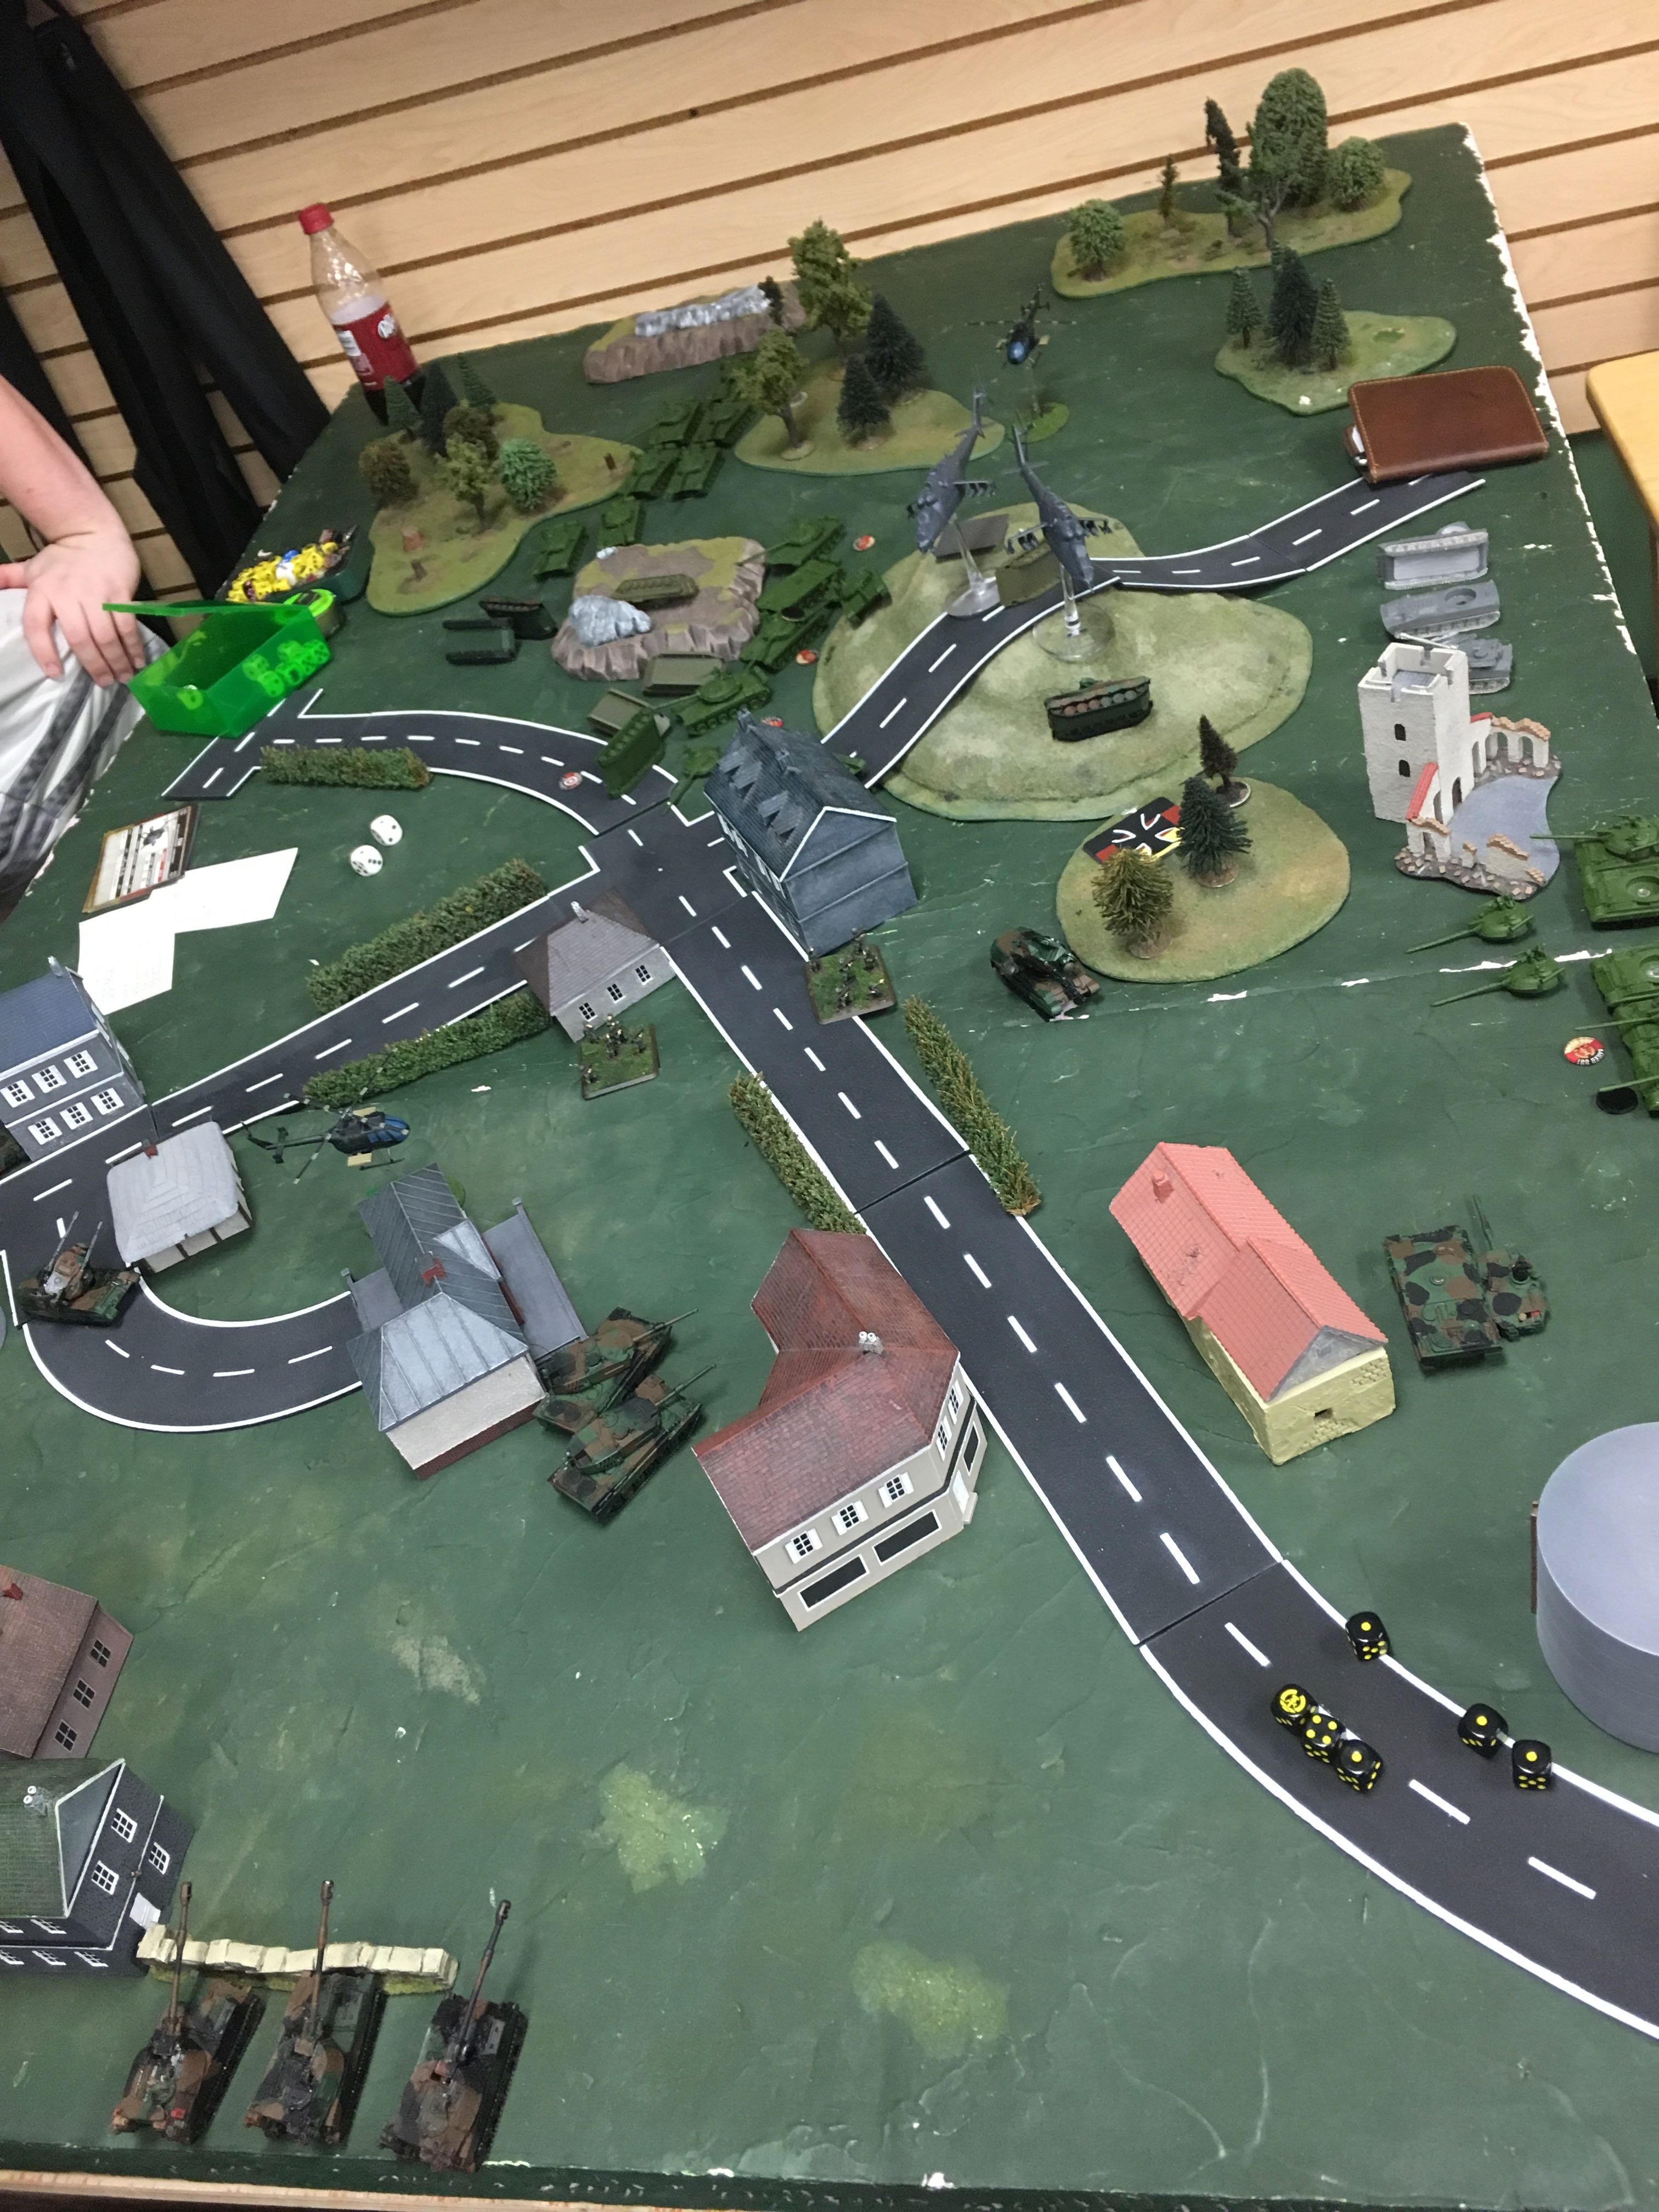
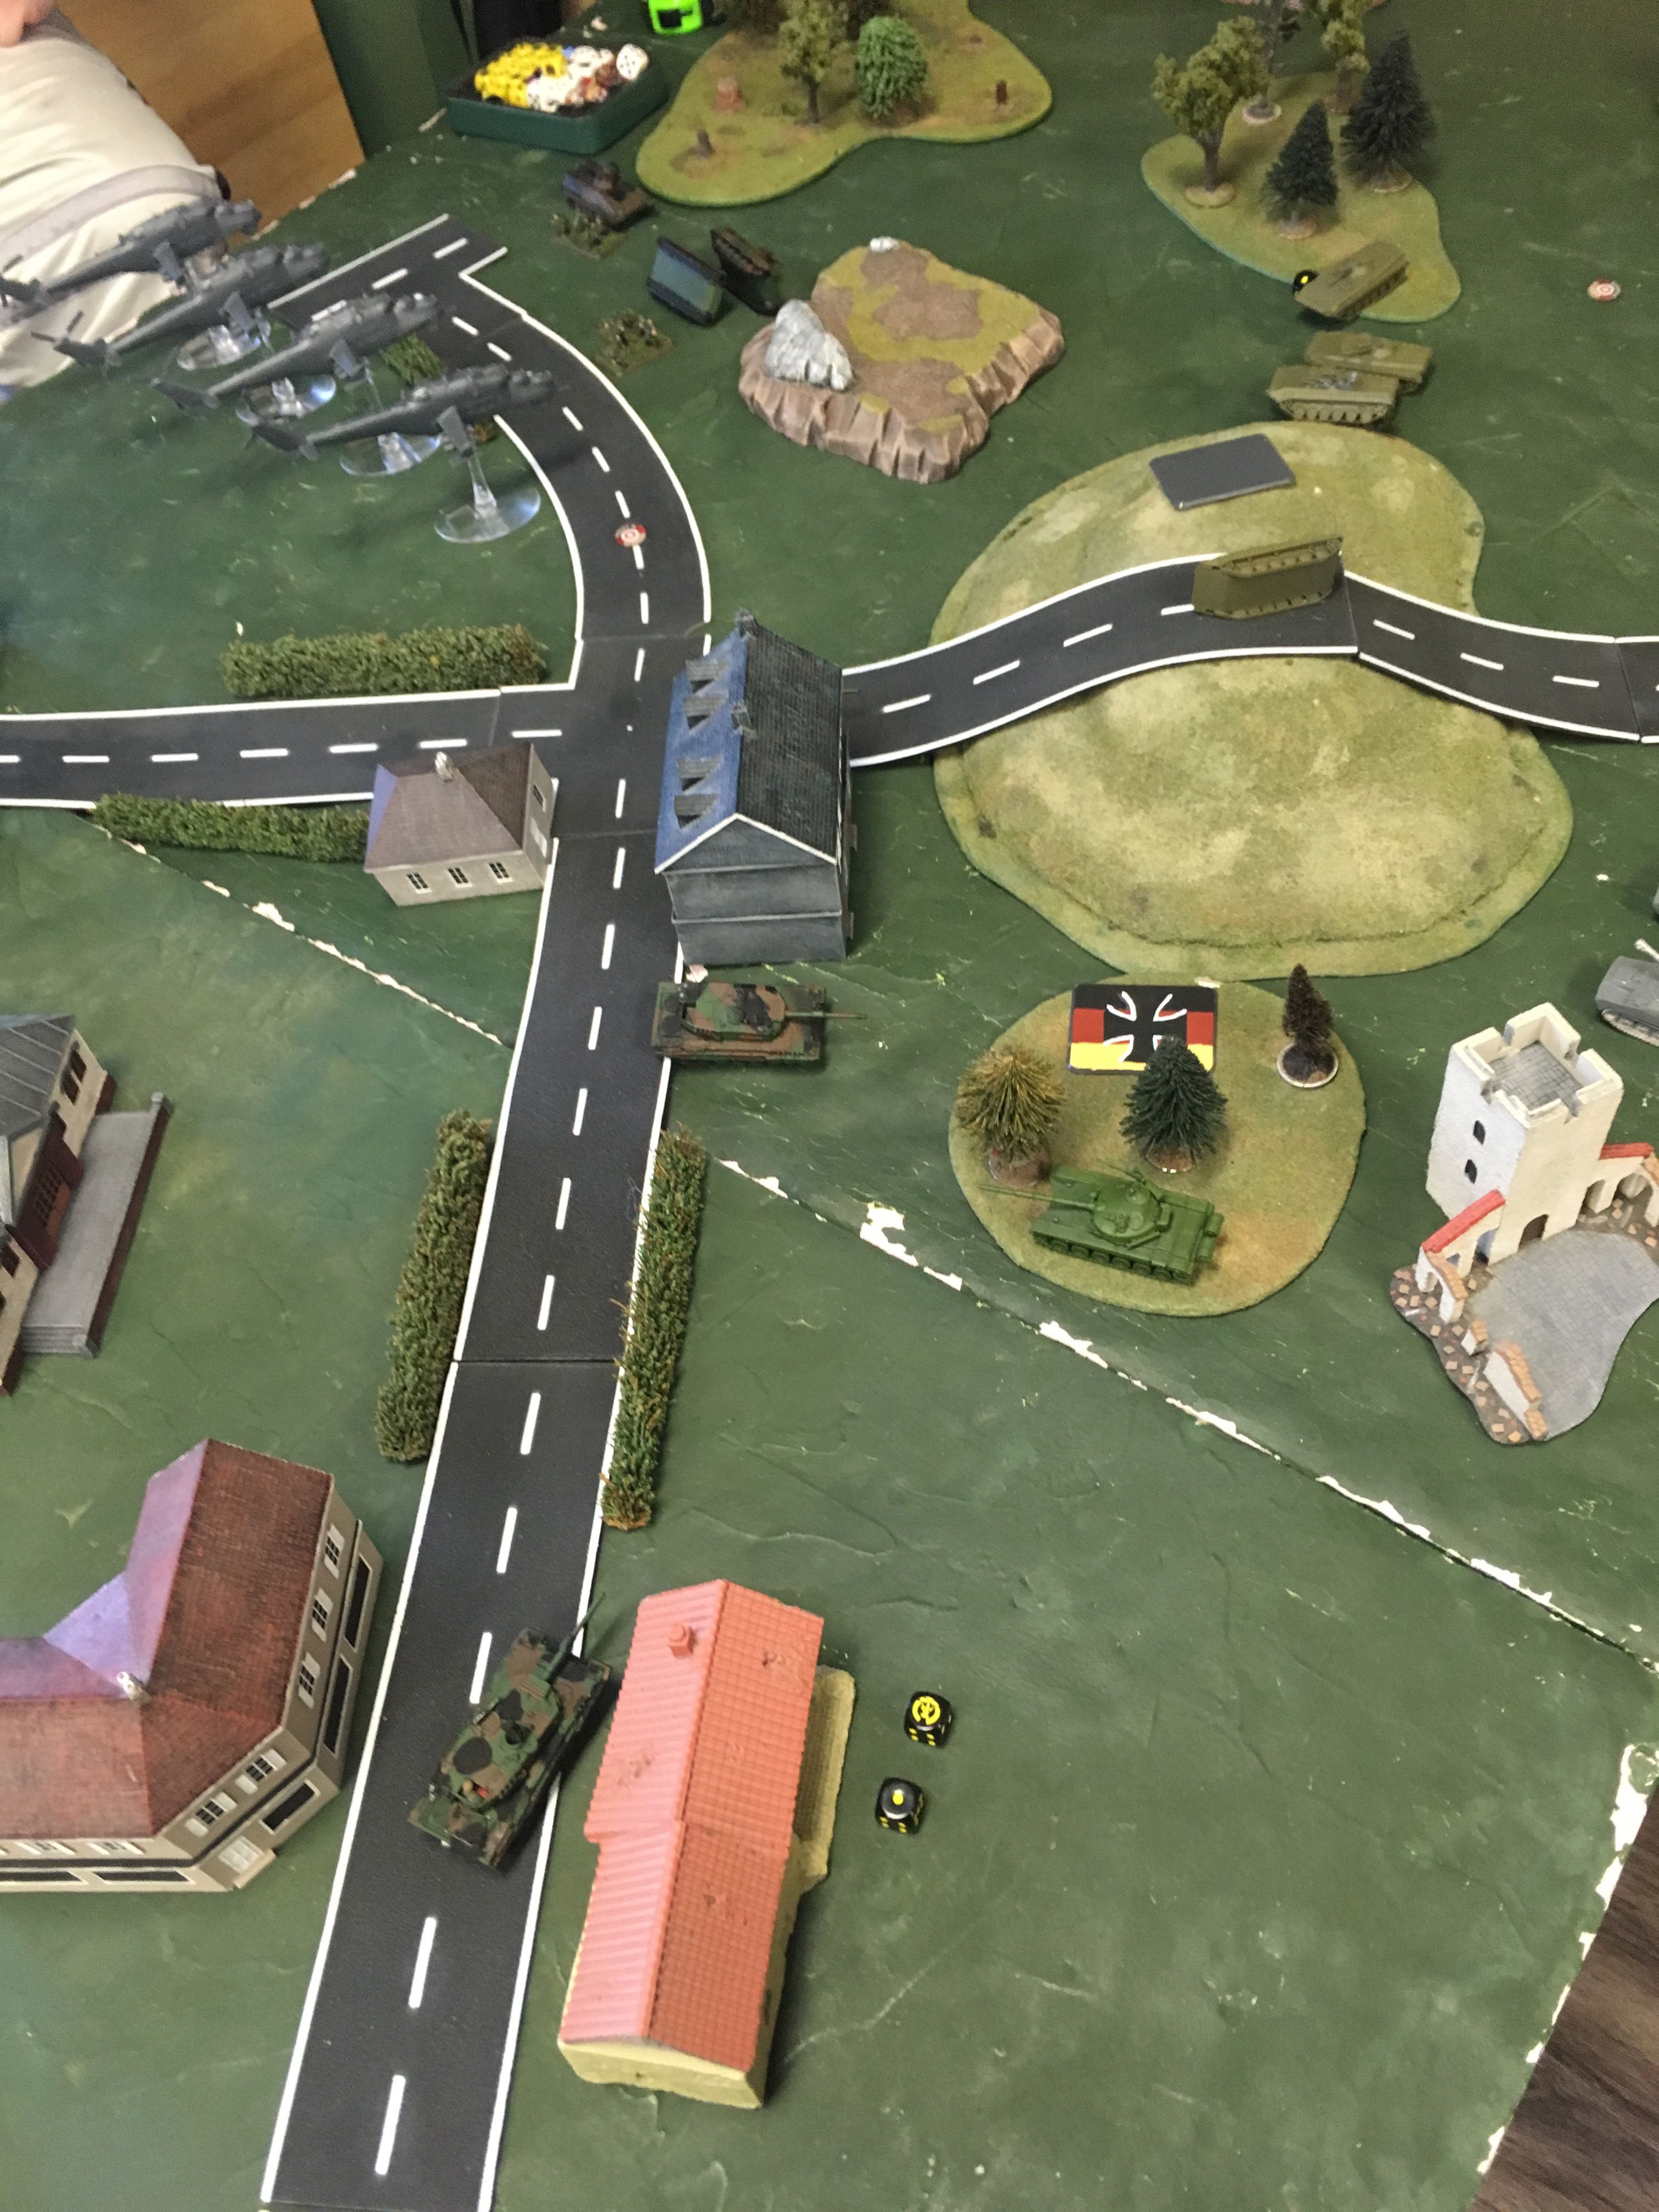
The Gepard platoon arrives, blazes away at the Hinds, and sadly gets no kills. The supporting Tornados shoot down one of the Hinds, but the threat remains. The panzer grenadiers advance with their support on the objectives. They open fire with their Milan teams on the scouts, bailing one BMP.
As the first T-72 company arrives, it advances through the woods towards the fight. The Hinds return the favor to the Gepards, killing one. The BMPs return fire on the panzer grenadiers to no effect. In a lucky break, the Battalion commander secures a flank shot on the Leopard 2 company commander, destroying his tank.
The panzer grenadiers end their skirmish with the NVA scouts, destroying the three remaining BMPs. The Gephards continue their tradition of failure against the Hinds, while a SAM from their accompanying fliegerfausts shoots down one of them. The recently-arrive helicopter support fires on the NVA battalion commander, bailing him from his tank. The panzergrenadiers end the turn by advancing over the burnt hulls of the BMPs.
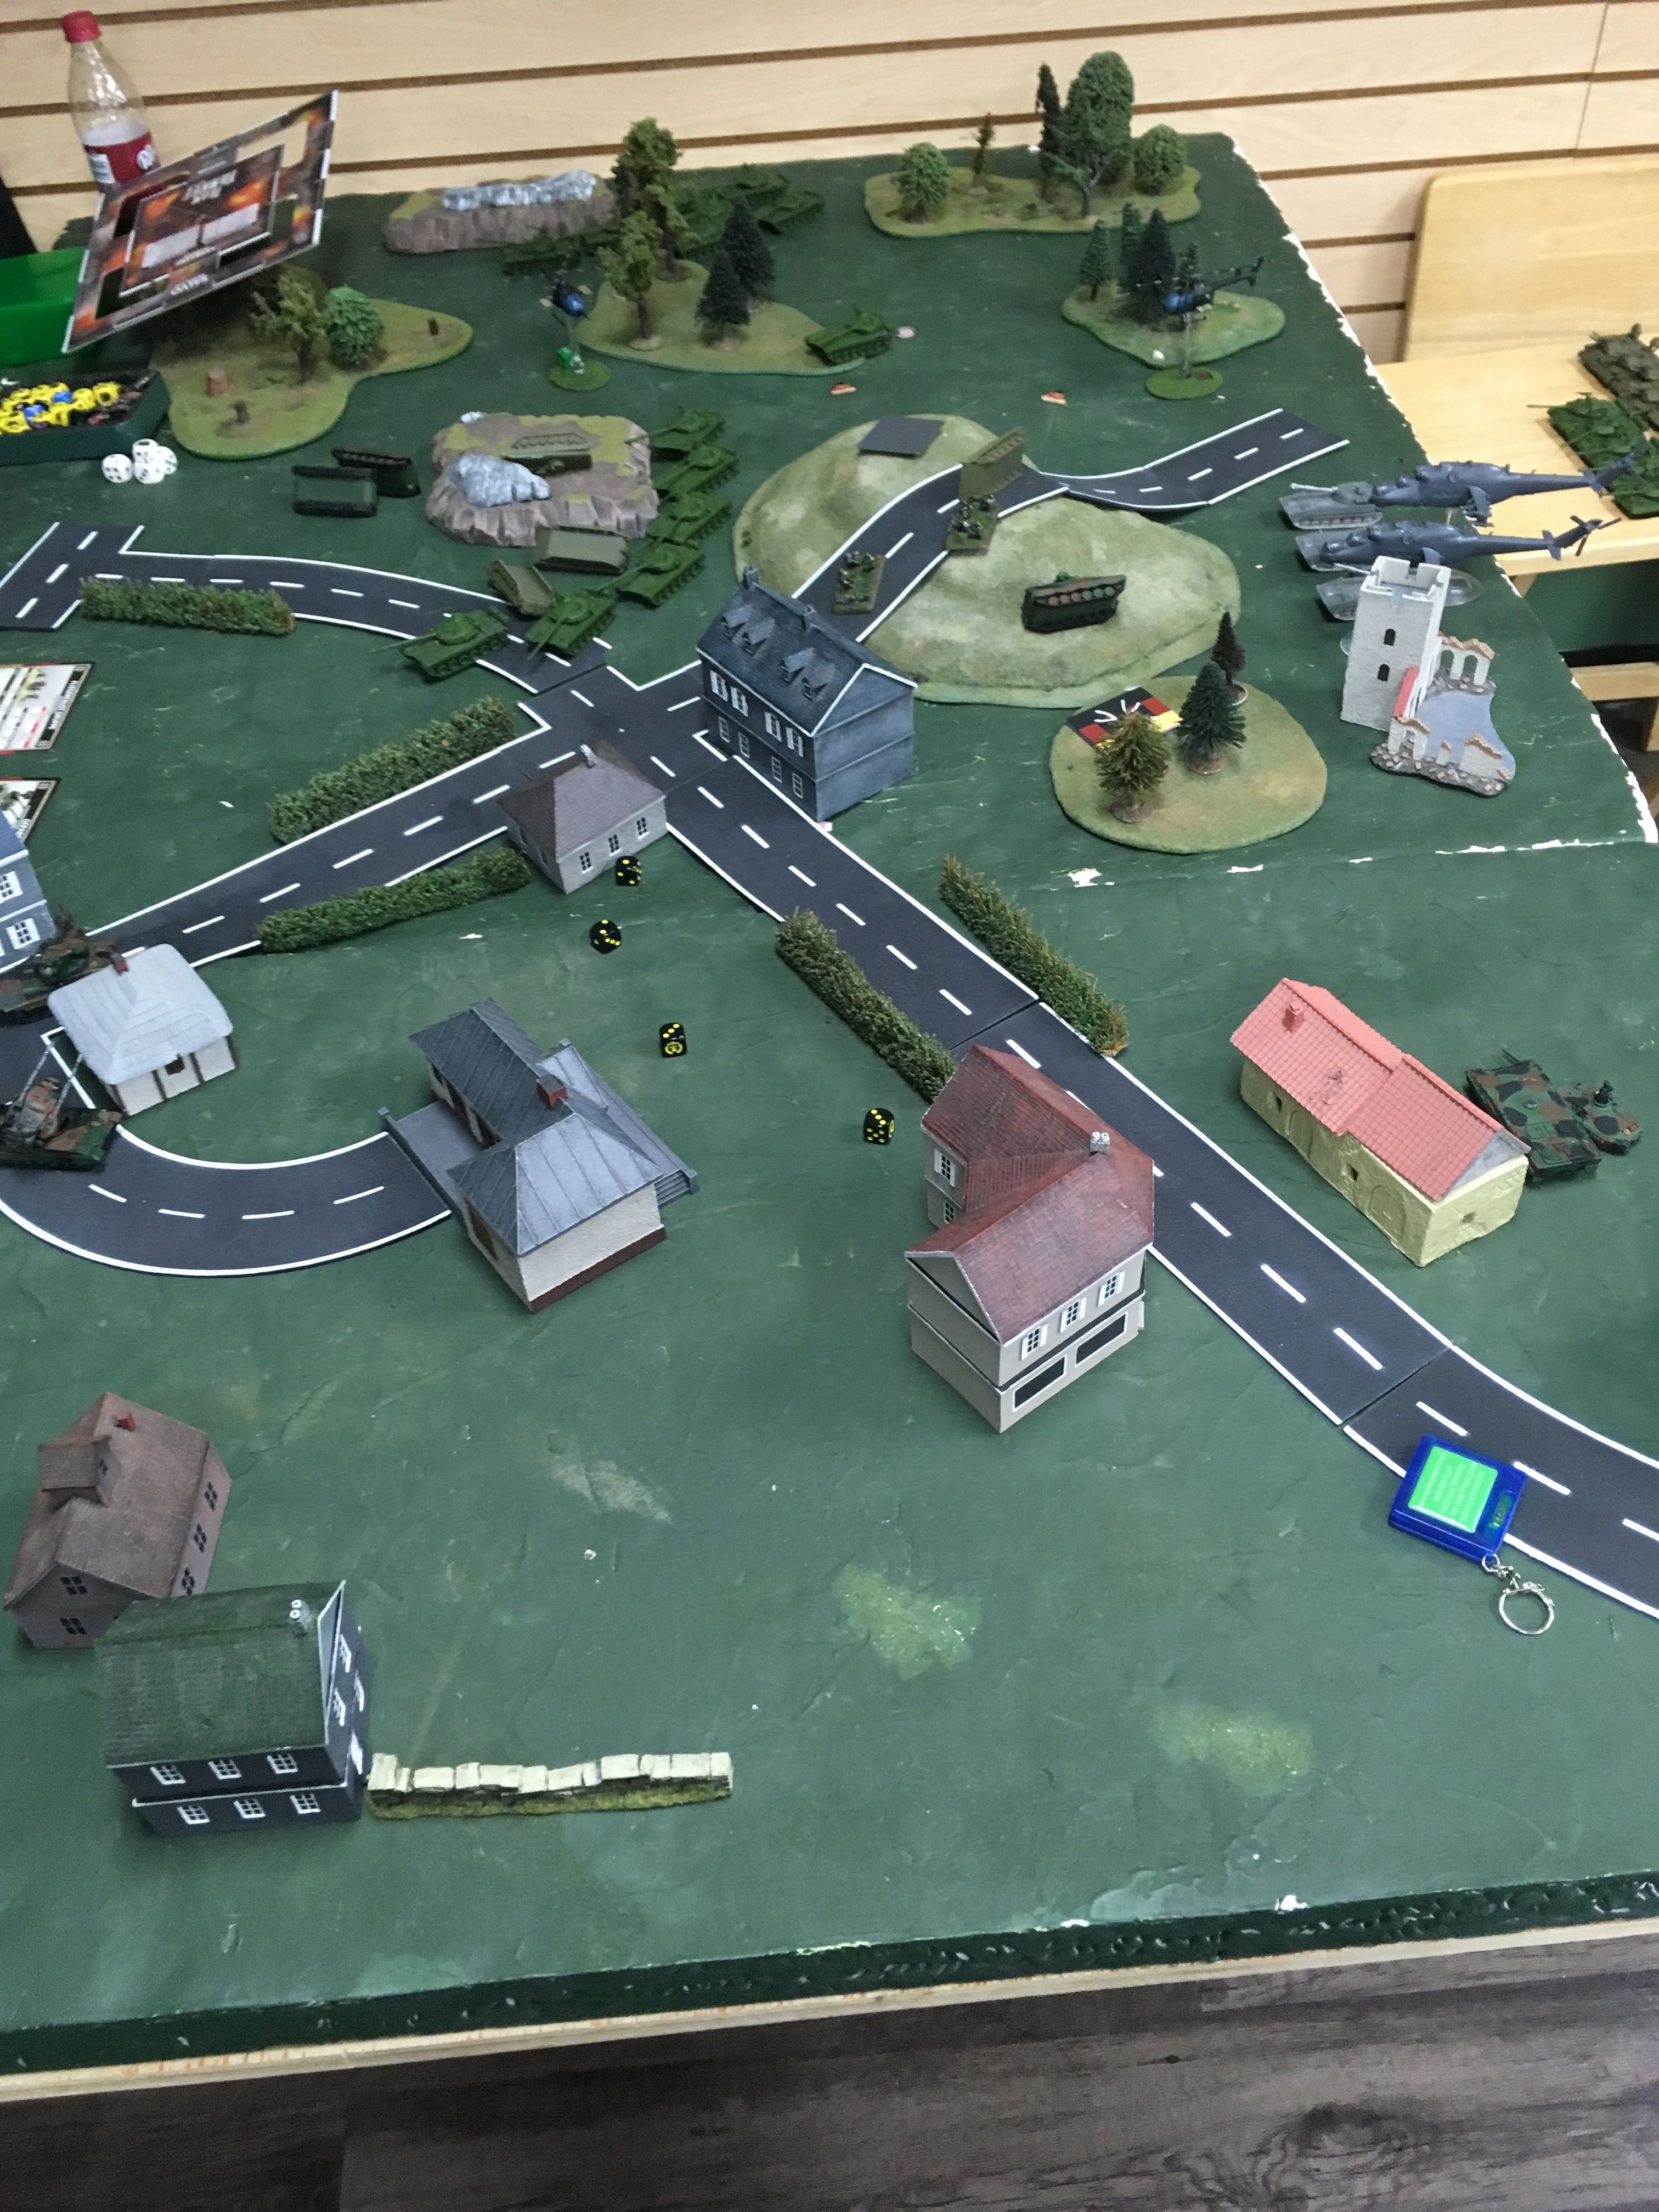
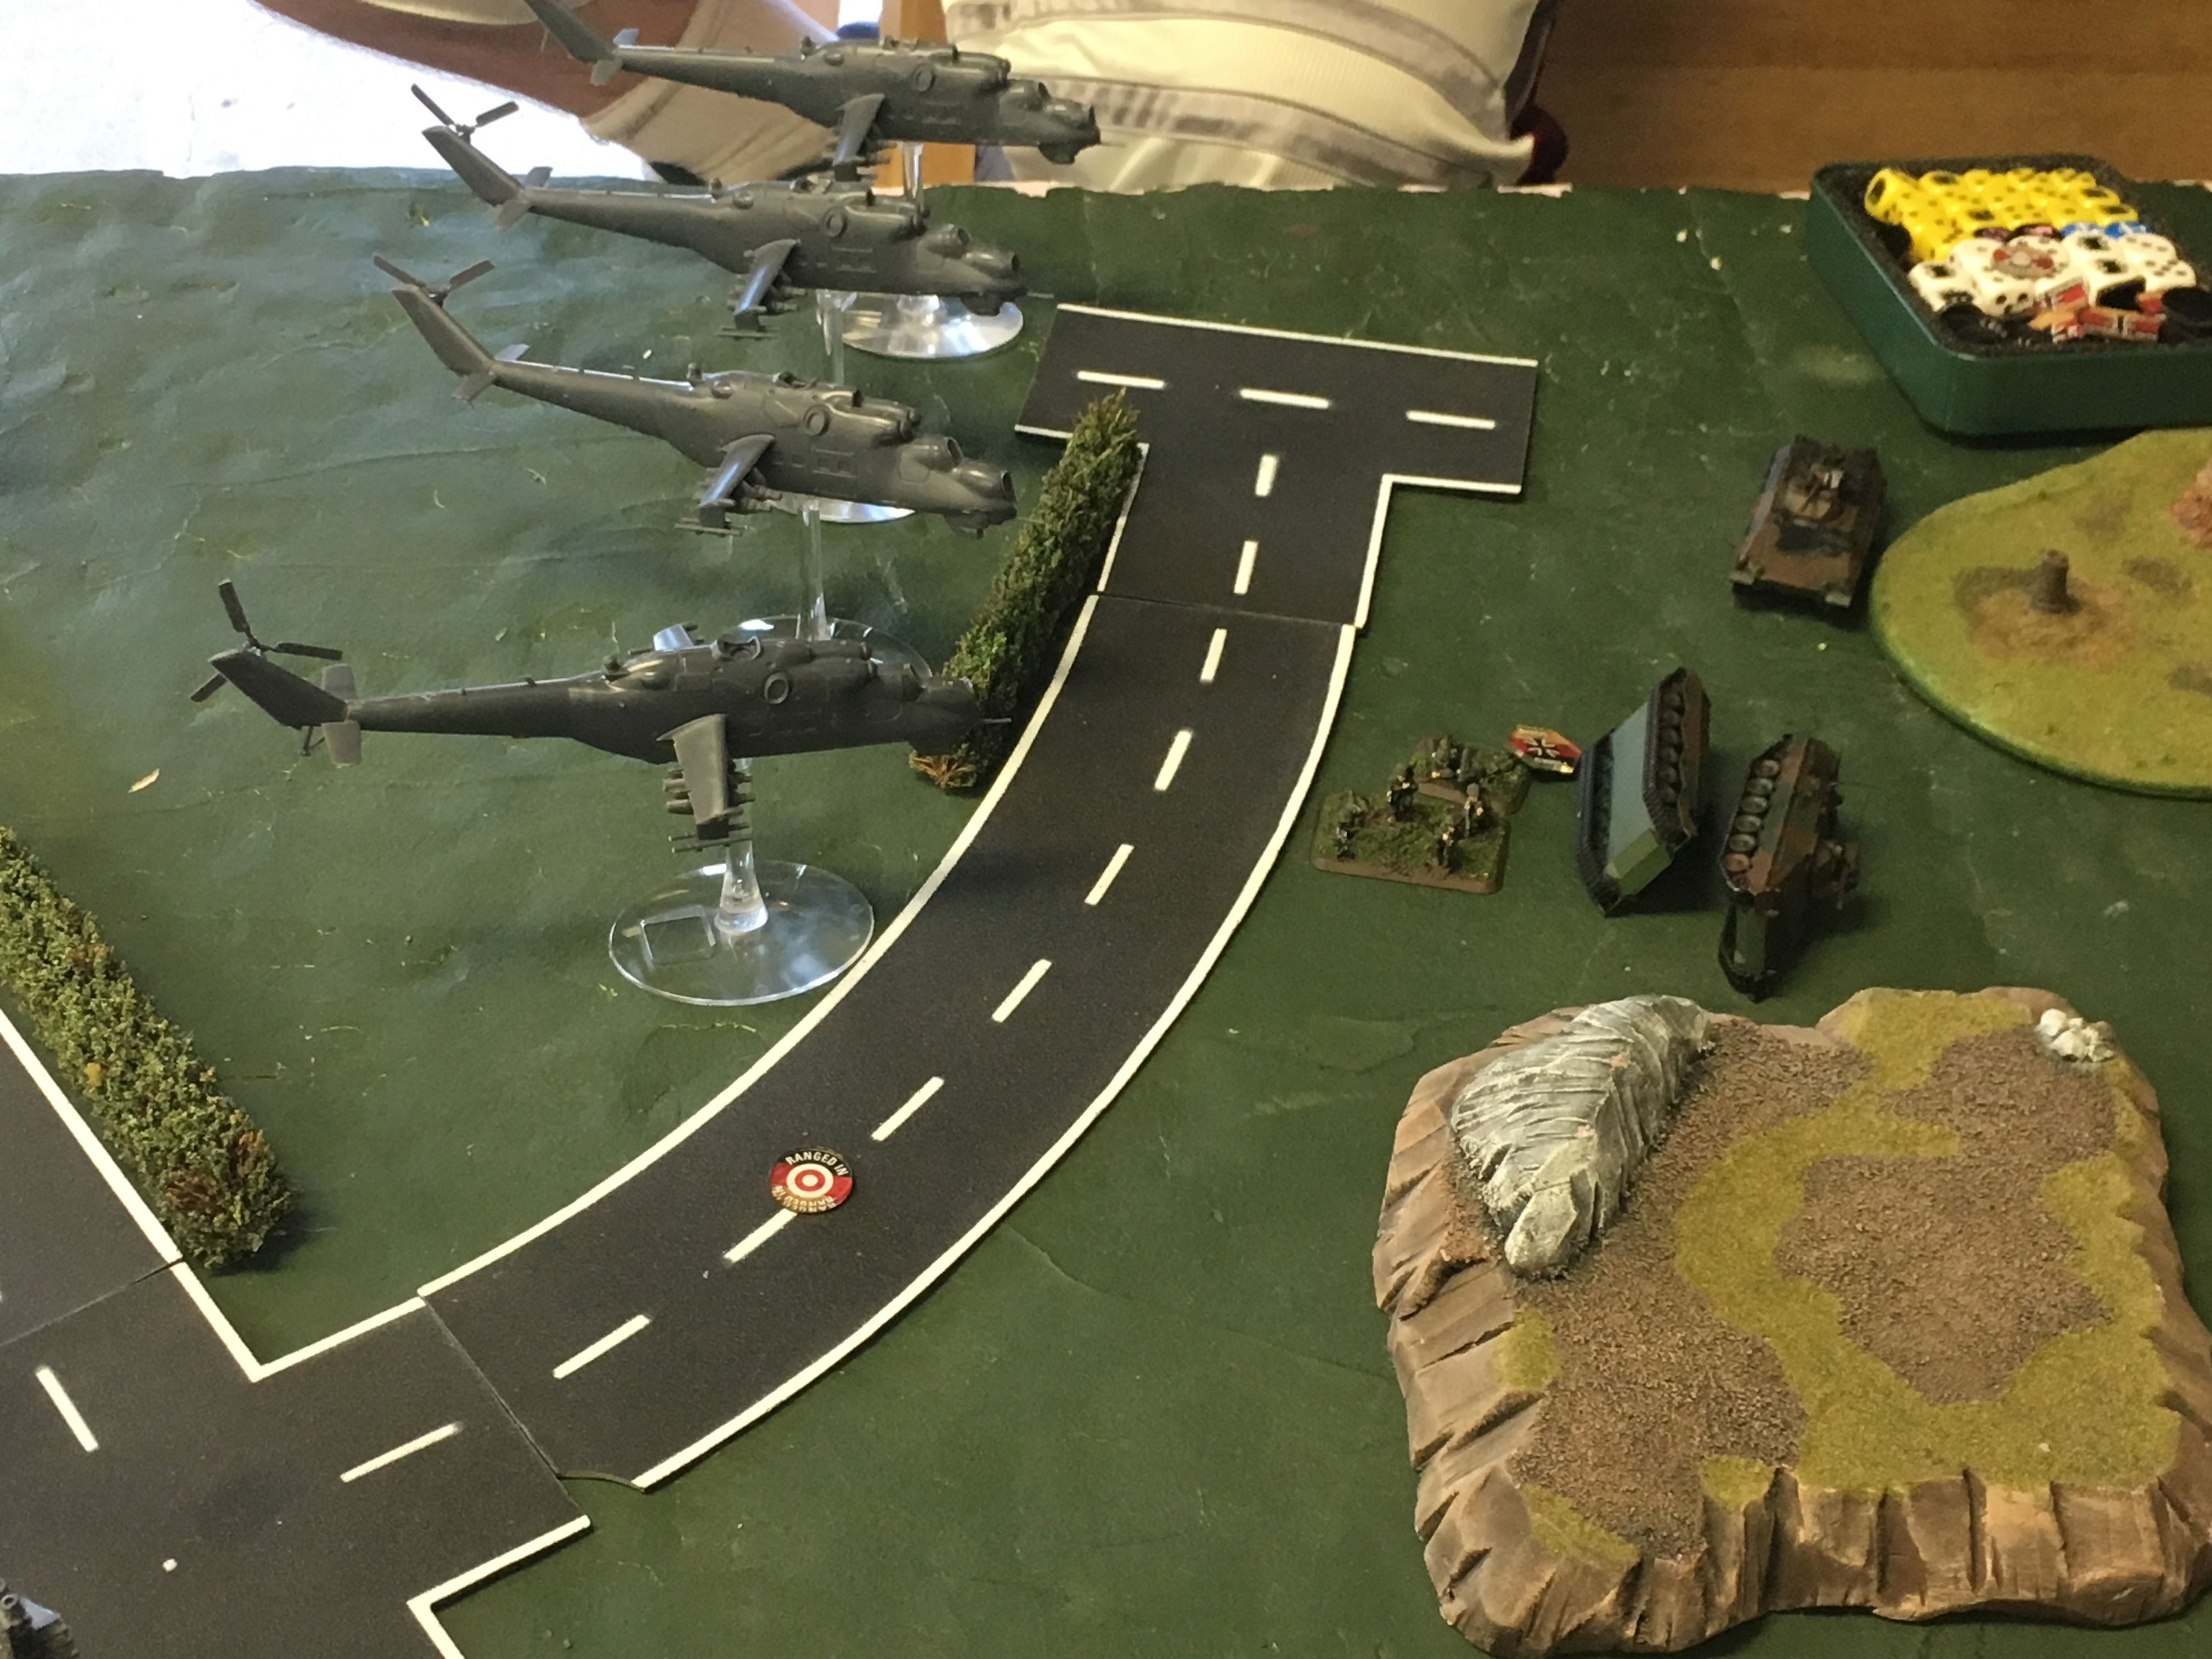
The SU-25's arrive, blazing away at the GDR helicopters to no avail. The battalion's other T-72 company arrives, and advances along with the other T-72's. The first T-72 company fires on the sole remaining Marder to no effect, much like the Hinds in their efforts to destroy the Gephards.
The GDR helicopters see the Battalion Commander off to his personal Valhalla, but between that and the destruction of a Carnation artillery piece by the Panzergrenadier's Marder, there was very little success. The Gephard and their Redeye support fail to do any damage to the Hinds.
The SU-25's return, firing on the Gephards to no effect. The 2S1's, in return for their earlier loss, destroy the panzer grenadiers' last Marder, and the Hinds blaze away and kill their Milan team.
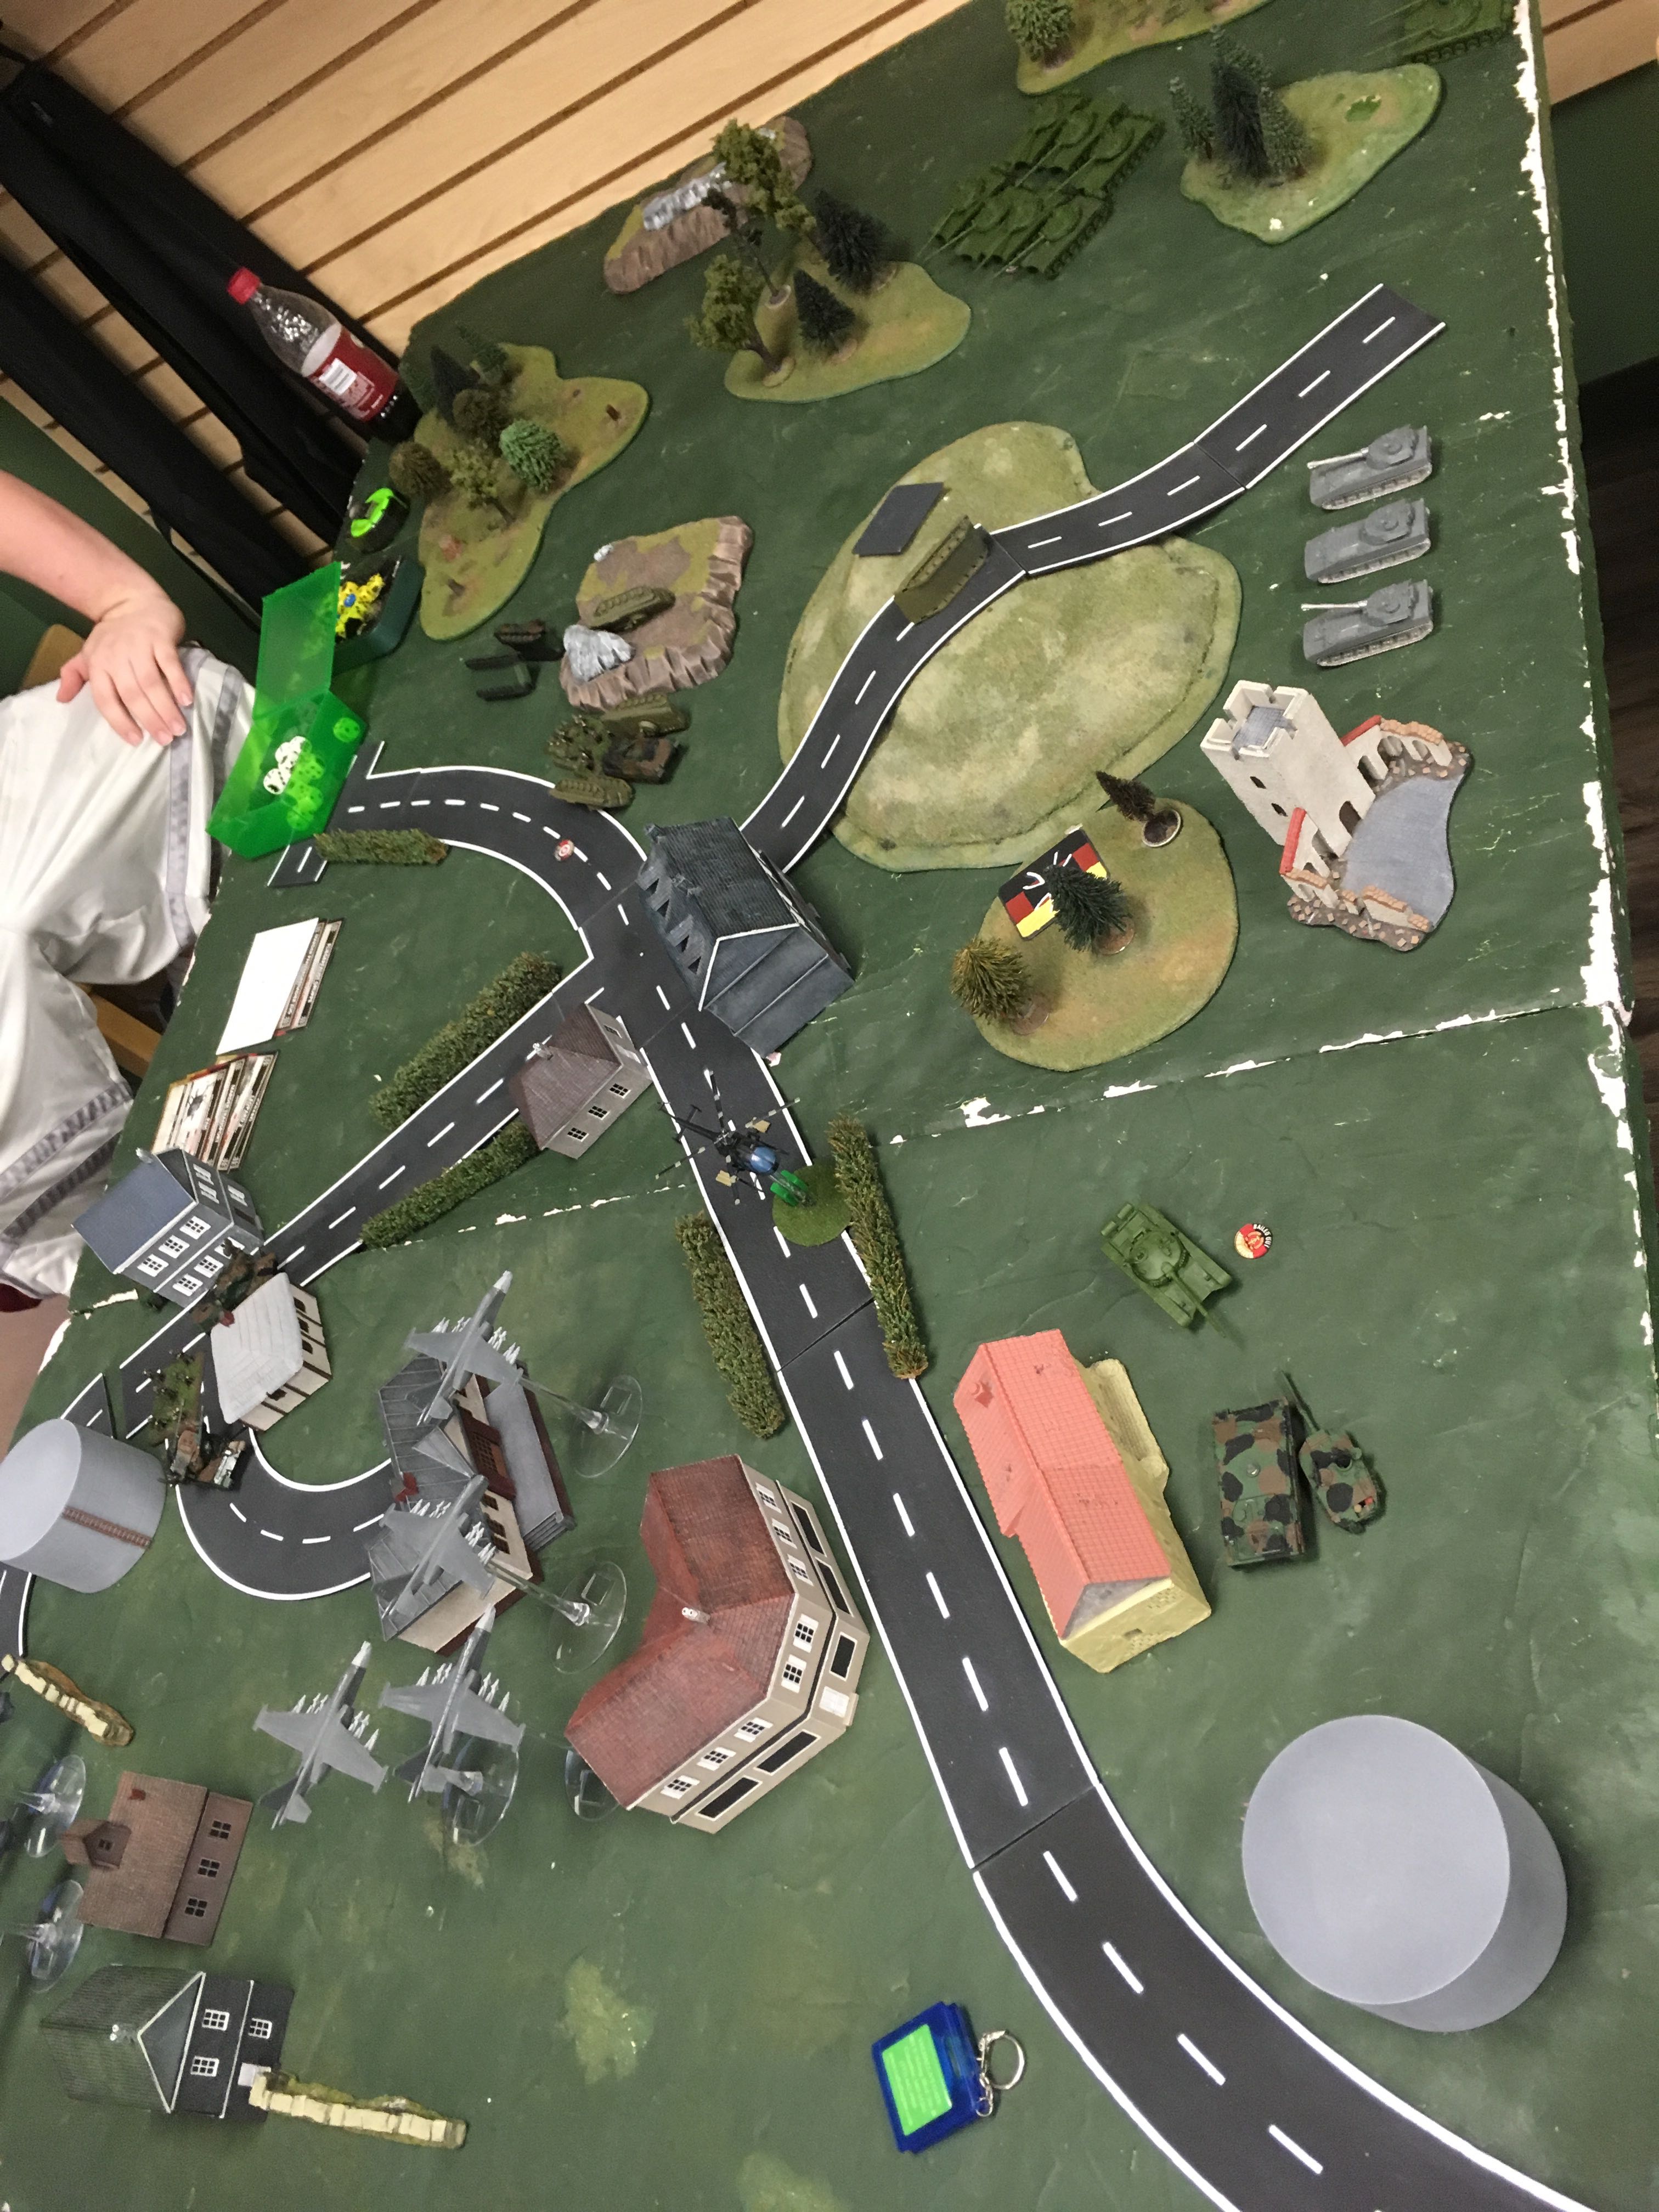
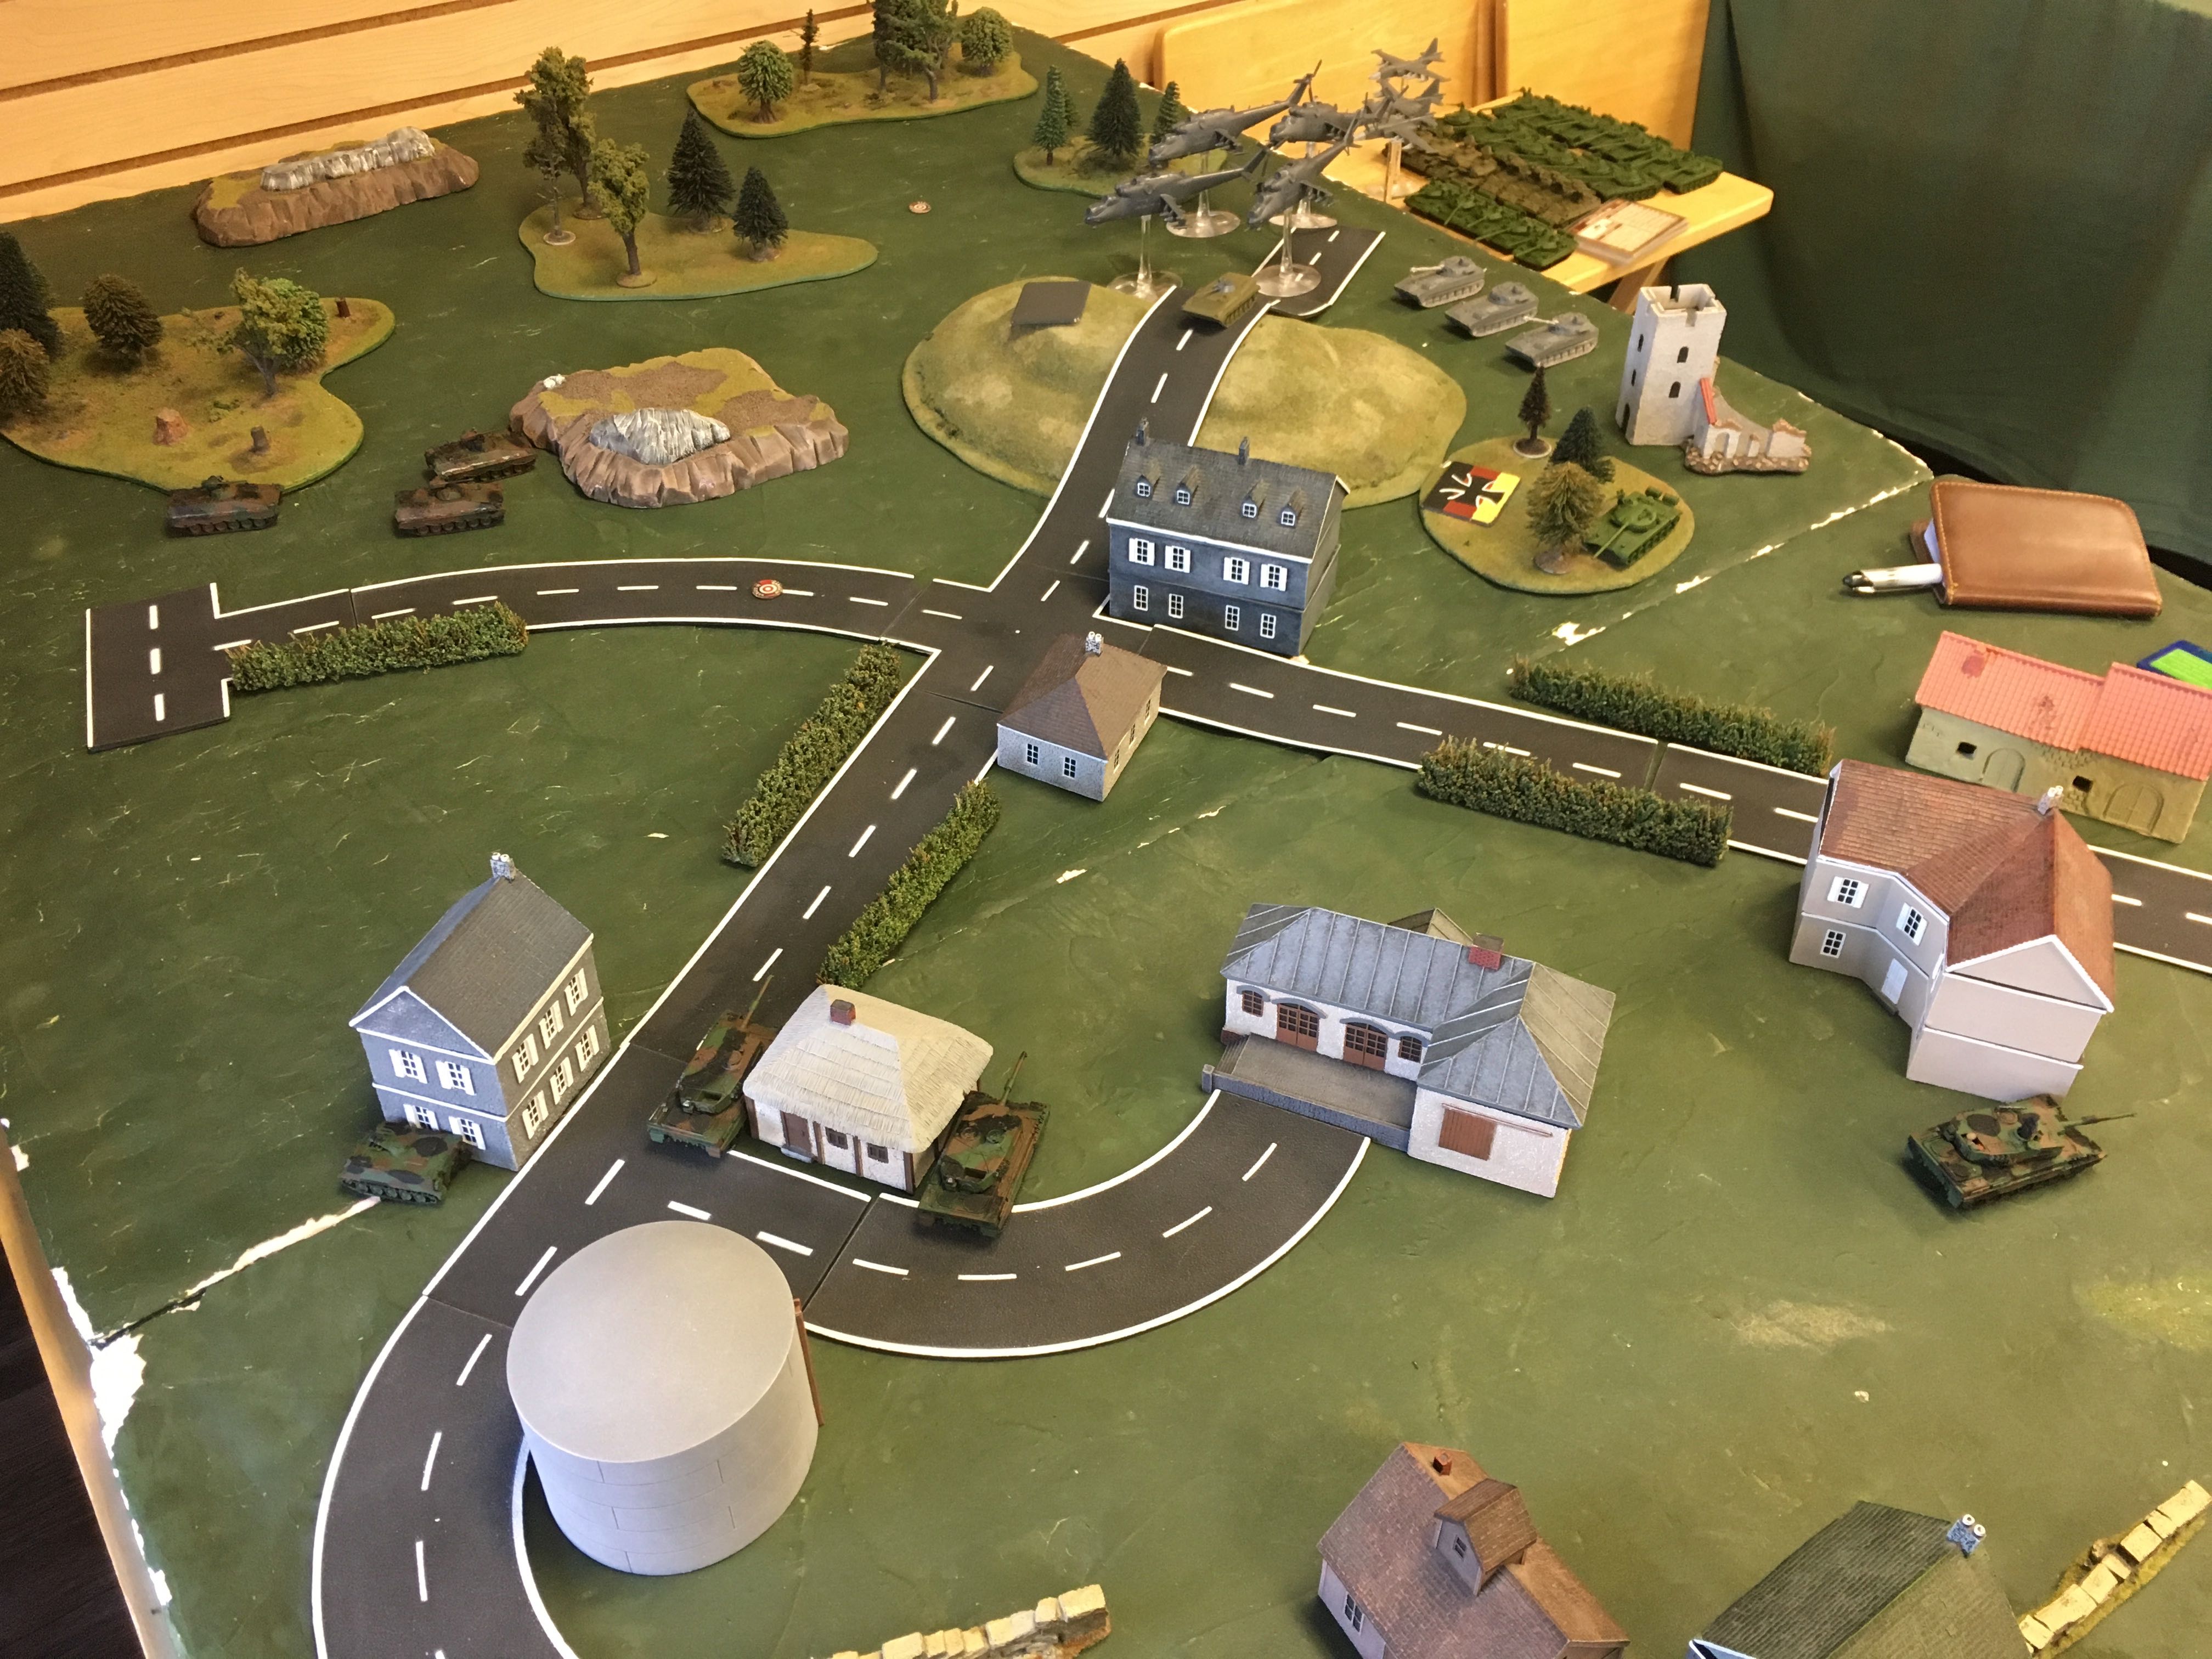
The Wessies' reinforcements, another Leopard 2 platoon and some M109's finally arrive. The panzer grenadiers advance on the objectives, while Tornados and one of the helicopter flights engage the tidal wave of T-72's, getting one kill and three bails. The Gephards, dash to cover the objective against the T-55's, while the newly-arrived Leopard 2's kill one T-55 and bail another.
The T-55's finish off the last Gephard, scattering the fliegerfaust teams as their morale breaks. The Hinds finish off the panzergrenadiers, uncovering the objective.
The Artillery ranges in on a T-72 company, bombarding to no effect. However, the helicopters fire on T-55's, bailing 2. The Leopards also open fire on the T-55's, killing two more.
All the T-72's press forward onto the Leopard 2's, firing as they go, getting one hit for a bail. The lighter units, ZSU's, Geckos and the T-55's all blitz forward. The 2S1's also blitz forward and kill an infantry stand.
The last Leopard 2's advance. The helicopters work on destroying the SAM vehicles, killing 2, while the Tornados and Leopard 2's kill 3 T-72's and bail 2 others. The M109's fire over open sights, hitting but not destroying a T-55.

Battle Report Author
Recommend Commander For Commendation
Share this battle with friends
U_MachWins

+1 on what Kubikhan said
Cool looking table, but mix the photos in with the report so we can get the play-by-play view!
Interesting terrain arrangement. Black crossroad in center of the table, angled… Yum yum. Need to get back to table modeling… Congrats on win!
PS : Duuh, I am confused, last three photos from gallery and middle have thumbnails from different game? When clicking on them, something different pops up…
Good report + decent pictures + a Warpac win = (or at least, should…) medals and a promotion!
Nice report, and nice win
keep playing those games and please keep those reports coming-great job. Nice win too.
Nice looking table and awesome report. Thanks for taking the time to post, and thank you for your support during the campaign!