Fought At Frankfurt
2434 days 1 hours 24 minutes ago
Battle Report
Massacre at Frankfurt
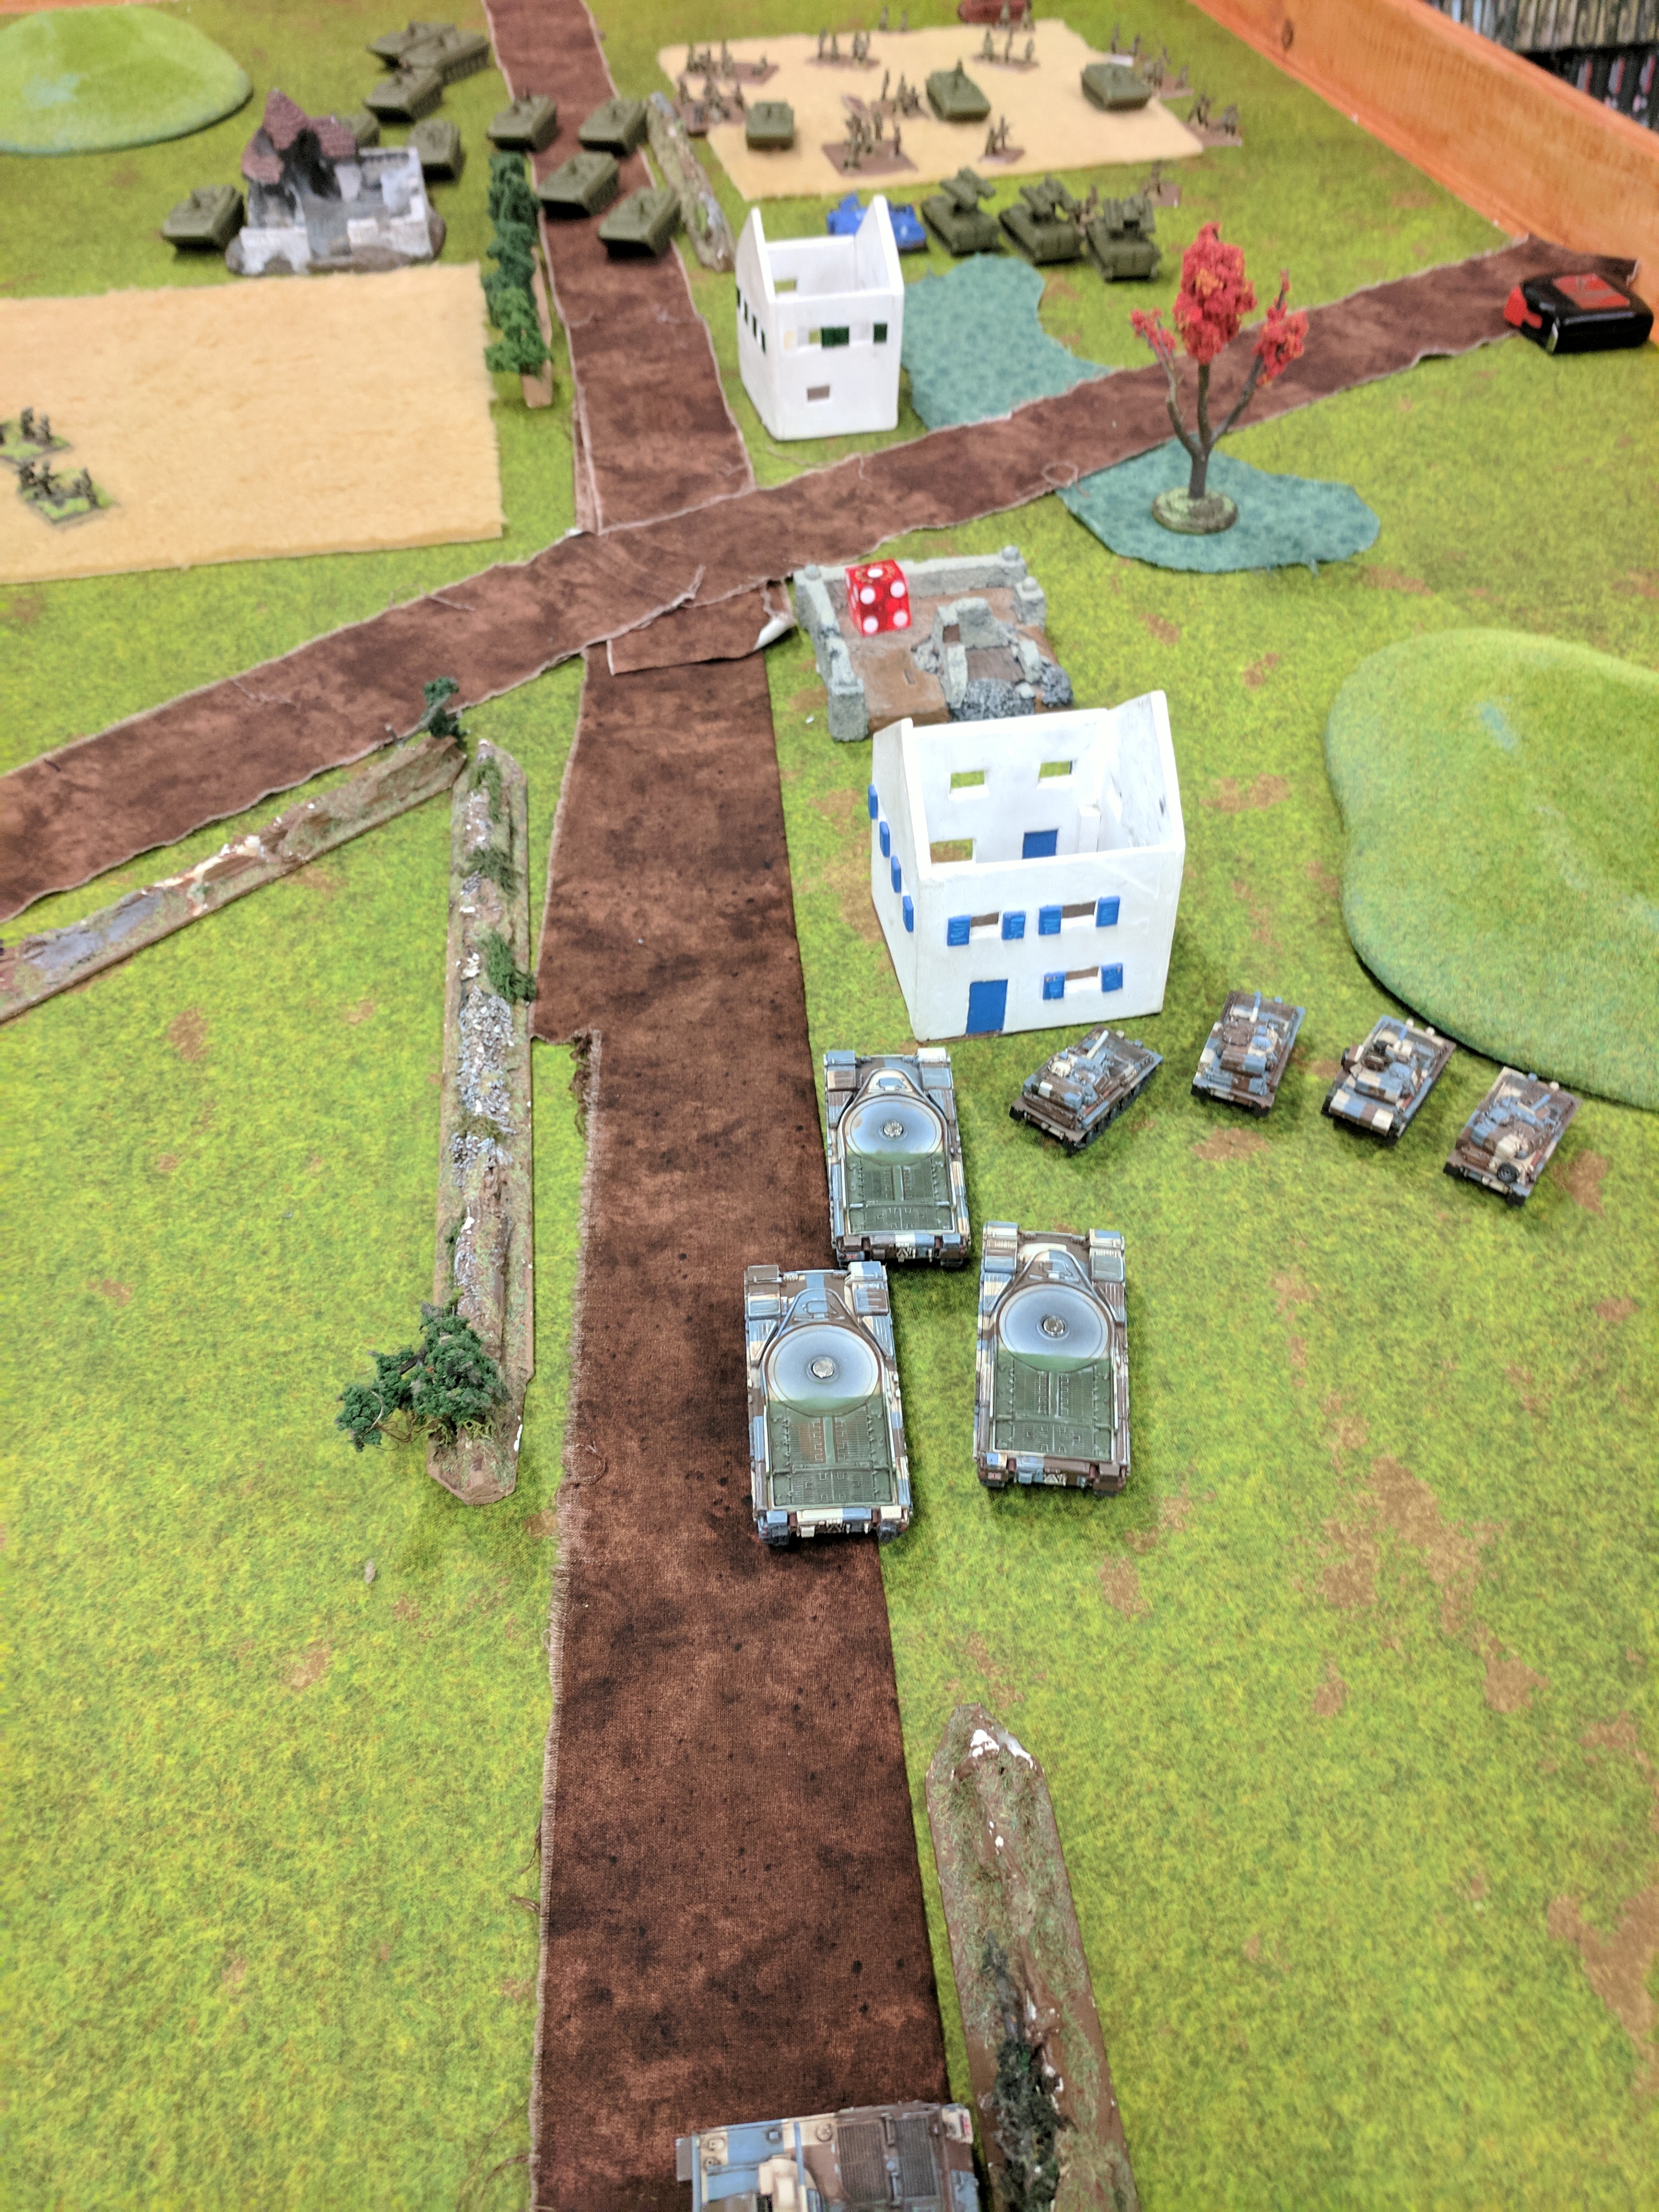
100 POINTSAfter being on the defensive for two weeks, the orders came down about a weak point in the Soviet supply lines. High command reported that recon located a medium sized motorized infantry company with light air defense holding a key crossroad. The orders were simple. Take an armoured company and smash the light defenses and open a hole for to allow for a massive counter attack to cut off Soviet Forces caught in LANDJUT. The company morale was high and the troops were eager to give the Soviet some of what they had received in the first two weeks.
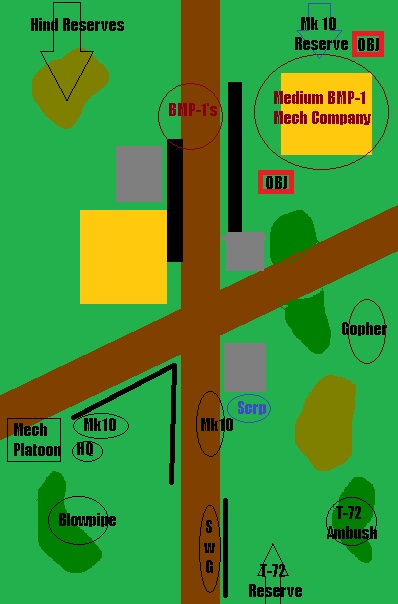
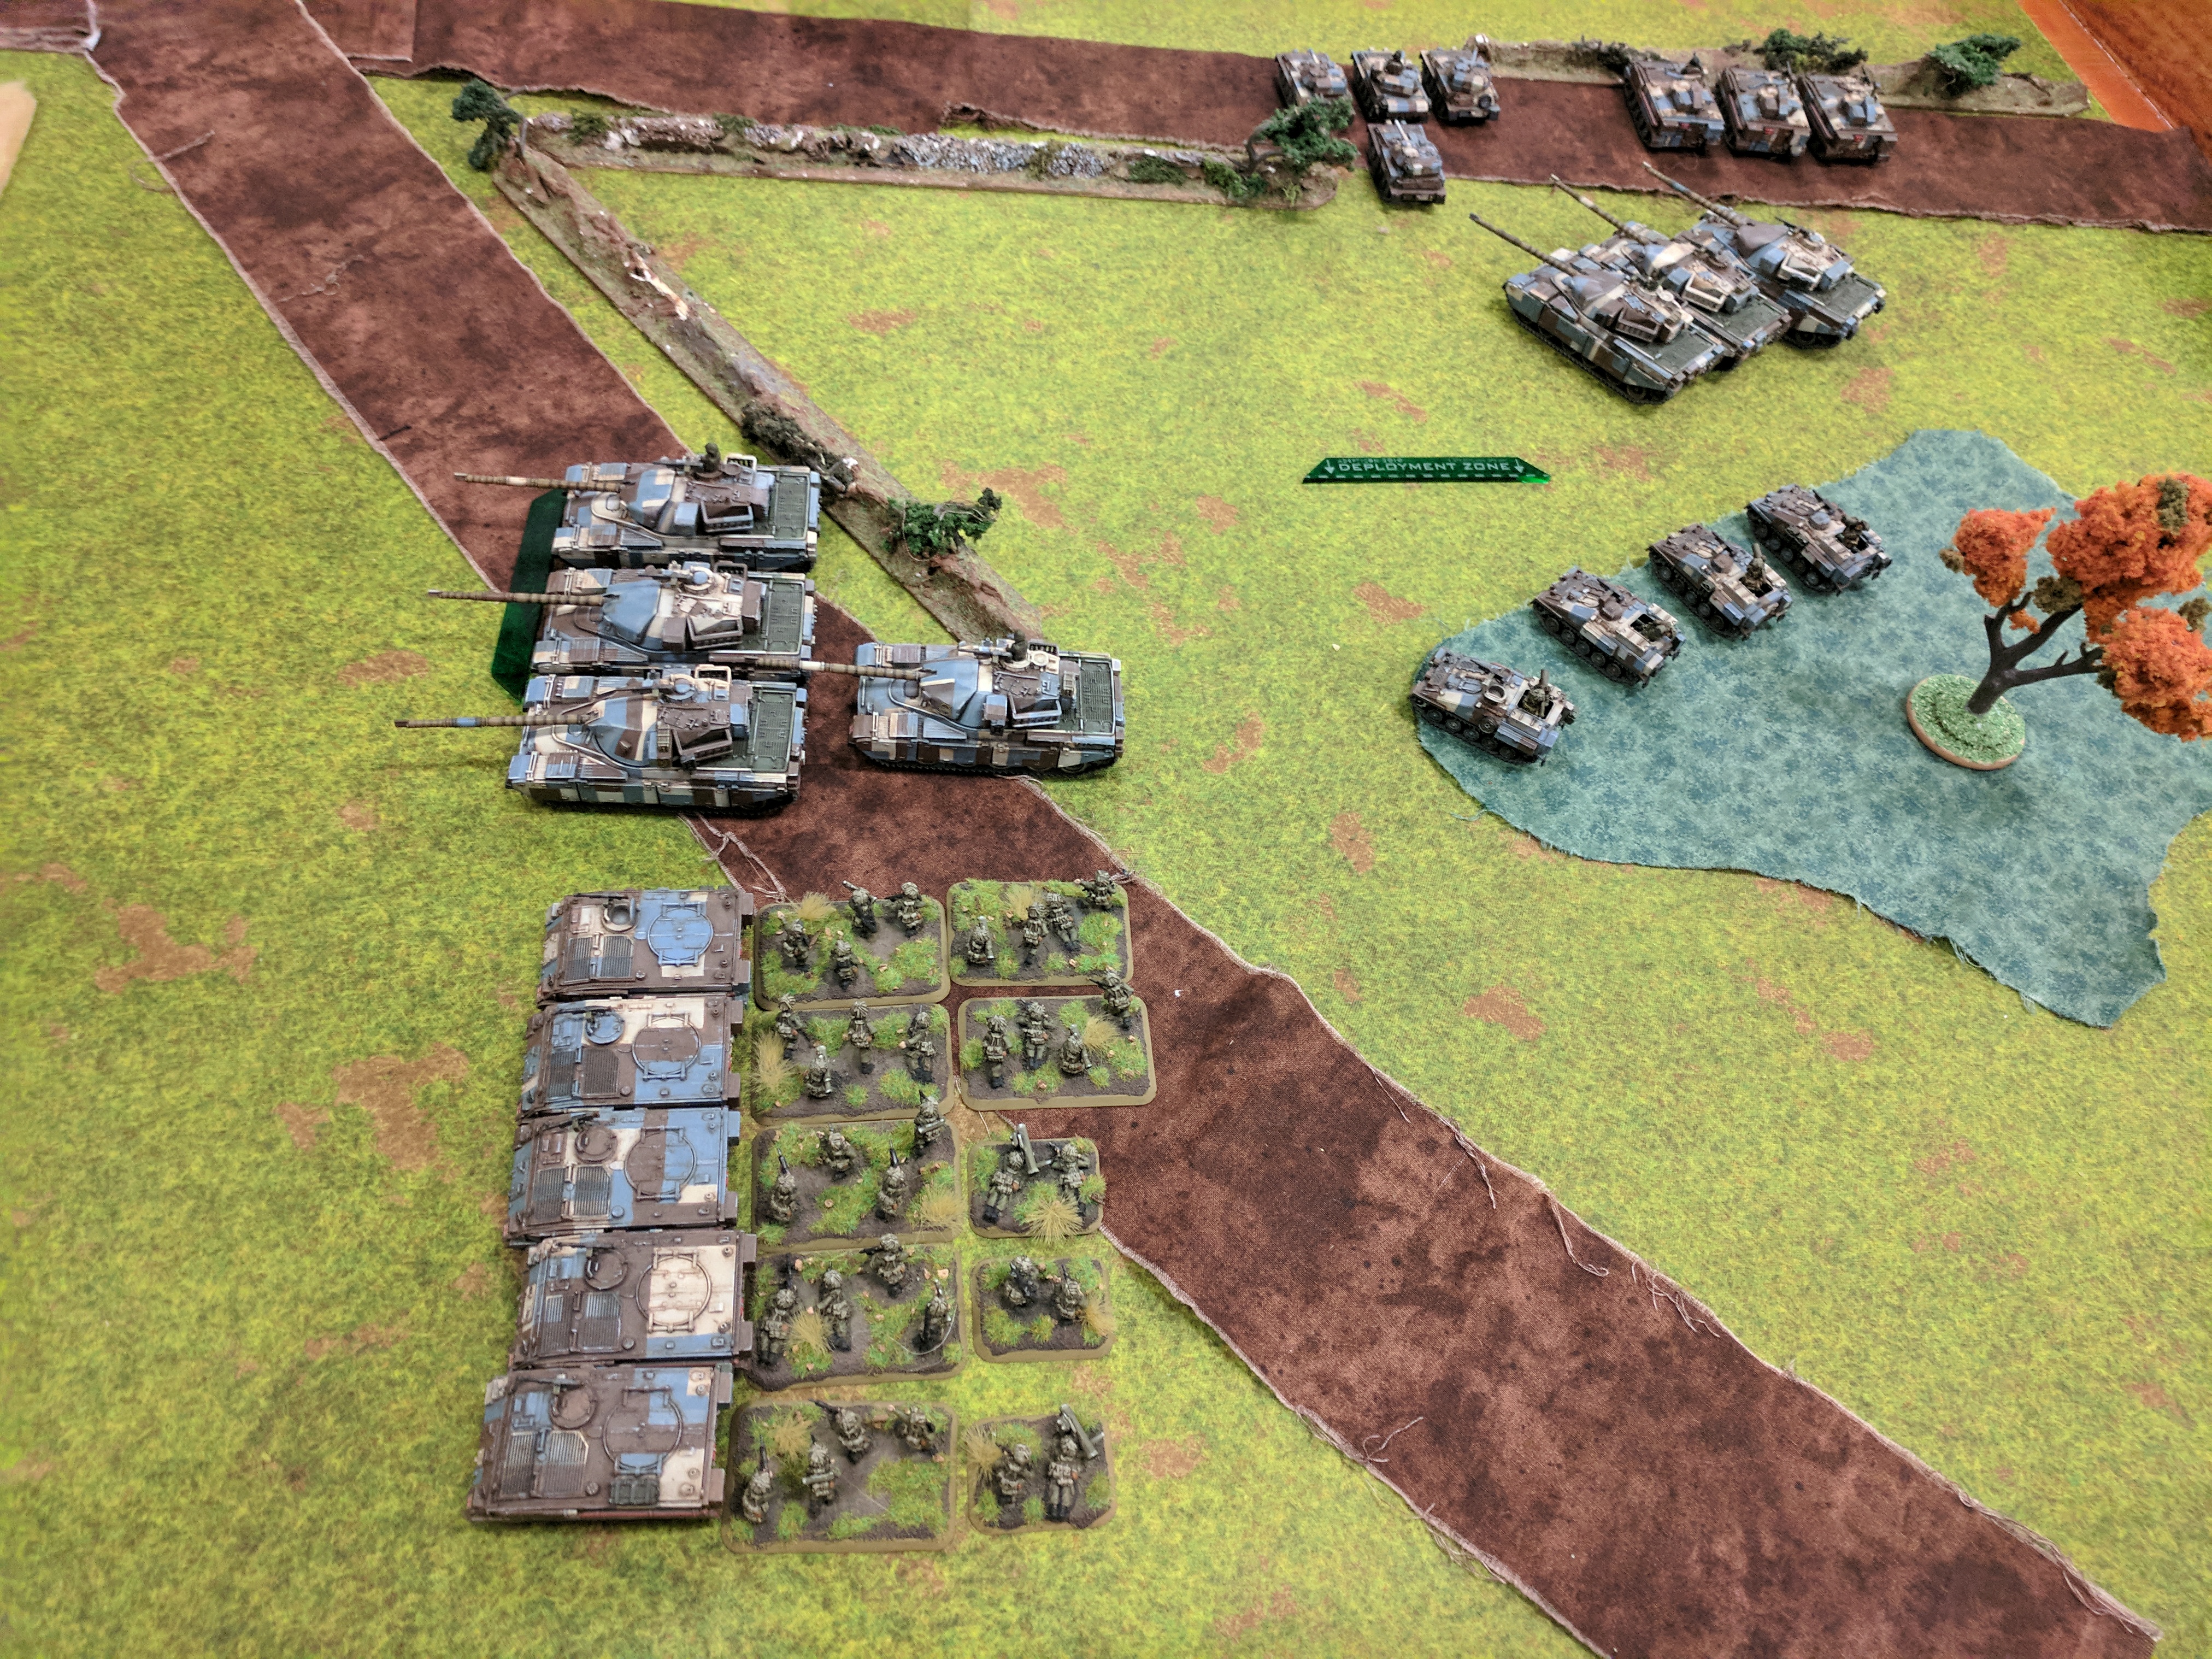
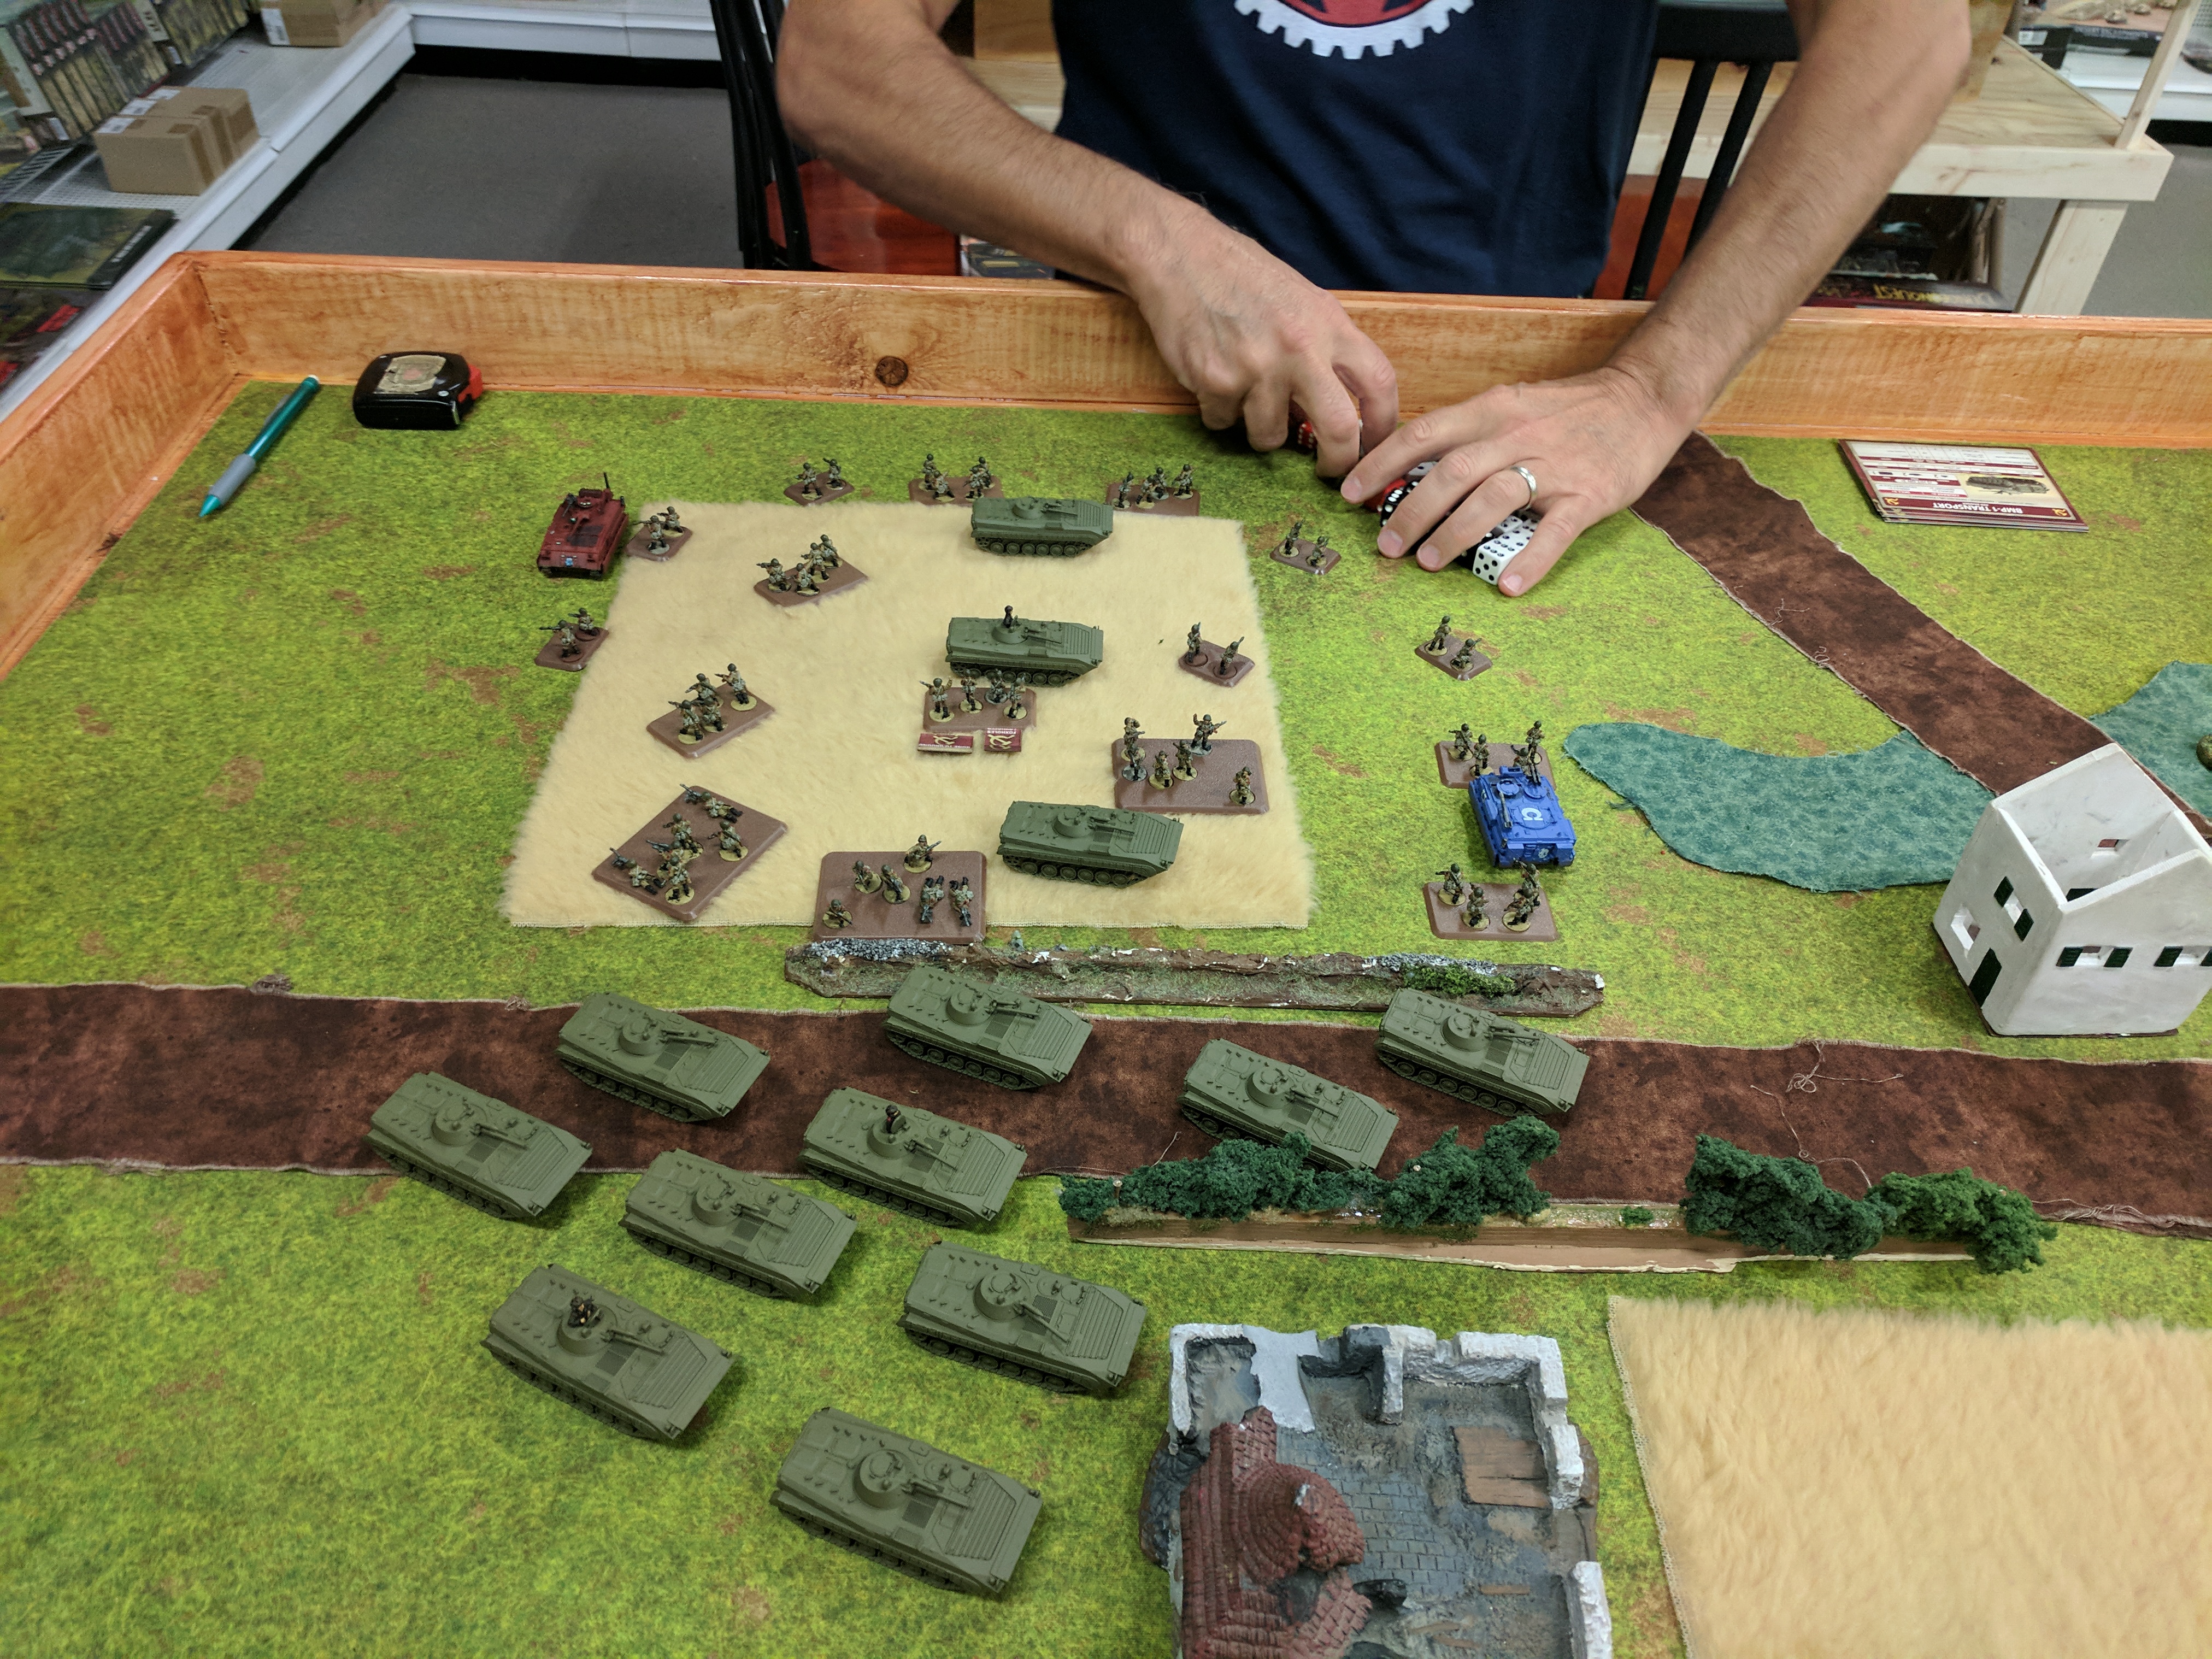
With the enemy in sight, the order to engage was given. In a rather un-British fashion, cheers and war cries could be heard within the tanks and PC's of the company. The first shots rang out from the guided missiles of the Swingfire section, leaving a Gopher platform in flames. A few Mk 10's then the BMP-1's and sending another up in flames. The headquarters section then began to lay shells into the infantry holed up in the field ahead. After the smoke cleared from the initial salvo, the command tank noticed that the Infantry was in a defensive, prepared position. Had command been baited into a trap? As soon as the thought left his mind, screams were heard over the radio as multiple T-72's were sighted flanking the attack.
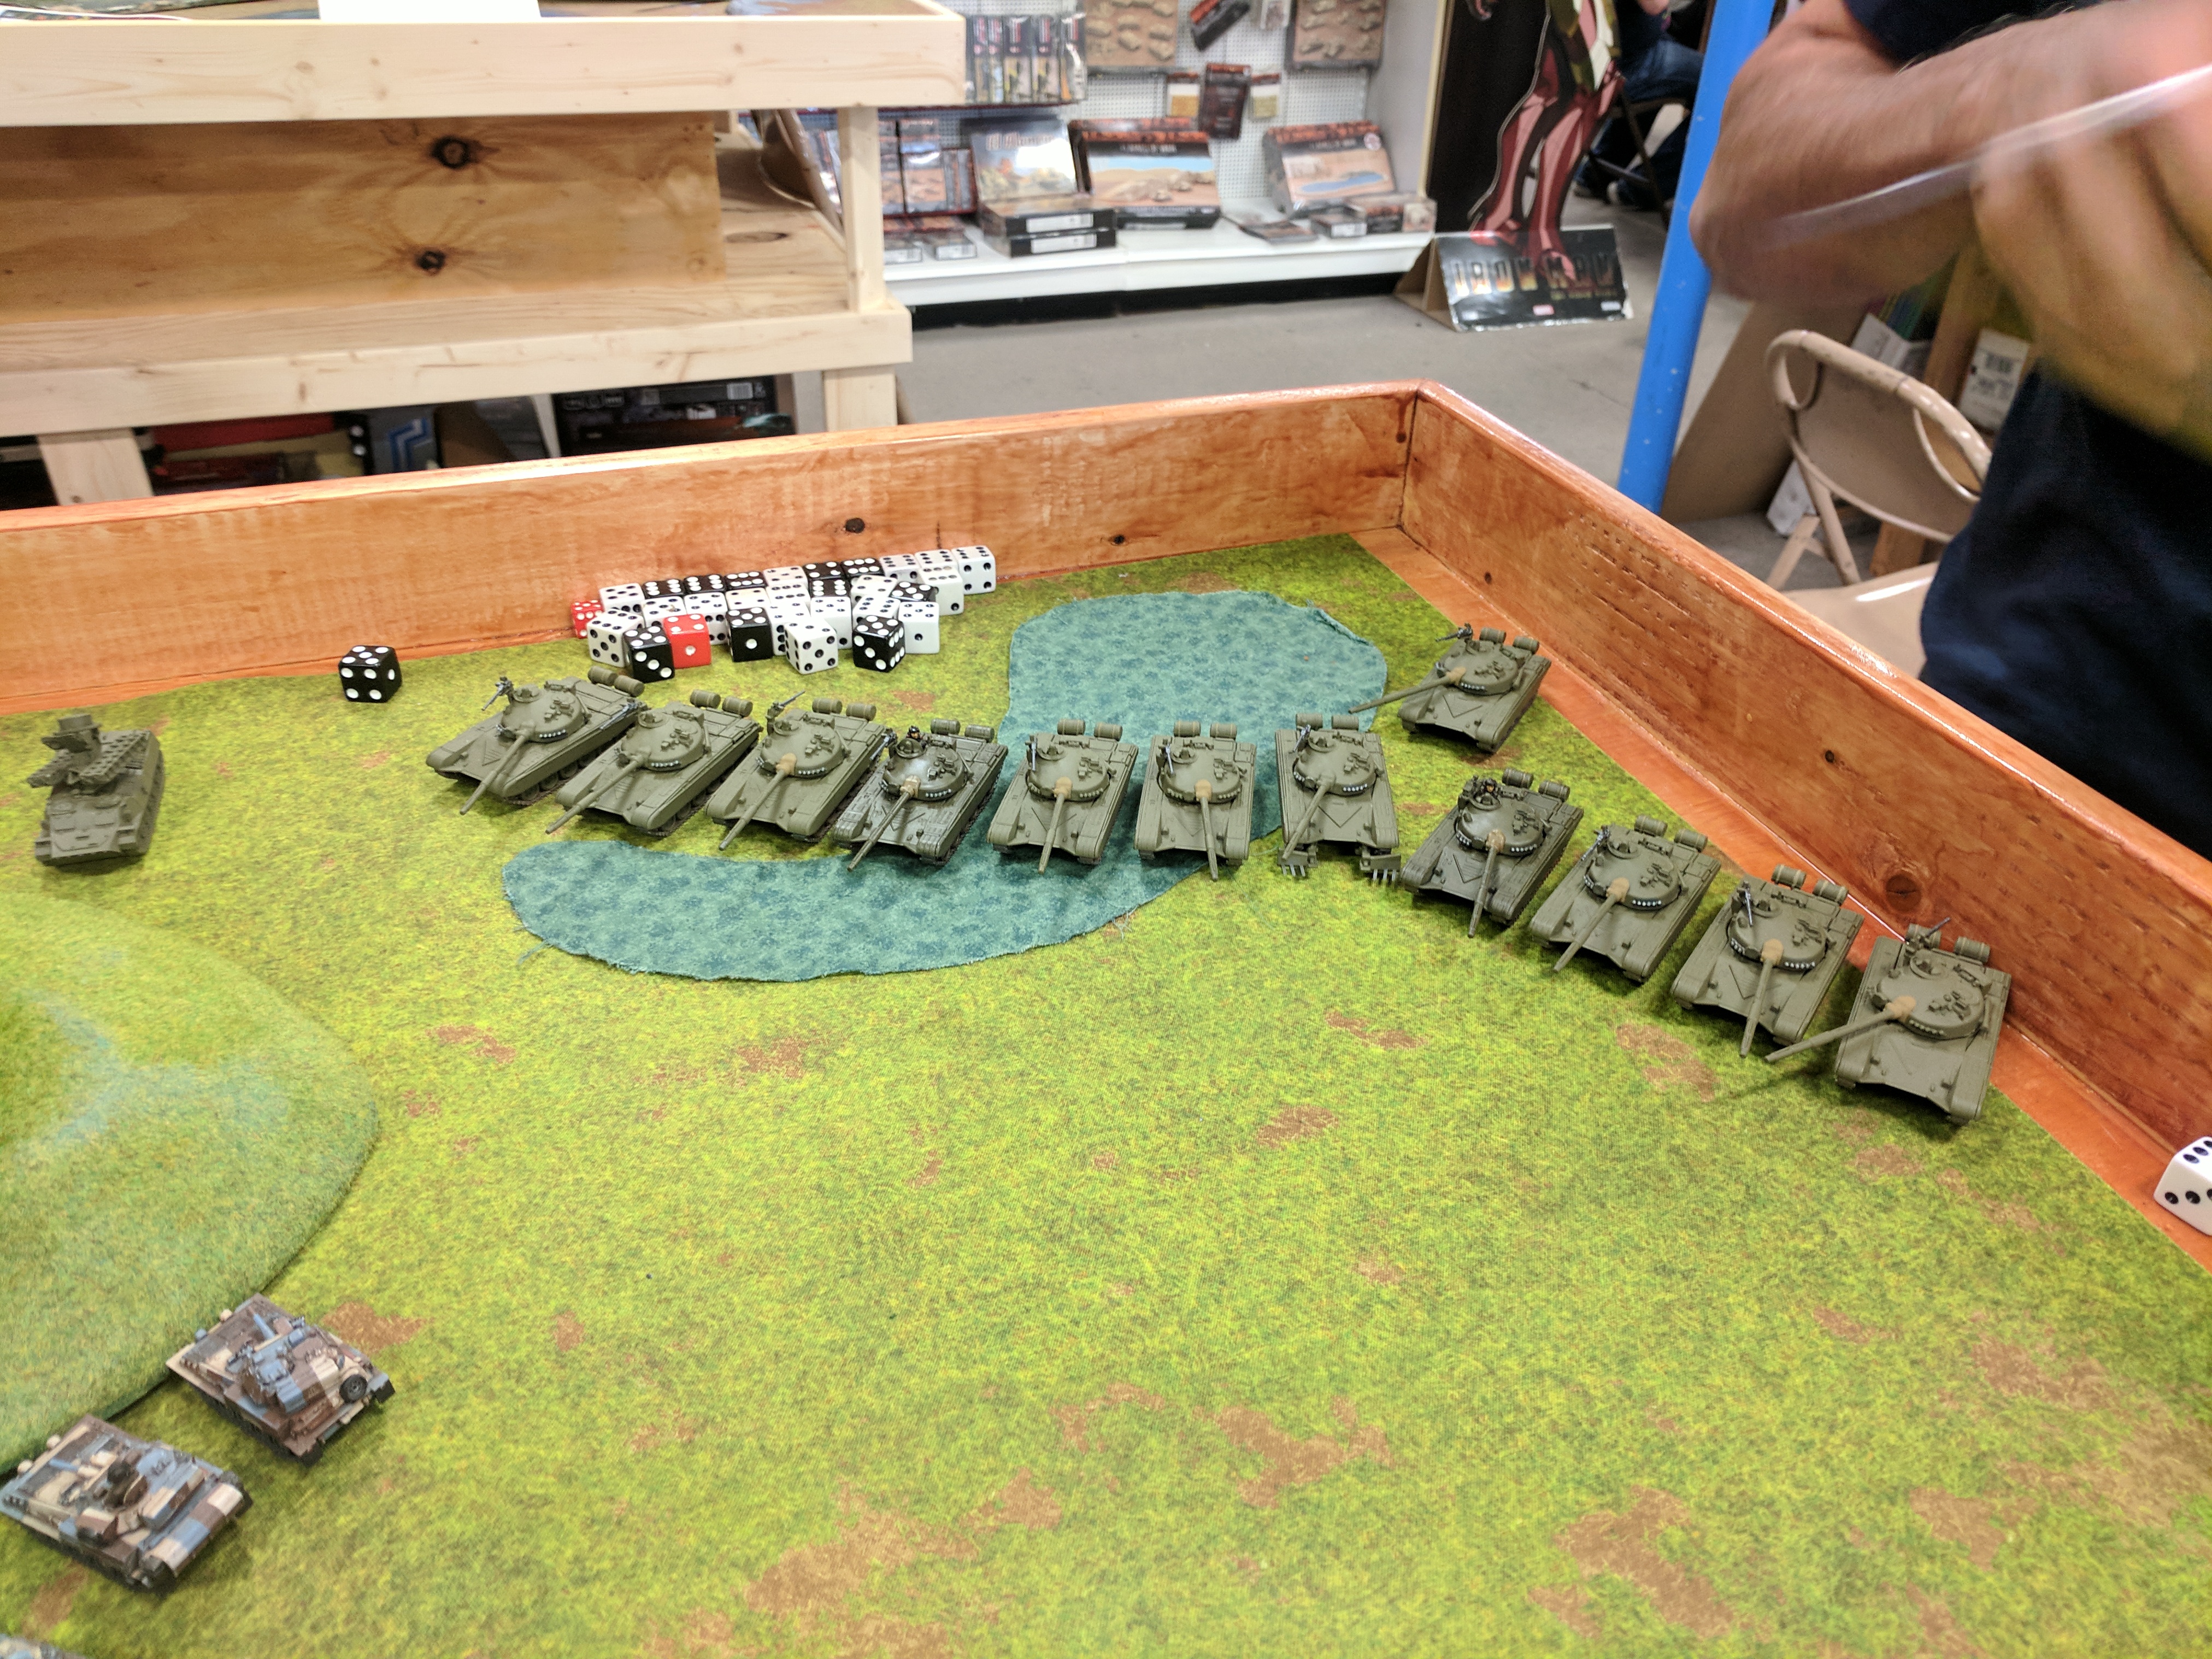
The sound of 15 T-72 tanks roaring to life is an unmistakable sound. The first to make contact was the Swingfire section. The Soviet commander was a seasoned vet and knew that engaging the missiles was not needed if he closed the distance and focused his attention on section 33. The engines didn't have to move very far and after a single salvo from the entire battalion, section 33 was left a smoking wreck. Ivan had sprung the trap, and we had walked right into it by not refusing the flank.
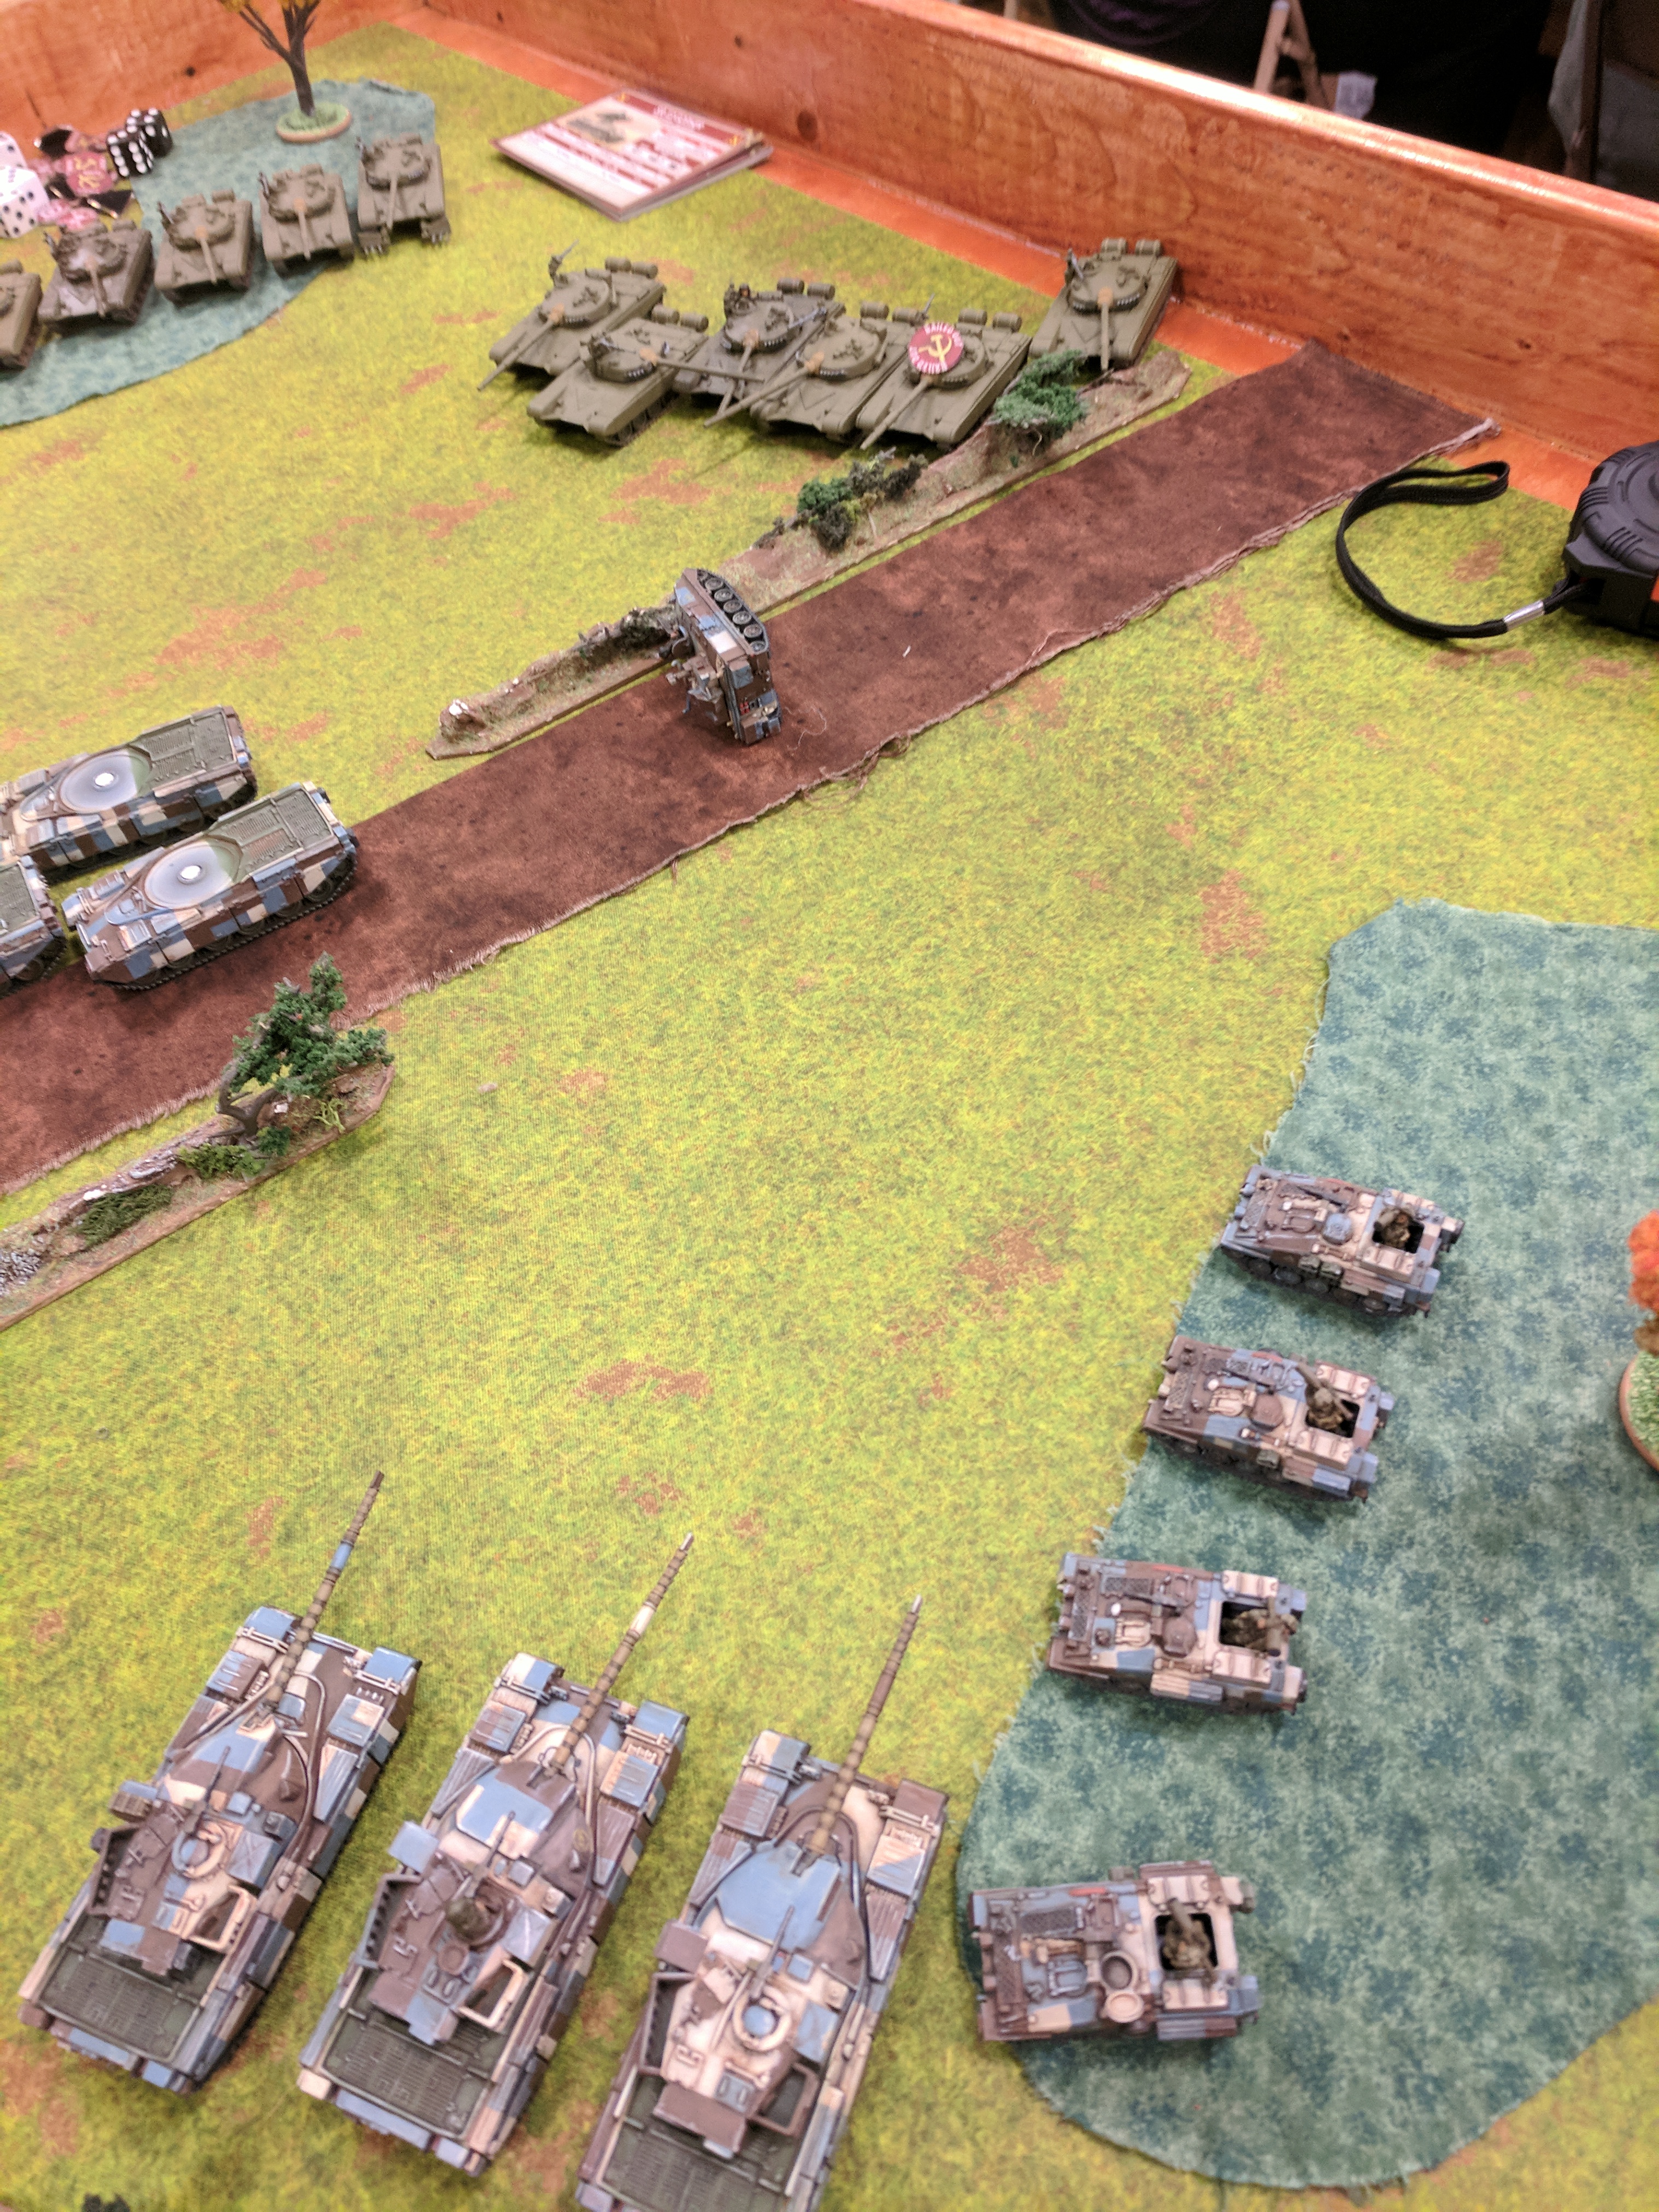
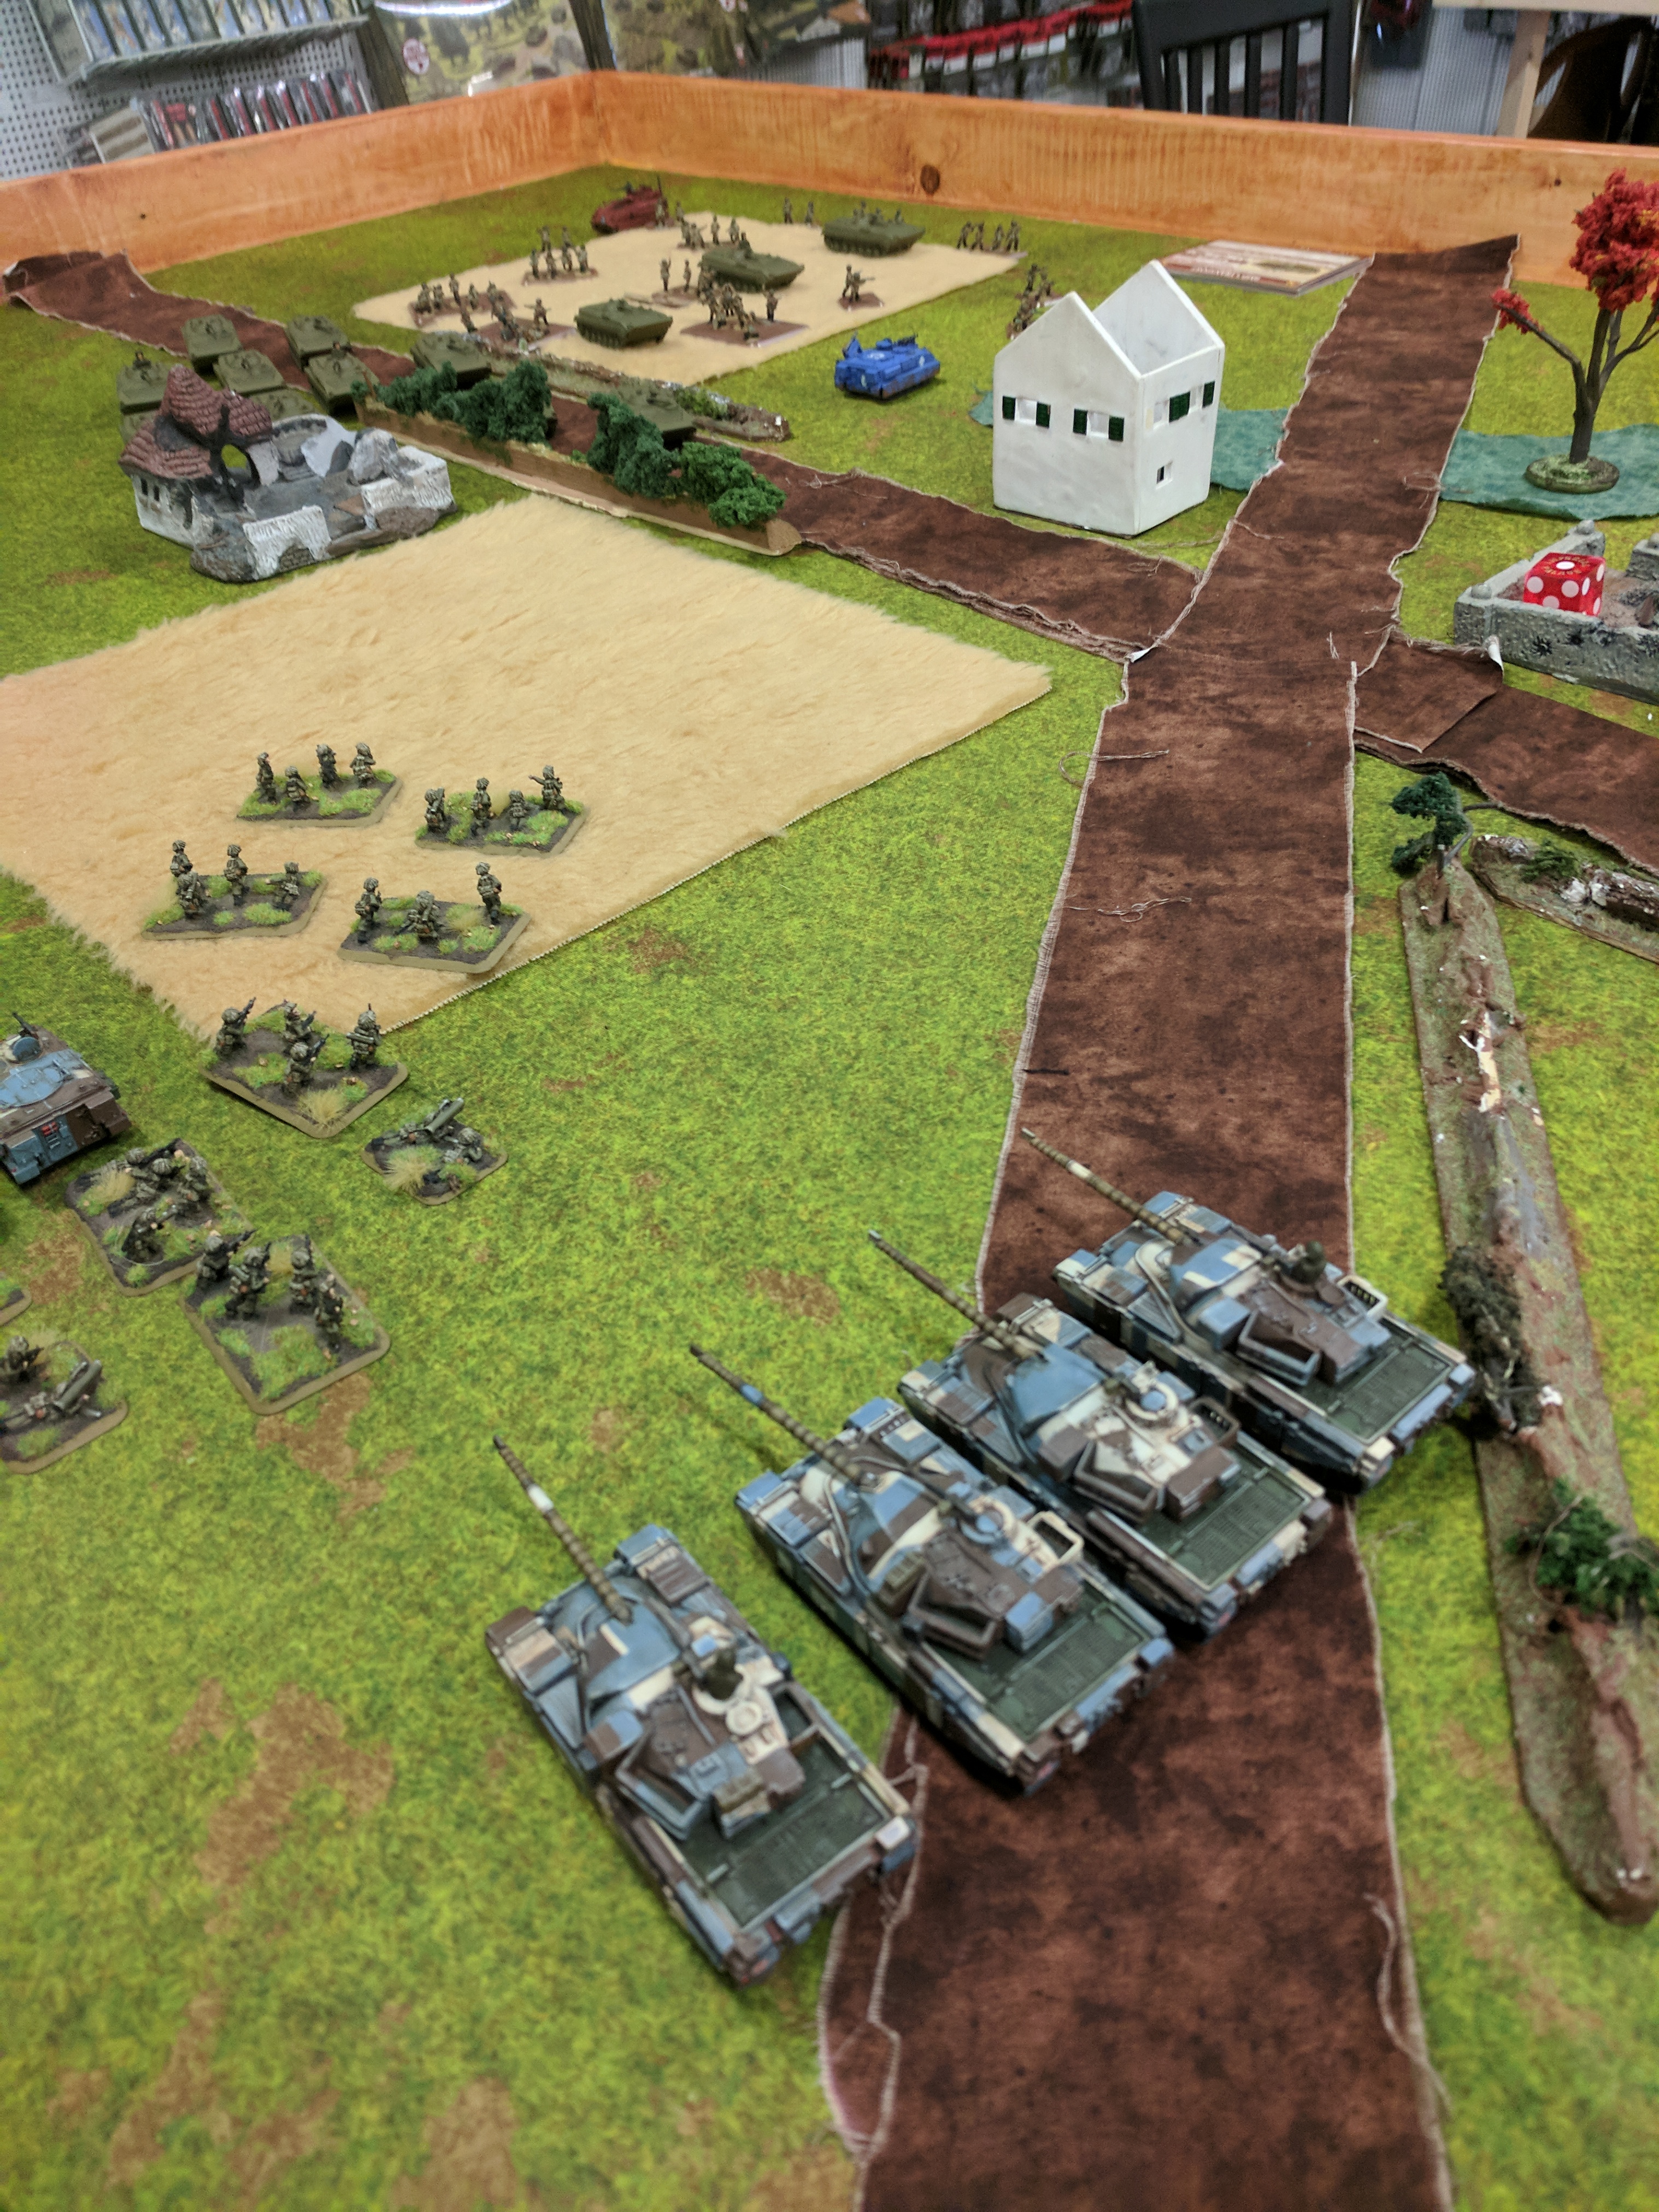
There is nothing more challenging to a commander than finding yourself in bad situation and finding a way out of it. The offensive would have to halt and attention would have to be focused on the T-72's at the rear. The only hope for this company to see another day was to break the T-72's to re-open the lines of retreat and hope that reinforcements would arrive in time. The command was given to have section 32 turn and face the Soviet Tanks. 4 guns against 15. The odds were long and the men knew it. The command was given to engage. As expected, the results were bleak. One T-72 was aflame. The Recce section tried to find cover away from the tanks, knowing the HESH from the main gun was ineffective against Soviet tanks. The Infantry took cover in the field and hoped to teach the red bastards a thing about how to wage war with small arms.
The Soviet continued to seize the initiative. Section 32 was quickly eliminated by the T-72s. A flight of MI-24's appeared and took out the tracks of the Infantry Platoon, and the BMP-1's began to envelop and strafe the infantry in the wheat field. Shortly thereafter, morale broke and the company ran.
The battle was over it seemed as quickly as it started. The Soviet ambush combined with reserves bringing the entire of his armored elements to bear on turn one was the deciding factor in the game. It was only my 2nd game of TY, and I had totally forgot about the possibility of an ambush. Joe's decision to close the range with the swingfire section and take out a section of Mk 10's effectively left 48 points of my 100 out of commission (I left one section of Mk 10's in reserve). When next I play, I will have to mind the possible ambush.
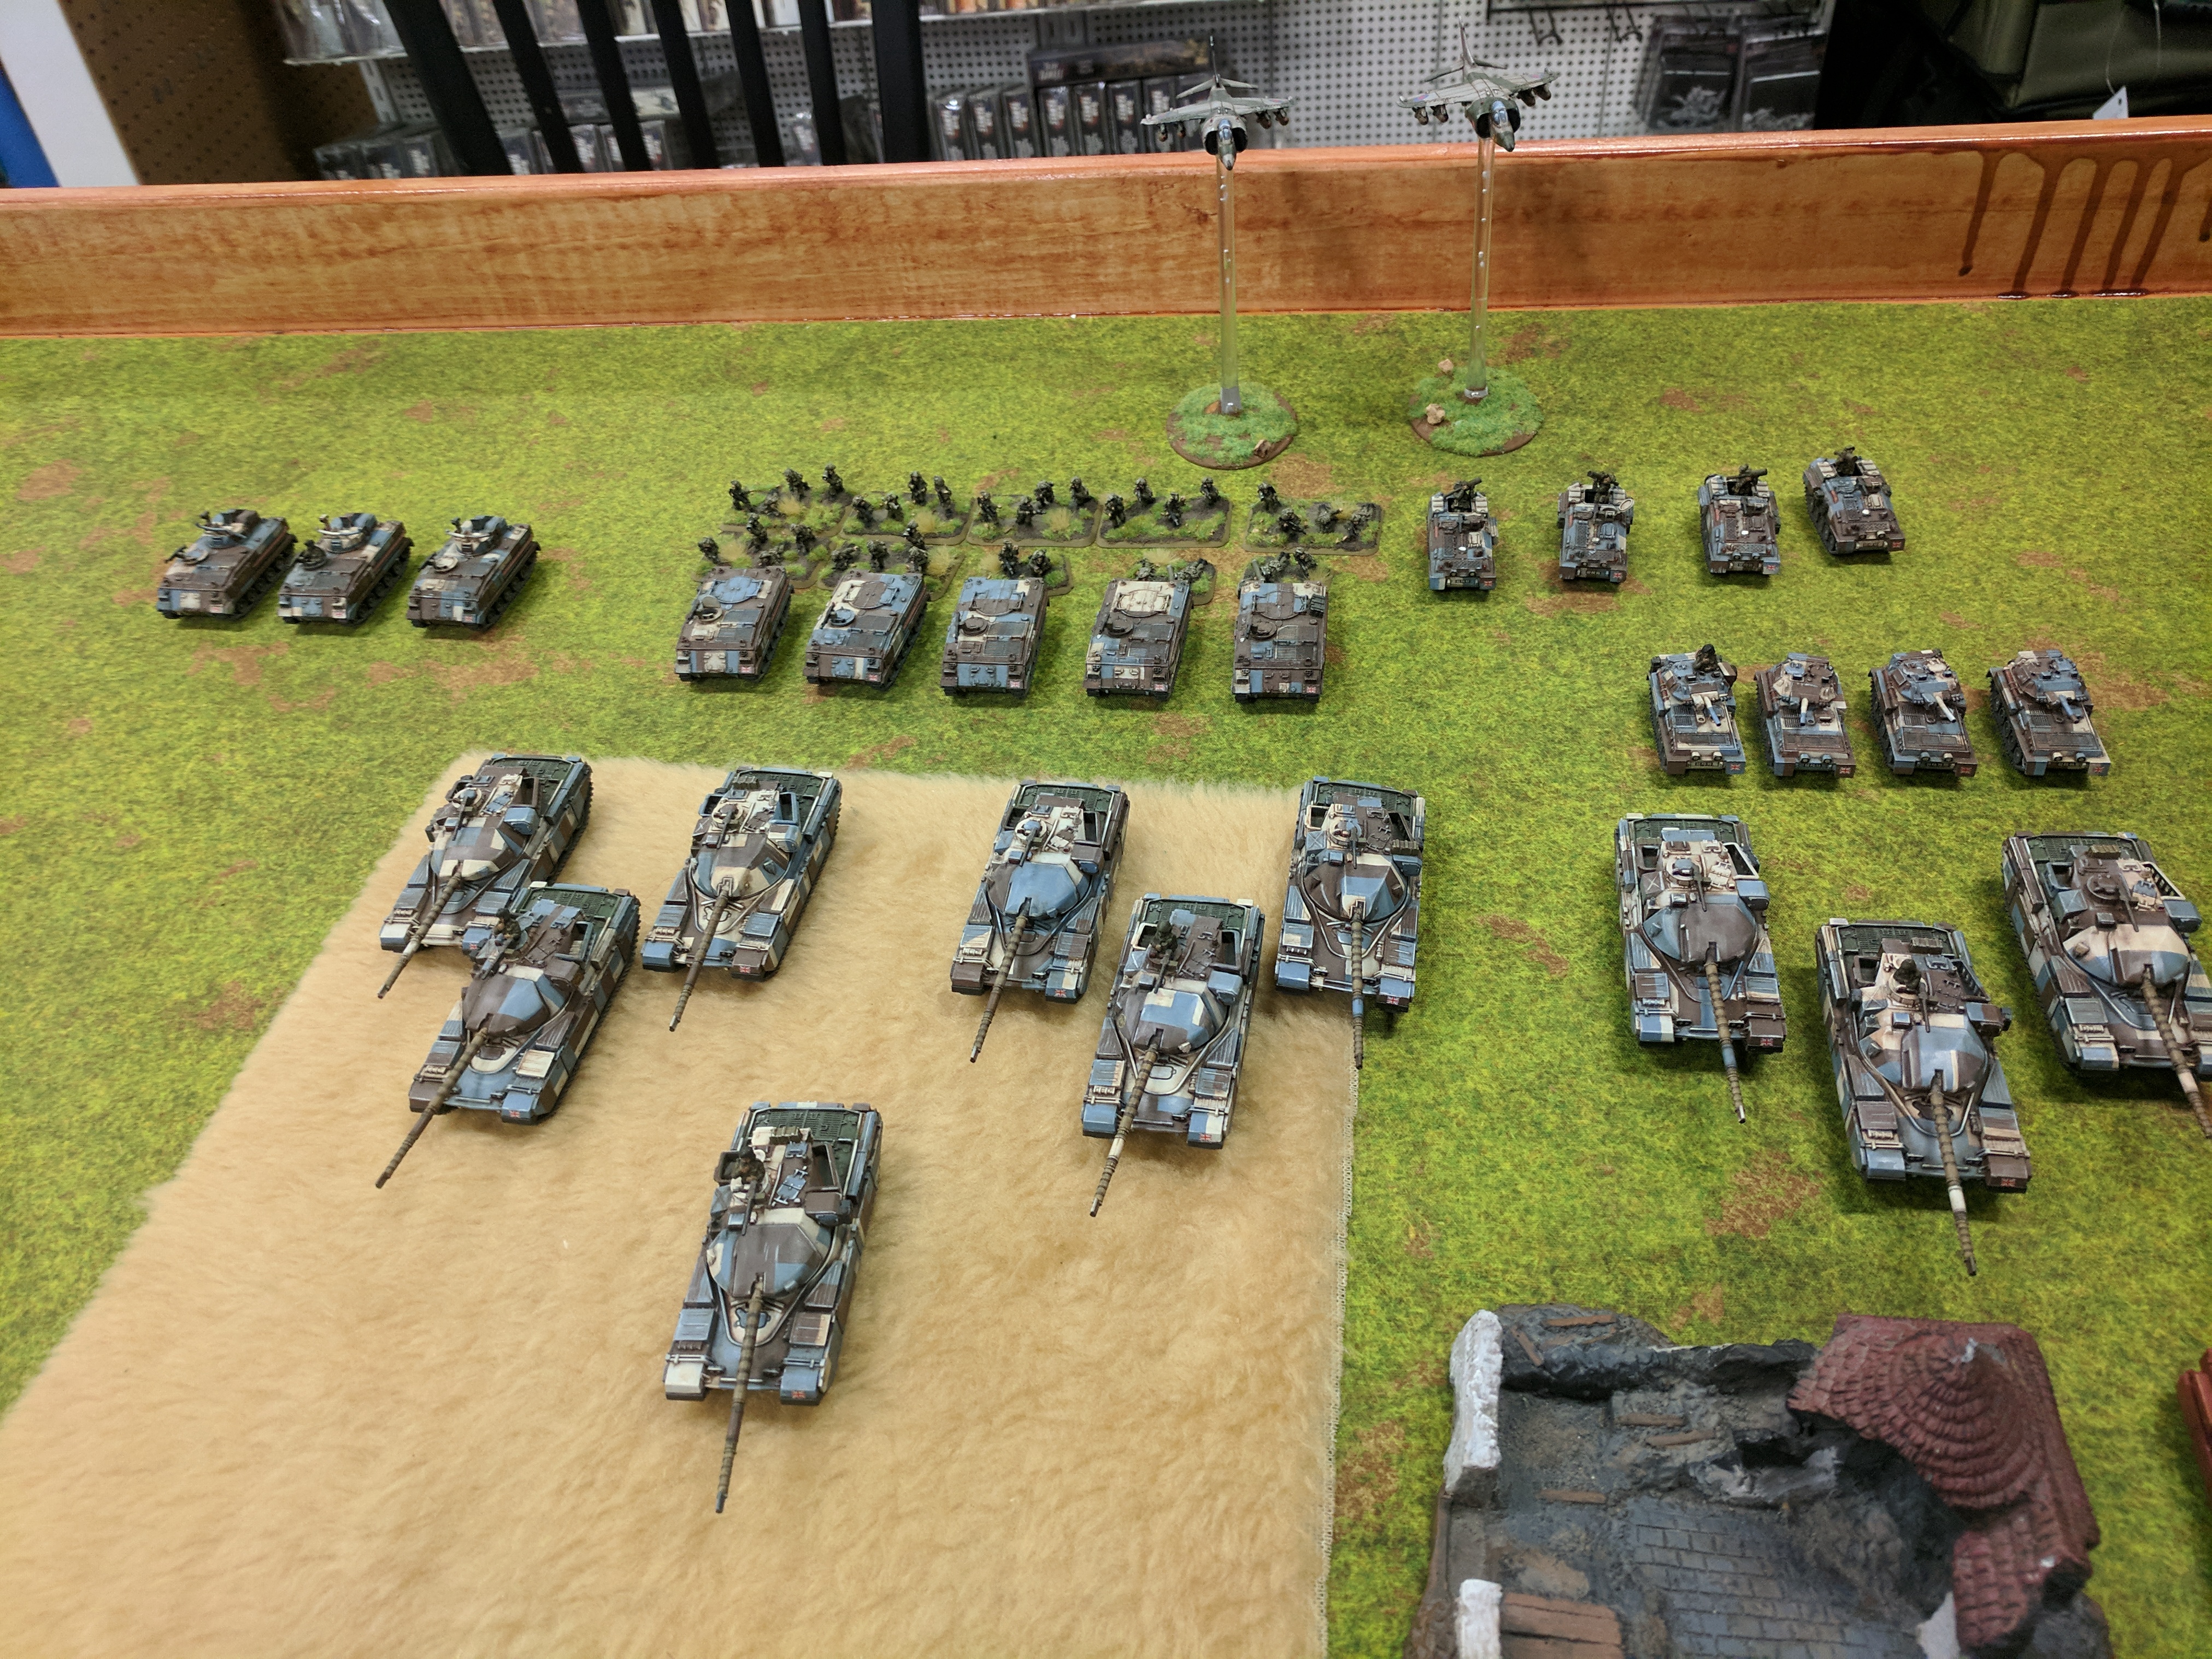
I also need to reinforce my Harrier section. The Harriers are a fantastic asset when cost and effectiveness is factored in, but only having two limits their action.
Finally, I need to discover how best to use the Scorpion section. In a world of tanks, the 14 HEAT can engage very few of them. On paper, I like the high firepower to help dig out infantry, but the ROF is a limiting factor. Outside of the spearhead move, I'm at a total loss on how to use these.
Battle Report Author
Army Lists Used In This Battle
Recommend Commander For Commendation
Share this battle with friends
JoeWins

Hello,
A very good report, thanks for it.
Hey, you learned from it, that’s the main thing, head up and make it better in your next game ;).
Best regards, Frank.
Jagdpanzer, Yes… this is Mr. Puk’s work.
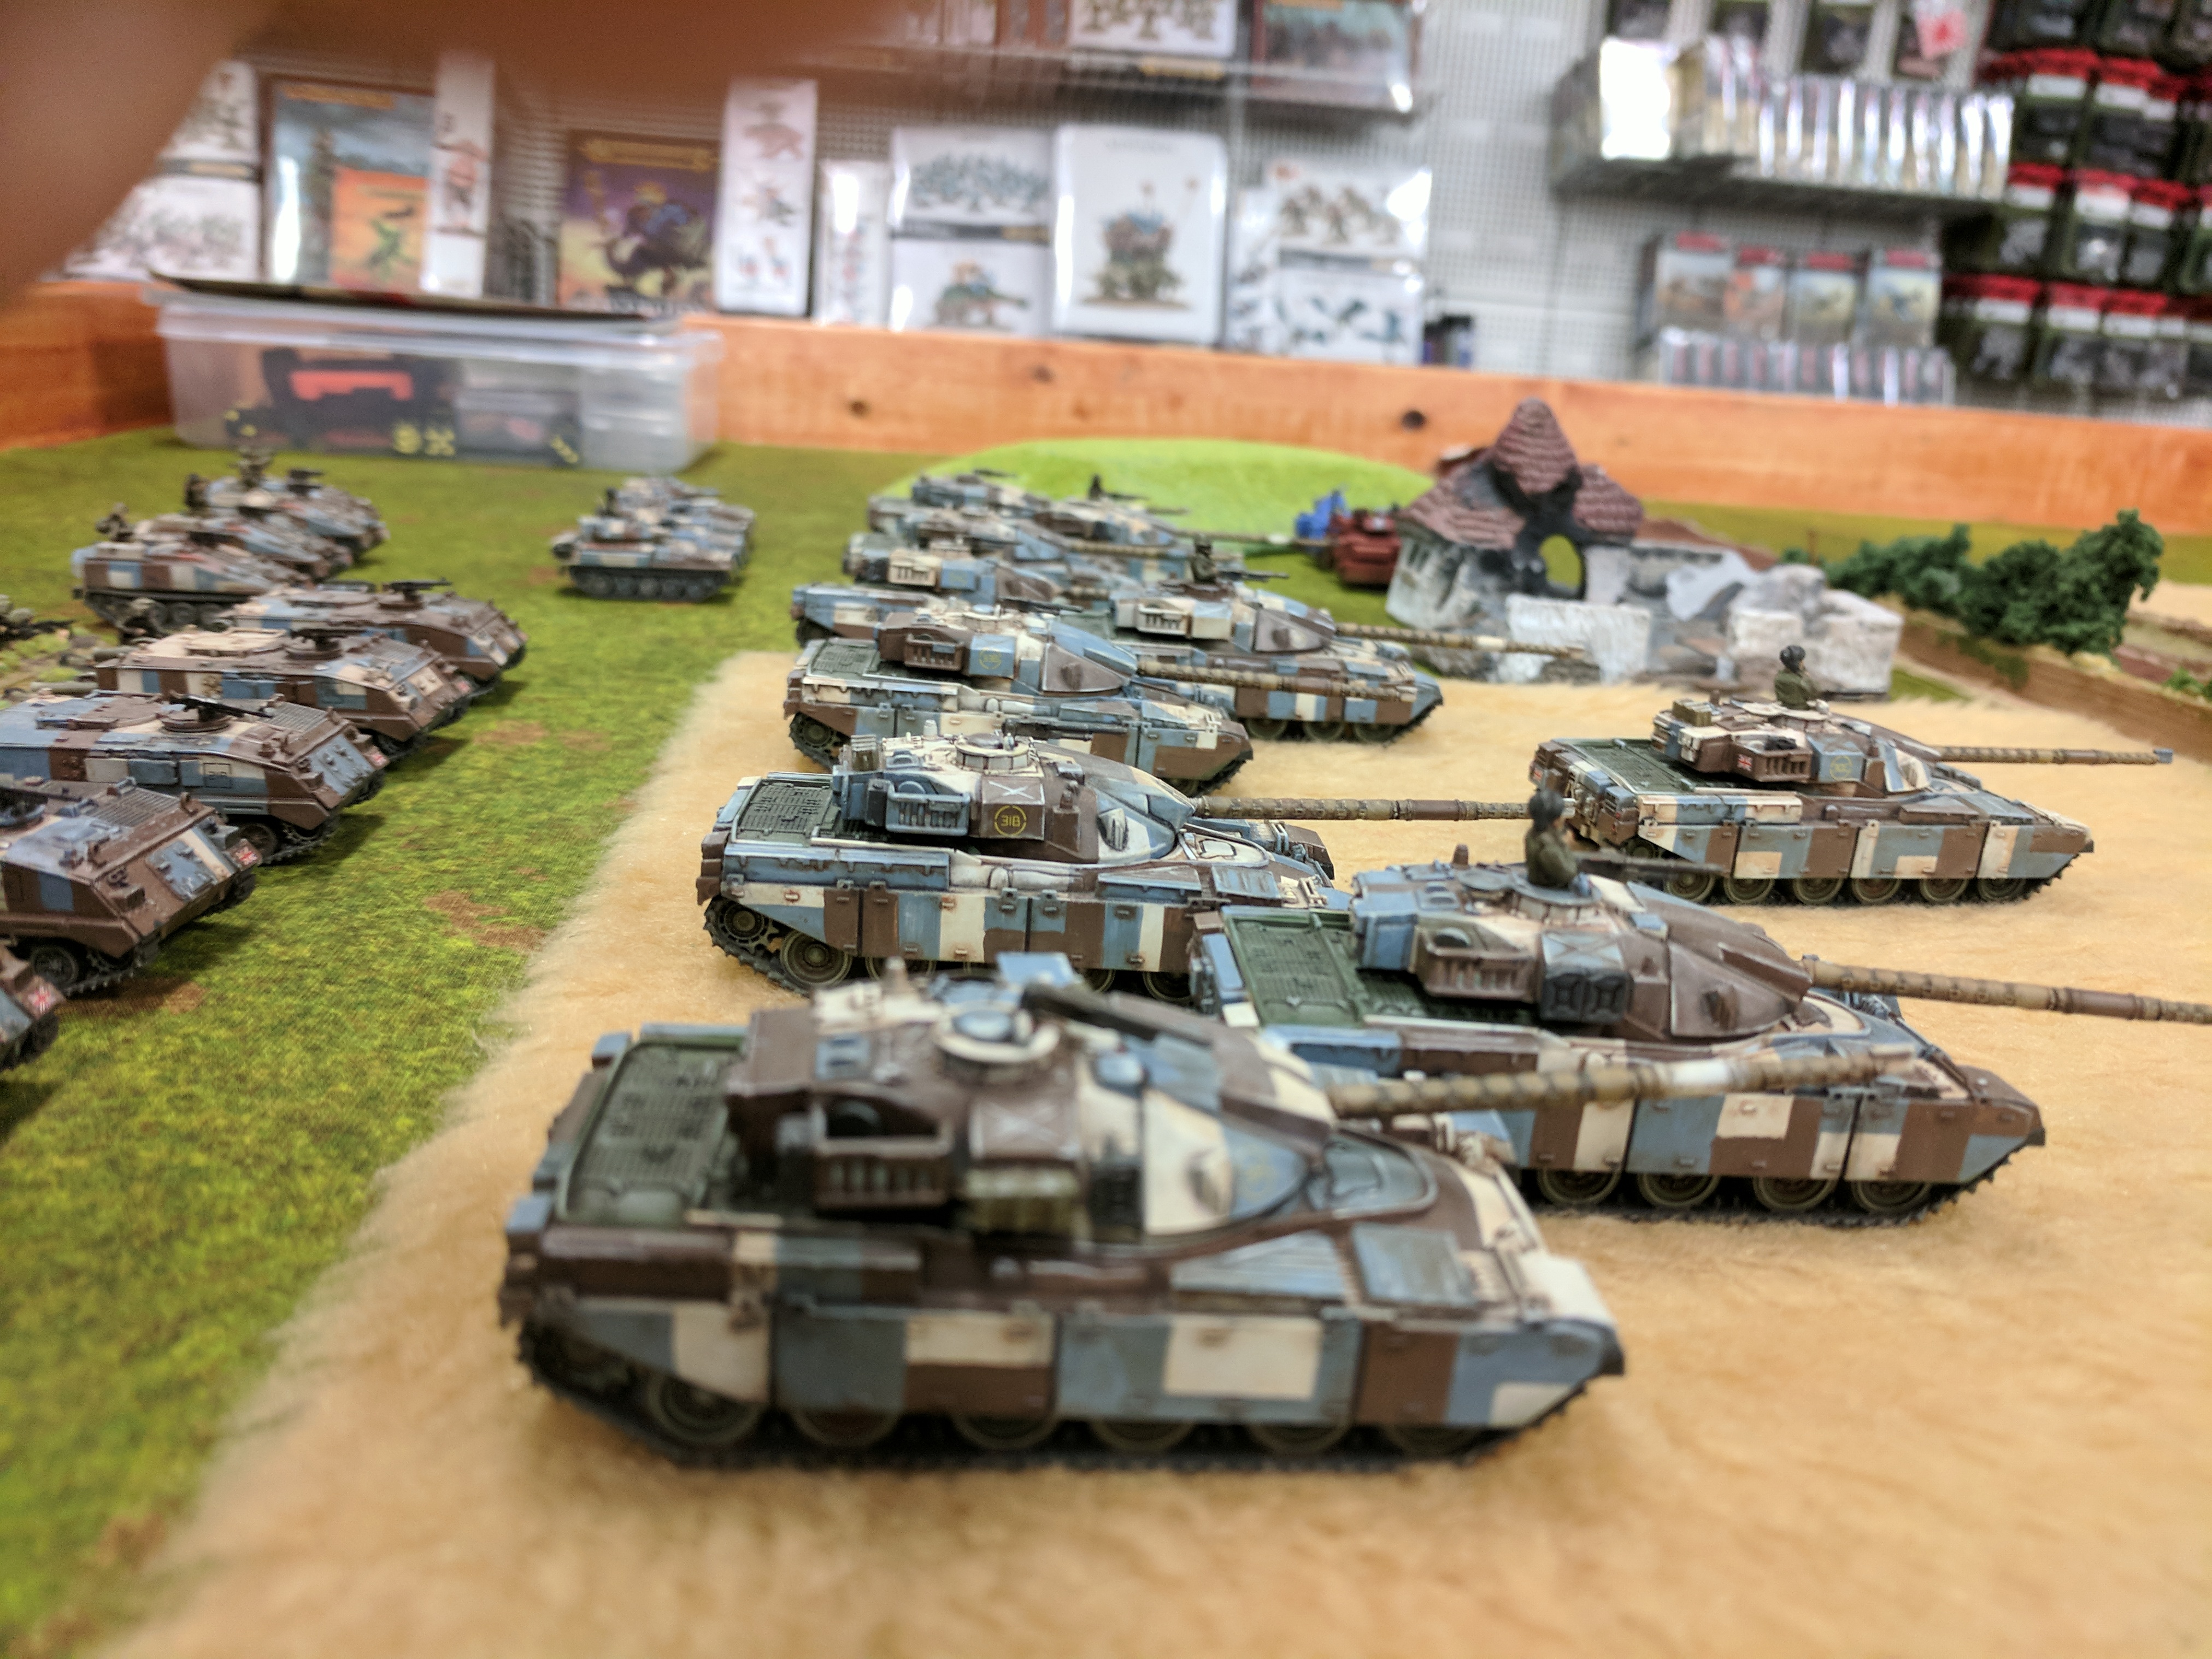
Fantastic Berlin Brigade paint job!
A hard fought battle, and a sad loss. Report back to the briefing room for your report, Lieutenant. We’ll have the boys at Intelligence instruct you on uses for your various troops and hopefully next time, you’ll be able to snatch a win. Bad luck.
nice paint jobs on the Berlin Brigade, Mr Puks work?
Wow really nice report and even nicer models! That looks like it would’ve been very demanding patiently to paint all that!
Yeah, the Scorpions are a strange one; consider using Scimitars instead; swtiching to AT10 side, no heat means you can potentially side shot the bigger cats. Good report, nicely painted models and a nice overview image.
Very nice report… the “good guys” won… and the Berlin Brigade paint job is just frikkin’ inspiring. I’m incredibly impressed.
Good job on the report. Like the tanks.
Nice report. Great Berlin paint job