Fought At Bremen
2435 days 22 hours 5 minutes ago
Battle Report
The Butchery at Bremen
View Linked Report - CLICK HERE 100 POINTSHauptmann Kaleb Euler sat upon the edge of his commanders cupola looking out to the rising dawn and in this rare moment of peace he thought of history. His father had fought against the Soviets with the 18th Panzer-Division. He had told his son of the victories and then of the defeats he had suffered. Kaleb's own war had more felt like the latter of his fathers stories. He could not call to his weary mind any meaningful victories that he had heard of, only defeat and withdraws. But now with their very backs to the borders of his beloved Germany it was time to strike back. Counter Attack, stop withdrawing or giving ground but to strike back at his foe. A short burst in his radio was the signal he had been waiting for. It was time.
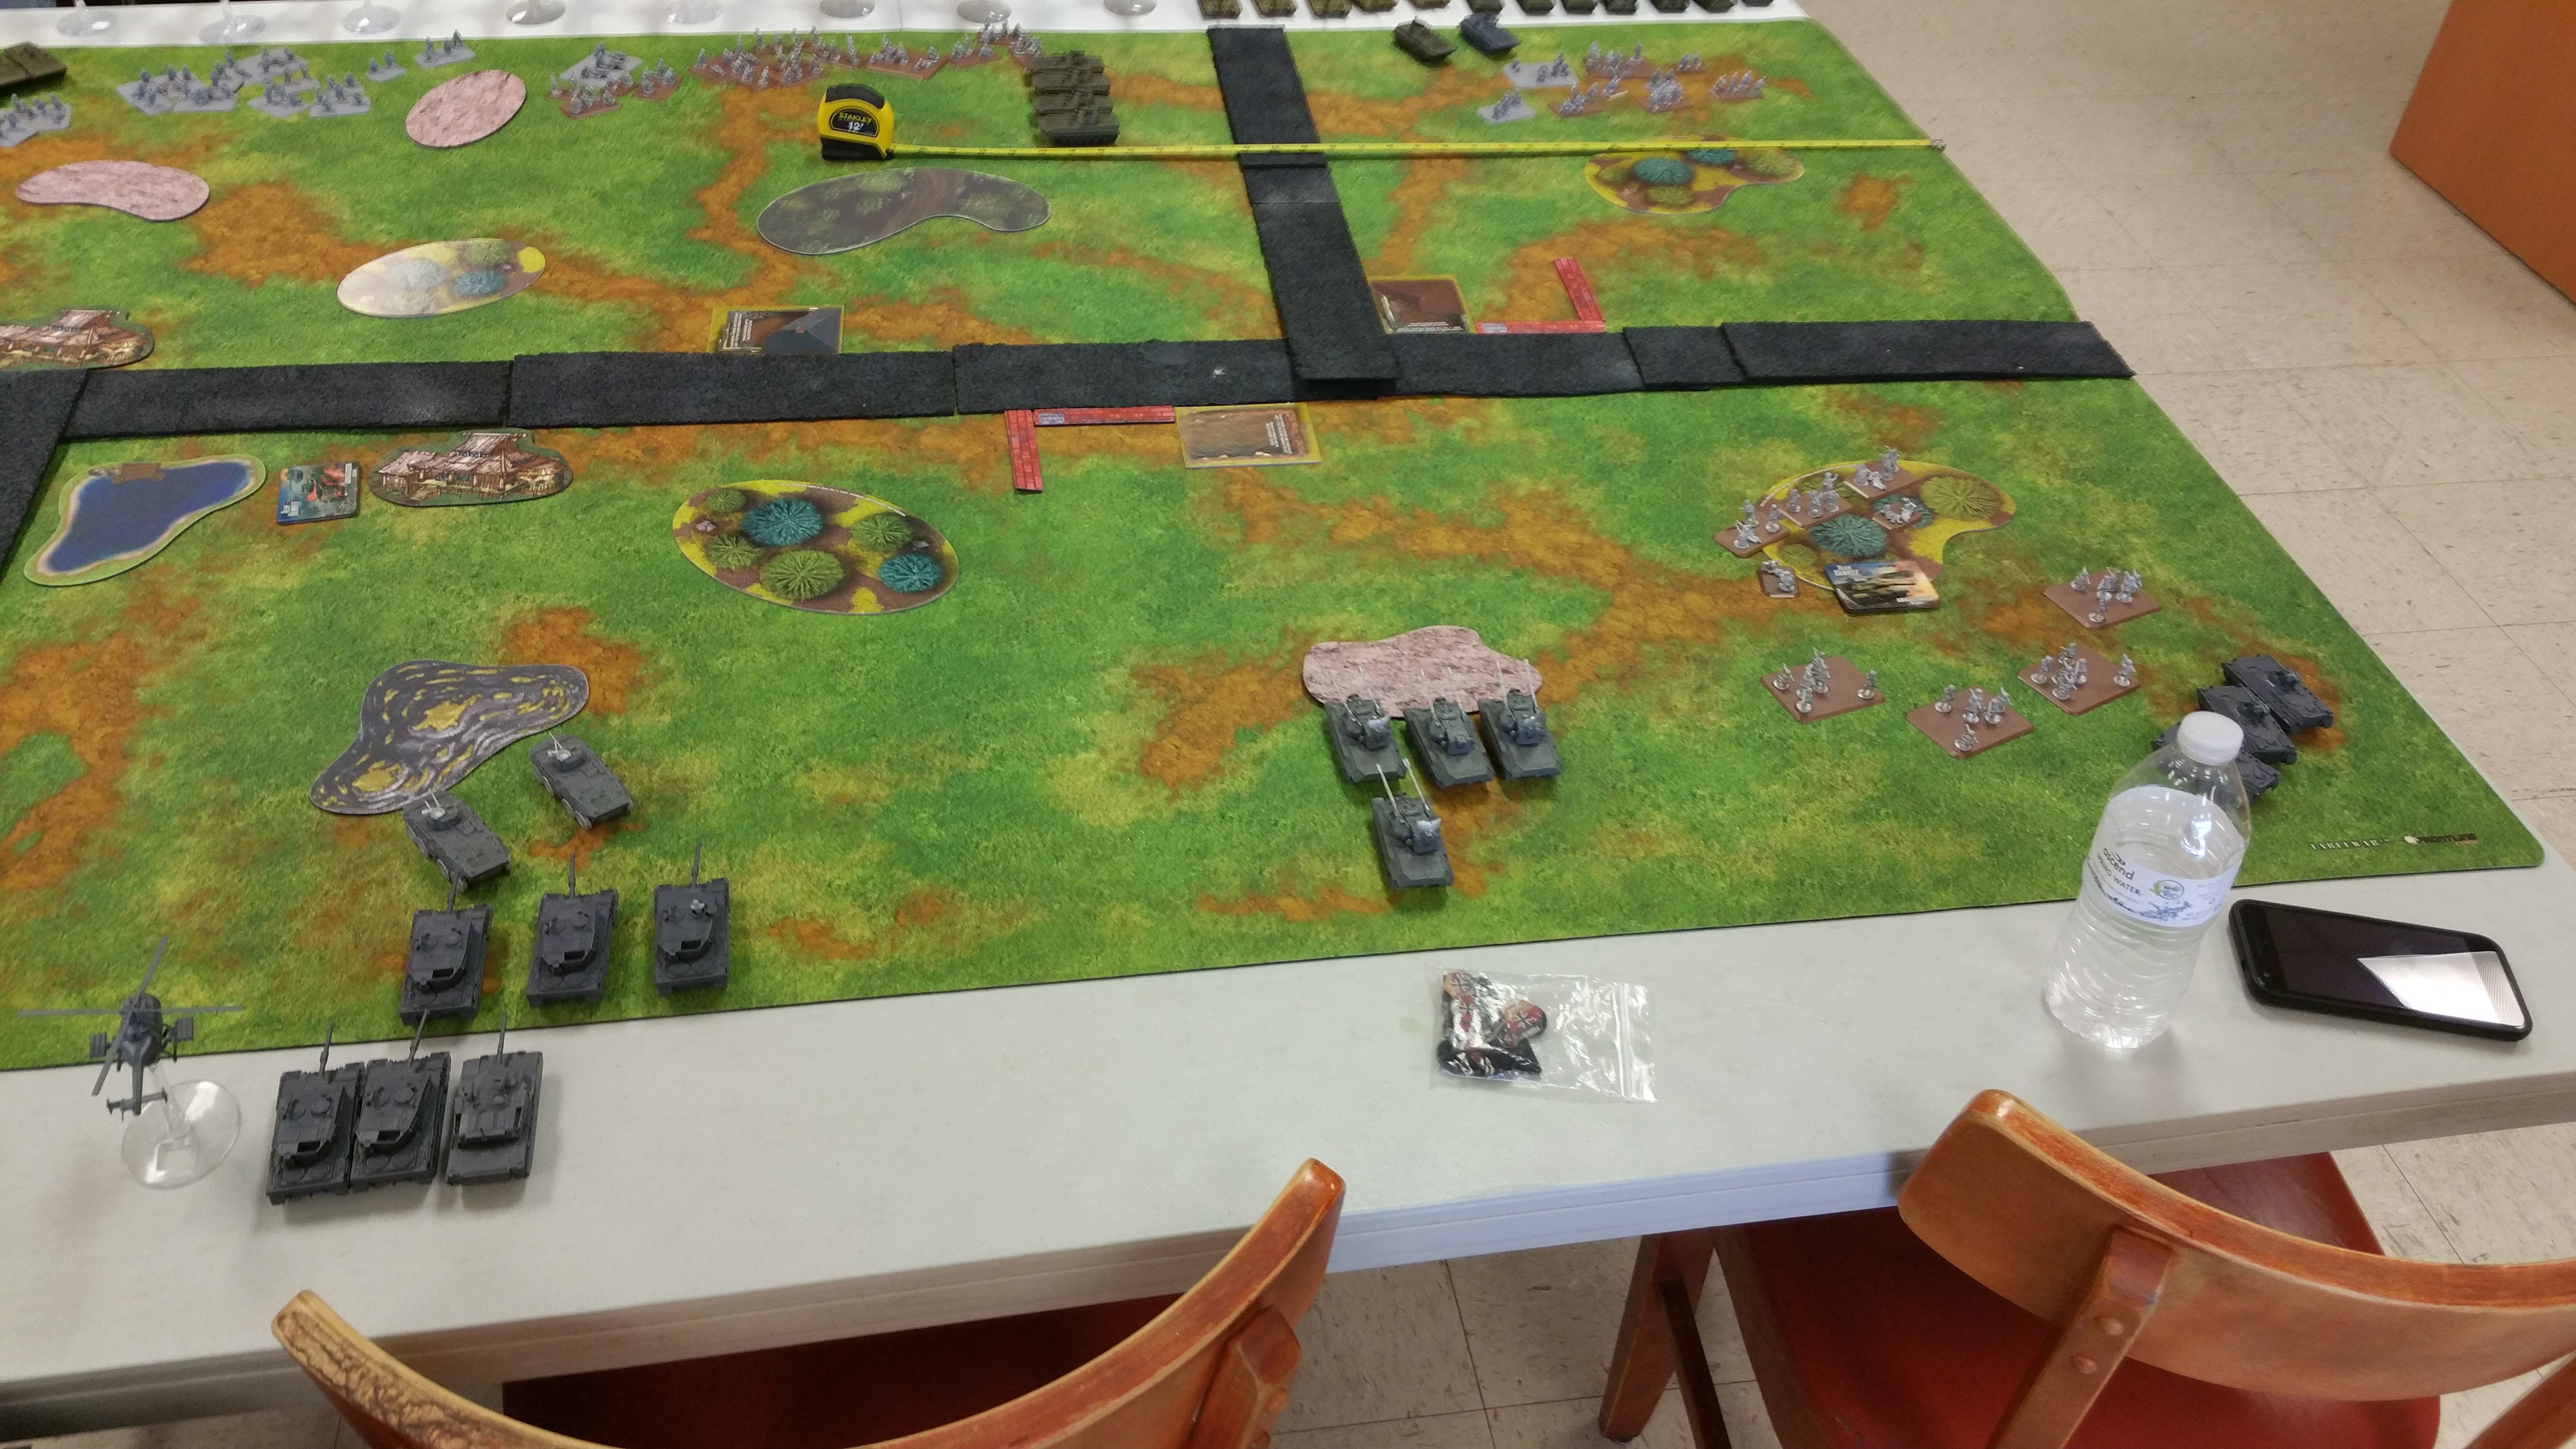
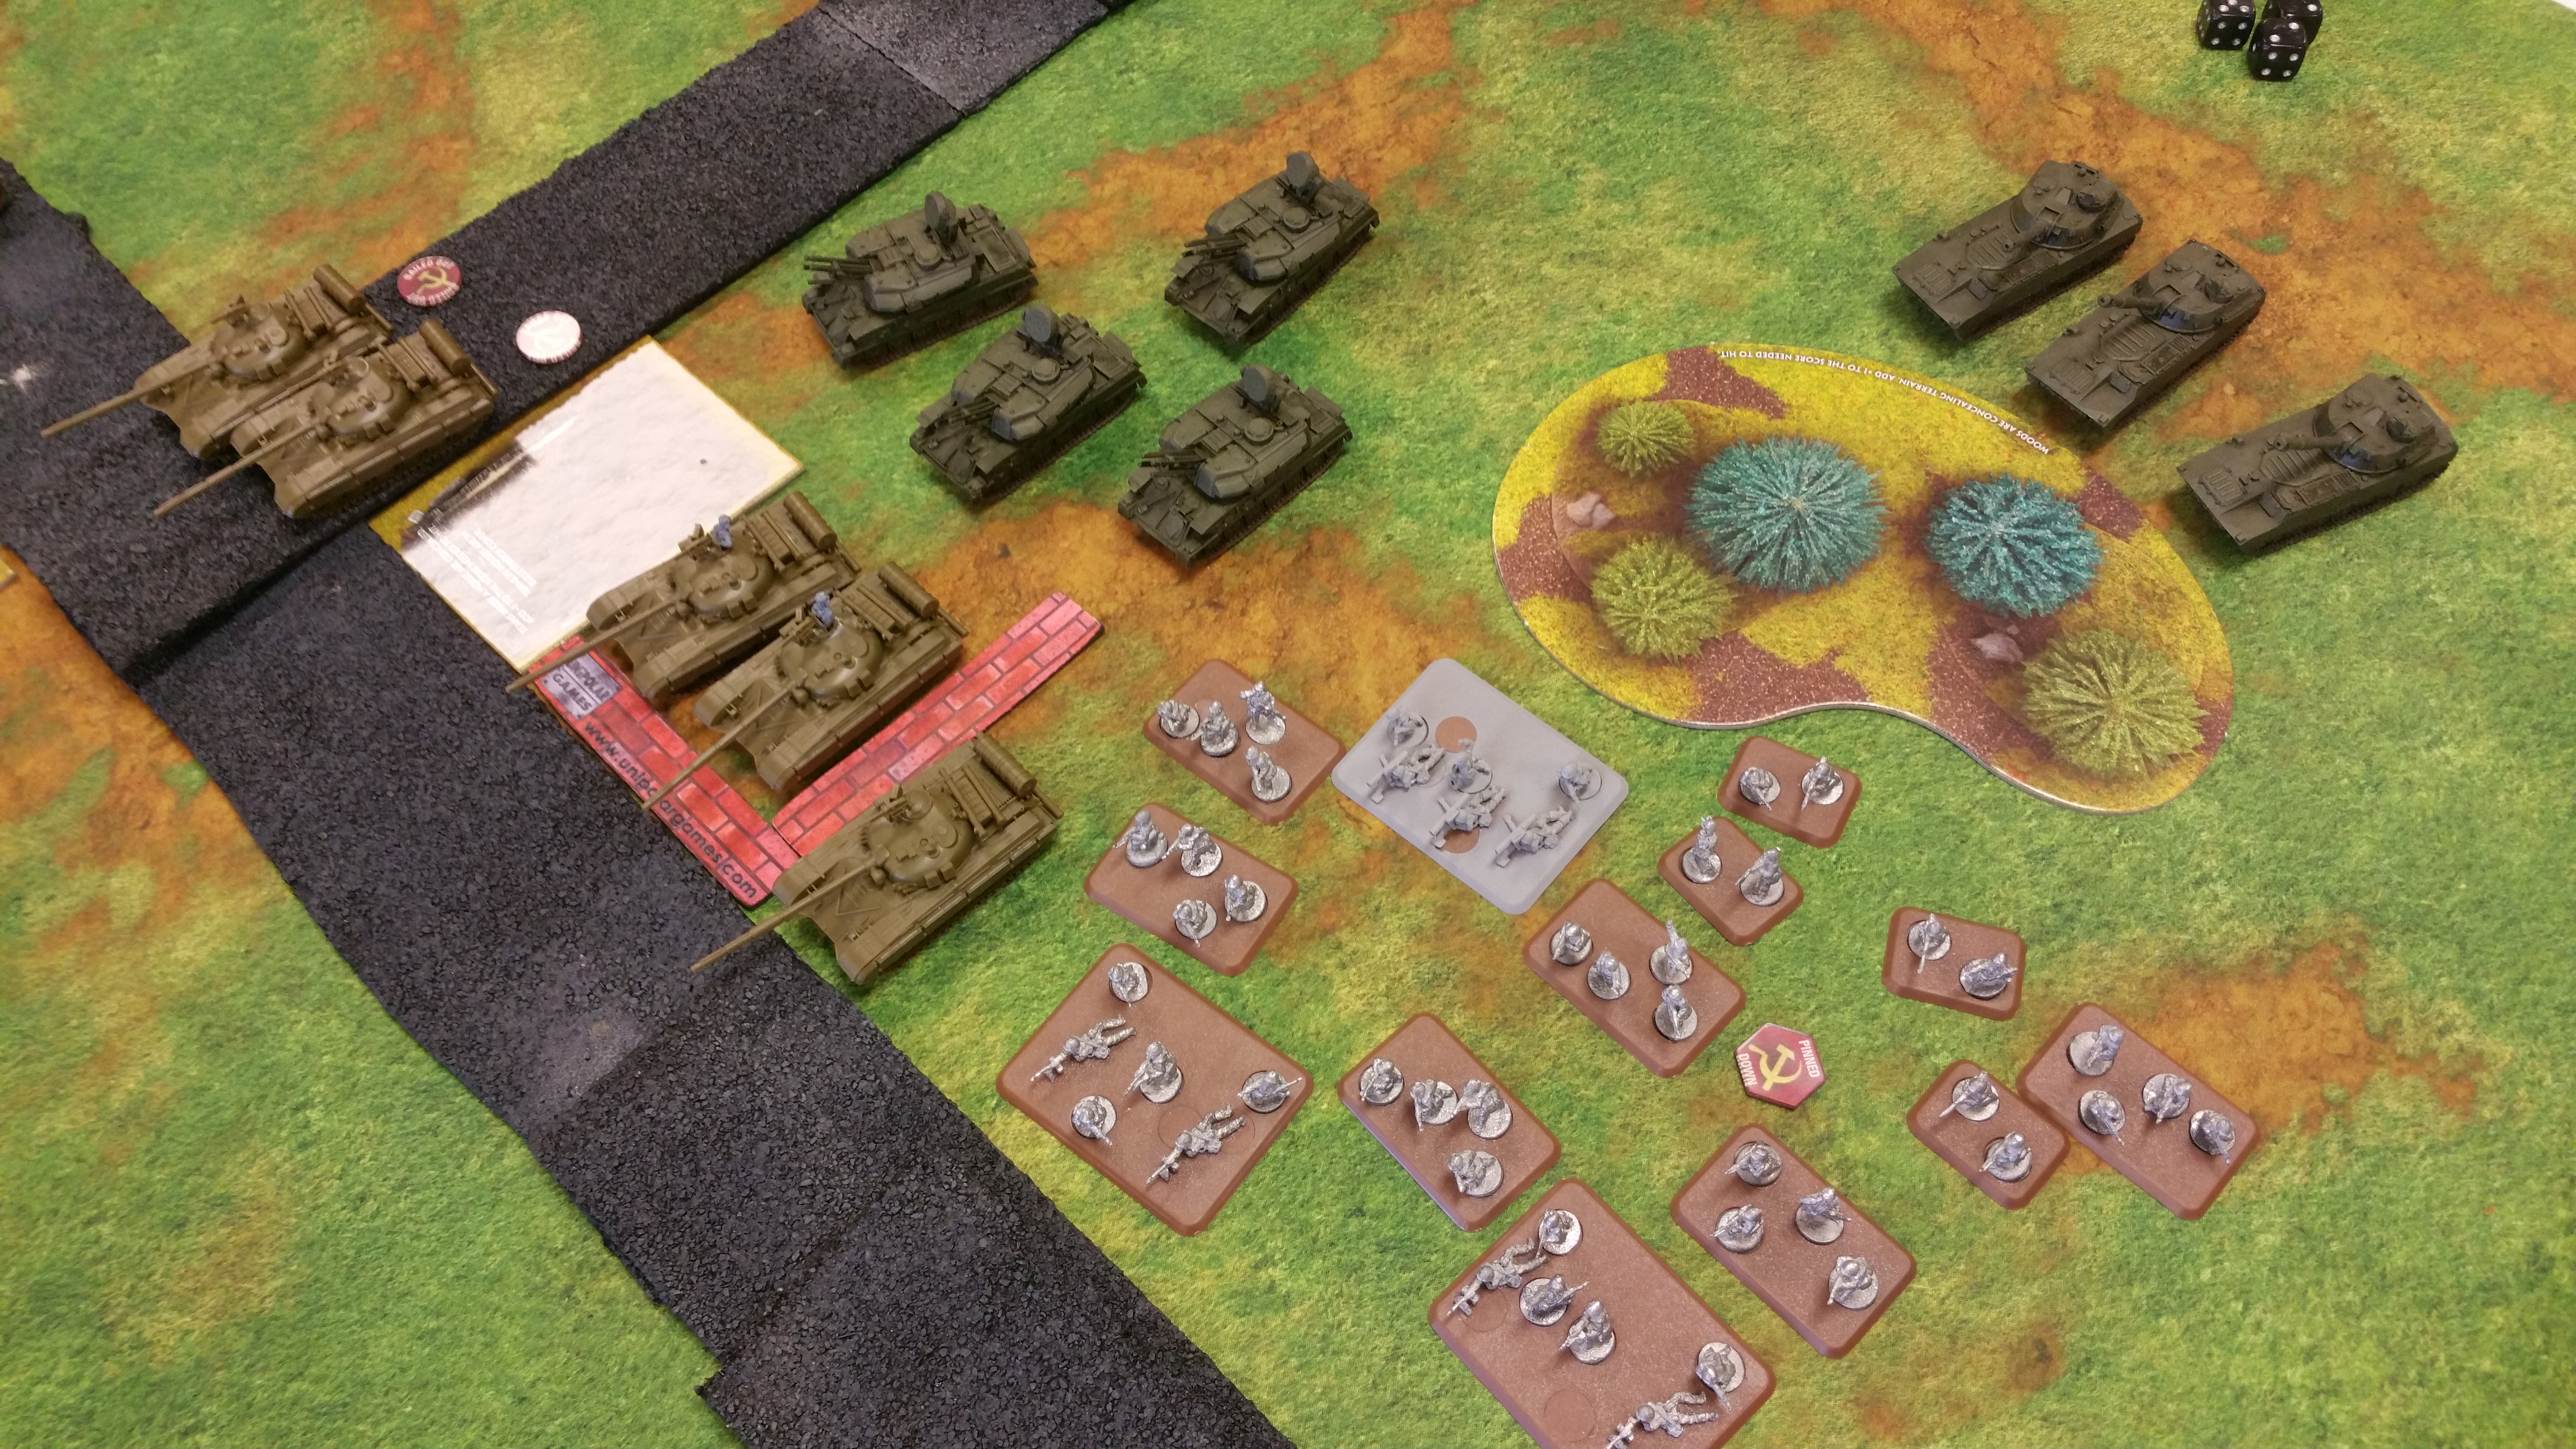
I set up to where I thought that I could defend the objective in my deployment zone and put meaningful pressure upon my opponents objective, while all of my units would be under my AA umbrella. The idea was for the forces on the left to hurt the enemy as much as they could and hold out till the reinforcements came in behind them and then I pincer attack.
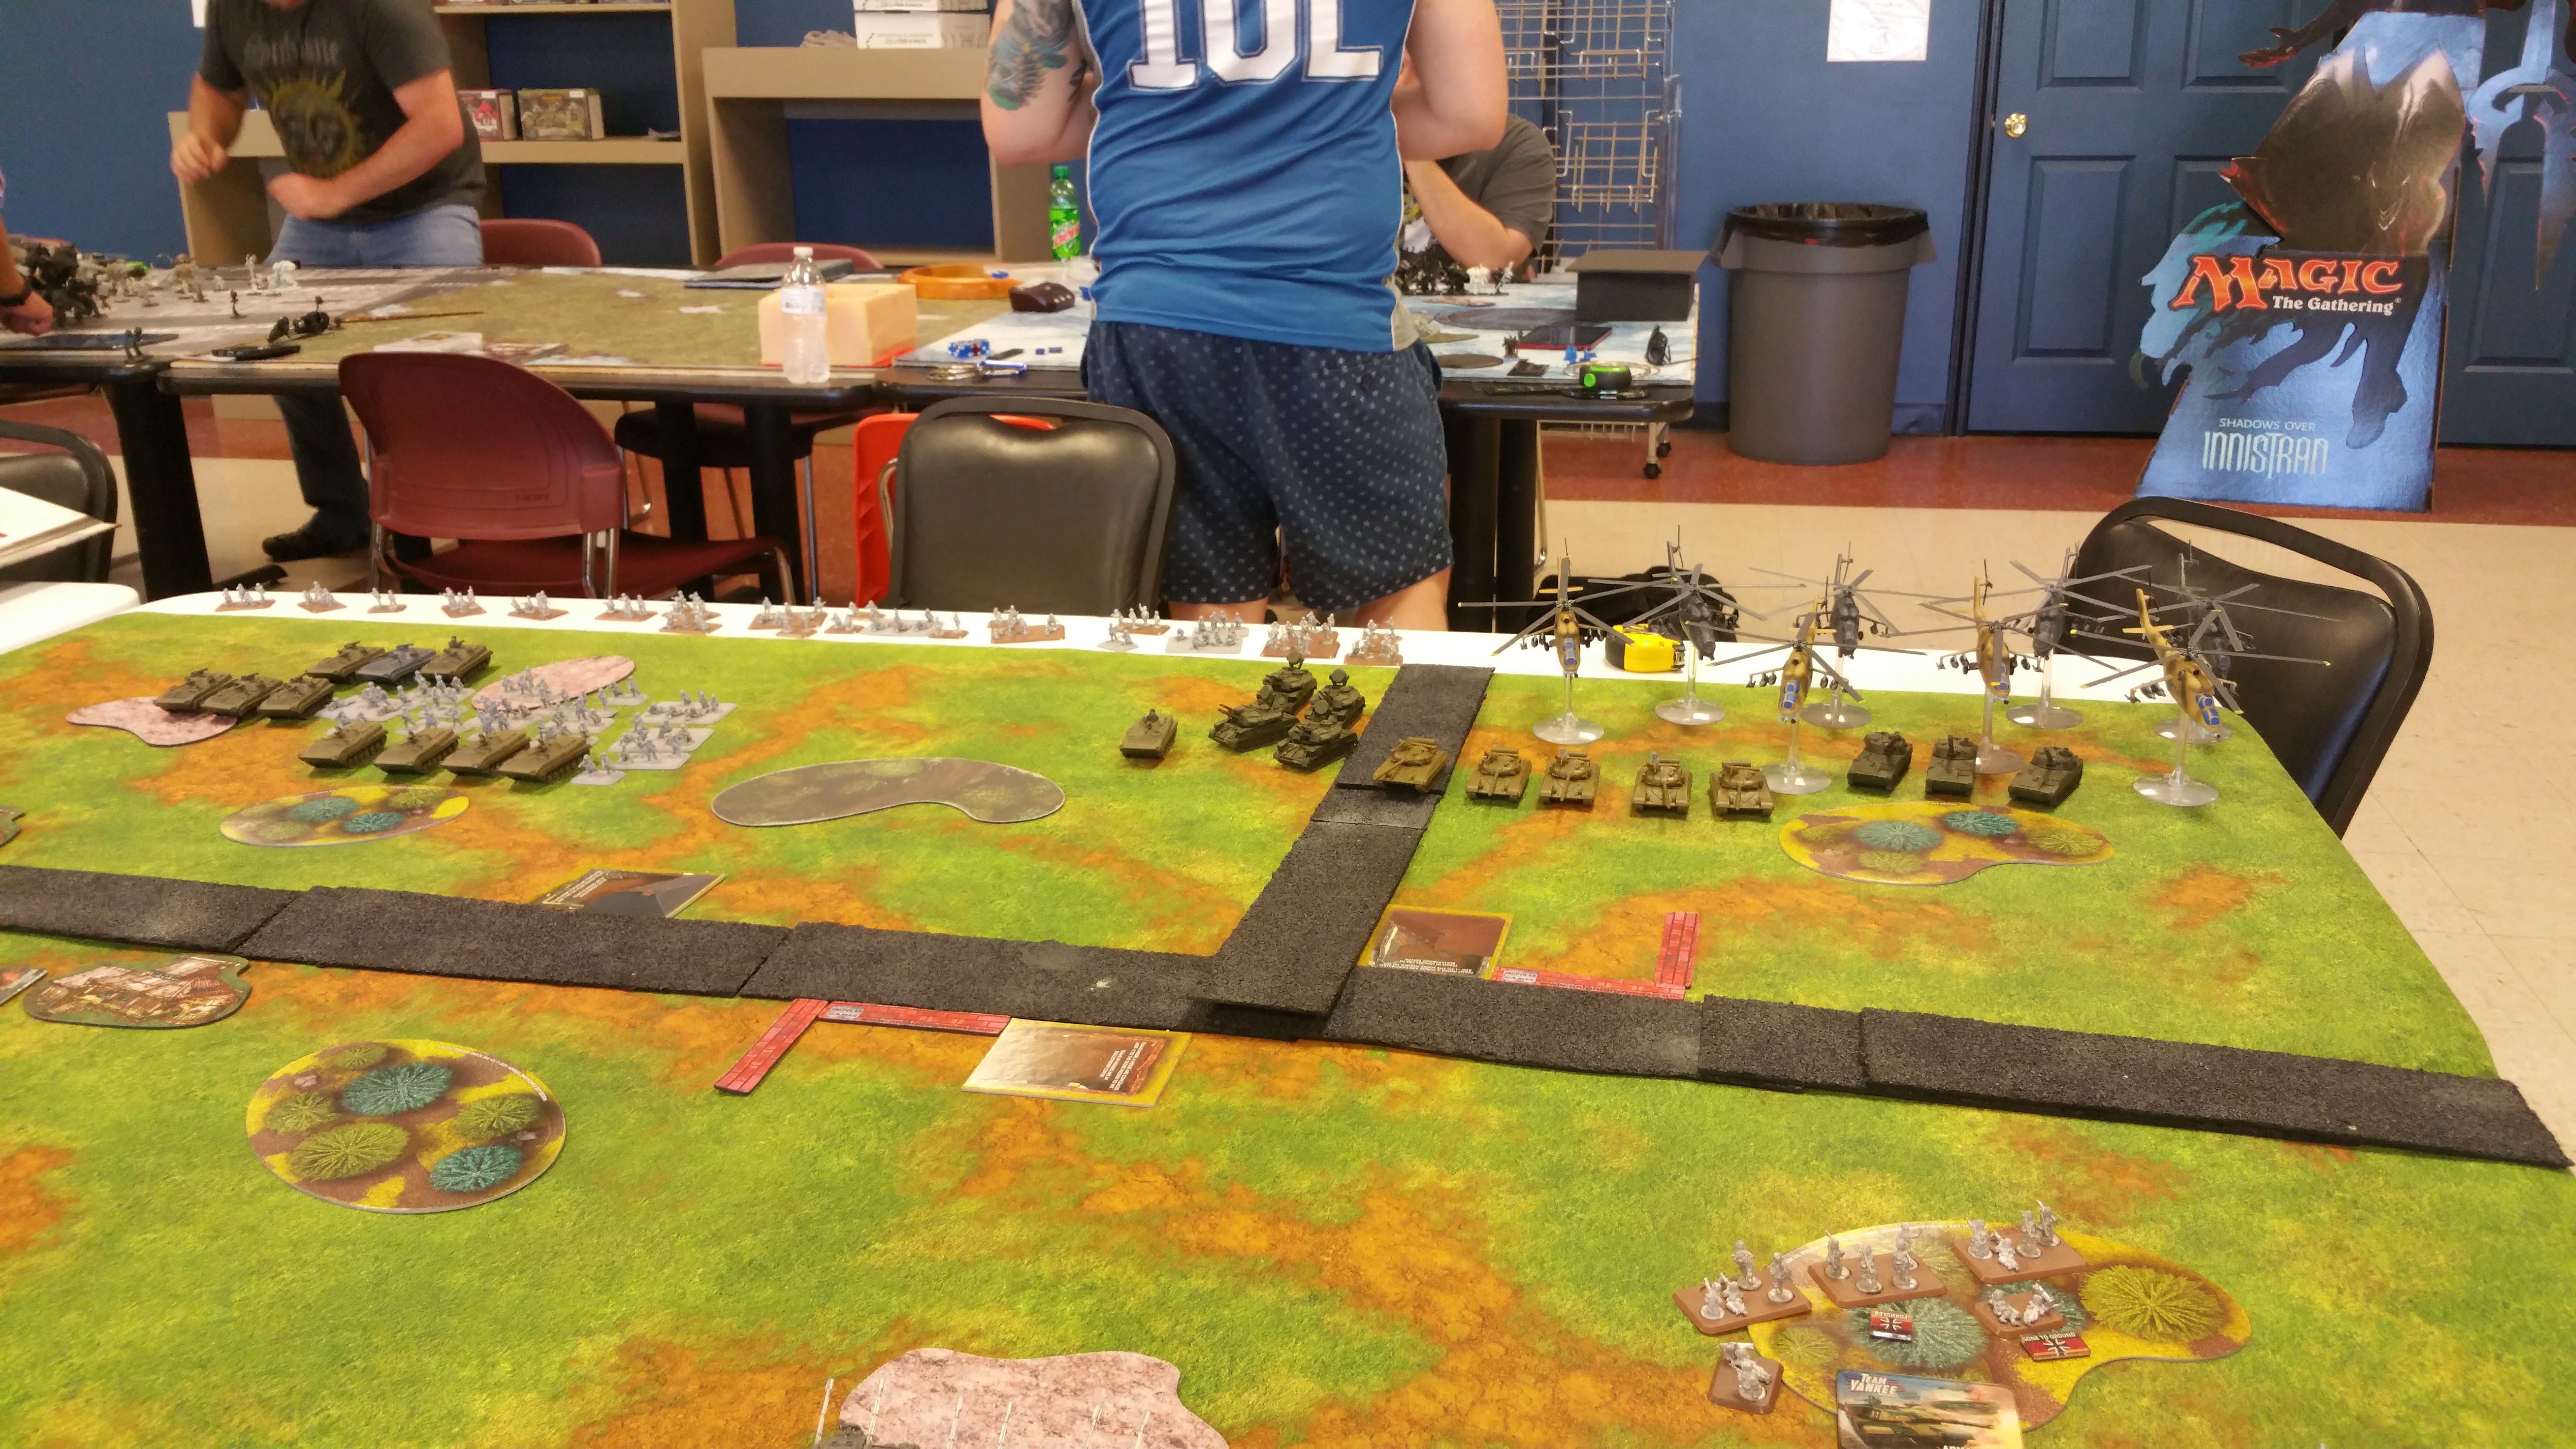
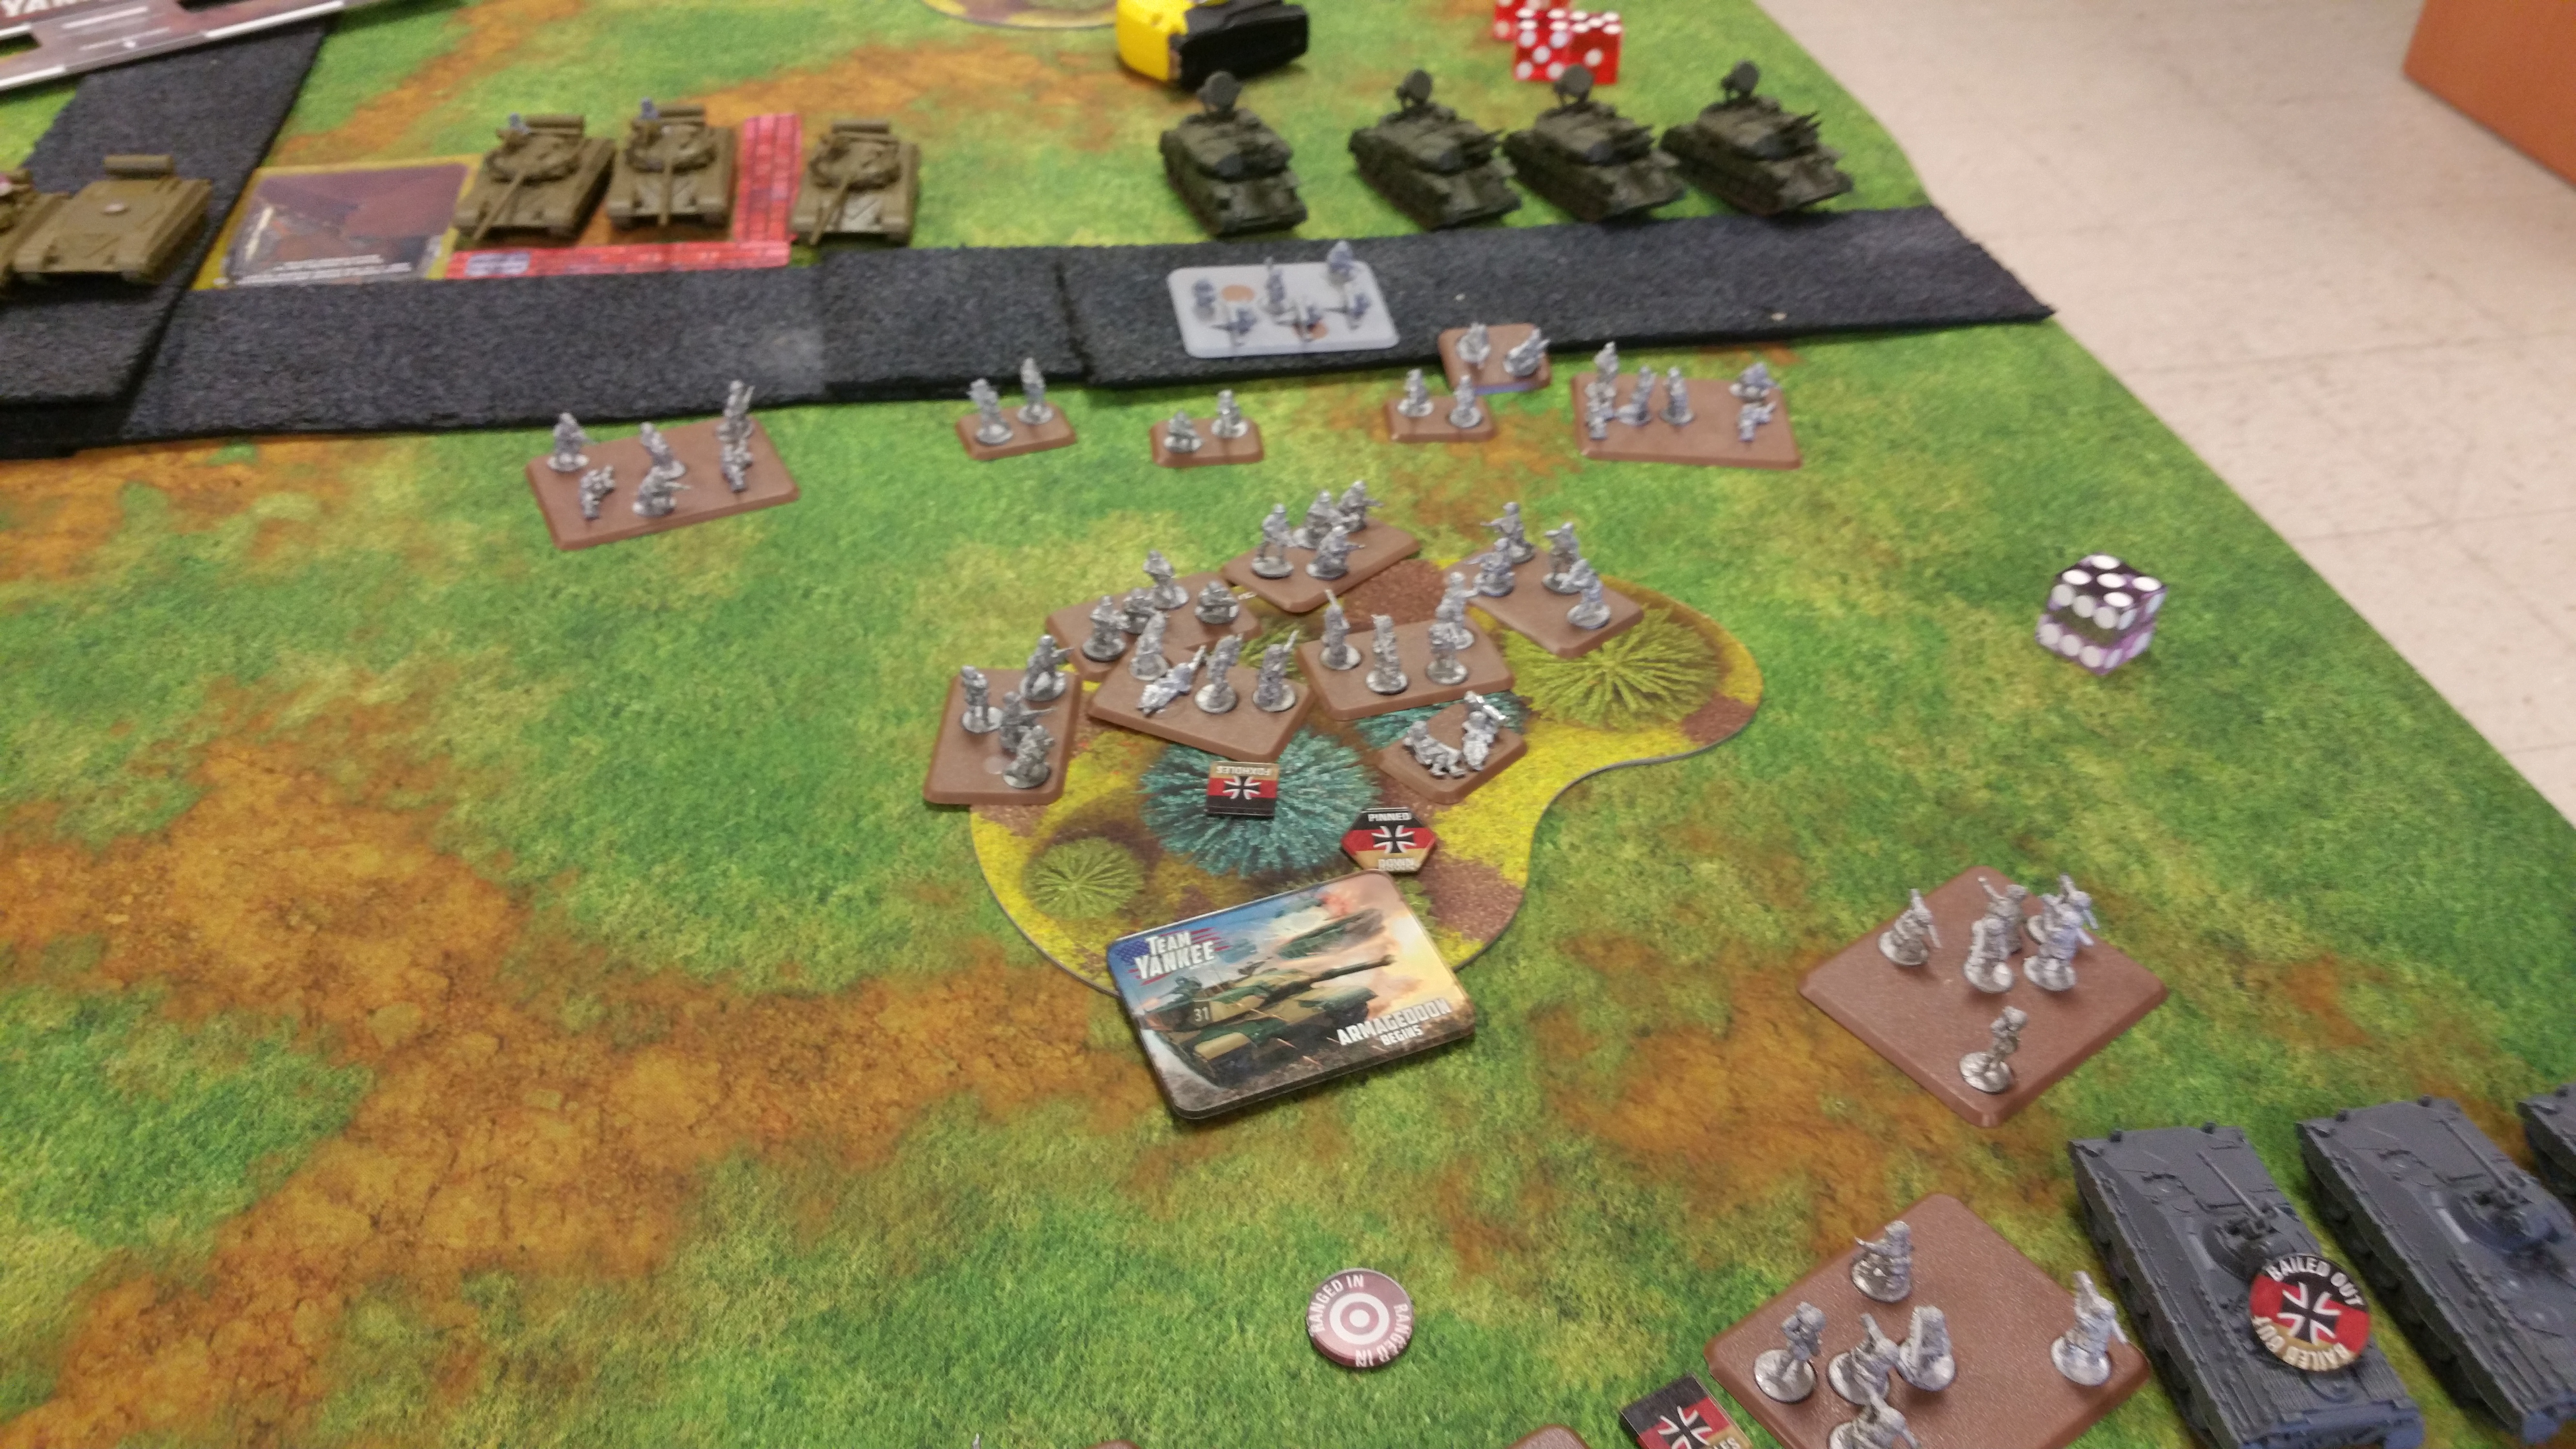
It is always daunting to see the Soviet player deploy his forces. It always brings keenly to my mind the disparity in numbers. The only note to this picture is that my opponent before finishing his deployment decided to have his second group of Afgantsy deploy on the table instead of in their Hinds.
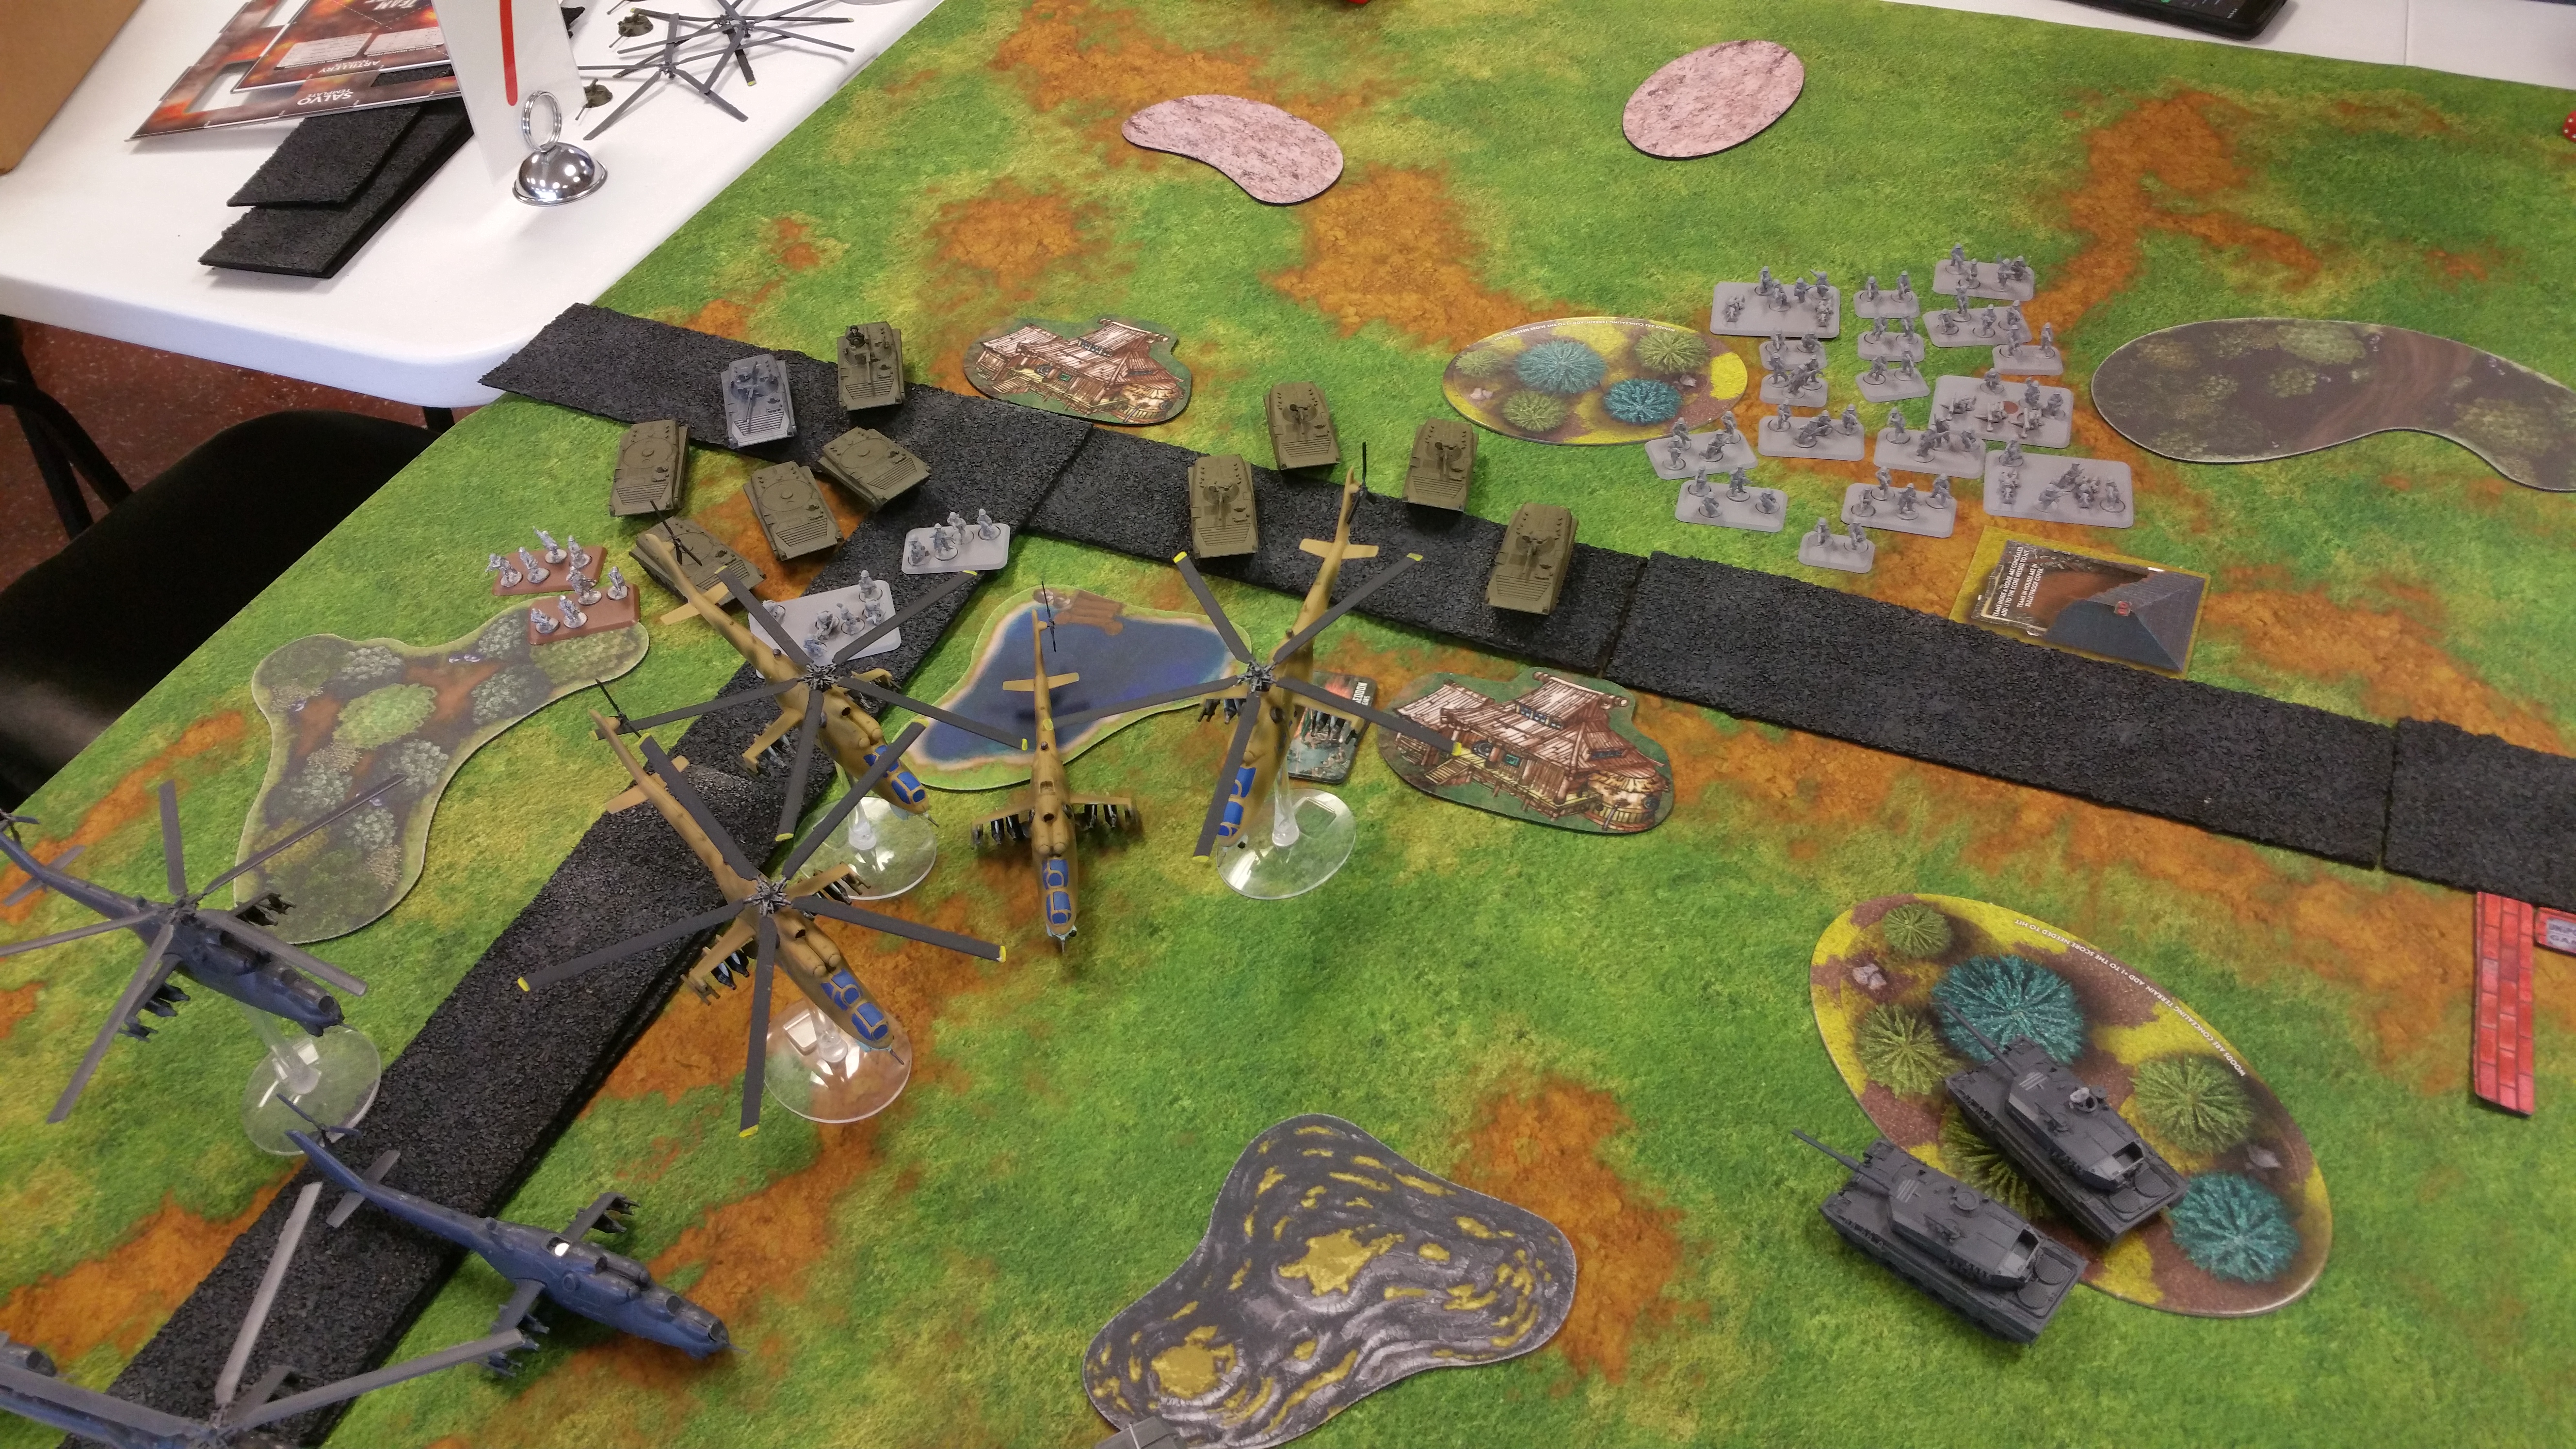
My opponent started out his moves with his Hind Attack Helicopters moving into my left flank to attempt and destroy my Leo 2 with my Formation Commander. The rest of his forces advanced forward with his tanks claiming some useful cover by the building and road. Shooting started off with his tanks attempting to knock out as many of my Gephards as possible. With gone to ground and concealment he was unable to land any successful hits. He followed the tanks with his arty blasting down upon my PG squads in the woods. Needing 6's to hit he managed to land one hit pinning the unit but the PG was able to make his infantry save.
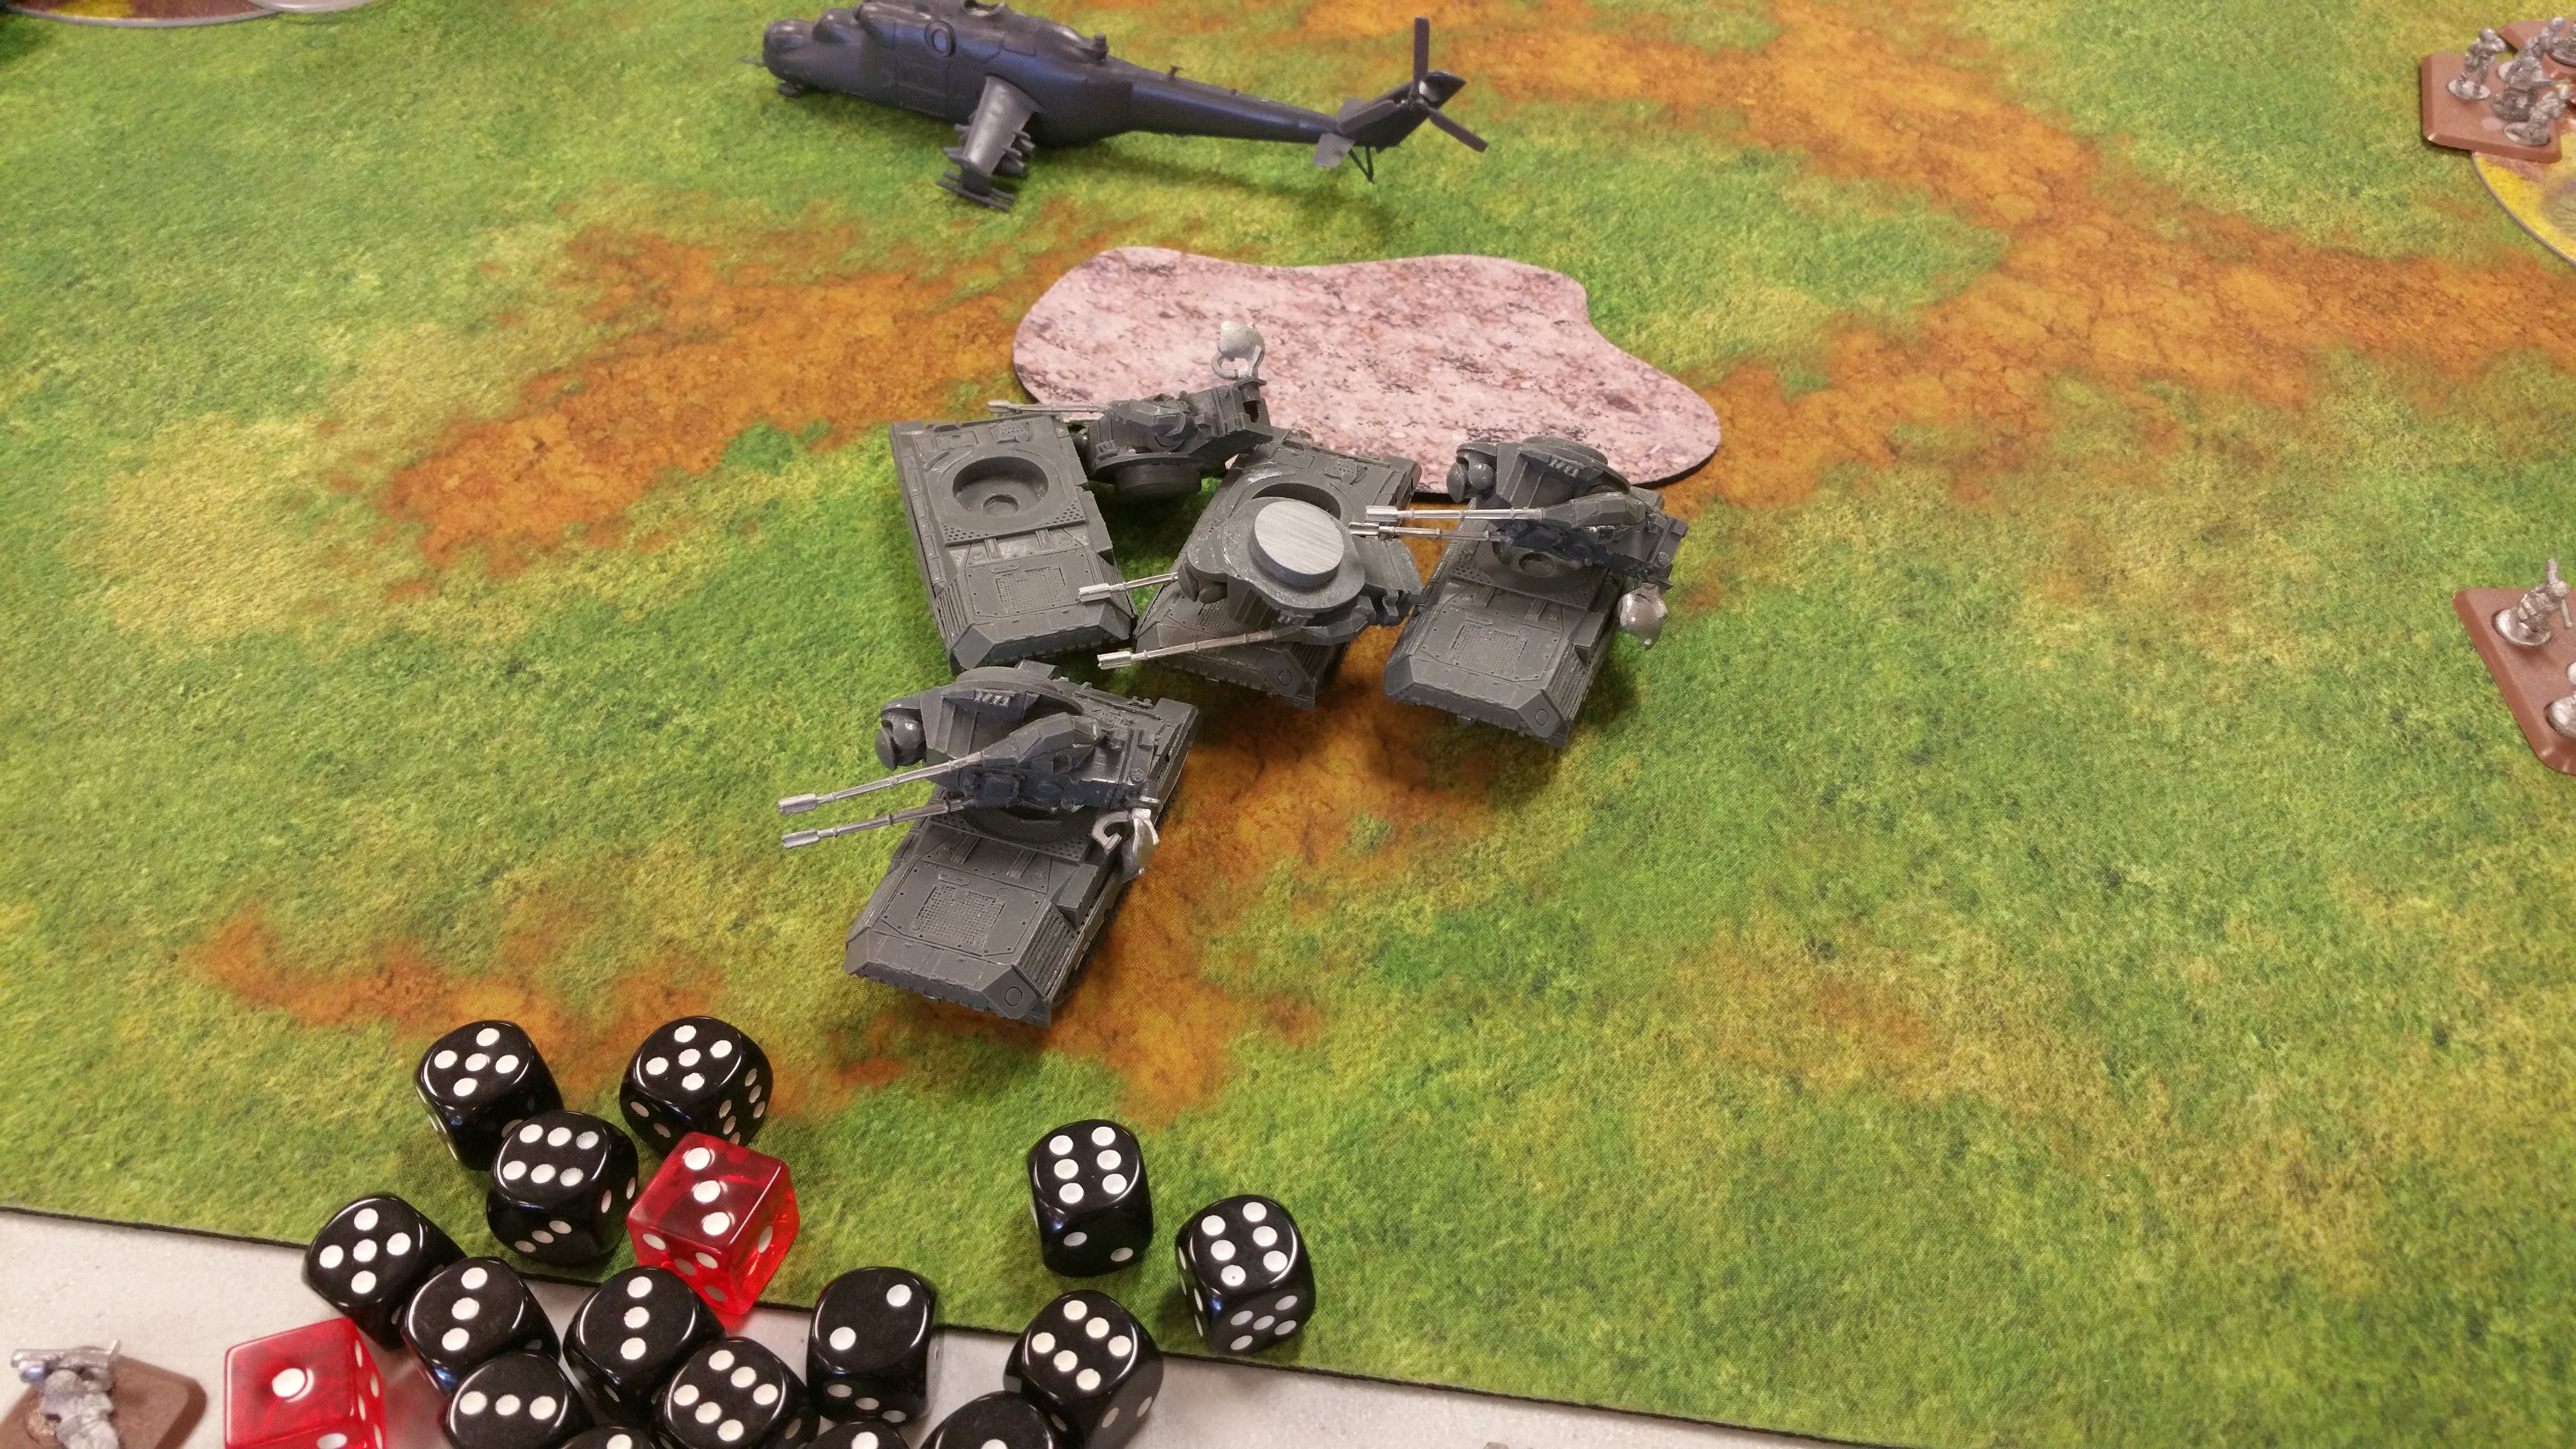
On the left he decided to attack with his hinds. The first group of four hind's were targeted by my Fliegerfaust AA teams and rolling hot I was able to put two hits upon each Hind and a third upon the last. I was able to get a few hits in past the aircraft save and with luck actually downed a Hind. I was able to bounce the one hit he got upon my Leo 2's from the front. The second group of Hinds were attacked by my Gephards. I rolled hot again and hit with all but two of my shots. However Fortune is a fickle B... and my opponent made almost all of his aircraft saves though I still managed to knock out two of the Hinds. Their return fire knocked out one Leo 2 and bailed out another.
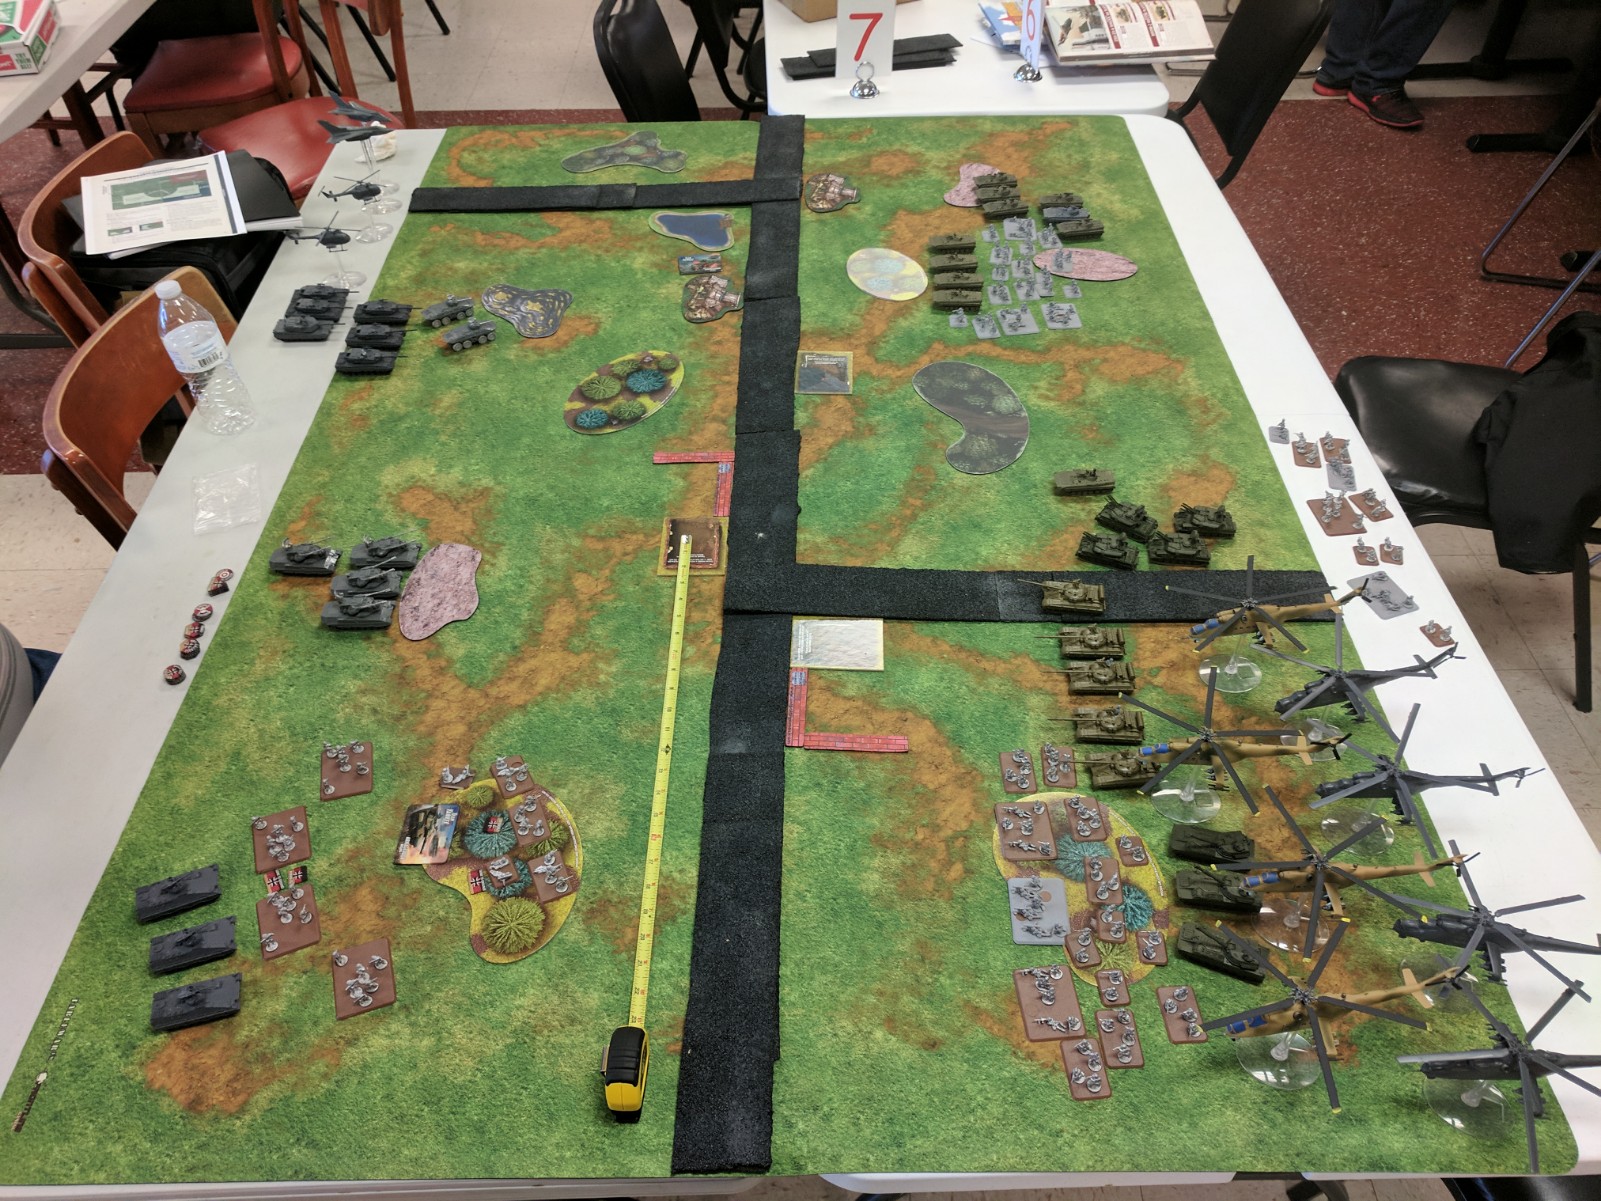
I start my turn by rolling for my immediate reserves and roll a four. This should have been a sign of things to come for my poor West Germans. I start my movements by having my surviving Leo 2 and Cmd drive up to the woods north of their initial position. Keeping the Cmd in the woods and at least more than two inches from any side of the wood in an effort to protect his right flank. My Luch move slightly to get LoS to the BMP's on the far left. On the right flank the Marders are the only thing that moves so they can get shots on the oncoming Soviet Infantry
Shooting sees my Luch killing two BMP's and one infantry from each of them. With few meaningful targets for them the Leo's open up on the wounded BMP squad in an effort to cut down on the number of ATGM's coming their way. Four hits and three kills and a bail again my opponent rolls poor for his infantry saves and loses several more stands. On right my Milan teams fire two missiles into the open T-64's, two hits and my opponent turns around and rolls double sixes ignoring the shots completely. The PG's open up with their machine guns into the infantry scoring plenty of hits though my opponent makes all but one of his infantry save but I do manage to kill the stand. Marders follow up the PG's and pour auto cannon fire into the infantry also scoring a lot of hits, pinning them, however again only one infantry save is failed but fail to secure the kill.
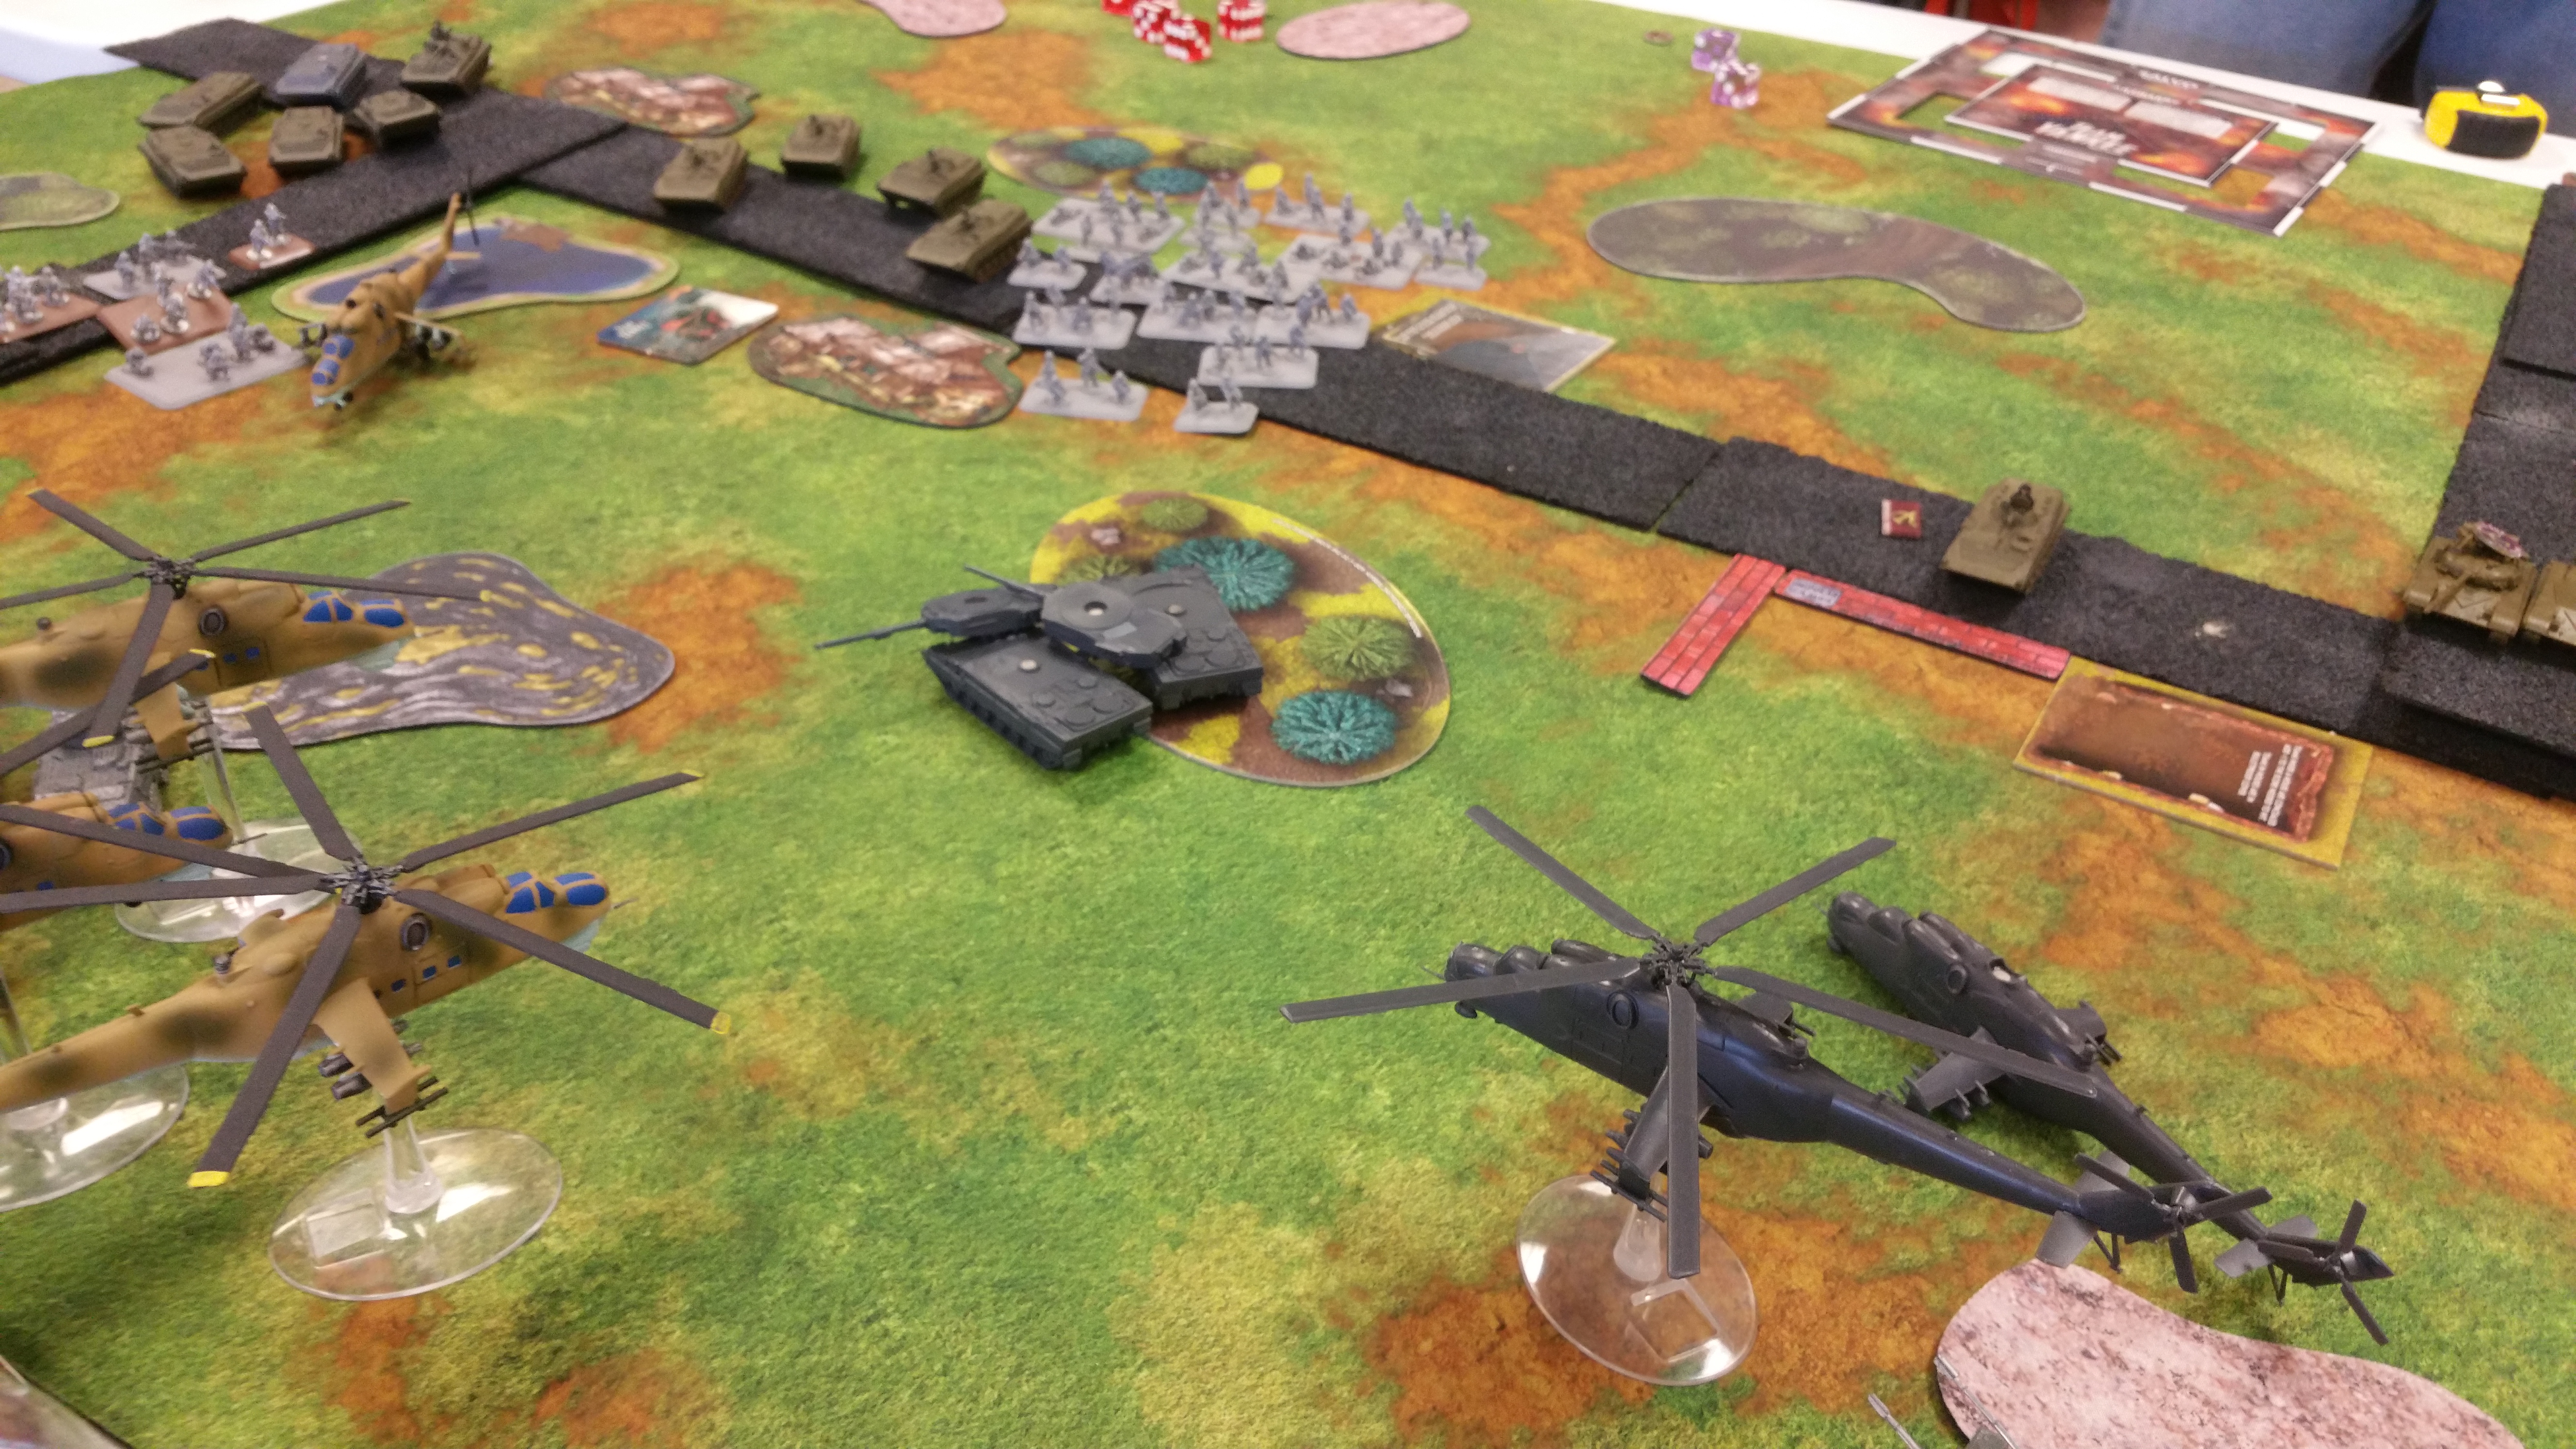
My opponent starts his turn by making his morale check for his surviving BMP and passes it. He also unpins his infantry on the left. He starts his moving by advancing his infantry on the right to just out of Danger Close range of the ranged in marker on my infantry. He then moves his hinds to get to the side and rear of my Leo 2s and advances his infantry on the far left to get bullet proof cover from the wrecked Hind and his closer on the left Infantry to start to threaten assaulting if the Hinds are unable to finish the job.
He starts off as he did before by trying to knock out my Gephards, without the Gone to Ground bonus they only got the concealment from behind the hill and he was able to land one shot which blew the poor AA tanks to bits. Next dropped his arty upon my infantry yet again, and scored two hits and I failed one infantry save and lost a PG stand. He followed that by shooting the lone ATGM from the BMP into my Leos but missed horribly. The time came for the Hinds and I unloaded into the two unpainted hinds with my Fliegerfaust scoring ten hits upon the two hinds. My opponent passes three saves on each Hind and I fail to get any five up firepower rolls. Next my Gephards attempt to kill the two unpainted hinds in a desperate attempt to save my Cmd life. I score five hits on one hind and four hits on the second. My opponent makes four saves on the first hind and three saves on the second. I manage to kill the first with a successful firepower roll but roll a two for the second. The hinds fire and kill one of my Leo2s and leaving my cmd alone.
Having shot all of my AA my Cmd fires his AA MG in spite of his oncoming doom but rolls a one. In concealment the Hinds need a five to hit my commander, my opponent rolls two sixes and a five and passes all his firepower checks. Next his BMP with autocannons fire into the one Luch they can see and kill it several times over. On the right he fires into my infantry with his and scores a lot of hits and I fail several of my infantry saves however he was unable to make any of his firepower checks but does pin them.
Last turn hurt, I lost my Leo2's and my commander and one of my Luch. I am really needing my reserves to show up to be able to put pressure on the left flank. I roll for reserves and get a four and one. They total five right... right?... ... It occurs to me as I am lamenting on my inability to put pressure on the left that I have a much more serious problem facing me. I only have two units that check for formation morale left on the board. Uh oh... So my mind shifts gears into oh crap how can i keep myself from losing at the start of my next turn. My initial thought? Nothing, zip, nada. I will admit that I was abit tilted at the invincible Hinds. But I was resolved that I would bloody his nose as best as I could.
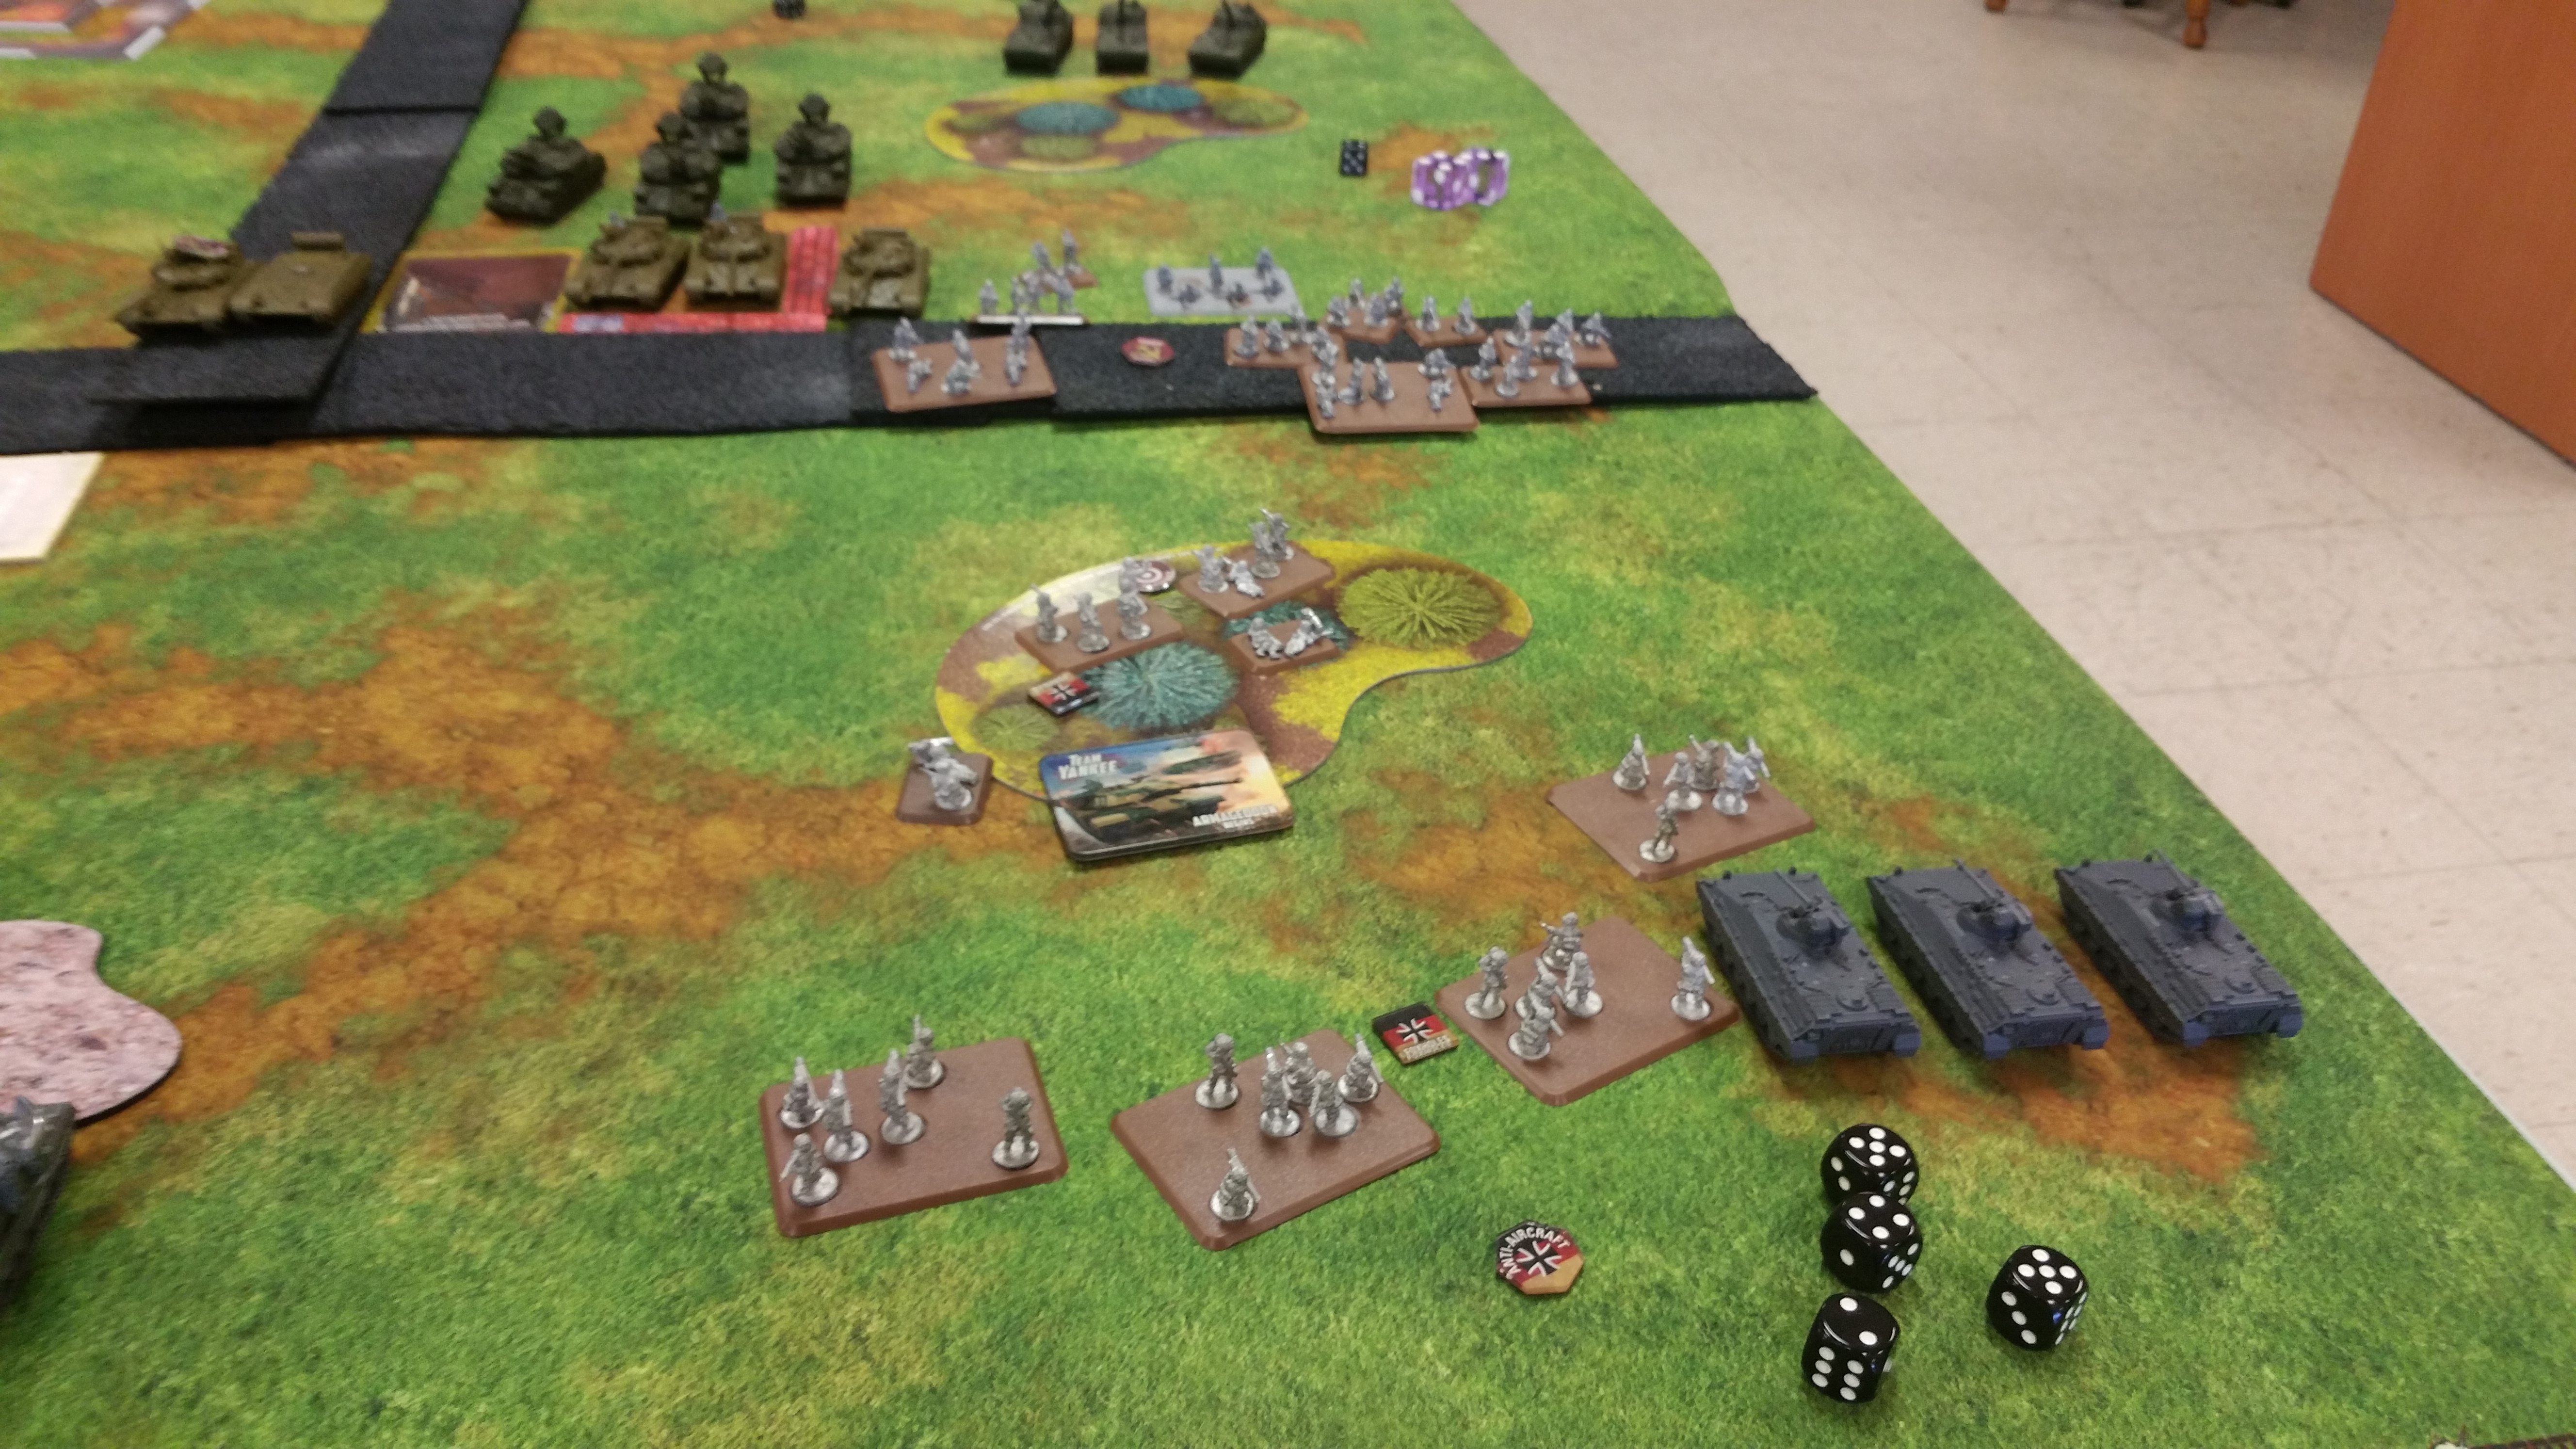
I do no movements and try to get as much shots down range as humanly possible. I start off with my Luch firing on his lone BMP but is unable to kill it. My Milans fire into the same T-64's as last time but this time manage to kill one and bail the other. The PG's fire into the advancing infantry and manage to kill a few, followed up by my marders killing a few more stands and pinning them. At this point I am thinking so he only has to kill two gephards and a lone PG squad to put both squads in poor spirits and I lose due to the fact that I have no commander to make the save. I mean he has four hinds and four T-64 to kill the Gephards and a load of infantry that can just charge in and kill the crap out of my PGs. But hey whats the chance of that happening. . .
My opponent starts off his turn by moving his single hind over to deal with my Luch and the other three to knock out my Marders near my infantry. He moves his second group of BMPs to face the zone that my reserves might arrive from and moves his infantry in close to the left most objective. He then moves his infantry into assault range of my PG's. His last movement is of his observer bmp to see the spot between my fliegerfaust and my PG milan team.
He starts off his shooting by ranging in on his second attempt getting the milan team and three of my Fliegerfausts under the template. He succeeds in getting one hit on my milan and one on a Flieger team. I fail the infantry save and he passes his firepower killing the milan team. I make my infantry save on the Fliegerfaust however both units are pinned due to being hit by arty. His four remaining tanks open up on my Gephards needing fives still he manages to hit three out of the four times and blows the remaining Gephards to bits. The lone hind comes in and knocks out my last Luch with a single ATGM. The group of three hinds fire into my Marders and miss two out of the three shots and fails his firepower bailing out the one marder. However this was the only Marder the could have aided in defensive fire to the PG's.
With no more targets to shoot at he moves into the assault phase and assaults my infantry. My defensive fire is not enough to pin them and causes no kills. He slams into two pg teams and kills the outright.
The turn goes over to me and I am unable to make a formation morale and lose the game.
Hauptmann Euler wipes the sweat from his brow as his tank comes to a halt in the woods. He looks down his commanders scope and slots in on a BMP. His mouth is dry as he asks once more where the reinforcements are. The reply that they are just moments away comes milliseconds after three AT-6 Spiral missiles impact his tank and end his war forever in a conflagration of twisted steel.
After thoughts:
Ouch... ouch.... I will admit much to my shame I did get salty this game. The seeming above average dice of my opponent and my constant frustration of what am I supposed to do against the Red Forces made me probably not the best player to play against. I am still struggling to find how Nato is supposed to play against such overwhelming odds. I will admit I am still new to this game with perhaps less than ten battles under my belt.
I joked with my opponent to see what my reserves would have been if I had been able to make them. Three fives. . . . . . Sigh.
Anyway I hope you enjoyed reading this battle report and thank you for taking your time to do so.
Battle Report Author
Army Lists Used In This Battle
Recommend Commander For Commendation
Share this battle with friends
Anton Nikolayevich SokolovWins

Nice writing, i waiting for more, and more pain on hulls 😉
Great report. Really like reading both sides
Holy crap that is alot of Mi-24 Hind!
excellent report. hard fought on both sides.
Nice battle report. Still a well fought battle by NATO! Great job.