Fought At Ruhr
2416 days 2 hours 17 minutes ago
Battle Report
Fight for the oil depots
125 POINTSWith more players at our club getting to grips with the game, I arranged a big battle with a new player, who didn't have enough stuff for a proper army, and our East German regular who wanted to try bigger units for a change.
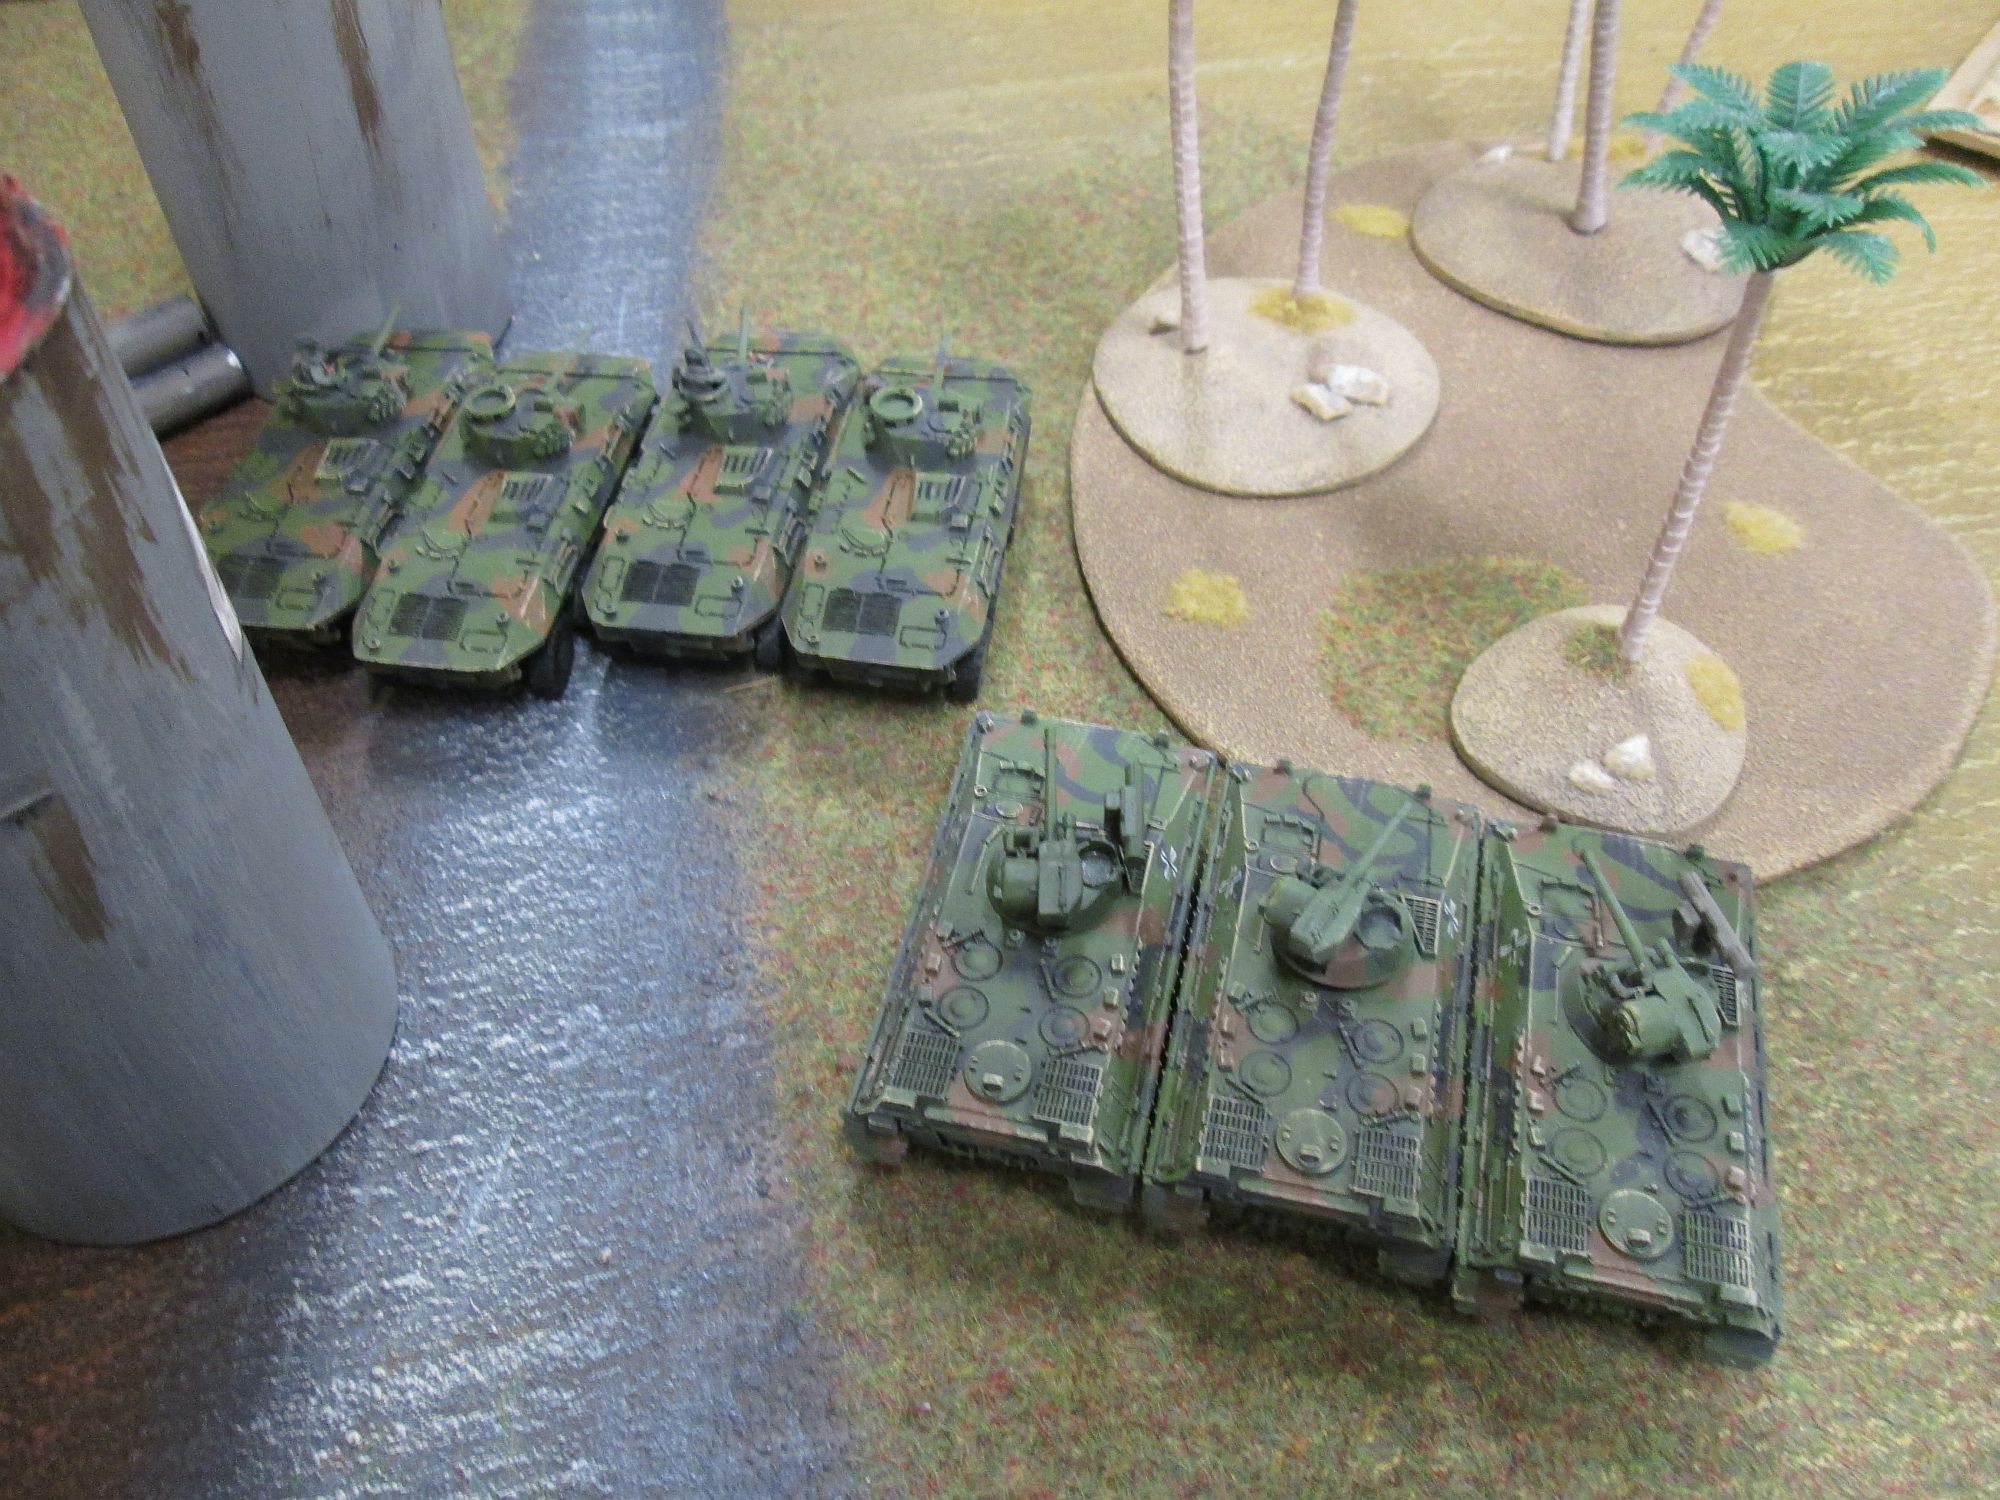
(By the way, if you're reading this, GET WEST GERMANS. They're so easy to paint!)
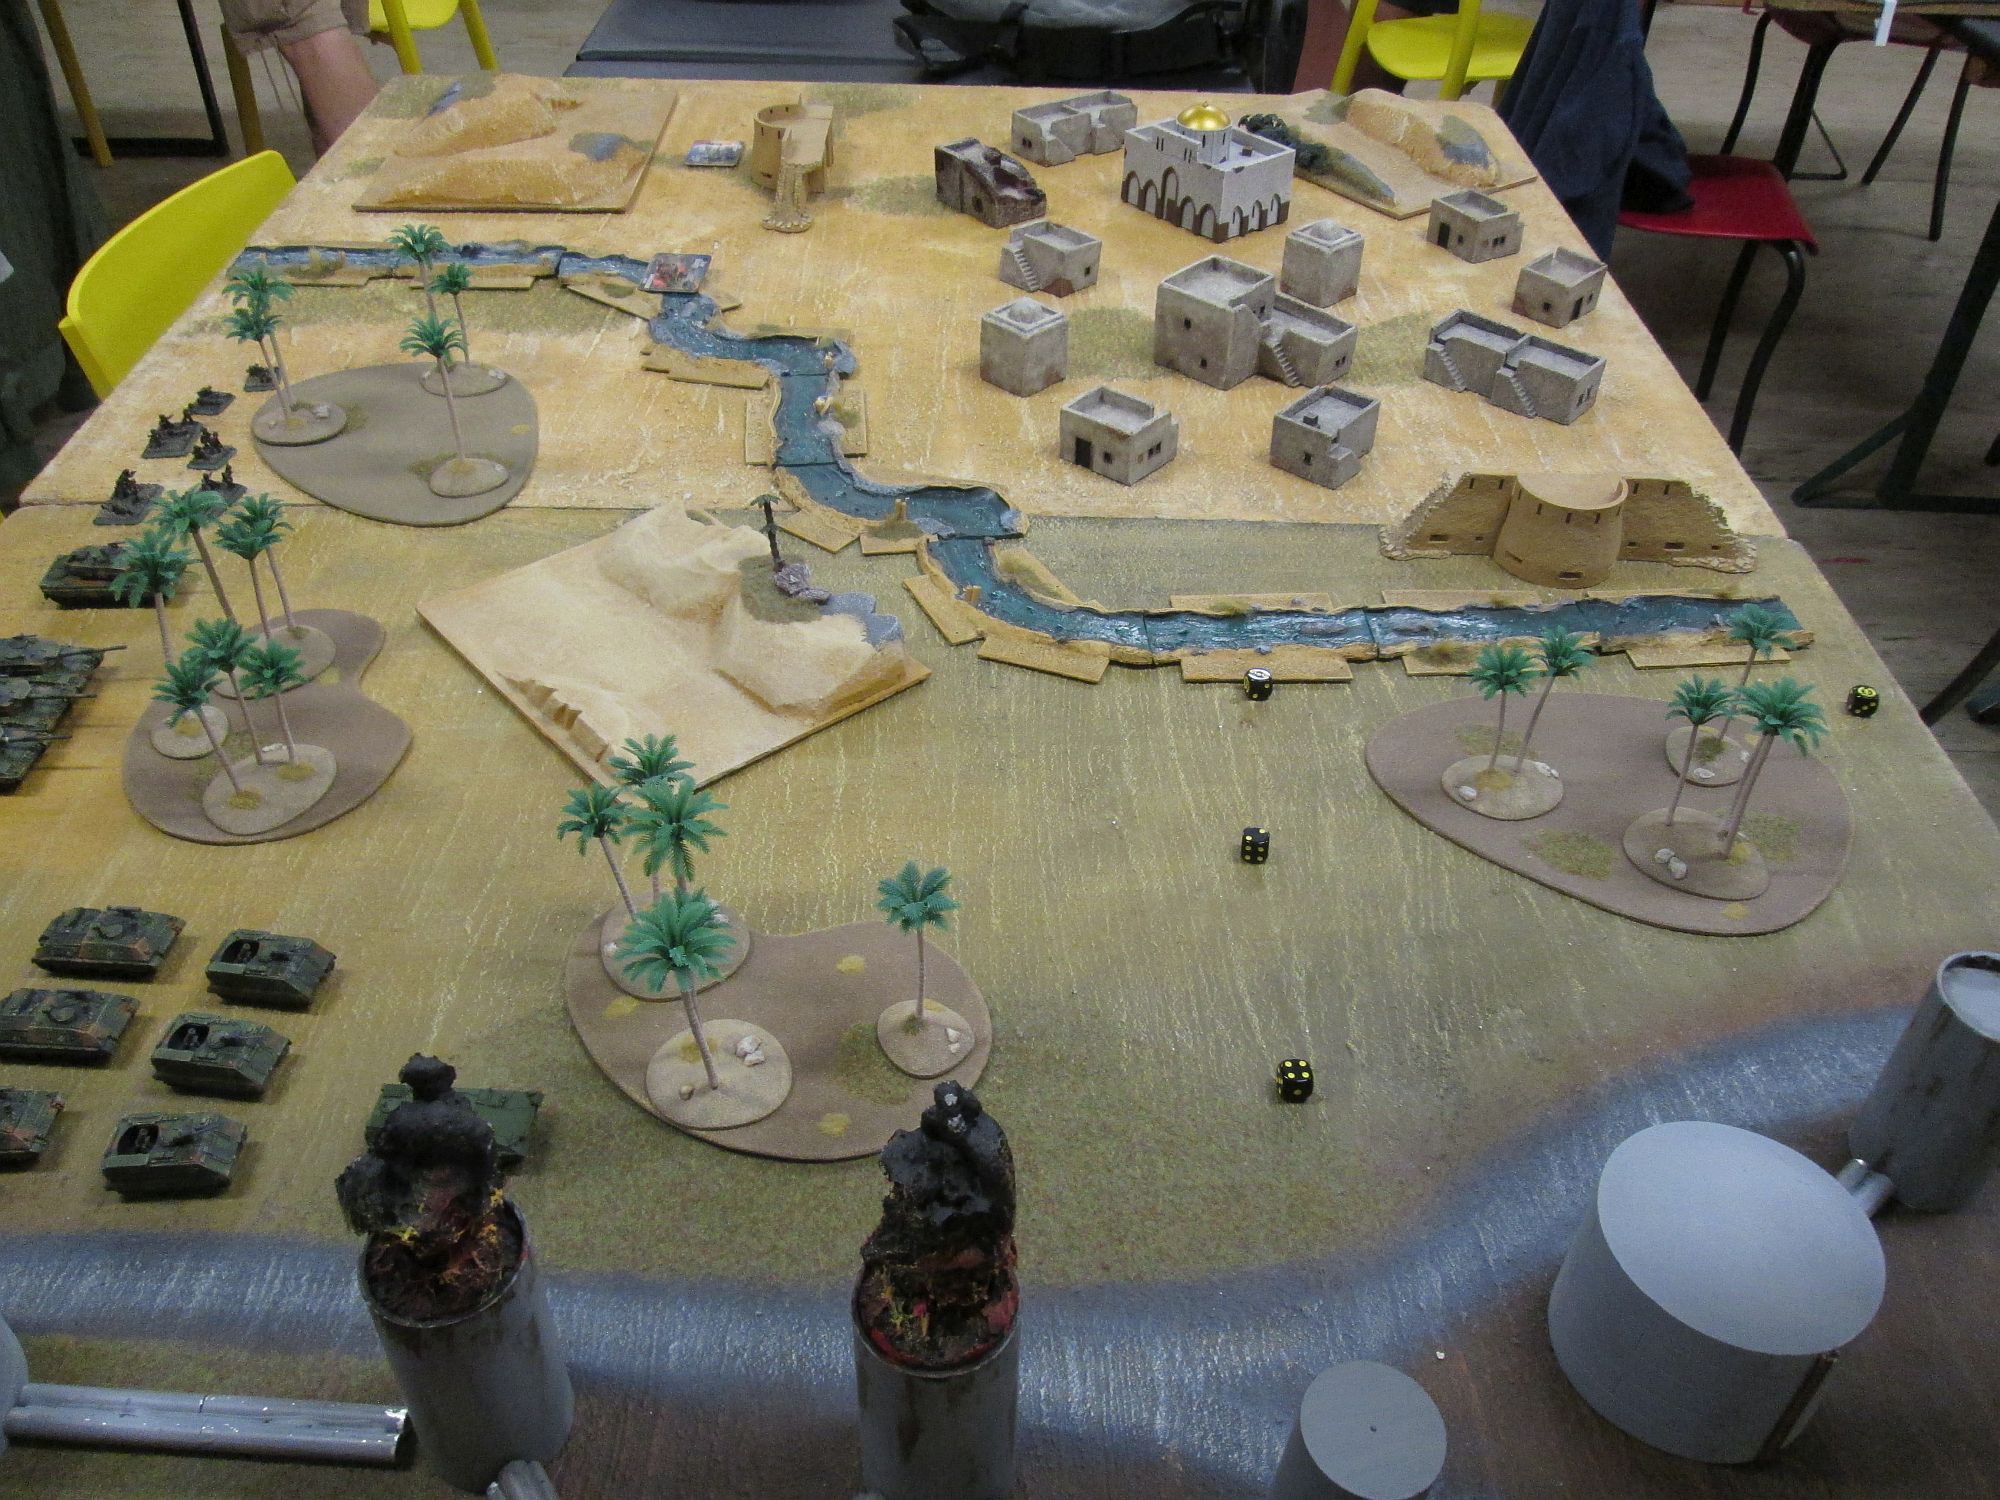
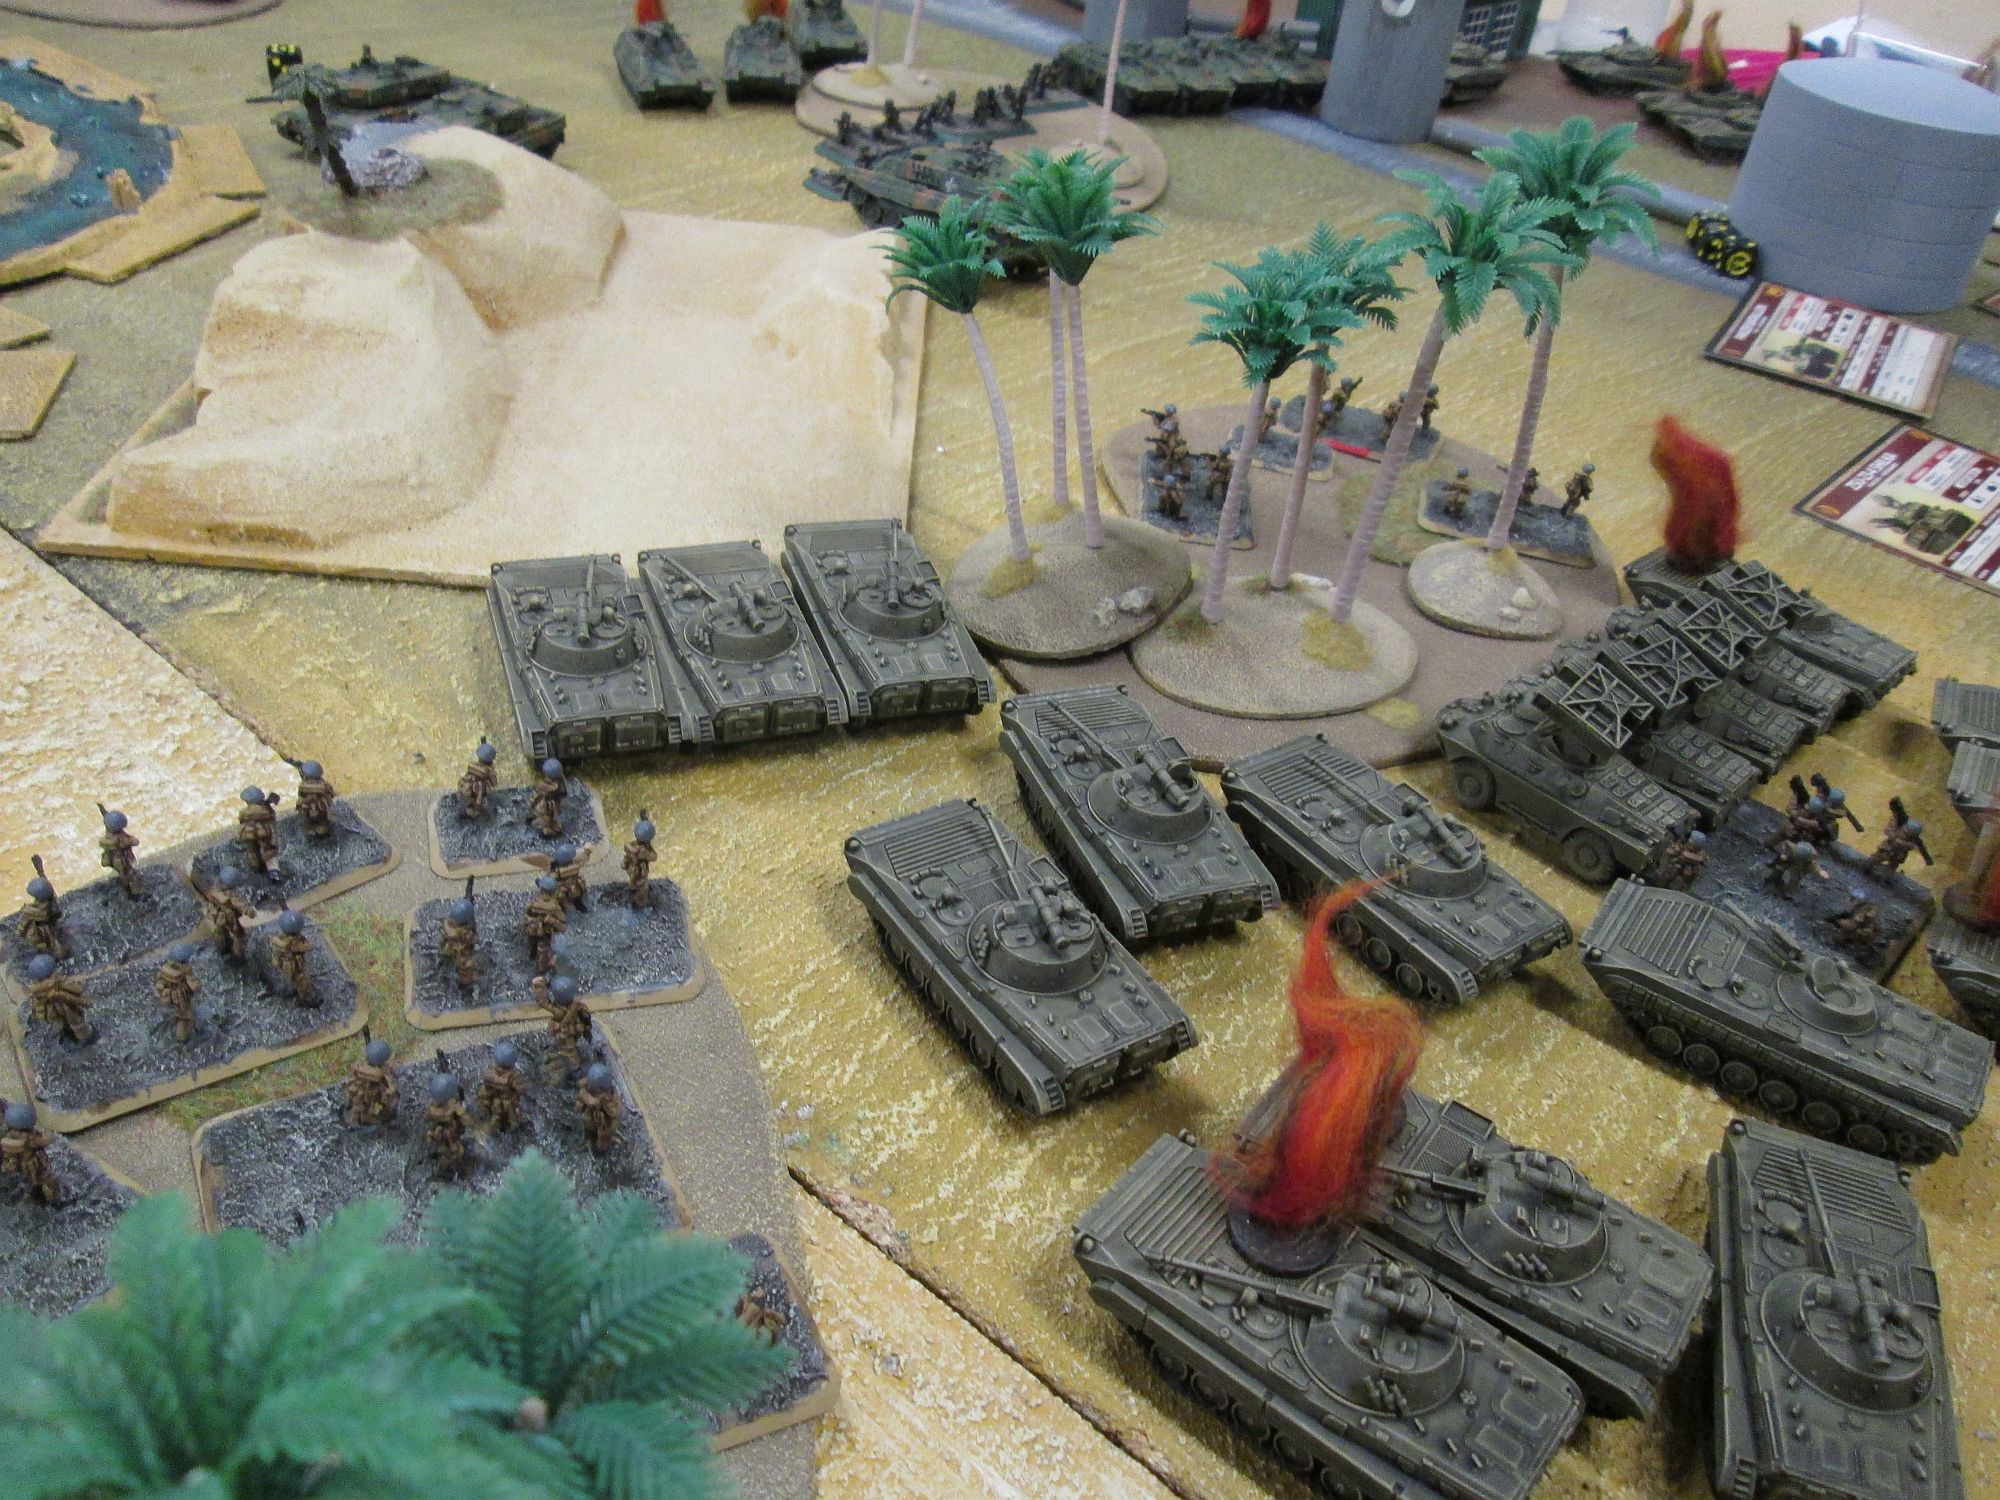
We played Breakthrough to give the defending East Germans a slightly lower figure count on the table, but the truth was he was still outnumbering our joined forces with half of the army on the table. Quite a task!
Our plan was to get on the objectives before the second infantry unit could get on the table. As the BMP1s are pointless against the might of Leopards and Chieftains and cannot fire missiles on the move, we were expecting the tank units to be more prevalent in the reserves count and they were. The defenders put down the BMP2 infantry, AA assets, BMP1 recon and one tank unit. We put the Jaguars in outflanking and got more evidence of the pointlessness of Spearhead - three units capable of doing so, and not an inch to move forward on the whole table...
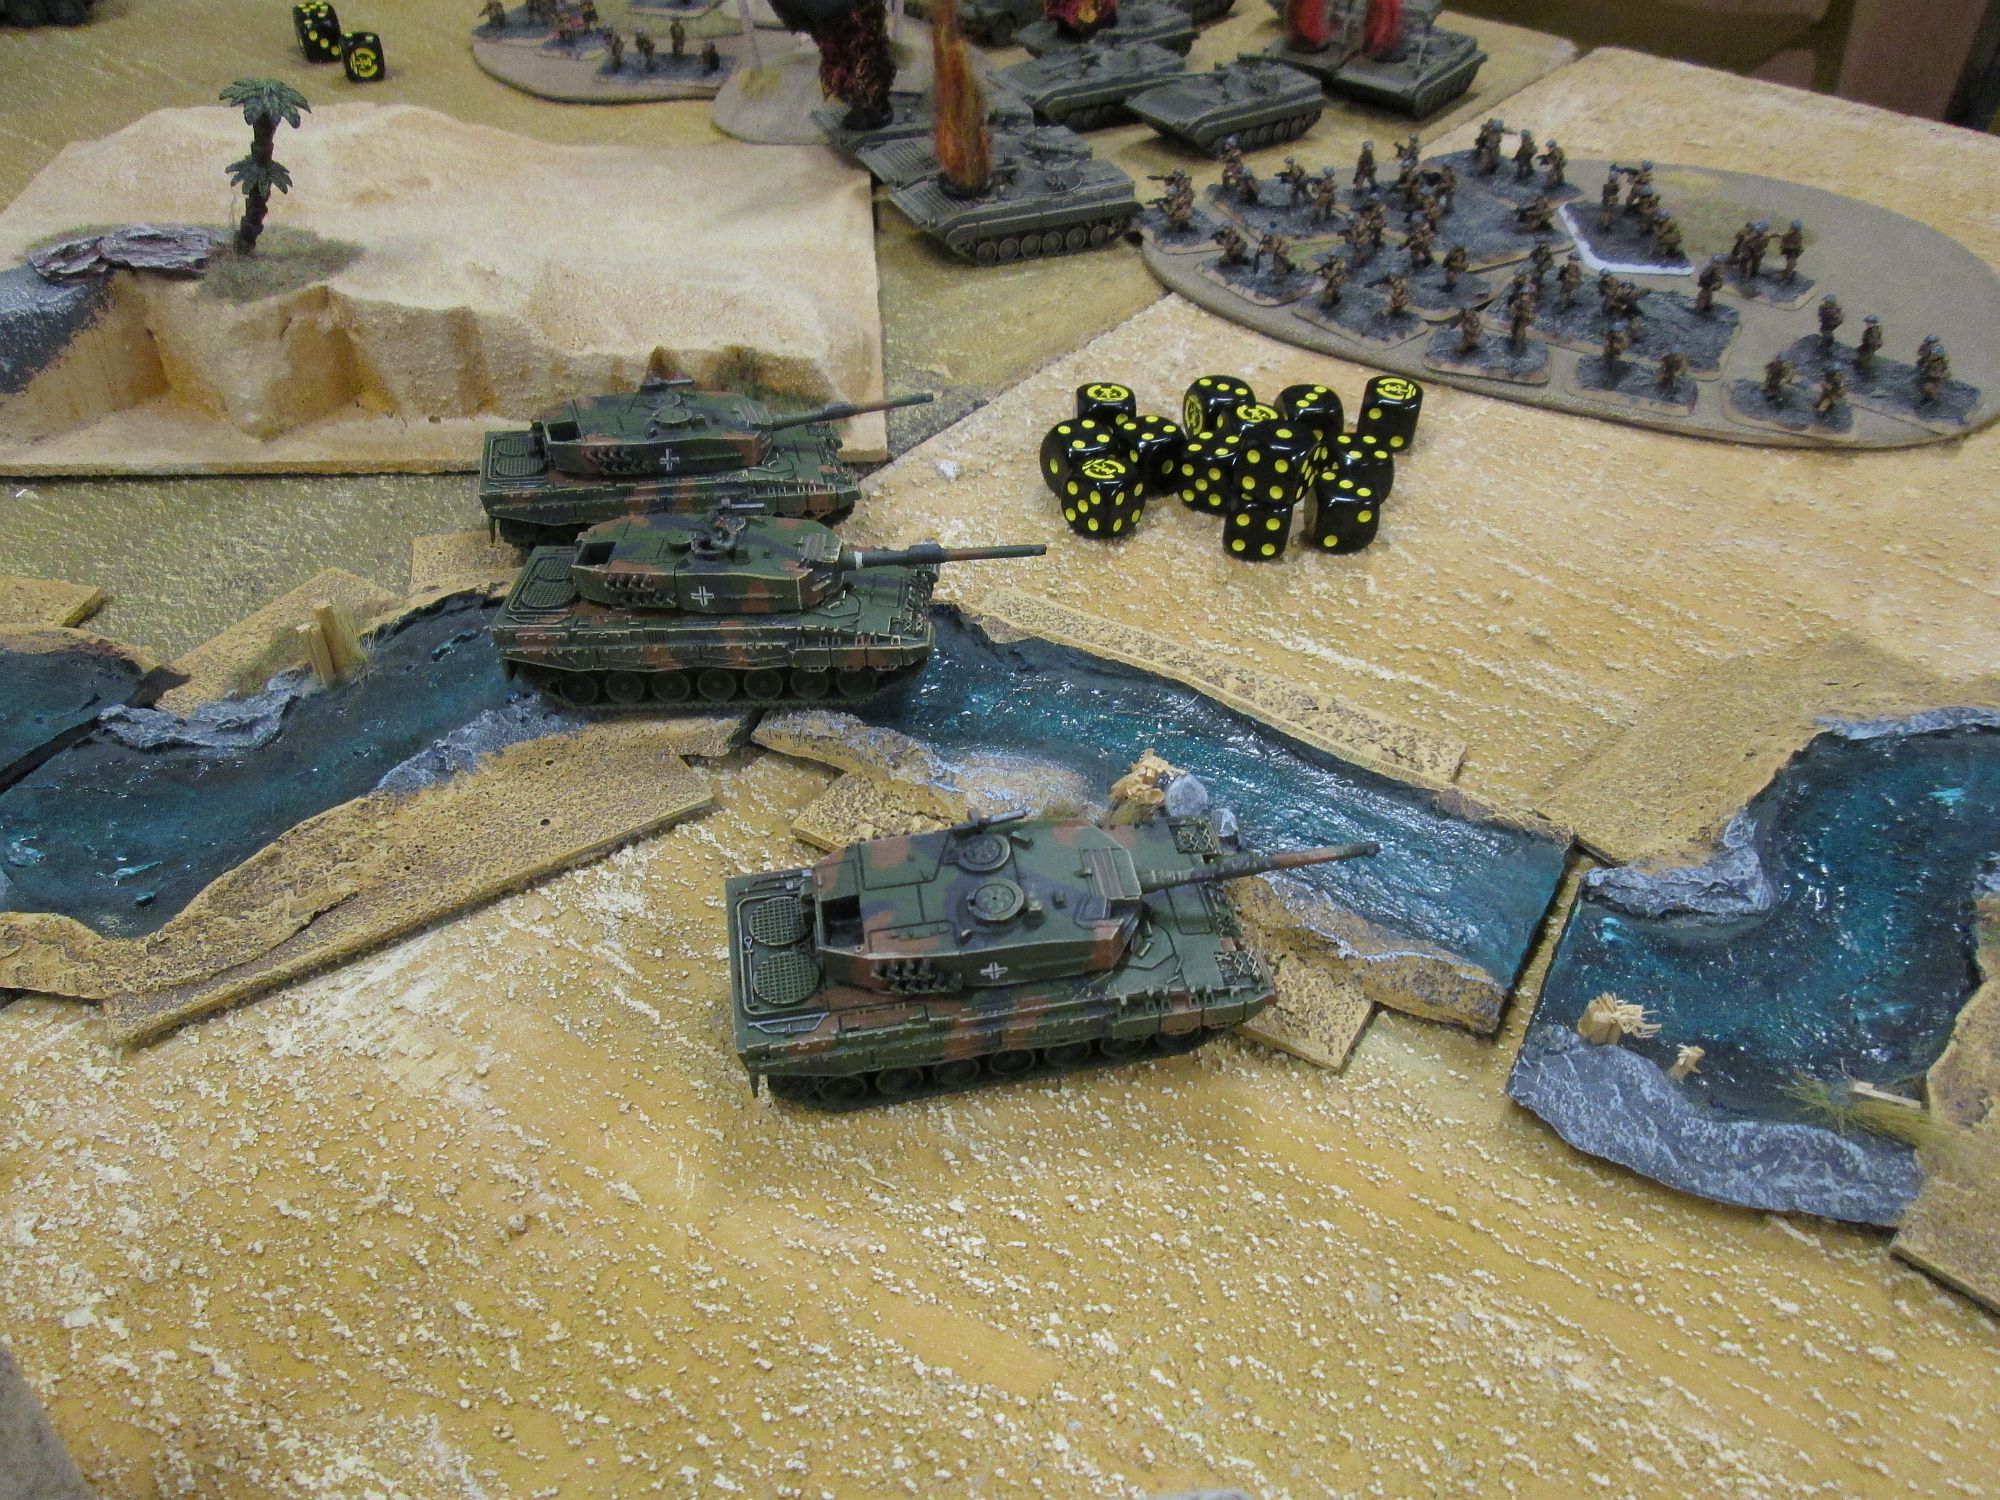
It was essential to annihilate the lead troops and draw the ambush before the reserves made their way on the table, so the Chieftains fanned out to the right (where they had no targets!) while the Leopards went for the centre, where their greater speed made them more capable of reaching the objectives and set up a defensive position. They were able to see some BMPs and kill them, although it seemed a bit of a waste at that point because they were blatantly overkill, but by then there were no worthier targets.
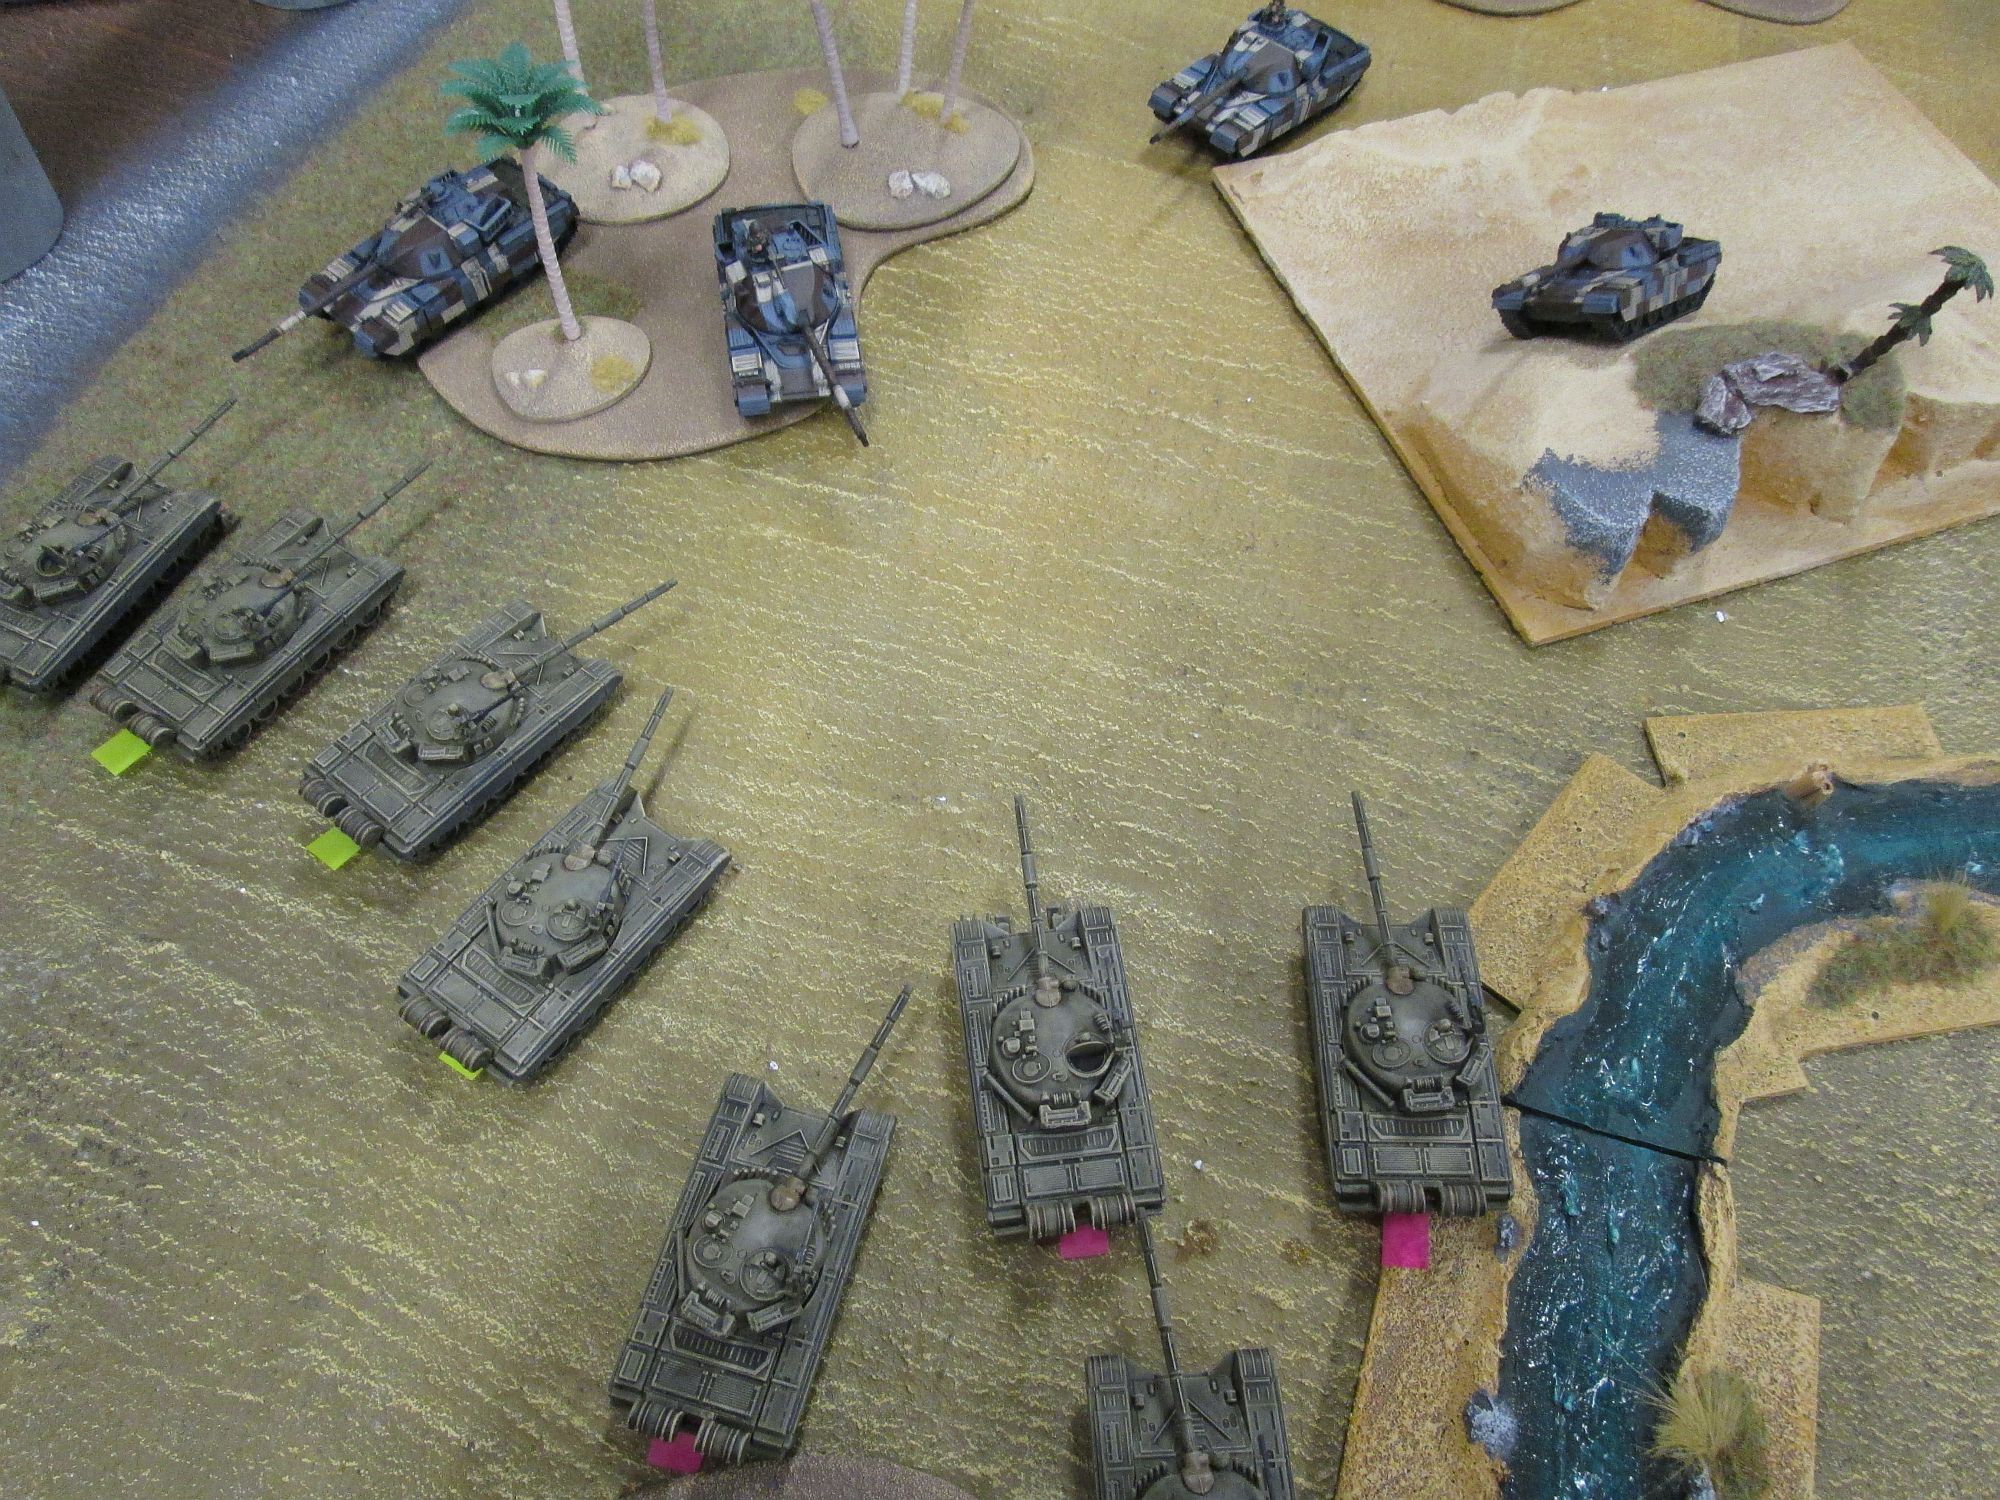
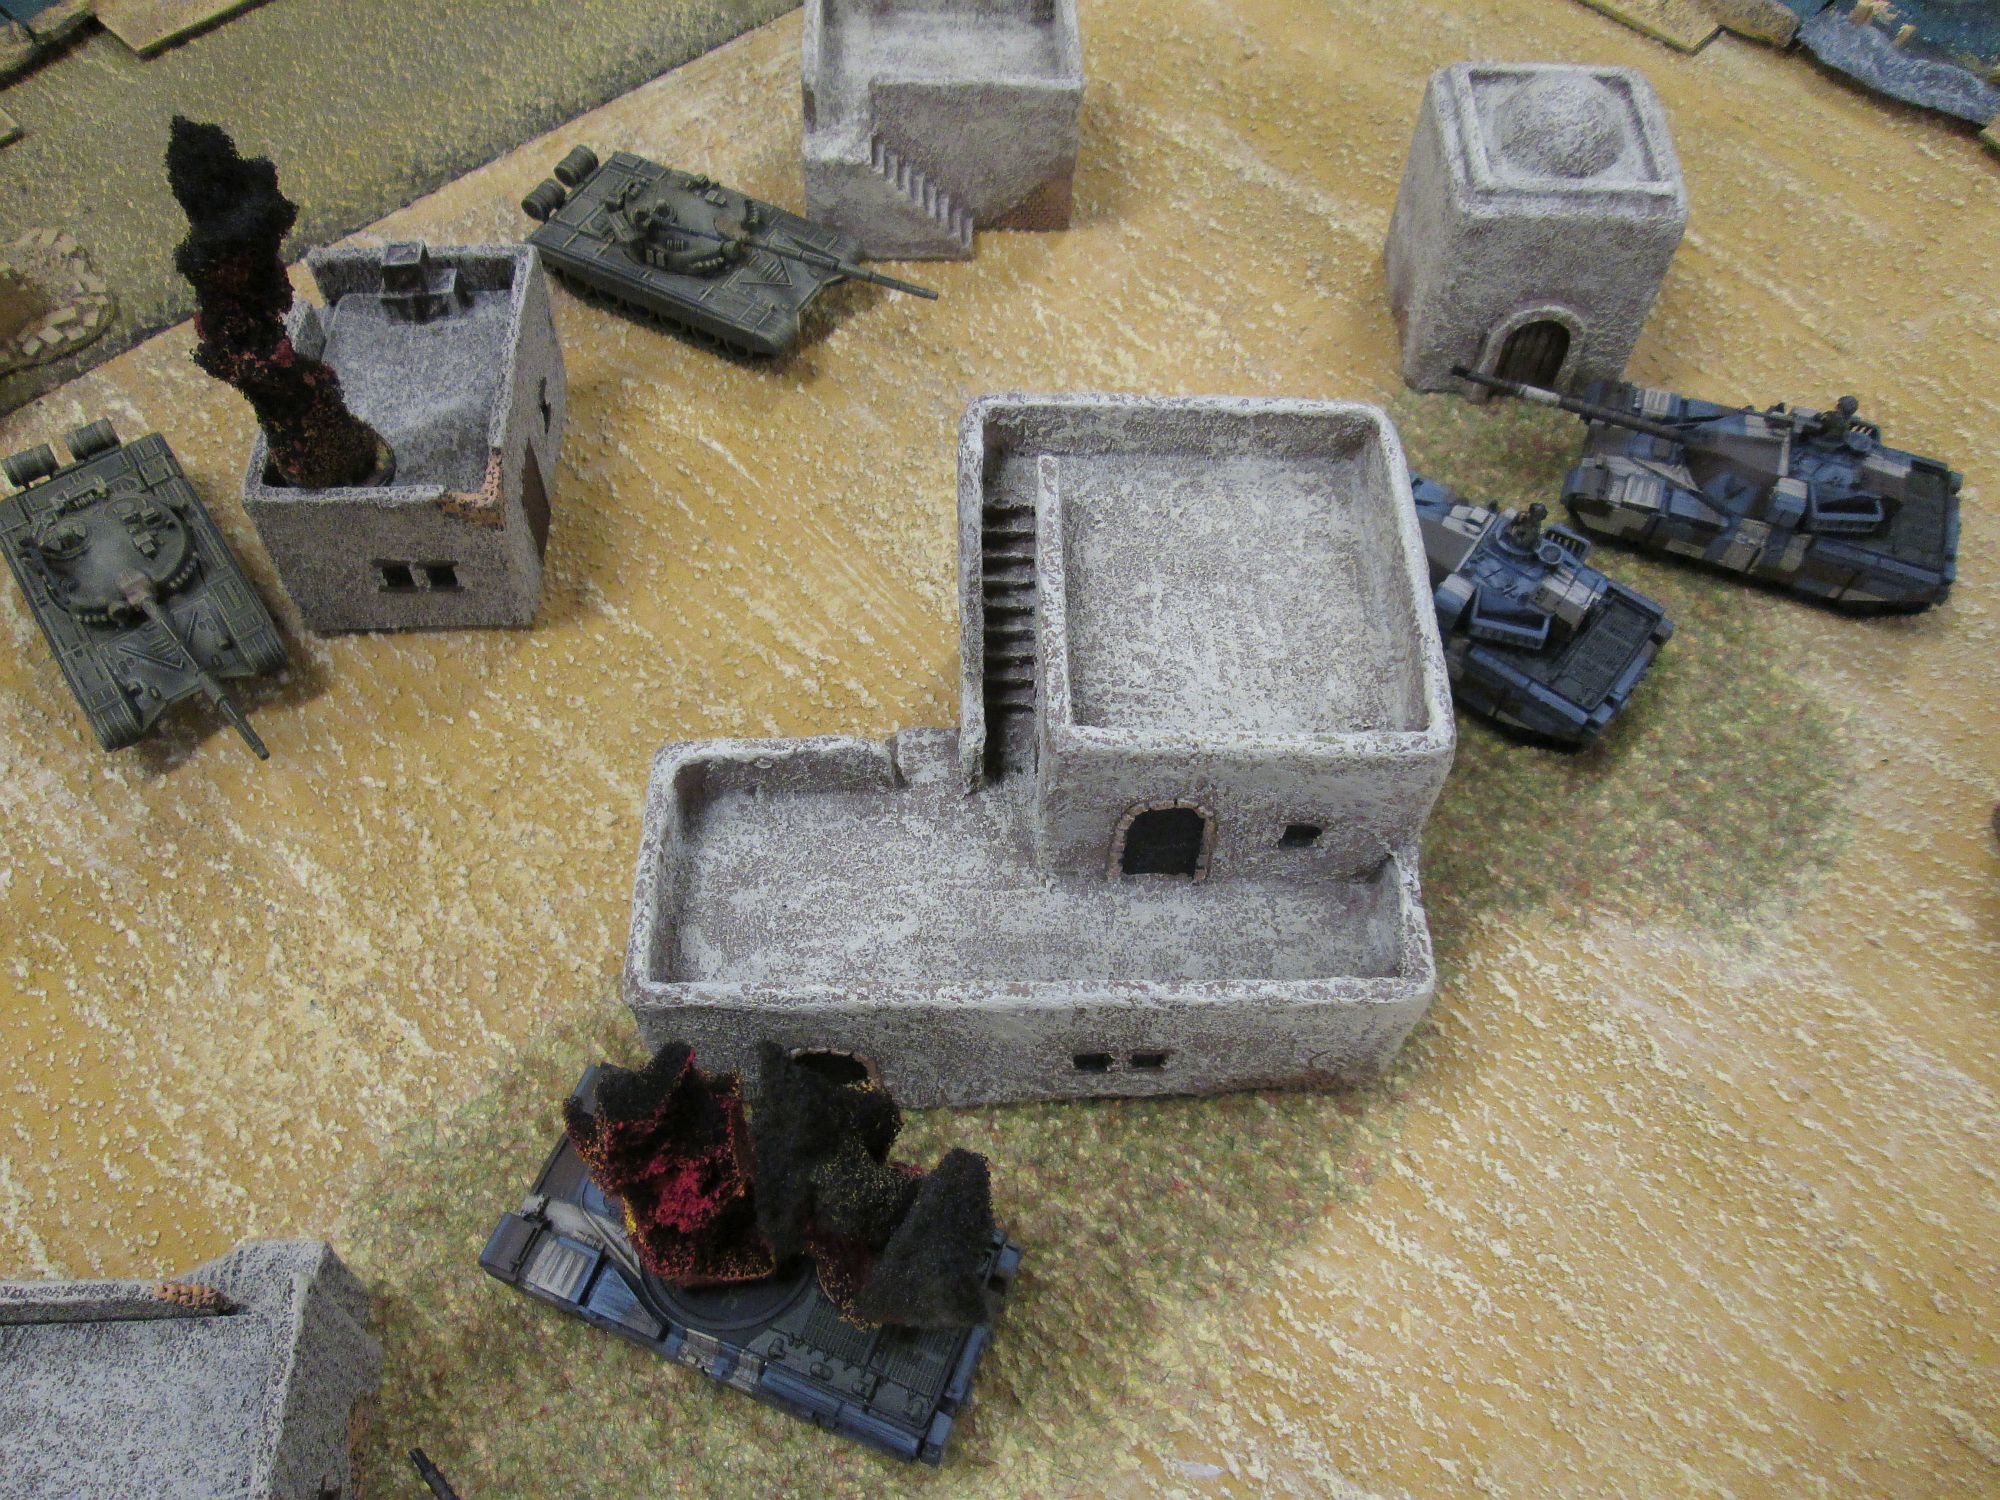
Our opponent revealed the ambush and got the reserves so all of a sudden I was facing lots of tanks. Despite having put my tanks in cover, at short range the lesser T72s were lethal and I lost two tanks, with the last one passing the check. Elsewhere the BMP2s lined up some shots at the Marders, getting two kills. The Leo IIs effortlessly saved any attempts to scratch the paint off.
In our turn the German infantry recovered from being pinned and blitzed into a palm grove to fire some missiles, the Leos advanced while my army stayed put (aside from a few tactical blitzes) to maximise the shots against the tanks. At this point my "ally" decided to fire the Leos against the infantry that had shifted from cover to cover towards the objective quarter instead of helping me against the steel horde. Bluecher wouldn't have been impressed!
My aim was good enough, with one platoon destroyed after 4 kills, 1 bailed an a morale check. The Leopards got three kills and pinned the platoon, although that wasn't exactly what I had in mind for 44 points' worth of tanks! The Luchs were more effective finishing off the recon BMP platoon.
In the second turn our opponent didn't get any reserves. He moved back the remaining tanks as he had no penalty for shooting anyway! His infantry unpinned but decided to do the inglorious thing and dig back in. The BMPs were again unsuccessful against the Leopard IIs and they looked very threatening in the middle of the table.
I lost a tank from the T72 fire, but in my turn I advanced and killed two. Meanwhile the Leopards proceeded to destroy a truckload of BMPs and the left quarter looked in a very bad position to support the objectives.
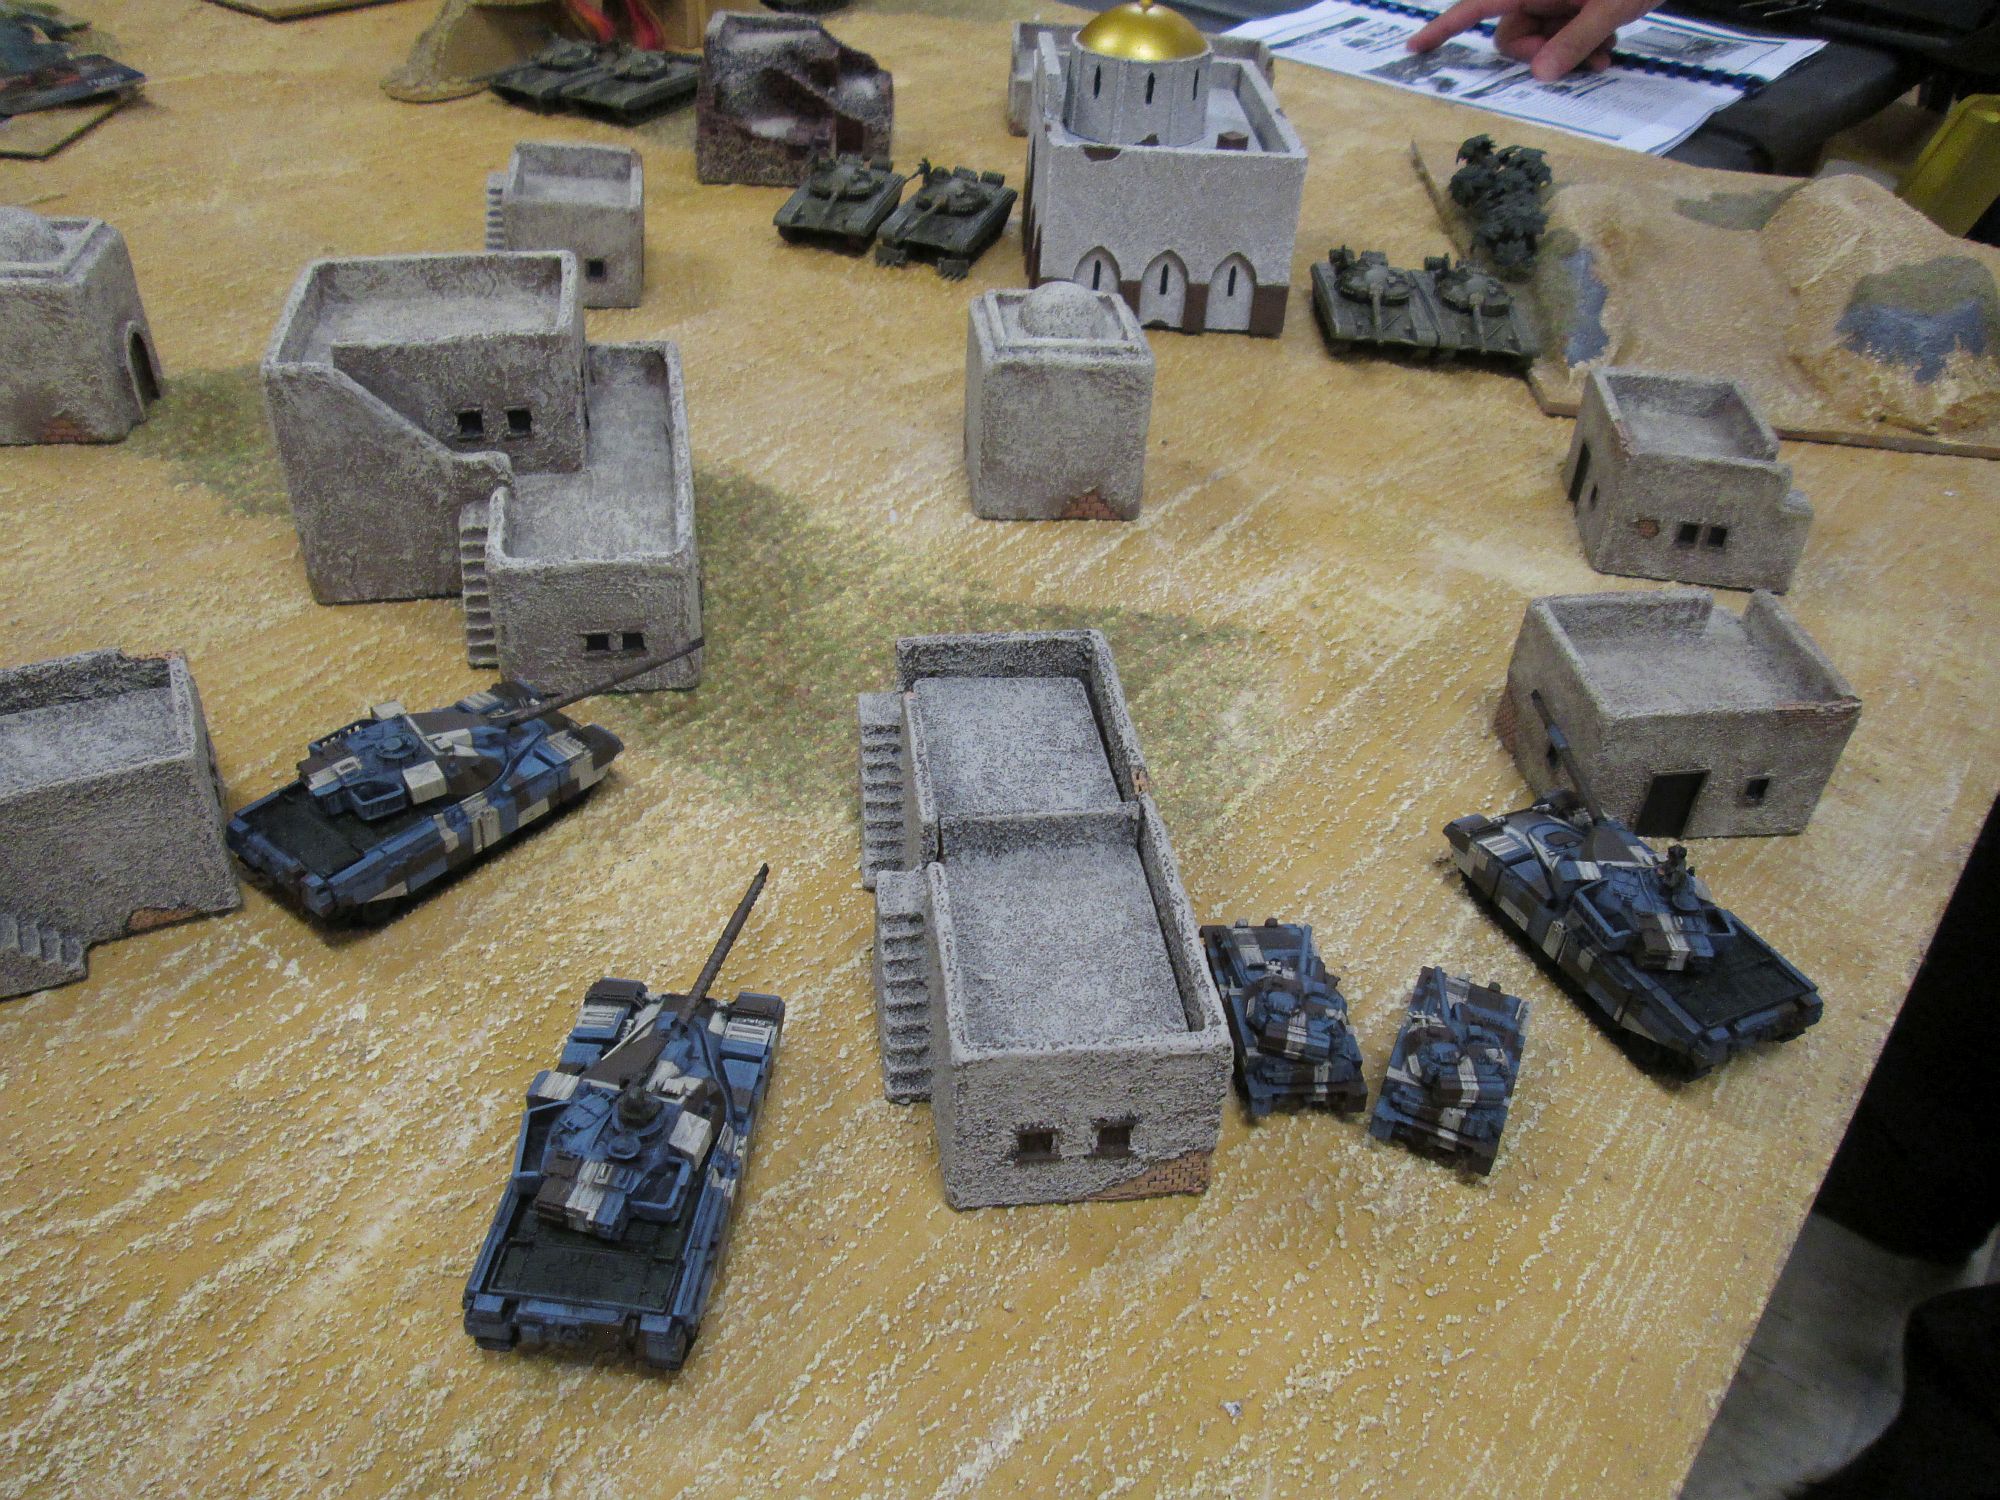
In the next turn the third T72 platoon came on the table but our opponent made a very strange move. Instead of feeding them to my Chieftains, he dashed them towards the objectives. His reasoning was that he had very few weapons that could deal with the Leopards and even when they turned up, it would take them some turns to fire missiles at them, and it might be too late.
The "forlorn hope" T72s facing my tanks earned their wages, bailing one of the HQ tanks. On the other side, the infantry tried to blitz, failed, and decided they'd rather stay where they were anyway!
The Leopards kept strutting their stuff forwards, with the HQ tank giving the platoon covering fire against the remaining BMPs. Until then the PAHs had been silent but the newly arrived tanks attracted their interest and after surviving a few missiles by Gaskins and Gremlins they nailed two.
On "my" side of the table, the remaining Chieftains attacked the thin green line and got rid of them once and for all.
In the next turn he got the Spandrels and BMP infantry. With my Chieftains controlling the right side of the table he put the Spandrels there as decoys but the infantry went where the other infantry was, to try and take some shots at the Leopards' derrières while the T72s kept them busy from the front.
The Spandrels failed to blitz so couldn't fire and the T72s managed to bail the company HQ Leopard, but that was very little to stop the armoured advance.
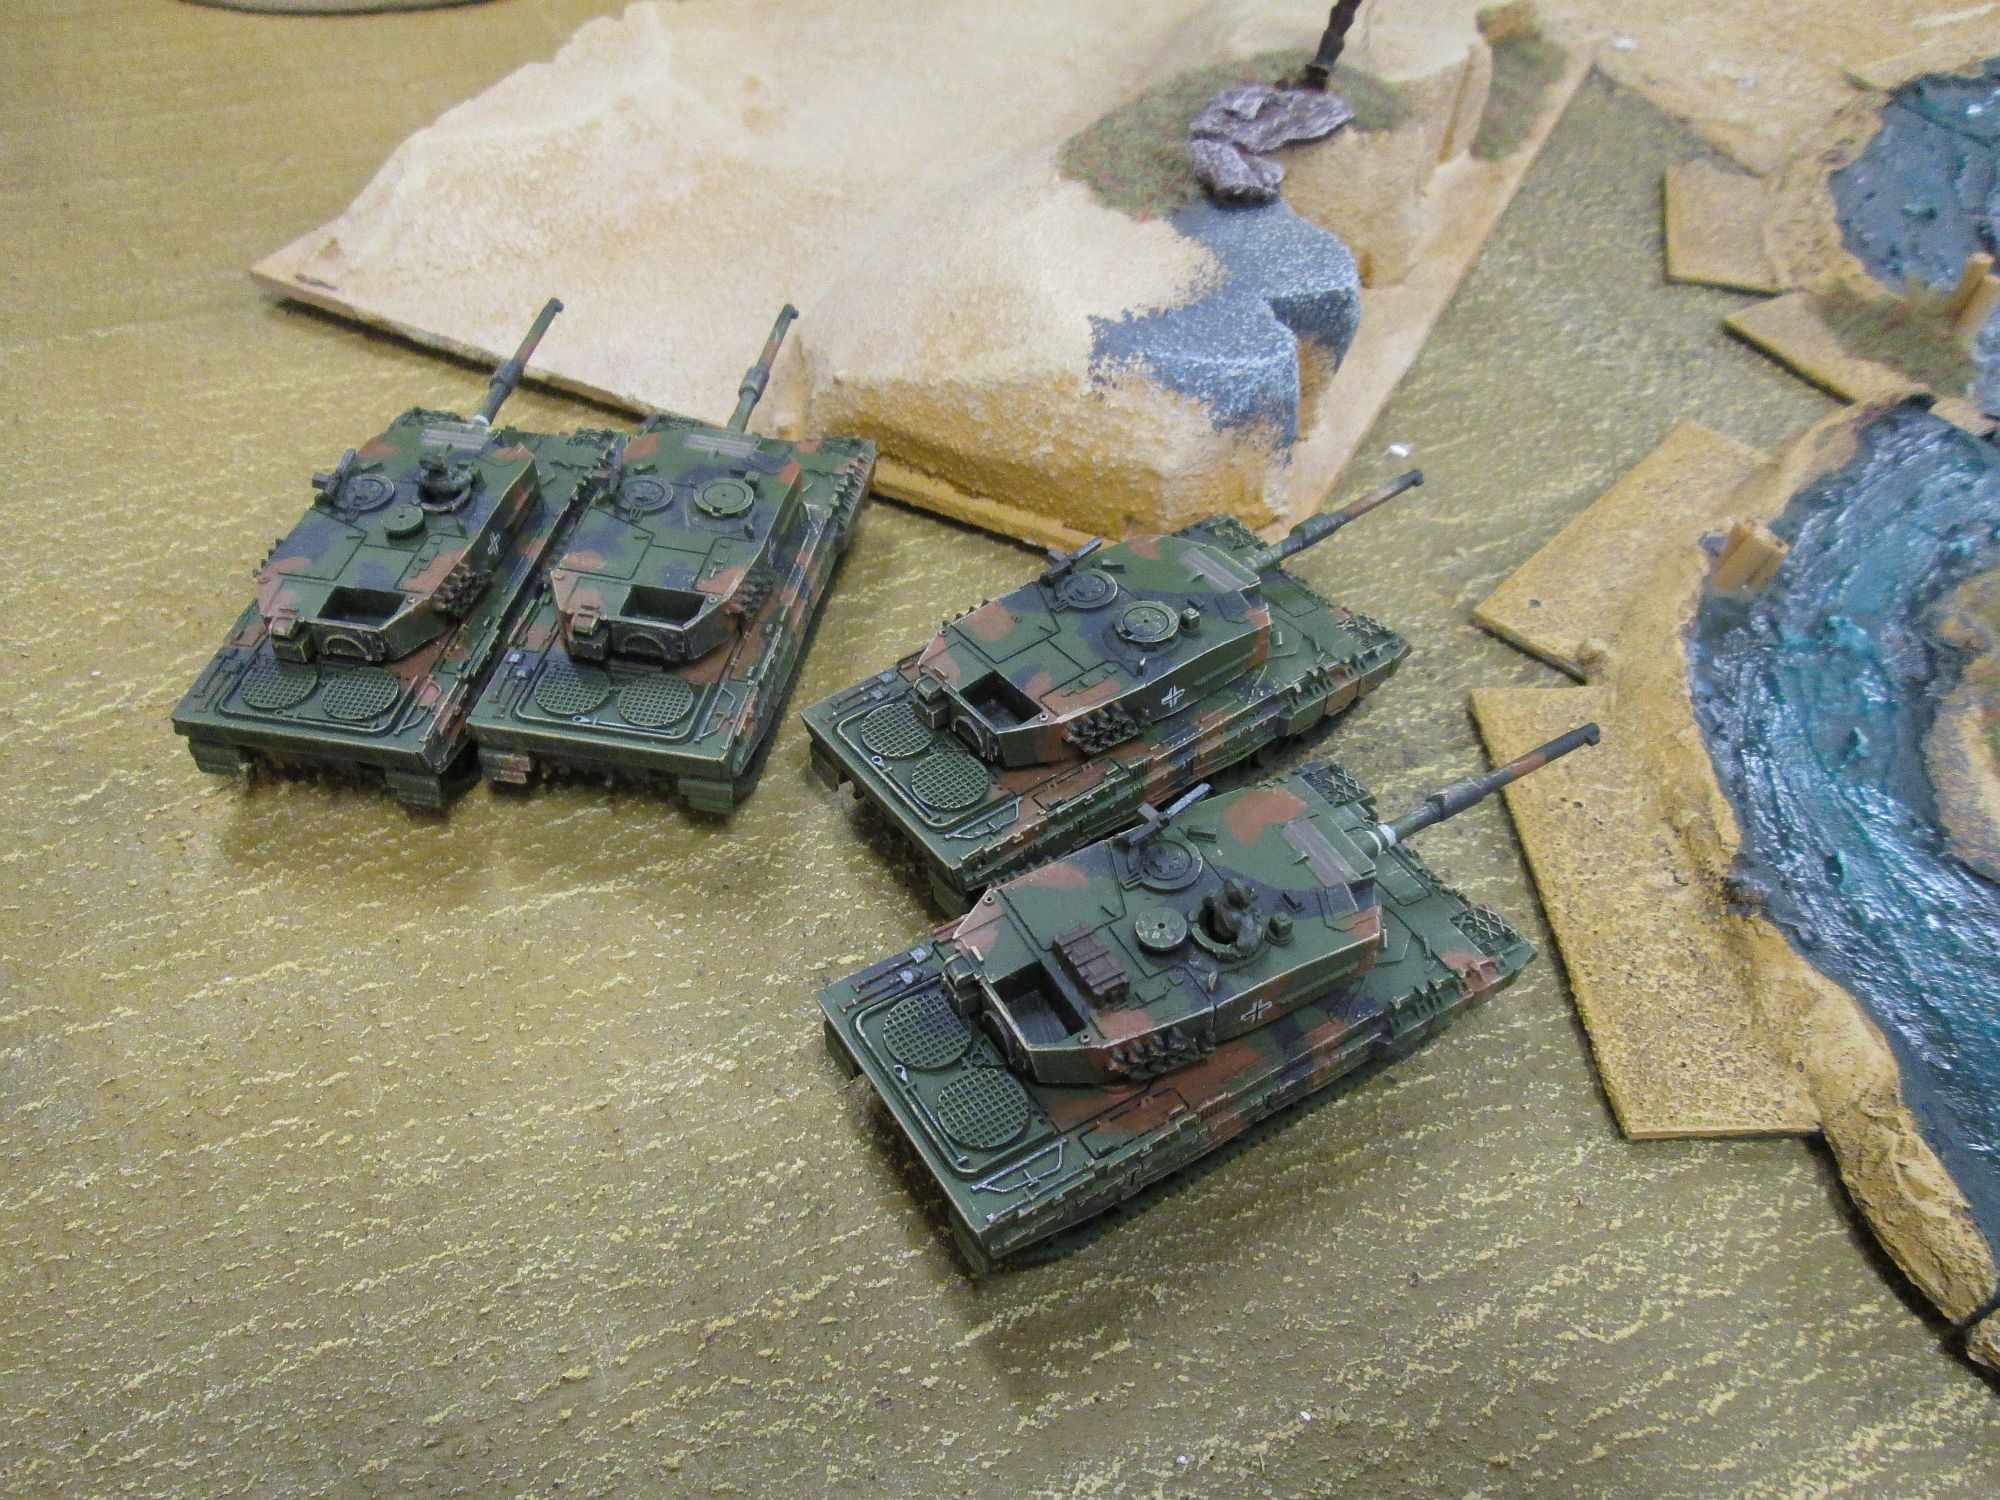
Our fourth turn saw the arrival of the Jaguars, which managed to blitz on the table (not too difficult) and this gave the Leopards the confidence to rush forward and give the T72s their backs. They simply turned their turrets and proceeded with scientific evidence to tear the lesser tanks apart bit by bit. My Chieftains destroyed two Spandrels but the last hung on.
While in the next turn the East Germans got more reserves there was nothing that could stop the Leopards and Jaguars from holding the objective. The infantry tried a daring follow me but they were stopped by defensive fire. The BMPs contented themselves with destroying the two Luchs platoons before they could strike back. The surviving Spandrel smashed another Chieftain, but that was it and the field was ours!
Battle Report Author
Army Lists Used In This Battle
Recommend Commander For Commendation
Share this battle with friends
HMS_BelfastWins

Agree with WG being easy to paint; there’s generally fewer of them and they look great in the NATO tri-colour.
Good report!
nice pictures
I think it’s right to say all Leo II crews come from Bayern munchen supporters. 😀
Hey,
“Red Bull Leipzig” scarf? What should that mean?! Aiming help? 😉
Thats my favorite football team, because i’m from Leipzig. Stay allerted my friend! 😉
Nice report, realy, many thanks for posting it.
Best regards Frank.
An awesome battle! Love the armies.
Nice job!