Fought At Niederbayern
2442 days 18 hours 51 minutes ago
Battle Report
Meatgrinder in Niederbayern
90 POINTSMy opponent Rasmus and I were able to squeeze in a game Tuesday evening, and with 3½ hours to play we thought we'd be well set for a 87 pts. show-down. Unfortunately, we were both to find out that the battle would become far more bloody and close than we'd ever tried before.
Rasmus decided to go Counterattack, and we rolled up Hasty Attack. Note that we played this mission the day before the missions-update rolled out, and so used the old rules for capturing objectives.
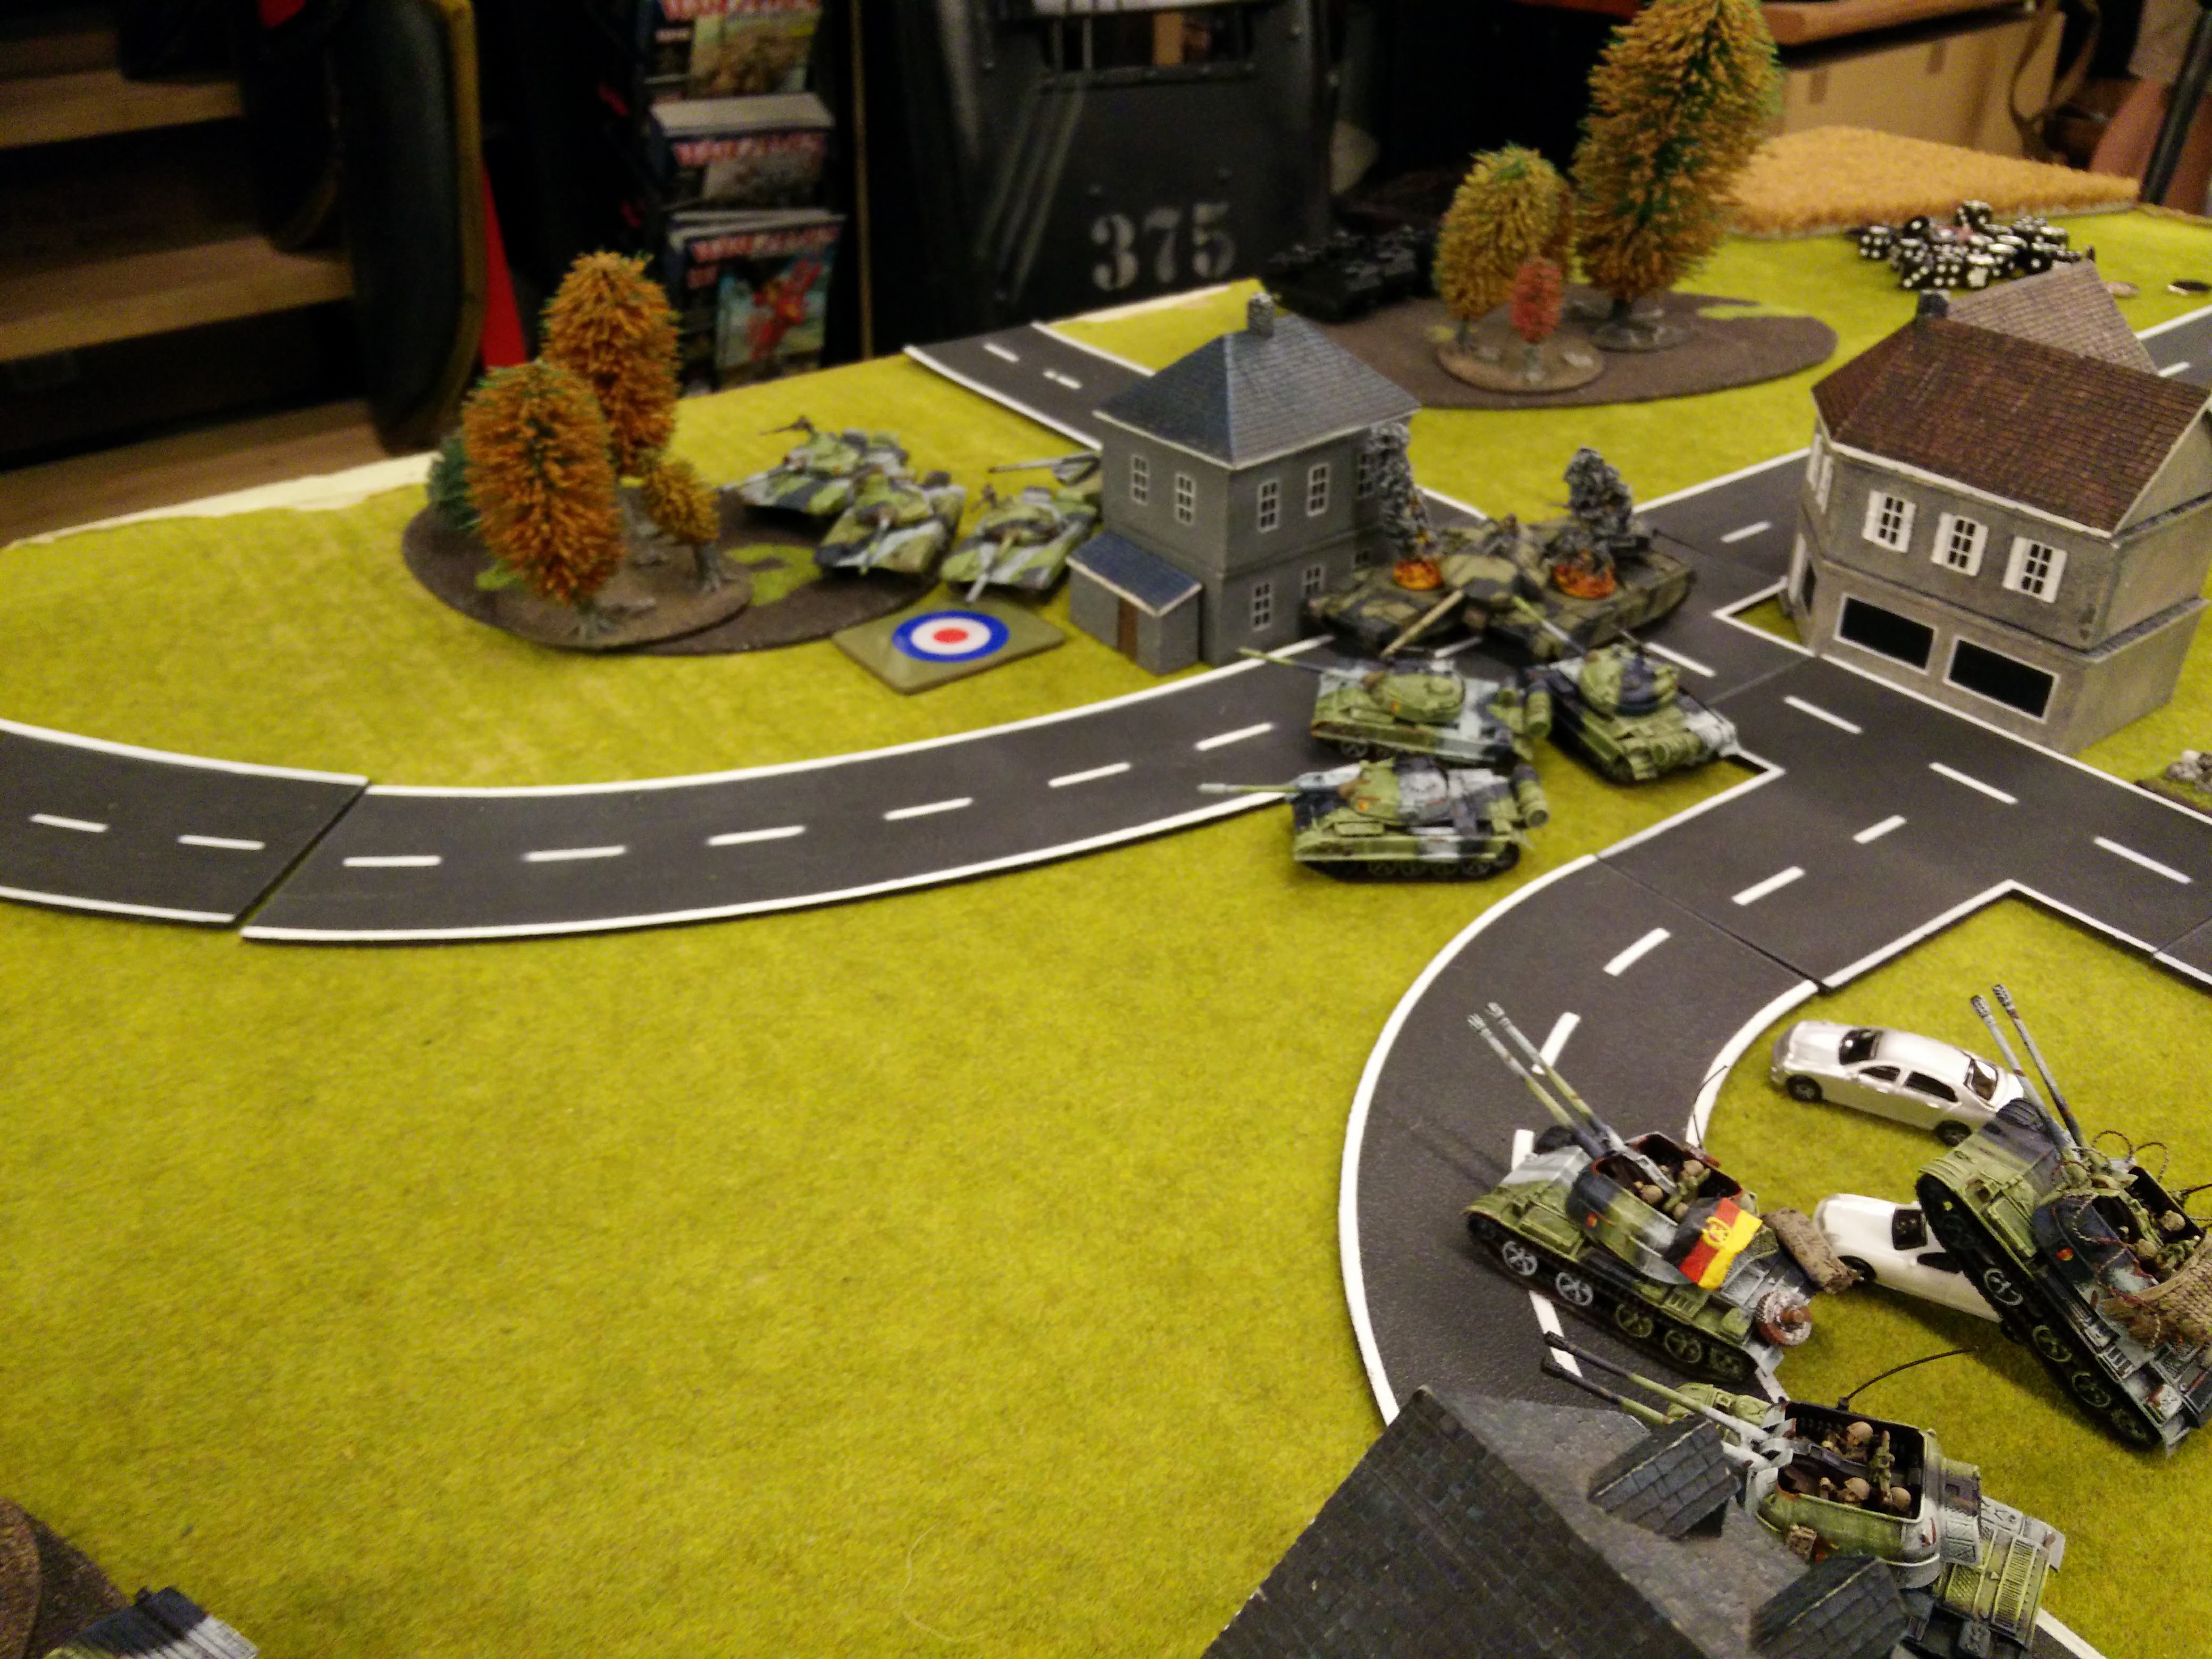
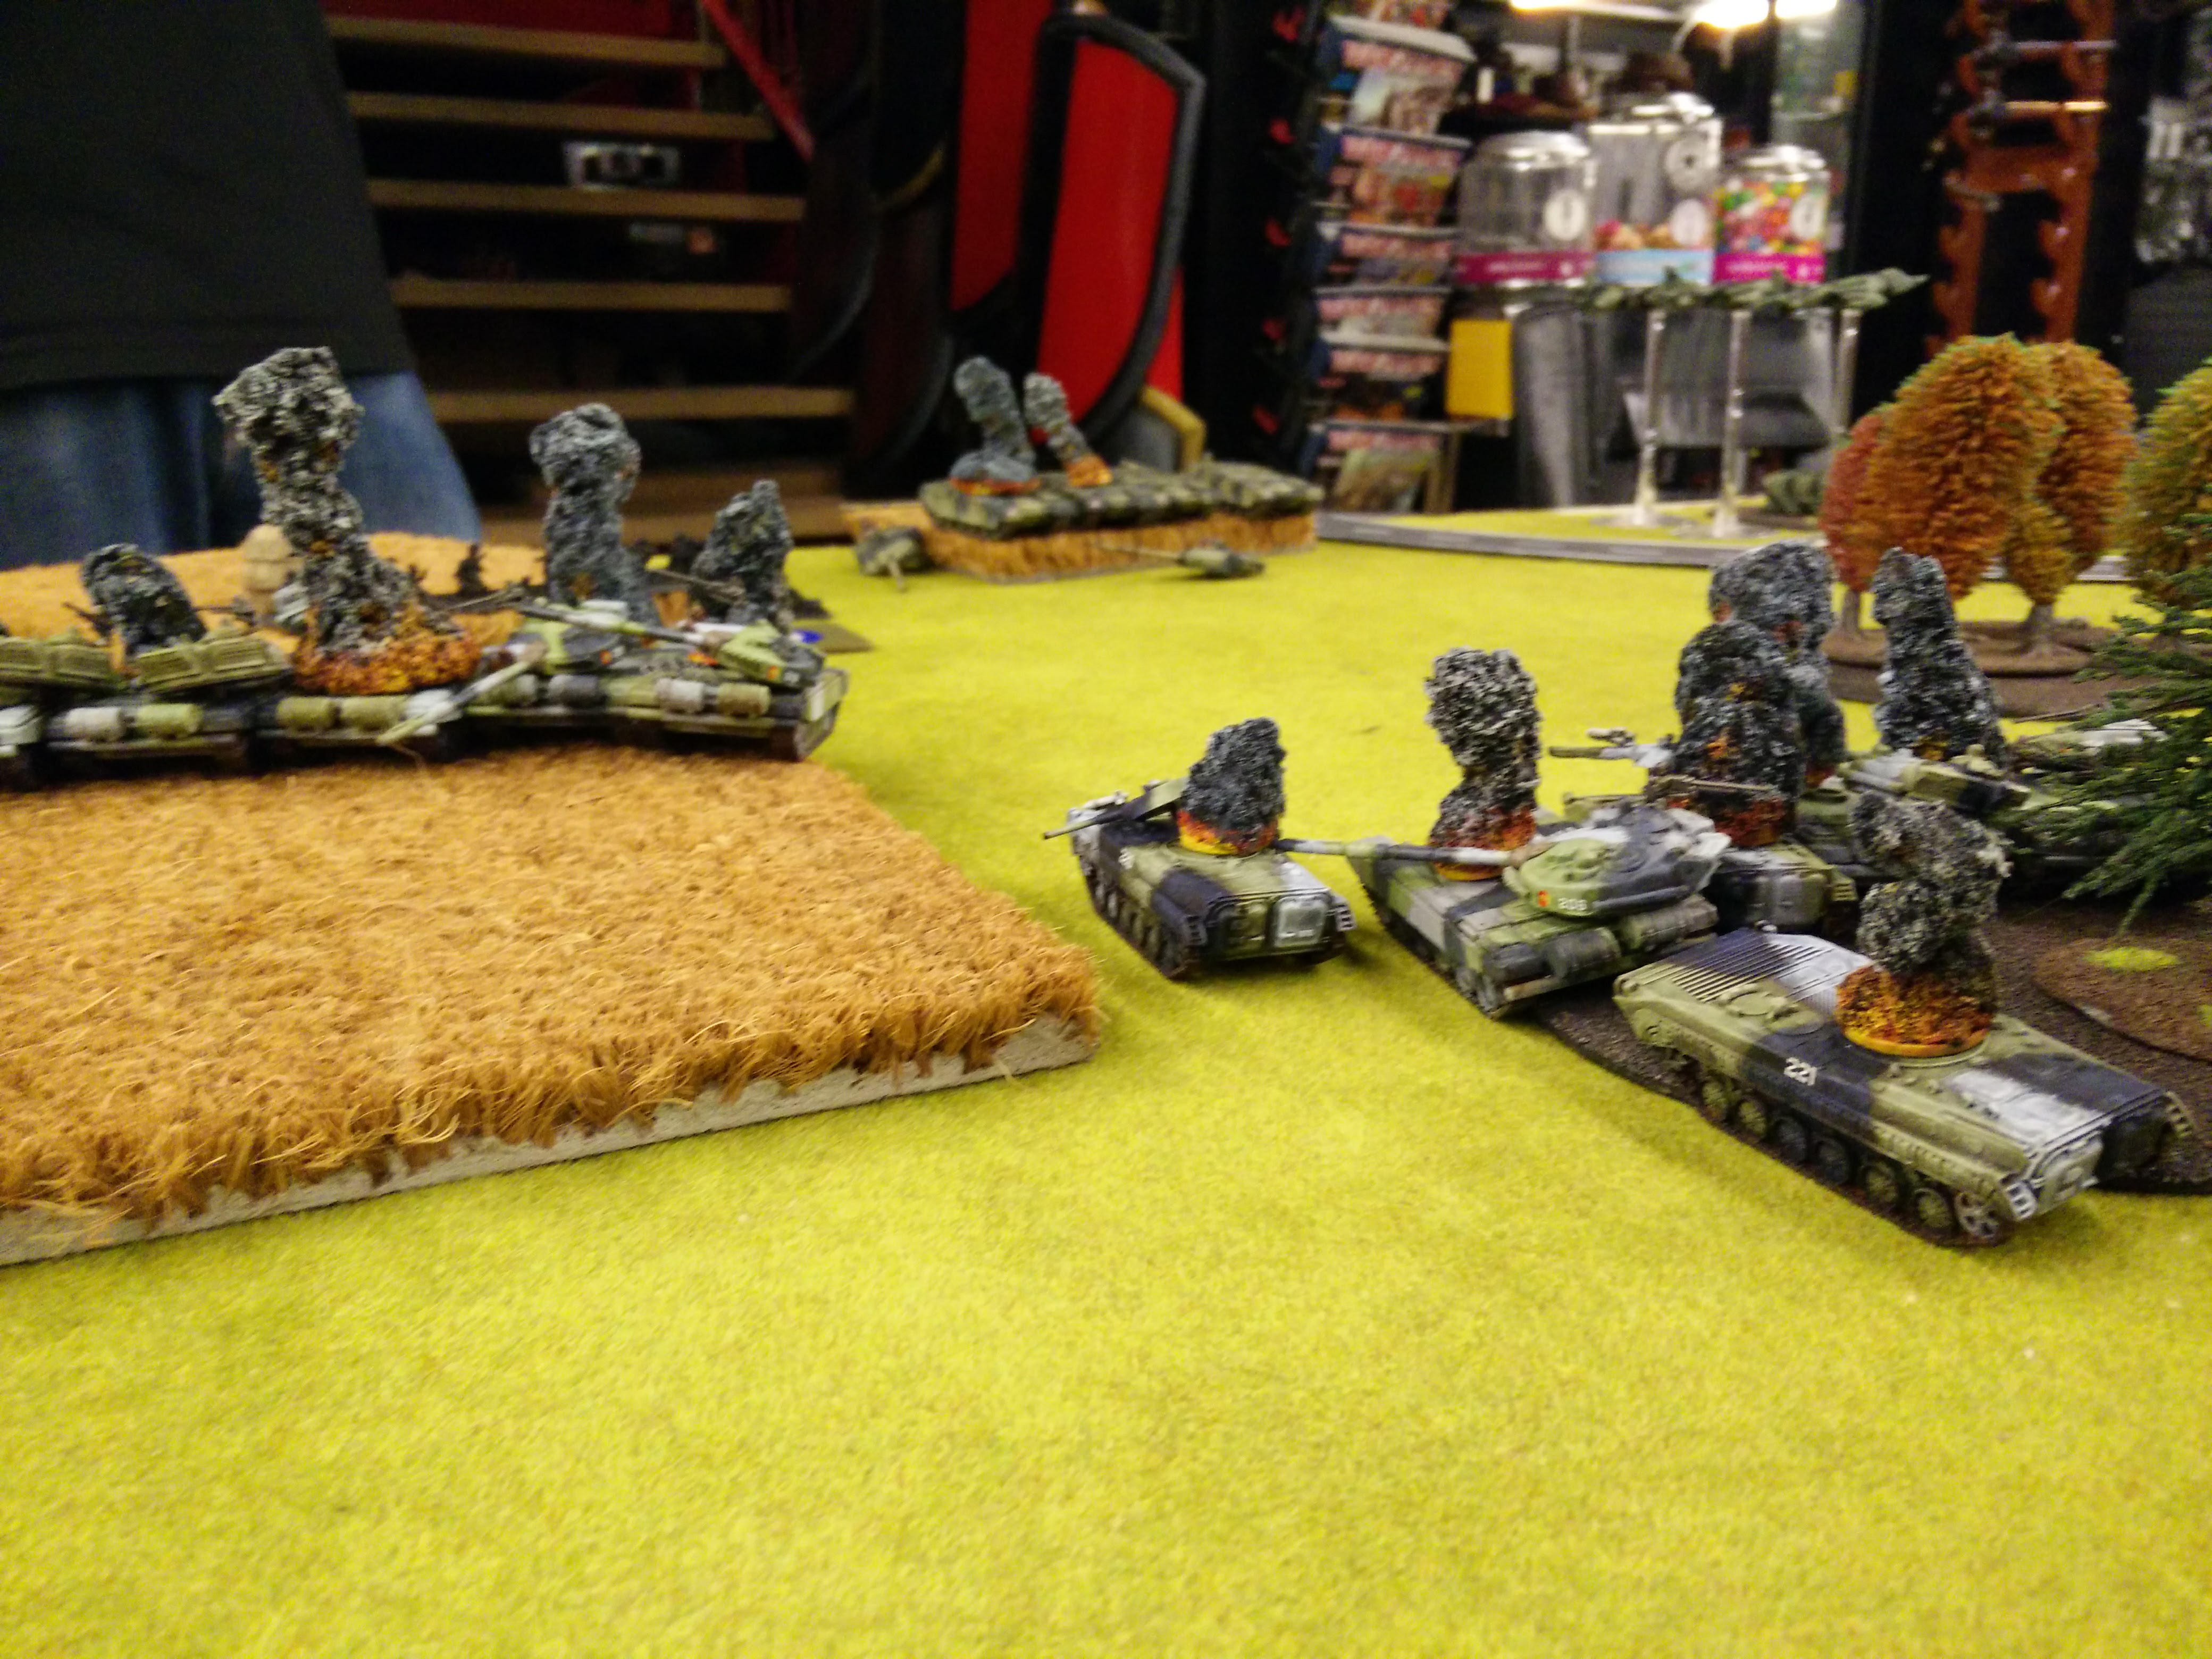
We each had 4 units to start on the table, I decided to front-load heavily as I've had bad experience waiting too long for my air support. So I started the game with my 9 x T-72s (with battalion commander), my BMP scouts, my Froggyfeet and Hinds (with attached landing company). Seeing Rasmus was covering both objectives with his chieftains and his infantry in ambush, I used the BMPs to push up as far as I could on the left, and deployed my T-72s with battalion commander in a nice firing line. The landing infantry would cover the objective in my own zone.
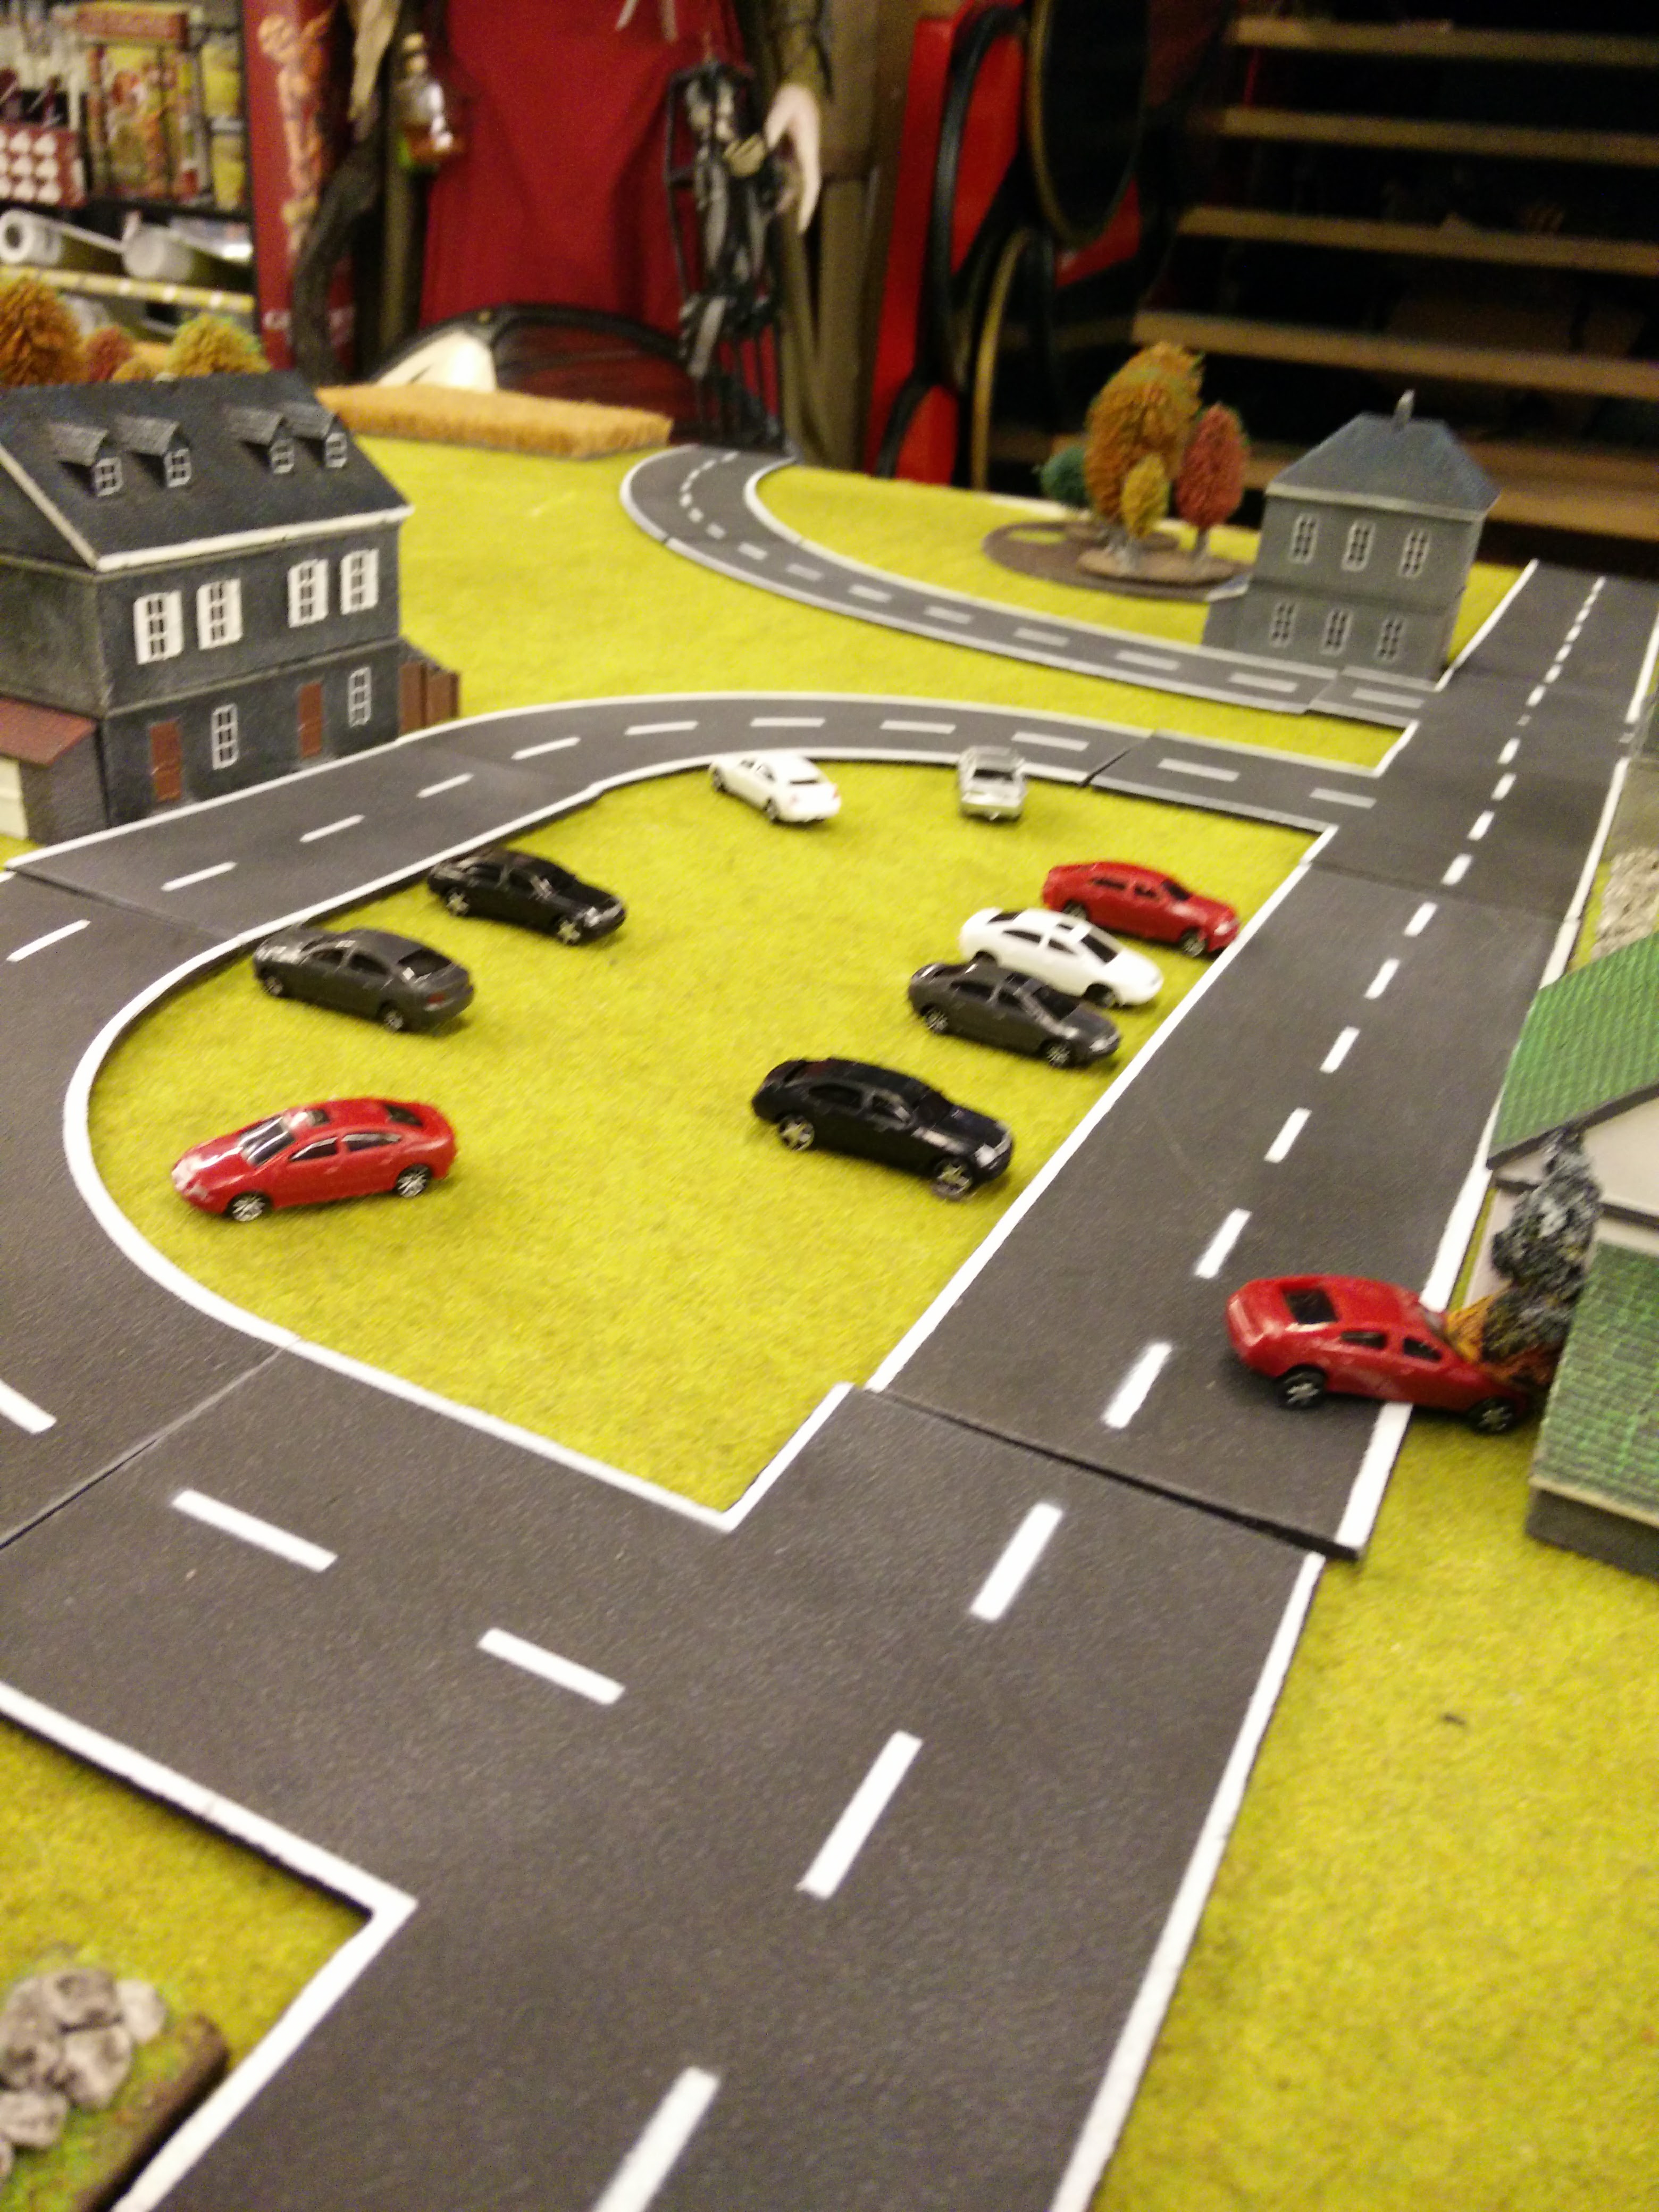
Besides the objective in my own zone, I had two objectives on the far side of the table, one on the far left, and one in the approximate middle (in front of the wheat field and behind the dark building, respectively)
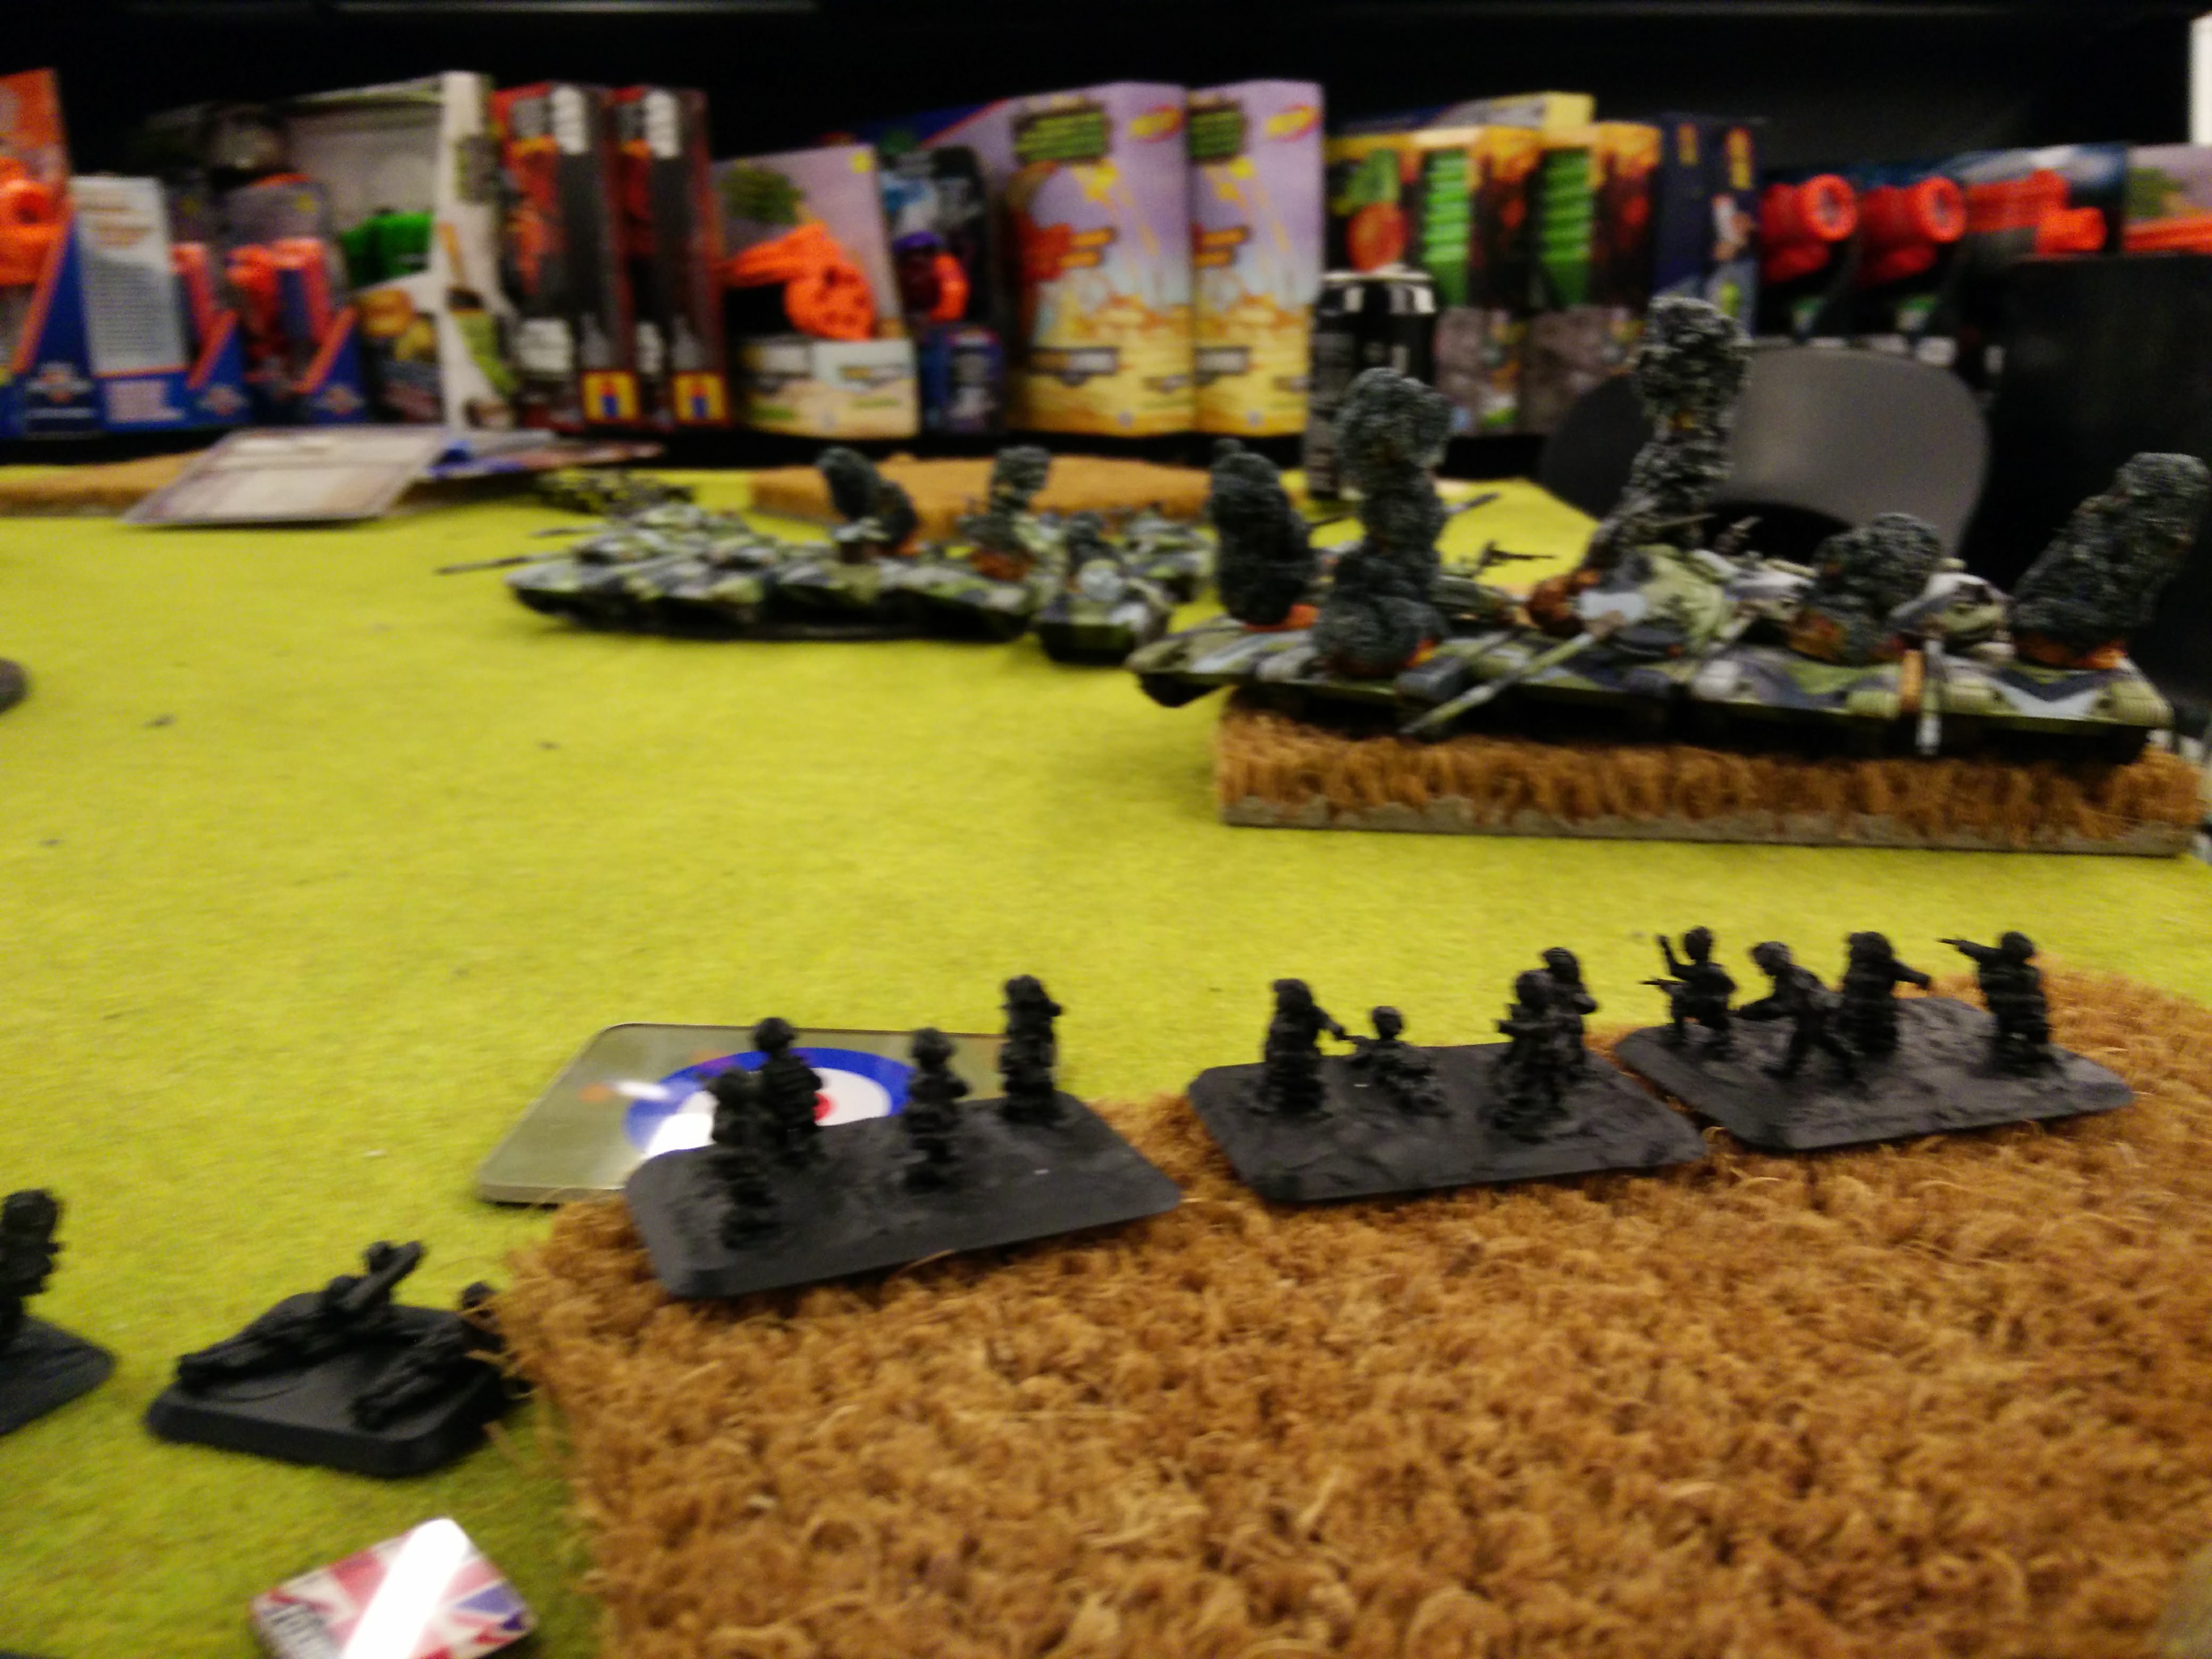
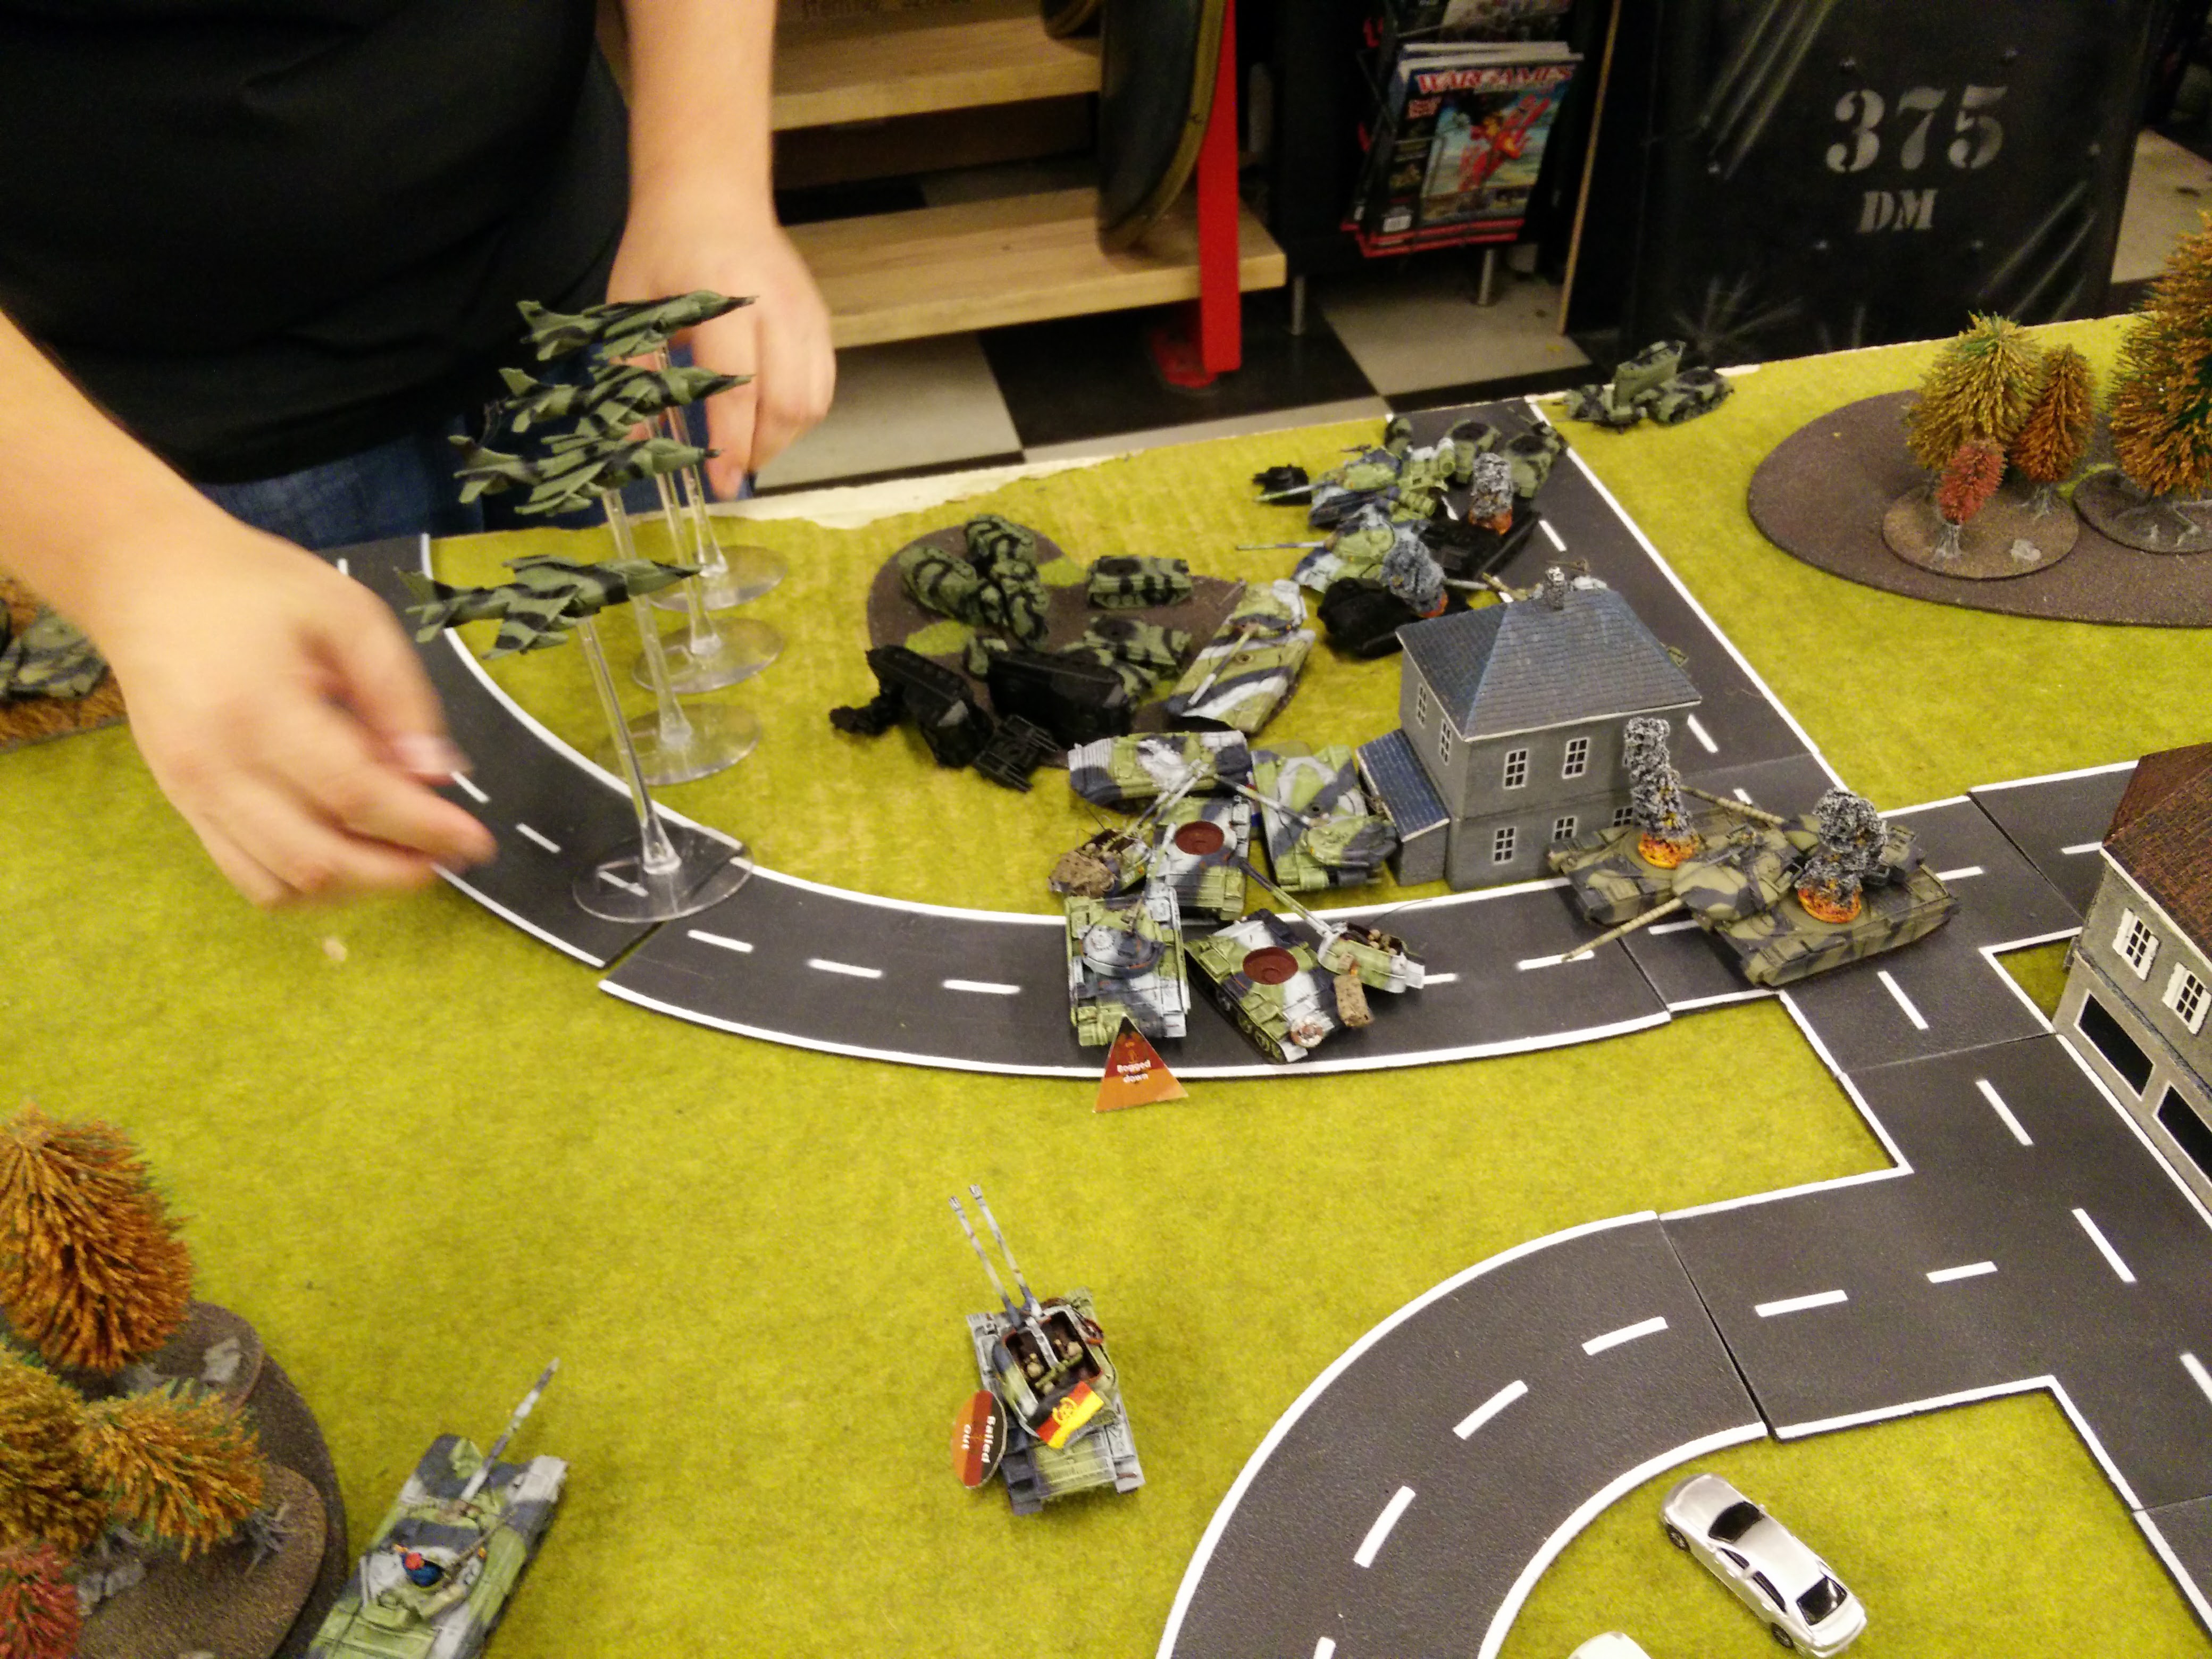
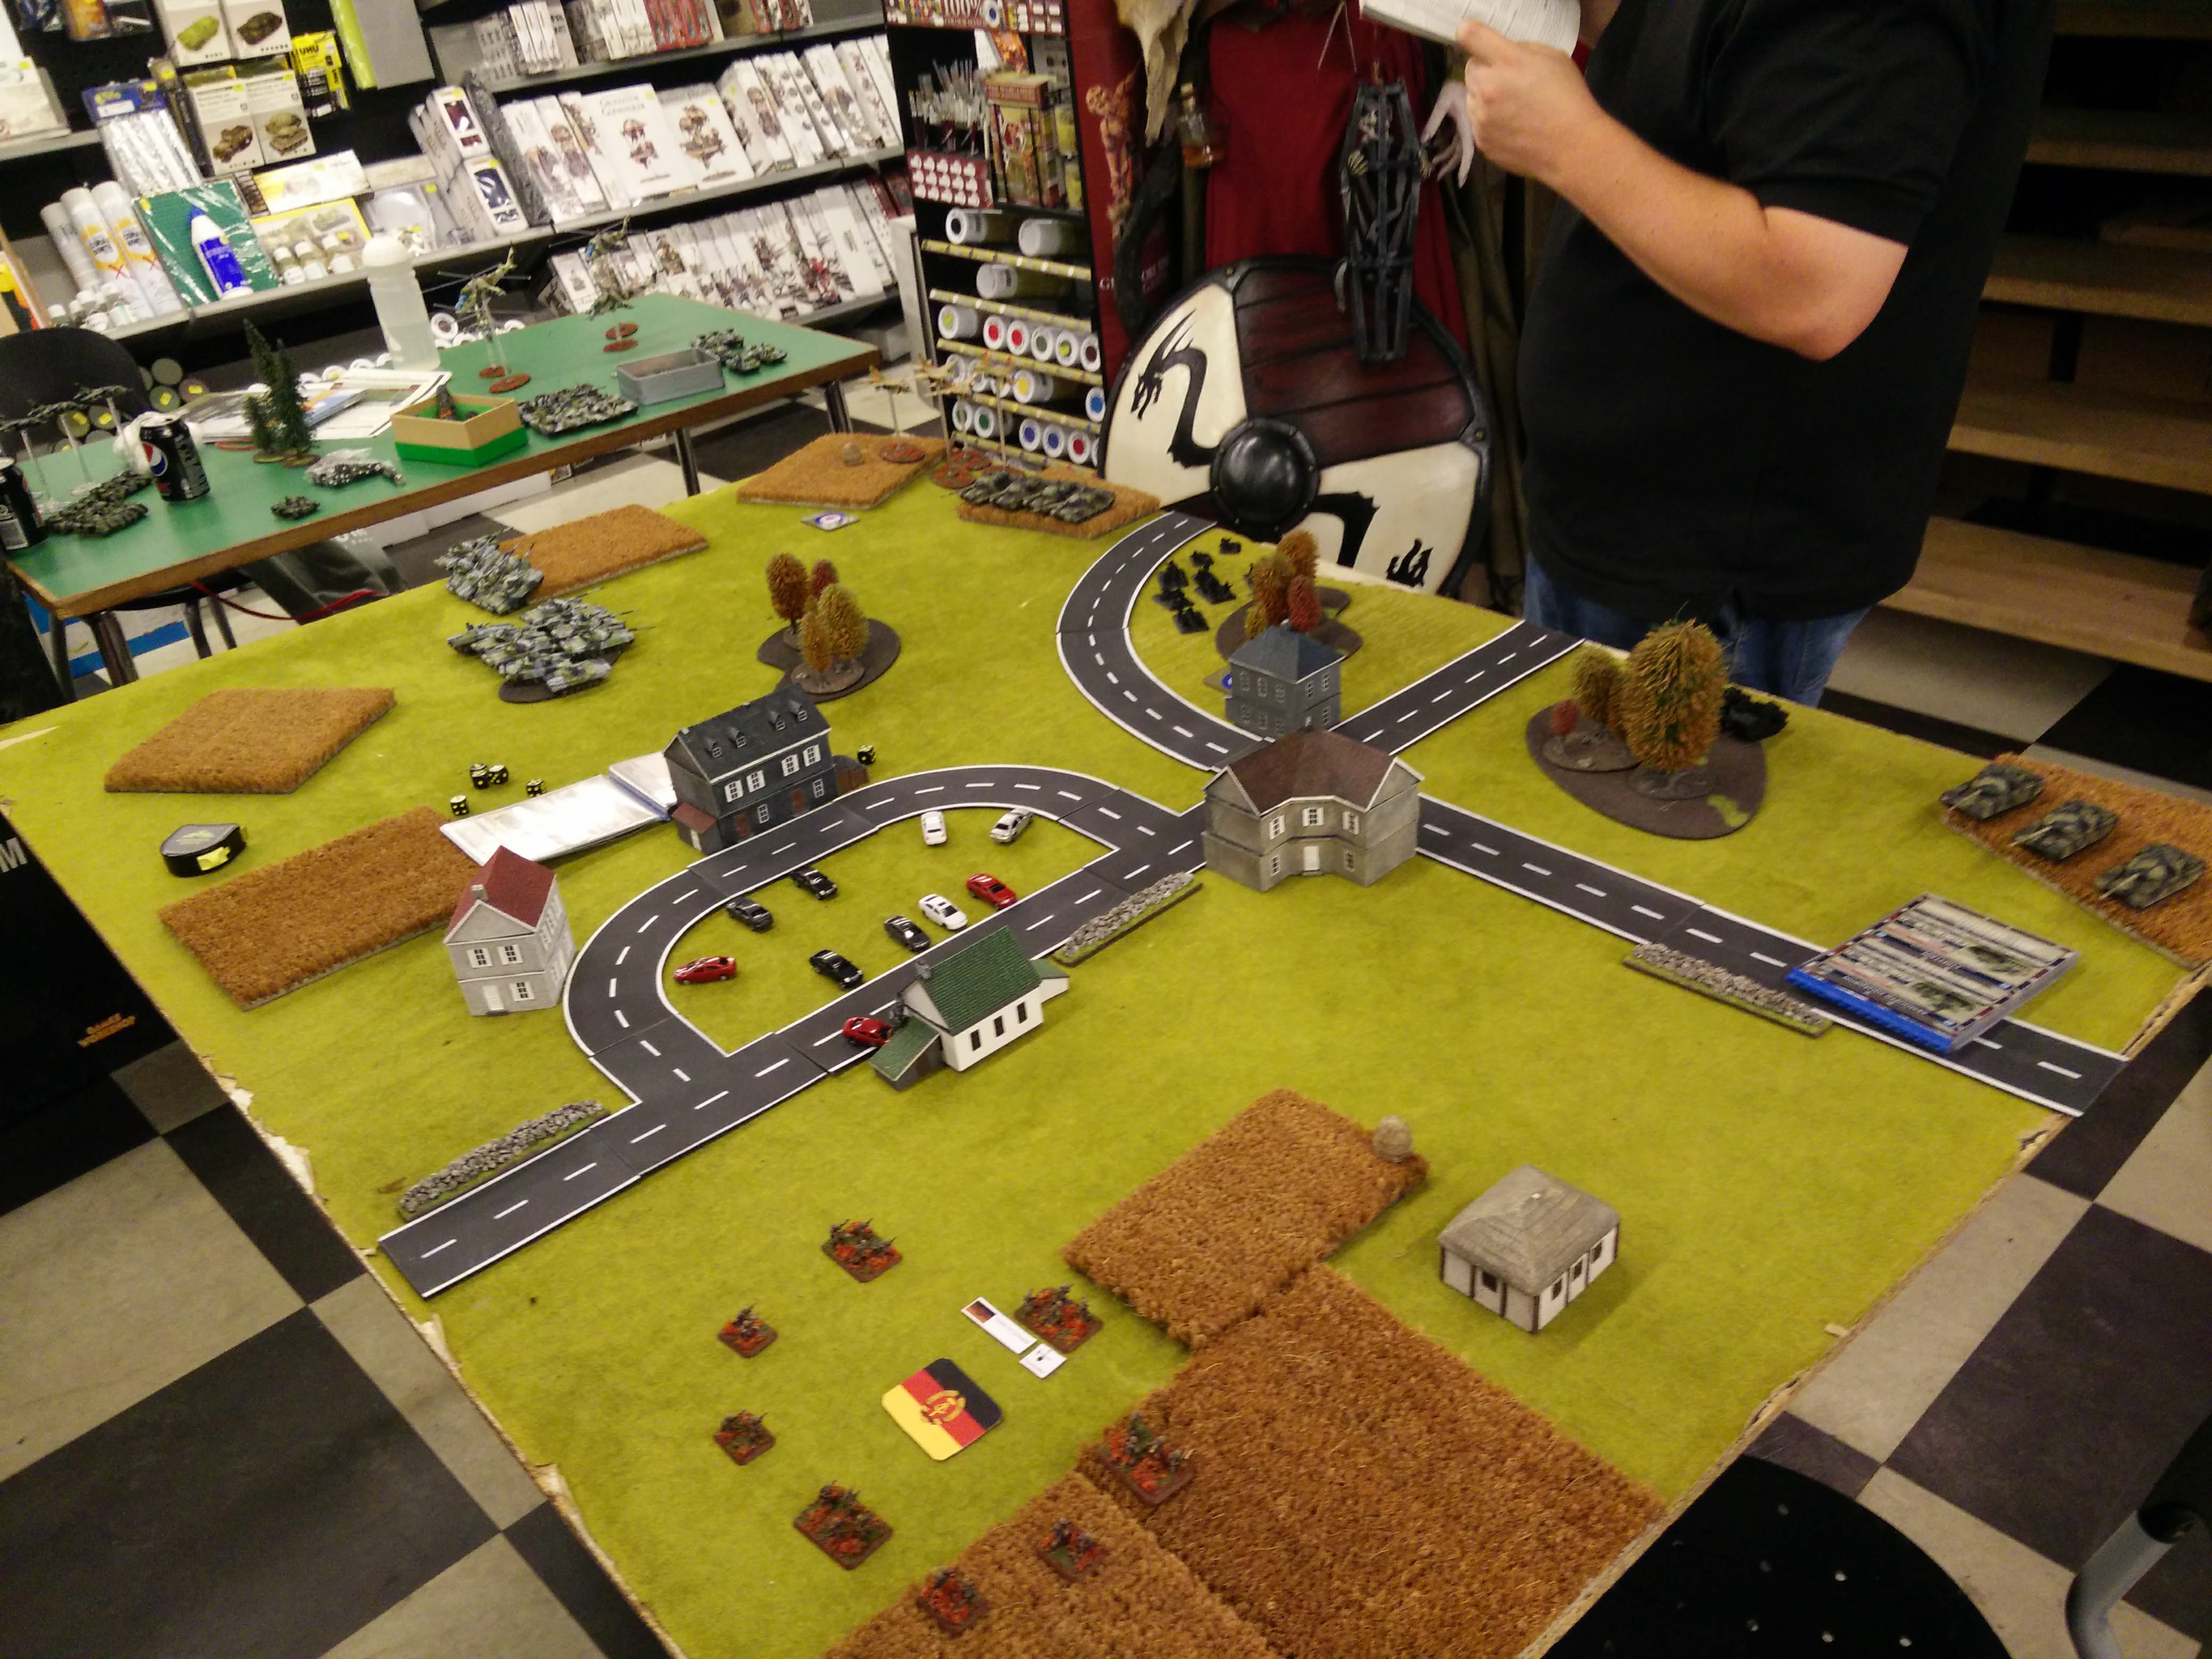 Deployment. Note black-coated infantry in the far middle, these are actually not on the table yet (ambush). When I henceforth refer to "right", I'm referring to the table edge closest to the camera, and "left" to the one furthest away.
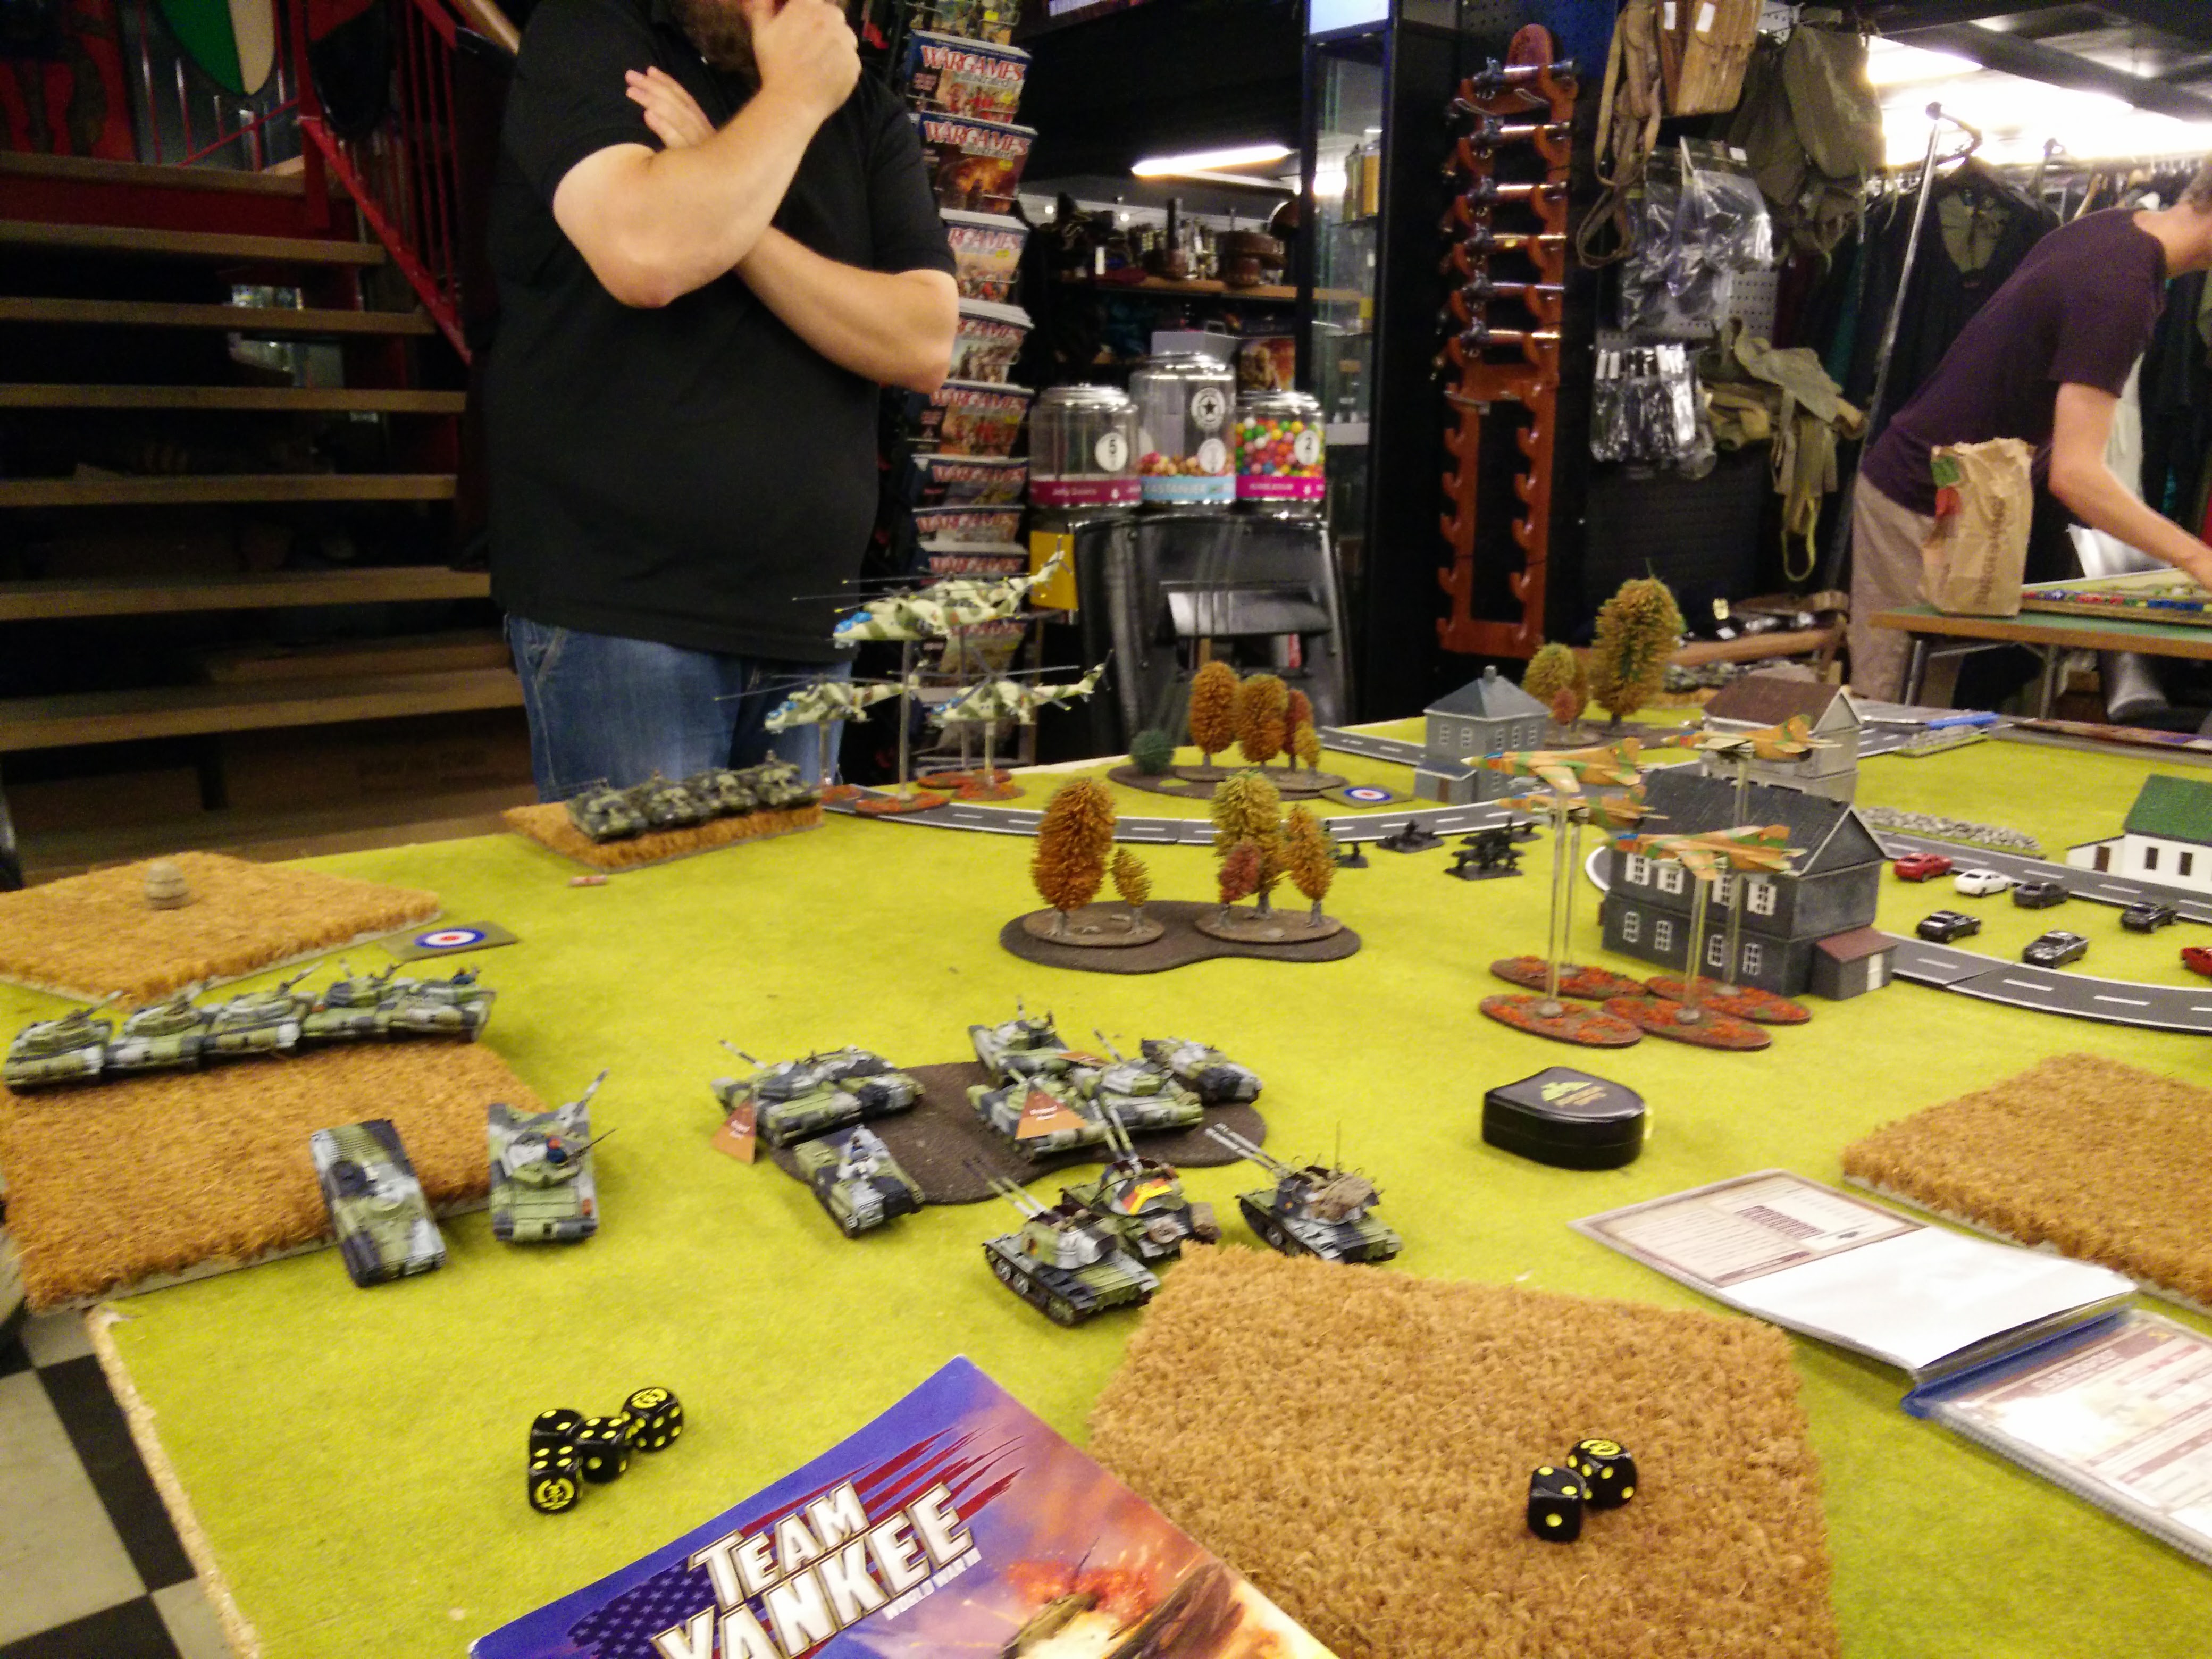
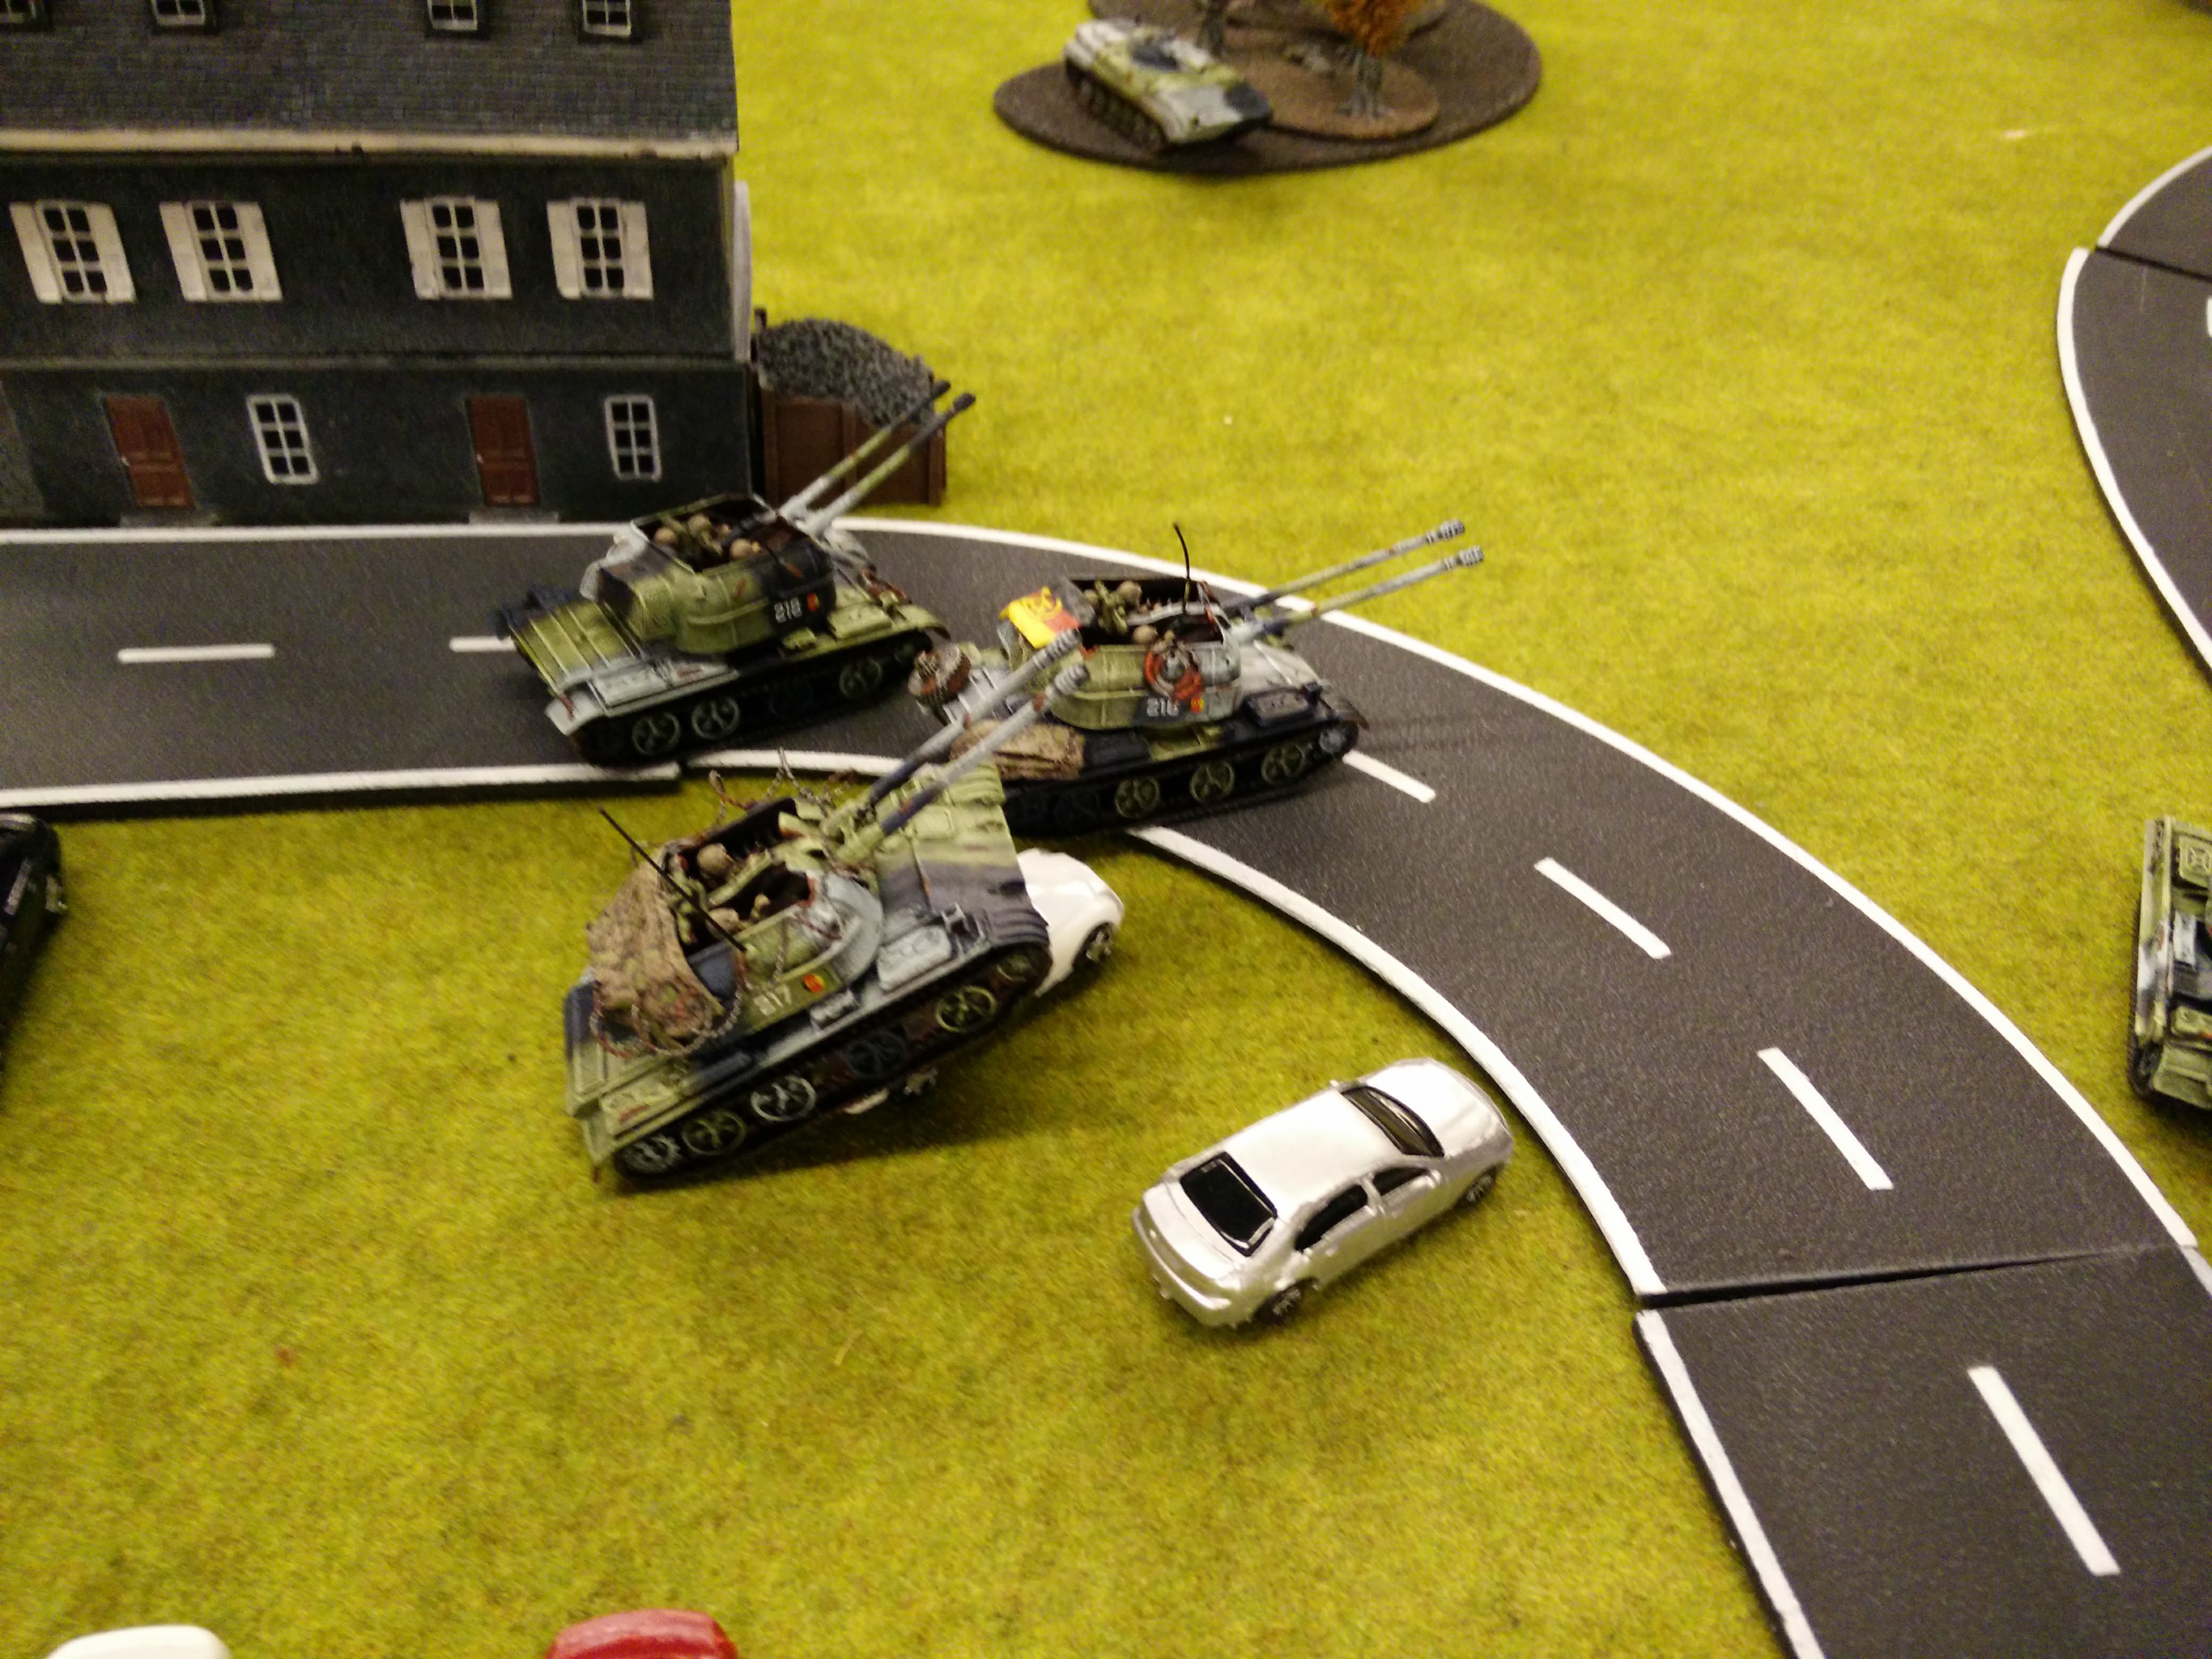
I had first turn, and luckily got my Frogfeet in. Together with the Hinds, they prepared to weather the storm of Tracked Rapiers parked in the far forest, as they assaulted the Chieftains on the left, where the enemy HQ was also positioned. I also got a unit in from reserves, and brought forward my Shilkas, splitting one of them off to the right to provide a deterrent to bombing my infantry.
My T-72s and BMPs advanced over a field on the far left, several of them bogging down, unfortunately.
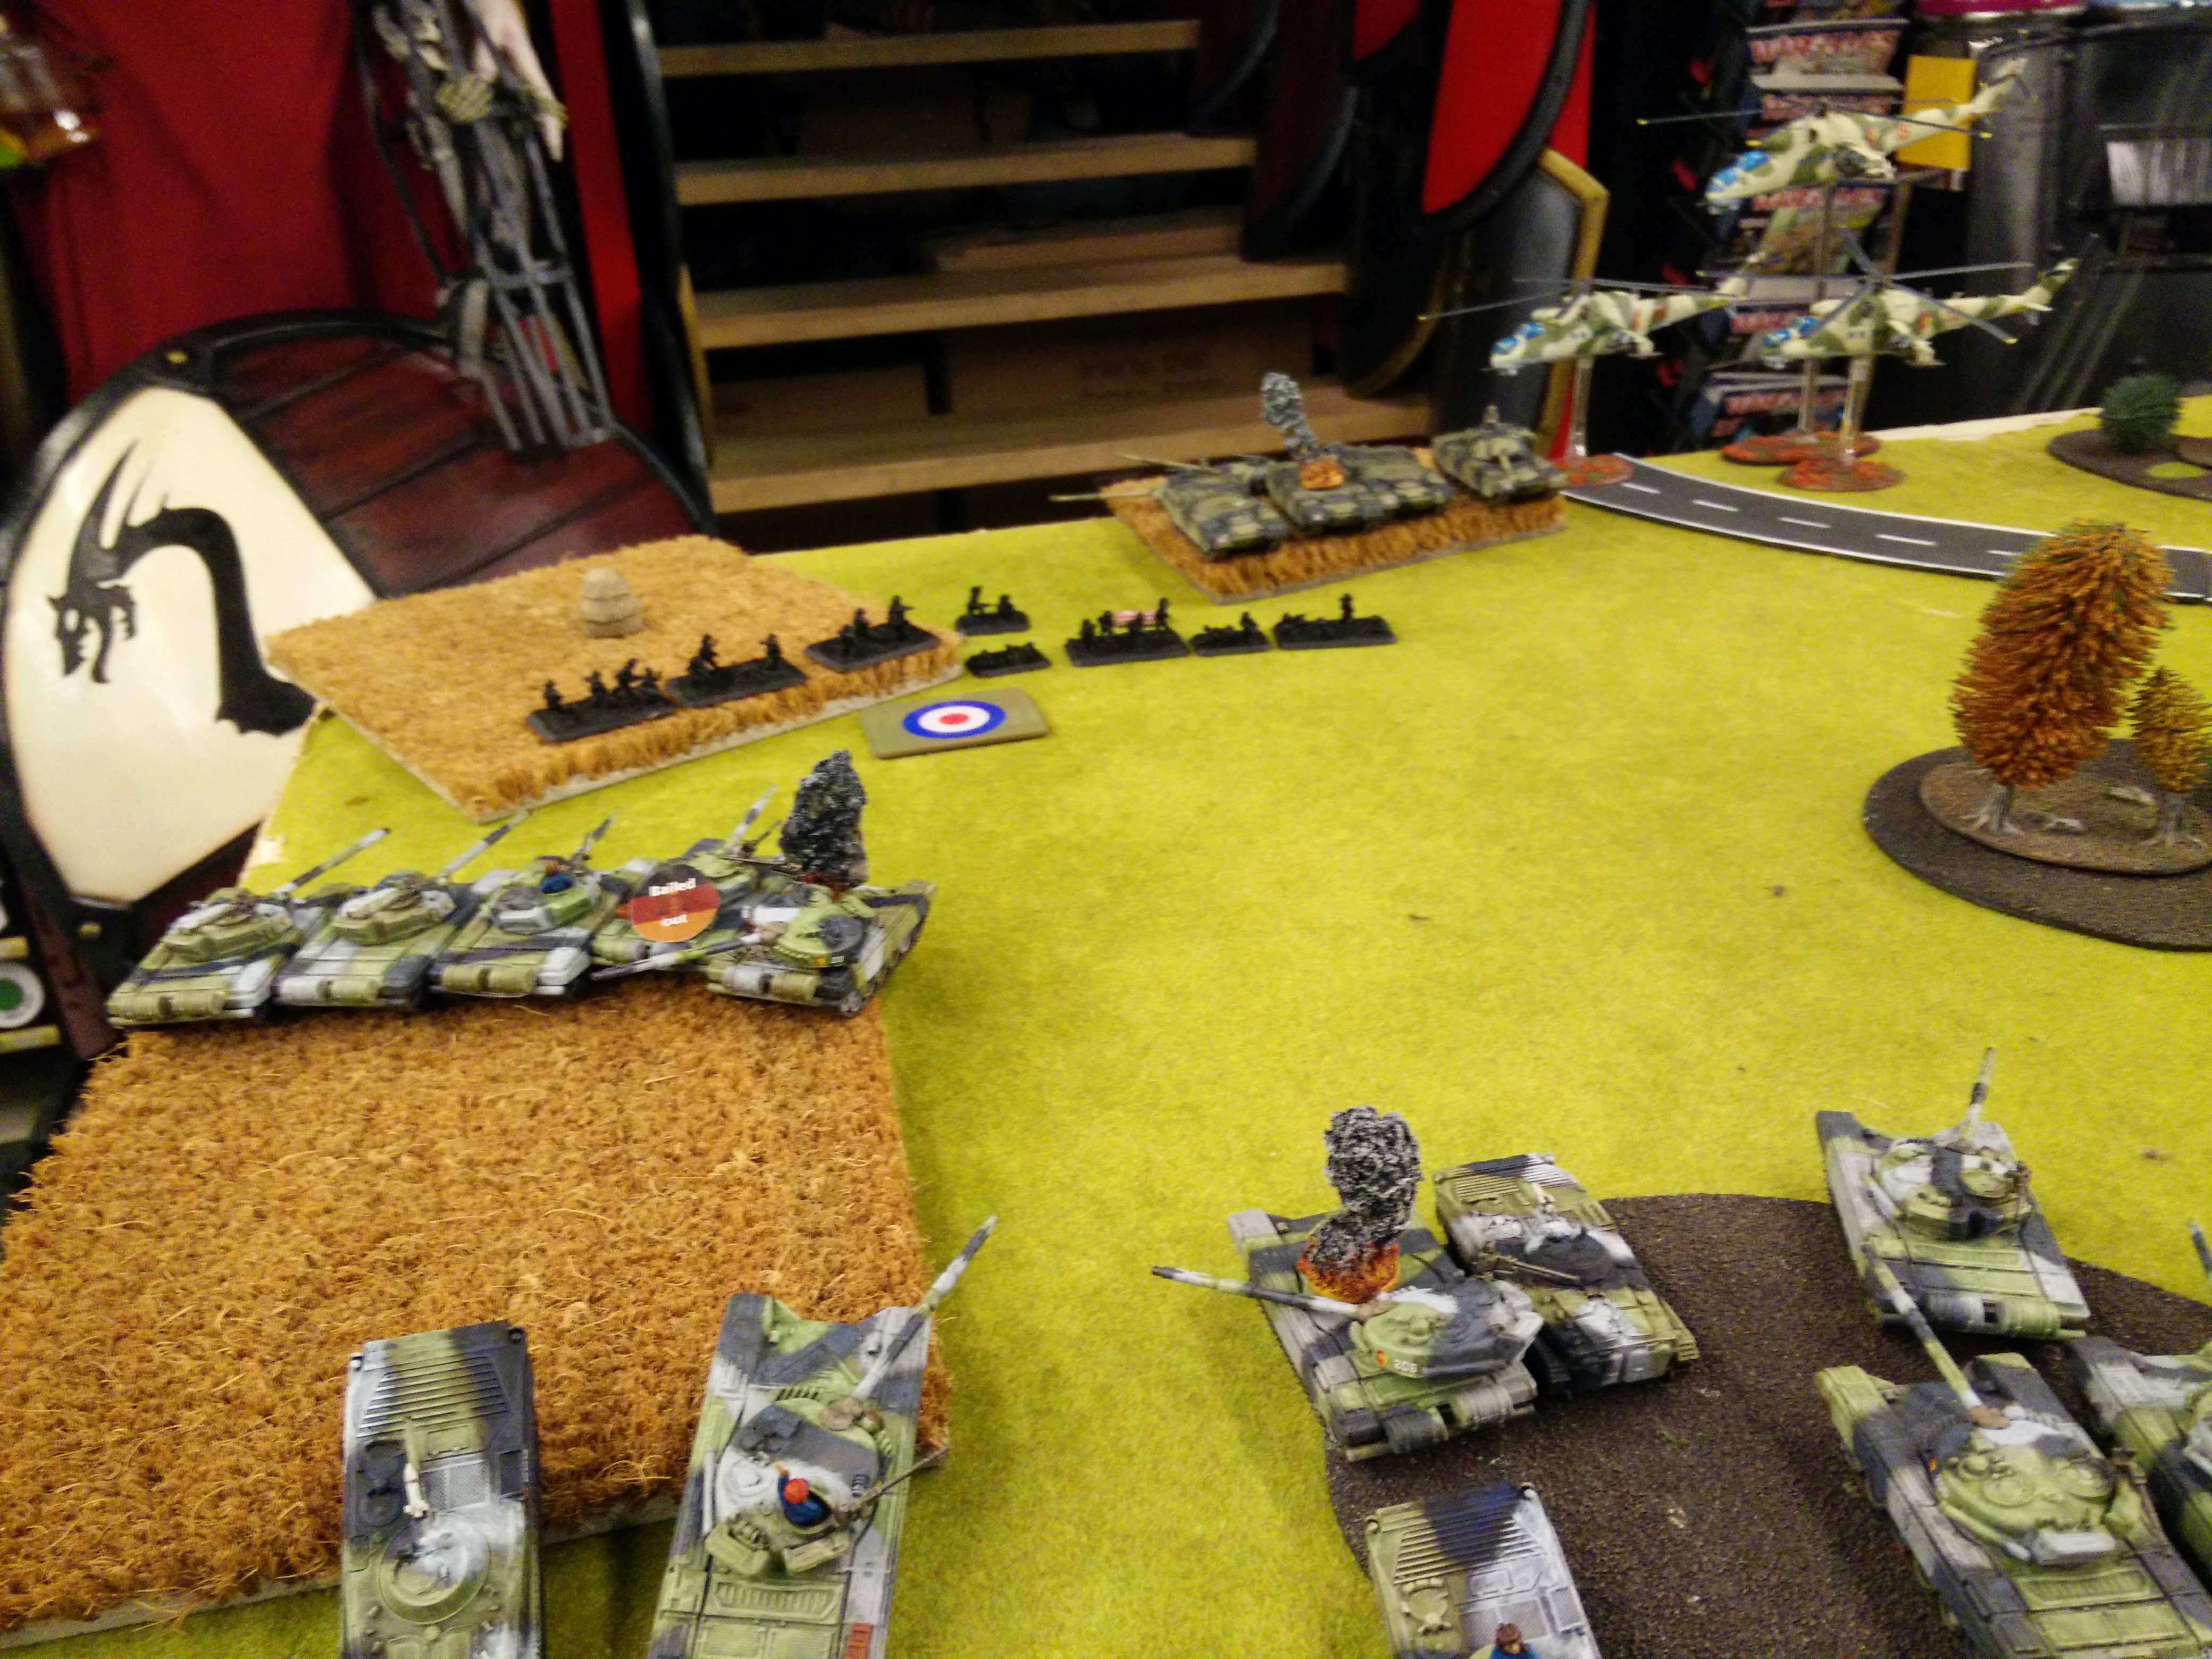
Although my ground fire did nothing, the air support were able to inflict enough losses that the left Chieftain unit failed their unit morale, leaving the HQ behind. In turn, a Hind was shot down by AA MG fire, and 2 Frogfeet suffered the same fate at the hands of the Rapiers.
Rasmus responded in his turn by Blitzing and dashing his Chieftains on the right side to come to aid of the left. As I had removed the objective on the right side, there was little for them to do there anyway. He also revealed his Mechanized Plt. as an ambush on the left side, where they would prove a great annoyance. Their Milan teams brought down a T-72, as did the Cheiftain HQ.
I get my Frogfeet in again, as well as a reserve unit; my 4-strong T-72s. They appear on the right flank, and start dashing up to take advantage of the abandoned flank left by the Chieftains.
The air support attacked the Rapiers with absolutely no success, (the last 3 Hinds being lost to Rapier fire in return), whilst on the left I manage in taking down the Chieftain HQ, and the BMPs move up and use MGs to get the infantry pinned.
Rasmus responds in his turn 2 by rallying his infantry, blitzing his Chieftains on the right into range, and then vapourizing a number of T-72s with infantry and Chieftains. Rats!

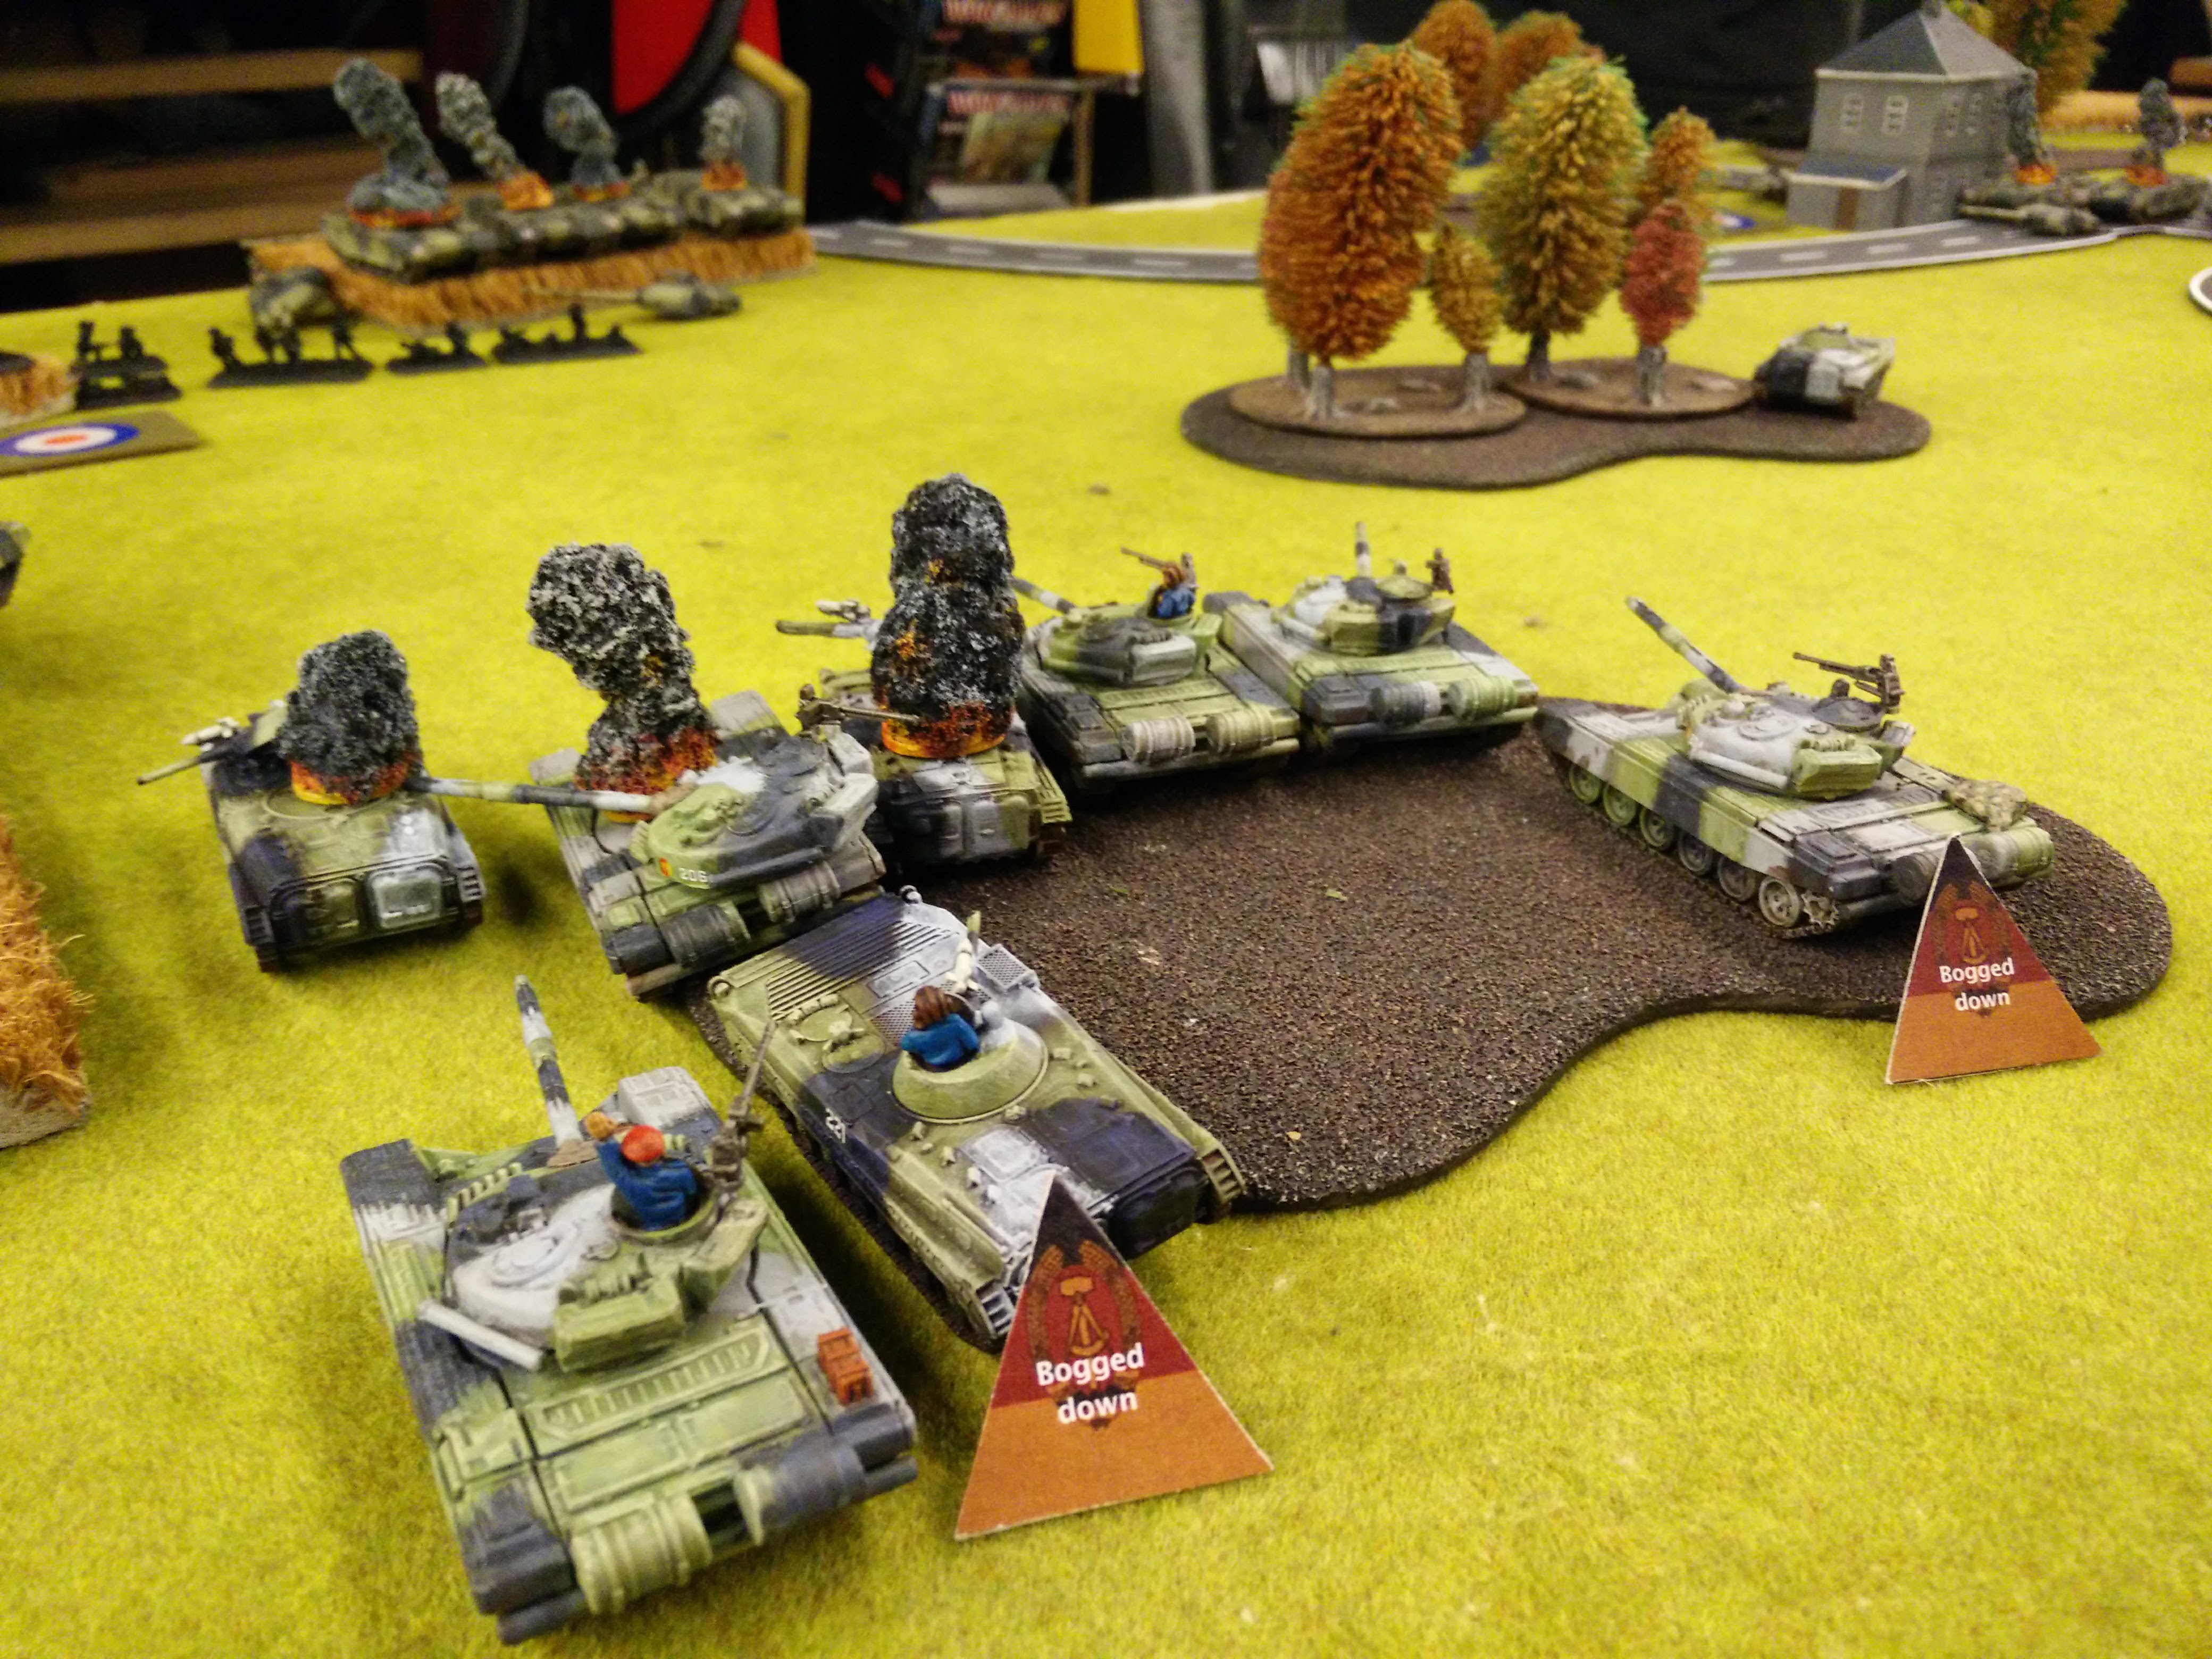
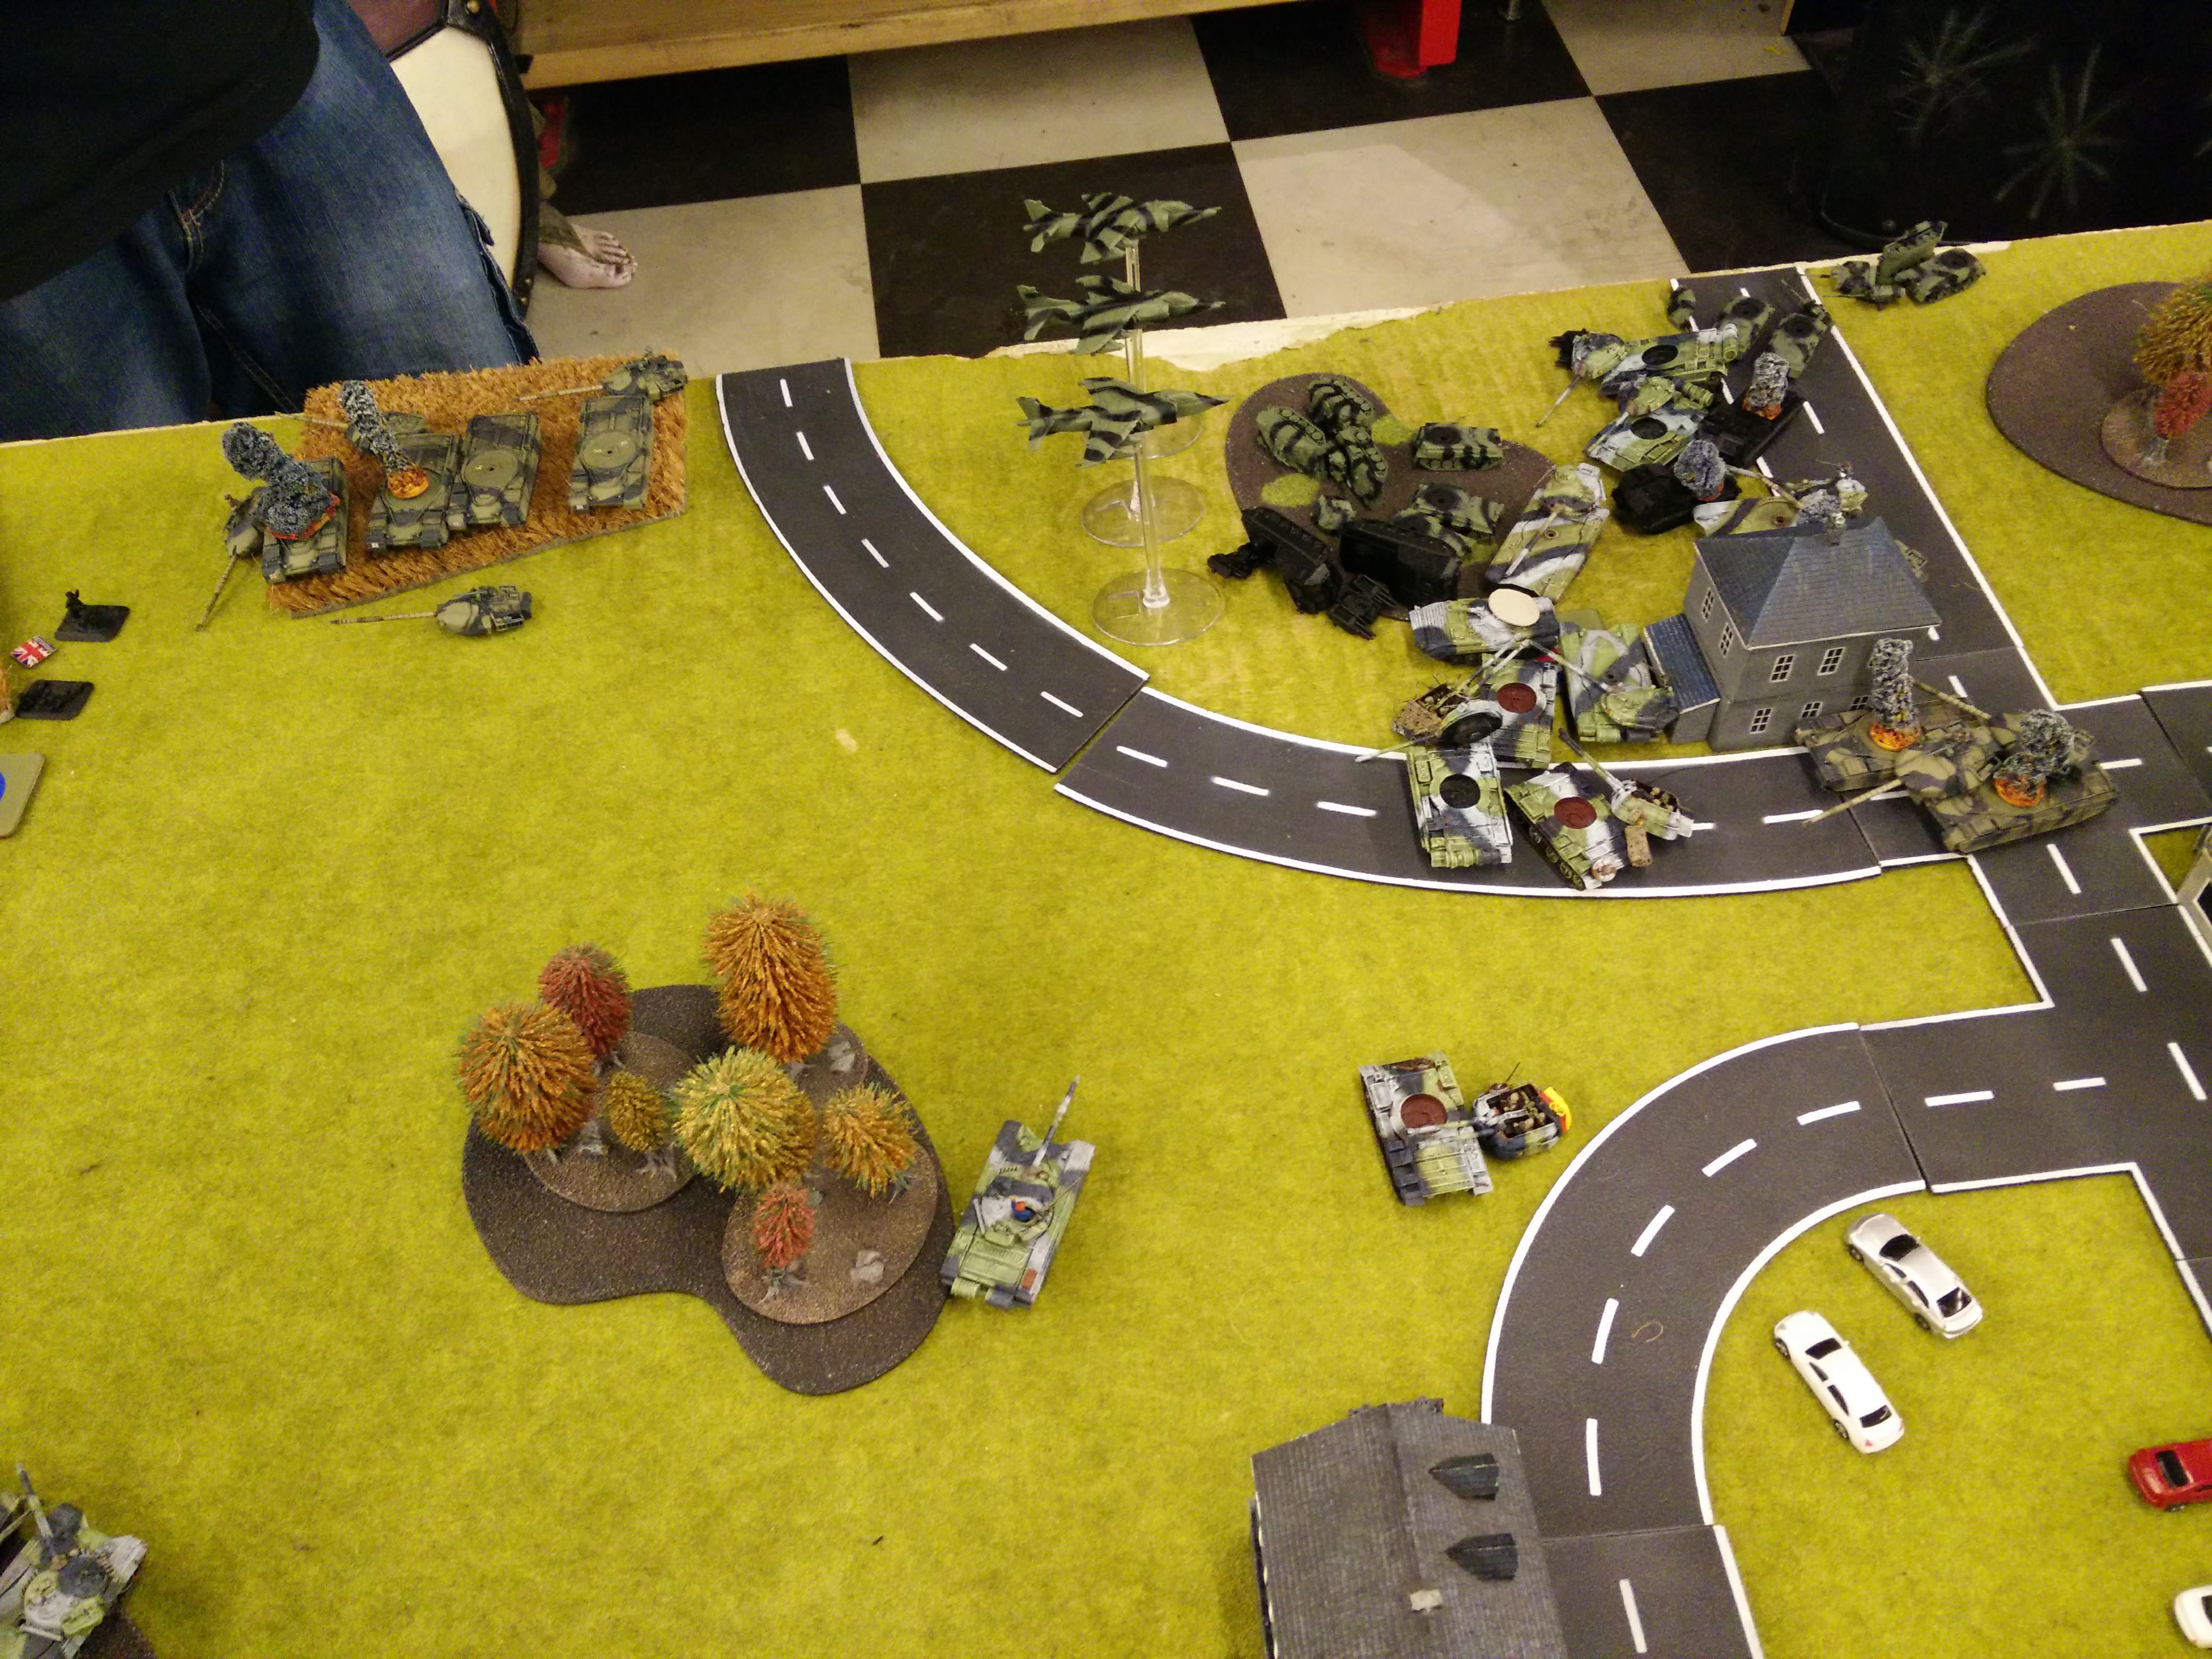
I get my air support in for a 3rd time. I also get my one reserve unit, my T-55s, which enter the field up the middle, where the reinforcing Chieftains have left me with a tasty side shot down the middle road. T-72s on the right flank use Stabilizers and race up to firing positions on the rear of the same Chieftains. Heavy losses on the left side force me to give up assaulting the infantry, and pinning them hasn't made them let up the least. I shoot them up with little result, and I turn my sights on the middle objective instead, which my Shilkas cautiously advance on.
The Frogfeet (1 more Frogfoot is shot down, and fails unit morale), T-55s and T-72s manage to inflict enough losses on the Chieftains moving through the centre, and they fail unit morale. That formation hangs on, but only by the infantry platoon!
Rasmus fails his reserve roll, and spends his turn shooting at my tanks with his infantry, and moving the Rapiers out of their forest (passing all cross-checks, to my great dismay) to contest the middle objective.
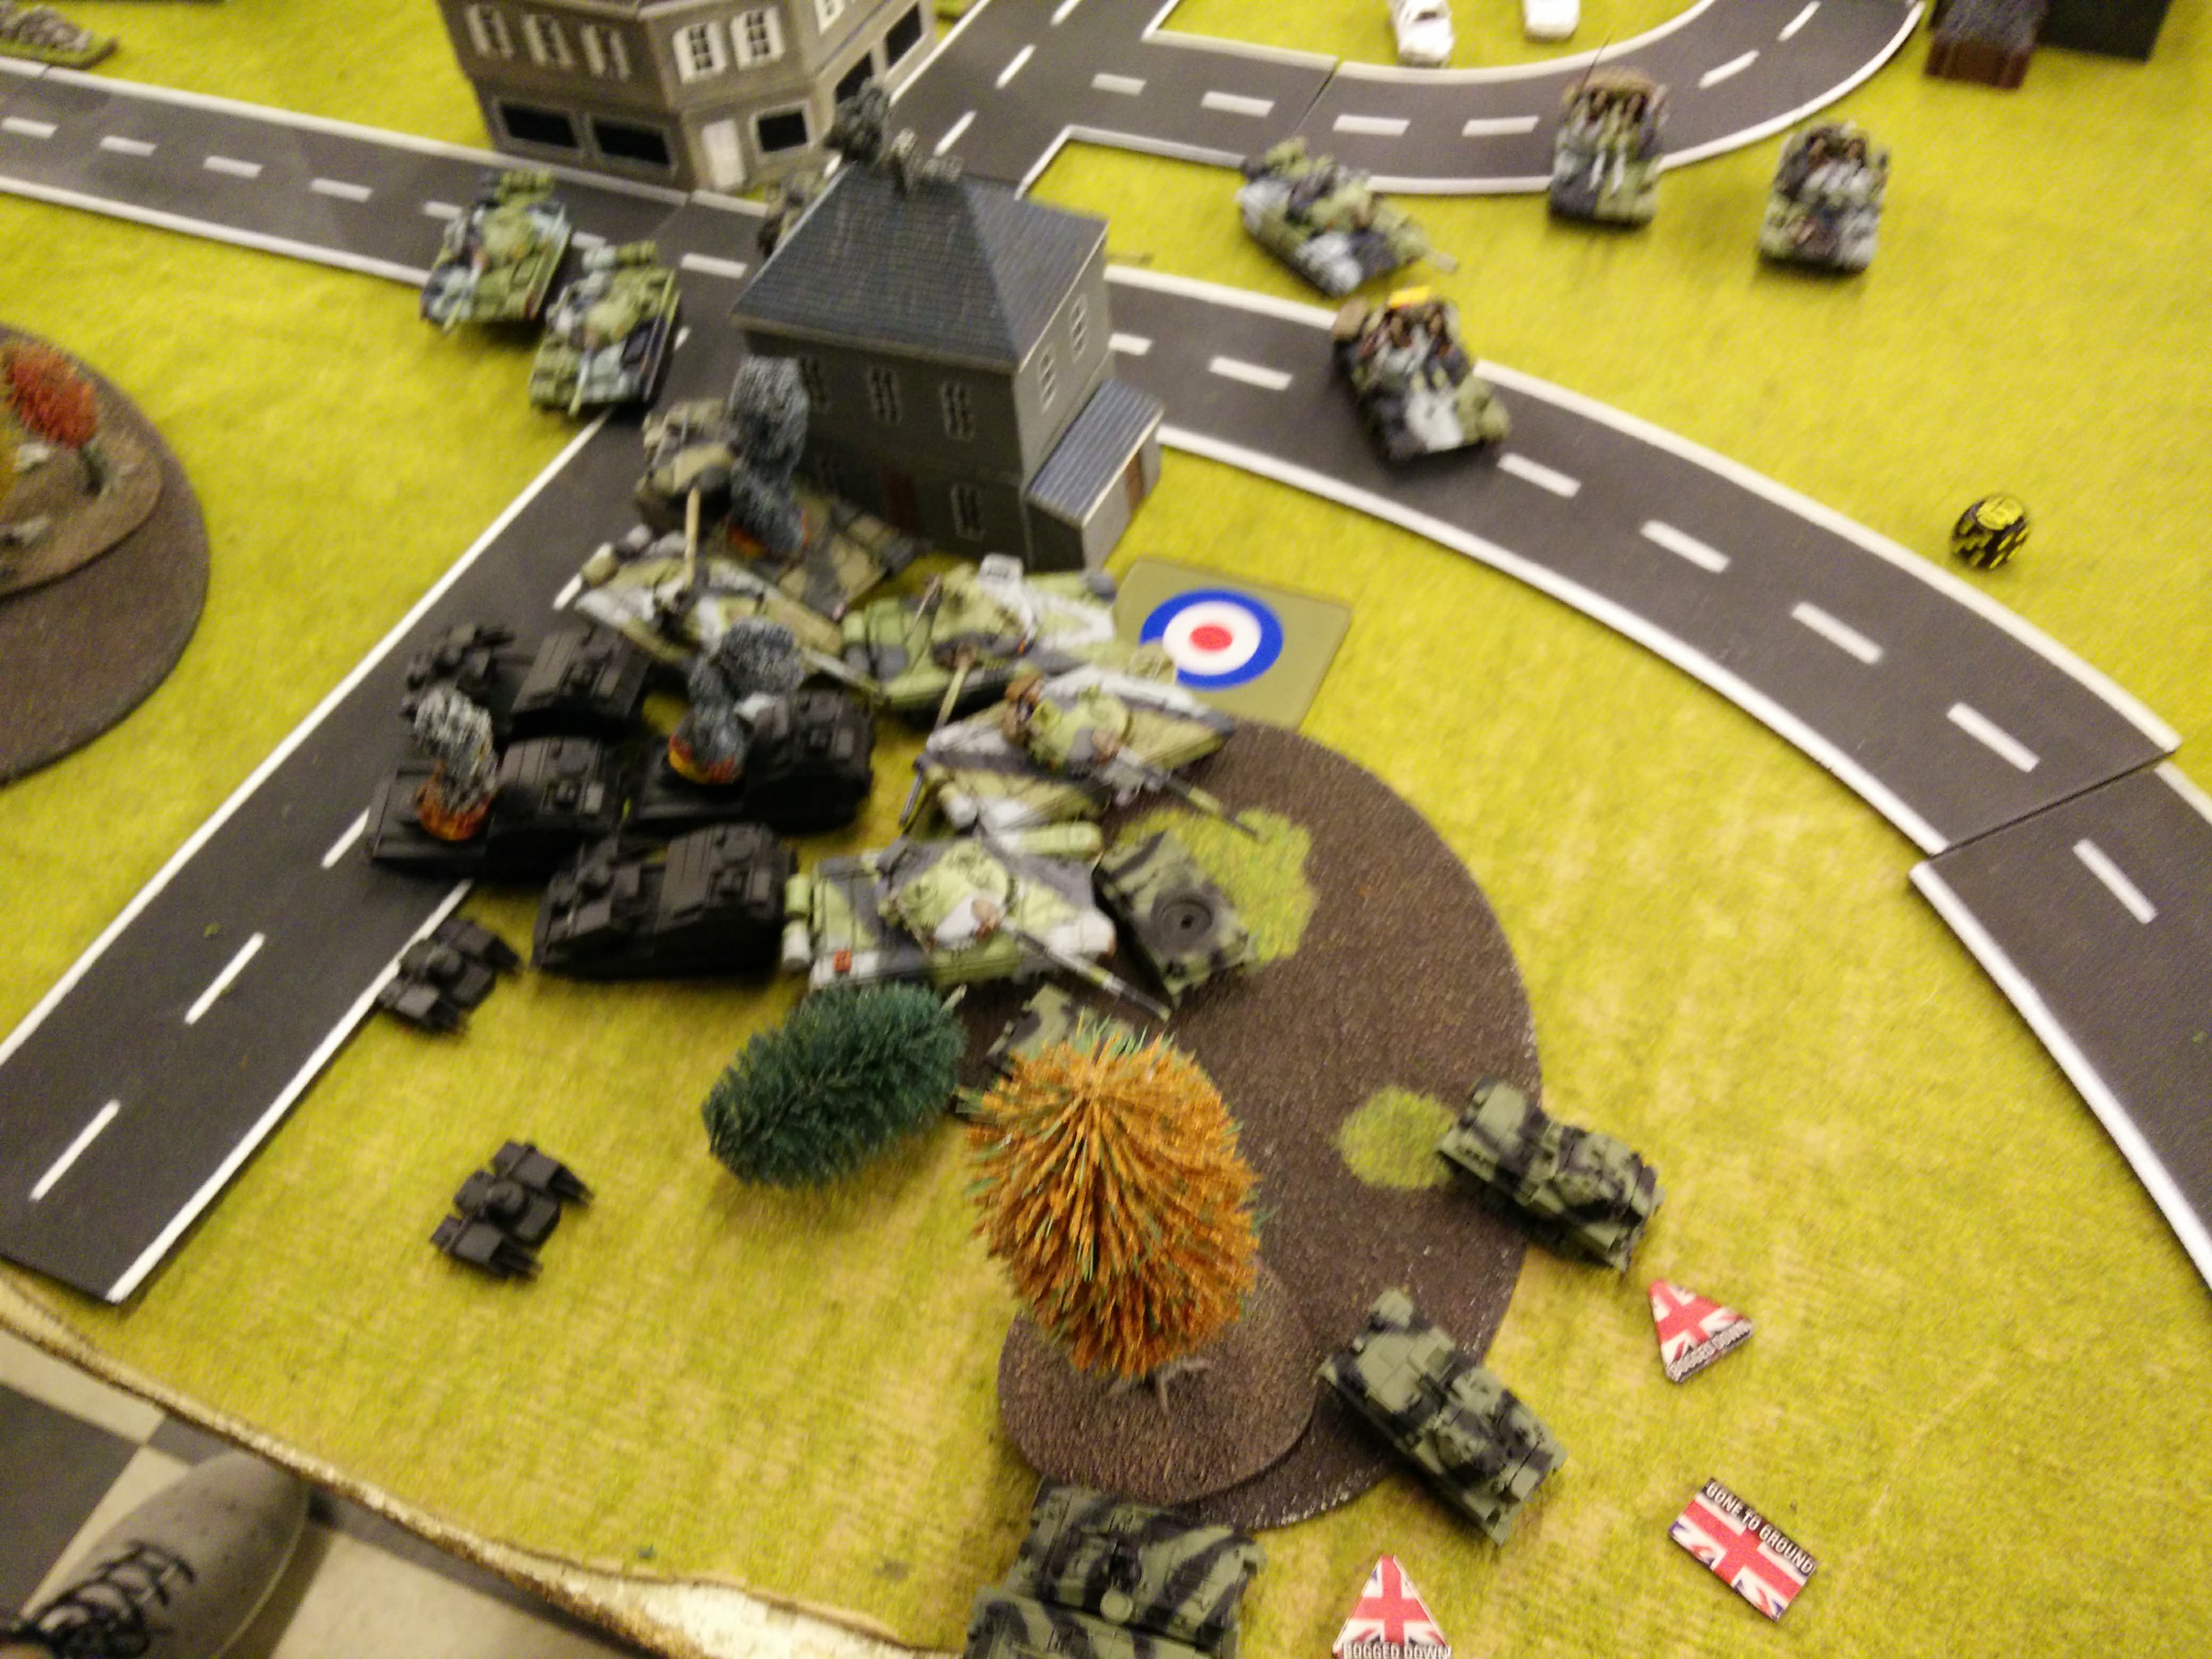
I blitz on my Spandrels from reserve on the left-mid, where they can put some fire on the infantry on the left. The 4 x T-72s and T-55s race towards the middle objective, but dash doing so, and will delay taking the objective by another turn. The Shilkas also move against the middle, destroying some civilion vehicles in the process. I start falling back with the units and battalion commander on the left, as casualties and loss of unit leader is starting to fray some nerves.
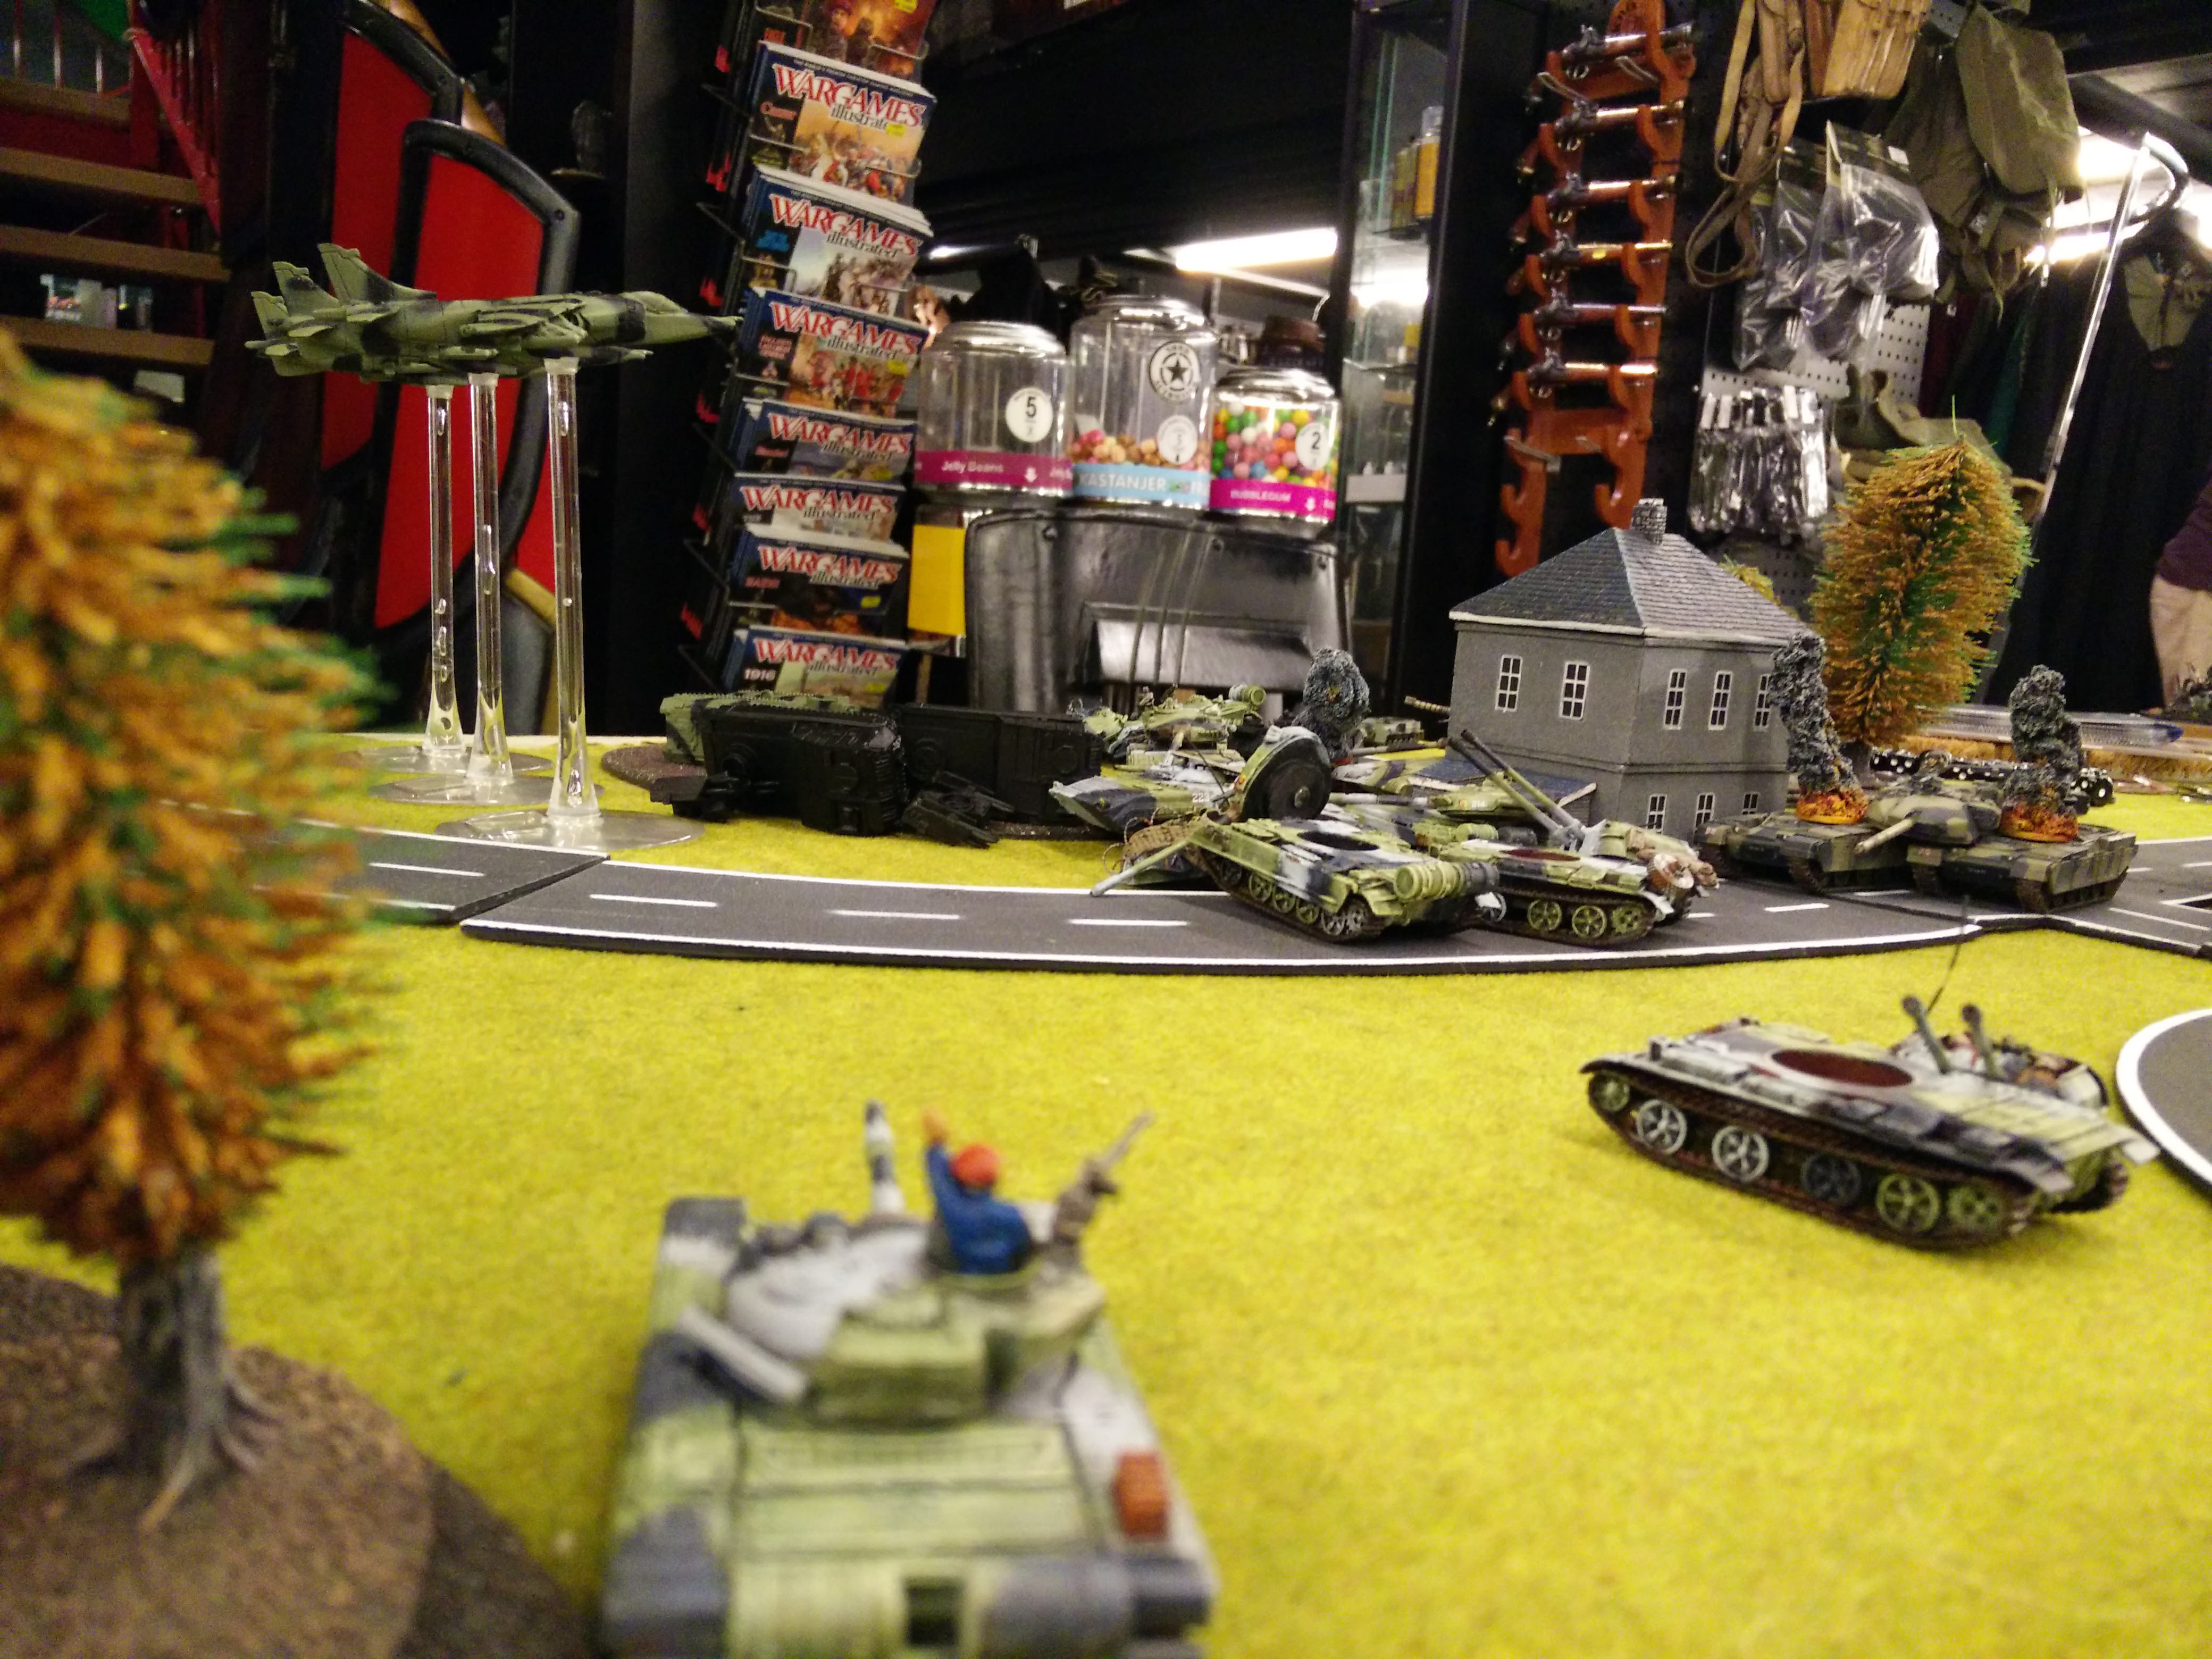
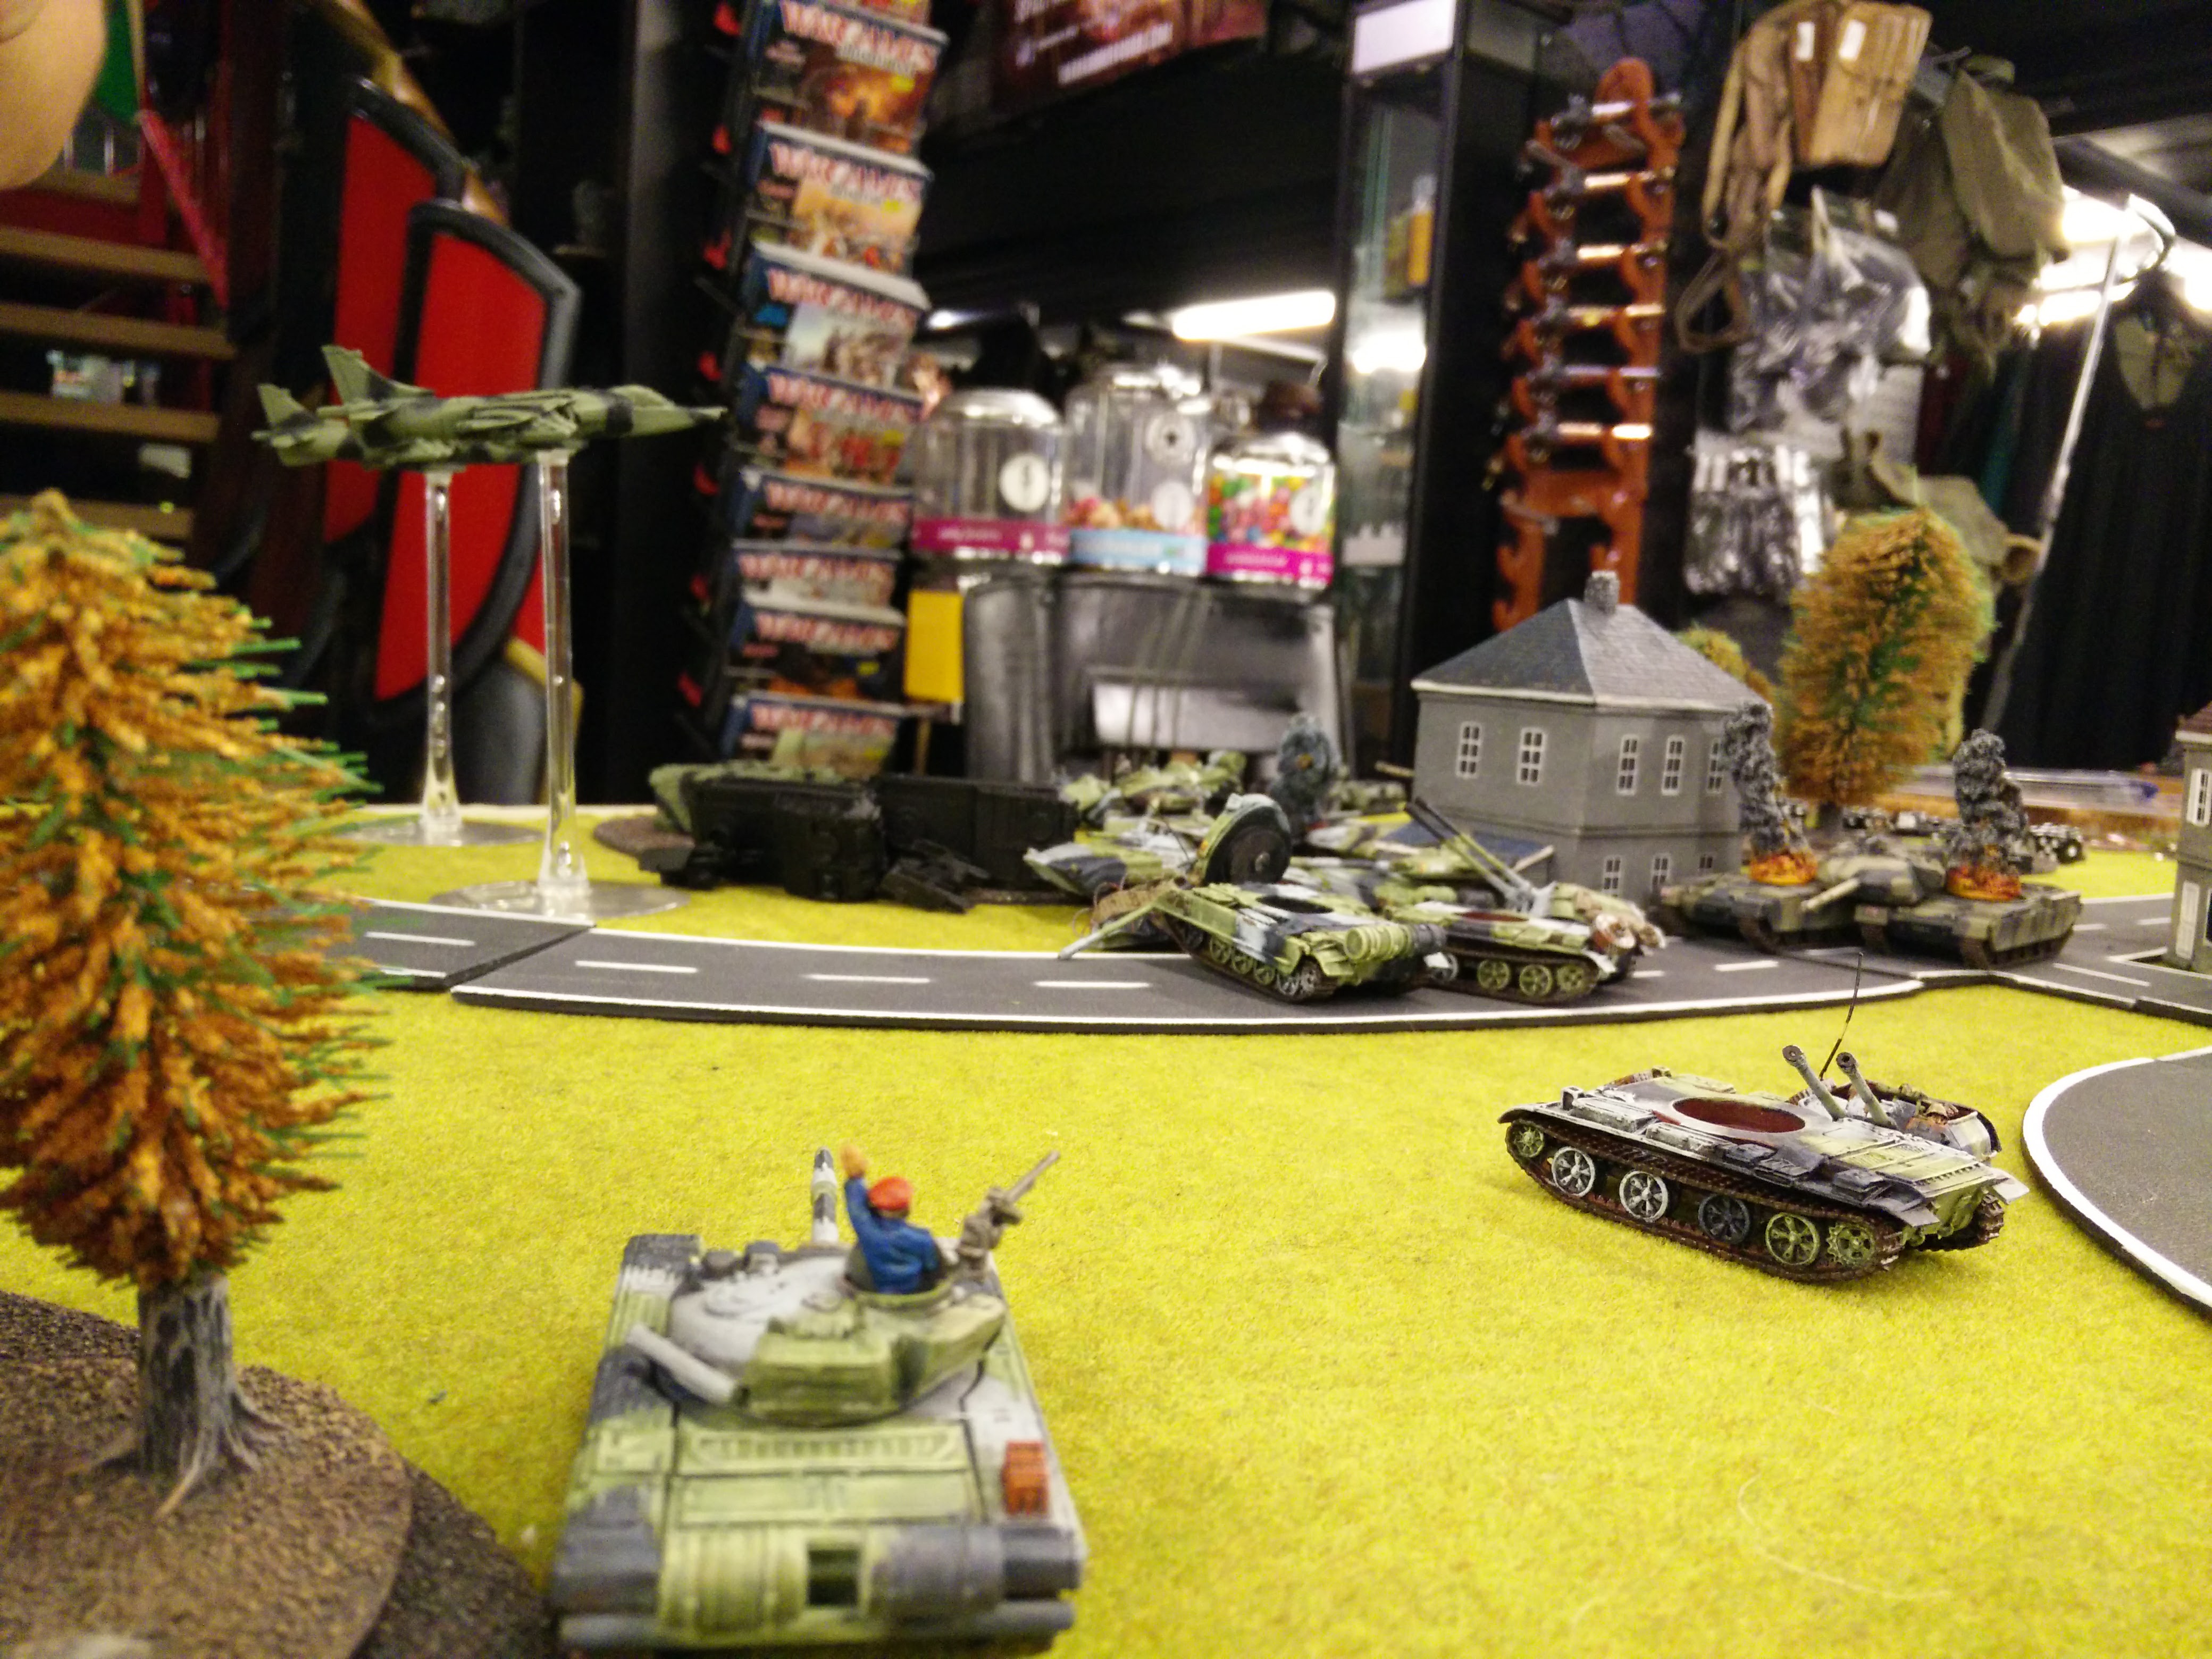
Rasmus brings in some Scimitars/Scorpions (I forget which is which!) along with the 2nd formation HQ (which we be accident had left out of the game) and creeps into the forest next to the objective to contest the objective. His infantry continues to be a nuisance.
I continue to fall back on the left, and take pot-shots at the infantry.
My T-55s, T-72s and Shilkas have a hard time hitting the Scouts that have come to contest the objective, and I can't clear all of them and the Rapiers.
Rasmus brings in the other units of light vehicles, along with 3 Swingfires, appearing on my far right behind the T-55s. The light vehicles pack a nasty punch for my side armour, and easily put out some Shilkas.


From here on out it gets a bit hazy. I manage to deal with the newly arrived Swingfires with T-55s and the one Shilka I sent off on its own to cover the infantry. My infantry has stayed put all game due to the long movement ranges of Rasmus' own vehicles, and my fearing him snatching the objective from under me. There is a violent scrum around the middle objective, with British vehicles being fed in to keep me from holding the objective uncontested, in turn 7 this contention only just succeeded with a Shoot & Scoot through a forest, making both Skill and Cross check. Eventually, I lost my small T-72-unit to Milans and light vehicles, but was able to break the Formation of lighter vehicles, whilst he was able to destroy the last of my large T-72-unit and most of the Shilkas, but the objective stood to be mine. However, in turn 8 Rasmus made his 3rd Air Support roll, (having failed it twice previously) and although the AA on my tanks was able to bring down 1 jet, his bombs hit, penetrated and detonated all 3 T-55s and 1 BMP-1 that were parked on the objective.
Rats!
By this time, we'd reached the time limit of our game, and we had to call it a day. Rasmus had 6 stands of infantry left along with 3 Harriers, I had 1 battalion commander T-72, 1 Shilka and my Landing Company. For the sake of closure, I rolled a Formation Morale test, and passed.
I think my chances of winning would have been poor at best, with Rasmus' jets probably being able to deal me enough pain to send me packing. But I'd come ever so close, and I definitely liked having air support on from the start, although running the gauntlet of functional AAA was a very painful experience.
Good fun was had by all, Rasmus as always cunning and a great sport to trade blows with, and it was one of those games that leave you hungry for more, where you shake your fists at the sky and shout "Verdammt! Nächtes Mal!!!"

Good job! I loved your report and nice to see your battle report aswell 🙂
Not often we se draws in team yankee so that must’ve been a good feeling after a hard game 🙂
Great write-up and great close game 😀 looks like there was a loT of manouver and jostling for position.
Very nicely painted army also and I really like the civilian cars!!
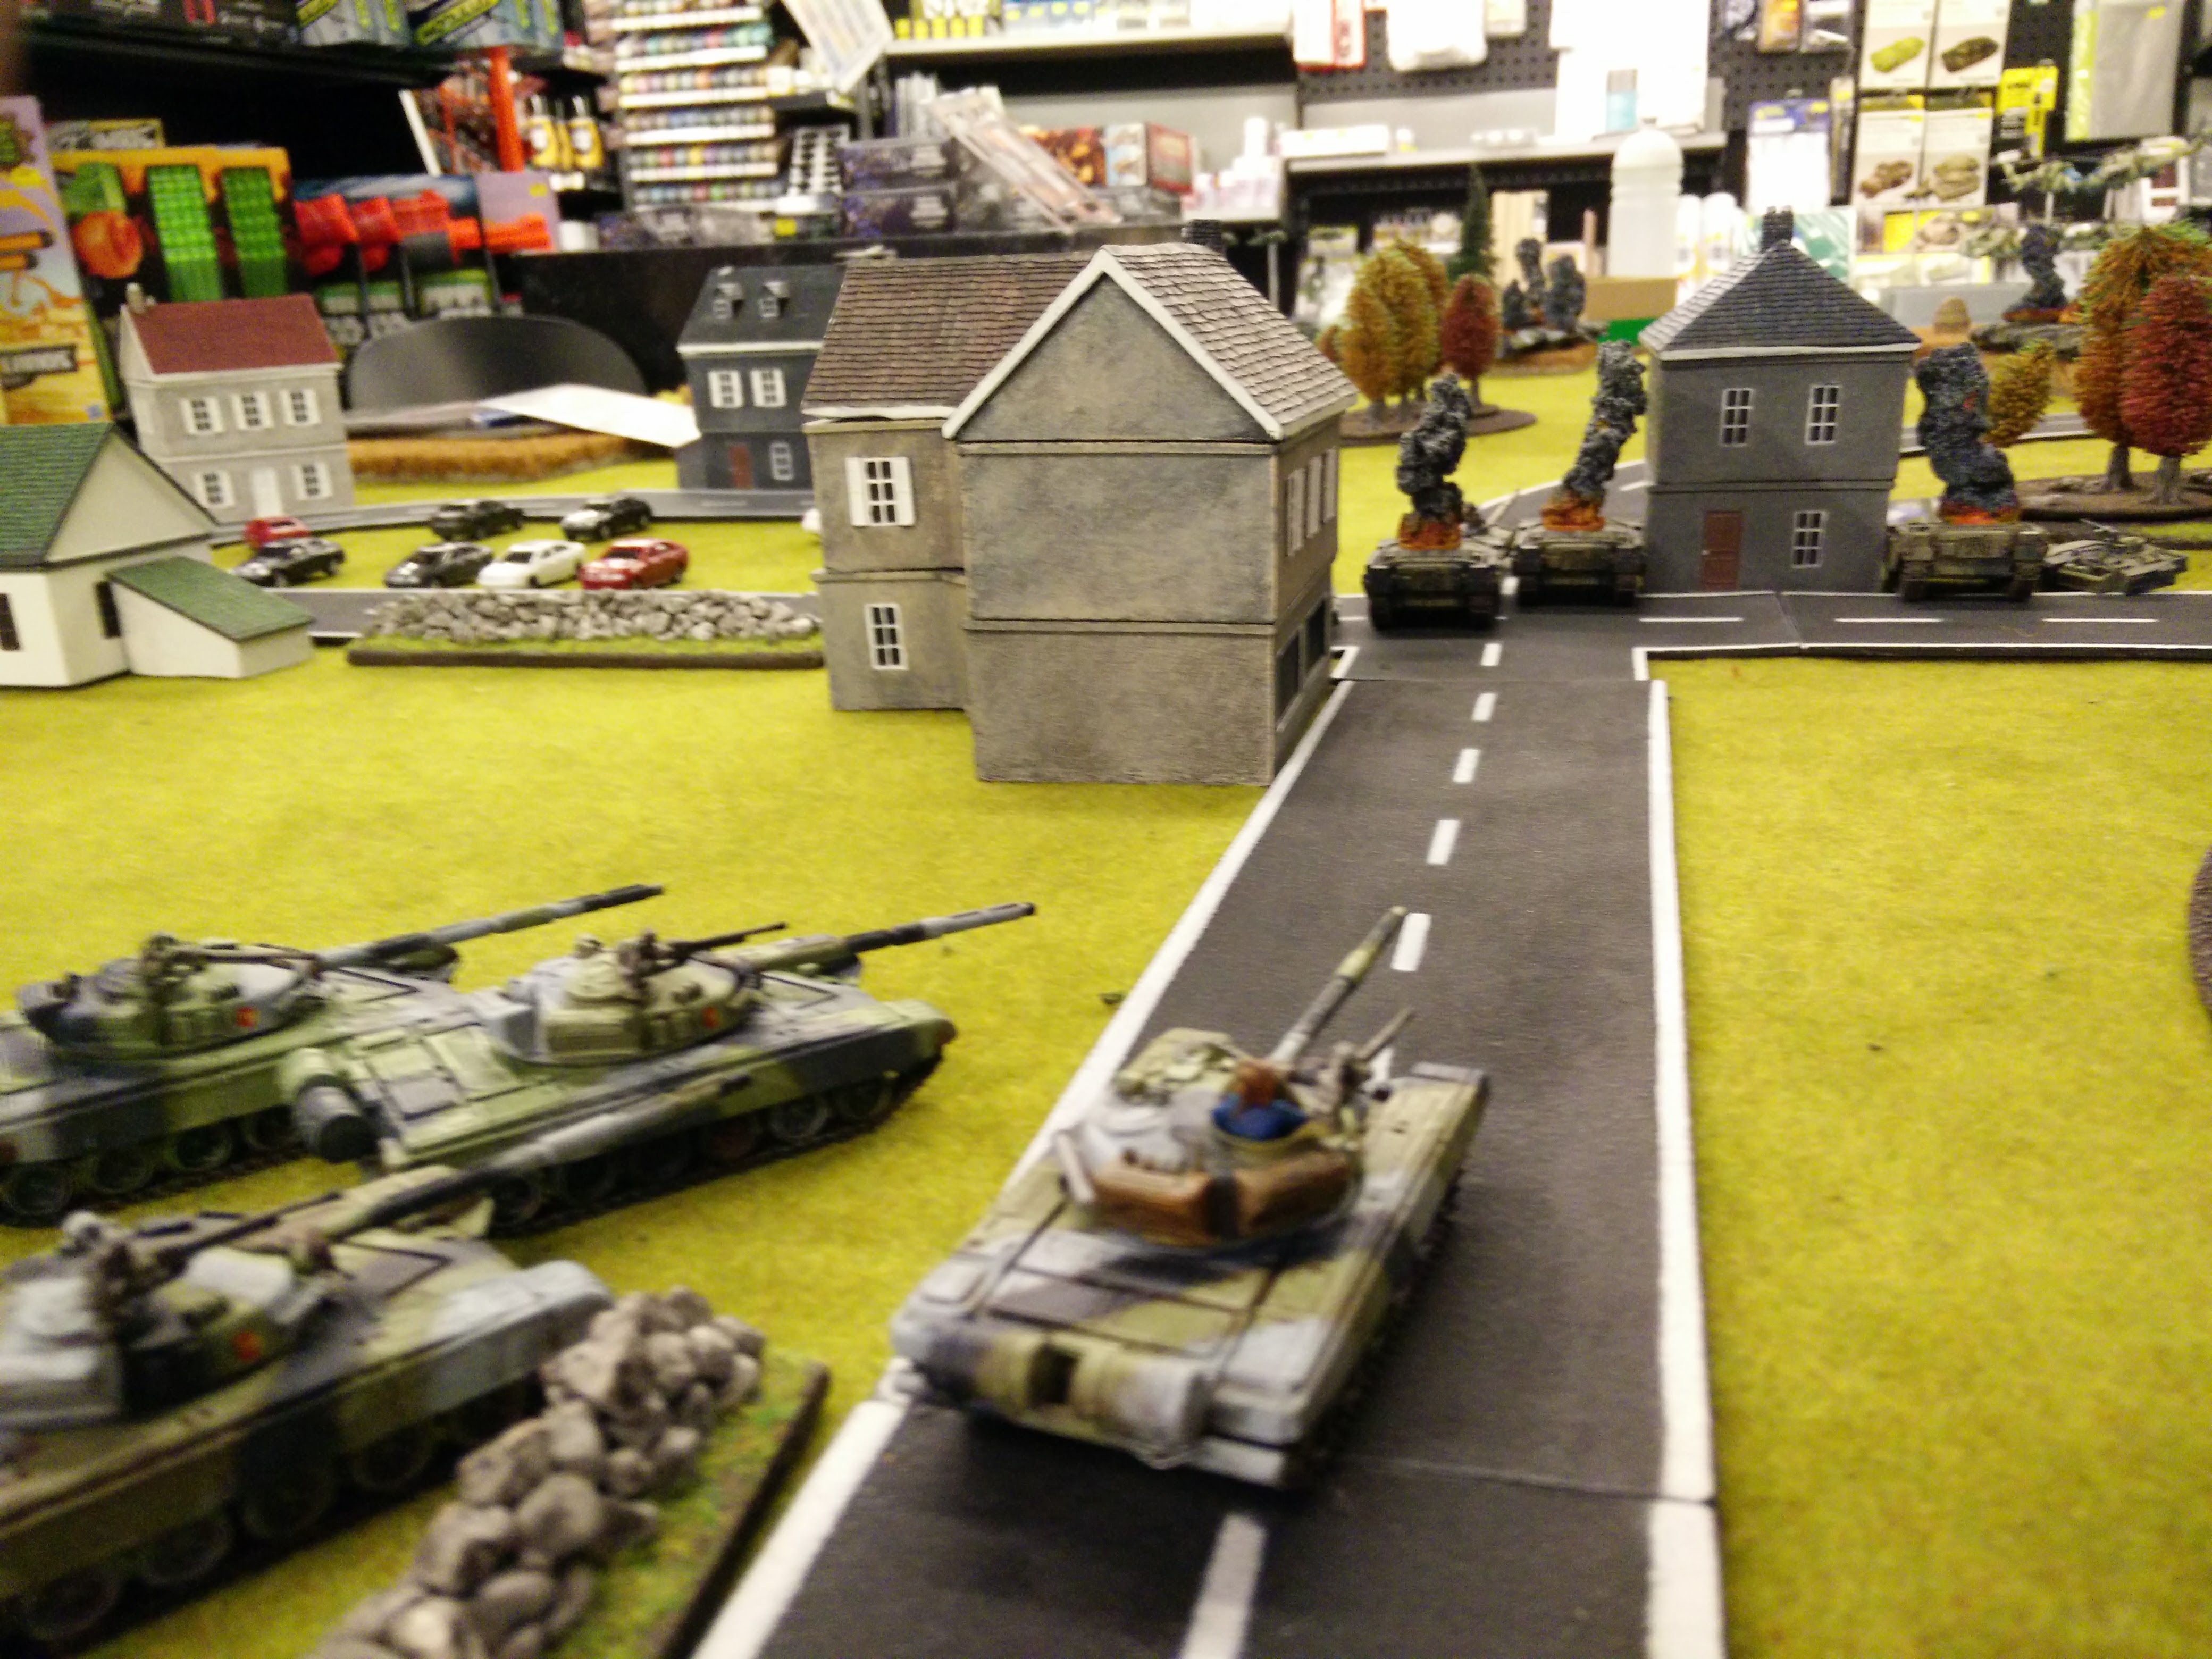
Wauw guys, thanks for the comments! I’ll have to up my photo-game for next time and be a bit more thorough. I’ve moved the army lists over as you recommended. As for the Frogfoots/MiG-23s, they can be seen faintly on picture 3 silhouetted against a building. I just wanted my air force to be a bit unique from the Soviet one, Fitters or Mig-17s would have been my second choice 🙂
As people are beginning to suggest, extracting the army lists, scribing them in Word or a .pdf document and uploading them separately allows you to get right into the action.
Otherwise, very good report.
Top notch Battle report, just the right mix of pictures and text. Well done and I look forward to seeing more of your writing.
Great report and photos!
I would Recommend cutting the force out, pasting back to a word document, save as PDF, then important back to report in correct tab.
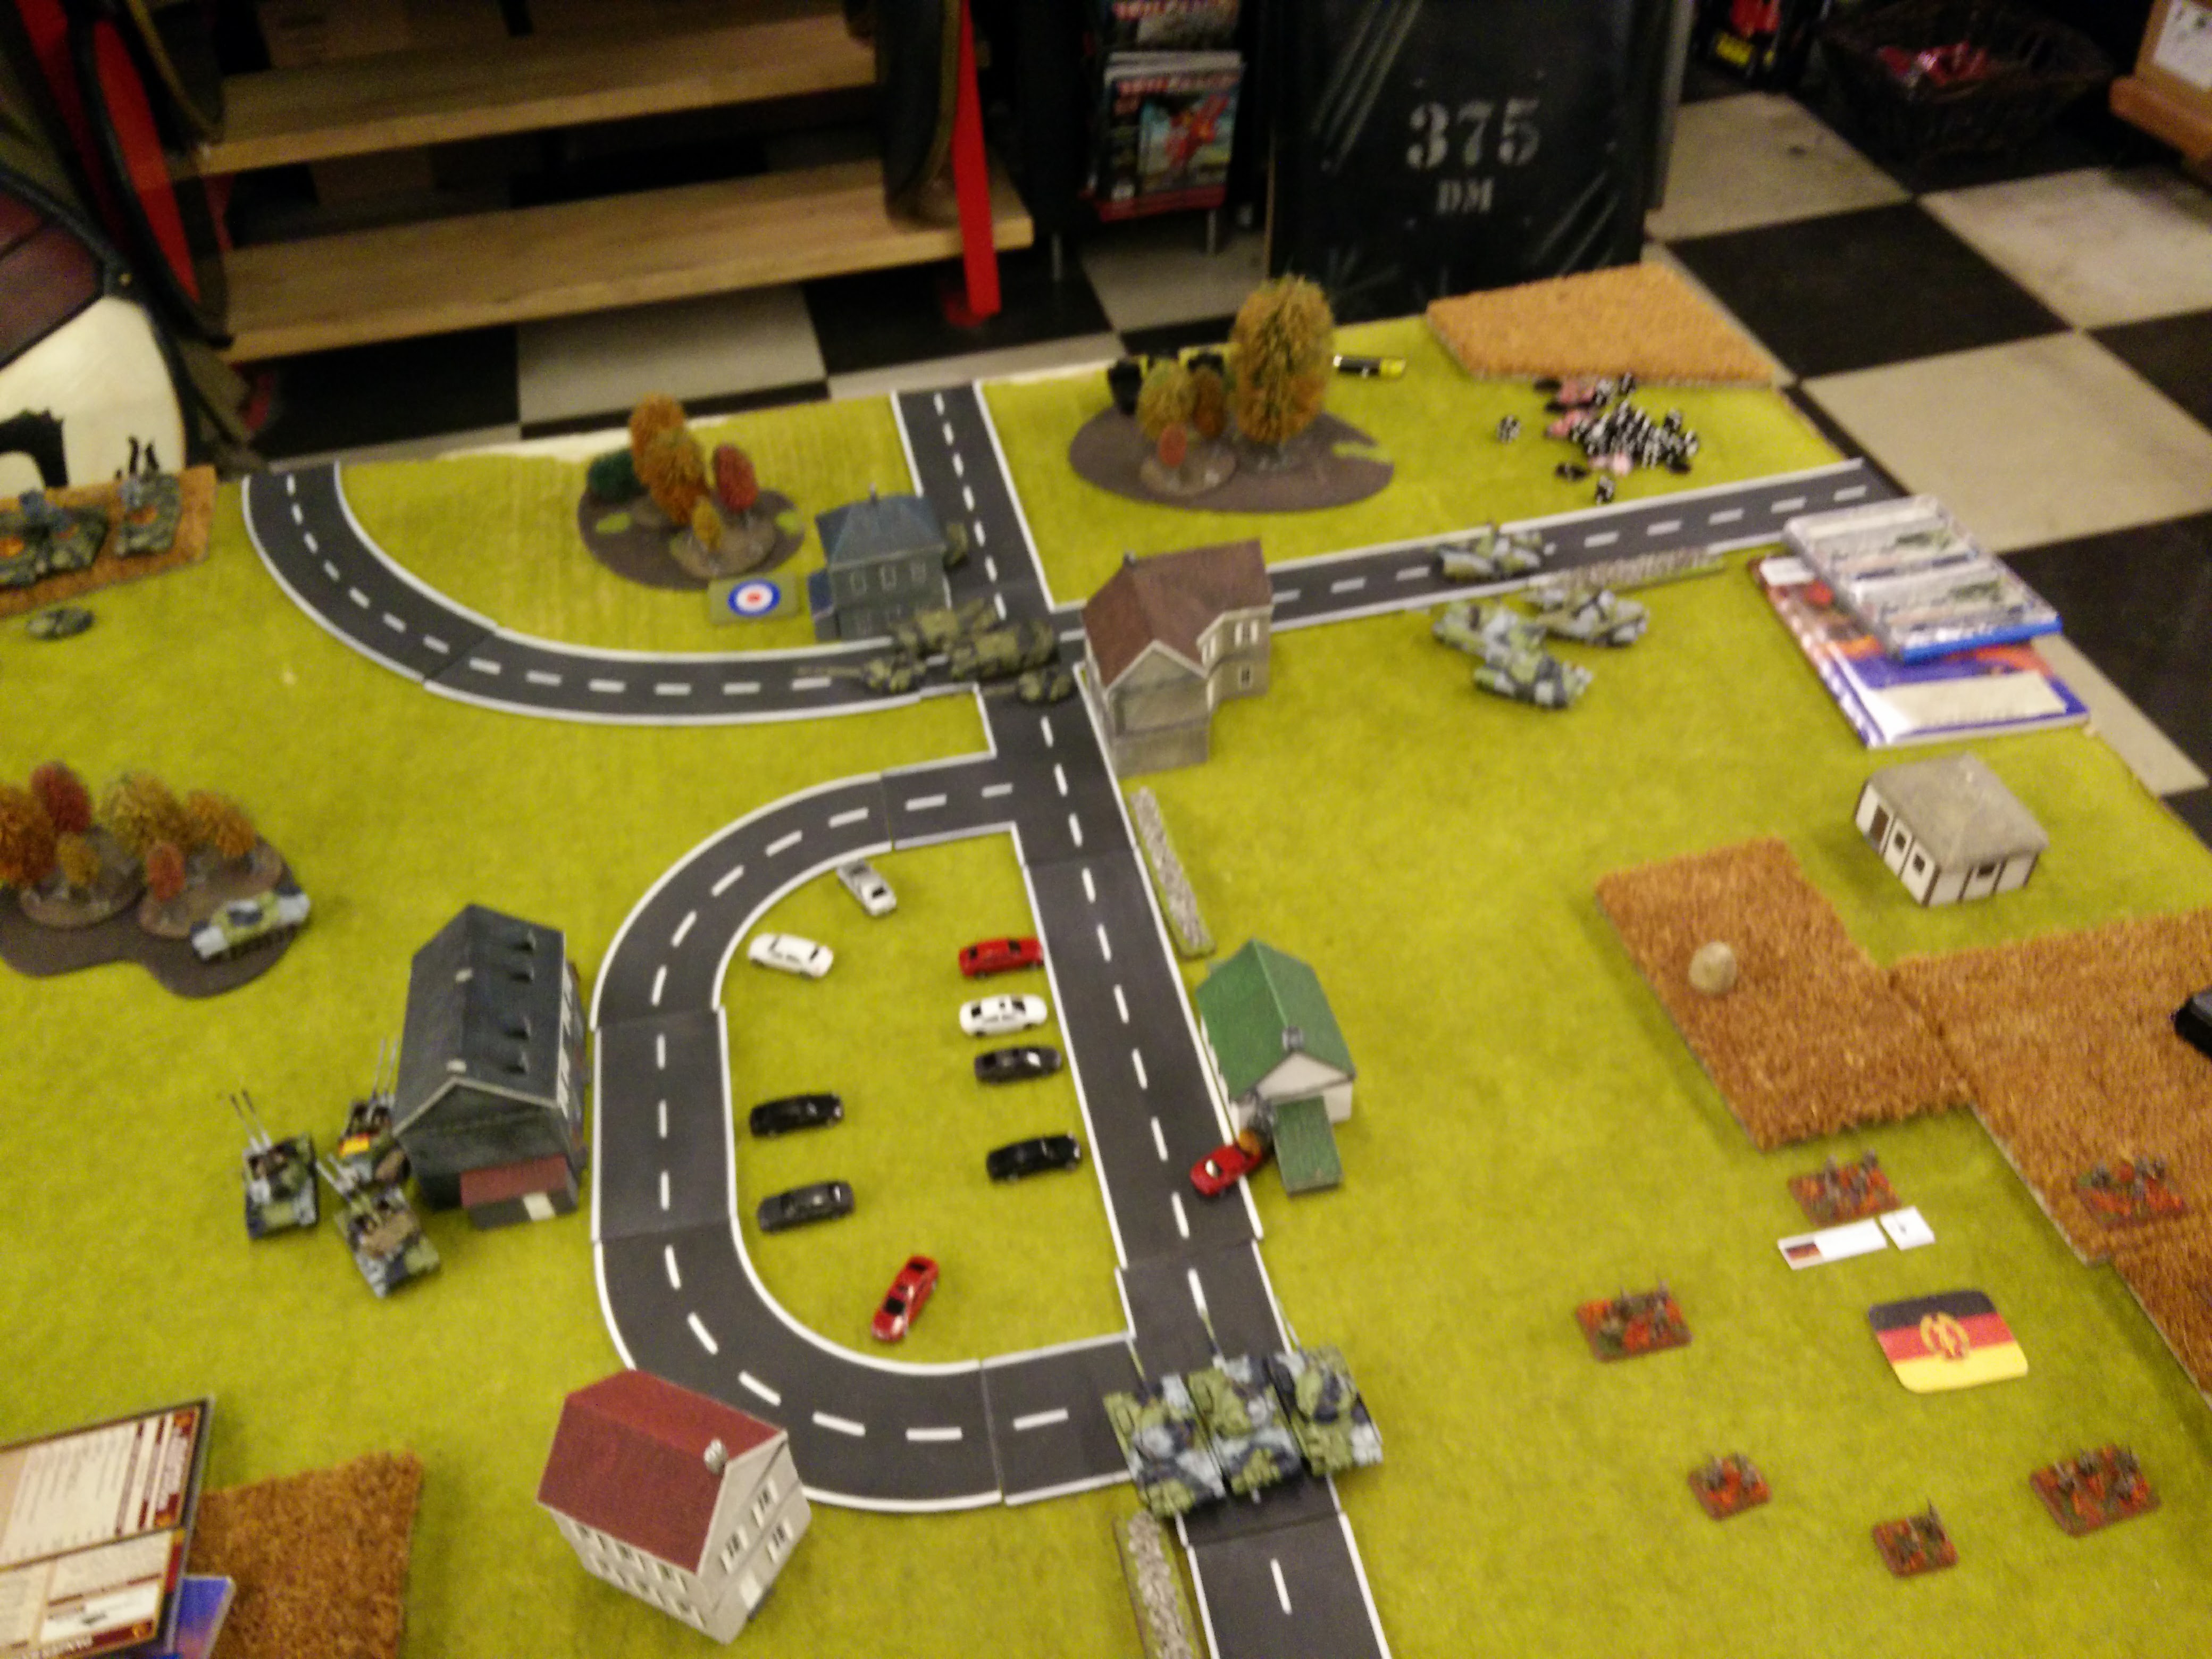
Your 2nd photo is a great shot of the battle field, I would lab it “North East behind East German position looking South East” it makes the correction with the report easier.
Again great report
Cheers
Storm caller
Love the carpark! Sounds like a fun game – like the idea of using proxy for the air support – I’m working on some Fitters at this point. I didn’t see any photos of the air support – do you have any?