Fought At Leipzig
2415 days 1 hours 43 minutes ago
Battle Report
Leipzig Lucky
100 POINTSOberst Heiko Waffen was tired. He had lost so many men over the last several weeks in what was supposed to be a lightning campaign. Instead it had been a grueling slugging match and now he was having to defend his country from a NATO counter attack! He knew though, he and his men would fight until the last in the defense of Leipzig.
Leipzig Dust Up Daytime 100 pts.
Waffen and his men were on the back foot trying to hold out against the onslaught while half his forces were still on their way to the battle. At least he had 3 companies of infantry, even though one of those had BTR's. He had hidden his BMP2's in hopes to catch NATO armor unawares. He also had 2 companies of 5 T72's each and 3 BRDM Spandrel tank killers. He just hoped it was enough.
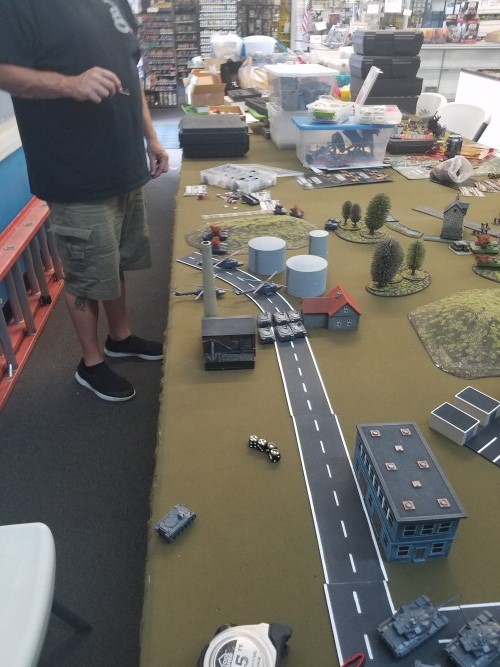
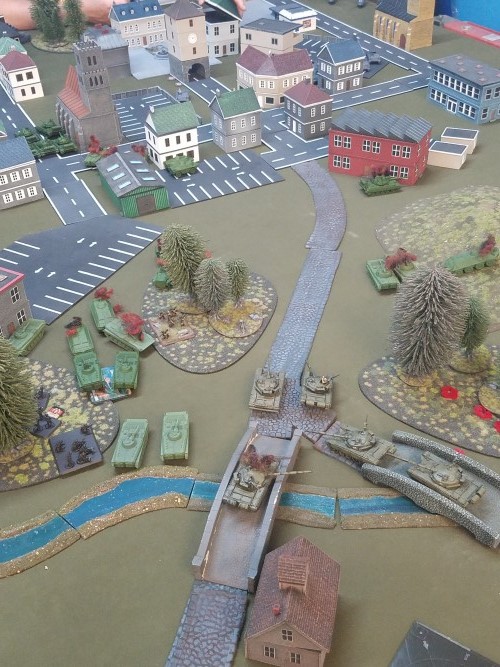
His part of the battlefield was essentially half urban and half open. Waffen decided to put the bulk of his forces in the open part and dig the infantry in. He planned on moving as few forces as possible in to the city and had the Spandrels in some woods covering the city.
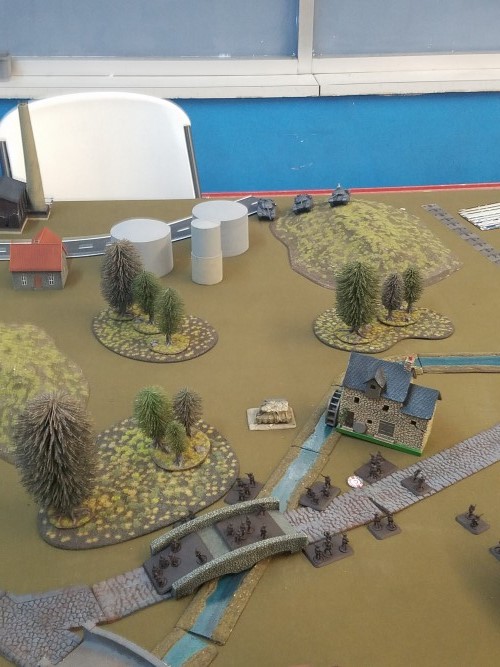
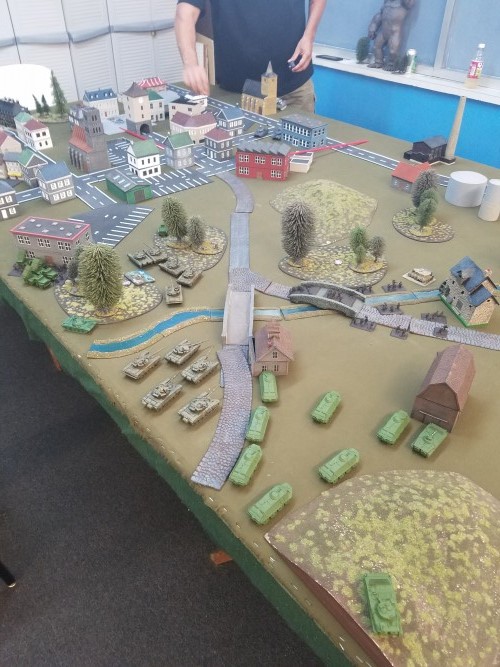 Right flank deployment. Medium BMP2 infantry comapany in and around the farm and mill defending the objective. The observer with good lines of sight and the T72's ready to react.
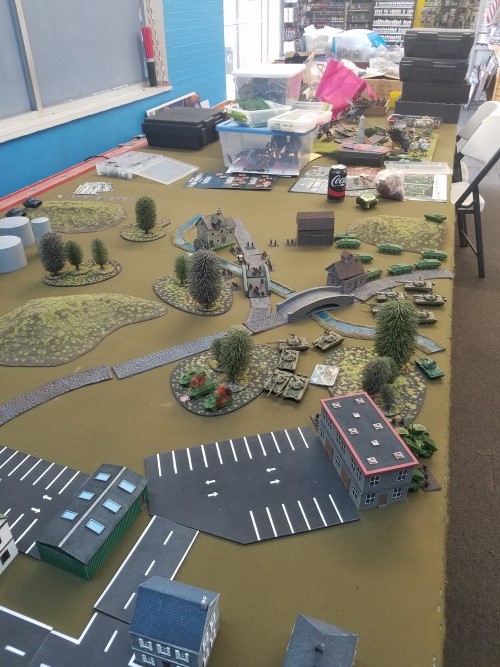
The first sign of the Verdammt British was 2 of Spandrels in the woods exploding from tank guns! The third one wisely redeployed to help guide our reserves into position. On the far right 3 of the heavily armored behemoth Chieftan's rolled on and were facing the medium dismounted BMP2 company who were defending a farm and mill. This area turned into a particular thorn in my plan of attack as the British kept pouring their reserves in and I had to keep what I had in place here in place. This disrupted my attack plan and put me on the defense immediately. I decided to make sure I had no more threat to deal with on this side before I tried to move into the town and take my assigned objectives.
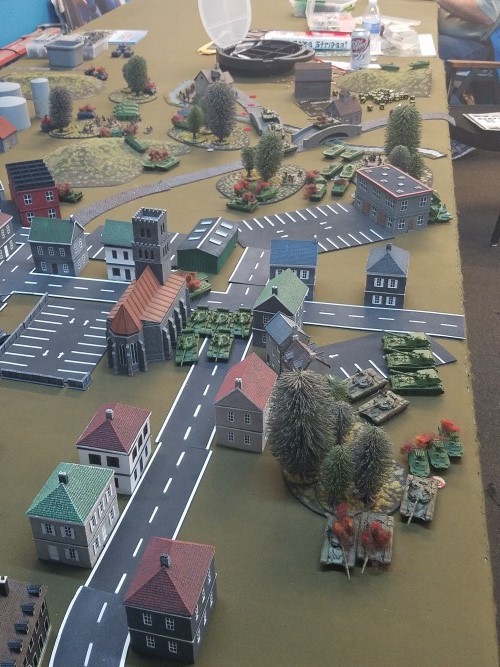
 End of my first movement phase. You can just make out some burning BRDM's in the woods to the right of the objective.
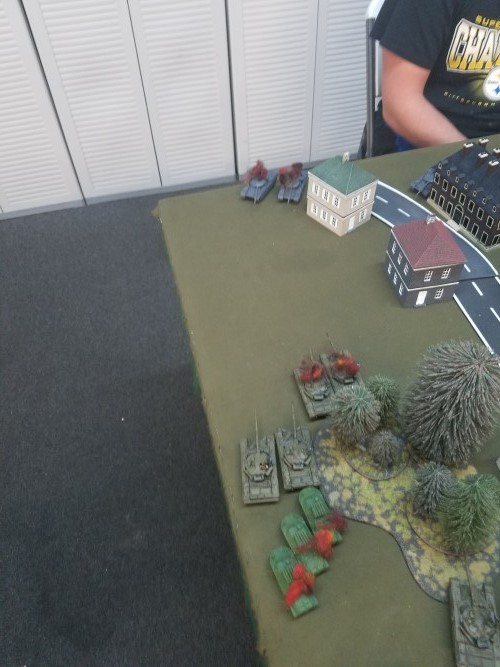
 Continued fighting on the right. I had to keep shuffling units this way unfortunately. There is now a small BMP1 company dismounted as well.
I will discuss the battle on the right first and then return to the town as it turned out to be the sideshow. After the Chieftain's moved in the cleverly camouflaged BMP2's launched a 9 missile salvo destroying 2 of the mighty beasts! The last one hung tough and returned the favor making one BMP2 explode. Heavy British artillery landed all around the BMP's, setting some on fire and shaking others. Knowing the importance of taking out the last tank the BMP's did not move, even though they were zeroed in on and hit the last Chieftan. Artillery rained in again and took out more BMP's, but they were now free to move. While this was going on a very heavy barrage started hitting the now dug in BMP2 infantry company. This slowly started whittling this company down ( 8 gun mortar platoons are vicious ). A British Desantniki platoon landed on the right and were also supported by 4 small recon tanks. 6 of the Infantry carriers also headed over to lend their MG fire. It took some time and repositioning of units but I was finally able to stem the flood of NATO forces. I then felt it was time to move on to the attack.
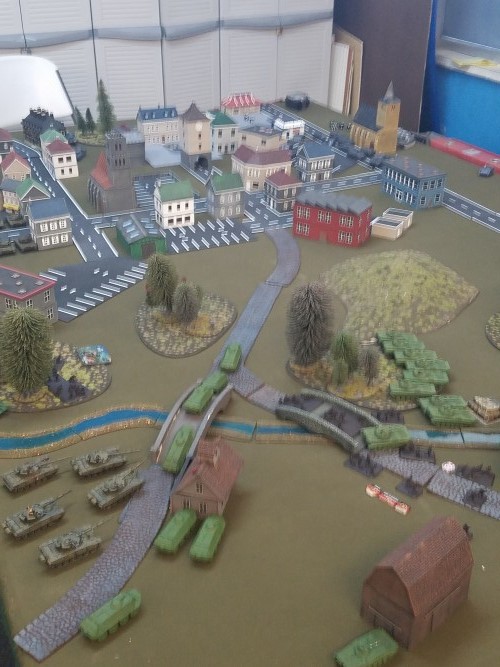
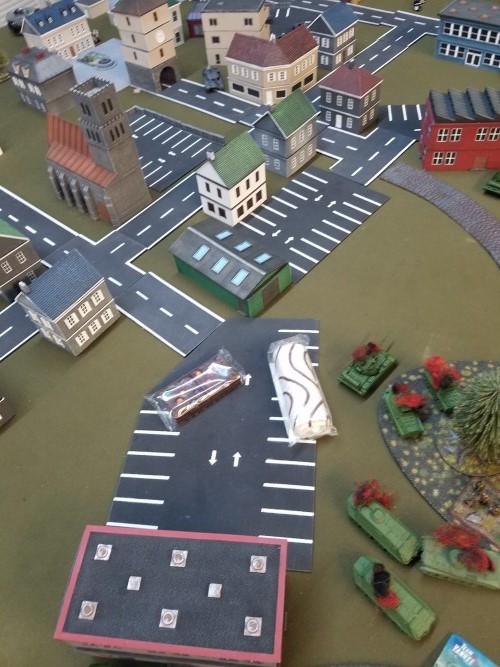
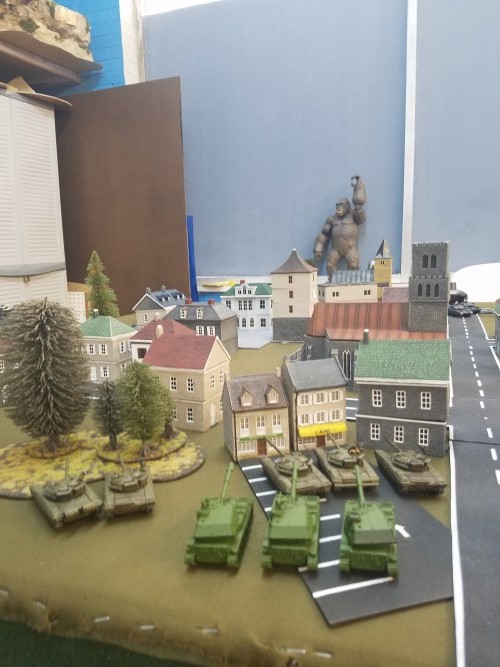 One company of T72's having to guard my heavy artillery from prowling Chieftans. This picture is Kong approved.
Meanwhile, my reserves were arriving in a trickle, NATO air must be wreaking havoc in the rear. Chieftan's were moving on my far left and were approaching my heavy artillery, which was pounding an infantry platoon in the city. I put 5 T72's and 3 more Spandrels there to protect the artillery. Between these units I was able to destroy 2 more Chieftan's and force the last one to seek safety in the city. Reports from my units which had been containing the city showed a total of 3 Chieftan's ( from a platoon, Co and XO ), 2 infantry platoons ( one of which had been getting hit by 152mm shells for hours ), 8 mortar tracks and 4 heavy artillery guns, which had been forced to displace once. While the enemy was few in number their armor and guns ( and Milan's ) kept blunting my armored thrusts my T55's just not being able to stand up to the British fire. After several hours command halted my attack as it was getting no where. It is now time to reorganize my command again, and hope this nightmare somehow comes to and end before I have no more men.
After battle review. I felt happy to have taken out 5 of 8 Chieftan's in this game. I also completely destroyed the air landing platoon, the Scorpions, one infantry platoon and most FV432's. But, I had too few T72's and no Spandrels left to deal with the last 3 Chieftan's.
I play British as well and usually bring 4 Abbots and 4 mortars, but after the last few games and the havoc the M109's cause on my BMP's and what the 8 mortars due to my infantry I may have to re think this.

A good report, personally I would have made the candy the objective; whoever controls these gets the whole thing! 😉
Hold fast
A very good report.
A draw is good, so nobody was the loser.
Well done and thanks for posting it.
Best regards Frank.
Like the force structure reflections at the end. Those are always helpful, especially for those of us still seeking the perfect mix.
Very nice board, I particularly like the whole city setup, pity that it was not a NATO win 😉
++Good report! And what seems to have been a hard battle…
Nice report and great board
nice table! tough draw