Fought At Schleswig Holstein
2453 days 11 hours 4 minutes ago
Battle Report
OLD FRIENDS MEET YET AGAIN
View Linked Report - CLICK HERE 80 POINTSDue to having reserves I start with one Leopard 1 unit, 1 Marder unit och 1 Jaguar 2 unit on the table, the Jaguars are in ambush. So I have 2 Leopard units, 1 Leopard 2 unit and Gepards in reserves.
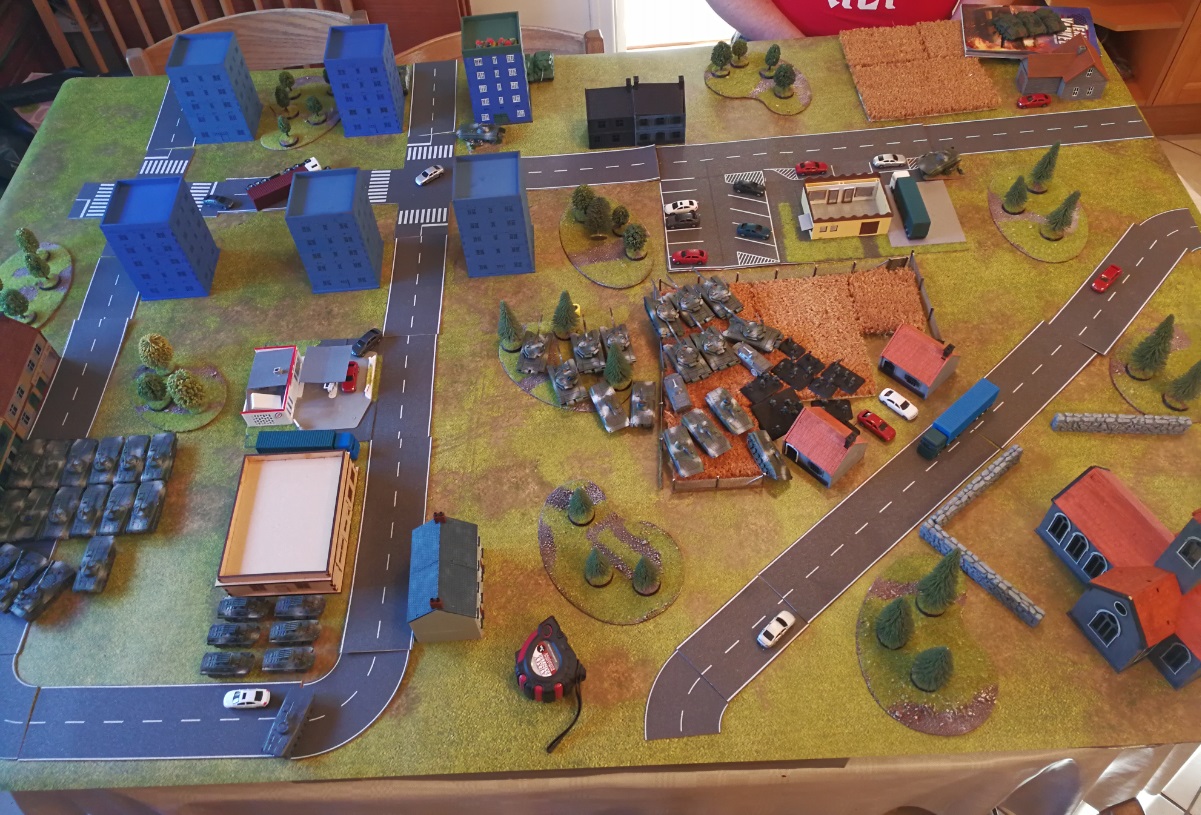
Round 1 – East Germans (Warsaw Pact)
- Infantry moving towards the closest objective
- BMP-2 rushes towards the enemy deployment zone with eager infantry inside their armored hull.
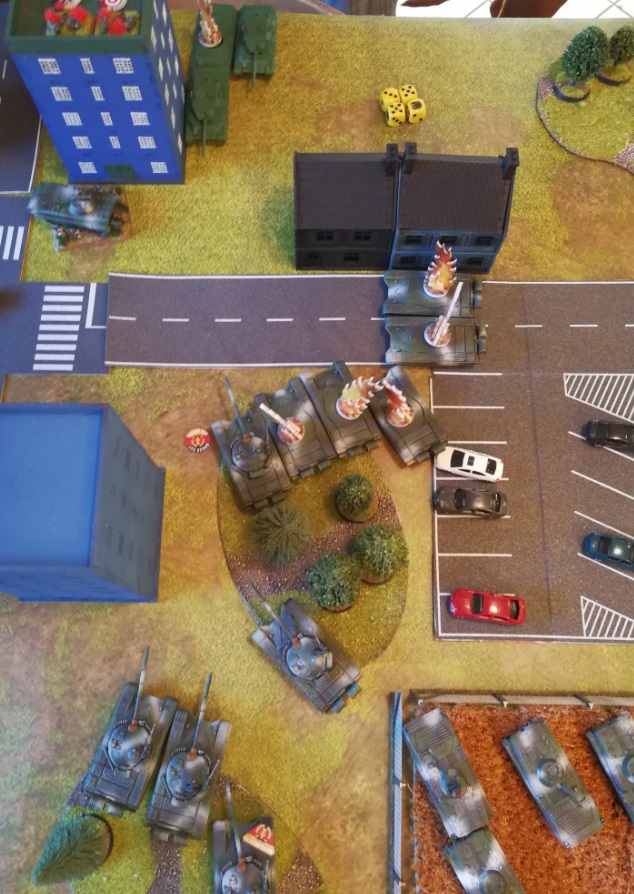
- T-72M drives towards the Leopard 1’s. 5 T-72M bogs down while maneuvering through the woods.
- T-72M kills one Leopard 1 out of a squad of three.
- 2S1 Carnation bombards the Panzergrenadier Zug and removes one infantry base.
Round 1 – West Germans (NATO)
- No roll for reserves. He looks worried…
- Jaguar 2 arrives from ambush, passes a blitz test, places them where he wants them, facing T-72M.
- Marder Zug moves up to challenge my BMP-2 transports. One bogs down.
- He opens fire with Marder Zug vs my BMP-2 = 1 Destroyed, 3 Bailed
- Jaguar 1 vs T-72M = 1 Bailed
- Grenadier Zug vs T-72M = 1 Bailed
- Leopard 1 vs T-72M = 3 Hits, 3 Saves! (I never get to save my T-72M normally…)
Round 2 – East Germans (Warsaw Pact)
- T-72M remount test, 1 remount, 1 doesn’t.
- BMP-2 remount test. None…
- Barons infantry moves towards one of the objectives and holds it.
- 1 x T-72M bogs down when attempting to move.
- 5 x T-72M fires against the Leopard 1 and scores no hits.
- 4 x T-72M fires against Jaguar 2 and again no hits!
- 6 x BMP-2 fires against Marder Zug = 1 Destroyed, 1 Bailed.
- Morale test for Marder Zug and they fail and are removed from the game.
Round 2 – West Germans (NATO)
- No roll for reserves.
- Panzergrenadier Zug Milans fire against T-72M’s and kills one! I’m down to 9.
- Jaguar 2 aims and kills another two T-72M’s. I’m down to 7 now.
- Leopard 1 fires against my T-72M’s and misses. PUH!
Round 3 – East Germans (Warsaw Pact)
- BMP-2 fails their remount yet again. Down to 9 active transports.
- Small infantry unit at the objective digs in and are now in foxholes.
- The Mot-Shützen infantry disembarks from the BMP-2 Transports and start to move towards
the Jaguar 2. They fire their RPG-7 rockets and score a kill on one Jaguar 2! Go INFANTRY!
- BMP-2 opens fire with their AT-5 Spandrels and kills the remaining two.
- 2S1 Carnation fires against the Panzergrenadiers and kills 1 more.
- T-72M concentrates on the Leopard 1 unit, kills one and forces a morale check
- The Leopard 1 fails their morale test and are removed from the table.
Round 3 – West Germans (NATO)
- I rolls a dice and big smile appears on his face as he rolls a 5!
I immediately brings in the Leopard 2’s and moves them up against the side/rear of my T-72M’s
- Panzergrenadier Zug with Milans fire towards the T-72M’s and destroy TWO! Like what?!
I’m down to 5 now.
-My HQ Leopard 1 sneaks around the corner and fires upon the BMP-2 and kills one transport.
- One Leopard 1 fires against the BMP-1 on the wheat field and kills TWO. These rolls…
- Two Leopard 2 aims and fired against the T-72M’s and scored all hits, killed three and bailed one.
- Baron have to make a test for my T-72 since I’m not in “Good Spirit”.
Having one active, 1 bailed and numerous destroyed T-72M’s, so I let my Commander join to give
them +2 morale for the roll.
- Baron fails the roll with a roll of a 1
Round 4 – East Germans (Warsaw Pact)
- His BMP-2 Mot-Schützen infantry runs towards the building where his Panzergrenadiers are.
They are too far away for an assault this turn, but next turn they will hit them.
- His BMP-2 aims and fires their Spandrel missiles against the HQ Leopard 1 .
Scores a hit and destroys his HQ Leopard 1.
- 2S1 Carnation fires against the Leopard 2’s in a futile hope of maybe killing 1.
- One of my Spandrel units fires and manages to bail 1 Leopard 2. Whoopie.
Round 4 – West Germans (NATO)
- I rolls for reserves and gets a Leopard 1 unit on the table, he is sending them forward towards my
smaller unit and wants to take them out from the objective. He wishes to cross a forest and bogs
with two out of three Leopard 1’s.
- Leopard 2 remounts the tank.
- My Leopard 1 fires against my recon BRDM2 and kills one. I pass my morale.
- My Leopard 2 moves up towards his trapped Panzergrenadier Zugs holding the other objective
and fires against my remaining BMP1’s. He wipes them out in a fury of earth shattering explosions.
Round 5 – East Germans (Warsaw Pact)
- Barons infantry moves up and begins firing with all they have, bringing his unit down to two Milans.
- Barons BMP-2 moves up and fires against the last two Milans and kill one, forcing a morale at the end
of the shooting which they don’t pass and are removed of the bord.
- 2S1 Carnation fires against the Leopard 2’s again, but no dice.
- Spandrels fire against the Leopard 2’s but fail to penetrate their pesky high armour!
- Barons RPG-7 teams holding the other objective by the wheatfields/foodstore move up towards the
remaining Leopard 1 that is in the open. I score 1 hit and manage to roll a 5+ firepower.
Forcing a morale test, which he fails and they are removed of the board.
By the end of turn 4 I hold both objectives.
Round 5 – West Germans (NATO)
- He rolls again for reserves and get his Gepards on, they waste no time in deploying their rapid fire
cannons on weak targets such as Spandrels and BMP-2’s.
- He destroys 2 BMP-2 and wipes out a unit of Spandrels.
- Two Leopard 2’s move towards my big Mot-Shützen unit and fires on them, killing one team.
- The remaining Leopard moved towards the smaller inf unit and fires, killing one team.
- He decides to go one step further and assaults my smaller inf unit and my defensive fire
harmlessly bounce of his behemoth of a tank. He passes his only assault dice and kills one base.
- I roll for counter-attack but fail and retreat away from the objective.
Round 6 – East Germans (Warsaw Pact)
- He holds one objective with no West German units contesting it.
- The Game ends.
- Victory points: I get 3 points and he gets 4 points for destroying 4 units of East Germans.
Battle Report Author
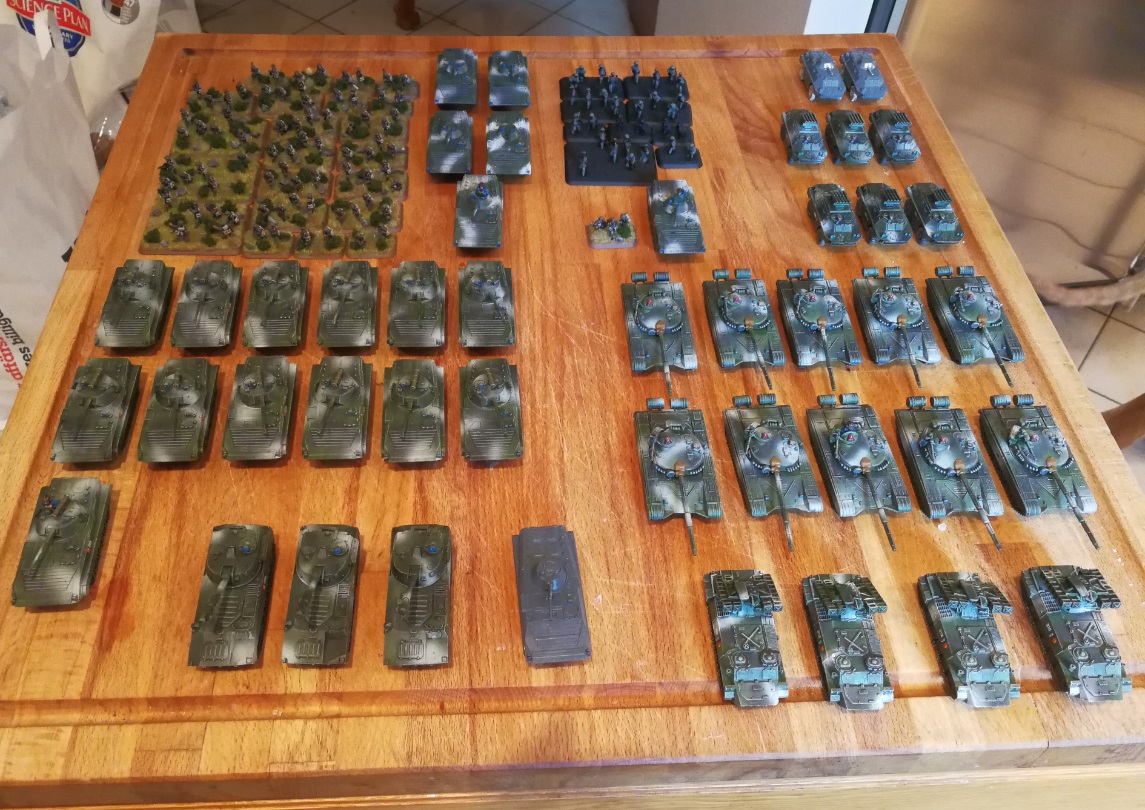
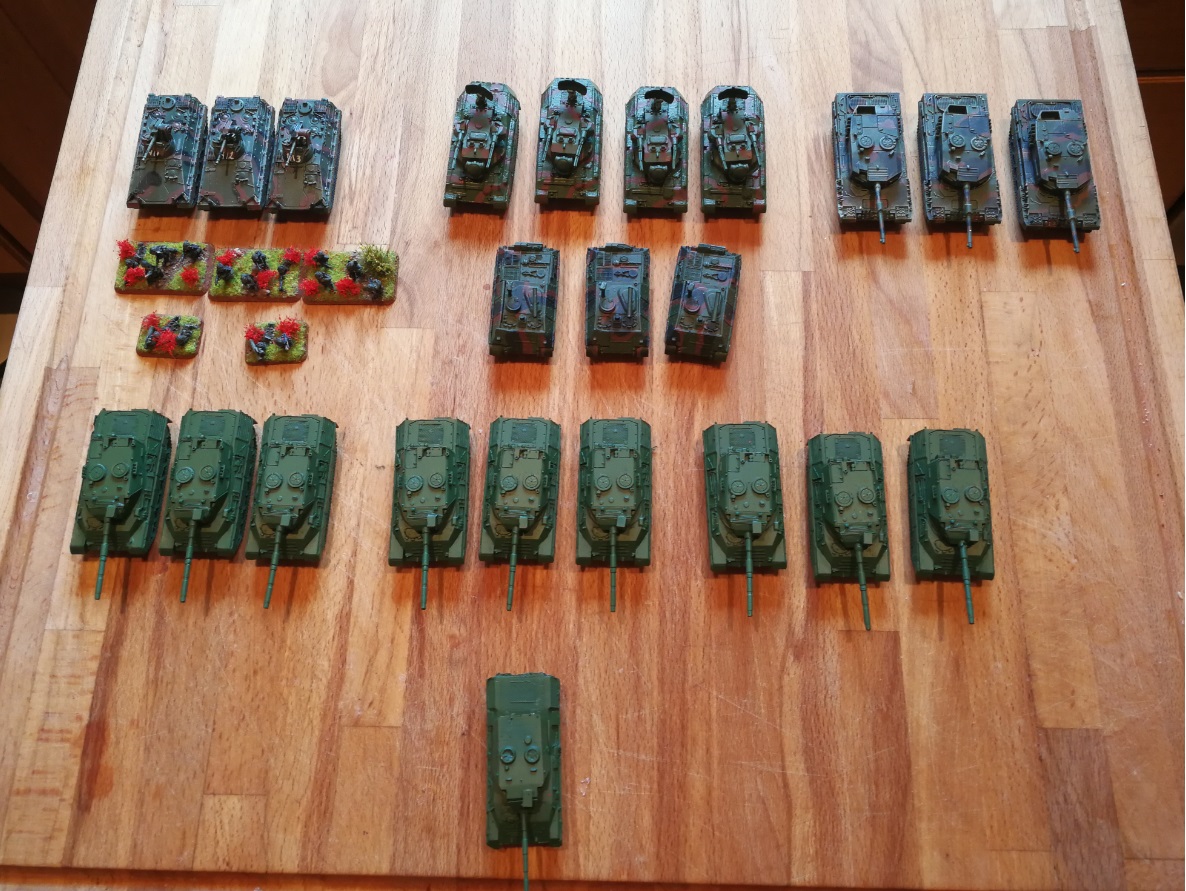
Army Lists Used In This Battle
Recommend Commander For Commendation
Share this battle with friends
BaronWins

Nice
Good write up
Nice to be able to see this game from both perspectives! 😀