Fought At Amsterdam
2406 days 11 hours 45 minutes ago
Battle Report
Routine Kills
80 POINTS
"I am so dead."
It was cloudy morning in North Holland. Panorama of Amsterdam hovered in distance, as unsure if to hide behind curtain of rain. Fat columns of heavy smoke risen into the clouds, as if begging to quench their thirst with cascades of water.
"They gonna to kill me. And I have nothing to defend, nothing! I screwed things big this time... And things have started so nicely!"
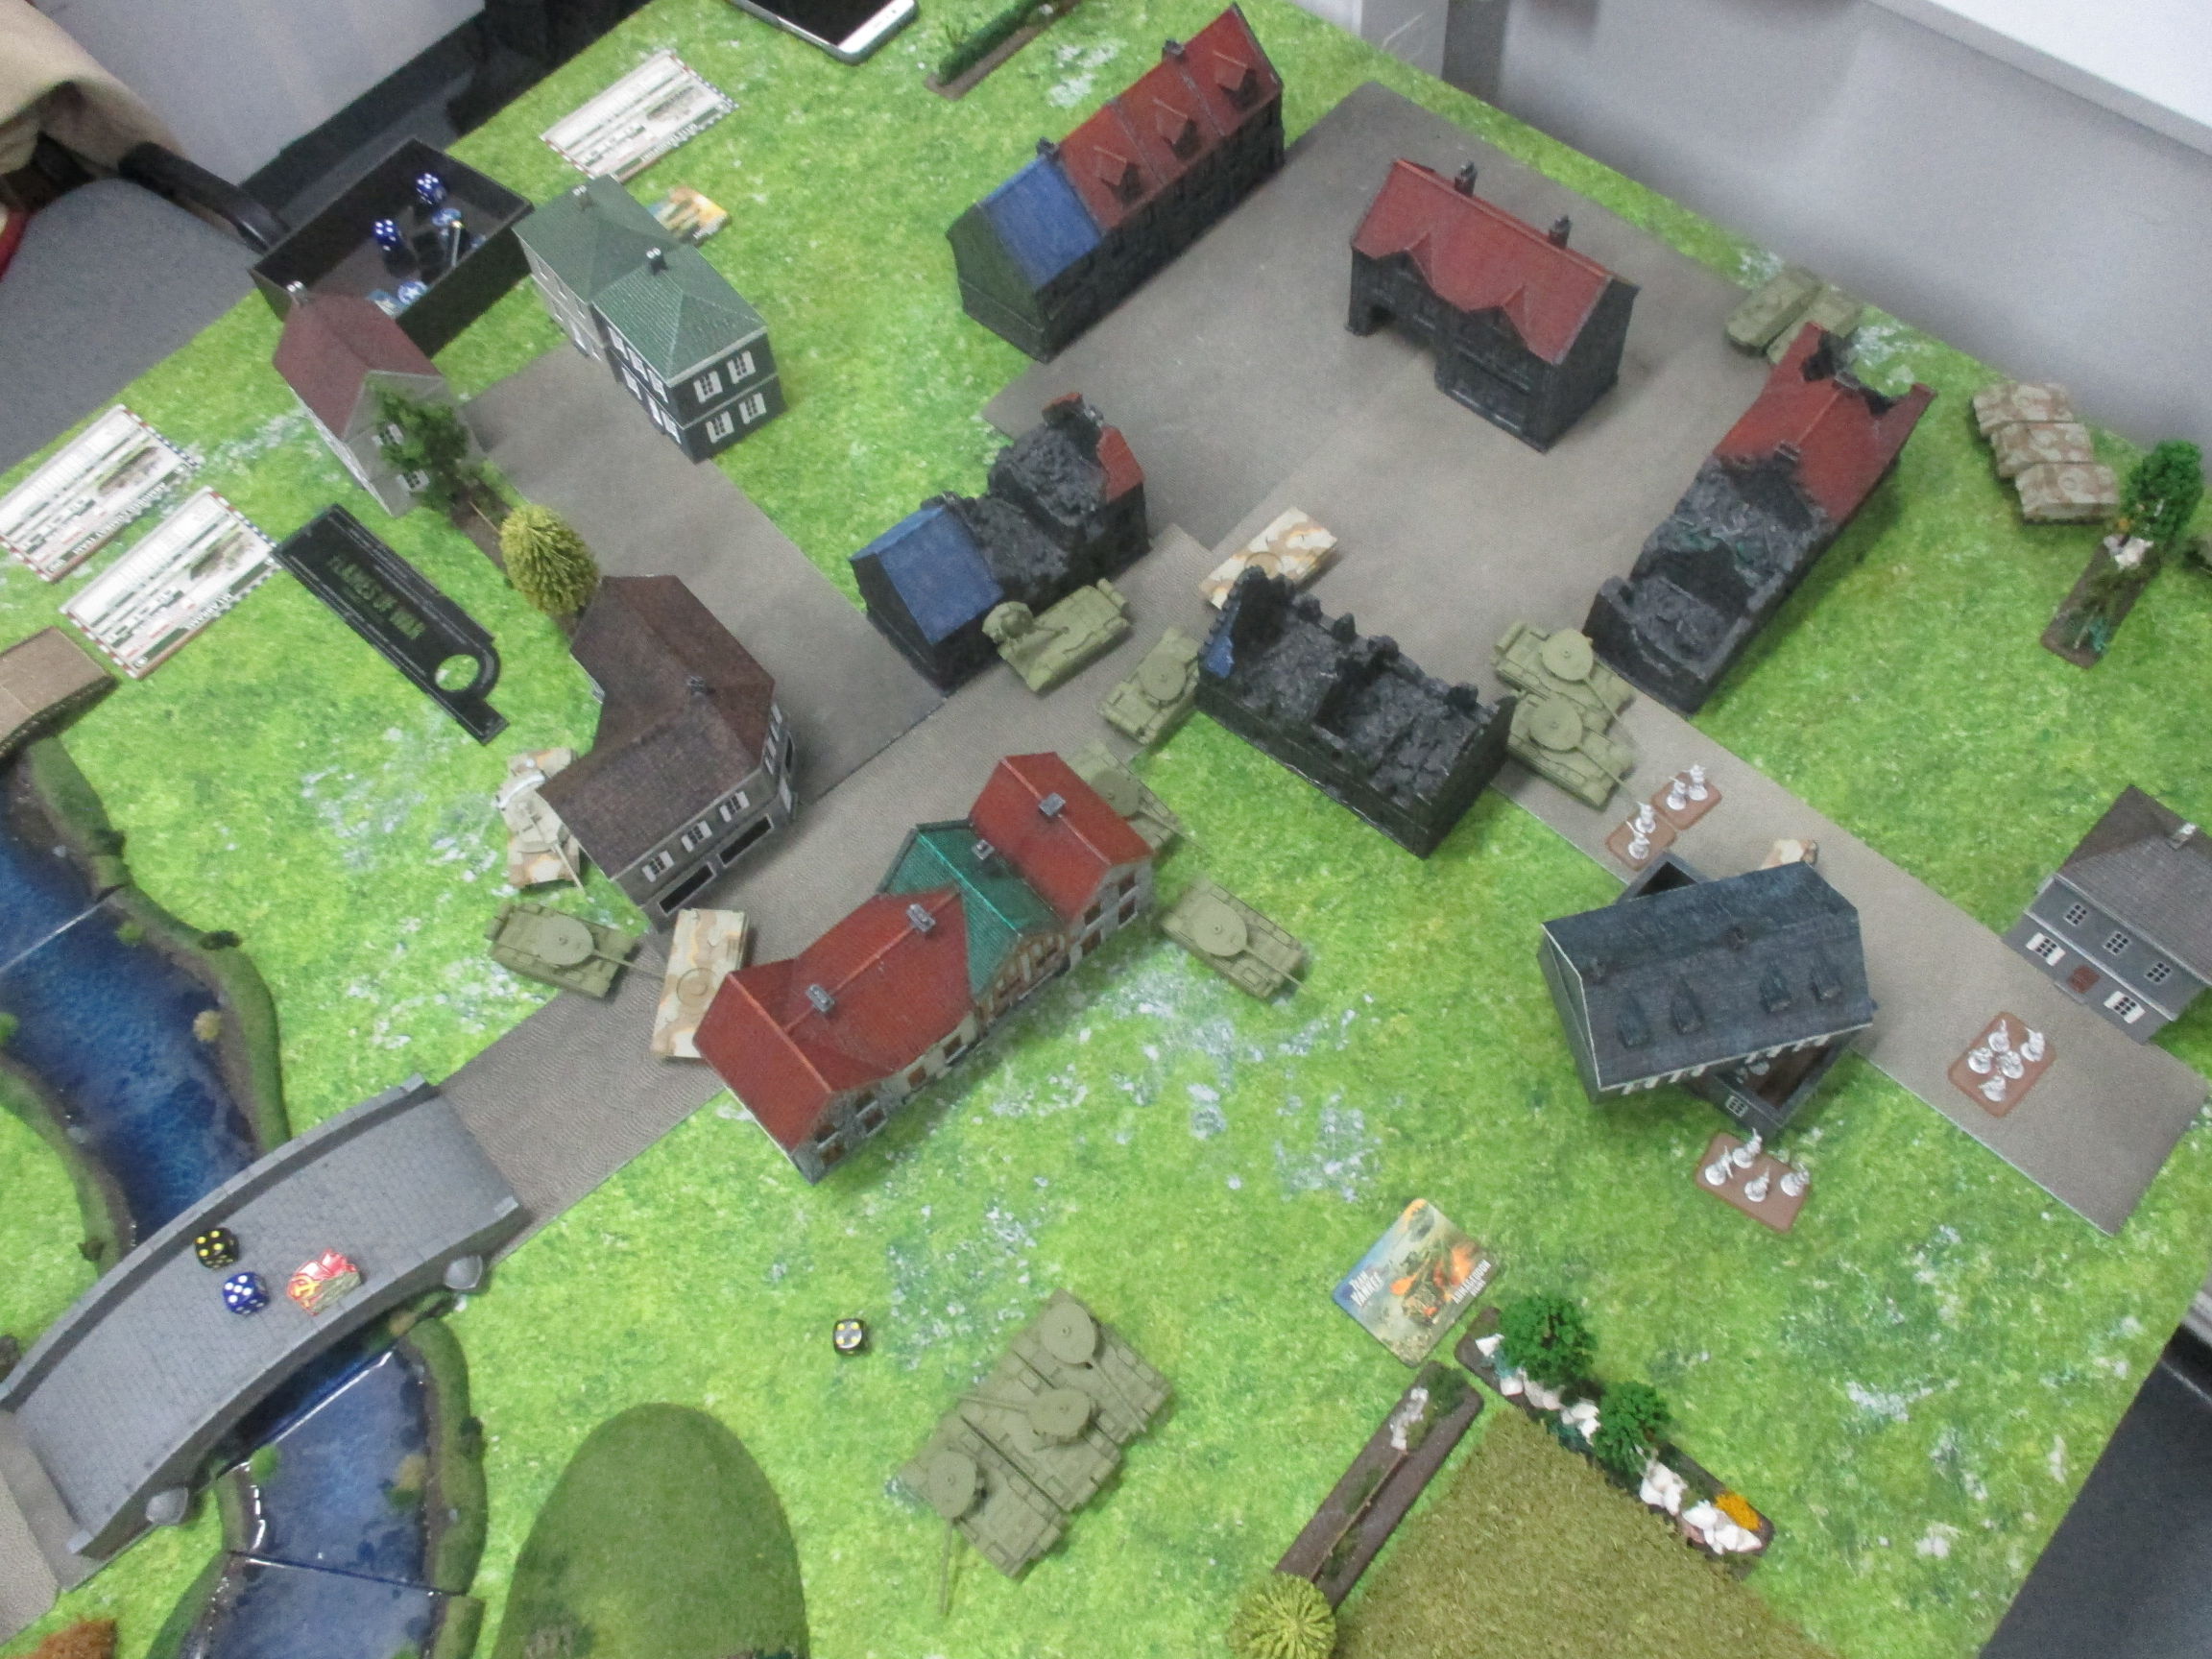
Take a average town in western West Germany. So west it is eastern Holland. You have mandatory river, bridges, nice architecture dating up to N-th century, score of fields with low but dense vegetation and few hedges, fences, stone field dividers and lone trees:
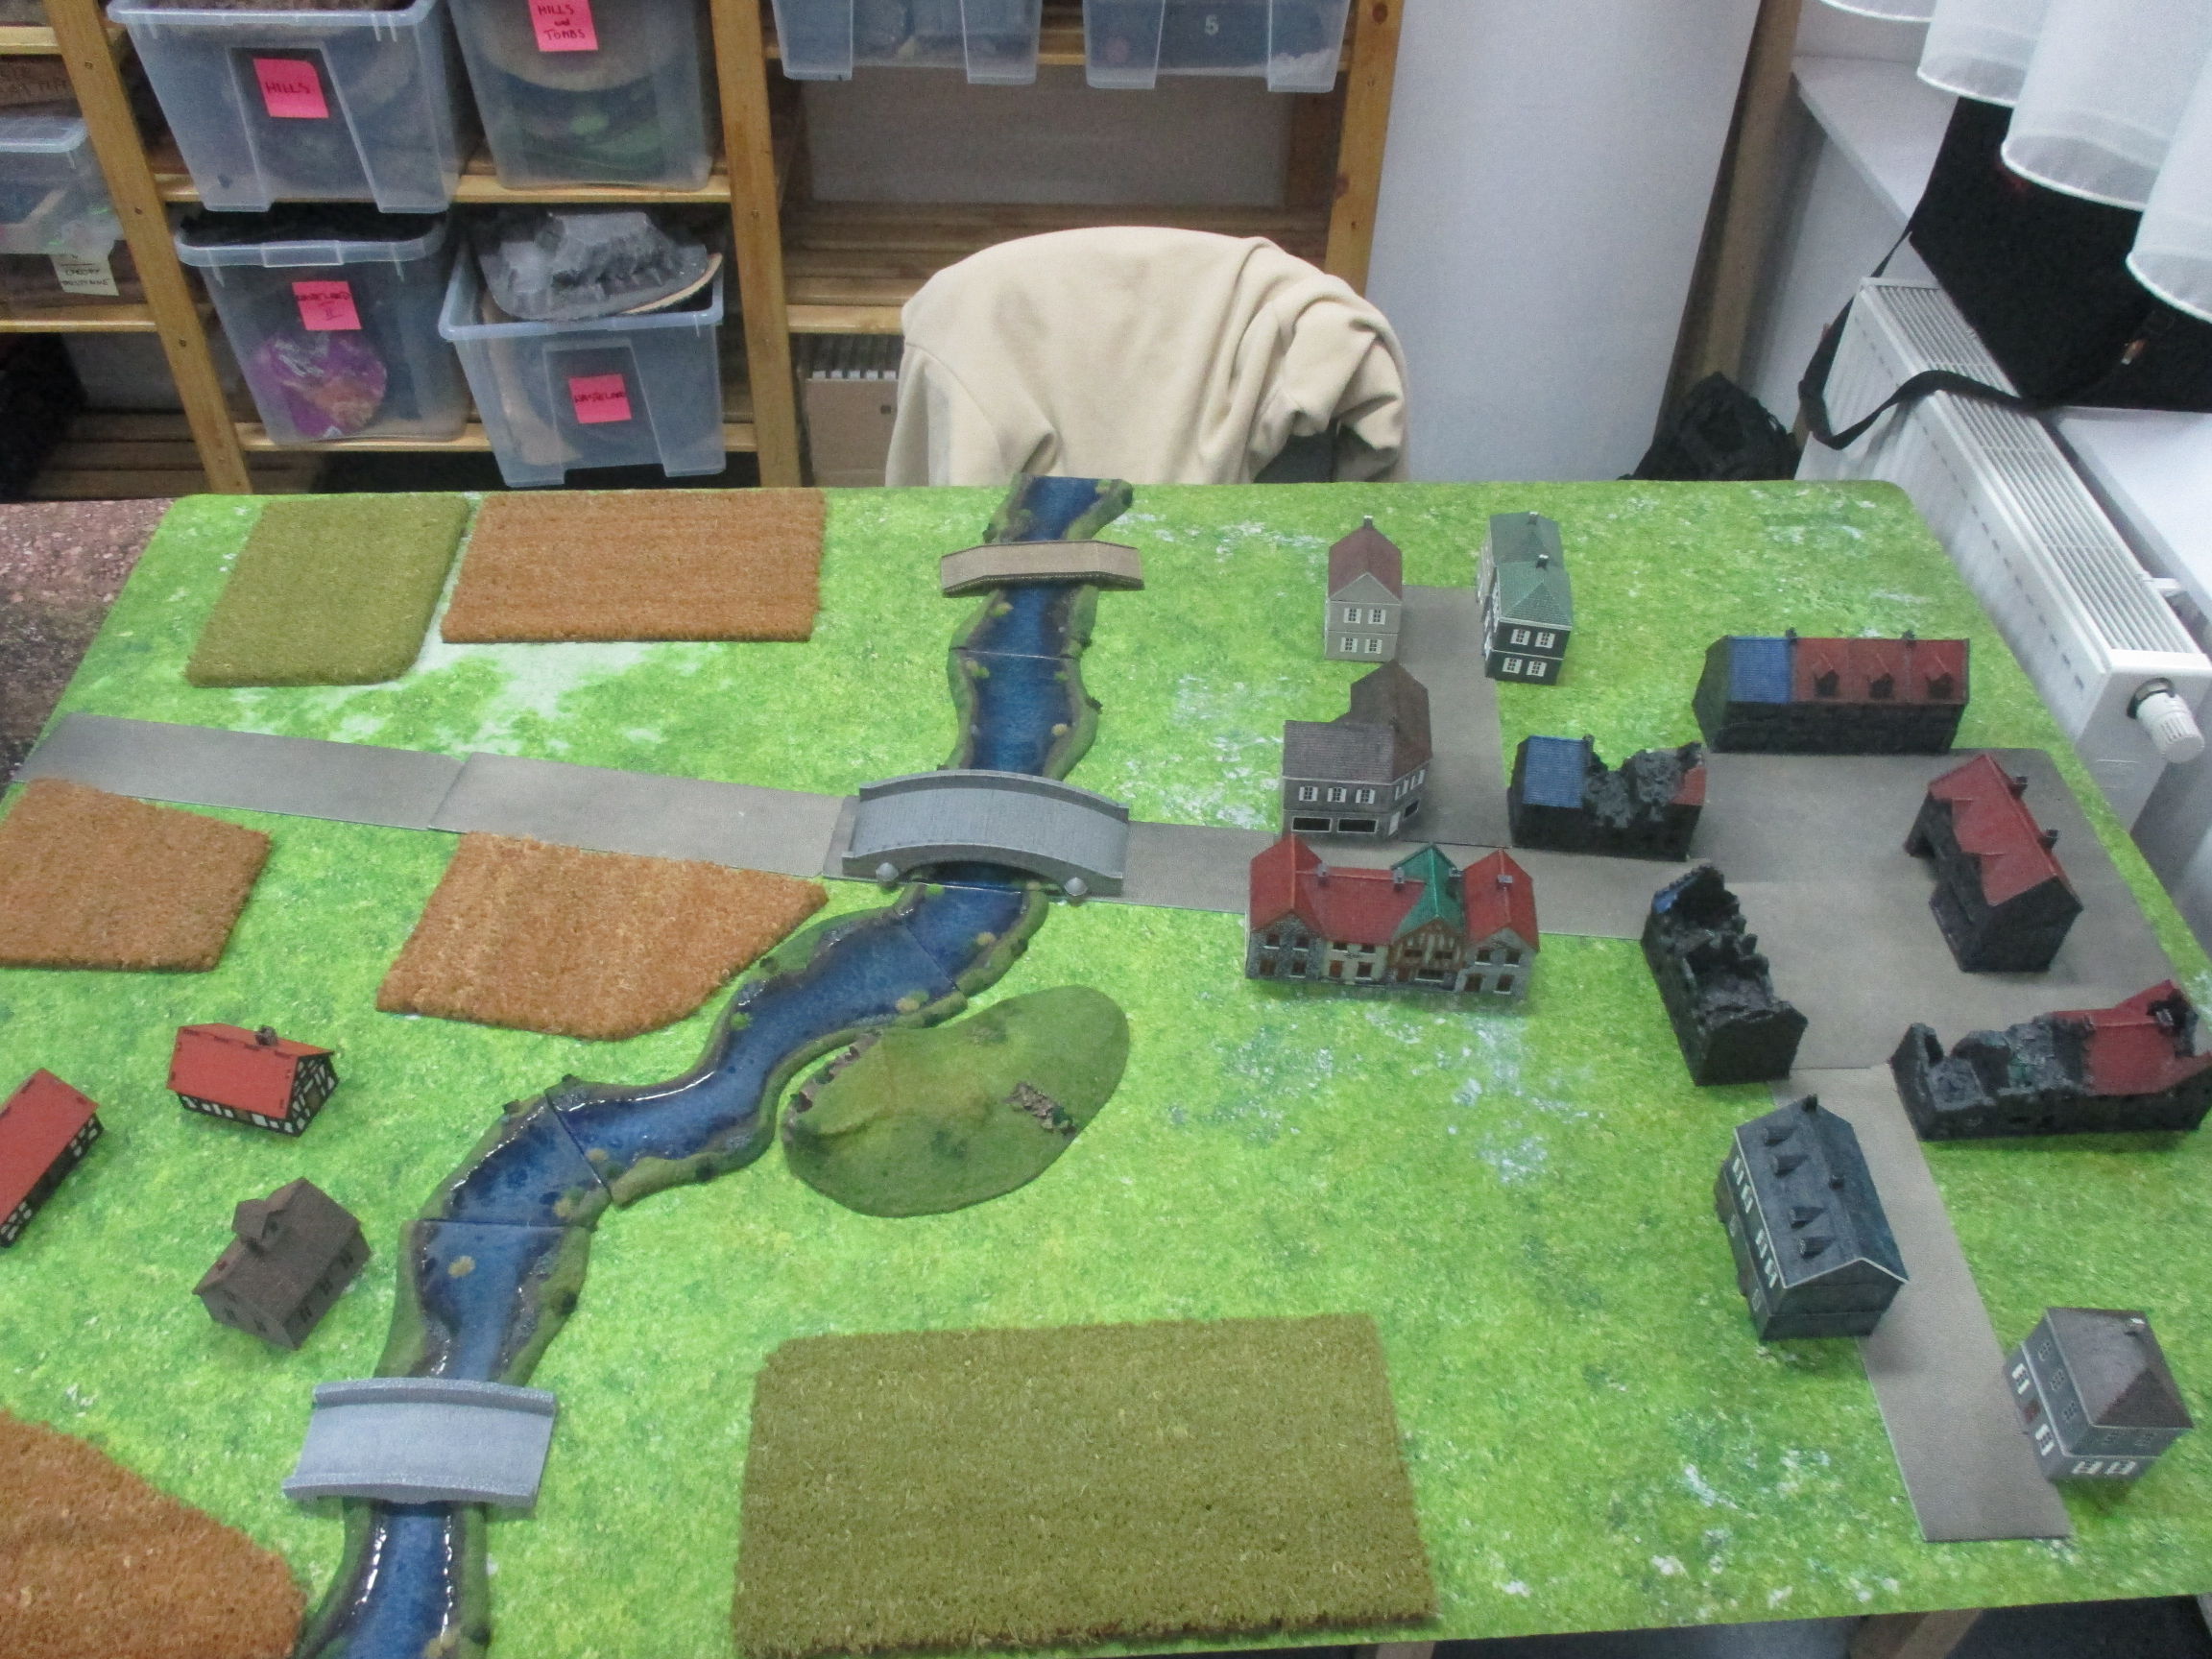
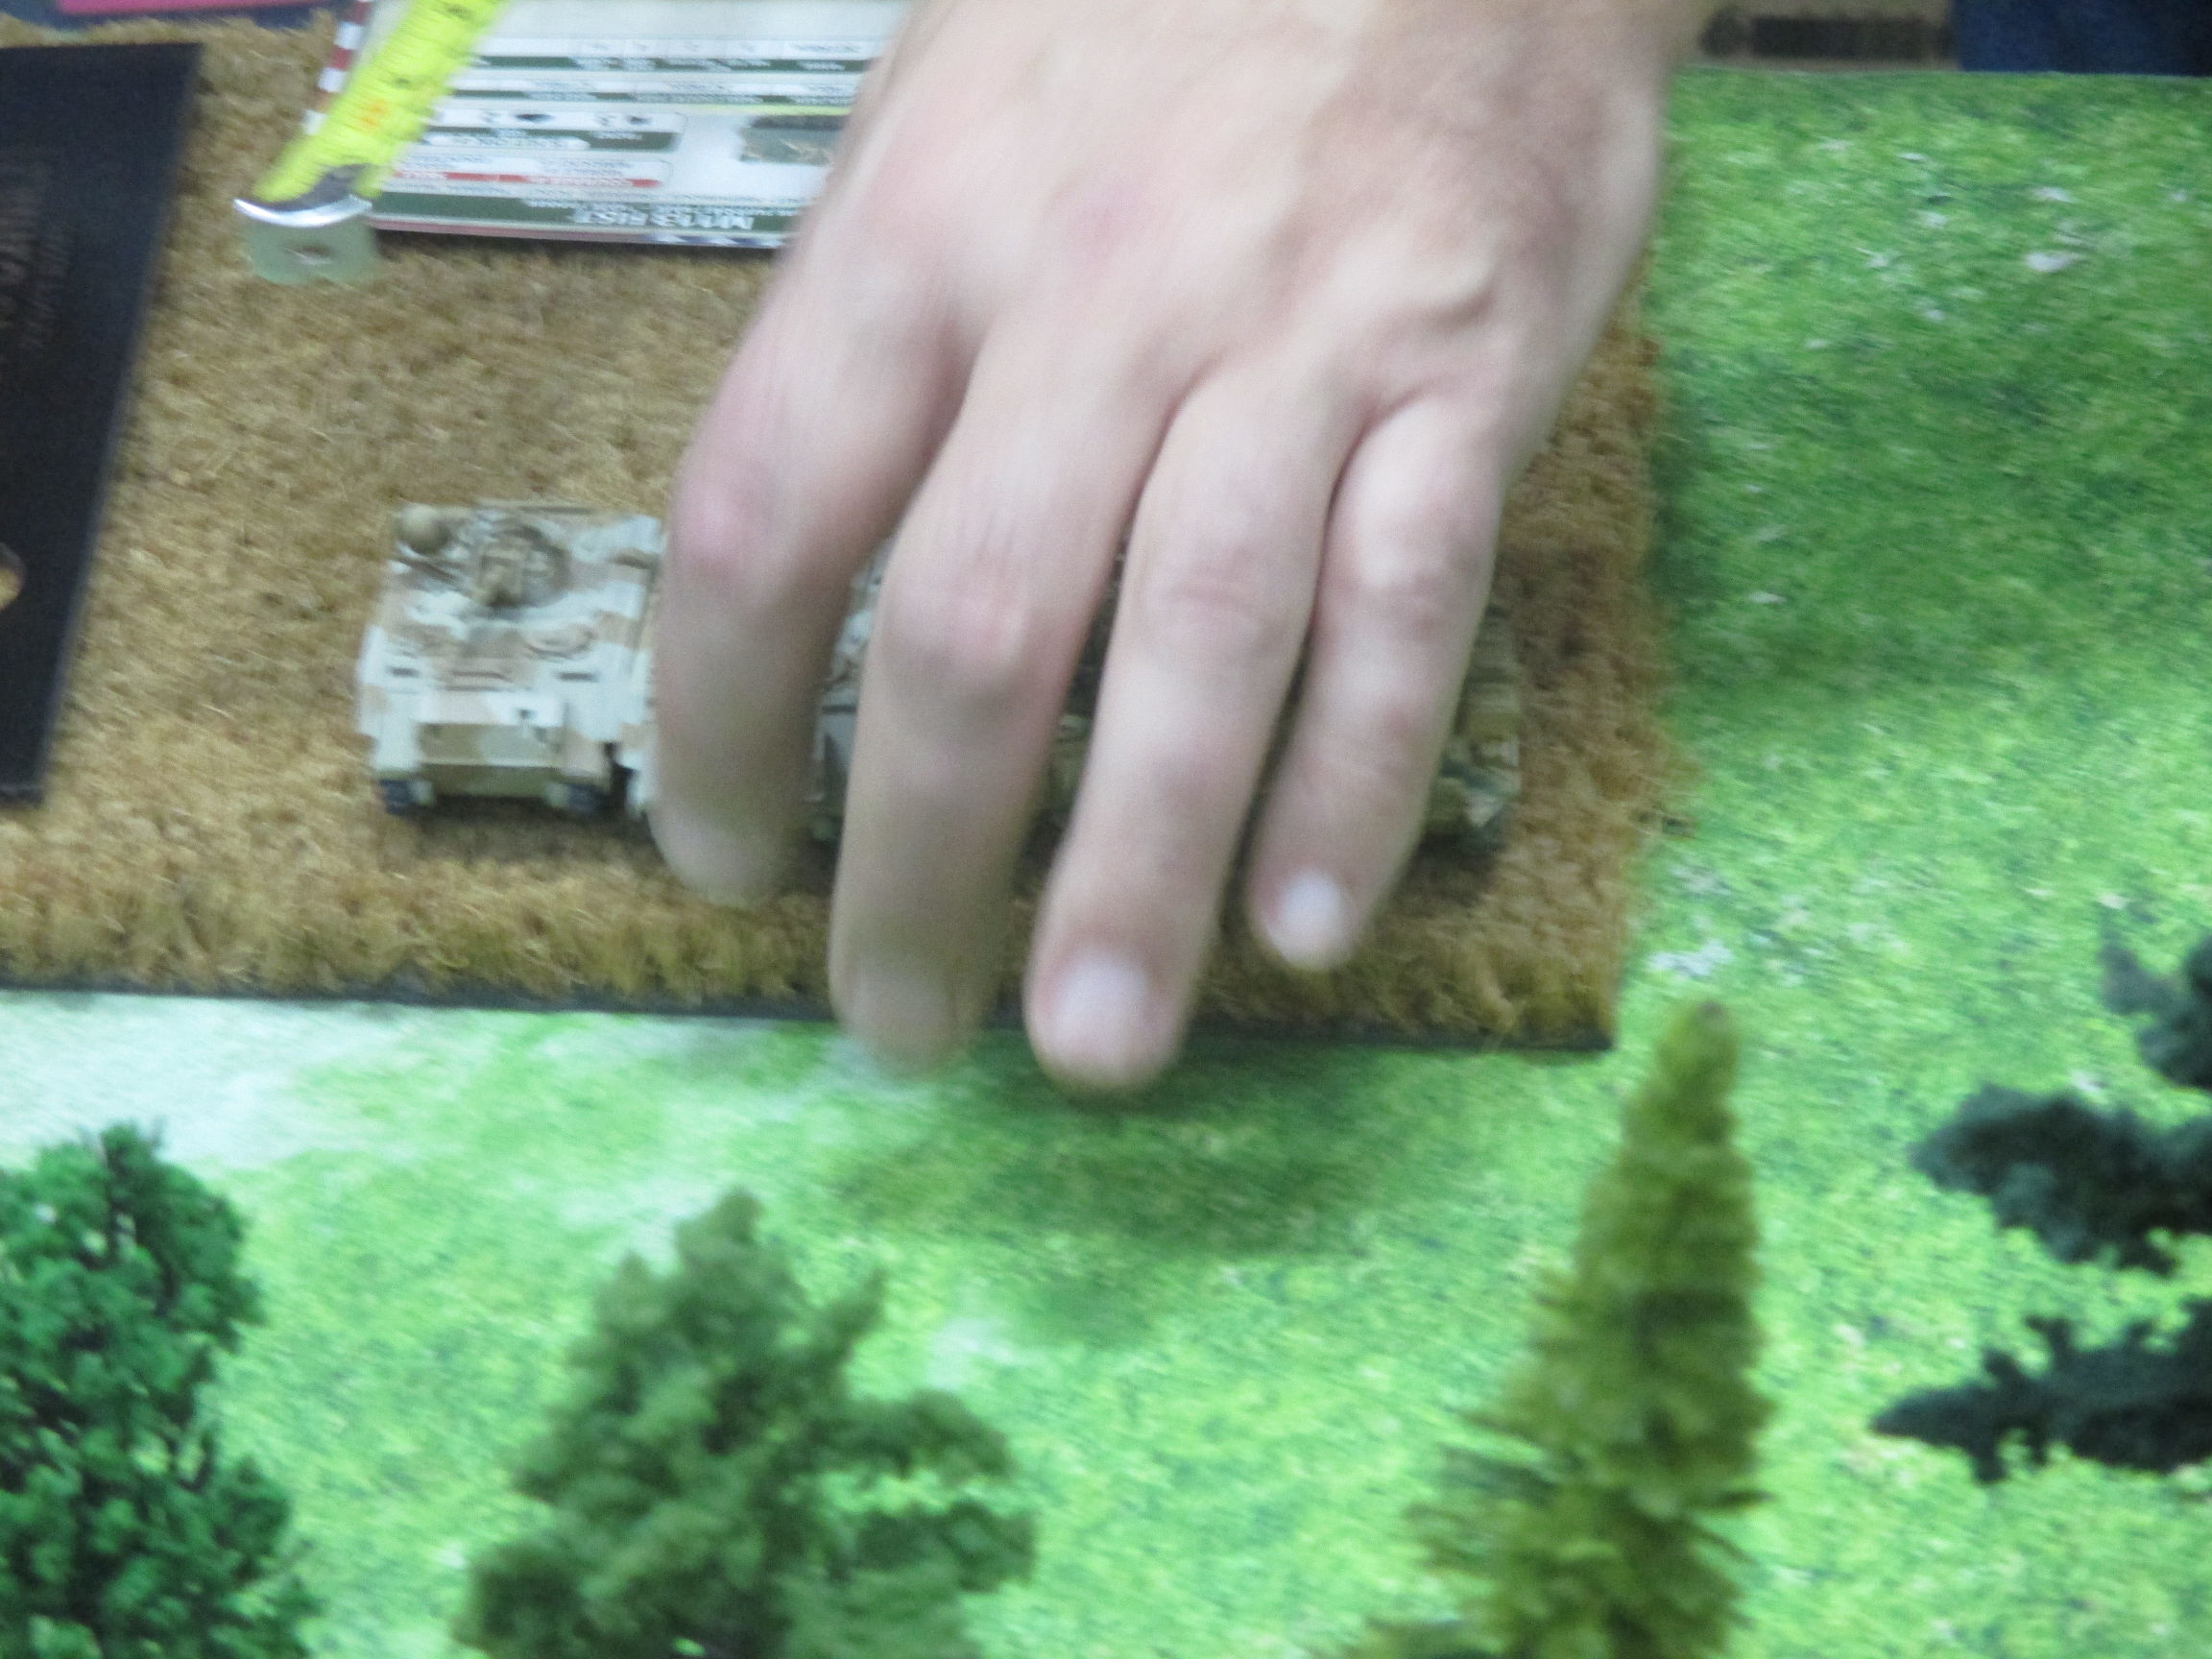
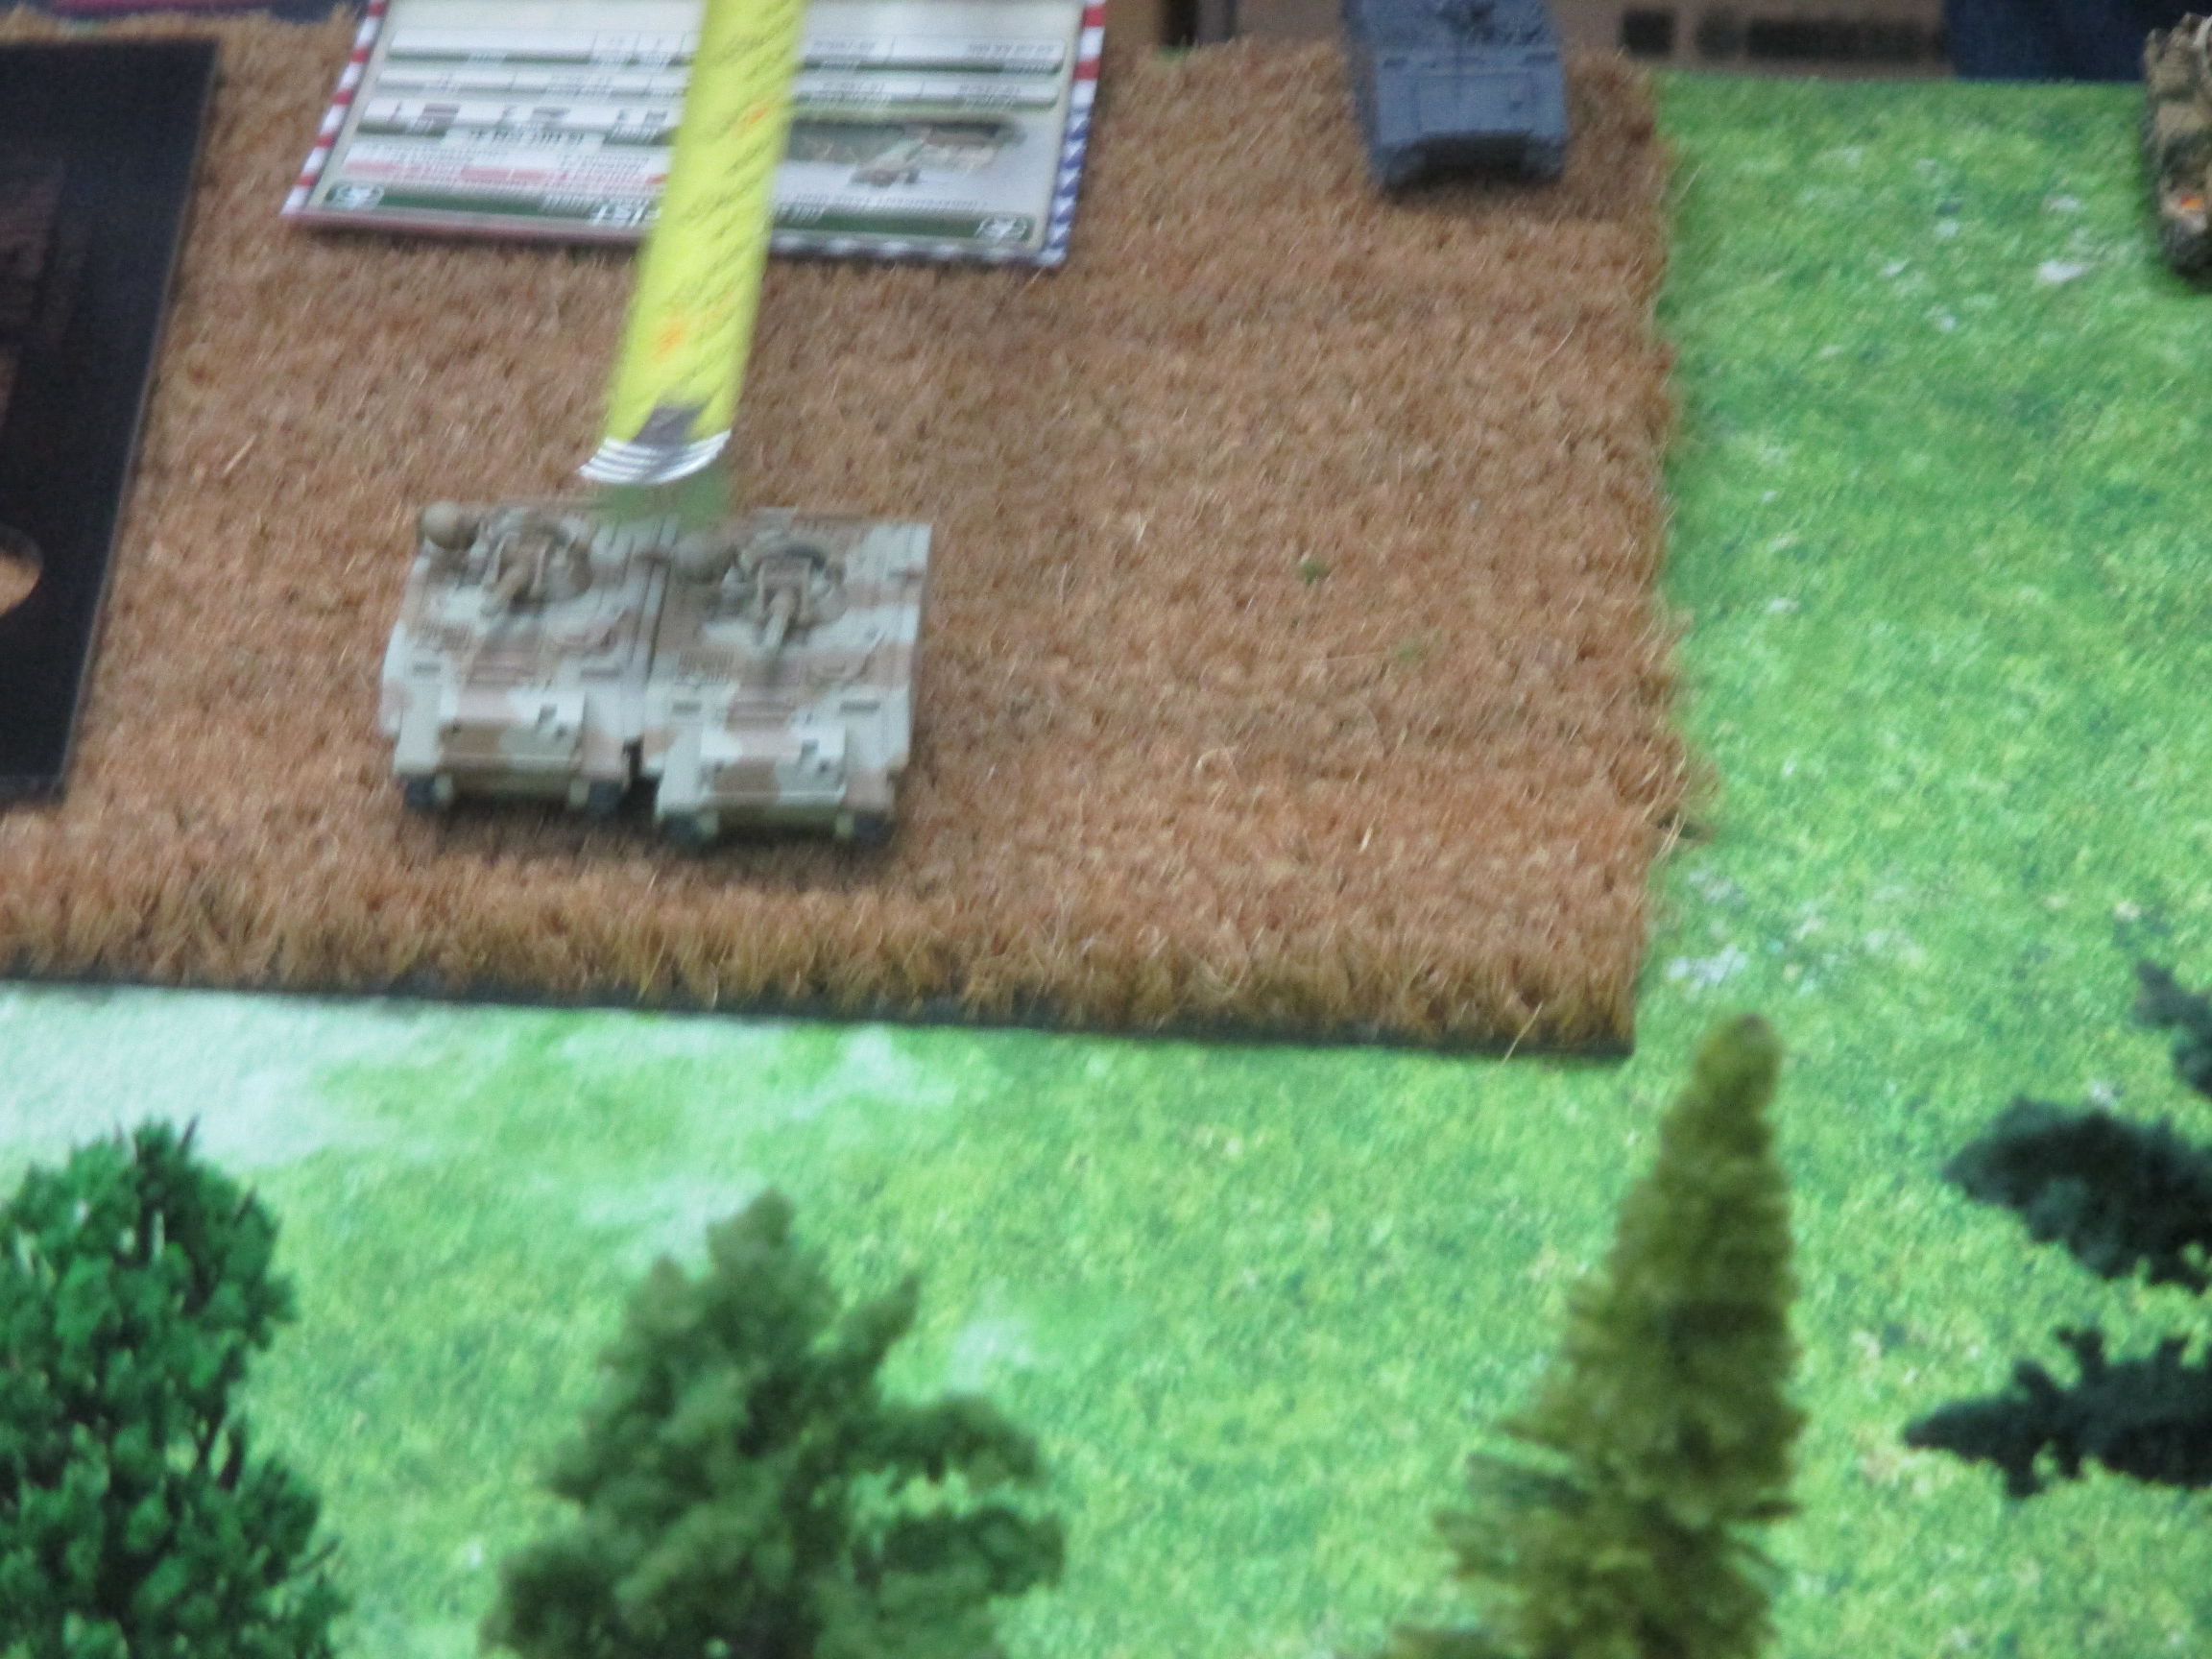
Drop nice, rounded force onto field. Two units of Spandrels on the left, BMP-1 recon in middle of them, BMP-1 Mot-Schutzen guards objective, BMP-1 observer hides in the streets on the right and bunch of T-55 are lined just before second objective. There is also BMP-2 Mot-Schutzen lurking somewhere on table in ambush.
- if you create army list on the last possible moment, you'll have odd number of units. This means you'll need to hide the odd one in the reserves.
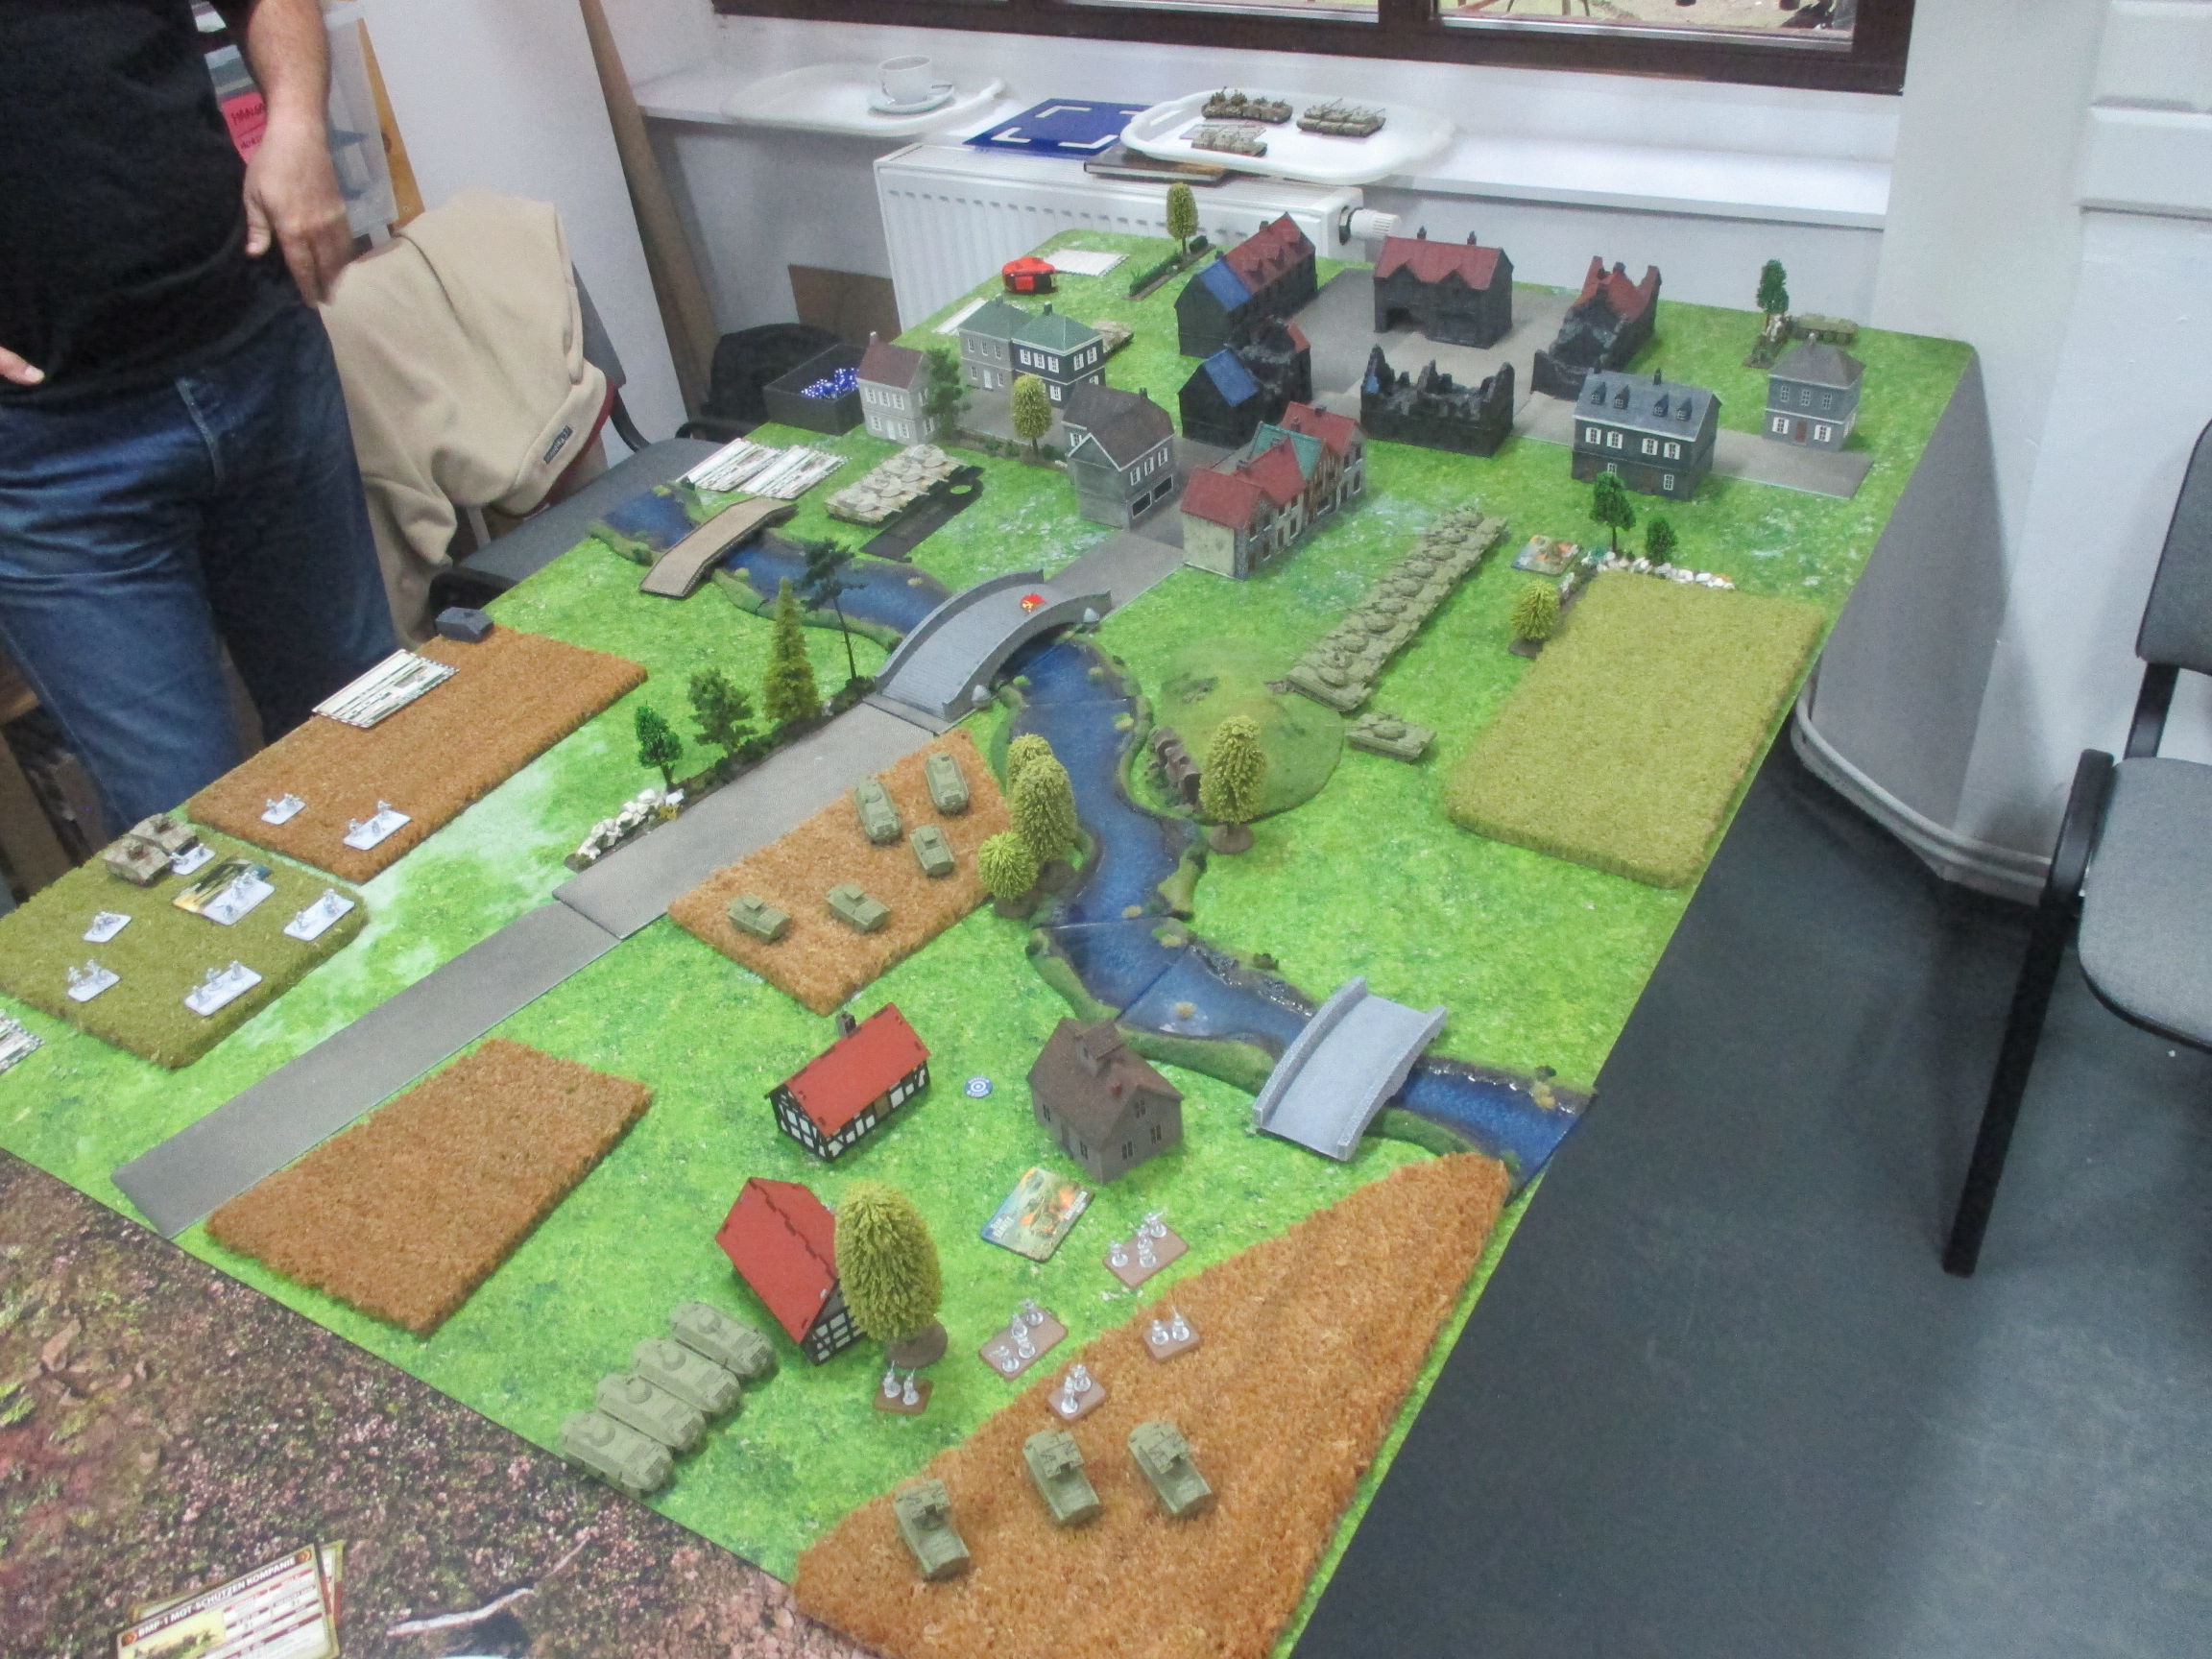
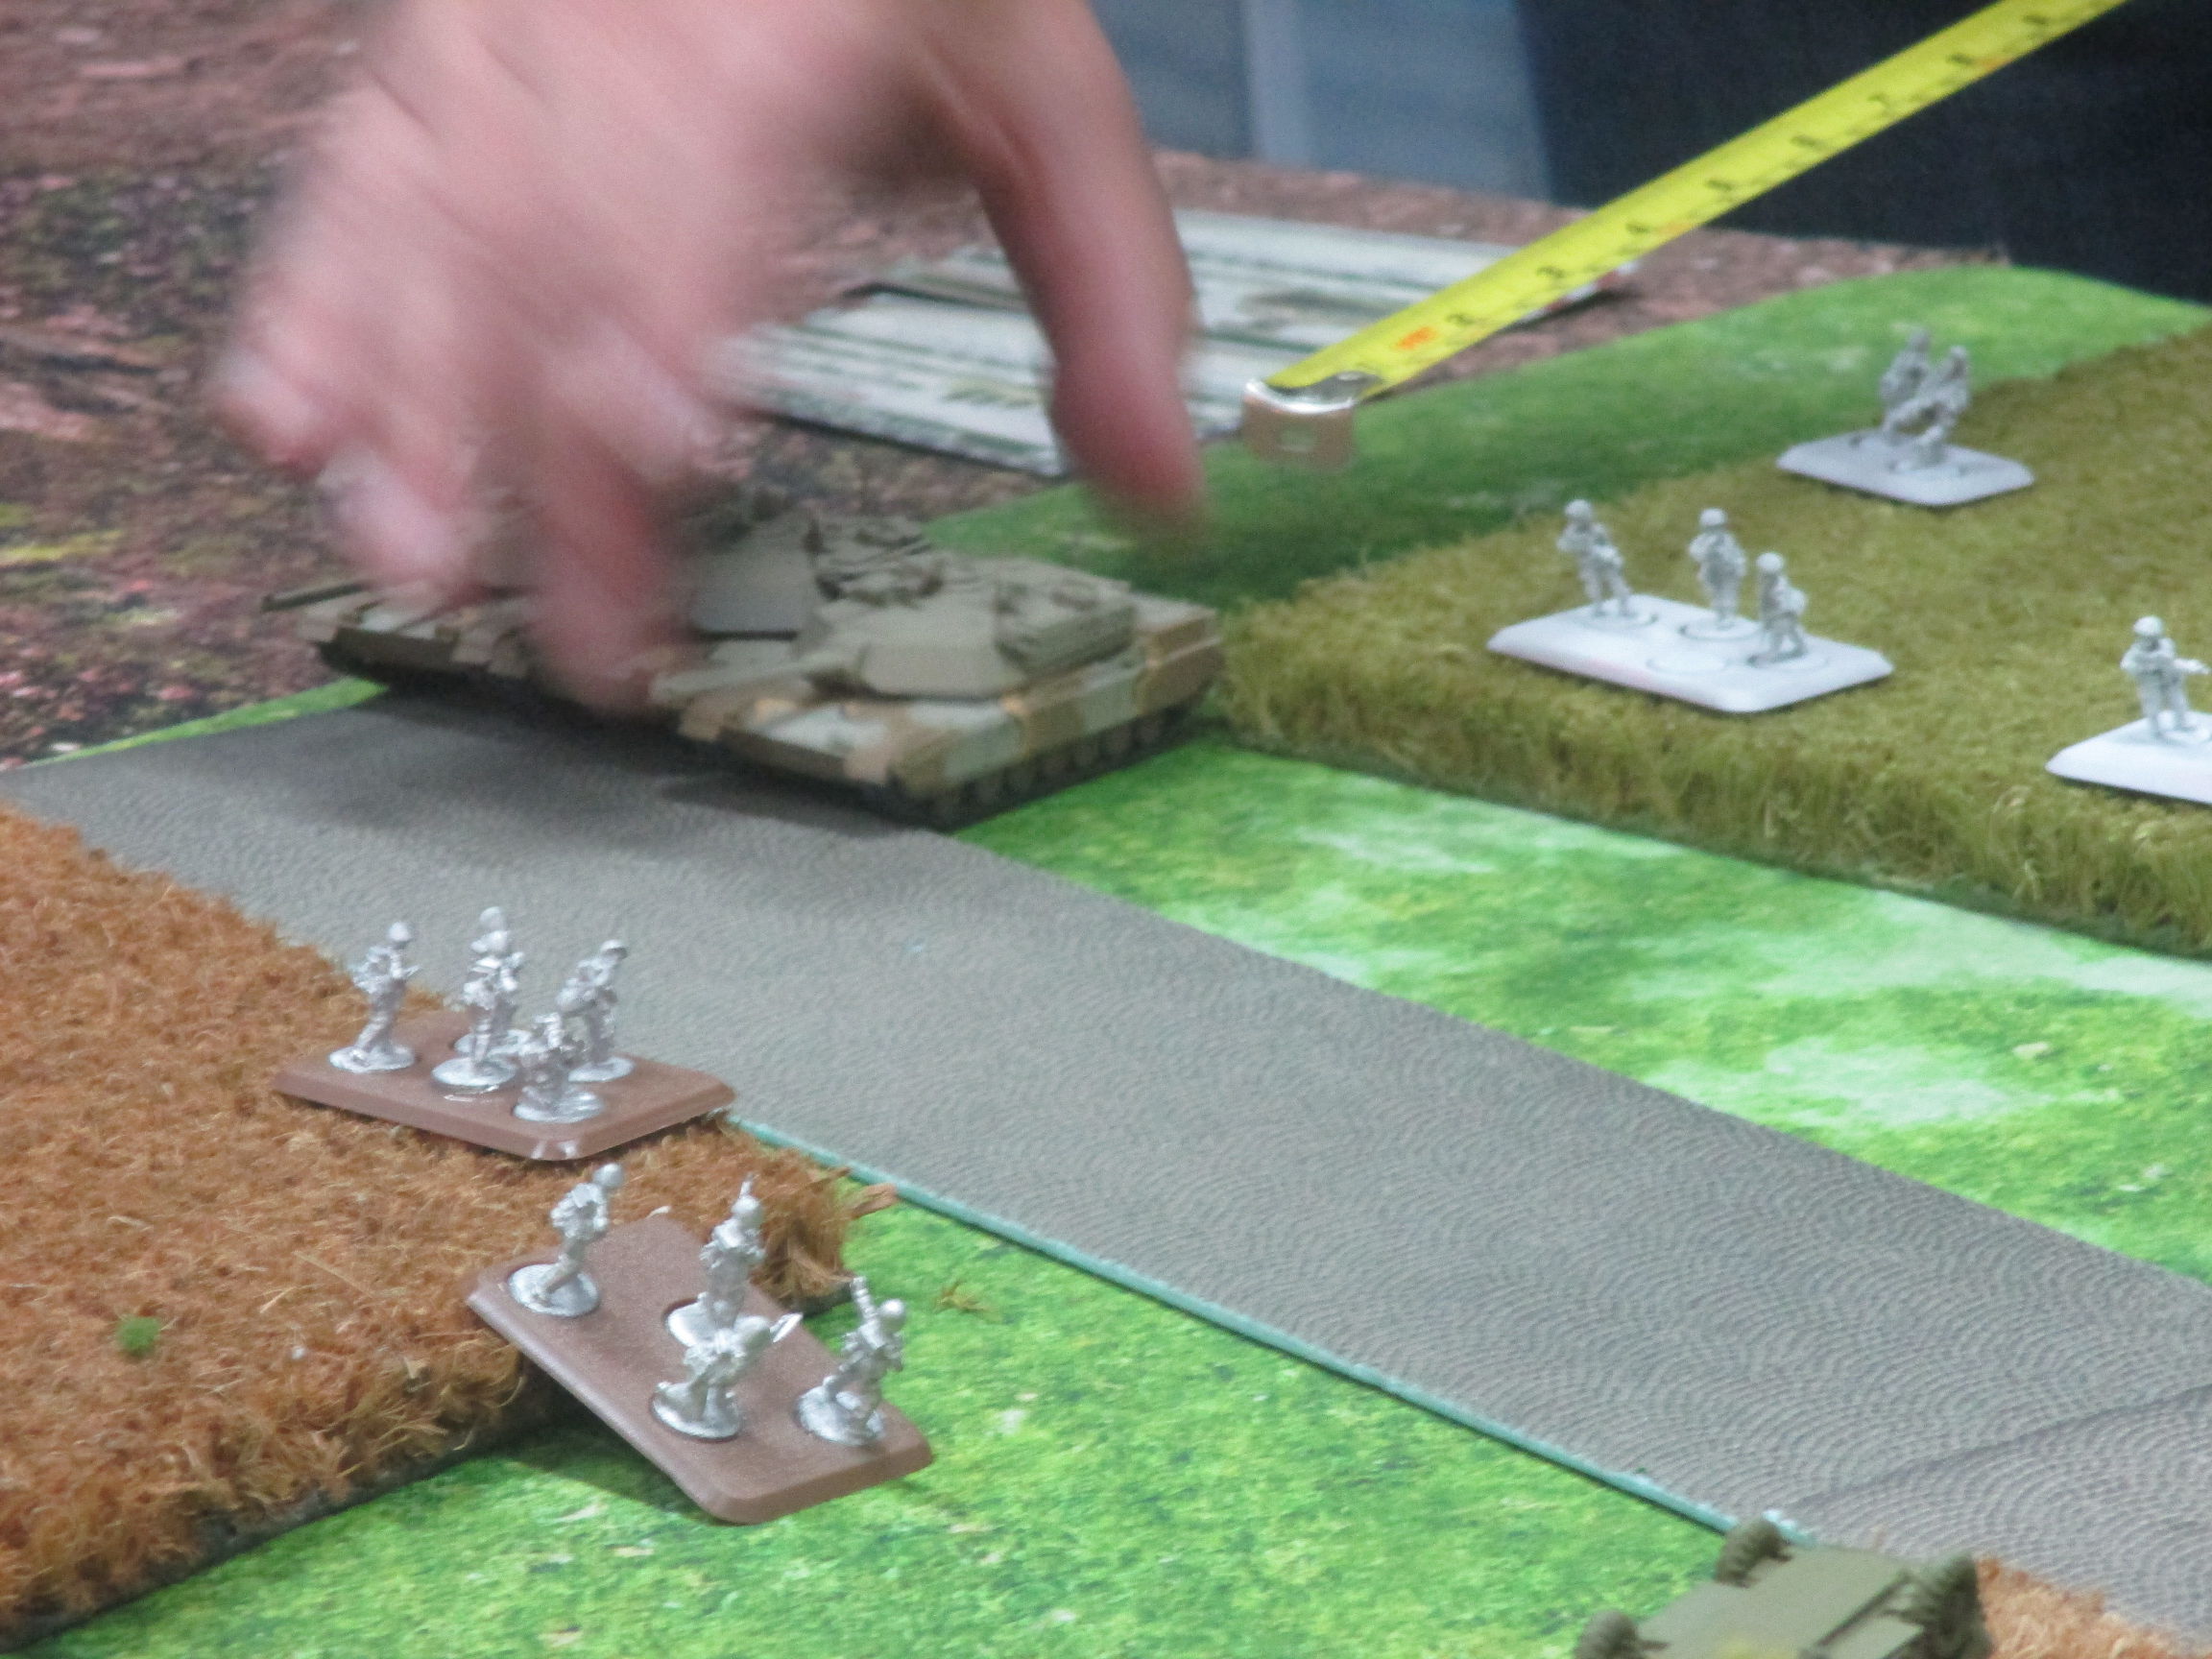
In pretty standard formation. Abramses in the middle, M113 on the right, infantry and Hammerheads on the left. Zoom! Reserve roll is not enough to call up some backup. Abramses move, M113 move, rest stays in place... Tanks kill 3 and bail 2 T-55, ITV misses altogether, but infantry's Dragons kills one and bail one of Spandrels.
Counterattack time ... So T-55 runs to hide behind the wall from mighty Abrams. BMP-2 phase out of ambush and hit 2 of Abrams, but unfortunately thick armor saves tanks from harm. Rest of armed force shoots at Hammerheads... One of poor bastards is bailed down, then immediately killed. Other one could not stand it and runs away.
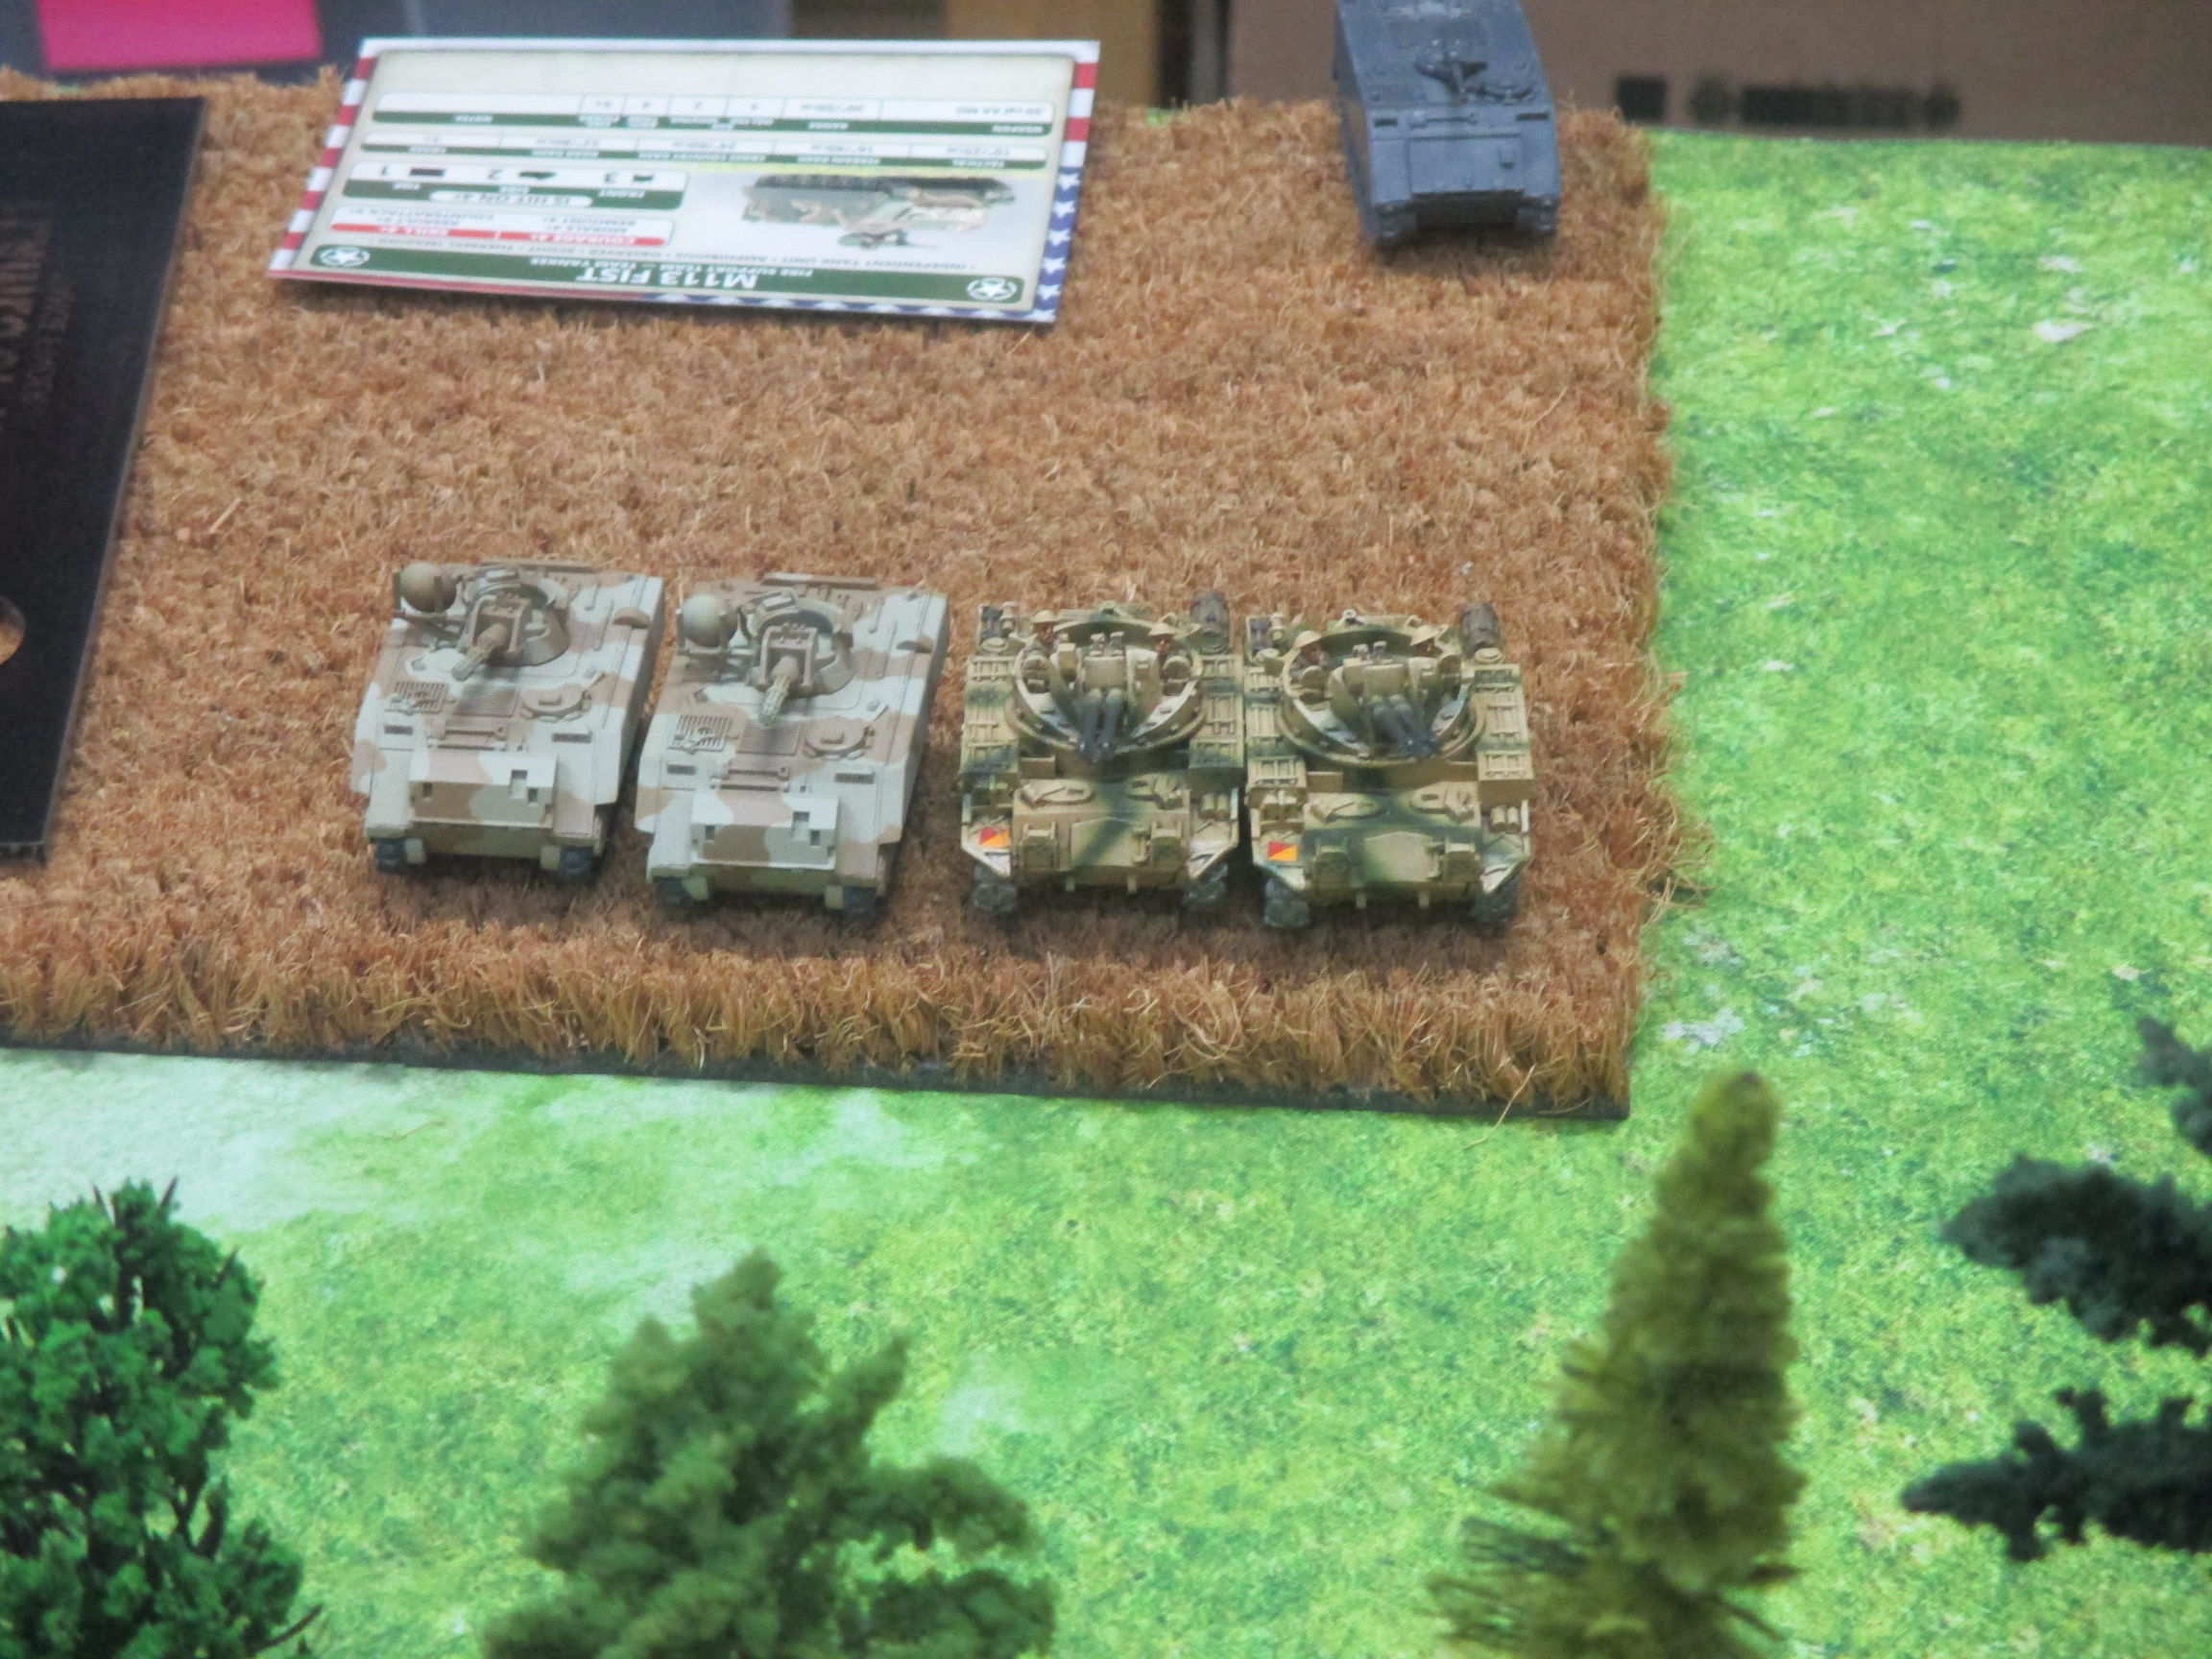
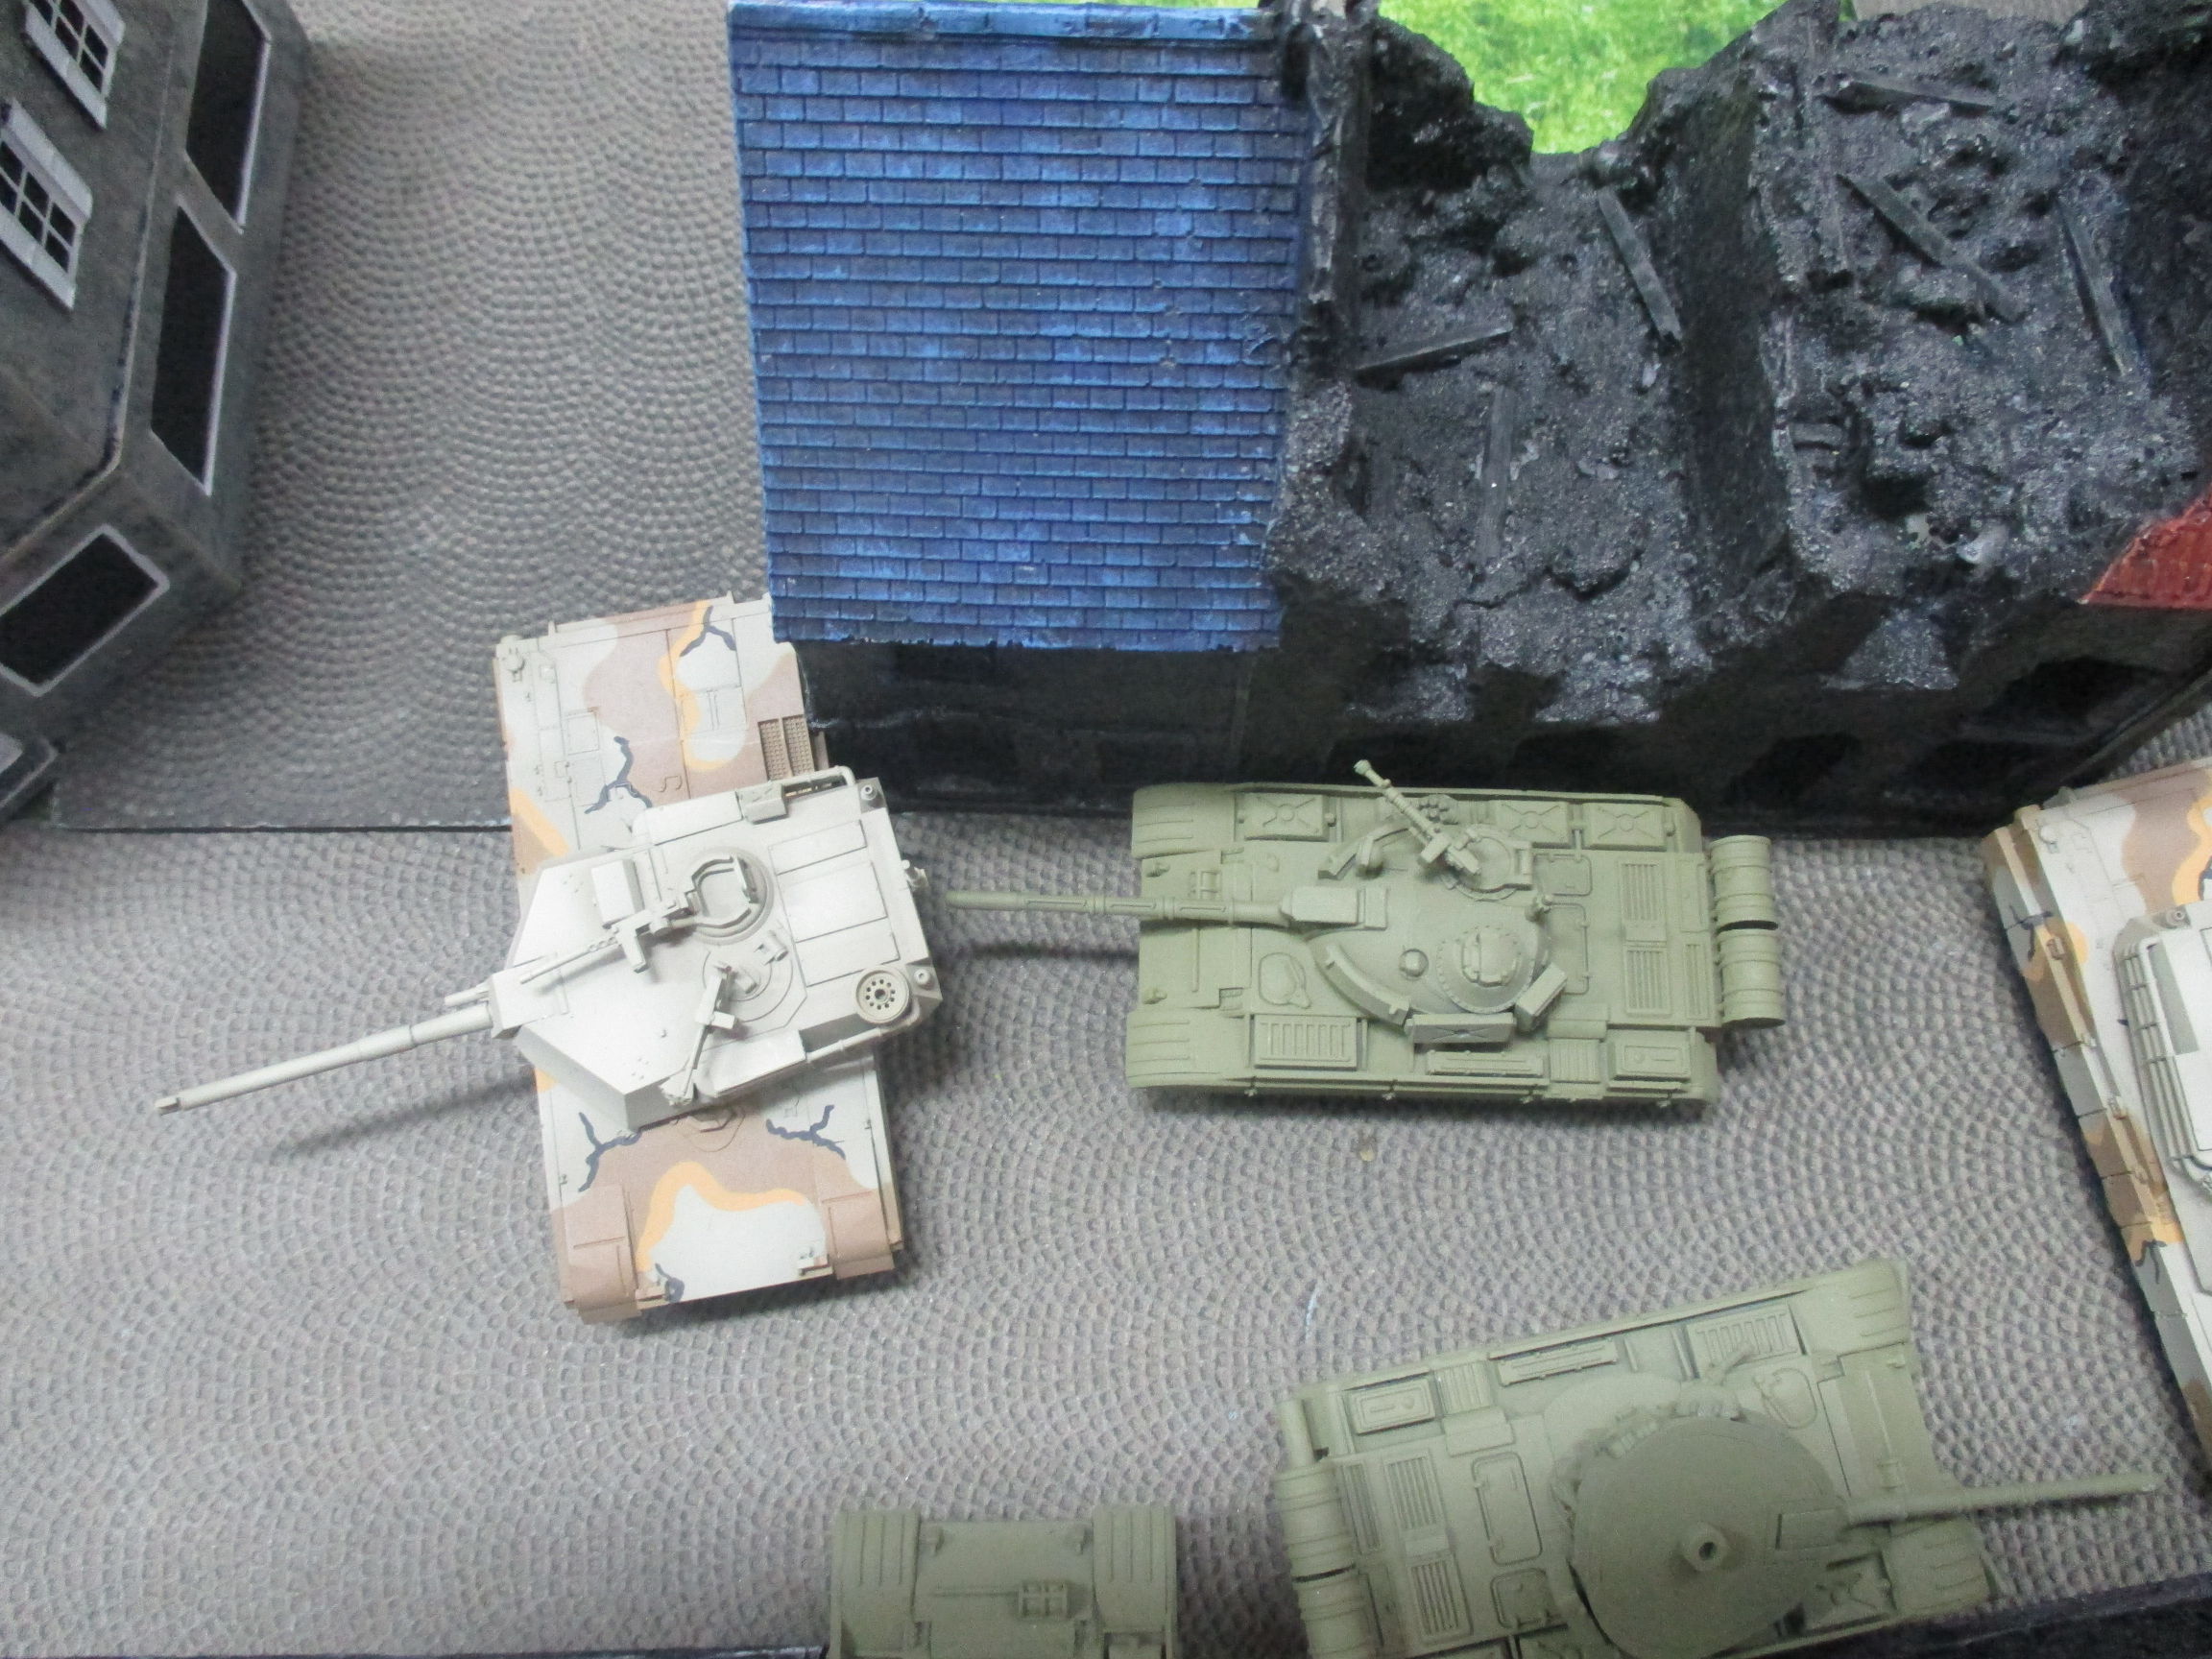
As you can see on those detailed photos, USA's AA vehicles appear from reserves and hit hard. Recon BMP is blown to bits, as one of Spandrels. Dragons fail to hit anything. M113 tear lone observer to pieces. Abramses think for a while ...

... and run into the streets, hiding from view and leaving the commander alone. He kills one BMP-2, though. T-55 split up, some getting behind Abramses' back, some sneaking upon M113 along with MotSchutzen. Soldaten try their luck in assault but are driven back by defensive fire. As high priority targets are hidden now, rest of guys tries to take down VATS and bails one.

Then! M109 blitz on the table and massacre BMP-1 transport attachment. Abramses commander texts&shoots - with RoF of 2 he bails out ... single T-55 :P Unfortunately, that's enough to break T-55s' morale.
- when splitting unit, you should leave some guys next to commander, just to make sure he has someone to command and stays in good standing. Yeah, in that case this was calculated risk, but...
- when putting formation on table, make sure it stays on table, giving it some 'soak'. And for sure don't use one of last remaining units to 'soak' enemy damage in risky operation...
... and misses. BMP-2 sees for a split of second another Abrams in depths of the streets and bails it down... Now there is tough decision - Abramses need to test morale, but would Commander join them? If he joins and tanks fail test, then all tanks run away. If he doesn't join, there's greater chance that tanks run, but still leave one Abrams intact... USA commander decides to leave his tanks without his glorious leadership and ... rolls morale. Damn.
American fire is devastating. T-55 commander dies (horribly), commanders shots down BMP-2 and VATS mowes down infantry.
- advancing with infantry against enemy vehicles causes loses. While full company can soak such loses, single platoon of 7 bases can and will not.

- you are playing with TWO formations, and each of those has their own separate commander. If that MotSchutzen commander have had been on the table, not only you would have more firepower (from his BMP-1), but also you'd not need to #### bricks while infantry platoon loses mounts up.
So, lets back to most important lesson. With tank commander gone and last attachment BMP-1 shoot down by M109, tank battalion formation leaves play. And...
- you are not playing with single formation and everything on the table is from that formation. You are playing with TWO formations... And this means half of the table units need to 'carry' weight of whole formation. That is not as bad as it seems, but wait, there's more...
- you have almost EVERYTHING in that one formation. 54 points. Two more tank units, whole artillery and AA support... With formation break, all is gone.
My BMP-1 reinforcements arrive, fortunately from right, luckily, with blitz - and shoot one of Abramses in the back. This time morale test is failed and last Abrams runs away. On the left tanks and M109 press the attack, killing everything in their sight except 2 infantry bases. On the right MotSchutzen finish the M113 detachment. Then, game is lost.
I succumbed to routine and that killed me. Yep, game was rushed a little (rather on-the-spur meeting and absolute, unmovable deadline), but still... I am so accustomed to play with one big formation with huge 'soak pool' that it didn't even occured to me until 2nd turn how bad I've managed my forces. Hiding some of the Tank Formation forces would allow me to field another one of T-55 'soak pools' - this time without those Abramses in my front, thanks to BMPs' efforts. And / or allowed to field some Carnations on the field, with possible devastating effect to American infatry. Forgetting about Motschutzen commander was simply stupid - well, that is result of playing with one formation for too long :) Putting most of the forces into one formation (tank battalion) and then leaving it on the field without any extra units to 'carry' the formation around was ... 'bold'. Even with such armylist, I could do better...
I am sorry, comerades. My only hope is that with incoming American invasion, STAVKA would need every officer. After all, this one loss ruins my perfect score of wins ;)
This was the 'Amsterdam' scenario, but we switched sides - NATO was attacking, WarPac (me) defending.
As for army list - I was curious how the VA BMP force would fare. In previous games, I was using small or big force of BTR. In one game I've tried BMP-only force, but those were Soviets, with all-BMP-2 force, mixed with some T-64. I would love to see VA with nothing more than BMP-2, but that is impossible - you'll still need to field 5 BMP-1 before first BMP-2. This screws points a little...
Still, army was more or less within my expectations - this nice 4+ skill creates very big opportunities. Contrary to popular belief, small groups of BMP work IMO) better. That makes them more maneuverable and much more dangerous, forcing enemy to waste ammo on small groups to wipe them off. One big blob of BMP is too difficult to maneuver and too easy to focus fire upon... Conclusion - definitely need more of them, probably even mixed with BTR formation. I regret that in this battle BMP-2 could not show their full power, with 3/2 non-HEAT stabilised gun ;)
Spandrels <3 :) I need to buy more of them, as MechInf structure allows to field them as part of formation and not only a force support.
Battle Report Author
Army Lists Used In This Battle
Recommend Commander For Commendation
Share this battle with friends
AshigaraWins

Great report!
I never join the HQ tank to the platoon. If I do they will certainly fail 😀 !
blame the gulag ammo, tovarische
An excellent report! I like lessons learned – especially when somebody else gets to learn ’em!
Still – a very pretty sight, a T-55 holding it’s 100mm gun to the back of the head of an Abrams. A pity it missed – and a pity the battle turned out as it did!
Until Round 2…
next time my friend. thanks for the report